Regal Navy and Gold Foil Calligraphy Wedding Invitations

Here’s a little something fancy to brighten your day: gorgeous and regal navy and gold foil calligraphy wedding invitations fromKara Anne Paper! Let’s all take a moment to appreciate the gold foil detailing on the back flap of the navy envelopes. The foliage pattern, complemented by the couple’s wedding crest, is elevated and over the top in all the best ways.

Regal Navy and Gold Foil Calligraphy Wedding Invitations by Kara Anne Paper

Regal Navy and Gold Foil Calligraphy Wedding Invitations by Kara Anne Paper

From Kara: This wedding invitation suite was designed for one of my best friends, Meg and her sweet husband, Brian. Creating their custom paper goods came easily to me! Knowing Meg and Brian’s personality and style I knew I wanted to design a classic, elegant invitation suite with a hint of some whimsical touches. To tie in Meg’s love for antique treasures from her grandparents, I incorporated gold foil accents and an intricately designed wedding monogram. After seeing the navy bridesmaids dresses chosen for their February wedding, I knew a deep navy envelope would make the perfect final touch to wow their guests. It created a gorgeous contrast from the bright white paper and the handwritten gold calligraphy that graced the envelopes.

Regal Navy and Gold Foil Calligraphy Wedding Invitations by Kara Anne Paper

Regal Navy and Gold Foil Calligraphy Wedding Invitations by Kara Anne Paper

The invitation design was 5.5″ x 8.5″ (A9) and foil printed on a thick Conservation Board paper. The details card was 4.5″ x 4.5″ and printed on the same paper using a dark navy letterpress ink. For an extra soft, romantic touch, a blush hand-made silk ribbon was used to tie the cards together so that they would stay stacked nicely inside of the envelope.

Regal Navy and Gold Foil Calligraphy Wedding Invitations by Kara Anne Paper

Regal Navy and Gold Foil Calligraphy Wedding Invitations by Kara Anne Paper

To tie the wedding program in with their invitation suite, I included navy lettering, custom hand painted watercolor florals and a charming illustration of the Chapel where Meg and Brian exchanged their vows. A soft, hand-made silk ribbon was also tied on the programs.

Regal Navy and Gold Foil Calligraphy Wedding Invitations by Kara Anne Paper

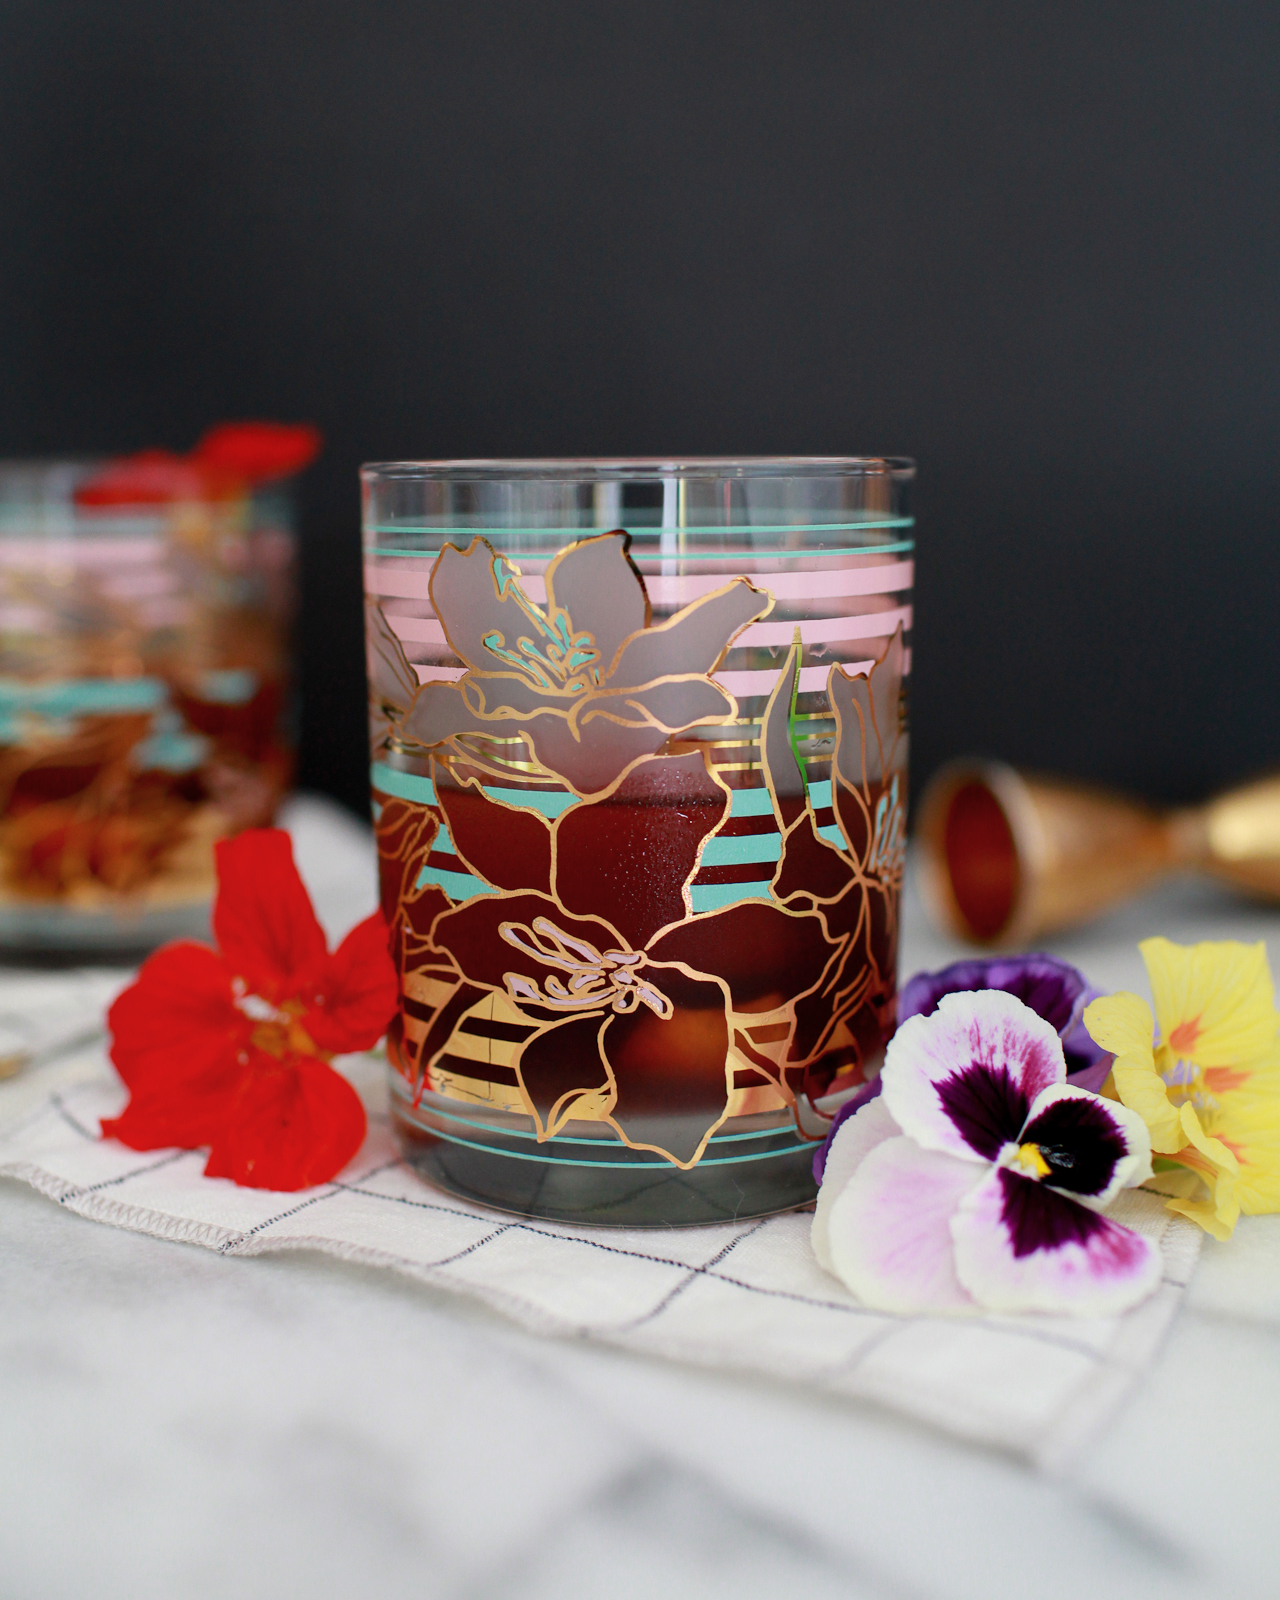
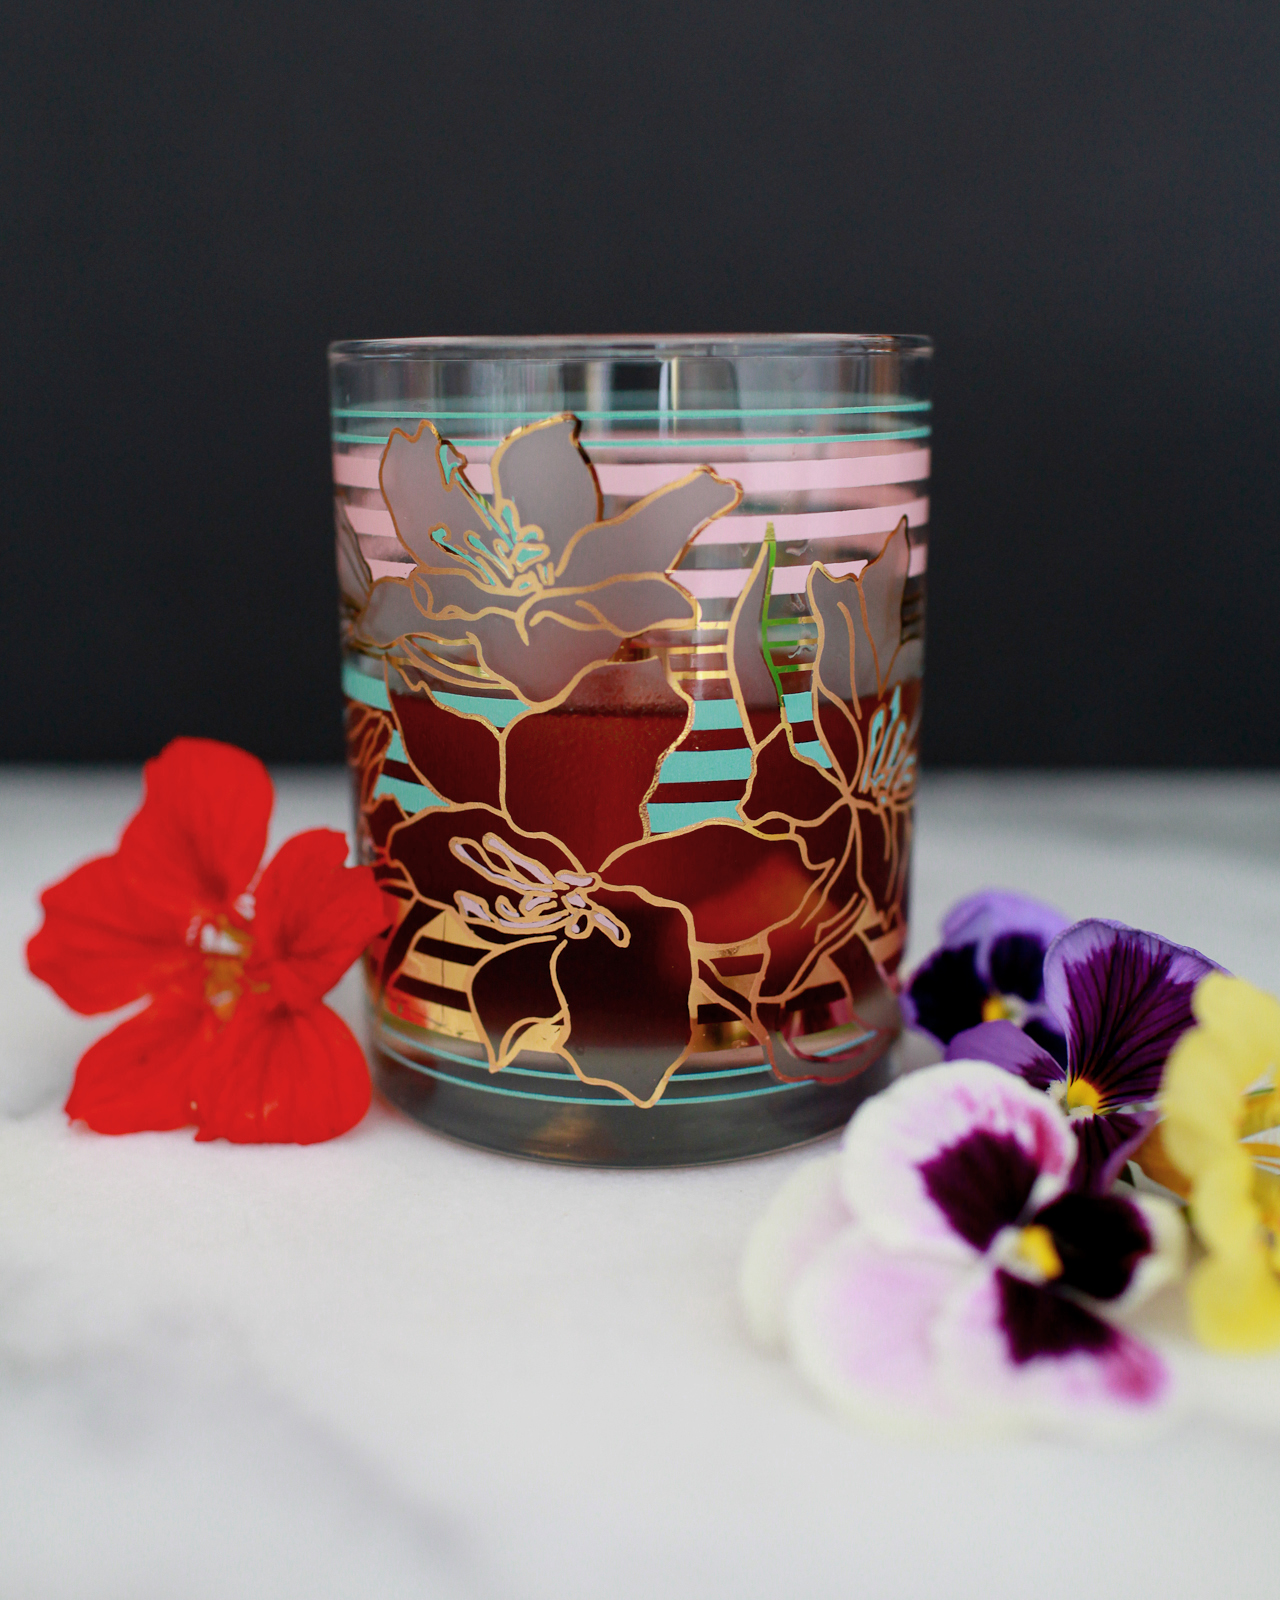
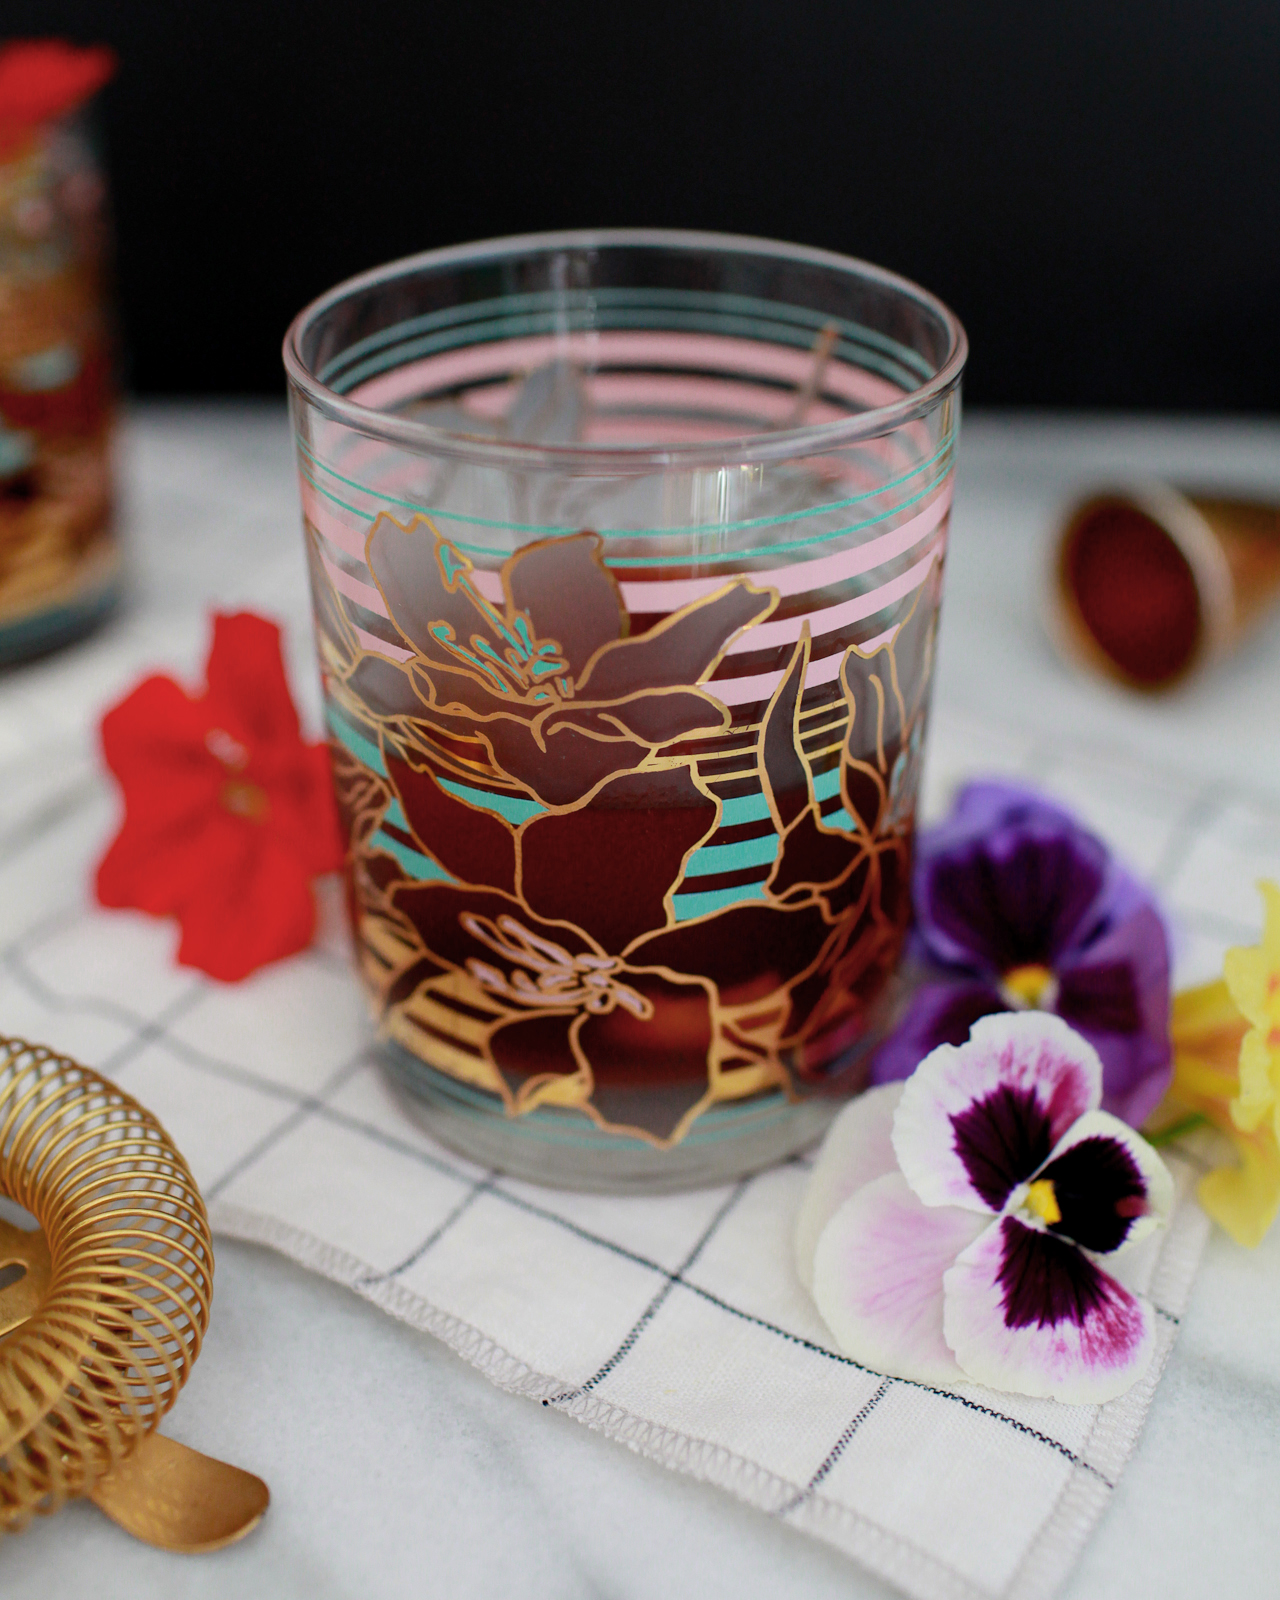
The custom designed details did not stop with the invitation suite. Throughout the ceremony and reception, there were several signs including; gorgeous navy and gold beverage and food signs, a welcome sign, direction sign and a little sign for the guests gifts from the bride and groom! To thank the groomsmen for being a part of their wedding celebration, we had custom Tervis Tumblers made with their wedding logo. This was of course a hit, along with the gold foil napkins and frosted beverage cups.

Regal Navy and Gold Foil Calligraphy Wedding Invitations by Kara Anne Paper

Regal Navy and Gold Foil Calligraphy Wedding Invitations by Kara Anne Paper

Thanks Kara!

Design & Calligraphy: Kara Anne Paper

Check out the Designer Rolodex for more tal­ented wed­ding invi­ta­tion design­ers and the real invi­ta­tions gallery for more wedding invitation ideas!

Photo Credits: Kara Anne Paper

Behind the Stationery: Ashkahn

Today we’re going behind the stationery with Ashkahn, the owner and designer of his namesake brand. His witty, irreverent humor is reflected in his designs, which always have a bright and fun touch to them. With a variety of projects under his belt, Ashkahn shares how he prioritize and writes creatively meaningful greeting cards. –Megan Soh

Behind the Stationery: Ashkahn

From Ashkahn: Ashkahn started all by complete accident! It was a friend’s birthday, and I was too lazy to run to the local Rite Aid and buy him a birthday card so I made my own. Shortly after the birthday, my friend told me that people were asking him where the card I gave him was from. I started selling it. It was fun, drinking money. The ideas for more cards came pouring out and I presented a 12-card collection to Reform School, a store in Los Angeles, and they placed a huge first order. It sold out really fast and the rest is history as they say.

Behind the Stationery: Ashkahn

My studio is located in the arts district of downtown Los Angeles. We do all of our fulfilling and design there.

Behind the Stationery: AshkahnBehind the Stationery: Ashkahn

I start the day off with coffee made from my Bialetti and two hard boiled eggs. After that I walk around in my favorite robe for an hour or so, and usually get in the studio around 10am and work until around 6pm.

Behind the Stationery: Ashkahn

I don’t like to force ideas. The best ones come to me organically and out of nowhere. I see them as little gifts that you need to catch and write down before it disappears. From there, I write it down and simplify it even further to get to the meat of the idea and communicate what I want to say.

Behind the Stationery: Ashkahn

Behind the Stationery: Ashkahn

It’s a lot of writing and all of my designs are hand drawn. I then digitally manipulate it in Illustrator and get it ready for print. I start sampling color and scale, then letterpress print everything.

Behind the Stationery: Ashkahn

I spend most of my time on the greeting cards. I try to make the writing better and better with each passing card. It’s really important to me to find new and interesting ways to communicate common messages like, “I love you” and “Happy Birthday” in a new way. Love, liquor, and great food keep me inspired.

Behind the Stationery: Ashkahn

Behind the Stationery: Ashkahn

Photos courtesy of Ashkahn.

Want to be featured? Reach out to Megan at megan[at]ohsobeautifulpaper.com for details.

A Sherry Negroni

It’s Negroni Week again, when participating bars all over the country donate a portion of each sale to charity, and people generally drink a lot of Negronis. The Negroni is a simple drink, equal parts dry gin, Campari, and sweet vermouth. Its simplicity is probably key to its success, because it offers a template for endless experimentation. We created this Sherry Negroni recipe for Negroni Week with sweet Pedro Ximinez sherry in place of sweet vermouth, a simple swap that turns a sharp, intensely bitter drink into something dark and rich and luxuriant. – Andrew

Sherry Negroni Recipe by Liquorary

Sherry Negroni Recipe by Liquorary

Sherry Negroni Recipe

1 oz Dry Gin
1 oz Campari
1 oz Pedro Ximinez Sherry

Combine the gin, Campari, and Sherry in a mixing glass and stir well with ice. Strain into a chilled cocktail glass and drop in a big chunk of fresh ice. Garnish with a piece of orange peel and enjoy!

Sherry Negroni Recipe by Liquorary

Pedro Ximinez – also affectionately called “PX” – is a Sherry, fortified wine made in the Jerez region of Spain. Unlike other Sherries, PX is made from grapes dried in the sun and, as a result, has a raisiny, sweet taste and a thick, syrupy texture. It works well in cocktails, adding rich sweetness and notes of dried fruit. It’s thick enough to use as a syrup in stirred drinks like the Old Fashioned.

Sherry Negroni Recipe by Liquorary

Here, the PX Sherry does a pretty good job standing in for sweet vermouth, another fortified wine. It’s a little less complex than sweet vermouth, which is steeped with all sorts of spices and herbs, but the Sherry makes up for that simplicity in this Negroni by mellowing out the drink, taking the sharp edges off the dry gin and herbaceous, bitter Campari. This is still a Negroni, but darker and richer and a bit sweeter than usual, with a raisiny chewiness in place of the classic recipe’s bracing crispness.

Sherry Negroni Recipe by Liquorary

So, if you haven’t already, go find a bar participating in Negroni Week and order a few Negronis, and then go mix up one of these at home.

(Don’t forget to follow us on Instagram!)

Glassware by Liquorary

Photo Credits: Nole Garey for Oh So Beautiful Paper

This post contains affiliate links. By clicking on these links, you’ll help support Oh So Beautiful Paper while also purchasing some fantastic products. We only recommend products that we truly love and trust that you’ll love, too. Our full disclosure policy can be found here.

DIY Iridescent Paper Prize Ribbons

My oldest daughter, Sophie, graduates from preschool next week! Cue all the tears! I seriously cannot believe that I’ll have a kindergardener on my hands in September. I wanted to do something special for Sophie and the other kids in her class, so I made some fun DIY iridescent paper prize ribbons using opalescent tissue paper and pastel card stock. They turned out super cute, so I thought I’d share the how-to with all of you! These prize ribbons are a really cute way of congratulating someone on a recent achievement – like graduation, landing a new job, buying a home – celebrating an engagement, or even offering a quick note of encouragement!

DIY Iridescent Paper Prize Ribbons

The prize ribbons that I made for Sophie’s classmates all say “preschool graduate,” but I wanted to show them with more general congratulatory messages for those of you who don’t have kids. You can also write your own personalized message by hand on a blank circle! But if you’re worried about your hand lettering skills, you can totally download our free printable downloads through the links at the bottom of the post and use them as needed! There’s one version with school-specific messages and another with general messages that can work all year long! I love the idea of making a bunch of these to have ready throughout the year, or even making an end-of-the-school-year tradition by taking a photo with a new ribbon after finishing each grade! Ooooh, these would also be really fun for a birthday party! So many possibilities!

DIY Iridescent Paper Prize Ribbons

DIY Iridescent Paper Prize Ribbons

Aaaaah!! These paper prize ribbons are so colorful and full of iridescent shimmer! I used pastels with pops of navy and plum, but they’d be so good in any color combination. Let’s make some, yes??

DIY Iridescent Paper Prize Ribbons

Materials

DIY Iridescent Paper Prize Ribbons

DIY Iridescent Paper Prize Ribbons

To make the DIY iridescent paper prize ribbons:

Step 1. Without unfolding the iridescent tissue, cut the folded tissue into 7.5″ segments. My iridescent tissue contained three sheets per package, so after making all the cuts I had twelve 7.5″ x 18″ sheets of iridescent tissue. Fold each sheet in half lengthwise to create a 3.25″ x 18″ sheet. Accordion fold the iridescent tissue, then staple in the middle and trim the ends as needed. You can leave the ends straight – or make them curved or angled! Gently unfold and use a very small amount of hot glue to glue the edges together and form a complete circle.

Step 2. Punch several 2″ circles out of your card stock. You’ll need twice as many 2″ circles as the final number of ribbons – one for the front and one for attaching the ribbon tail on the back.

DIY Iridescent Paper Prize Ribbons

Step 3. Download our printable template with congratulatory messages and print them onto colorful card stock. Use the 1.5″ circle punch to punch out each message – or you can punch a bunch of 1.5″ circles and hand write your own personalized message! Use craft glue or a glue stick to glue the smaller circle to the center of a larger circle – this is the center of your prize ribbon! Hot glue the center circle to the center of the folded iridescent tissue.

Step 4. To make the ribbon tails, use your paper trimmer to cut a piece of card stock in half lengthwise, then into 1″ segments (giving you 1″ x 4.25″ pieces). Staple two pieces to a 2″ circle, then trim the edges – just like you would do with a real ribbon! Hot glue the 2″ circle with the tails to the back of the prize ribbon.

DIY Iridescent Paper Prize Ribbons

Step 5. To make the ribbons wearable, hot glue a bar pin to the back of the prize ribbon. These prize ribbons also make fantastic gift toppers, or you can hot glue a loop of string to hang them on the wall! 

DIY Iridescent Paper Prize Ribbons

DIY Iridescent Paper Prize Ribbons

DIY Iridescent Paper Prize Ribbons

Download the printable templates right here:


SCHOOL YEAR PRIZE RIBBONS

CONGRATULATIONS PRIZE RIBBONS

All artwork © 2017 Oh So Beautiful Paper. All artwork is made available for personal use only. By downloading the patterns you agree to the terms of use.

Photos by Nole Garey for Oh So Beautiful Paper

This post contains affiliate links. By clicking on these links, you’ll help support Oh So Beautiful Paper while also purchasing some fantastic products. We only recommend products that we truly love and trust that you’ll love, too. Our full disclosure policy can be found here.

Stationery A-Z: Wedding Congratulations Cards

Remember waaaay back in the winter when all your friends were suddenly engaged? Well, wedding season has finally arrived! Which means it’s time for a round up of our favorite wedding congratulations cards! Break out the heels, get your summer suit cleaned up and start writing the world’s least boring, most endearing, tear-inducing wedding speech. And while you are at it, don’t forget to include a meaningful congratulations card that two people you deeply care about have decided to profess their love for each other in front of friends and family. And while you are at it, be sure to say thanks for the open bar. Shauna

Stationery A-Z: Wedding Congratulations Cards

From top left:

1. Love this naive floral illustration (in a bright spring palate) from our friends over at Egg Press.

2. Will you take this peony and wild rose bouquet from Banquet Workshop and Atelier to have and to hold from this day forth?

3. Personally, my favorite part of my wedding was the honeymoon. Celebrate an adventurous couple with a travel-themed design from Idlewild Co.

4. Not a fan of the institution of marriage? Call it like you see it with this foil and letterpress greeting card from Ashkahn.

5. Weddings aren’t just for brides and grooms. Celebrate ladies who love (and commit) with this fashion forward illustration from Ferme A Papierby Cat Seto.

6. Their big day deserves a callout – especially one that is hand lettered with silver foil (from Lionheart Prints).

7. Two misters? Two times the party! Get the celebration started with extra shiny holographic foil from The Social Type.

8. Sometimes life can be a fairytale….give this Antiquaria foiled design to the most romantic couple you know.

9. Marriage requires work and if you’ve made it through the wedding planning process, you’re well on your way to a successful lifetime partnership. From Paperboy London.

10. Did you know that swans mate for life? Anne and Kate do.

p.s. A few more favorite wedding congratulations cards from a couple years ago!