Behind the Stationery: Yao Cheng Design

Our next installment of Behind the Stationery take us to Columbus, Ohio to visit Yao Cheng’s design studio. She’s not only the owner and watercolor artist, but also the calligrapher and graphic designer of all things Yao Cheng Design! Over time, Yao has found that designing for custom clients versus her product line requires different creative processes and dives into how she approaches each of them. With a new baby and a growing team, she navigates through the changes in her business and talks about the reality of coming back to work after maternity leave. Here’s Yao! —Megan Soh

Behind the Stationery: Yao Cheng Design

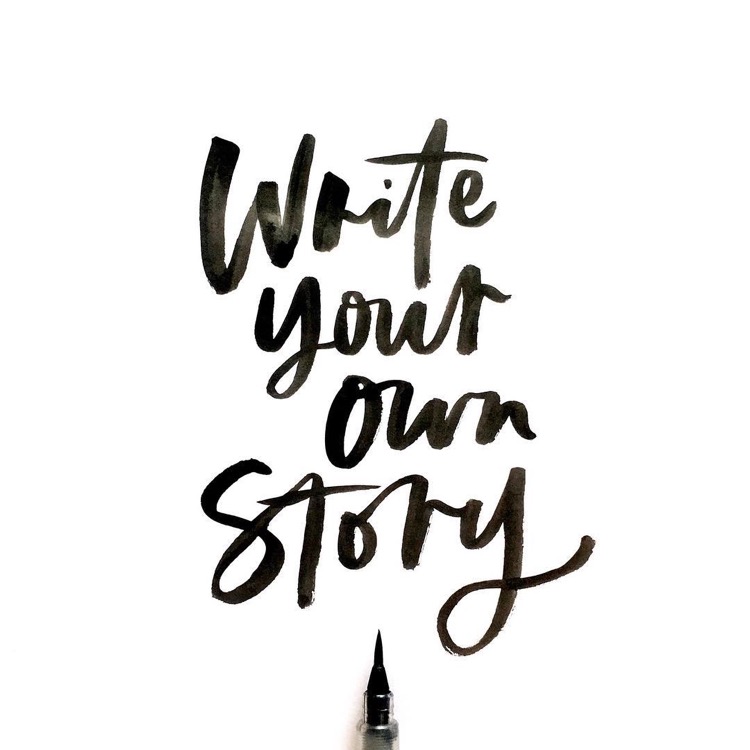
From Yao: Looking back, it’s been a very interesting journey of what I thought my business was going to be and what it has become. When I first left my full-time corporate design job to start my own venture in 2012, I thought my business was going to revolve around my interpretation of hand-painted Pysanky eggs. At the same time, I was playing around the idea of art prints and greeting cards because I really loved painting watercolor more than anything else. As I was figuring all of this out, I applied for my first craft show. It was at that show that I had everything displayed and it became very clear to me what people were gravitating towards. Customers felt more connected to my art prints and cards because it’s a natural interpretation of my paintings. After that show, I shifted my focus into the direction of art prints and stationery.

Behind the Stationery: Yao Cheng Design

Our business is unique in both the style of watercolor that I create and also in the way that it is structured. We offer giclée art prints, greeting cards, wedding stationery (custom, pre-designed, and calligraphy services!), and gift wrap in addition to our line of textile products. We also have an exciting collaboration with Chronicle Books in which you can find my watercolor designs on a line of notebooks, notecards and the latest One Line a Day journal!

Behind the Stationery: Yao Cheng Design

Photo by Chancey Charm

It wasn’t until 2013 that I really dove into the world of wedding stationery. The Style Me Pretty post of a styled autumn wedding featuring some of my first wedding invitations was really the beginning of our wedding business. As a creative, I love being able to touch and hold things in my hands. The tactile quality makes me feel like I have a tangible connection to something real. Whenever I’m designing wedding invitations, I try to replicate this feeling. I think of wedding invitations as more than just a piece of paper, they are small pieces of artwork that really captures a special moment in a couples life and all the memories of that day!

Behind the Stationery: Yao Cheng Design

Photo by Lily Dent for the Metropreneur

Everyone knows that as a small business, you wear many different hats. That is certainly true with us! We are a very small team at the moment as I am very careful about how fast we grow. Because I have a little one, my days are limited to an 8-hour day. We plan out our next week’s calendar the Friday before, so when I come in in the morning, I have a pretty concise agenda of what needs to be done. Still, I am known to be overly ambitious with my tasks, so I almost never finish all of my tasks for that day! I could be spending the morning answering emails or questions from my team, then jumping on calls with clients or new manufacturers, or even doing a styled shoot for an upcoming newsletter. In a week, I try to carve out an afternoon or a full day to paint, but I wish I had more time devoted to painting!

Behind the Stationery: Yao Cheng Design

I spend 70-80% of my time running the business, but it’s my dream to flip that so I am able to spend that amount of time painting new work. Don’t get me wrong — I am fascinated by the business side of things because I think learning about strategy, planning, pricing, bookkeeping, etc is all empowering. I think it’s crucial, as the owner, to understand the basics of all the facets of the business before delegating it to others. However, I recognize my strength is in painting, so that’s where I’d like to focus my time on one day.

Behind the Stationery: Yao Cheng Design

Photo by Lily Dent for the Metropreneur

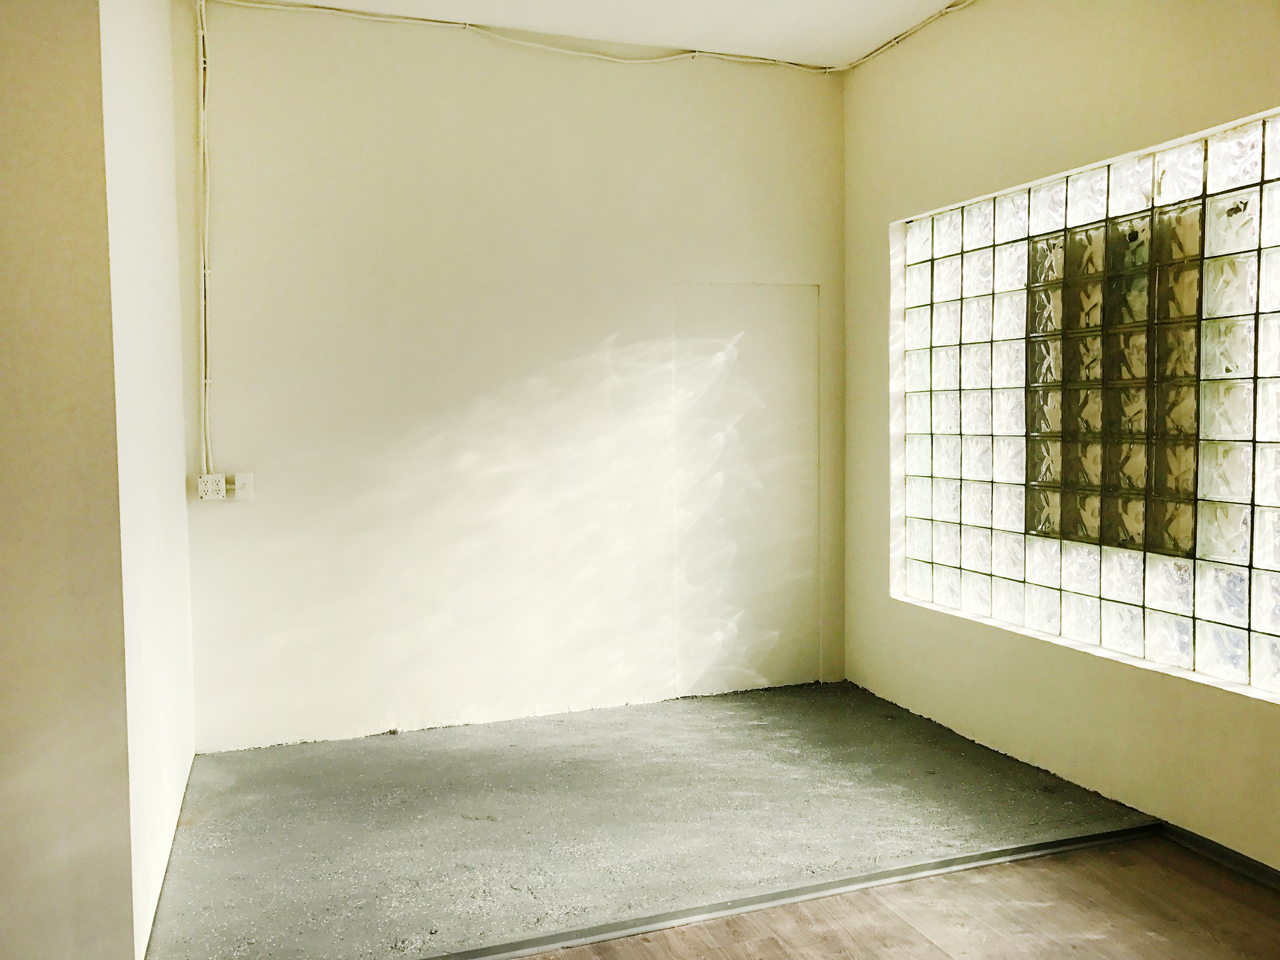
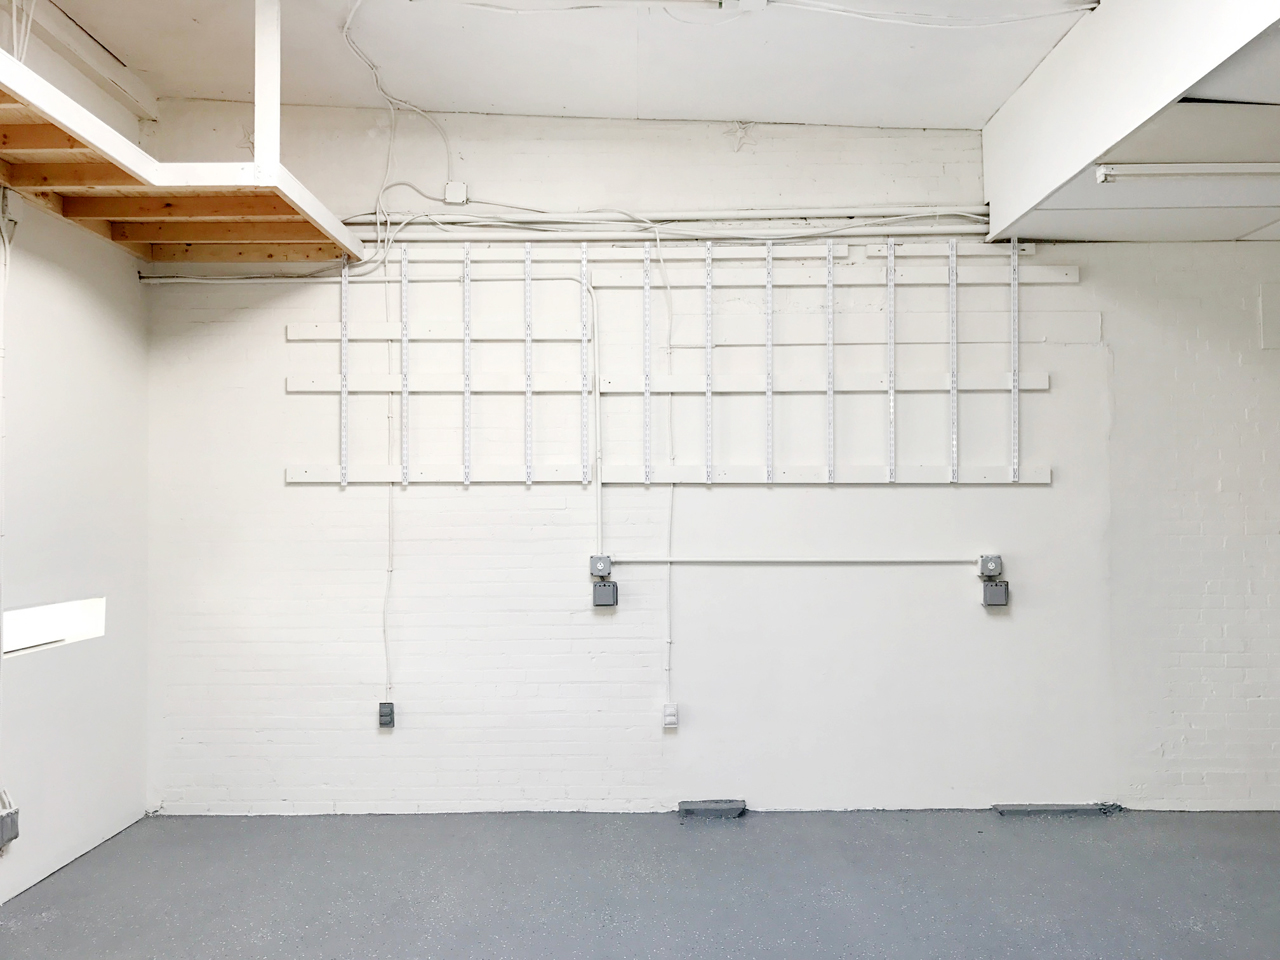
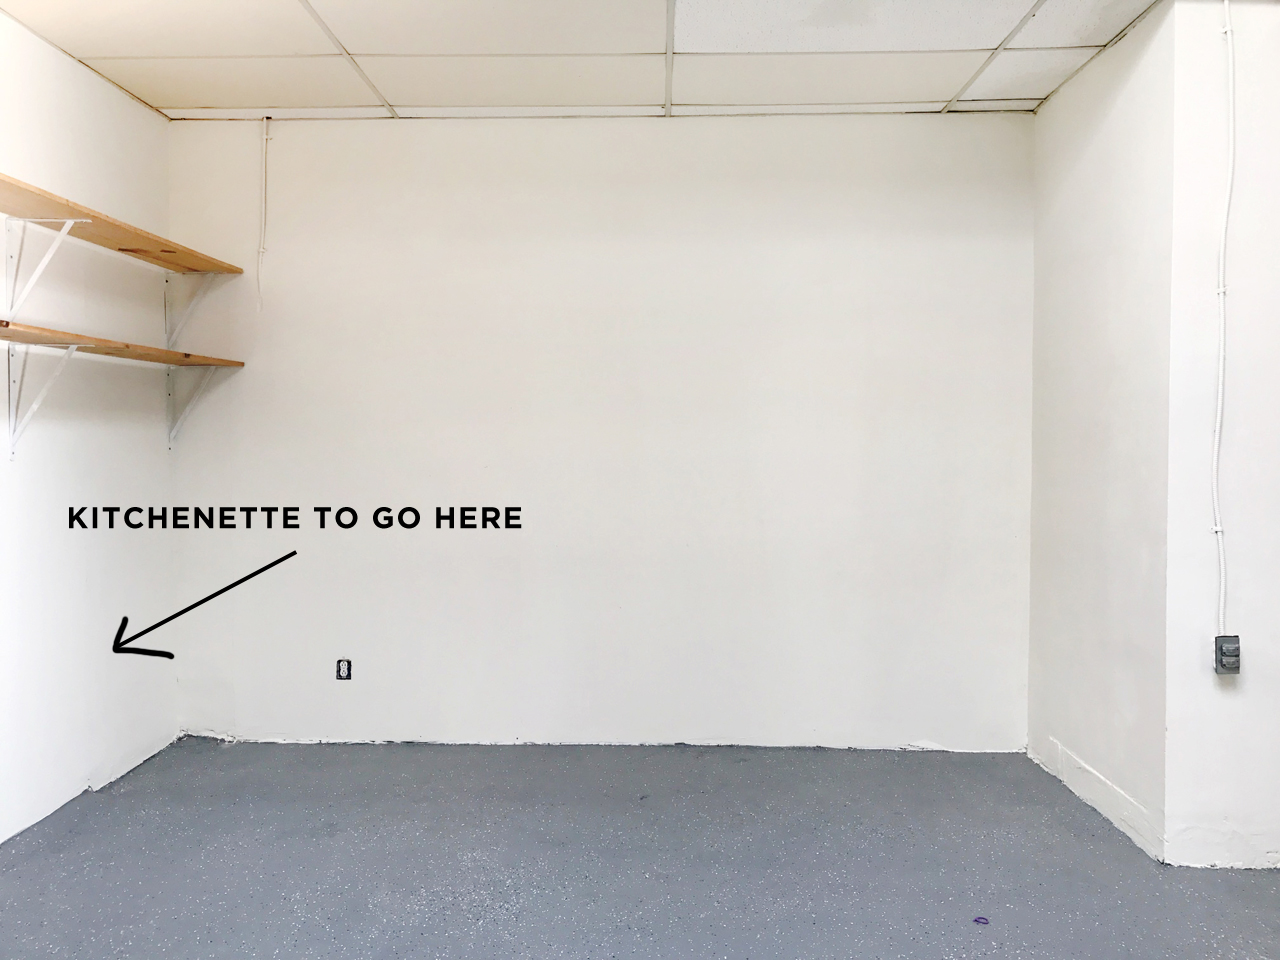
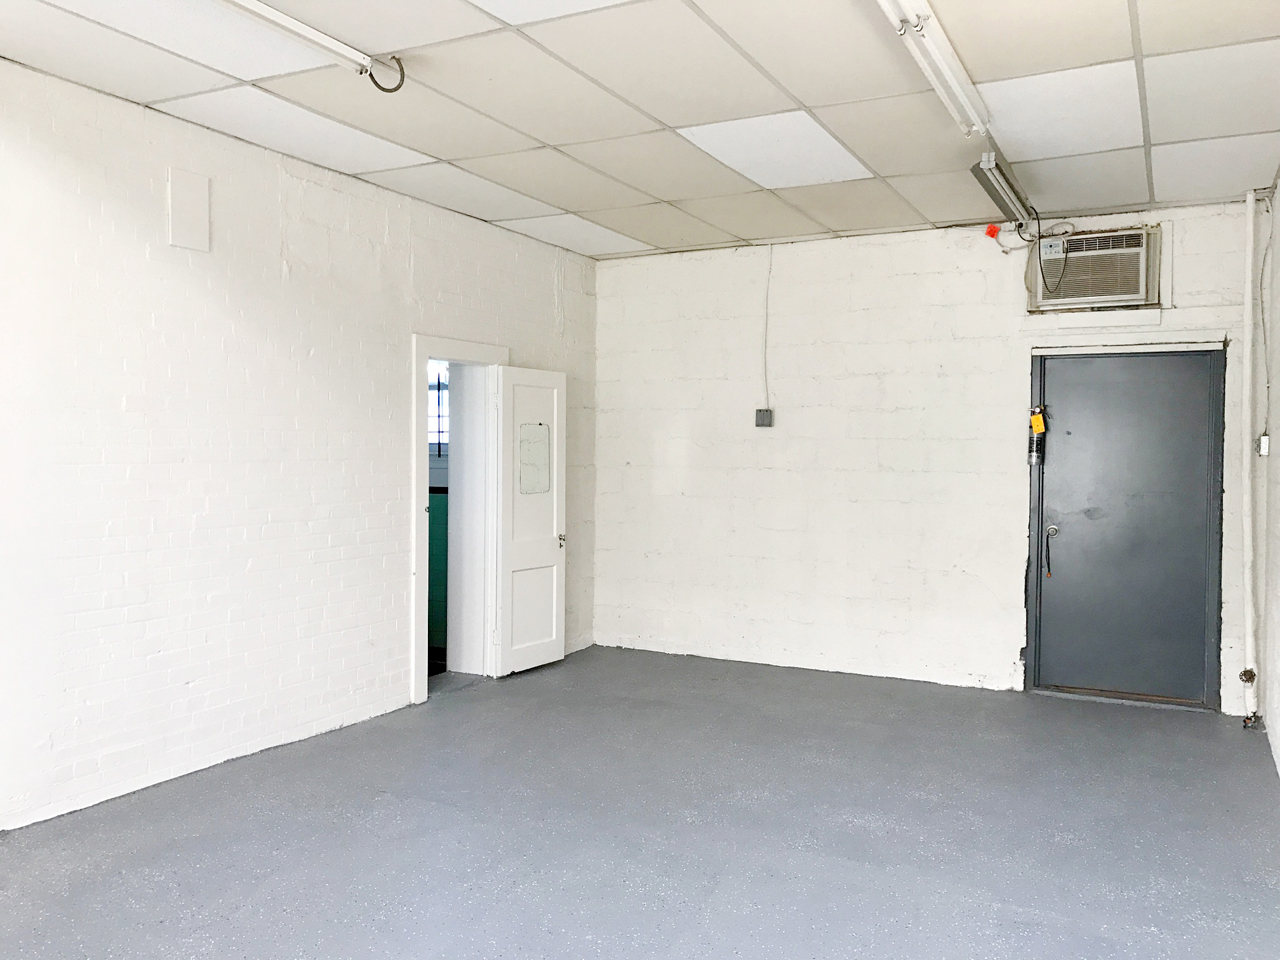
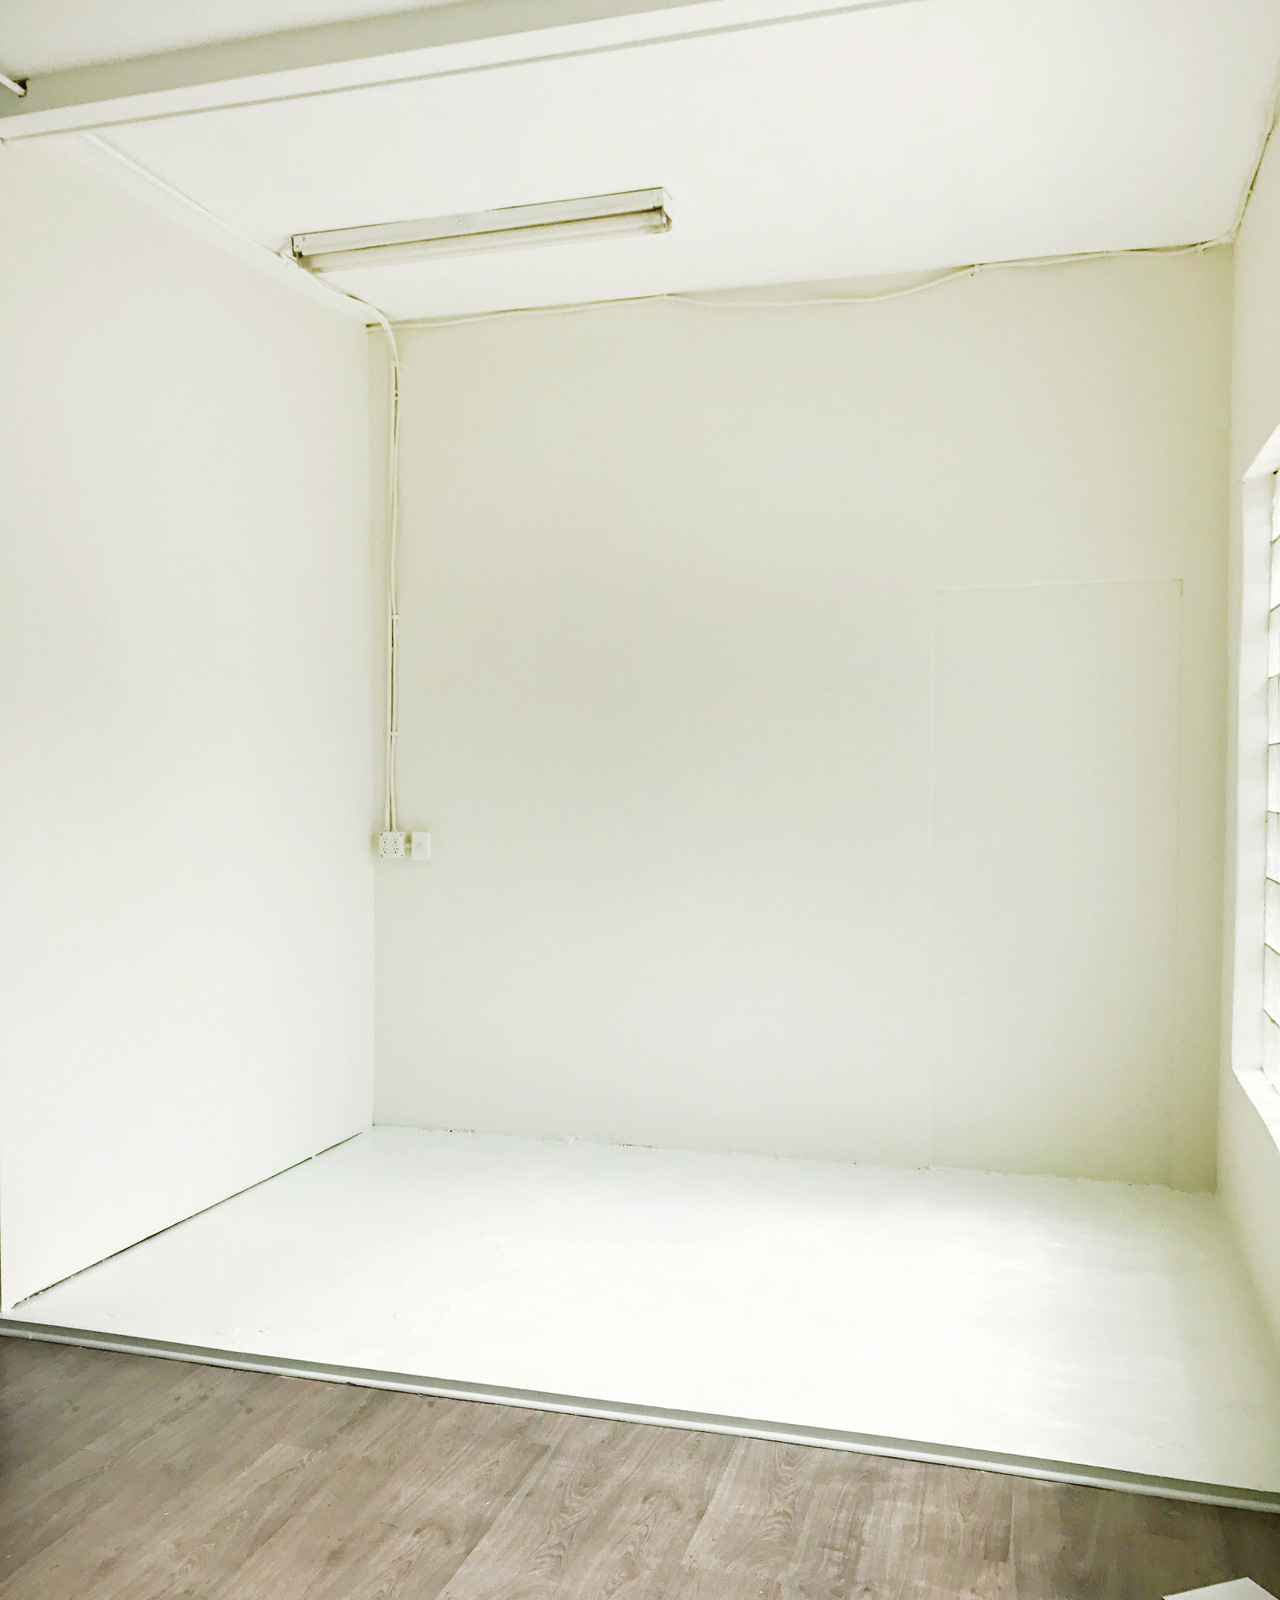
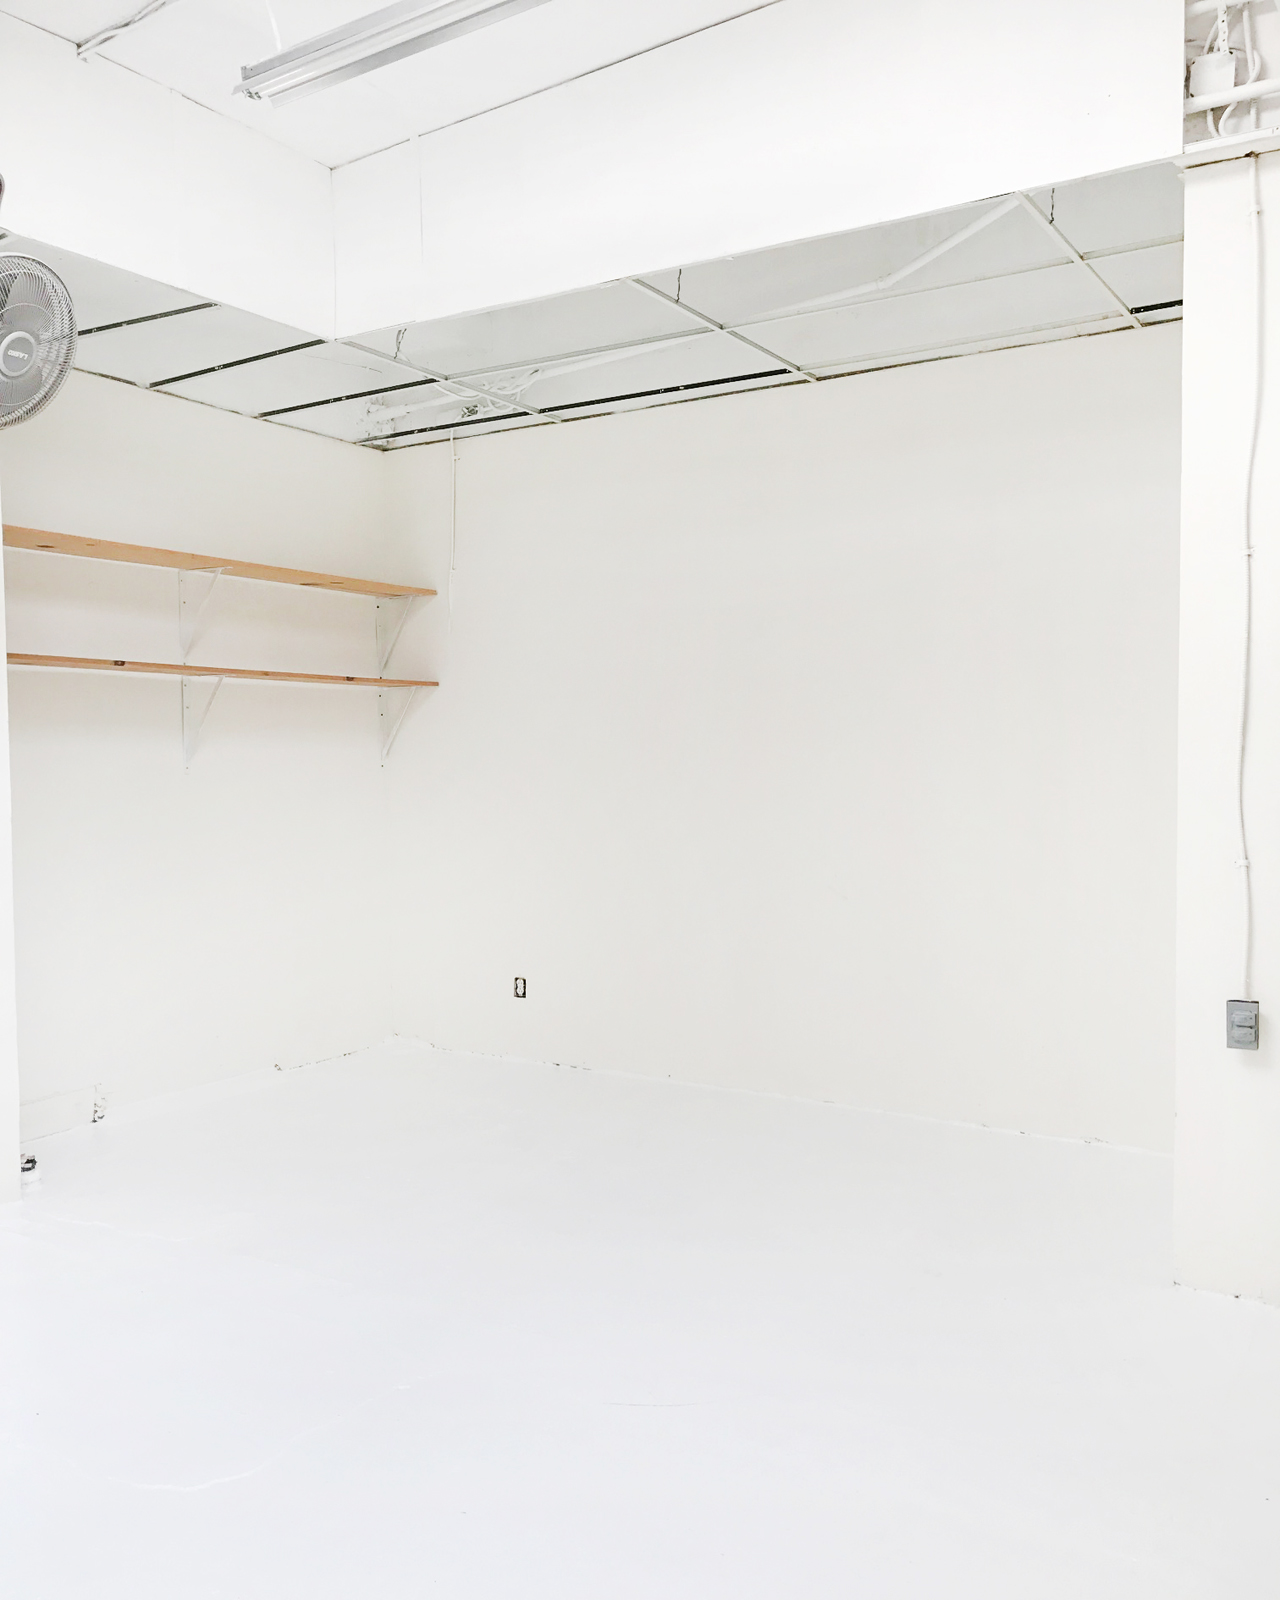
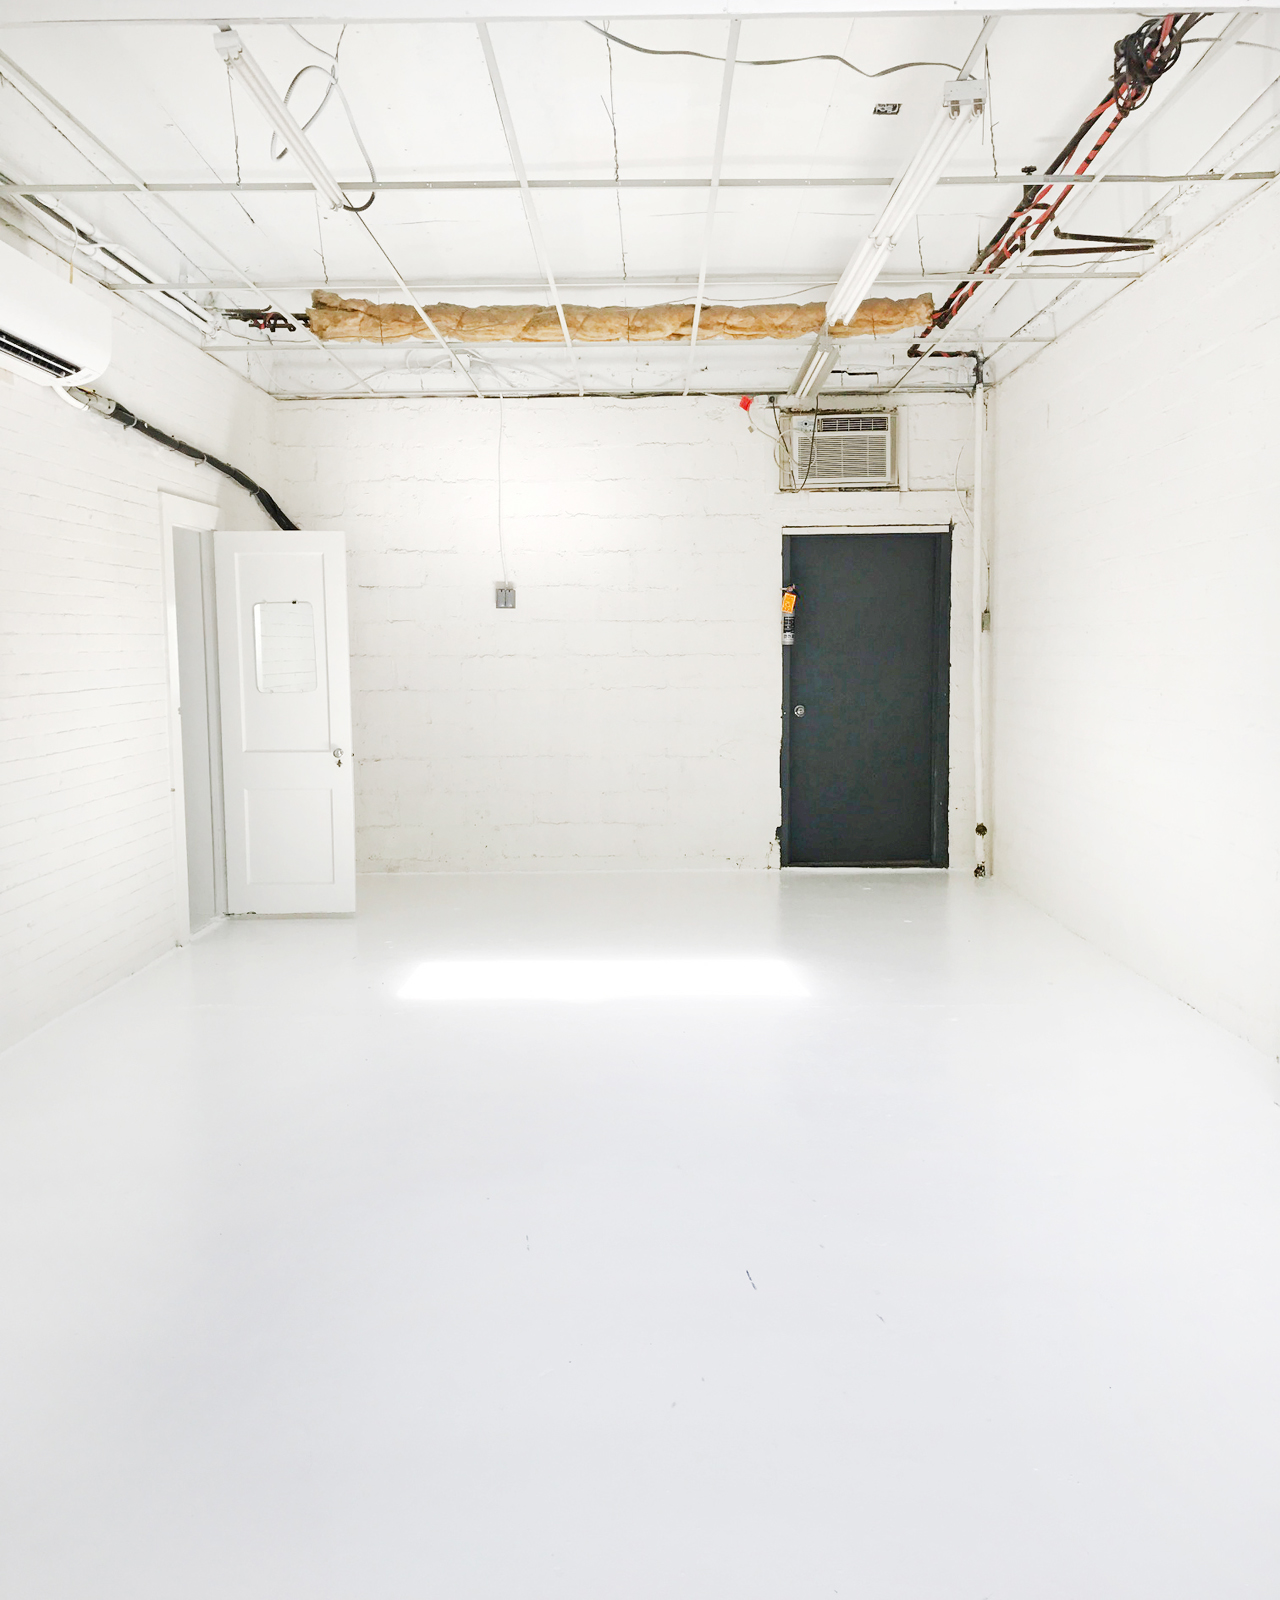
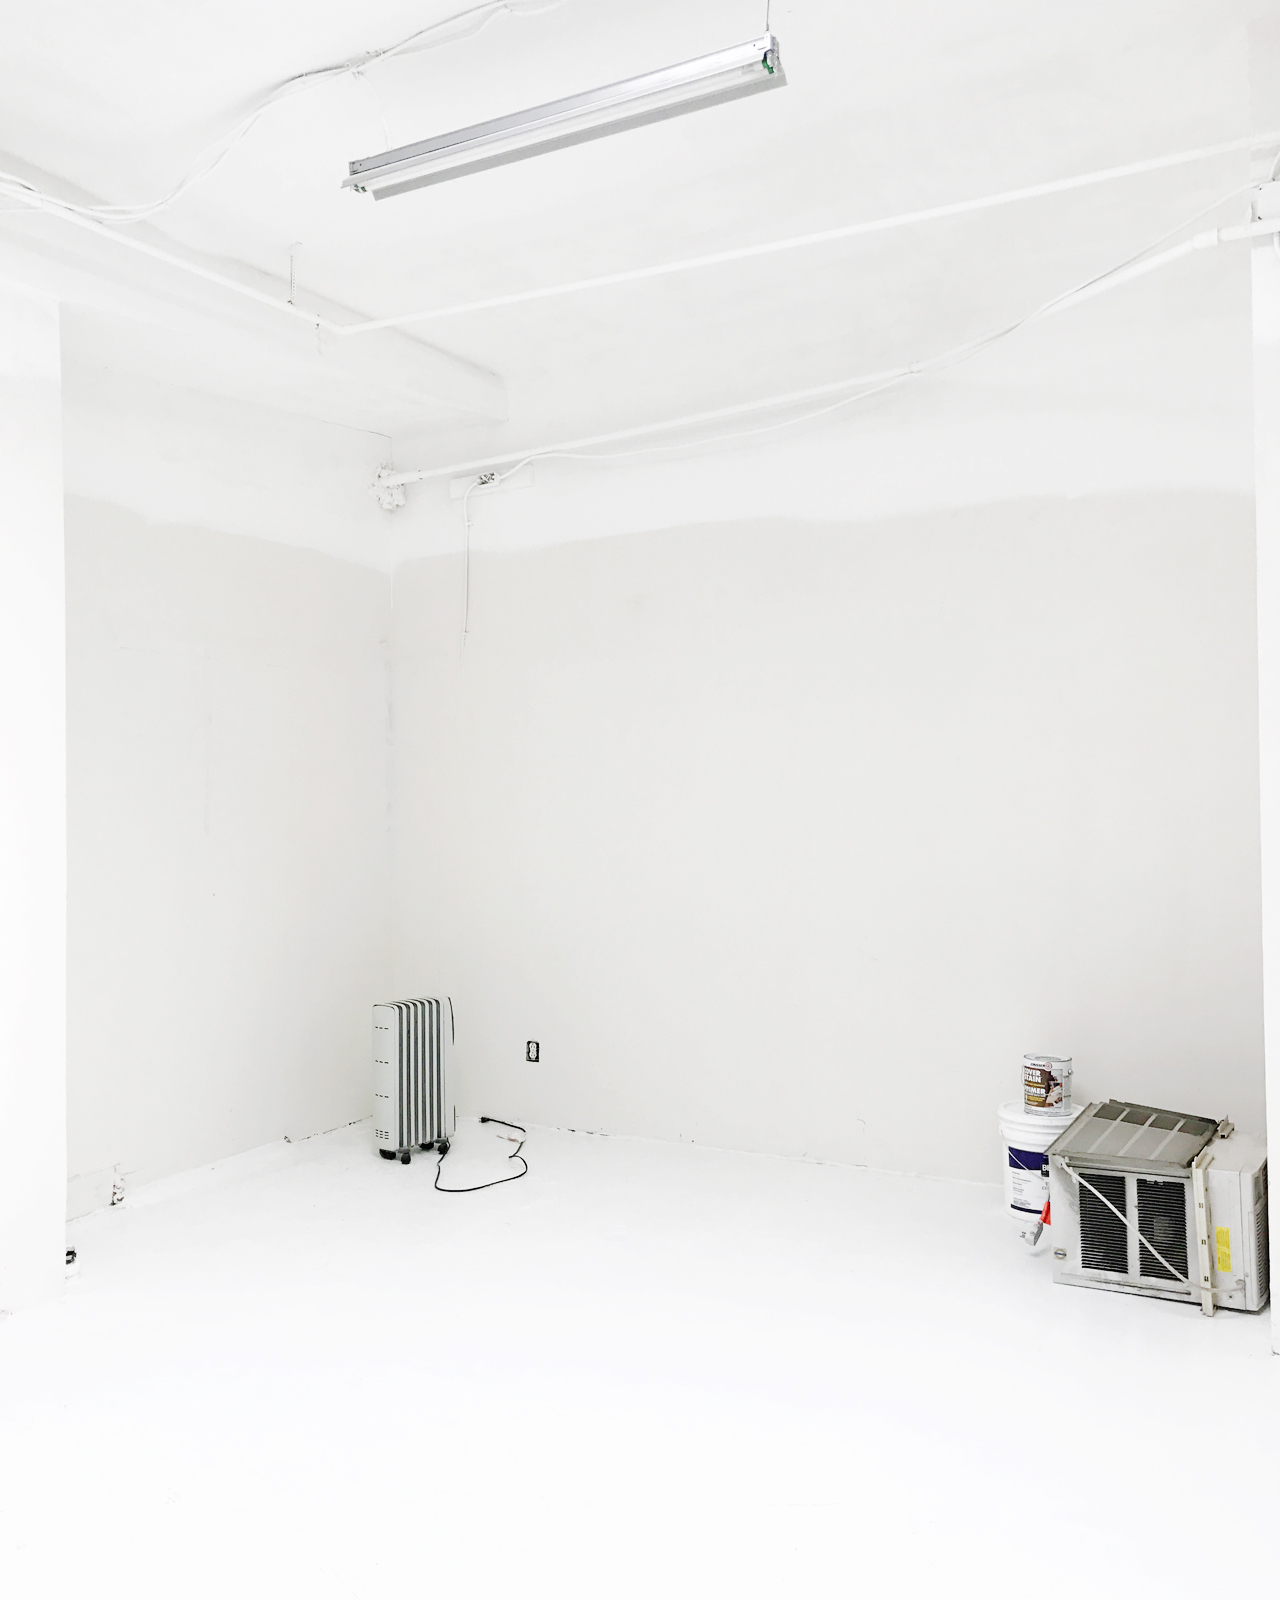
Our design studio is located in downtown Columbus, Ohio. It’s a space that I am very proud of because it is almost exactly how I’ve envisioned my dream space! We are in a very unique building that is zoned both commercially and residentially. This gave us the opportunity to have our own kitchen and bathroom, offering us the privacy that I knew I’d need in order to focus on the day-to-day! My favorite feature about this space is the large windows that bring in so much natural light, which is great for painting. Half the space is an open loft, and that’s where we spend most of our time. I love that this studio inhabits every step of the design process from painting the original artwork to designing the final product or design. I even had a custom table made by a talented local carpenter so that it would be large enough for us to host our workshopscreative meet-ups, and other events!

Behind the Stationery: Yao Cheng Design

My design process for wedding stationery is different from how I approach our product line in that I include sketches during the process. For custom bespoke work, I have an initial chat with the client to get a feel of the style and colors that they are looking for. Once I have some visuals to work from, I start sketching with a black pen different layout options of what I think would work. This is actually the most involved part of the design process because I am fully designing out multiple versions of the invitation suite so that all of the layouts and wording are in place before I move into painting. Once we have the layout and color palette approved, I will start painting and adding color in the pieces. It’s sort of magical to see something black and white come to life in watercolor! Designing wedding invitations requires this type of process because I want to make sure our bride can get a visual understanding through every step.

Behind the Stationery: Yao Cheng Design

Behind the Stationery: Yao Cheng Design

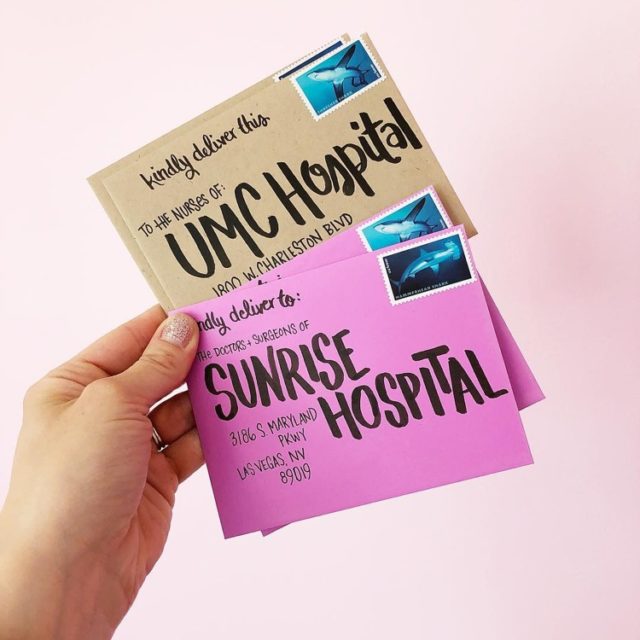
We really value working closely with our brides through every step of the process! Having planned my own wedding, I know how special and important this day is to each person. One of our most unique custom wedding pieces is my custom maps because the couple gets to highlight what they love about and around the place that they are getting married. I really enjoy creating each one of them because they are more illustration-based and different from the rest of my work. I also create the calligraphy script, making our invitations a complete package. Everything feels cohesive because I can match the calligraphy style to the feel of the entire suite. I think addressing envelopes might be my favorite part of wedding stationery, actually! It’s mindless and a different translation of my love for the free-flowing, fluidity of watercolor.

Behind the Stationery: Yao Cheng Design

However, outside of our wedding work, I take a different approach. First of all, I skip the sketching in black and white phase because I find it much more liberating and challenging to work when I am not really sure of where I am going. My work is very connected to the idea of intuition and improvisation. I like to respond and be in the moment with my paintings, and often find that this is where I find happy surprises! Watercolor, as a medium, lends itself very well to my approach of painting because of how quickly it dries. This allows me to paint fast, usually within an hour or two, and move on to the next idea. I am usually painting 3 different things at once because of this. I love this way of “sketch painting” because it takes away the expectation that this artwork will be the masterpiece. I am free to explore new ideas, expound on them or move on to another and not feel too attached. So in the end, I might make 3-4 painted versions of the final design. Once a piece is finished, we will scan them into the computer and then minimally edit it in Photoshop.

Behind the Stationery: Yao Cheng Design

One of my business struggles of this year has been ramping back up to speed from taking almost 6 months off for maternity leave. I am so grateful that we were able to keep everything running while I was gone, but I would have never expected the kind of challenges I’ve faced coming back. Having turned down many projects and going months without creating new work, I do feel like I “fell behind” in some ways. I have found the panic of feeling like we might not be relevant at any moment to be a common experience for small business owners! Still, it was a fear that became very real as my overhead increased with a studio space and payroll to run every month.

Behind the Stationery: Yao Cheng Design

Another daily struggle is learning how to be a good boss. Managing employees is not something I learned in art school, and it is definitely unique to each business. I’ve also had to learn not to allow my creative “monkey” brain to get side-tracked with all of the ideas that I think of in a day. This is definitely something I’ve recently learned and happens when you expand to more than just yourself. When it was just me, I didn’t have to plan my calendar out for the year — every product release happened when I had the time to get to it. After all, it was just me, so if it meant working longer days, I could do that. But now, strategies have to be made and clients are committed to far in advance because there are other people involved now. I can no longer just throw a curve ball last minute and think we can stay on schedule with everything else!

Behind the Stationery: Yao Cheng Design

The way my business is structured really reflects the person that I am. I am never satisfied with doing one thing, and I think my strongest work comes from doing multiple projects at once and allowing my ideas for each to bounce off of one another. I truly believe in the work that I do and see so many avenues that my watercolors can go, so it makes sense for me to have every product or project culminate in watercolor, but take on lives of their own.

Photos by Christa Kimble Photography except where noted.

Want to be featured in the Behind the Stationery column? Reach out to Megan at megan [at] ohsobeautifulpaper [dot] com for more details.

Happy Weekend

After a really tough week, I’m looking forward to a long weekend to rest and de-stress a bit. But first, exciting news! We’ve scheduled our first workshops at Common Room Studio! Michele of Meant to Be Calligraphy will be teaching her Introduction to Contemporary Pointed Pen Calligraphy and Introduction to Modern Brush Lettering classes on October 15 and November 19! You can sign up here and here.

Great Lakes Goods Peace Sign Wall Charm via Salt & Sundry

Image by Salt & Sundry

Also! A couple of folks have suggested sending thank you cards to the doctors, nurses, and hospital staff in Las Vegas – and I love this idea! If anyone can write a great thank you card, it’s paper people (aka you guys!). If you’re able to take a few minutes to write, here are the addresses:

UMC Hospital Las Vegas
1800 W. Charleston Blvd
Las Vegas, NV 89102

Sunrise Hospital Las Vegas
3186 S. Maryland Parkway
Las Vegas, NV 89019

Desert Springs Hospital Medical Center
2075 E. Flamingo Road
Las Vegas, NV 89119

Las Vegas First Responder Thank You Cards / Calliope Paperie

Calliope Paperie being awesome with her thank you cards!

Now for your weekend links!

Zappos is matching donations to Las Vegas victims, up to a million dollars.

Can teaching civics save our democracy? (YES!)

I neeeeeed this pink faux leather moto jacket – and it’s 40% off this weekend with code FALLFEST

Thank you so much to Washingtonian for writing about our vintage glassware – they even mentioned Common Room Studio!

I’m totally crazy for this crazy cat lady Halloween costume

Learn calligraphy and brush lettering with Meant to Be Calligraphy this fall

This embroidered sweater dress is really cute (and only $42!)

Such a cool DIY floral wreath made from plastic bottles!


This week on Oh So Beautiful Paper:

Printable postcards for writing to your Senator and Representative

New illustrated desktop and phone wallpaper for October!

Some of my favorite Halloween projects from years past

The oversize floral pattern in these modern Chicago wedding invitations make quite a statement!

Halloween cards!


That’s it for me this week! I hope you all have a wonderful long weekend, and I’ll see you back here next week! xoxo

Modern Botanical Chicago Wedding Invitations

I’m partial to oversize floral patterns in wedding invitations – they make such a fantastic statement in a wedding invitation! (If you haven’t already, you have to check out the botanical envelope liners on these invitations.) I love how designer Christina Egan Chang combined modern elements with classic florals in these modern botanical Chicago wedding invitations. The large scale (and negative space!) text over the oversized botanical print on the RSVP card? So good! What a fun modern twist on a botanical invitation suite!

Modern Botanical Chicago Wedding Invitations by Christina Egan Chang

From Christina: This was a fun save the date announcement and wedding invitation suite for an elegant September Chicago wedding! Lauren, the bride, is a stylish advertising agency account manager and Michael is a teacher and writer. The pair, both Chicago natives, met in Michigan while at college and became engaged after six years of dating. Lauren and Michael wanted to evoke the ambiance from their wedding venue within the invitation details, so their color palette of green, white, black, and silver was pertinent to the design.

Modern Botanical Chicago Wedding Invitations by Christina Egan Chang

Their wedding reception took place in an antique shop turned event space by night, so we selected a vintage botanical print featuring the same flowers in Lauren’s bouquet as a recurring element in the invitation suite. Their table centerpieces featured stacks of vintage books draped with green eucalyptus and various seasonal white blooms, a visual that was frequently referred to during the design process. We created a modern crest with their first initials to add some boldness to their effortless black and white invitations.

Modern Botanical Chicago Wedding Invitations by Christina Egan Chang

Modern Botanical Chicago Wedding Invitations by Christina Egan Chang

Lauren and Michael opted for traditional letterpress printing on their wedding invitation. To balance out the cost of letterpress printing, we transformed the vintage botanical print multiple times, rather than purchasing additional botanical prints. Most noticeably the leaves from the print were trimmed out and reconstructed into a leaf composition for the envelope liners and front of the RSVP card. Lauren wanted a strong use of green for the envelope liner to contrast with the crisp white envelope, so this made for an excellent solution.

Modern Botanical Chicago Wedding Invitations by Christina Egan Chang

A fold over map card was included for traveling guests along with wedding details and favorite places to visit in Chicago. Lauren and Michael initially explored script fonts, classic serif fonts, and calligraphy – but ultimately opted for a modern sans serif font on their invitation suite. This type selection perfectly rounded out their personal style: an appreciation for styles of the past, combined with a love for modern and mid-century design.

Modern Botanical Chicago Wedding Invitations by Christina Egan Chang

Thanks Christina!

Design: Christina Egan Chang

Printing: Steracle Press

Check out the Designer Rolodex for more tal­ented wed­ding invi­ta­tion design­ers and the real invi­ta­tions gallery for more wedding invitation ideas!

Photo Credits: Christina Egan Chang

DIY Matisse-Inspired Cut Paper Garland

Today we’re all about playful cut paper shapes and a citrus-inspired color palette! When Fiskars asked me to create something to help them celebrate the 50th anniversary of their famous Original Orange-handled Scissors, I knew I needed to come up with something really special. I’ve been wanting to do a project inspired by the Matisse cut outs for a while now, and this was the perfect opportunity! You can make this DIY Matisse-inspired cut paper garland to create a colorful statement piece for any party — layer several garland pieces behind the bar or cake table for indoor parties, or drape between trees to add some color for a backyard get-together!

DIY Matisse-Inspired Cut Paper Garland

DIY Matisse-Inspired Cut Paper Garland

Using the iconic bright orange color of the scissors as my starting point, I chose a citrus-inspired color palette of orange, coral, peach, yellow, pink, magenta, mint green, and aqua. These colors are SO fun and work really well together, but you can use pretty much any color palette for this project. I recommend using at least 5-8 colors to give yourself enough variety within the garland (I ended up going slightly overboard and using twelve different color papers). BTW – did you know that the scissors were originally intended to have black, red, and green handles?? I’m so glad they stuck with the orange, which actually came about from a happy coincidence when a prototype was made with orange plastic leftover from a juicer!

DIY Matisse-Inspired Cut Paper Garland

I honestly can’t imagine my life without the Orange-handled Scissors. Fiskars has been part of my life as long as I can remember, starting with the Blunt-tip Scissors when I was a kid and now the Orange-handled Scissors as an adult. I can always count on my Orange-handled Scissors for a sharp edge and precision cut, which is especially important for DIY projects! This garland involves quite a bit of cutting, so I’m especially grateful for the ergonomic handles and sharp blades that cut all the way to the tip. They even managed the tight curves and tiny details of these Matisse-inspired shapes without a single problem!

DIY Matisse-Inspired Cut Paper Garland

The inspiration for these shapes came from this amazing book all about the Matisse Cut-Outs. Holy color and pattern inspiration! I chose a few favorite examples from the book, drew the shapes by hand on a piece of paper, and created three botanical designs and two geometric designs to use in the garland. The Matisse-inspired cut paper shapes are layered onto semicircle bases that drape and hang beautifully once the entire garland is assembled. Let’s get started!

DIY Matisse-Inspired Cut Paper Garland

Supplies

Original Orange-handled Scissors

Printable template

Card stock in 5-8 different colors (I used orange, coral, peach, light pink, bubblegum pink, magenta, aqua, mint green, and four shades of yellow)

Craft Mat

Ruler

Bone Folder

Artist-tac adhesive or glue stick

School glue (optional, but useful for smoothing edges)

Three-piece eyelet setter set (to punch holes for hanging)

Twine

Double-sided tape or hot glue

DIY Matisse-Inspired Cut Paper Garland

To make the DIY Matisse-inspired cut paper garland:

Step 1. Download our printable template and print onto card stock in your chosen color palette. For most of the designs, you can get both the half-circle shape and smaller shapes from a single sheet of card stock, but there are a few of the larger cut paper shapes that needed to be on their own sheet of paper. The total amount of paper you’ll need depends on the total length of your garland, but I printed 4 or 5 of each template on different colors of card stock to create approximately 20 feet of garland.

Step 2. Use your Orange-handled Scissors to cut out all of the shapes, including the semicircle base shape. Don’t worry too much about getting perfectly smooth edges on all the shapes – the hand cut nature of the shapes is part of the charm of this garland! Depending on the length of your garland, this can take a while, so I highly recommend doing this while binge-watching your favorite tv show.

DIY Matisse-Inspired Cut Paper Garland

Step 3. Use your three-piece eyelet setter set to punch a small hole at either end of each semicircle base shape. This is eventually where you will run a piece of string or twine to hang the garland. Using a ruler and bone folder, score a straight line approximately half an inch from the edge of each semicircle base shape and fold the paper down along the scored line.

DIY Matisse-Inspired Cut Paper Garland DIY Matisse-Inspired Cut Paper Garland

Step 4. Before we start gluing shapes down, I recommend taking a few minutes to lay everything out and decide which colors you want to layer together. Once you have all of your garland pieces laid out, it’s time to glue the cut paper shapes to the semicircle shapes! You can use a glue stick for this process, but using these Artist-tac adhesive sheets makes the process soooooooo much faster. Just peel back the adhesive film and lay the cut paper shapes on the sticky adhesive sheet. Press the shapes onto the sheet, replace the film, and burnish the shapes on the adhesive sheet. When you peel the shapes off the adhesive sheet, the adhesive will stick to the back of the shape to create a sticker. Arrange the sticky cut paper shapes on your semicircle card stock and press down until all edges have adhered. If you have any problematic edges, you can smooth them down with a dab of school glue.

Step 5. Once you’ve assembled all of your individual garland pieces, run a length of twine through the holes on the back of the garland so that the twine is hidden under the folded part of the paper. Use double-sided tape or hot glue to adhere the folded part of the paper to the back of the semicircle so everything lays flat. Continue until your garland is long enough for your space, then hang and enjoy!

DIY Matisse-Inspired Cut Paper Garland

DIY Matisse-Inspired Cut Paper Garland

DIY Matisse-Inspired Cut Paper Garland

DIY Matisse-Inspired Cut Paper Garland

DIY Matisse-Inspired Cut Paper Garland

DIY Matisse-Inspired Cut Paper Garland

Raise your hand if you also grew up using Fiskars scissors – I want to hear your Fiskars Orange-handled Scissors story! Perhaps it’s a memory of the first time you used the Orange-handled Scissors? Or a favorite craft project made using the iconic scissors? Help us celebrate the 50th anniversary by sharing your story in the comments below!

DIY Matisse-Inspired Cut Paper Garland

For more information on Fiskars crafting products, check out their website and learn how they’re celebrating the 50th anniversary of their iconic Orange-handled Scissors – or follow Fiskars on Facebook, Twitter, Instagram, and Pinterest!

DIY Matisse-Inspired Cut Paper Garland

Photo Credits: Nole Garey and Yetta Reid for Oh So Beautiful Paper

This post was created in partnership with Fiskars. All content and opinions are my own. Thank you for supporting the sponsors that make Oh So Beautiful Paper possible!

9 Years of OSBP + Introducing Common Room Studio!

Write Your Own Story / Frankie's Girl

Today Oh So Beautiful Paper turns 9 years old! And earlier this week, I turned 36 years old! I never could have imagined what a wild and beautiful adventure lay ahead when I published my first post nine years ago. I started Oh So Beautiful Paper just three and a half months after my wedding; my husband saw that I was in need of a post-wedding project, so he suggested that I start a blog. I was still working on a diplomacy career at the U.S. Department of State, so Oh So Beautiful Paper was initially my creative outlet and a way to share my love of stationery and wedding invitations with anyone who might listen. You can read more about my story right here, but even after nine years of blogging and seven years of self-employment I still can’t quite believe that I get to wake up and do this every day!

As excited as I am to celebrate NINE years of OSBP, I have even more exciting news to share: we’re opening a brand new studio space in Alexandria, Virginia called Common Room Studio! It’s going to be part photography studio and part workshop space, and I can’t decide if I’m more excited to finally have a space to produce some larger scale DIY and cocktail party shoots or to have a space where I can host people and engage more with my local community. We’re planning everything from calligraphy and watercolor workshops to cocktail classes. Common Room Studio will also be available to rent if you’d like to host your own photo shoot or workshop here! It’s going to be so fun!

Introducing Common Room Studio

Common Room Studio is on a quiet street in the Potomac Yard neighborhood of Alexandria, just a few minutes north of Old Town Alexandria. Our building is more than 100 years old and was originally built as a cafeteria for the workers in neighboring businesses, so it has an industrial vibe with a very open floor plan – which is both super rare in DC and perfect for me! I feel so lucky to have found this space after looking on and off in DC for nearly four years! We’ve been working on building out the inside of the studio for the last few months, and I thought I’d share some of the before photos and some of the progress we’ve made so far!

So here’s what the studio looked like the very first time I walked in:

Common Room Studio: Before

Common Room Studio: Before

Common Room Studio: Before

Common Room Studio: Before

In rough shape, but with lots of potential. I know it’s hard to get a sense of the layout from these photos, but the studio is around 1,000 square feet divided into two rooms. The front room (with the glass block window) is the smaller of the two rooms, but is still quite large with plenty of room for an entry space/sitting area and a small photo bay. There is a doorway into the larger second room, which contains our large photo bay, the kitchenette, bathroom, and our workshop space – all of which gets tons of beautiful and bright natural light from a large skylight!

The first thing I asked my contractor to do was tear down the 1960s-era drop ceiling and paint everything – floor and walls – a bright white (Extra White by Sherwin-Williams). Here’s what the studio looked like after taking out the drop ceiling and painting the floor:

Common Room Studio: Progress

Common Room Studio: Progress

Common Room Studio: Progress

Common Room Studio: Progress

Better, but after taking out the drop ceiling we found old water damage in the ceiling drywall, some old fluorescent lights, and random old pipes and wires. I’m planning to embrace the industrial vibe of our space, but we still needed to clean things up a bit. So we took everything down and put up brand new ceiling drywall and cleaned up the pipes and wires:

Common Room Studio: Progress

Common Room Studio: Progress

We also added a fun band of light pink (Alyssum by Sherwin-Williams) in the workshop space and painted the back door in the same shade of pink. Here’s what it looked like a few weeks ago, just before our furniture arrived:

Common Room Studio: Progress

That’s about as much as I can show you for now! I can’t wait to share more about Common Room Studio in the coming weeks – including my design plans for the entire space! And I’m so excited to finally start shooting some projects in our new space and sharing those images with you. In the meantime, if you’re in the DC area or interested in attending a future workshop at Common Room Studio, you can sign up for our monthly newsletter right here!

Thank you so much for following along for the past eight years and as my business continues to evolve and grow. I’m so grateful for all of you! I know this 9th year of Oh So Beautiful Paper will be the best one yet. xo

*A big thanks to our friends at Sherwin-Williams for providing all the paint for the studio! Painting everything white made SUCH a huge difference, and I love the pop of bright pink in our workshop space!