Behind the Stationery: Heartell Press

I’m so excited to introduce our first hand-carved woodblock designer that we’re featuring on the Behind the Stationery column! Rachel from Heartell Press is here to take us through her processes – from the intricacies of designing and carving each block, to growing her business, to ensuring her team is self-sufficient enough for her to take some time to adjust to being a new mom. She started Heartell Press in Brooklyn, but has since moved to Indiana with her husband and into a beautiful spacious studio. Here’s Rachel! —Megan Soh
Behind the Stationery: Heartell Press

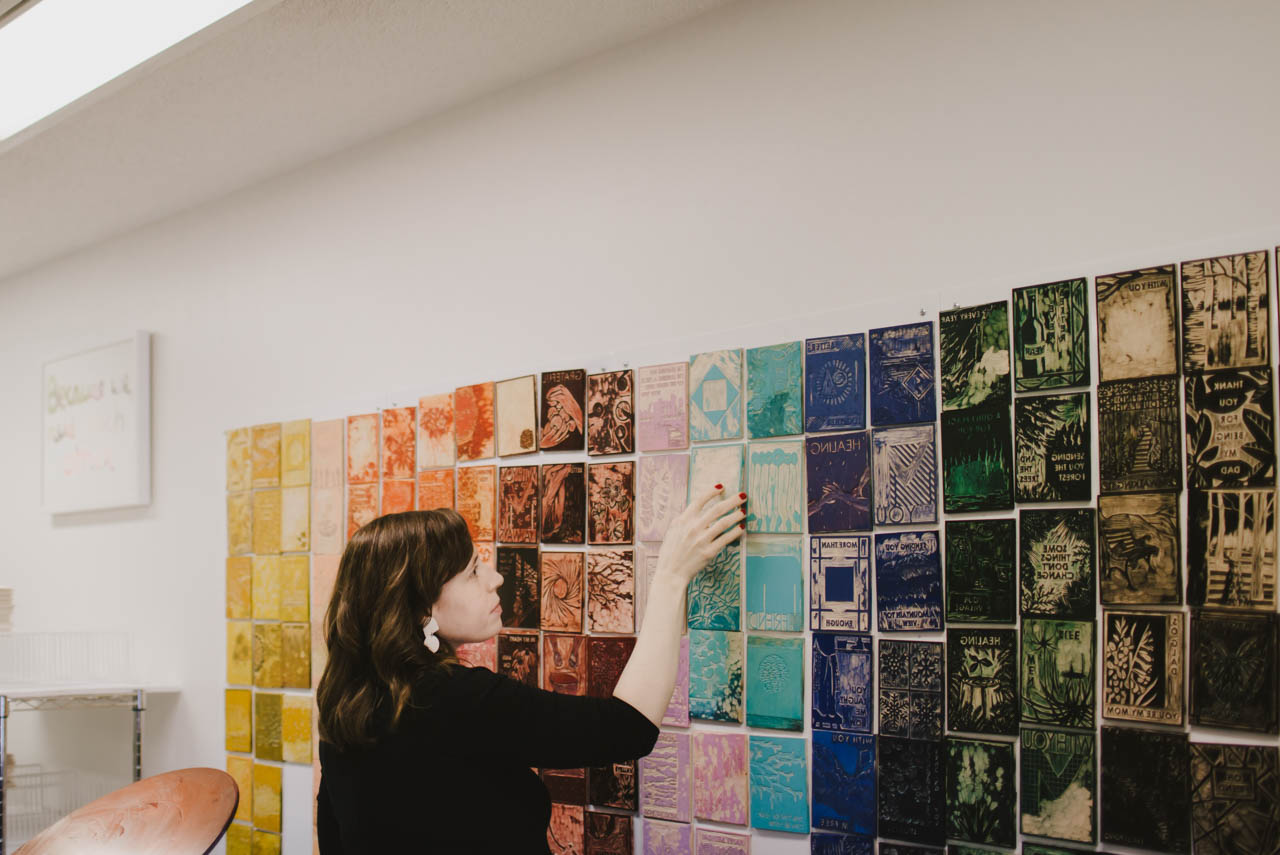
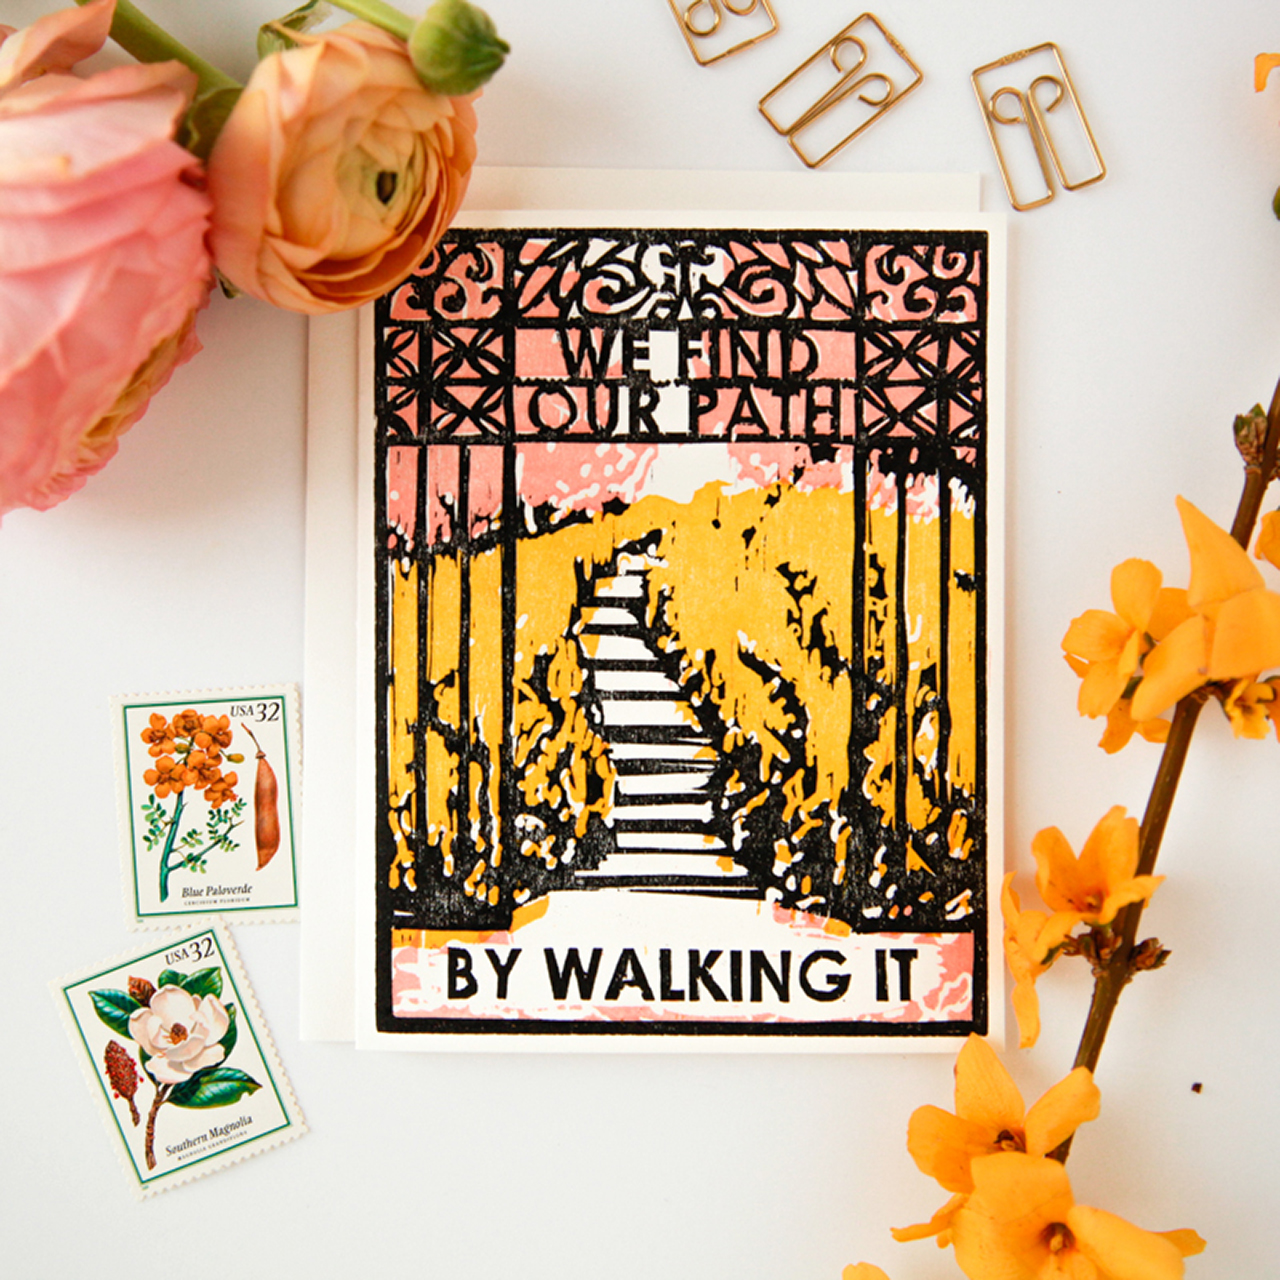
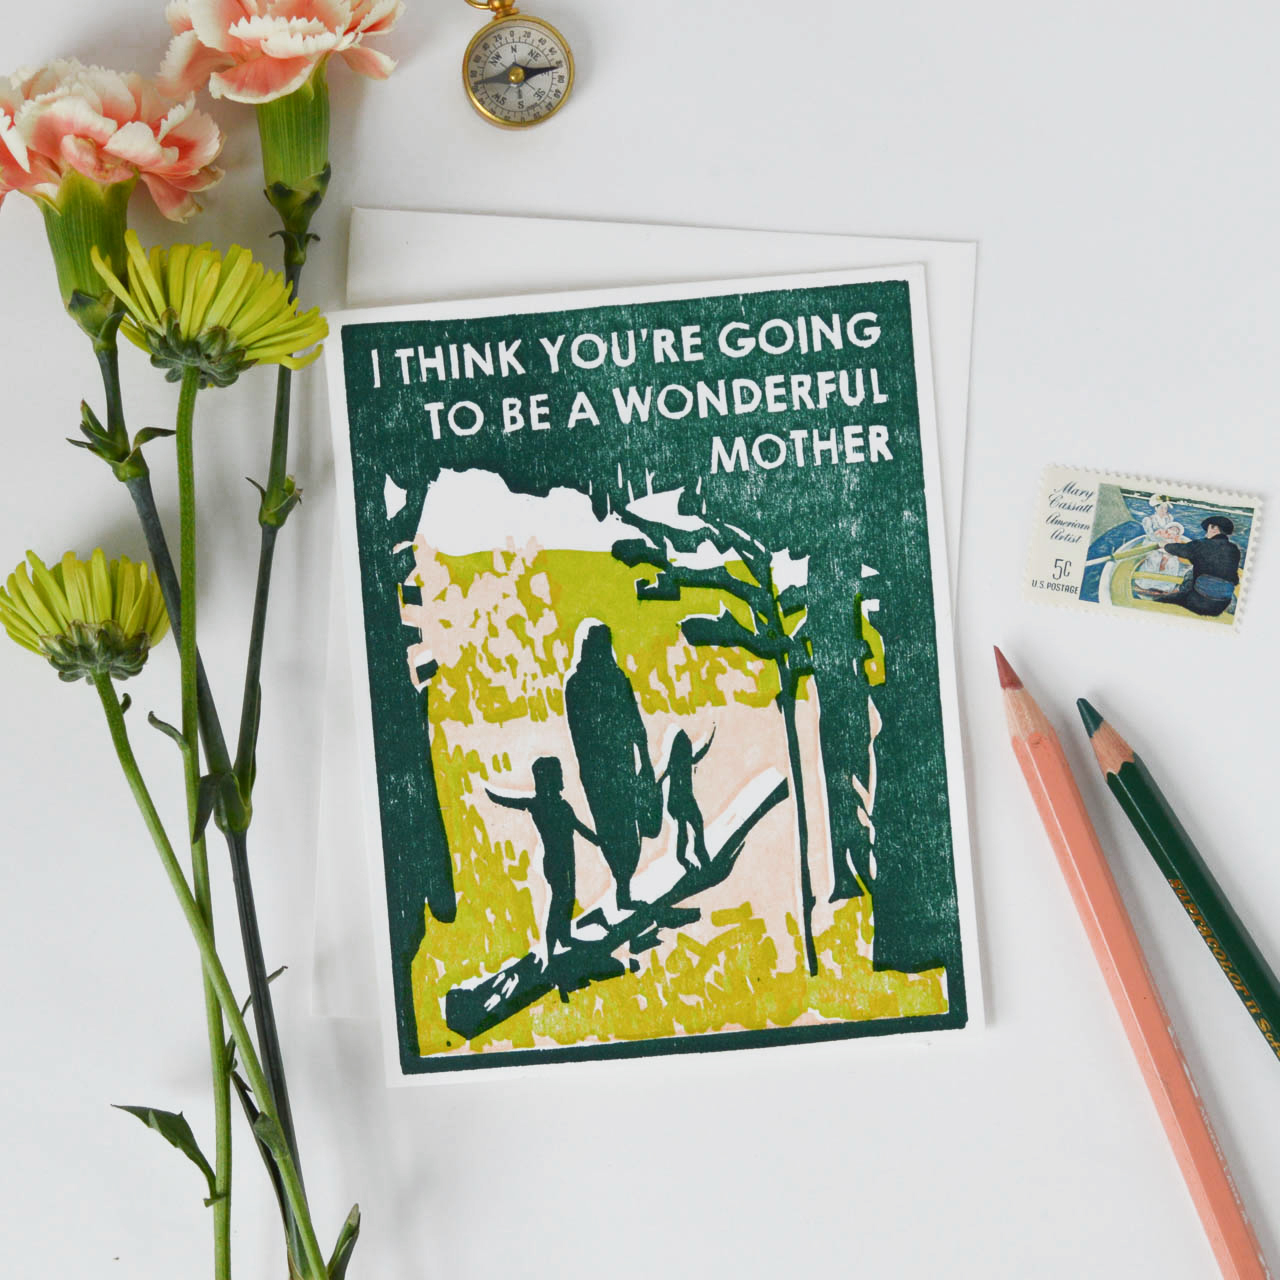
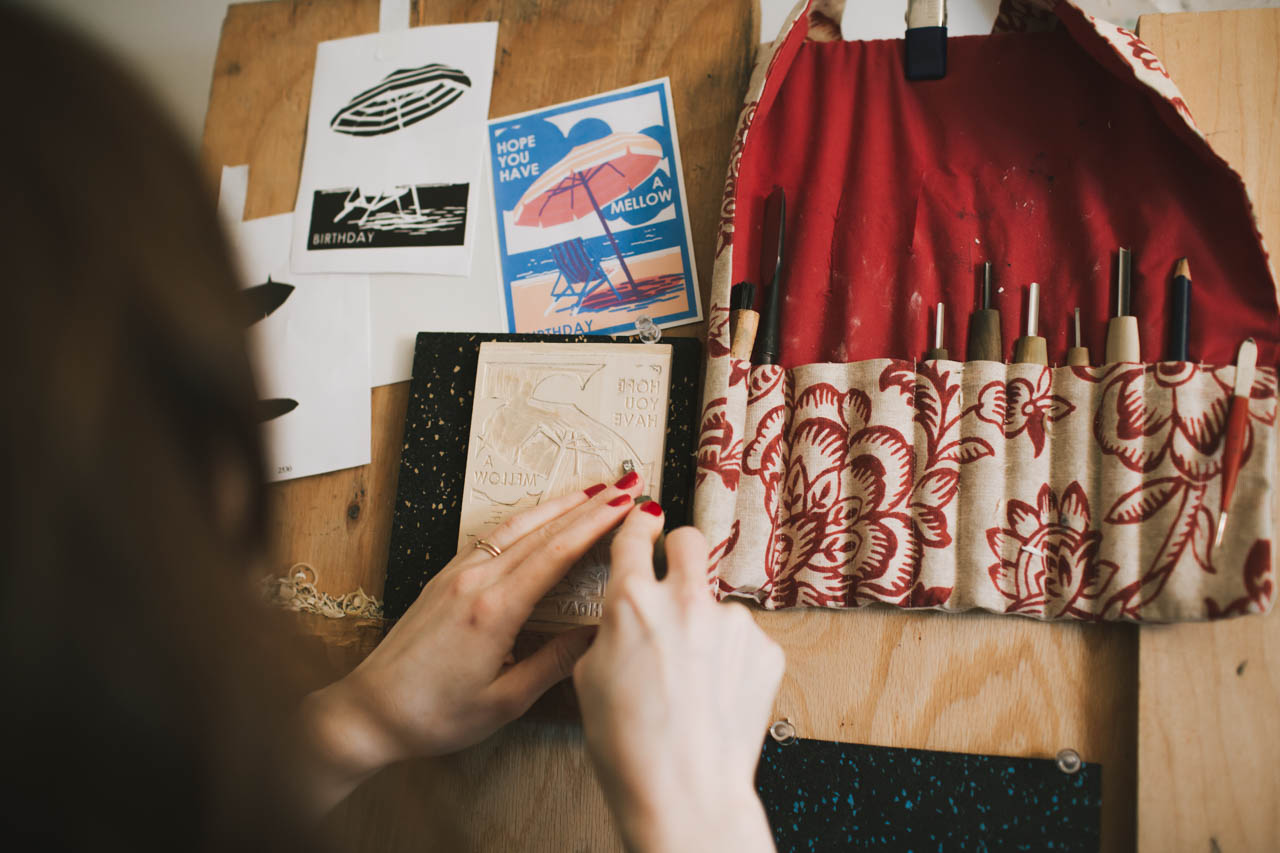
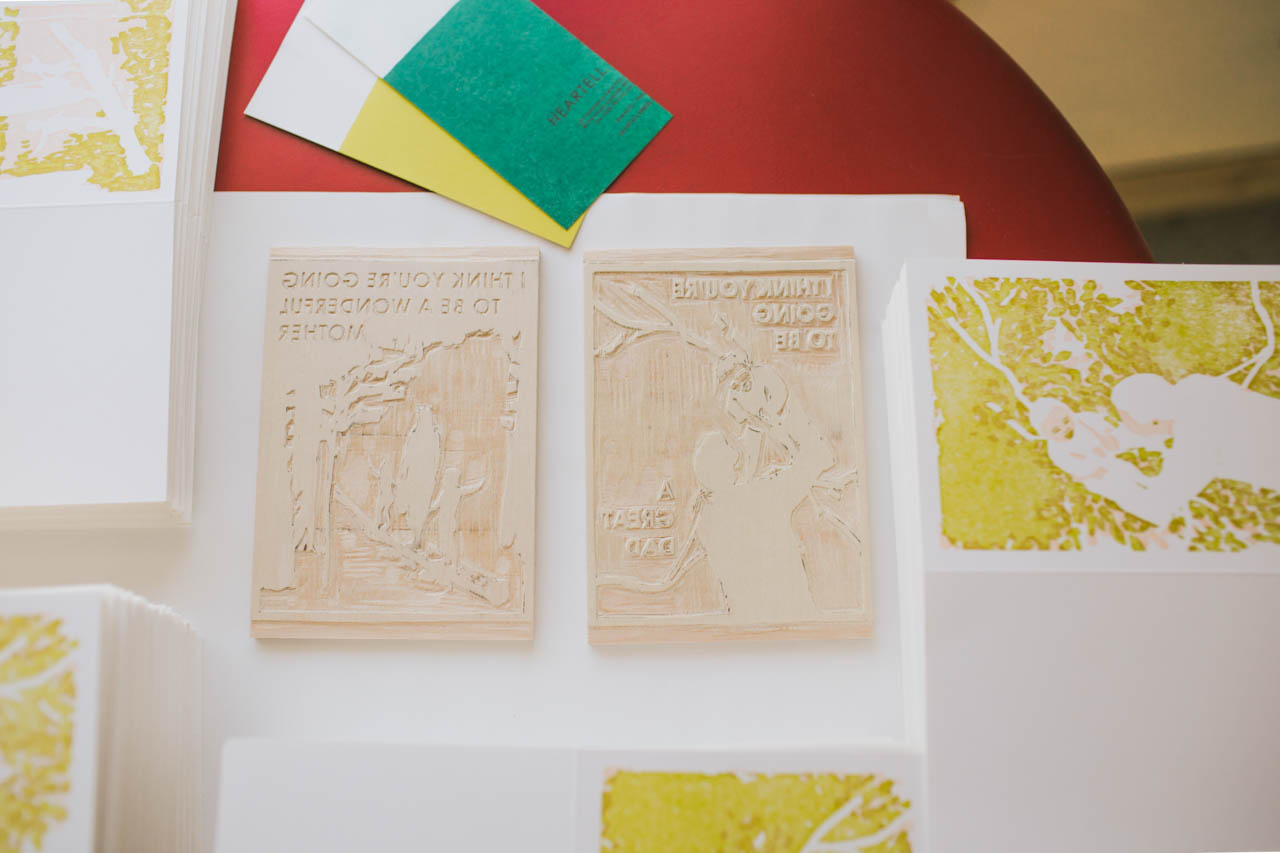
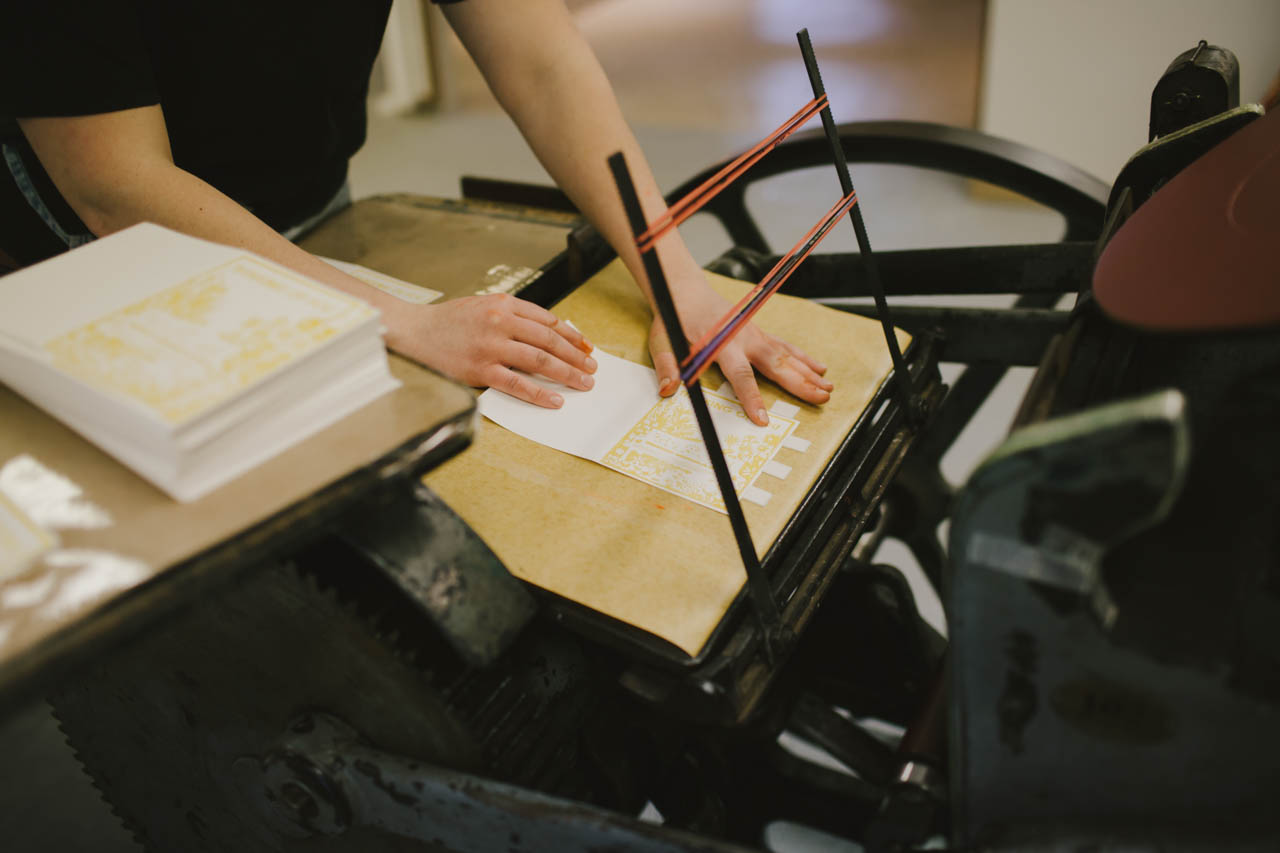
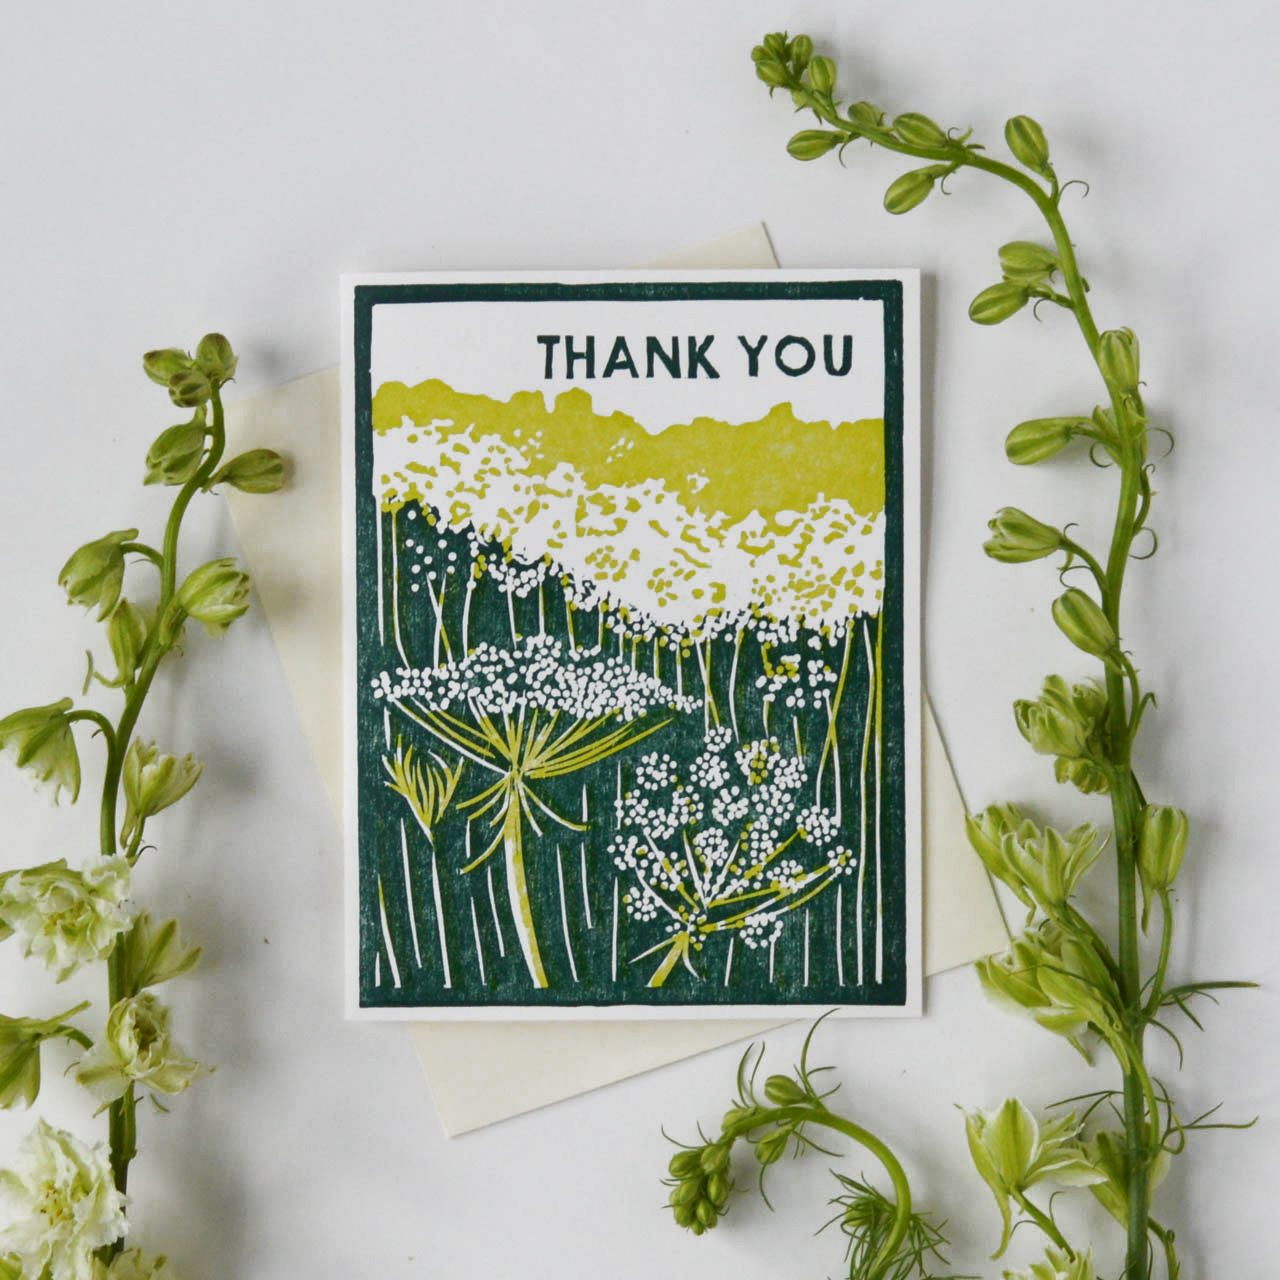
From Rachel: Heartell Press cards are printed from hand-carved woodblocks. Woodcut was always my favorite of the printmaking processes, and the folksy look of the carved images and the organic textures created by the woodgrain are a good fit for our warm, sincere designs and messages. There are great designers who use linoleum blocks (Katharine Watson, Ghost Academy, and Kaibelle Designs are my favorites), but as far as I know we are the only line printed from wood. It has taken lots of trial and error to learn to print our blocks consistently and at scale using letterpress equipment, but I think our customers appreciate that each card is truly handmade on every level.
Behind the Stationery: Heartell Press

The carving is time-consuming, especially because each color we add to a design means carving a separate block. I’m always working on ways to preserve the look and feel of what we make while streamlining the process for producing our products. For the new spring collection we’re working on now, I’m carving the key block — the part of the image that has the most detail and information — and experimenting with photopolymer plates to add lots of additional color. I’m excited because if it works we’ll be able to release new cards with lots of color and add new types of products to our line more frequently while still offering cards and prints that are true to the Heartell aesthetic and unique in our industry.
Behind the Stationery: Heartell Press

My path to stationery was long and winding. It took doing a lot of the wrong things to find the right thing. I went to grad school twice, first to earn an academic degree in religion and art history from Yale Divinity School and then an MFA in printmaking from the School of the Art Institute of Chicago. After I finished school in 2009, I moved to New York and cobbled together a living with multiple part-time jobs. I worked in a church, as a nanny, and eventually ran a non-profit. All the while I was renting a (super expensive and tiny) art studio in Gowanus, Brooklyn, and trying to squeeze in as many hours per week there as possible making paintings and prints. I had a few shows in Brooklyn and Manhattan, but it was tough trying to build an art career and pay rent in New York.
Behind the Stationery: Heartell Press

In 2012 my mom was diagnosed with cancer, and that experience made me question the chaotic existence I was living and inspired me to find a way to do the creative work I love full time. Since I was having a hard time finding sympathy cards that I liked enough to send to my mom between visits, I started having ideas for making my own cards. People in my life and my community in Brooklyn were responding to them in a way that made me think there might be something there.
Behind the Stationery: Heartell Press

I began to look more closely at the stationery industry, and when I discovered that there was a wholesale market for handmade stationery, especially at the National Stationery Show (through the OSBP blog!), the idea for Heartell Press was born. I did research and worked on developing my line and launched the website in 2014. I exhibited for the first time at NSS in 2016 and that is when the wholesale part of Heartell took off and I was able to leave my day jobs and focus on the business full time.
Behind the Stationery: Heartell Press

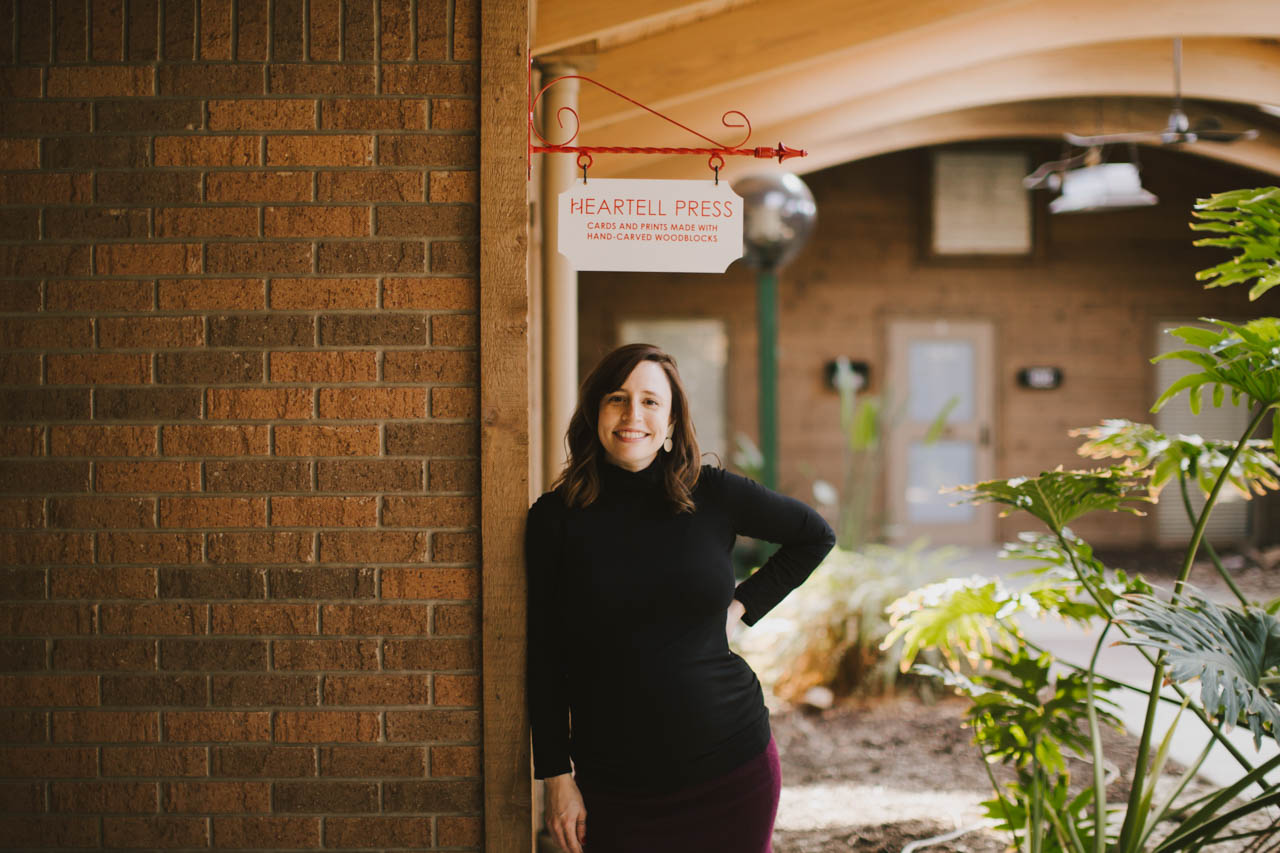
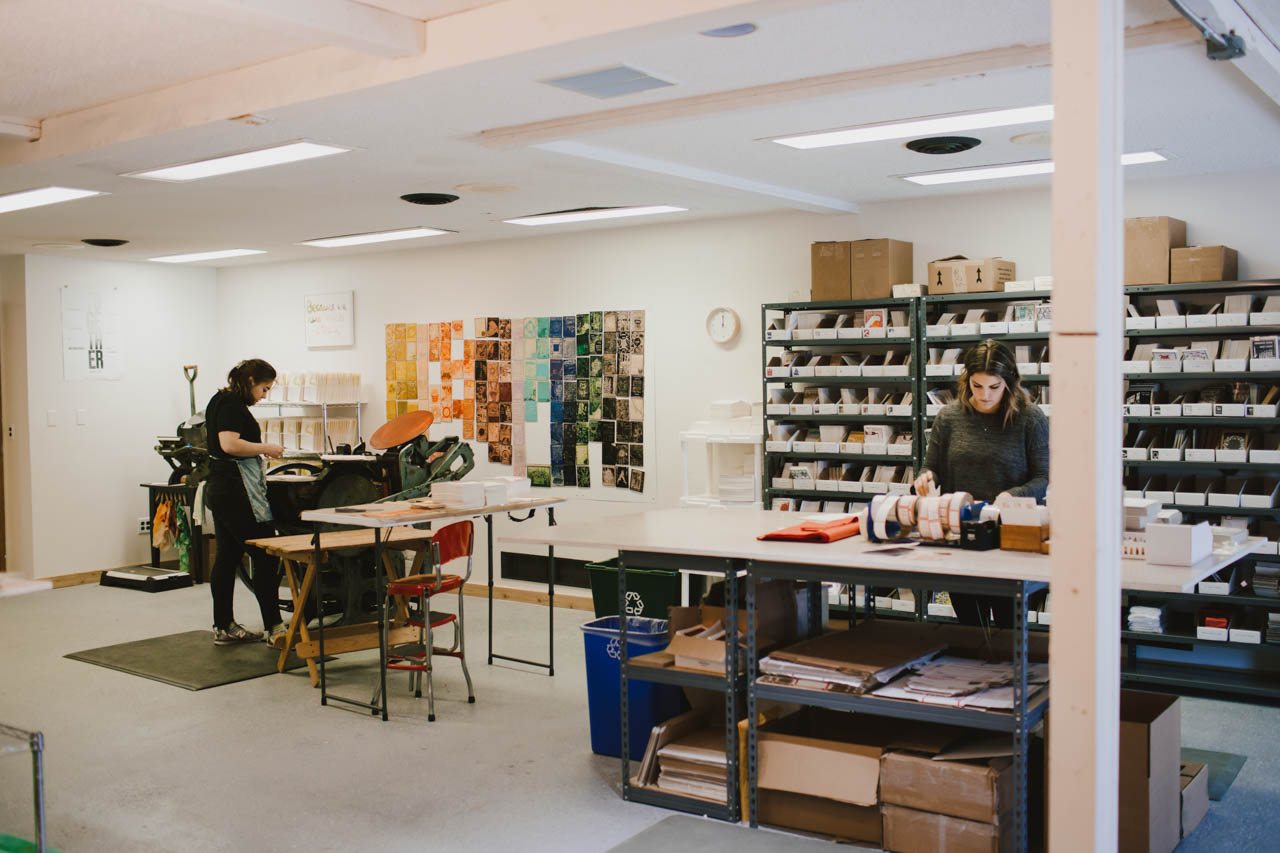
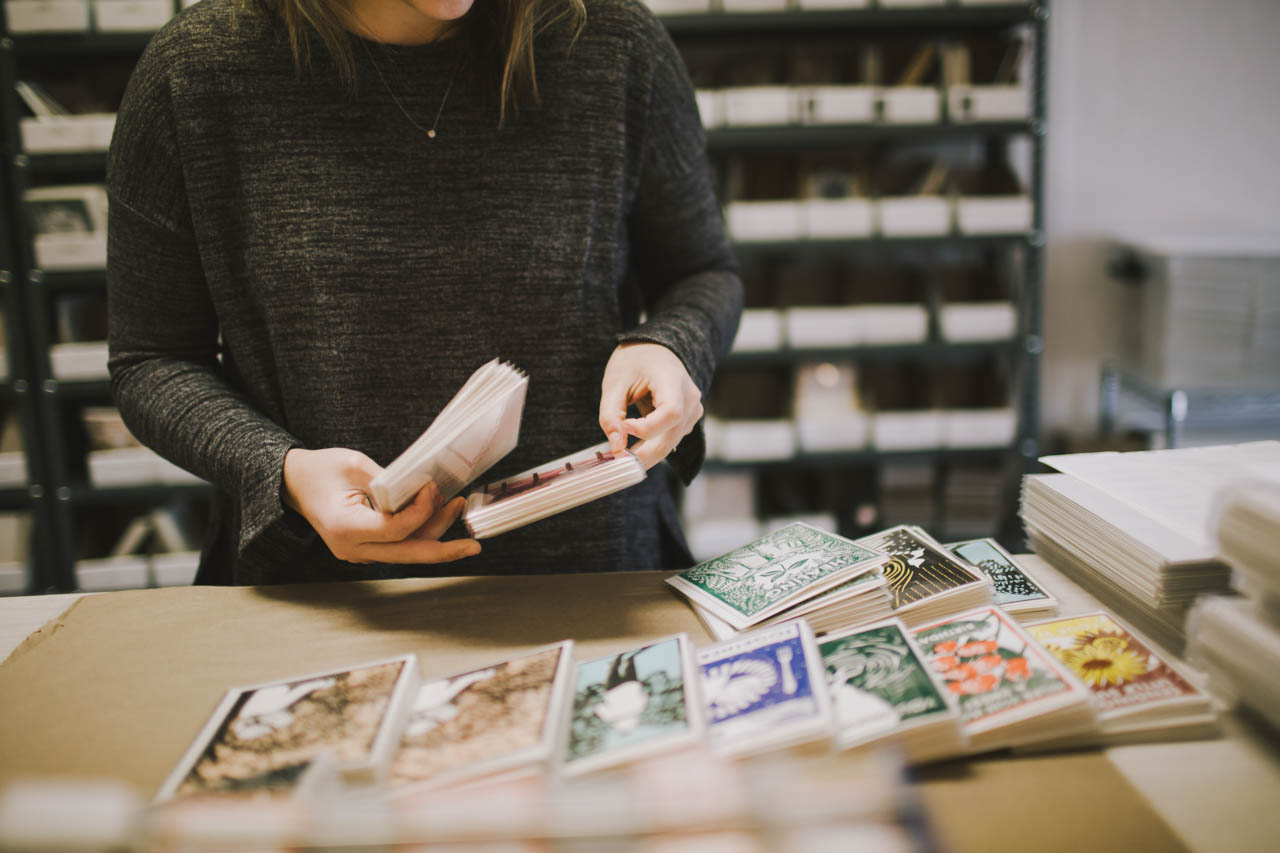
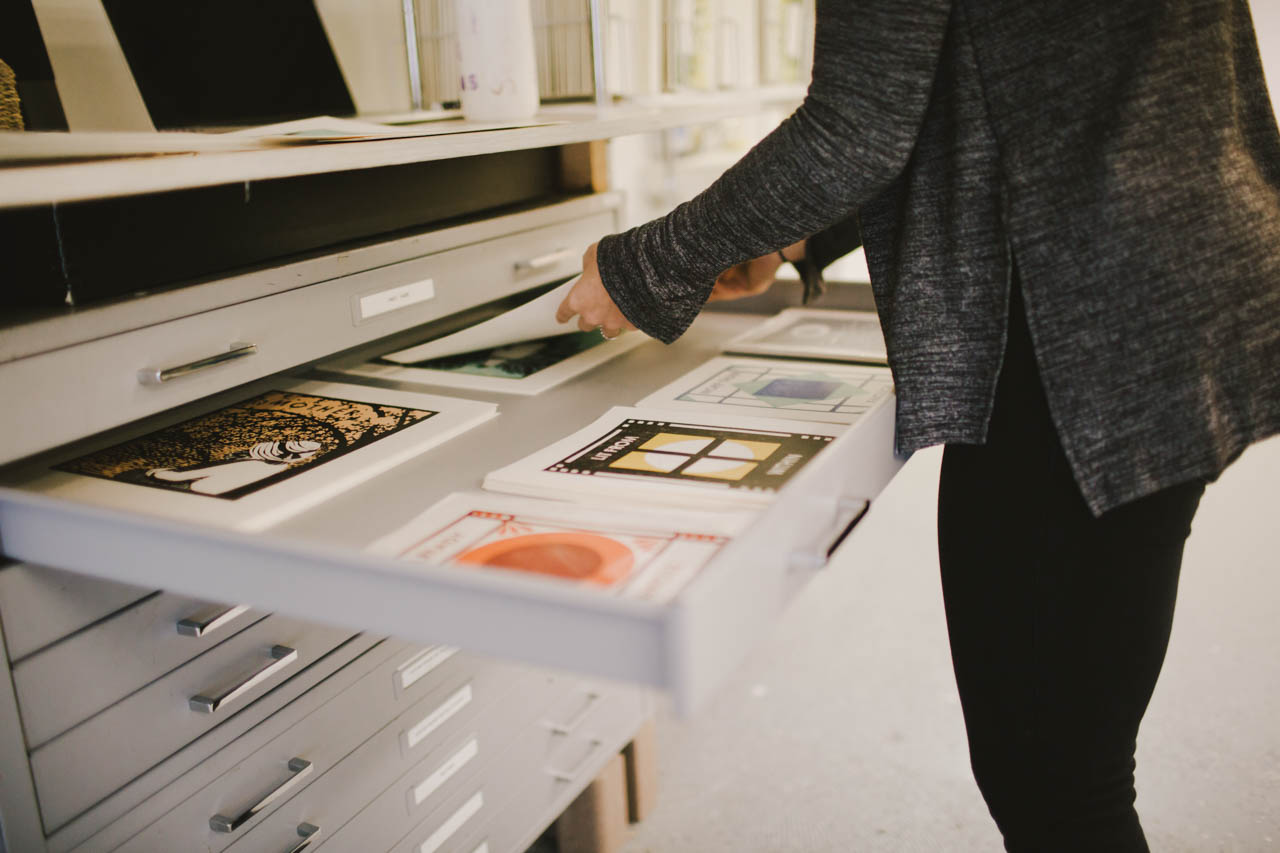
In 2016, my husband and I decided to leave Brooklyn and move to Fort Wayne, Indiana, where he grew up. The move has been great for us and for Heartell, giving me lots more time and space to devote to it. In November 2017, we moved the business into a new studio space here in Fort Wayne. It is two-thirds less expensive than the space I rented in Brooklyn and eight times bigger! We have room for our presses, including a new (to us) 10×15 Chandler and Price that we added to our shop when we moved, as well as inventory, a shipping and fulfillment space, office space for me to do my designing and carving, and plenty of storage. The building has a beautiful atrium full of tropical plants that is like a greenhouse, and I love being able to walk around it when I need to think or stretch after lots of drawing or carving.
Behind the Stationery: Heartell Press

Heartell designs start with bits of text or images that I collect in lists for each card and product category (I use Trello for organizing all my lists, plans and tasks). My best cards are inspired by experiences I’m having in my own life and relationships. The earliest Heartell cards are all sympathy, love, and encouragement cards that I made when my mom first got sick. It will be pretty obvious when the new collection comes out that many of the designs I’m working on now have been inspired by the experience of being pregnant (and also watching friends and family members who have had children).
Behind the Stationery: Heartell Press

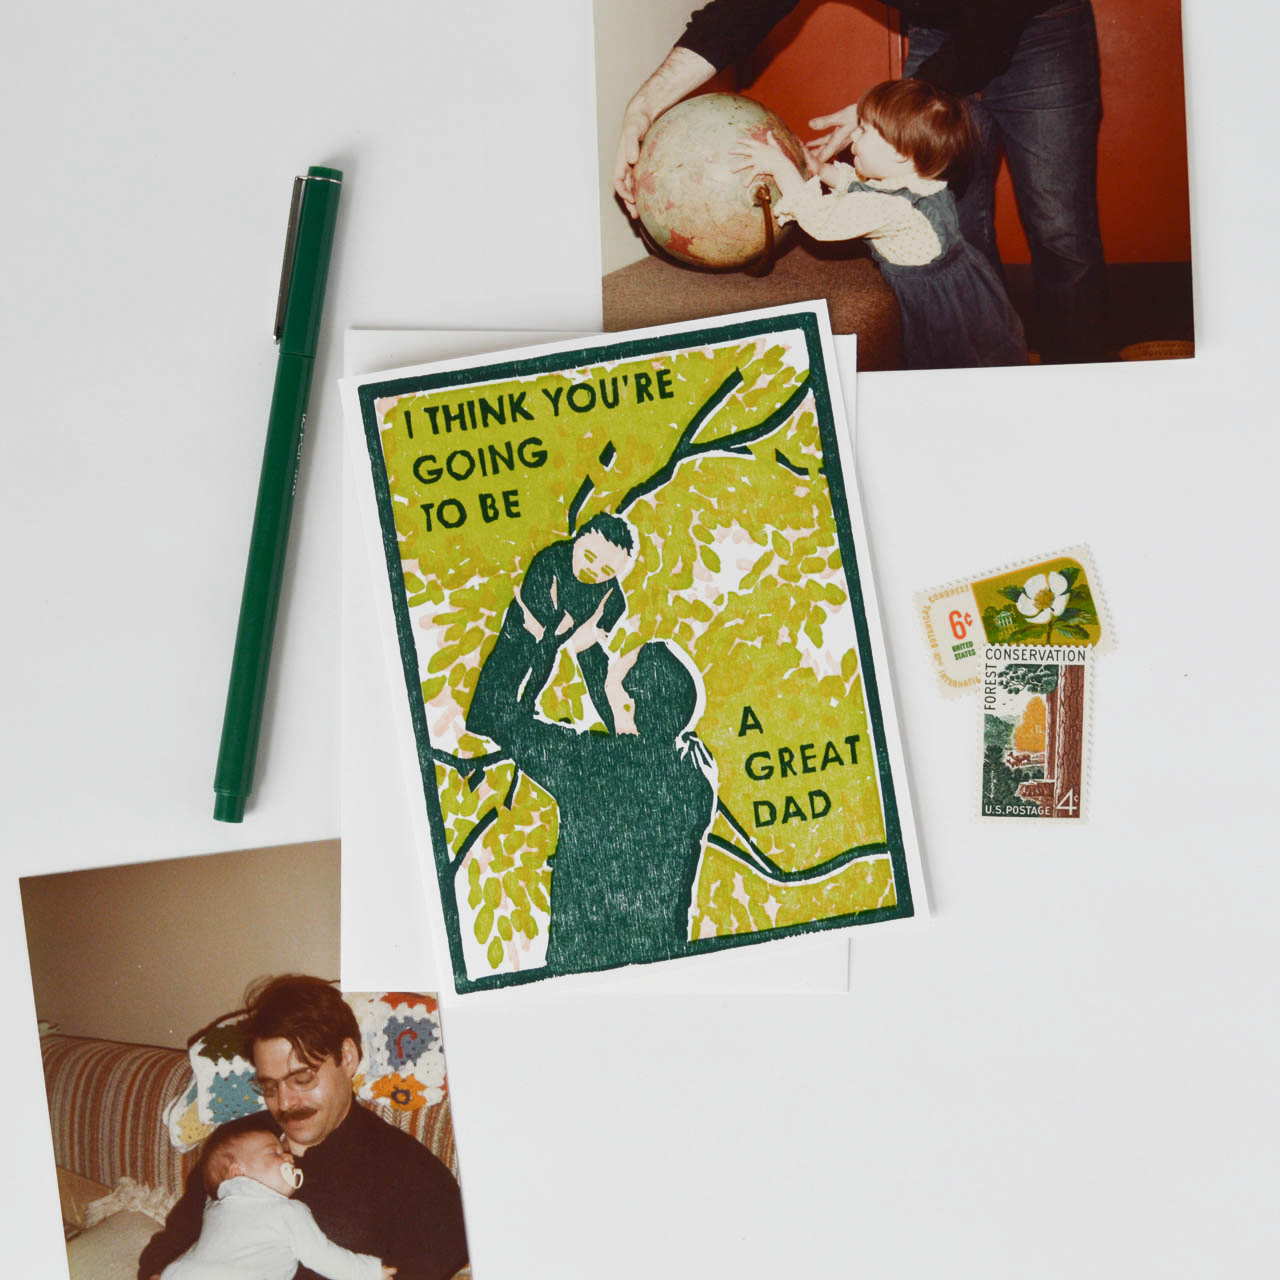
I try to make cards that I would genuinely want to give or receive. There are lots of funny cards right now about all the (sometimes unwelcome) changes that come when you have a baby, like having to deal with tons of poo, and those definitely serve an important purpose in the process of preparing to be a parent. Funny isn’t really my forte though, and I tend to swing toward more sincere, emotional messages. When I do retail markets I almost always have a customer tear up at my booth at some point during the event. I’m not sure if making people cry is something I should be proud of but I’m glad that I’ve found a way to put all my feelings to good use!
Behind the Stationery: Heartell Press

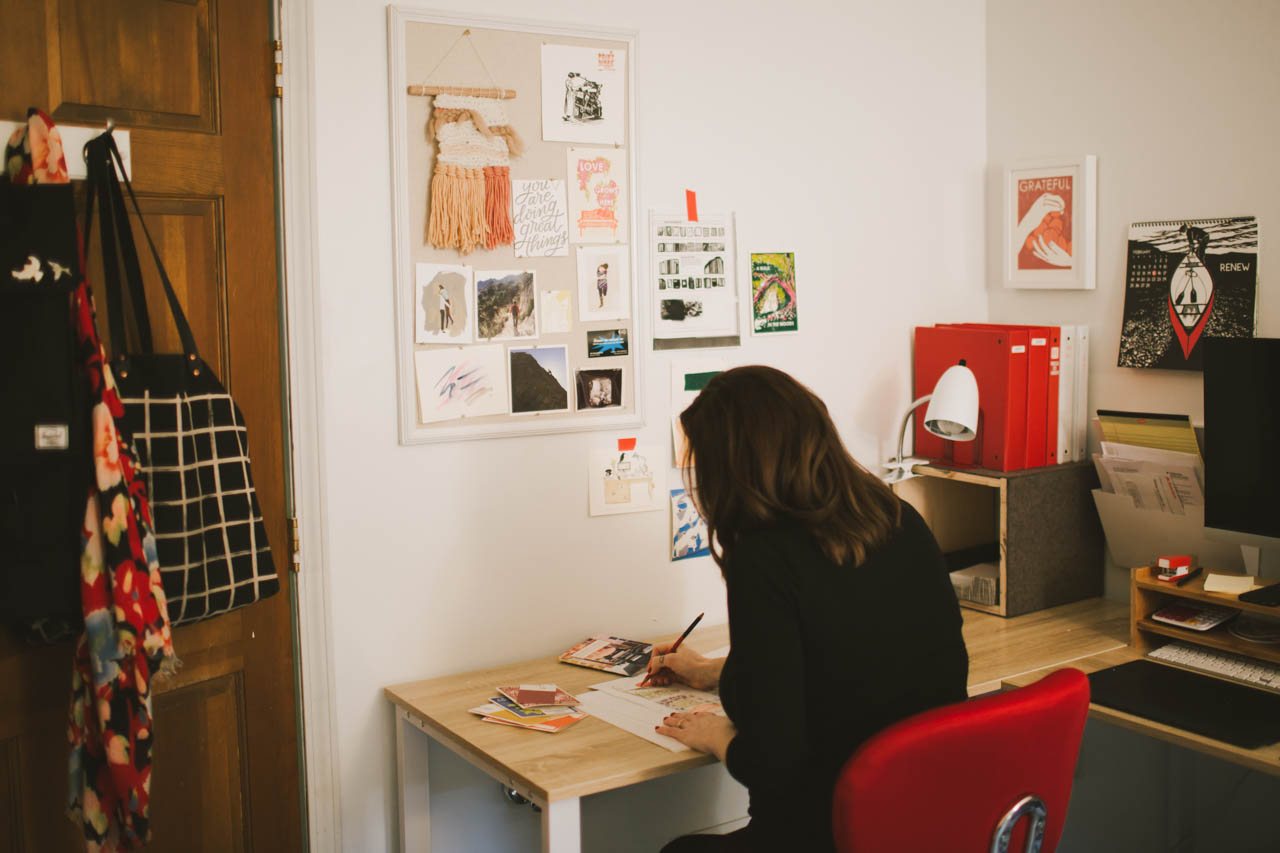
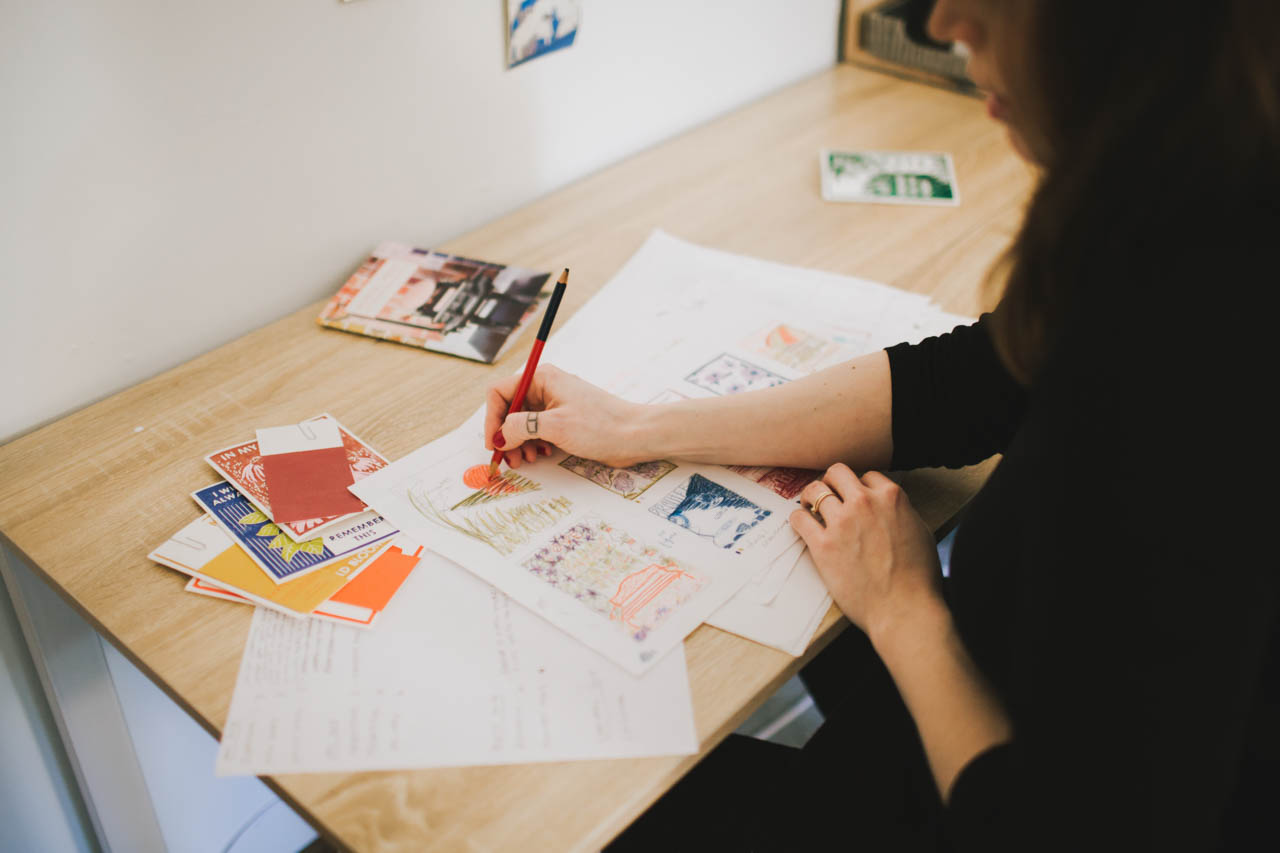
When I’m ready to design a new collection, I go through our current catalog to see which parts of our line could use fleshing out or freshening up. Then I comb through my stockpile of ideas and draw thumbnails with colored pencils to begin mapping out new designs. Once I have an idea of the collection as a whole, I use my Wacom tablet and Photoshop and Illustrator to draw the full scale images and lay out the text. I used to do this with pencils and markers on vellum, doing lots of tracing and scanning to come up with the final designs, but the tablet has made the process much faster and more fun.
Behind the Stationery: Heartell Press

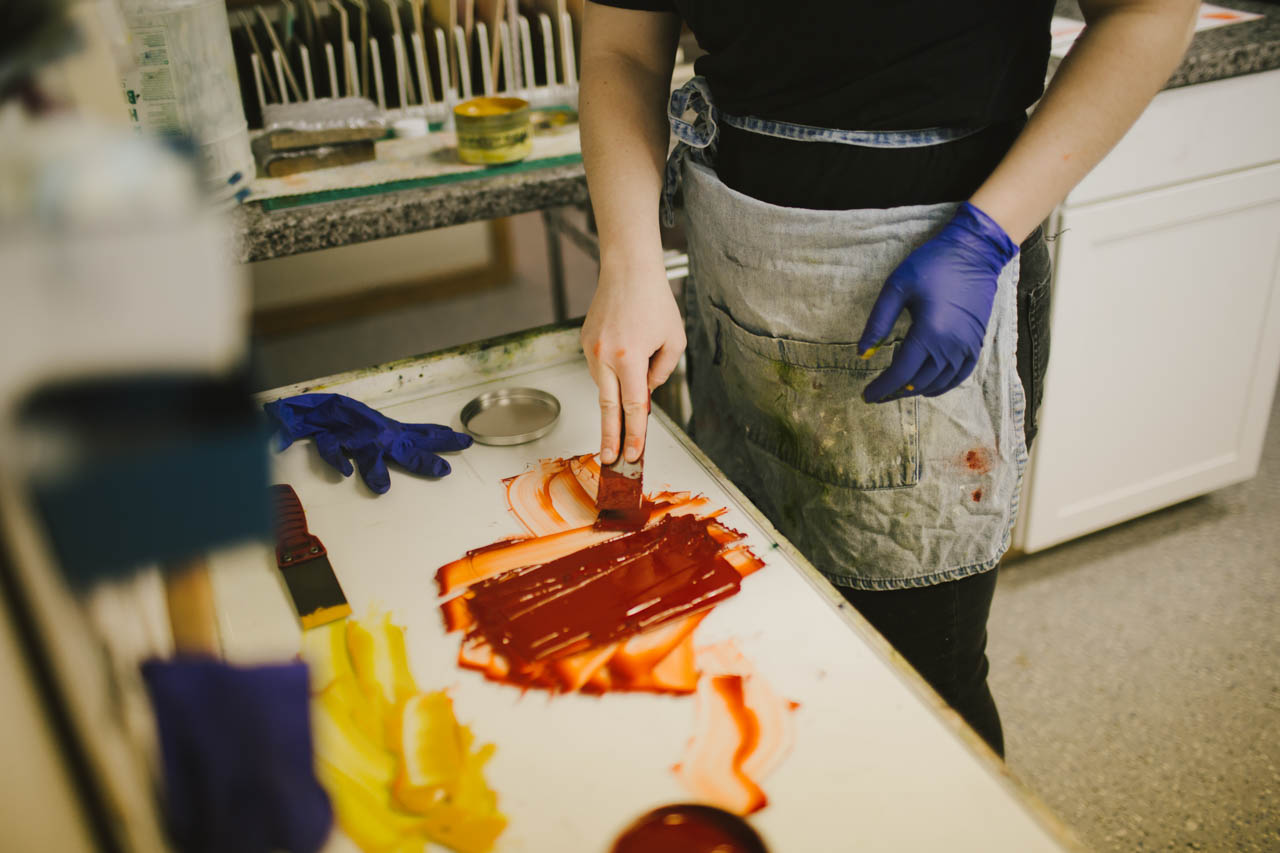
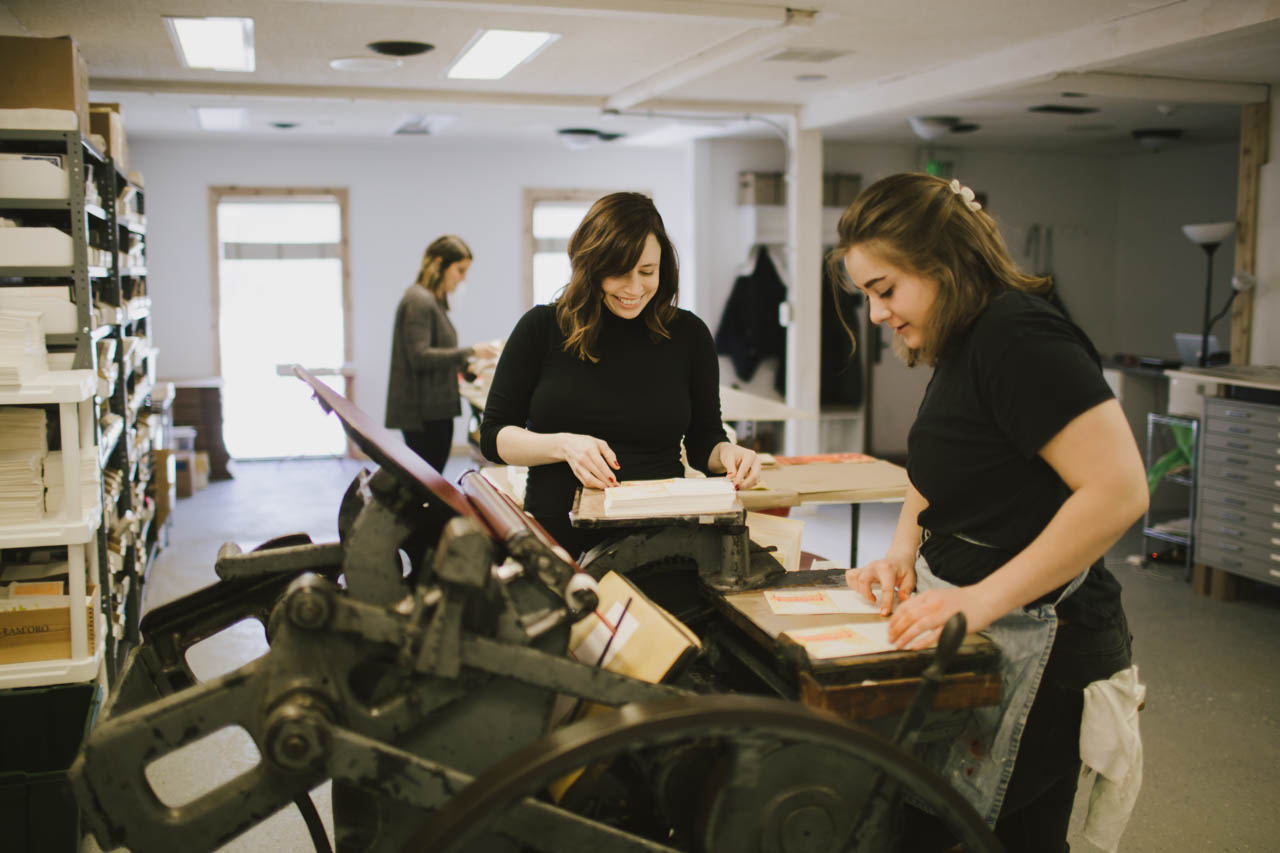
When the designs have been edited and vetted by as many people as I can get to look at them and I’m satisfied with my plans, I print guides using a laser printer and transfer them to blocks of Shina plywood (a wood that is both soft for easy carving and strong enough to hold detail that is harvested sustainably in Japan specifically for printmaking). I use Japanese carving tools to carve the blocks, and then we mount them in the presses for printing.
Behind the Stationery: Heartell Press

Since there is a separate block for each color, including the scoring run, some cards pass through the press up to four times! I love seeing the new designs printed for the first time. It is always a thrill to see something I’ve dreamed up become a finished product.
Behind the Stationery: Heartell Press

Behind the Stationery: Heartell Press

Like many of the business owners I’ve read about in this column, I spend a lot of my time these days running the business end of things. Fortunately I’ve discovered that I enjoy communicating with customers, managing cash flow, looking at numbers and planning for growth. But now that I have help with fulfillment and printing, I am finding lots more time for drawing and designing and carving blocks for new products, which are my favorite parts of my job. I love working on marketing projects too, and I do all our product photography, design our catalogs, and prepare for trade shows.
Behind the Stationery: Heartell Press

I set different goals for each year, and my big one for 2018 is to get Heartell ready to run without my constant attention for a few months while I take some time to welcome our new baby and adjust to being a parent. I feel grateful to have lots of inspiration from other business owners in our field (Nole included!) who have families, and while I’m sure it will be a big transition I feel confident that we’ll be able to find a good equilibrium over time.
Behind the Stationery: Heartell Press

I’ve come to find that stationery is a better fit for me than fine art for a lot of reasons, but one of the things I love most about this industry is how generous and open people are. The fine art world in New York has a deeply competitive culture, and it has been a gift for me to connect with other designers and retailers who are willing to share information, encouragement and support. The more variety there is in terms of design, the more letters people will write and the more connected they’ll be to each other. It feels like we are all part of something that is bigger than any one company or store individually and I love looking at things that way.
Behind the Stationery: Heartell Press

Photo Credits: Product photos by Heartell Press // Studio photos by Ruth Yaro.

Want to be featured in the Behind the Stationery column? Reach out to Megan at megan [at] ohsobeautifulpaper [dot] com for more details.

Envelope Inspiration, Volume II

I love scrolling through Instagram to find gorgeous envelopes with beautiful postage stamps, calligraphy, envelope liners, wax seals, and other fun details. Back in December, I shared a little round up of envelope inspiration from the #dailydoseofpaper and #osbpenvelopes feeds, and today I thought I’d share a second installment! Today’s envelope inspiration round up is all about the details, with gorgeous brush lettering, unique postage stamps, beautiful color combinations, and a dose of handmade paper. There’s definitely lots of inspiration to draw from below – and if you’re currently planning your wedding stationery, I’d love to hear your envelope plans!
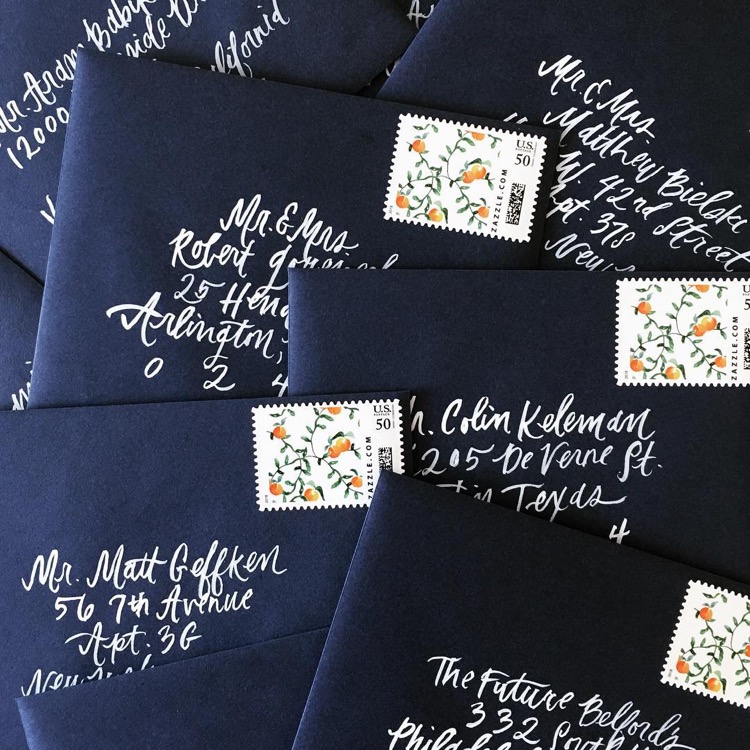
Navy Envelopes with White Calligraphy and Orange Postage Stamps by Paige and Post

Gorgeous navy blue envelopes with white ink – and those adorable custom postage stamps with tiny illustrated oranges! – by Paige and Post

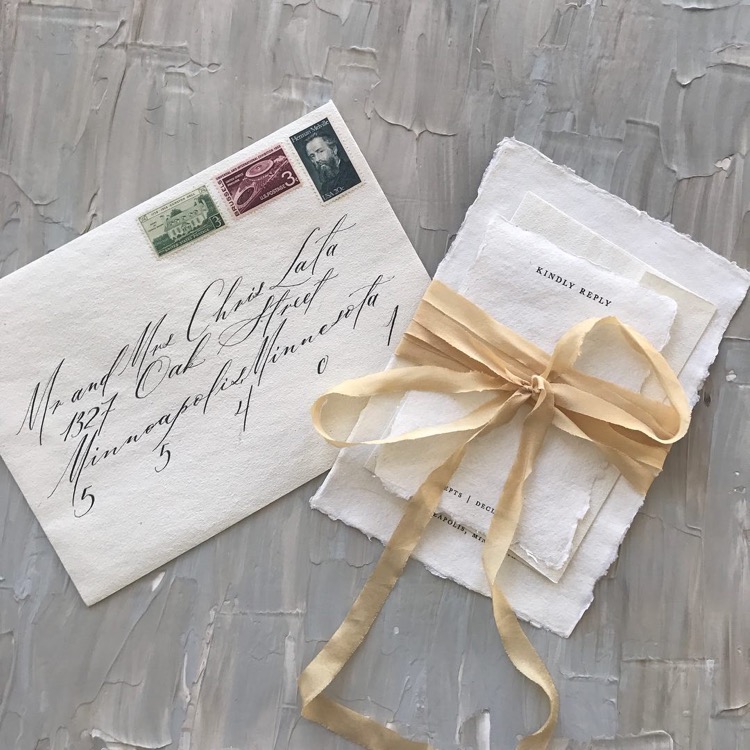
Handmade Paper Envelopes with Calligraphy and Vintage Stamps by The Keen Bee

If you’re going for classic black and white, try mixing in some handmade paper for texture – it can make all the difference! This gorgeous suite features a minimalist black and white design and classic envelope by The Keen Bee

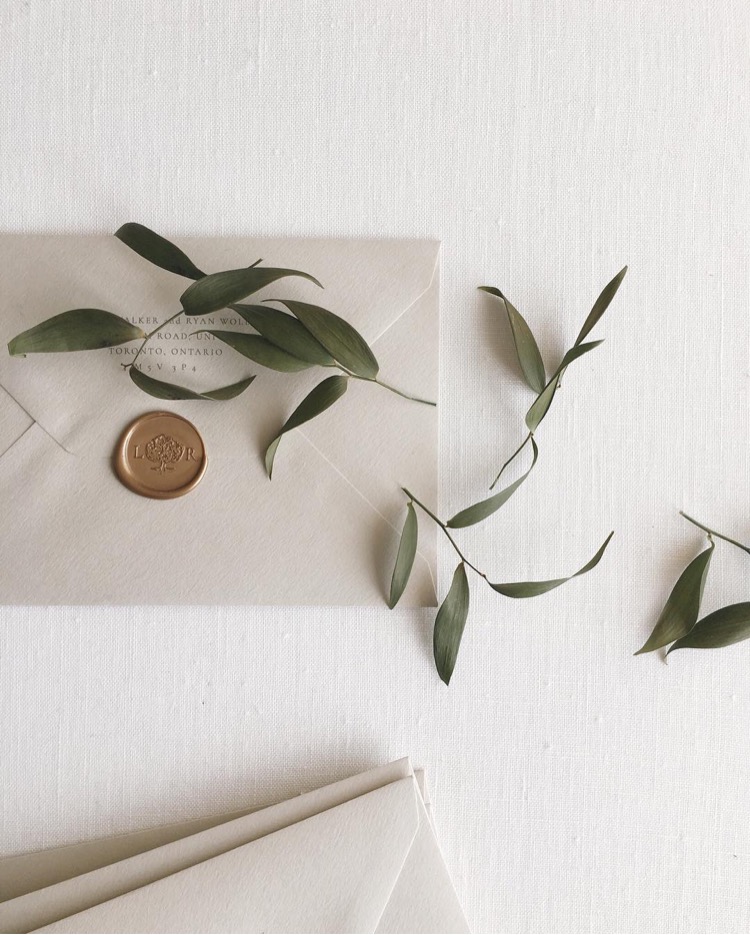
Gray Envelope with Gold Wax Seal by Paula Lee Calligraphy

Don’t forget about the back of the envelope! Anyone else a huge fan of wax seals on envelopes? Loving this gold wax seal moment from Paula Lee Calligraphy

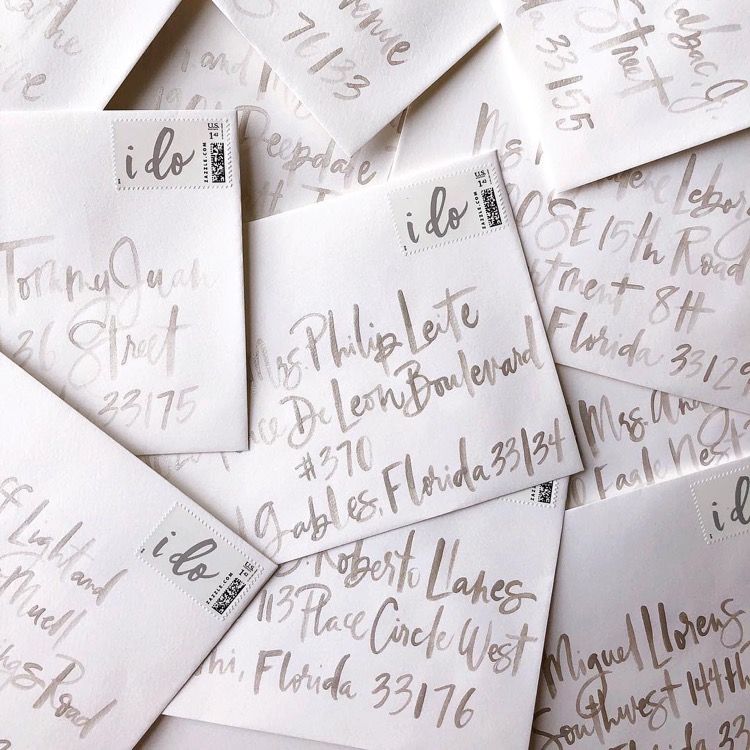
Gray Brush Lettering by Blue Eye Brown Eye

Go monochromatic for big impact! Beautiful gray watercolor brush lettering on pale gray envelopes by Lauren Essl of Blue Eye Brown Eye Calligraphy

Floral Envelope Liner by Coral Pheasant

I just can’t get over that floral envelope liner by Coral Pheasant!

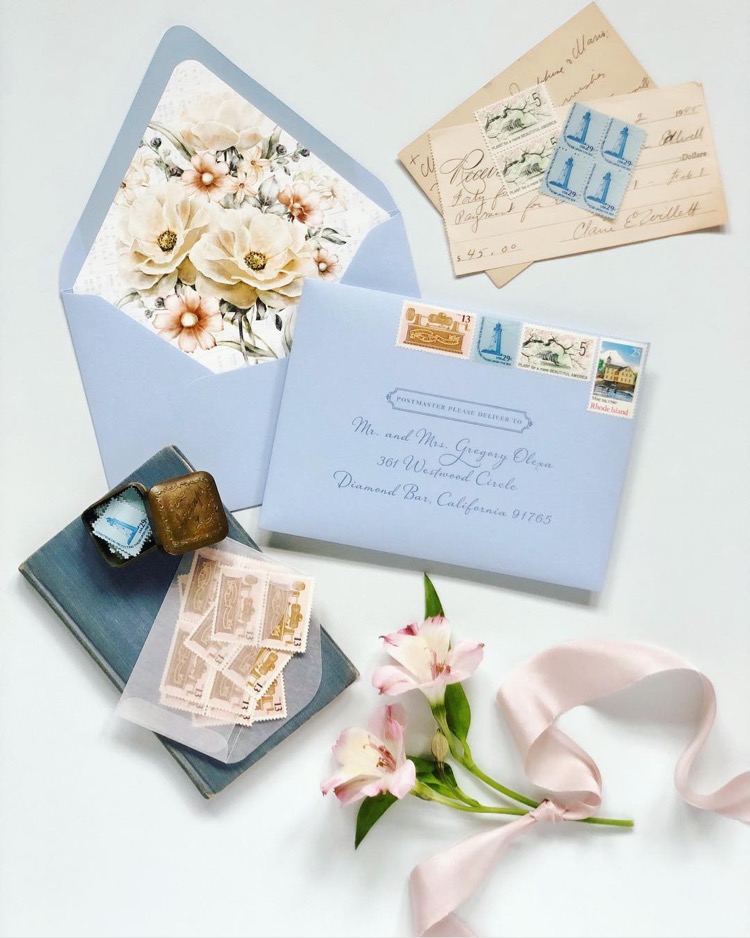
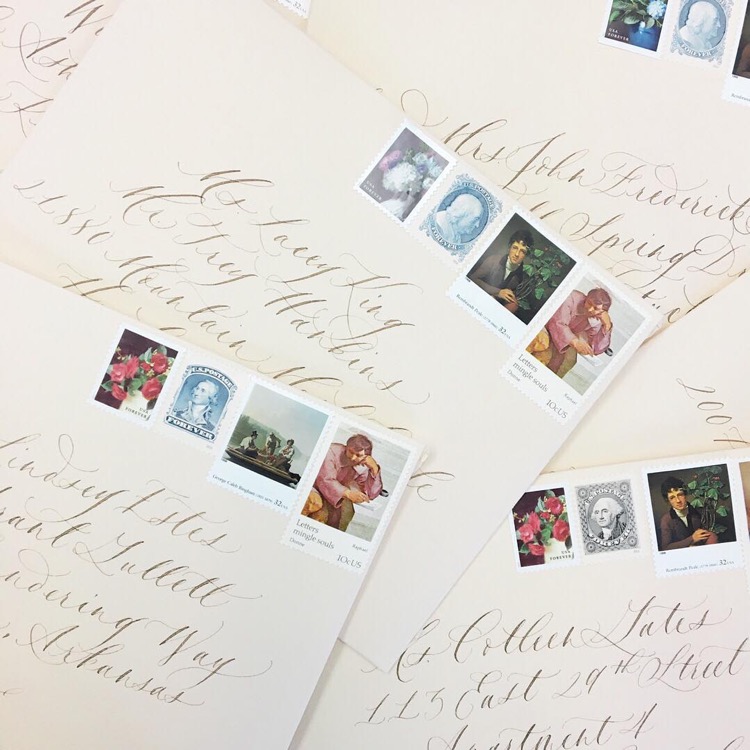
Envelopes with Fine Art Postage Stamps by Silver Fox Calligraphy

Delicate calligraphy and the most gorgeous assortment of fine art vintage postage stamps from Silver Fox Calligraphy

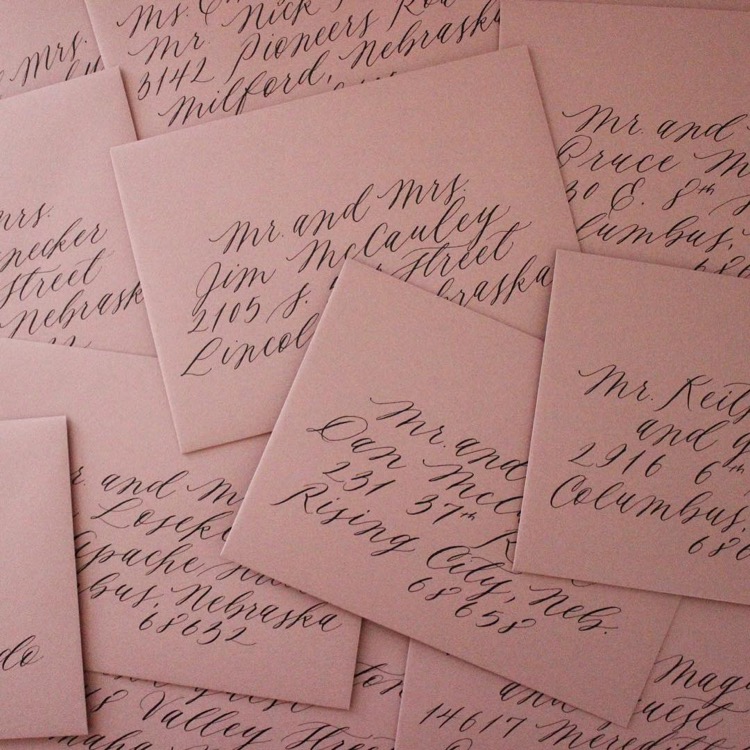
Dusty Rose Envelopes by Mir Writes

Loving this dusty rose color from Miranda Writes

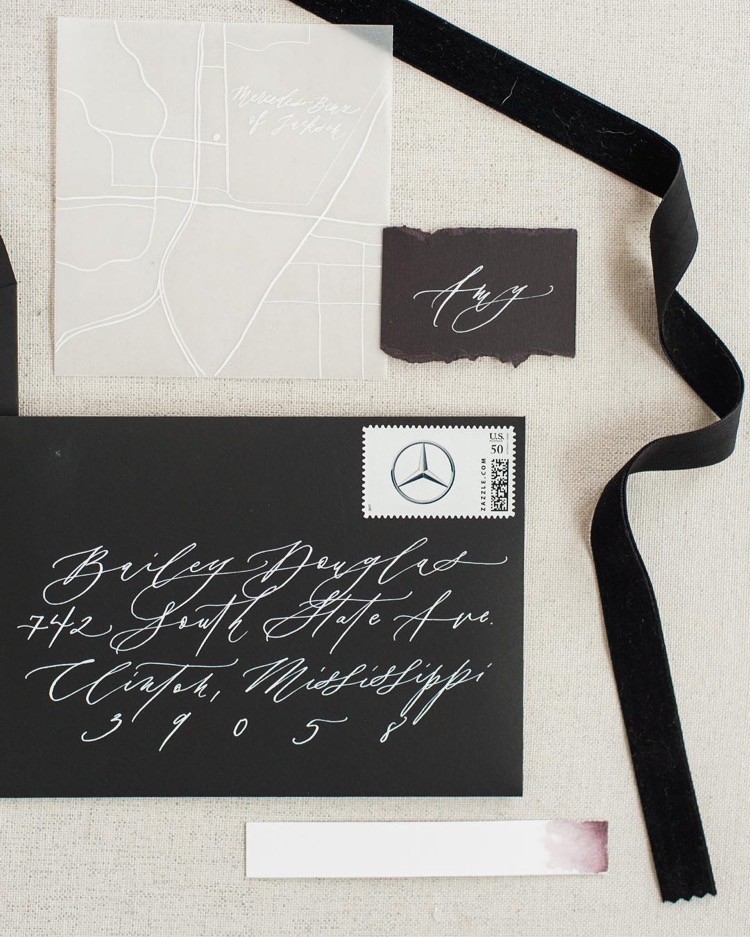
Black Envelopes with White Calligraphy by Cristina Leis Calligraphy

A modern take on a classic combination: white calligraphy on black envelopes by Cristina Leis Calligraphy // Photo Credit: Amelia Catherine & Co.

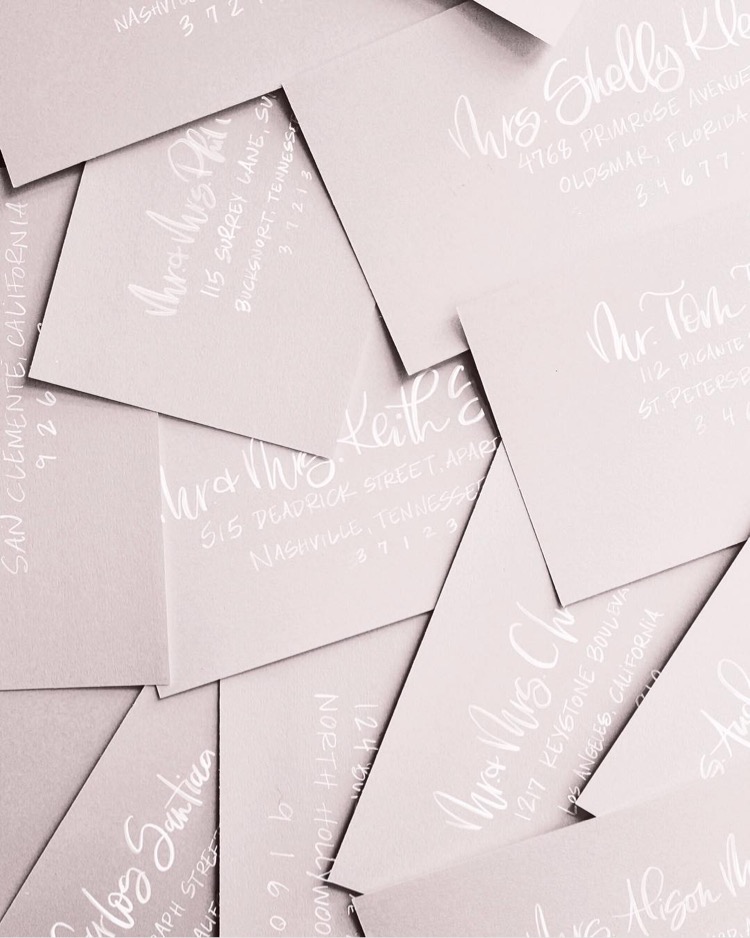
Pale Gray Envelopes with White Brush Lettering by Toby Rose Designs

White brush lettering on the palest of gray envelopes by Toby Rose Designs

Looking for more envelope inspiration? Follow along over at #dailydoseofpaper and #osbpenvelopes! You can also follow my envelope board on Pinterest right here!

p.s. DIY colorful watercolor envelopes and DIY mud-cloth-inspired envelopes
Weekend Links + March for our Lives

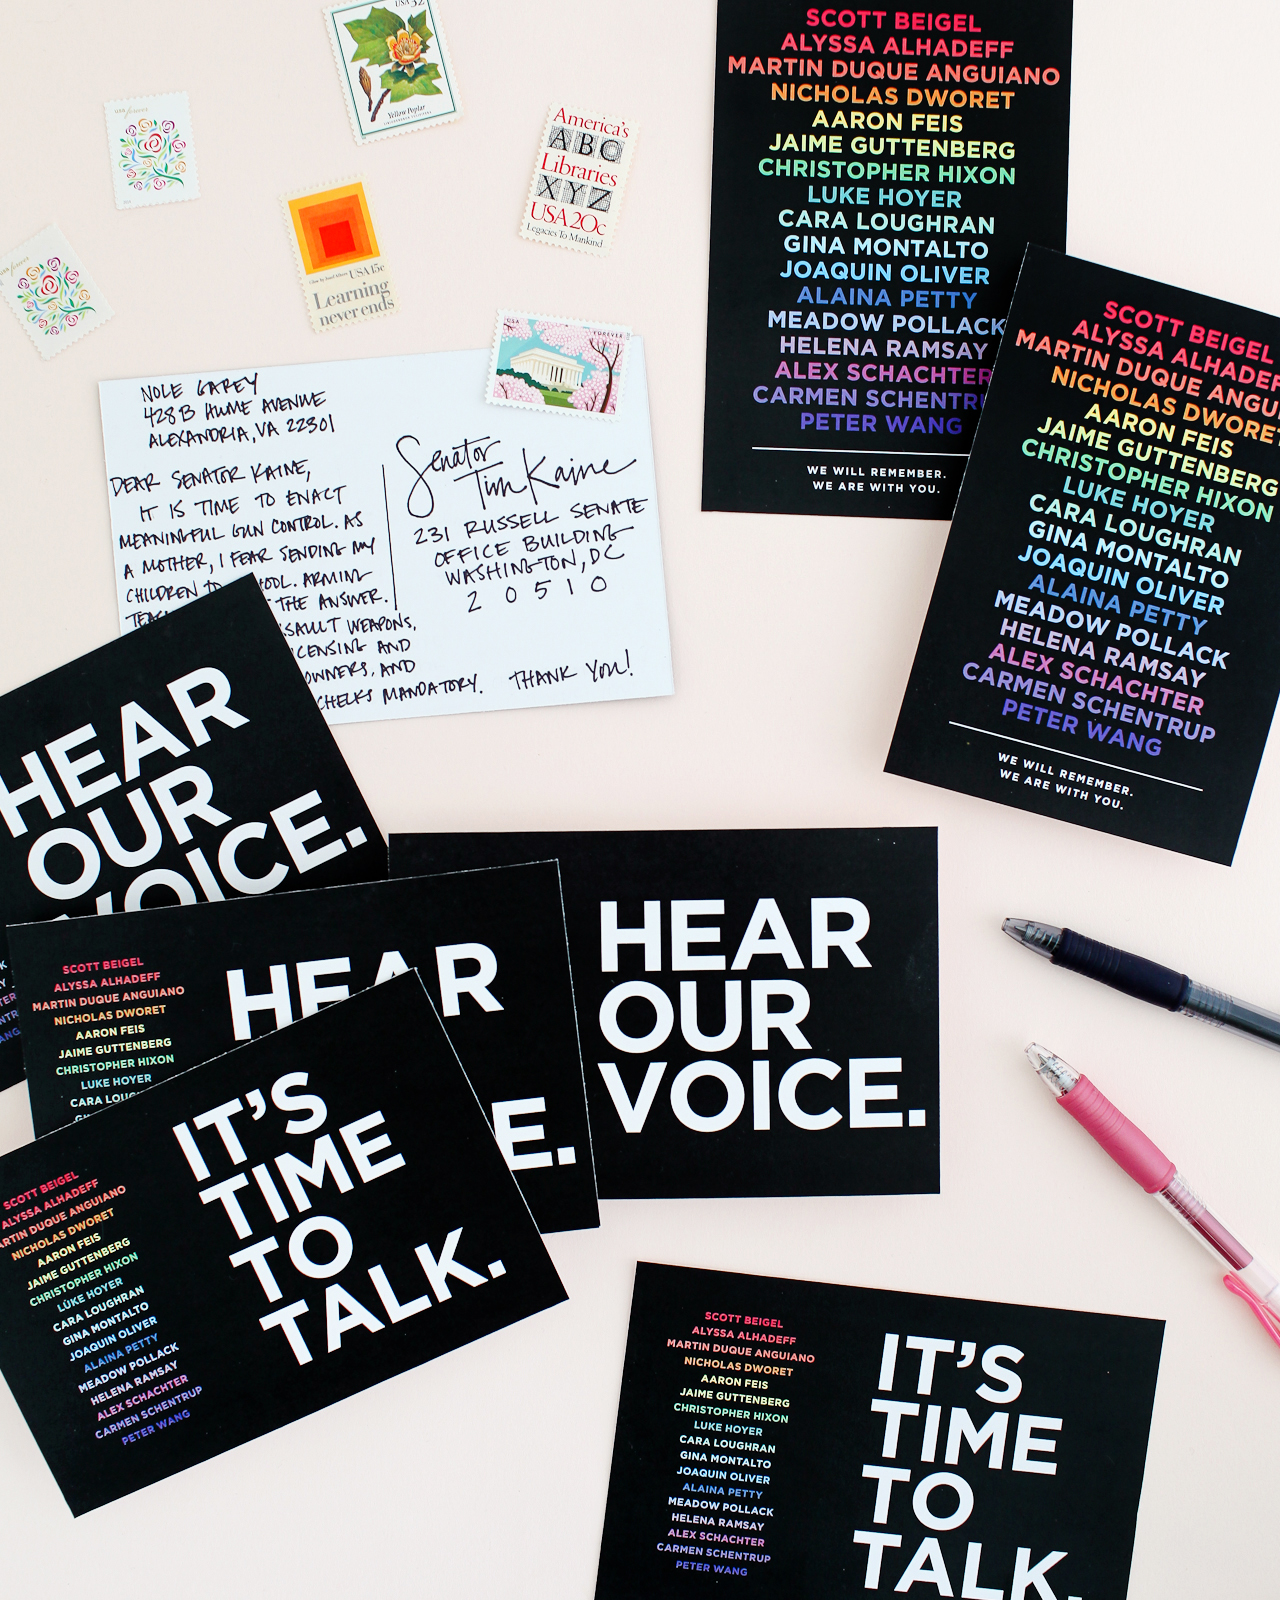
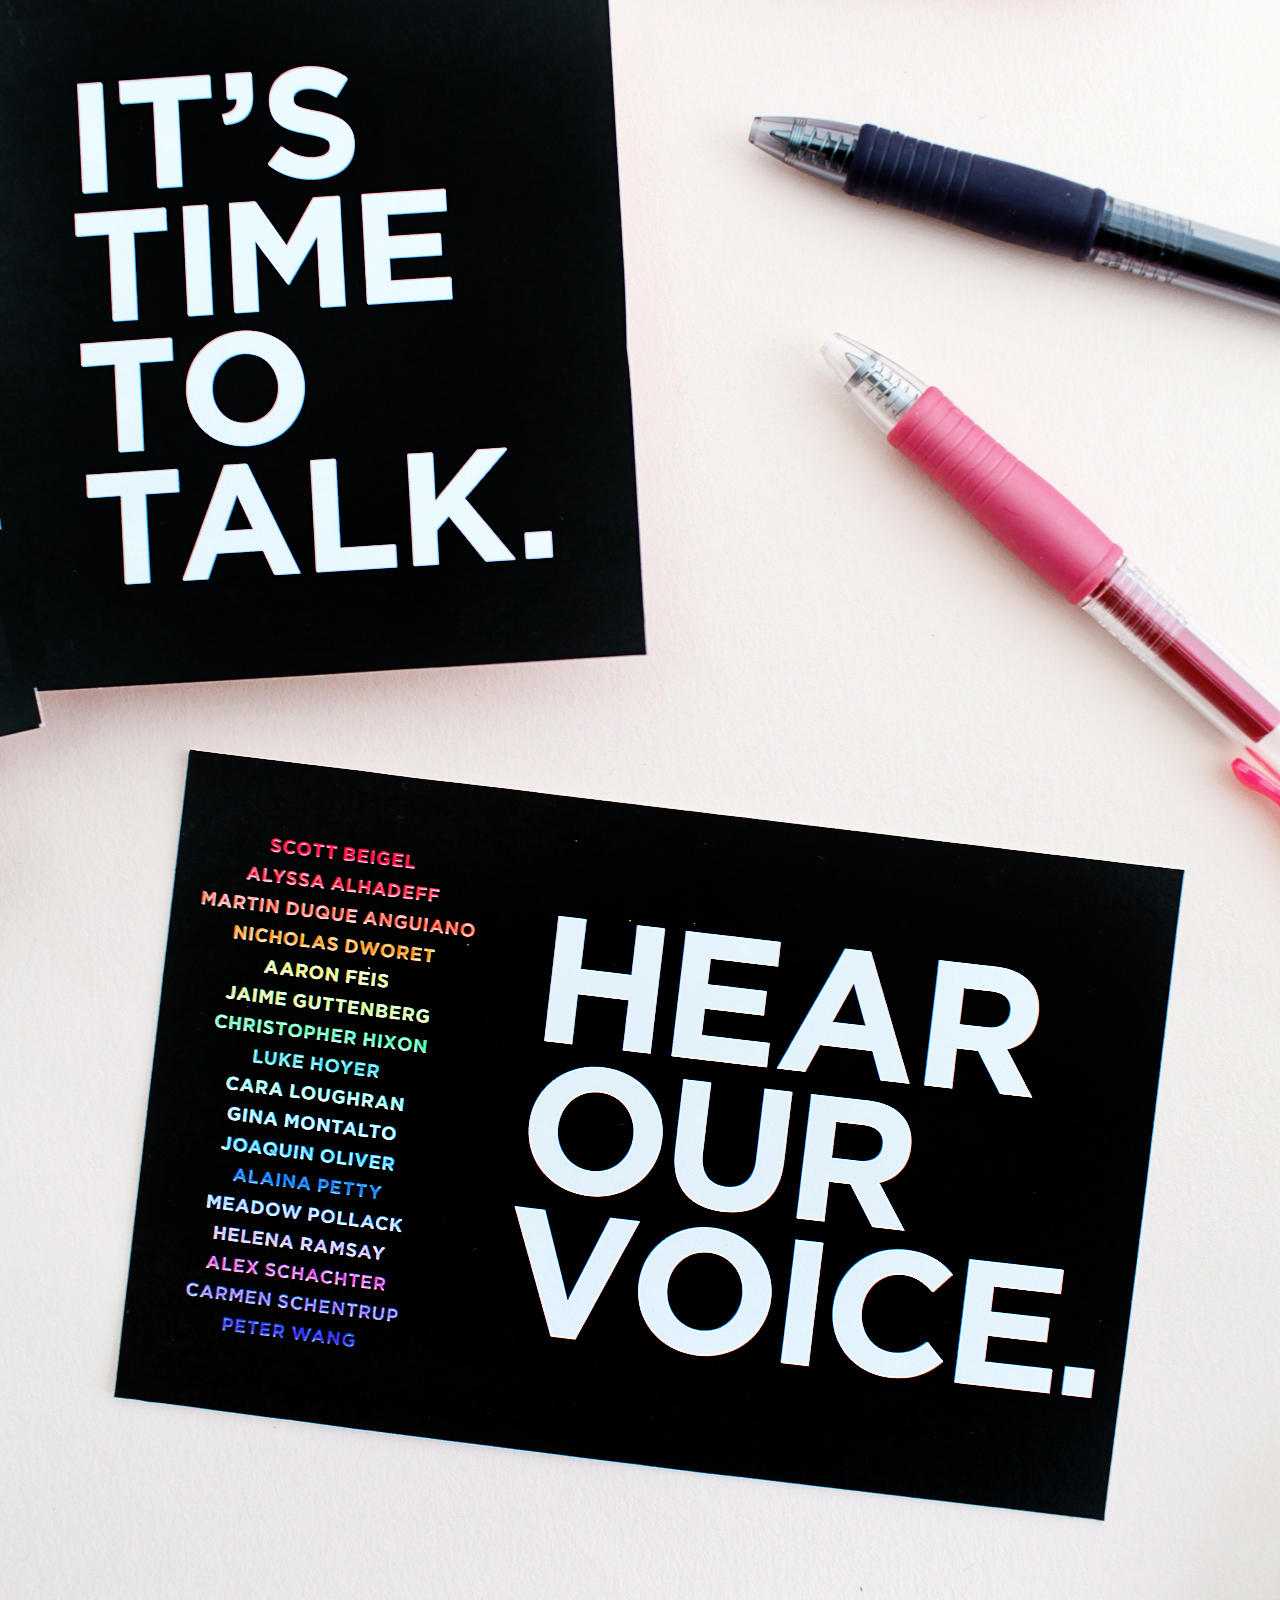
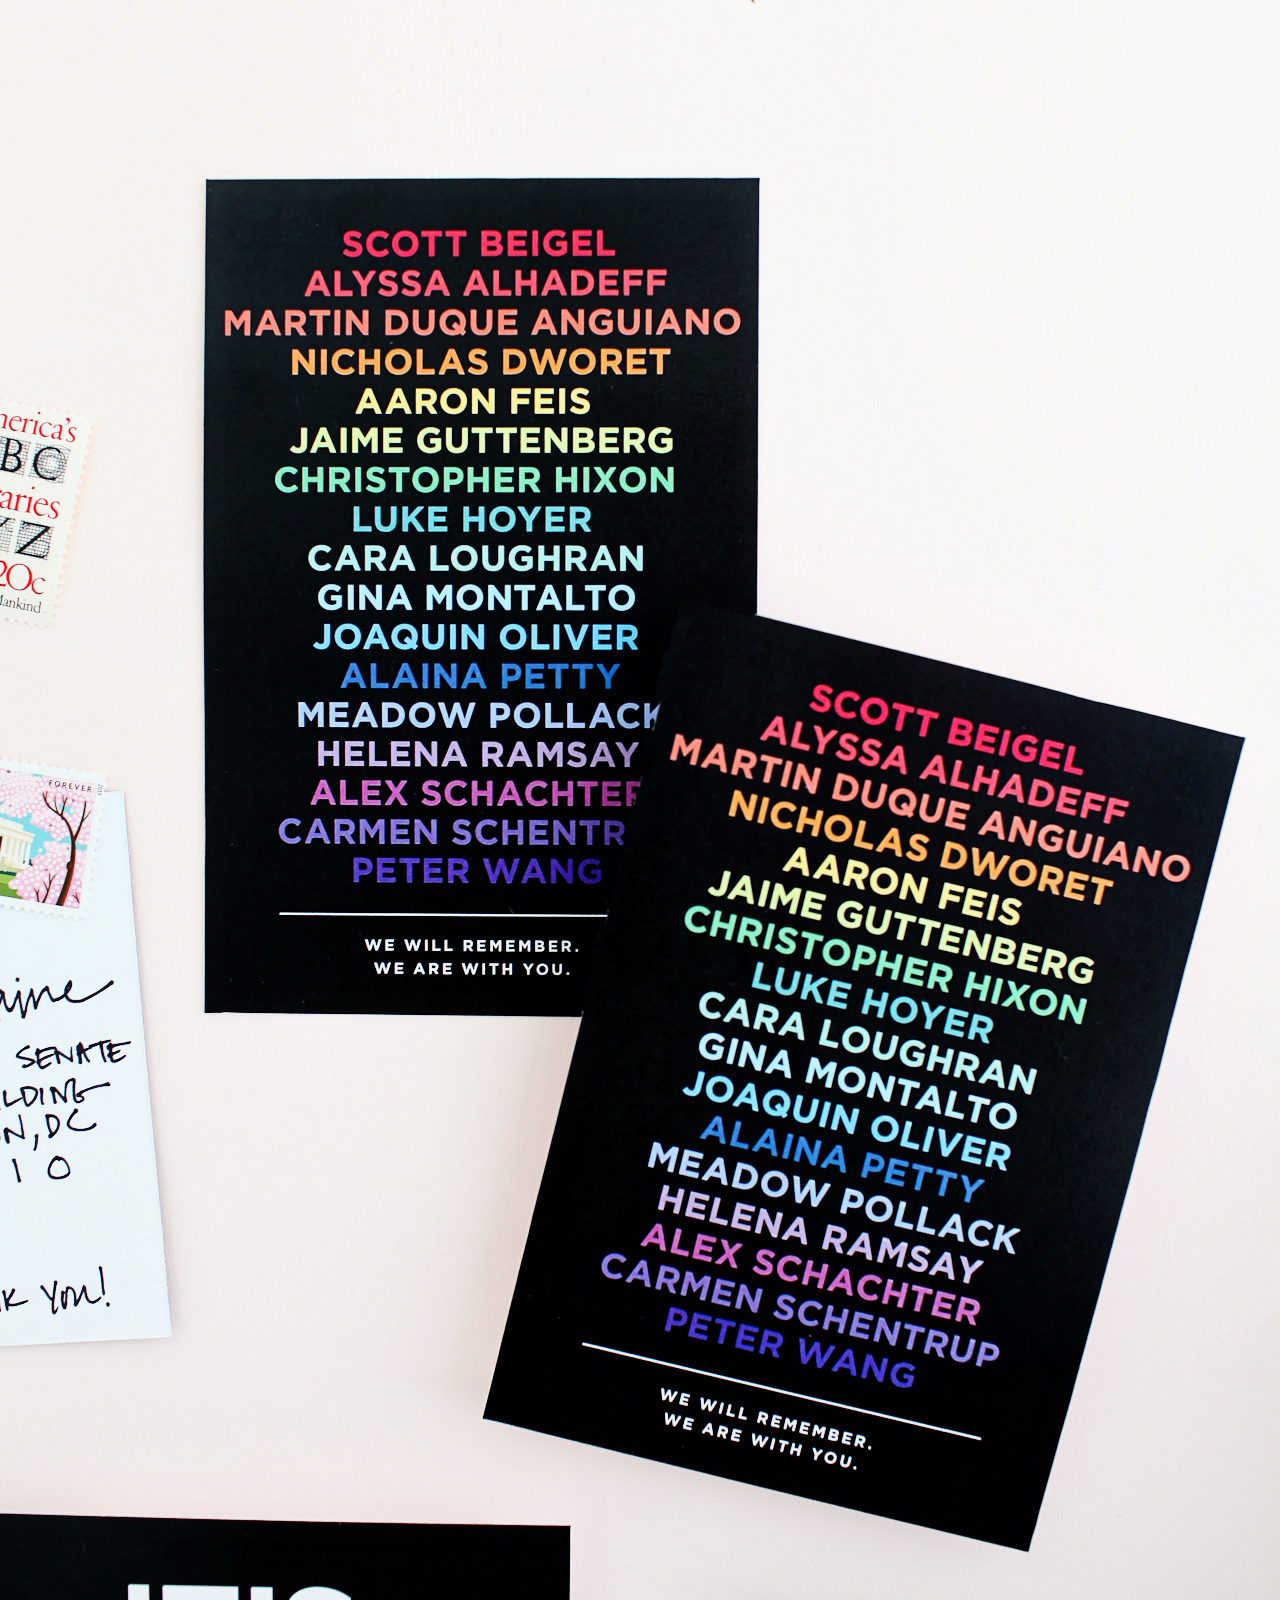
I’ve spent the last couple of weeks closely following the efforts of the Parkland students to push for sensible gun control – their ability to turn their grief into civic action is so inspiring! I’m a longtime supporter of sensible gun control legislation, and as a mother of two young children I feel strongly about keeping kids and teachers safe at school (and also at the movies, at concerts, and houses of worship). If you’re looking for ways to get involved, please consider joining your local chapter of Moms Demand Action (even if you aren’t a mom!) and get in touch with your local representatives to demand sensible gun control. Katie from Idlewild Co. made these rainbow postcards for writing to her local elected officials in Florida, and I asked her if she’d make them available to everyone here! You can download the postcards through the links below, and there’s also a version for sending a postcard of support to the Parkland students!
Gun Control Postcards / Idlewild Co.

Gun Control Postcards / Idlewild Co.

Gun Control Postcards / Idlewild Co.

Download Hear our Voice

Download Time to Talk

Download the Support Letter

You can also download the Dear Senator and Dear Representative postcards that Allie Hasson made for us back in October after the Las Vegas massacre. To make the postcards, you can print them out on your home computer, or use an online postcard service like Staples or Moo (or your local favorite print shop!). Please note: if you’re writing to your elected representative, you MUST include your return address so they know you are a constituent – otherwise staffers will throw them out.

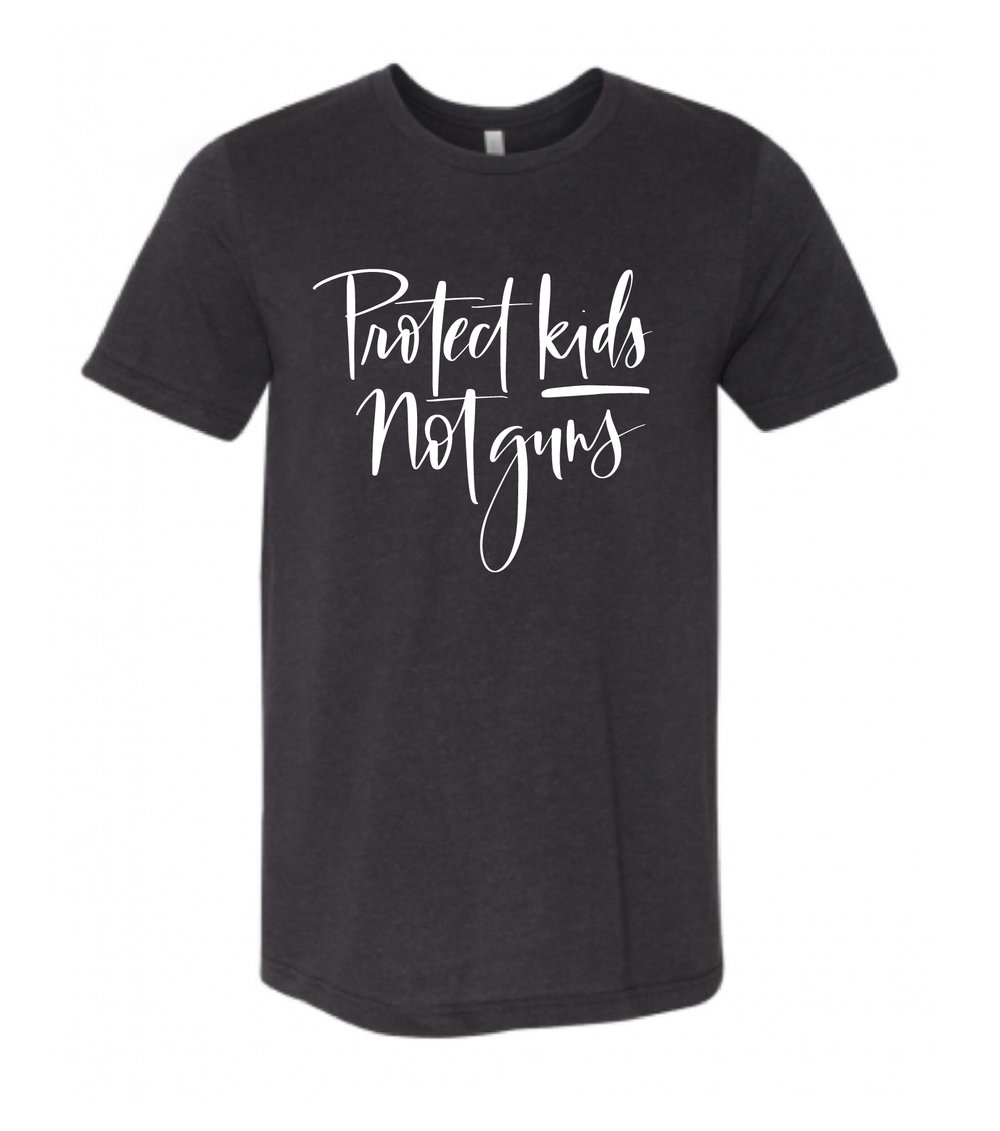
Anne Robin / Protect Kids Not Guns T-Shirt

And if you’re planning to participate in the March for our Lives on March 24, Anne Robin is offering t-shirts with the words Protect Kids, Not Guns in her beautiful calligraphy in both adult and kid sizes. 100% of proceeds go towards Everytown for Gun Safety. They’ll be available for pre-sale through Sunday only, so place your orders now!


A few links for your weekend:

Rainbow sandals for summer! While you’re at it, pick up this gorgeous pink rain jacket, this cute lace top, and this pink stripe button-up shirt. (p.s. Did you see that J.Crew is having a 30% off sale on full price merchandise? Go now!)

DC friends! Rachel of Smile and Wave is bringing her Beginner’s Weaving workshop to Common Room Studio! Sign up right here!

Completely obsessed with every single element of this kitchen renovation – especially the pink sink!!!

How cute is this fringe cross-body bag?

Watching the Oscars this weekend? Download this printable ballot!

One story of when total strangers (all women) came together to help another woman

Pretend you’re good at it

Make: Garlic Vegan (!!) Fettucine Alfredo

Loving all the different lighting options in this shop!

Just bought these speckled brass earrings and can’t wait to wear them!

Applauding Dick’s Sporting Goods for taking the private sector lead in raising the minimum age for firearm purchases to 21 – and also urging Congress to take further action.


That’s it for me this week! I hope you have a wonderful weekend, and I’ll see you back here on Monday! xoxo

DIY Rainbow Watercolor Crepe Paper Backdrop

This post was sponsored, and paid for, by Rit Dye. All opinions are my own. Thank you for supporting the sponsors that make Oh So Beautiful Paper possible!

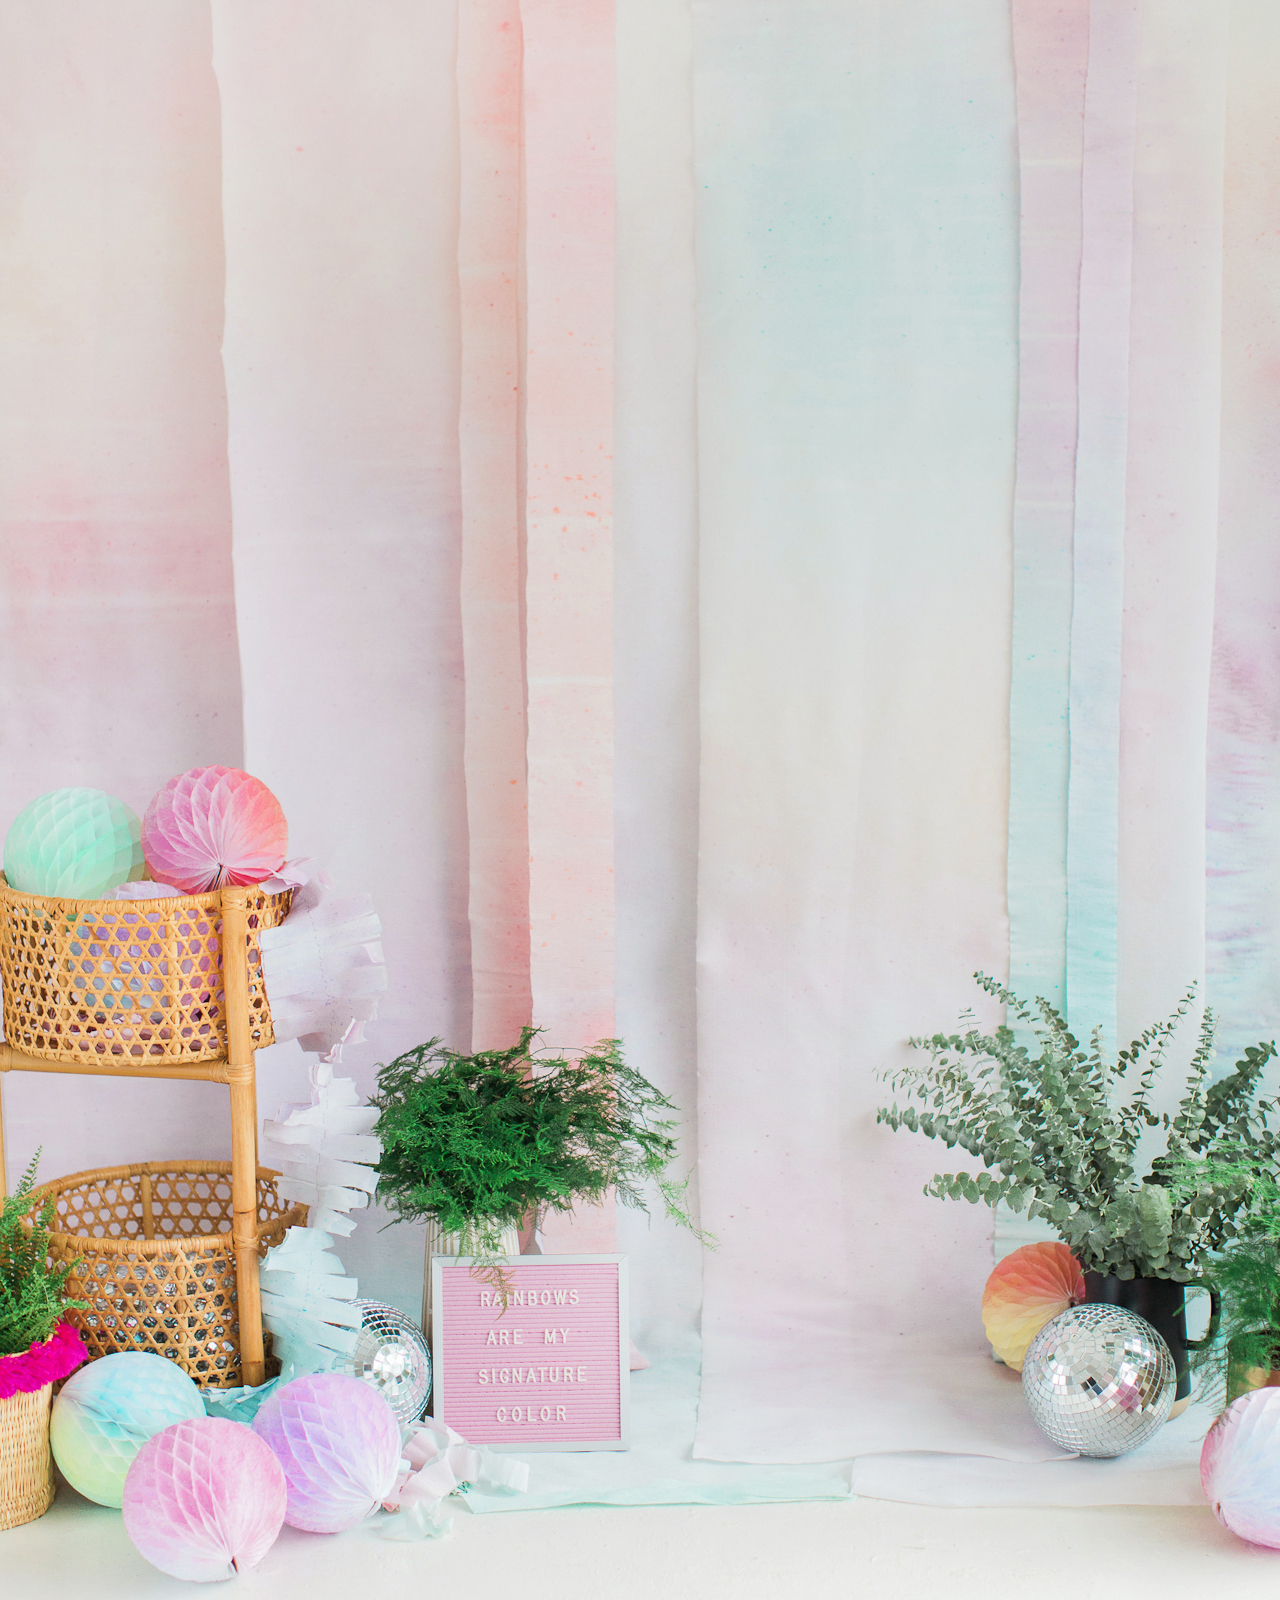
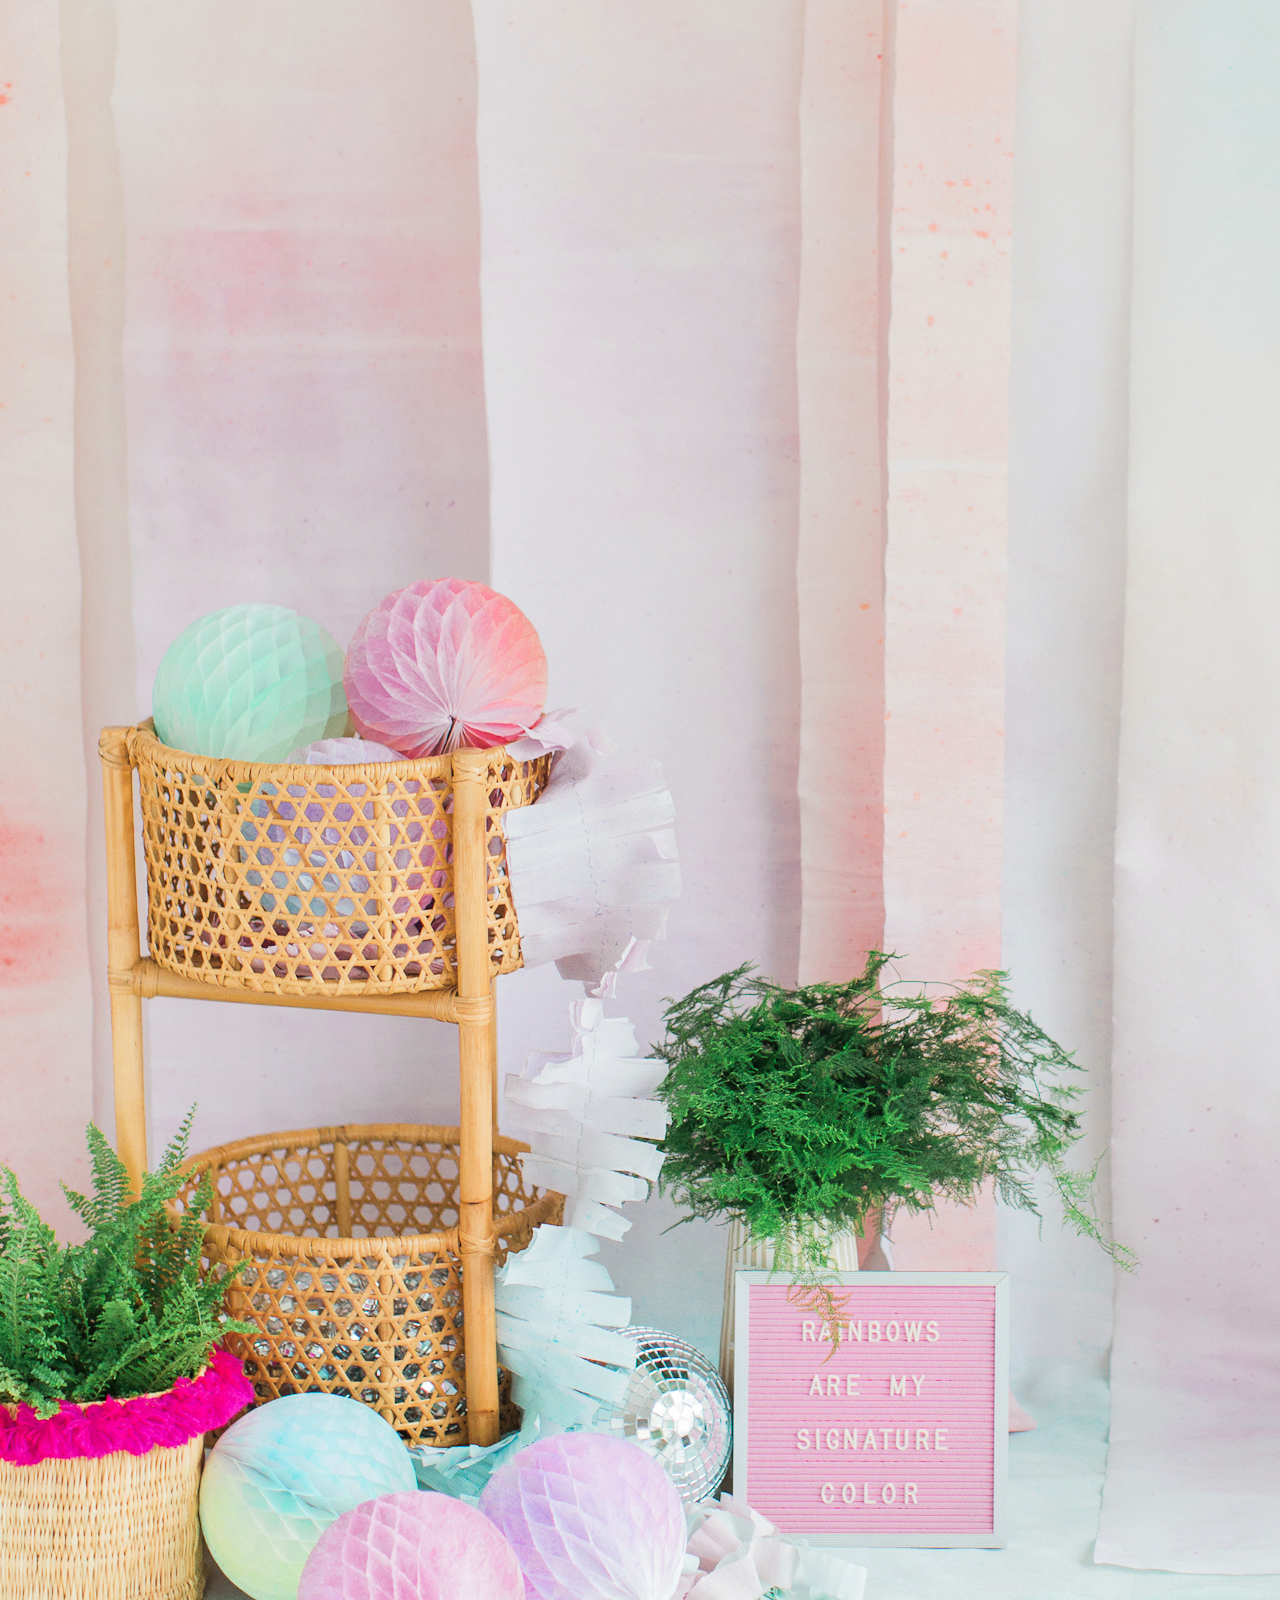
Spring is just around the corner – and I couldn’t be more excited! Every year I look forward to the explosion of spring flowers, from pale pink cherry blossoms and purple lilacs (my absolute favorite) to yellow daffodils and colorful tulips in nearly every shade of the rainbow. Oh, and fluffy peonies in every shade of pink? Yes, please! Today I’m paying homage to my favorite season with a DIY rainbow watercolor crepe paper backdrop that is perfect for spring weddings, birthday parties, and everything in between. This gorgeous pastel backdrop makes me so happy every time I look at it. Oh, and my secret ingredient for creating this gorgeous backdrop? Spray bottles filled with Rit All-Purpose Dye!

DIY Rainbow Watercolor Crepe Paper Backdrop with RIT Dye

DIY Rainbow Watercolor Crepe Paper Backdrop with RIT Dye

DIY Rainbow Watercolor Backdrop with Rit All-Purpose Dye

Rit Dye is one of my favorite tools for DIY projects! It’s really the perfect solution for adding pops of color throughout your wedding ceremony and reception, from ribbons for floral arrangements to napkins and table linens to dresses! Rit All-Purpose Dye is perfect for washable fabrics with natural fibers, like cotton, linen, wool, silk, and ramie – or even for materials like nylon, rayon, paper, and wood. I’ve used Rit All-Purpose Dye to dip dye envelopes, create dip-dyed muslin favor bags, and even to dye my own Shibori-style pink dinner napkins! And did you know that there’s also Rit DyeMore for synthetic fibers?? You can use Rit DyeMore for polyester, polyester cotton blends, nylon, acrylic, or acetate – or even faux fur! I’ll need to try that one next!

DIY Rainbow Watercolor Crepe Paper Backdrop with RIT Dye

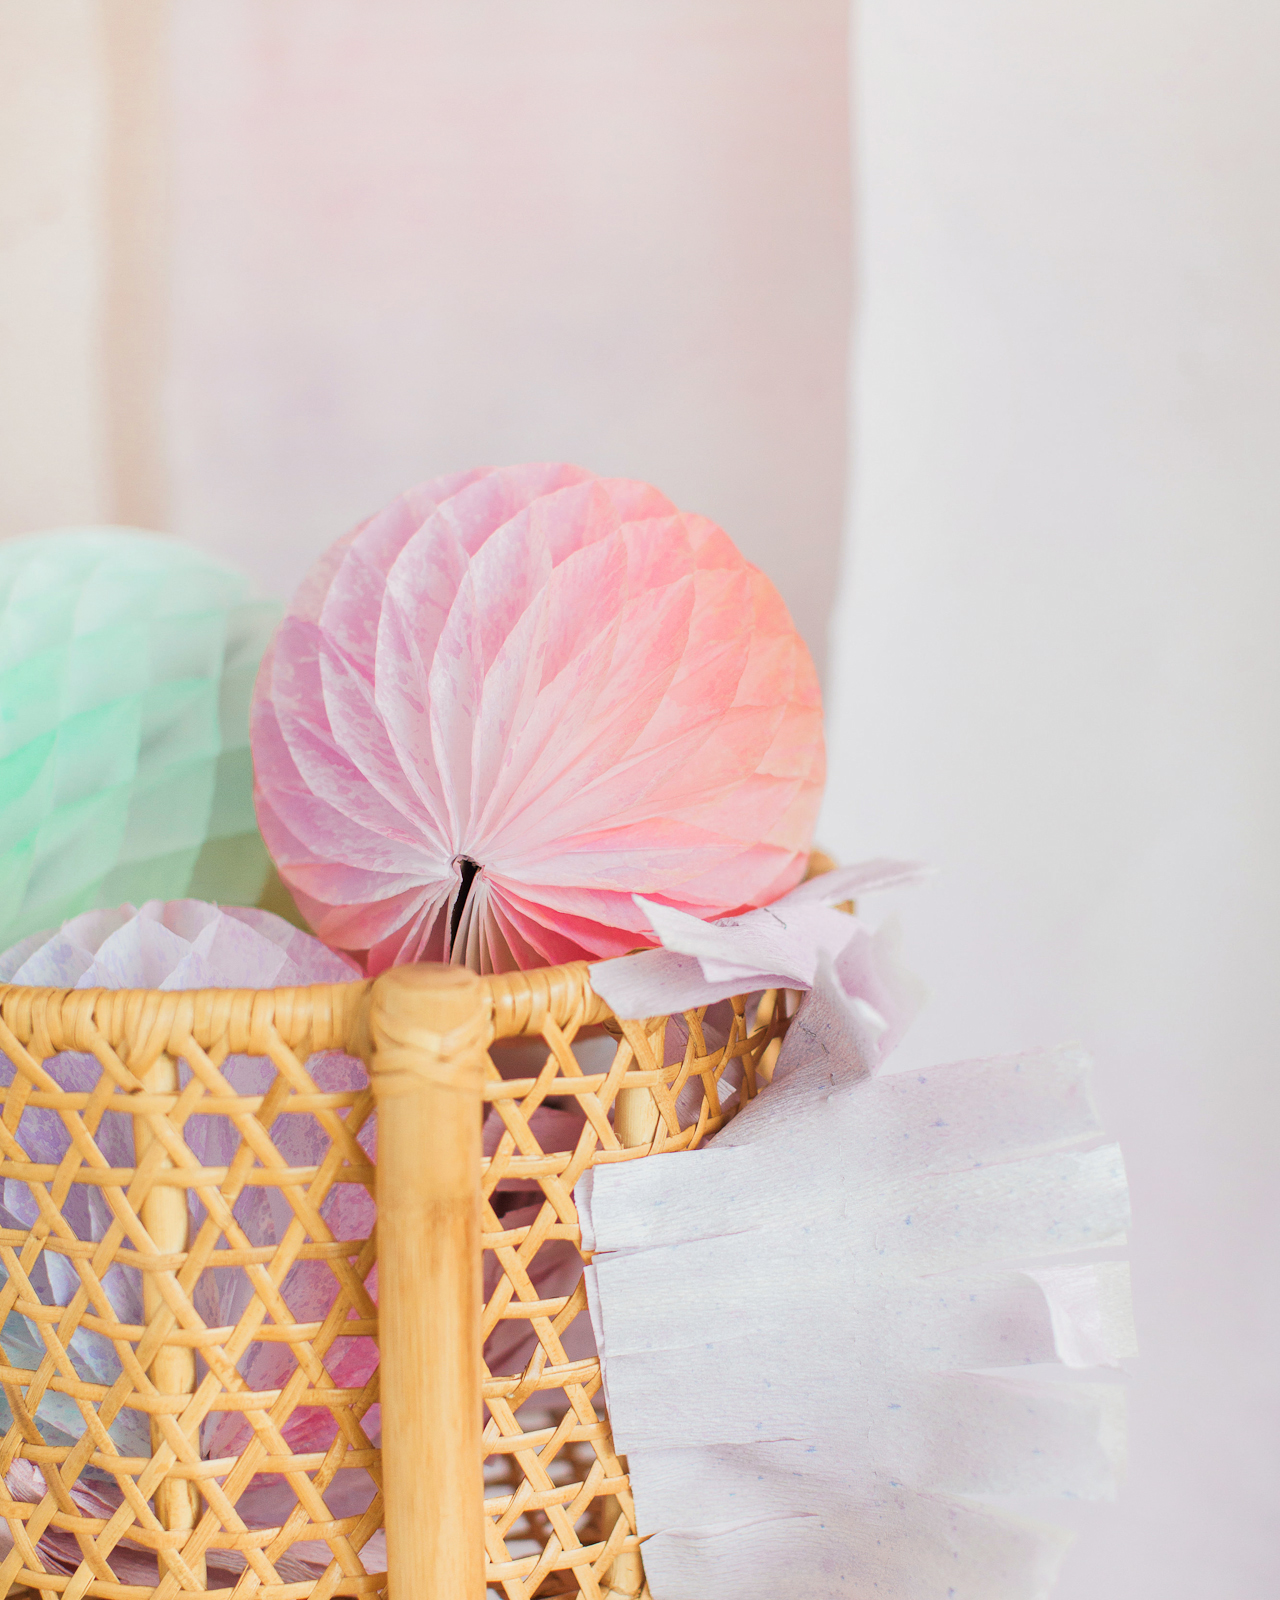
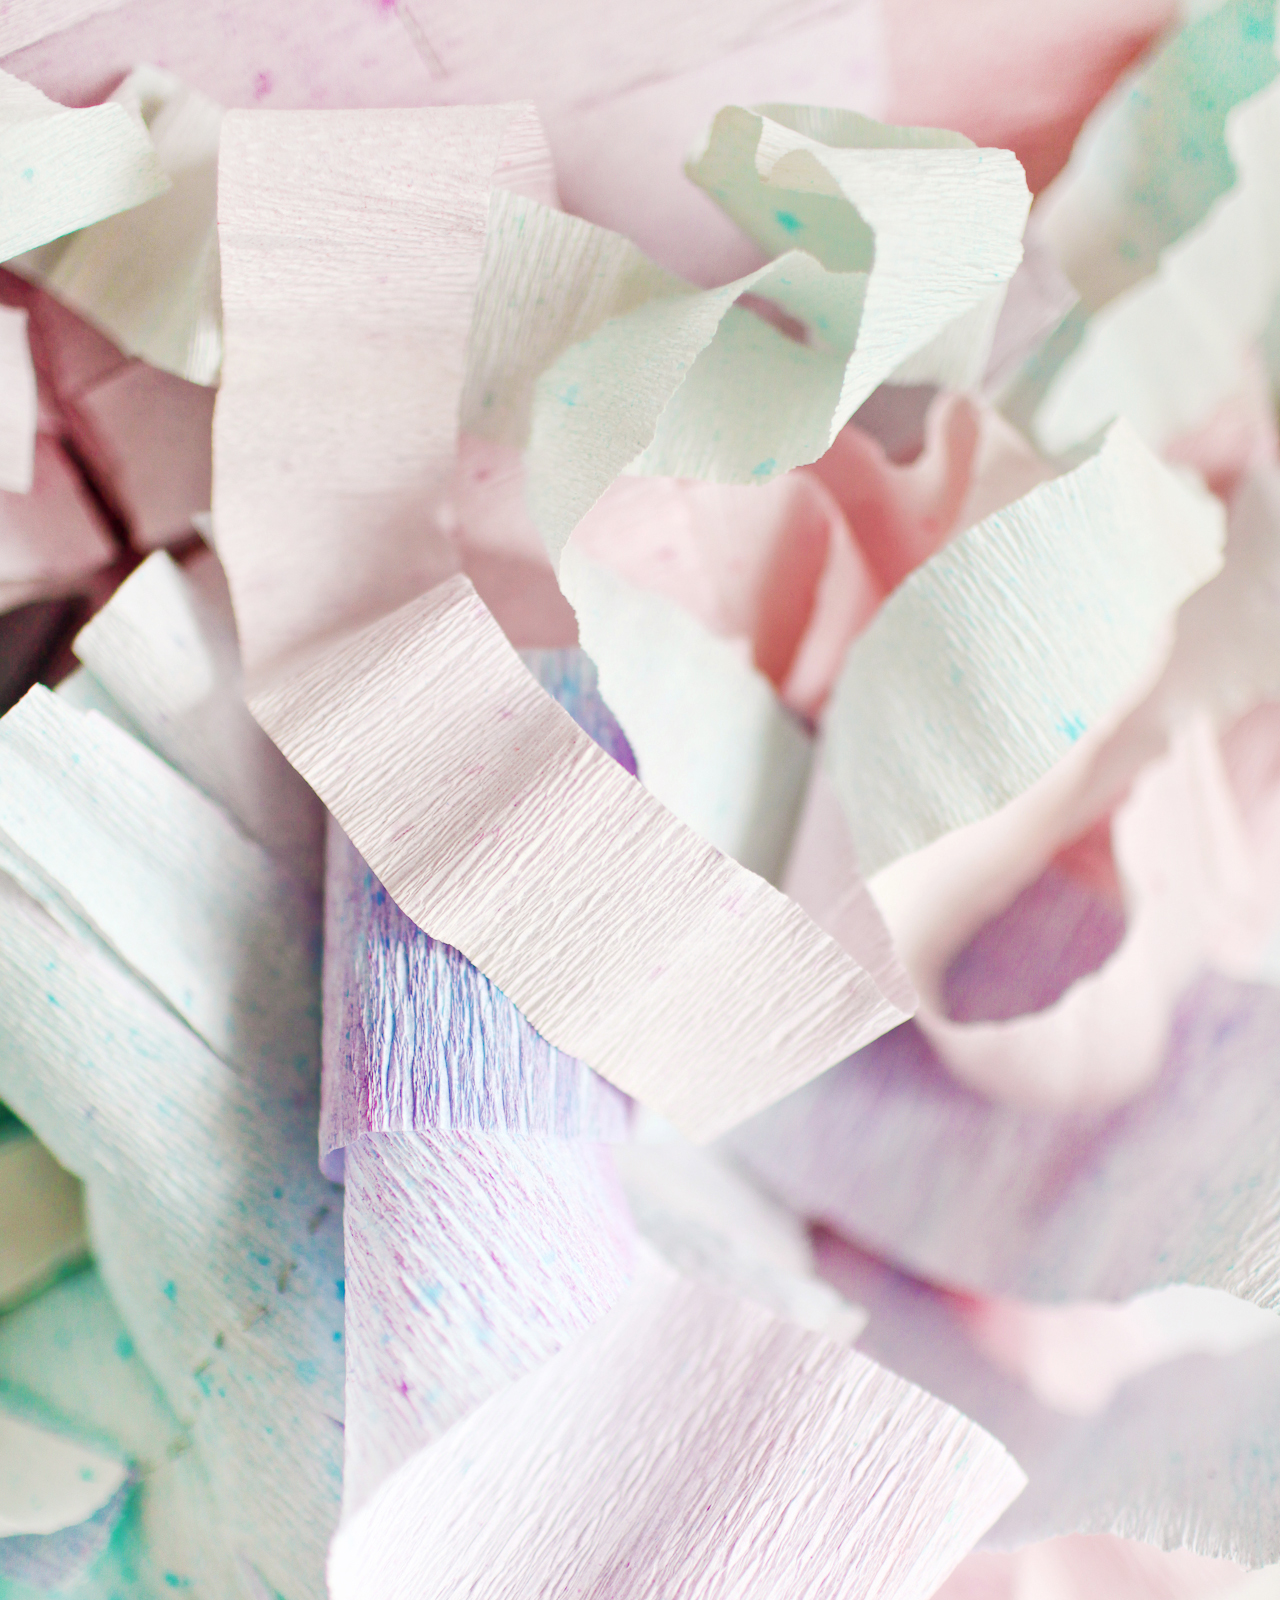
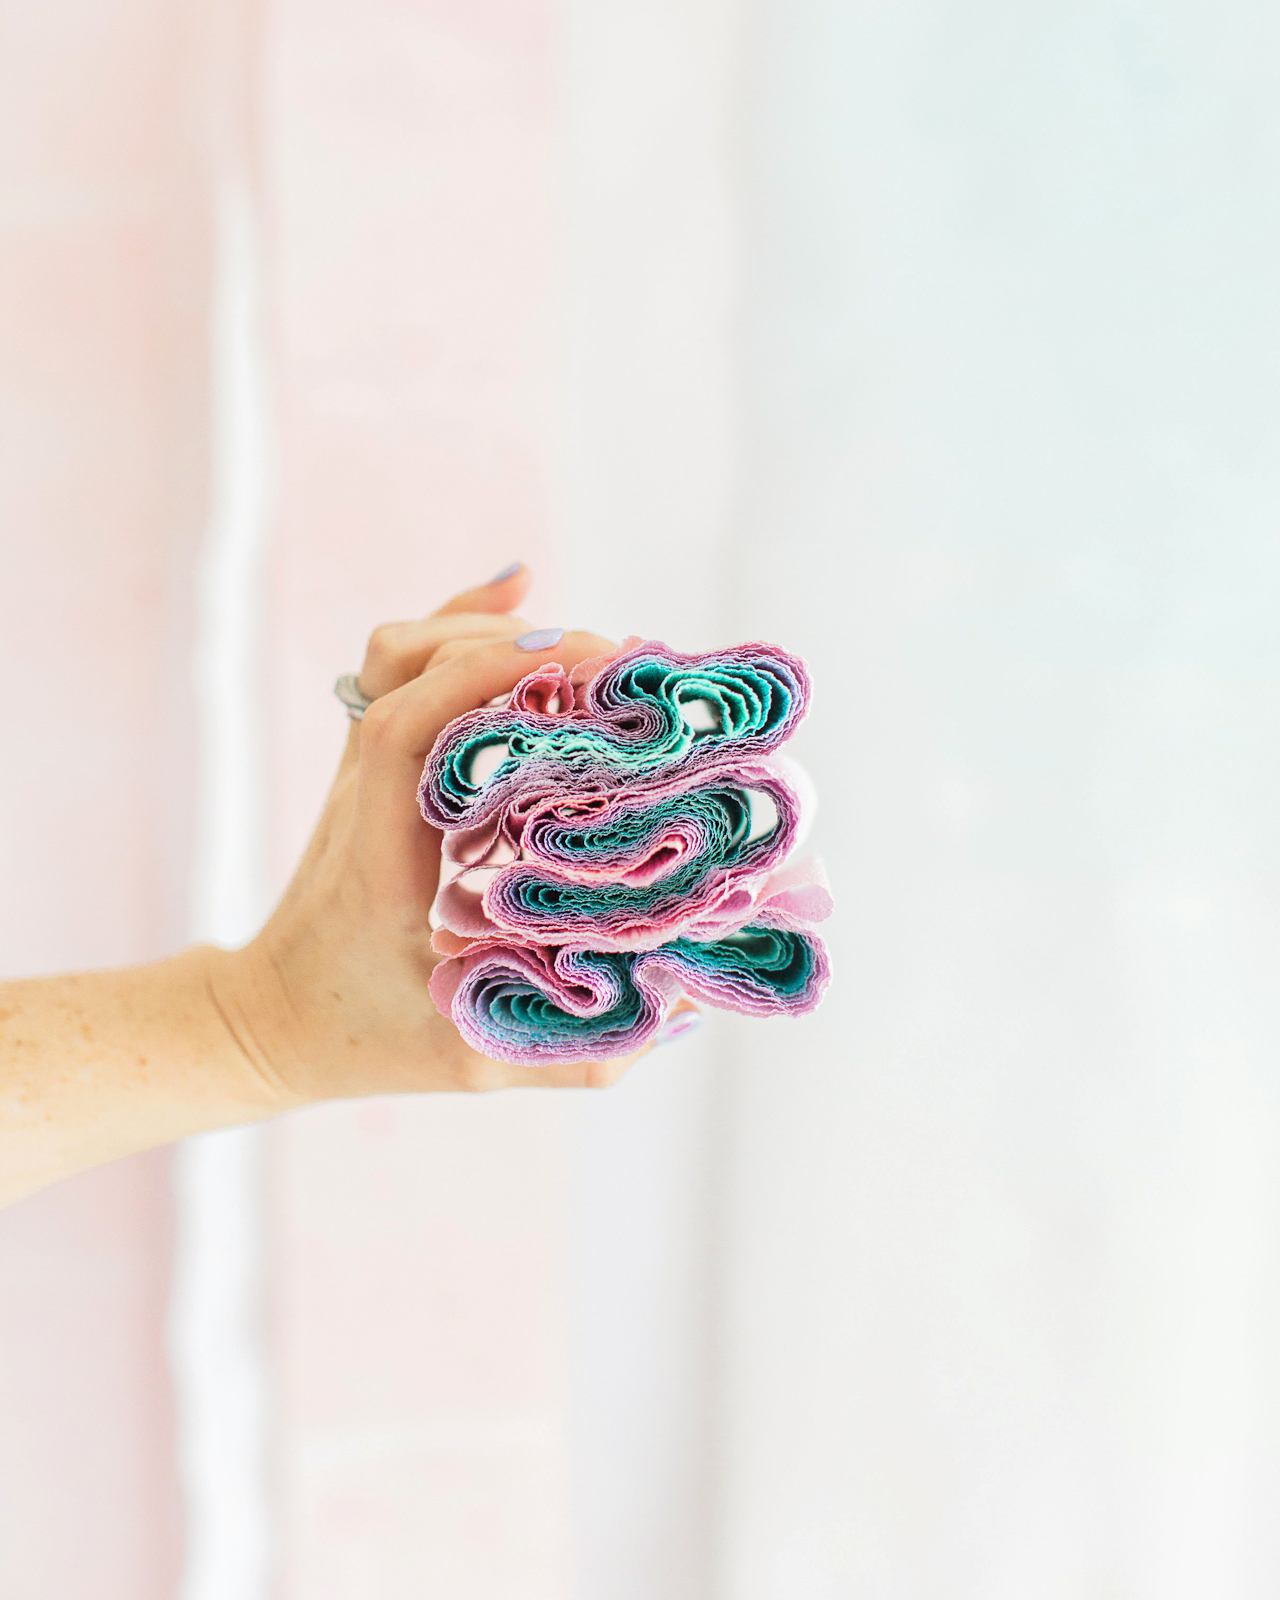
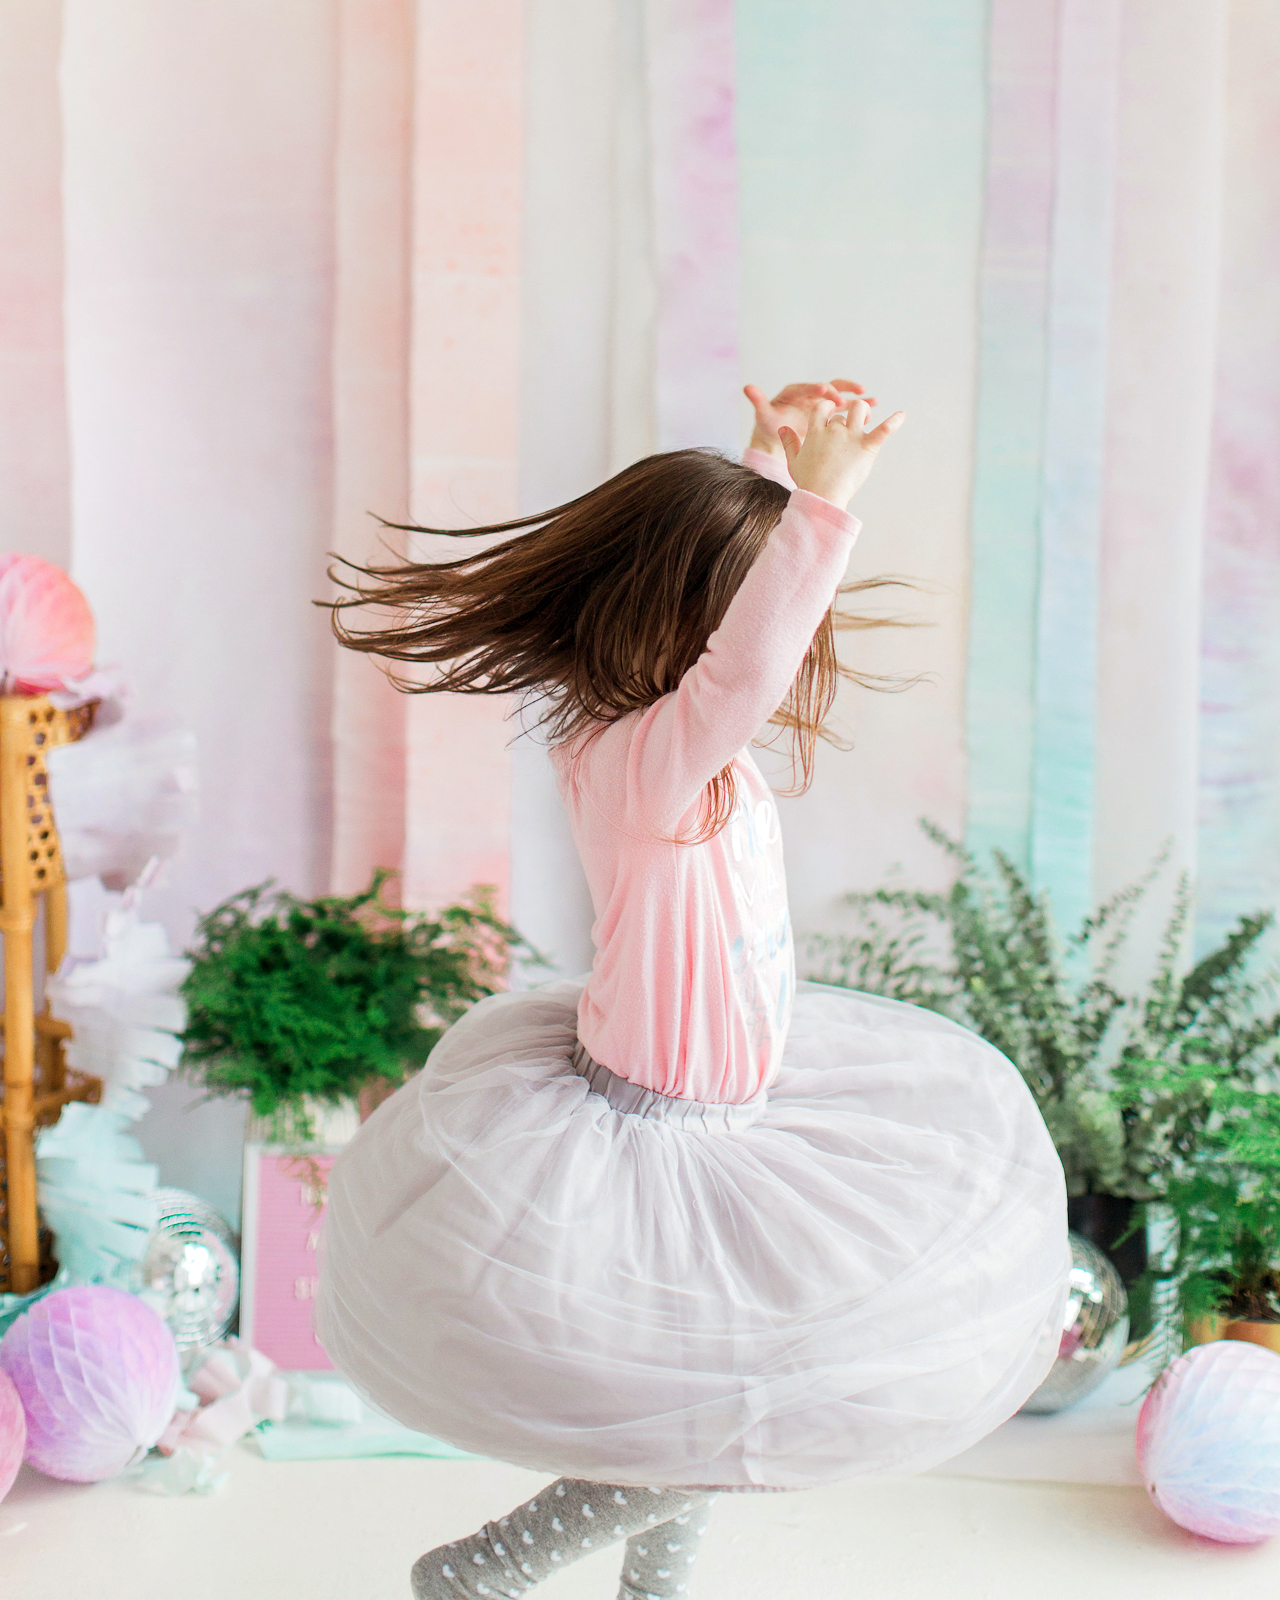
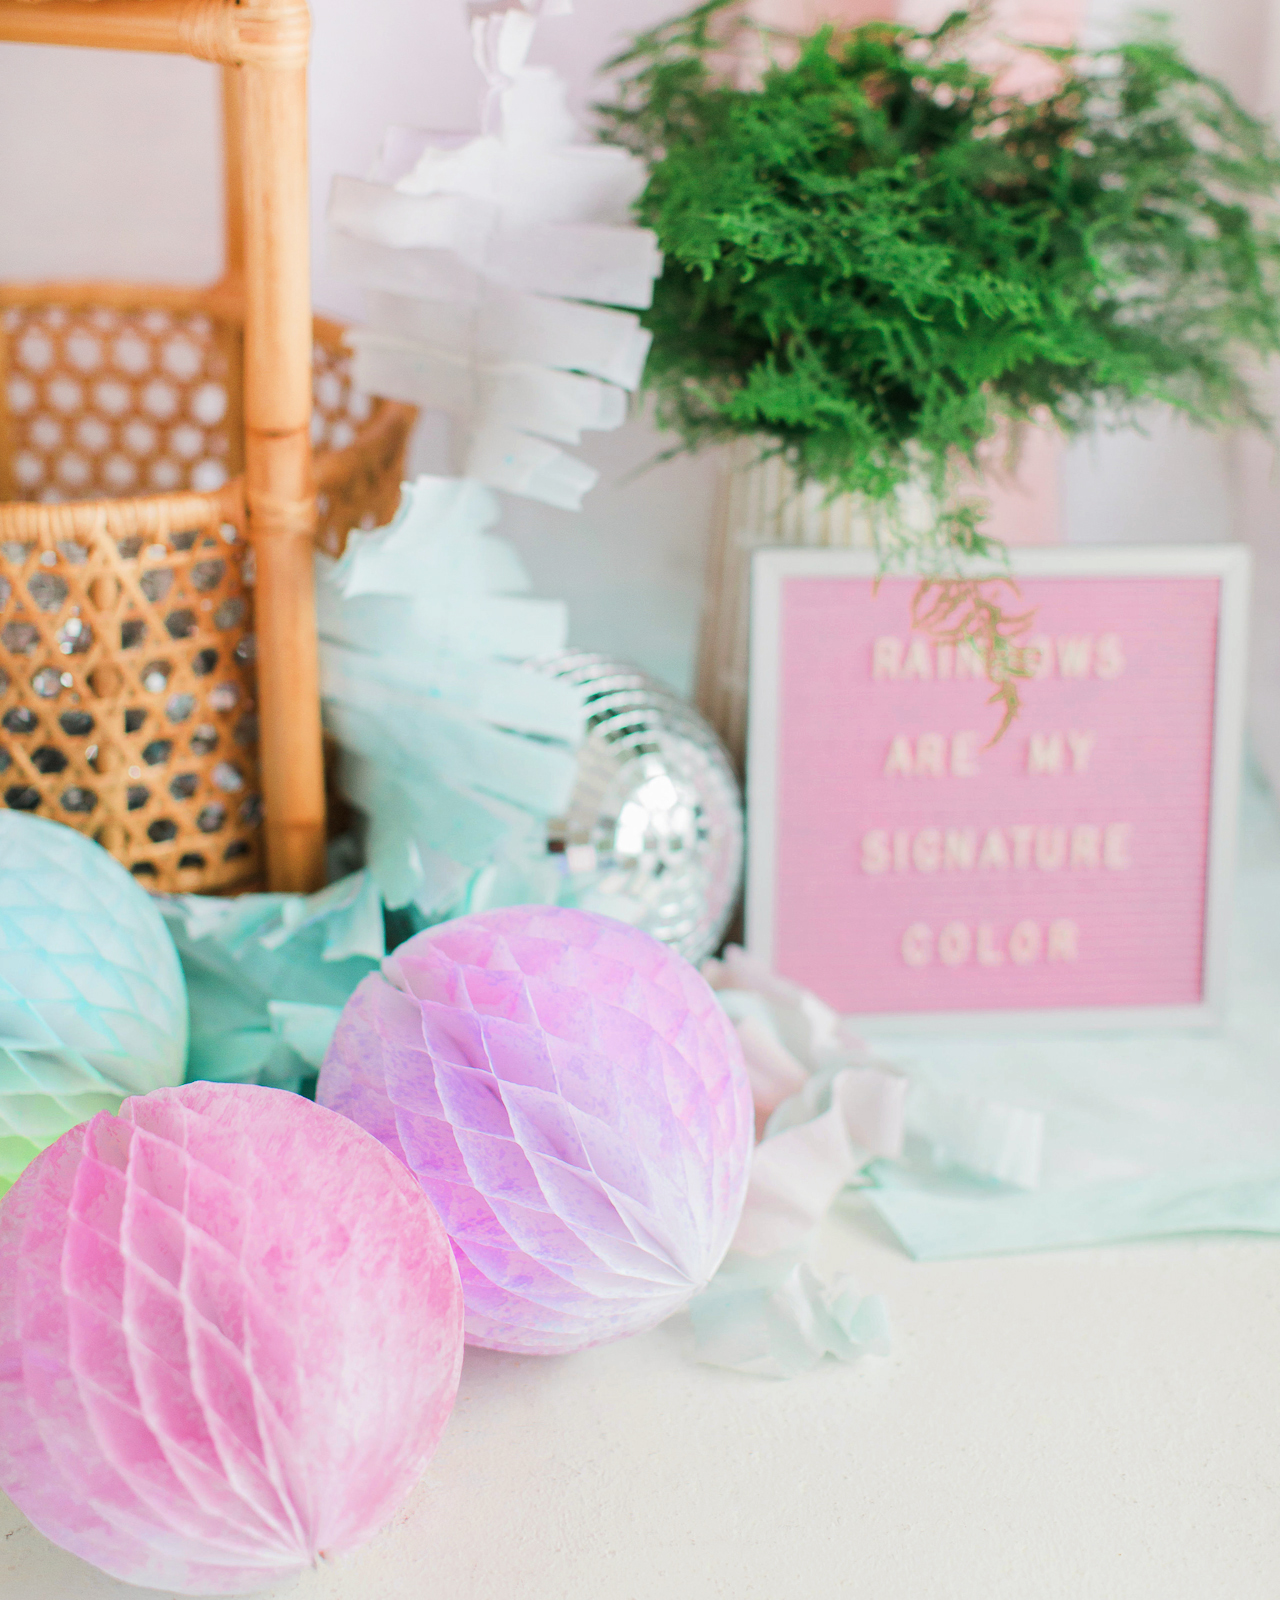
I was super excited to experiment with multiple Rit All-Purpose Dye colors to create this gorgeous watercolor-inspired backdrop. I mean, it’s a proven fact that rainbows make everything prettier. And a pastel rainbow? Even better! This pastel backdrop is made from a few rolls of white crepe paper spray dyed with fine mist spray bottles filled with Rit All-Purpose Dye. You can also use the same method to dye tissue paper decorations like honeycomb balls and tissue paper fans! Using spray bottles to create a super fine dye mist leaves the most gorgeous watercolor effect on crepe paper and tissue paper, and the result is completely unique wedding and party décor that you won’t find anywhere else!

DIY Rainbow Watercolor Crepe Paper Backdrop with RIT Dye

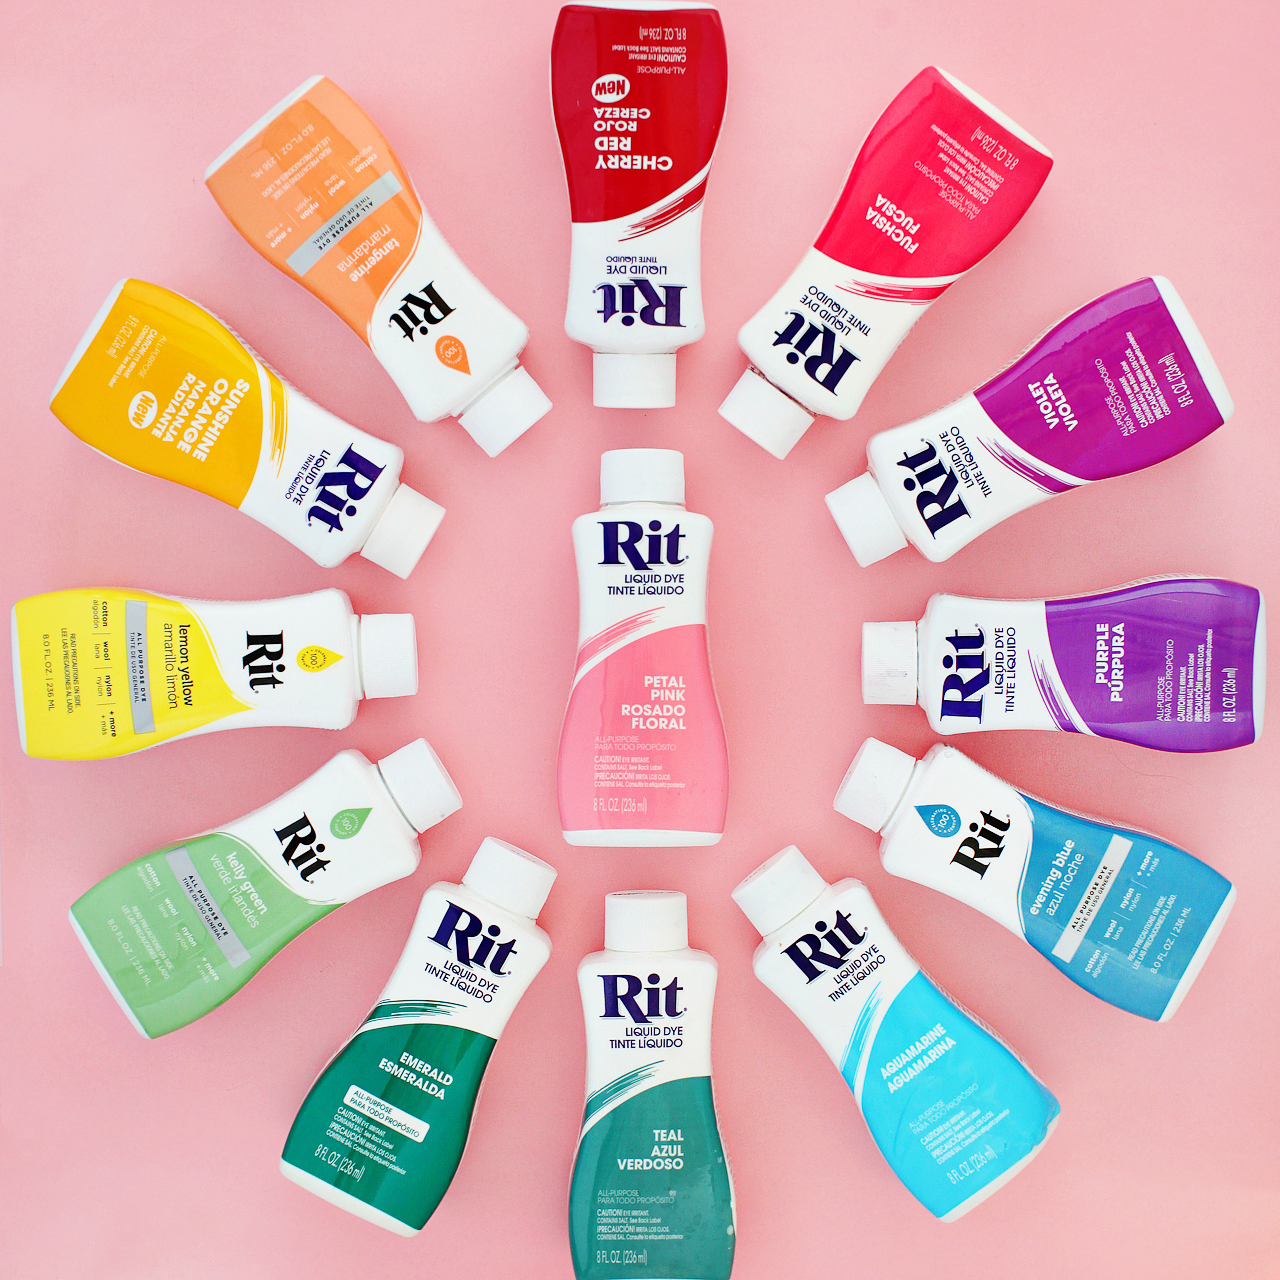
The best part about this DIY rainbow watercolor crepe paper backdrop is that you can completely customize the colors to suit your wedding color palette! Rit All-Purpose Dye is available in 50 shades, like Petal Pink, Coral, Violet, Aquamarine, and Kelly Green. Or you can create your own colors using the Rit Color Library, which includes color formulas to create over 500 additional colors – including Pantone on-trend colors by season! There’s seriously SO much color inspiration in the Rit Color Library! I love, love, love our pastel rainbow backdrop (you can find the specific color formulas I used a bit further below!), but I could also totally see a gorgeous ombré backdrop in several shades of a single color. How gorgeous would that be??

DIY Rainbow Watercolor Crepe Paper Backdrop with RIT Dye

Skill Level: Beginner

Approximate Crafting Time: 1 –2 Hours

Supplies

Rit All-Purpose Dye

2.5 oz Fine Mist Spray Bottles one bottle per dye color – I used a total of twelve spray bottles)

8-10 White Crepe Paper Rolls

Scissors

Protective rubber gloves

Rags or paper towels

Protective drop cloth

Measuring spoons

Gaffer’s Tape

Wood Dowels

Removable wall hooks

DIY Rainbow Watercolor Backdrop with Rit All-Purpose Dye

To make the DIY rainbow watercolor crepe paper backdrop:

Step 1. First, you’ll need to pick your colors! The Rit Color Library breaks all of the color formulas down by parent color: red, orange, yellow, green, blue, purple, pink, brown, and gray. I knew I wanted spring-inspired colors, so I went with shades of pink, peach, light purple, blue, teal, mint green, and sunny yellow. But I can’t wait to try this again with different color combinations. Burgundy and blush? Lavender and deep dusty blue? Sage green and rose? Yes, yes, and yes!

DIY Rainbow Watercolor Crepe Paper Backdrop with RIT Dye

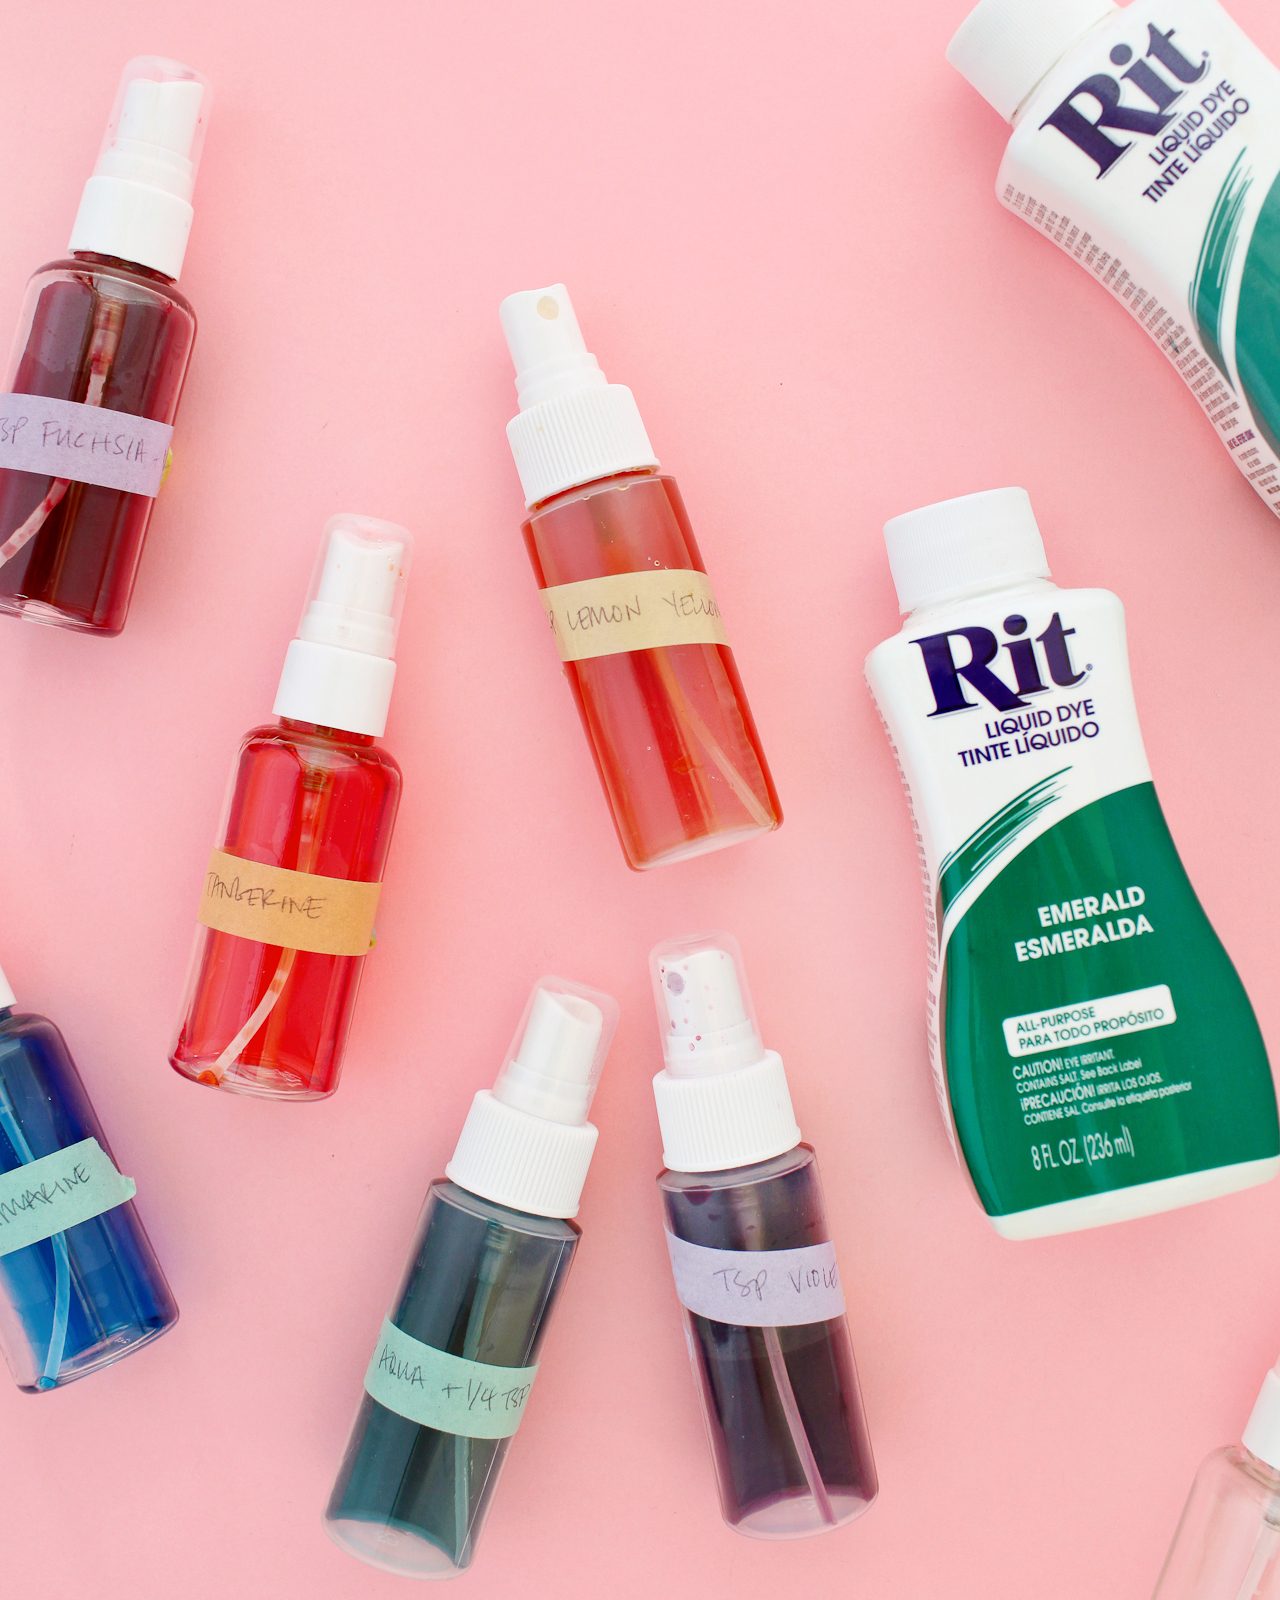
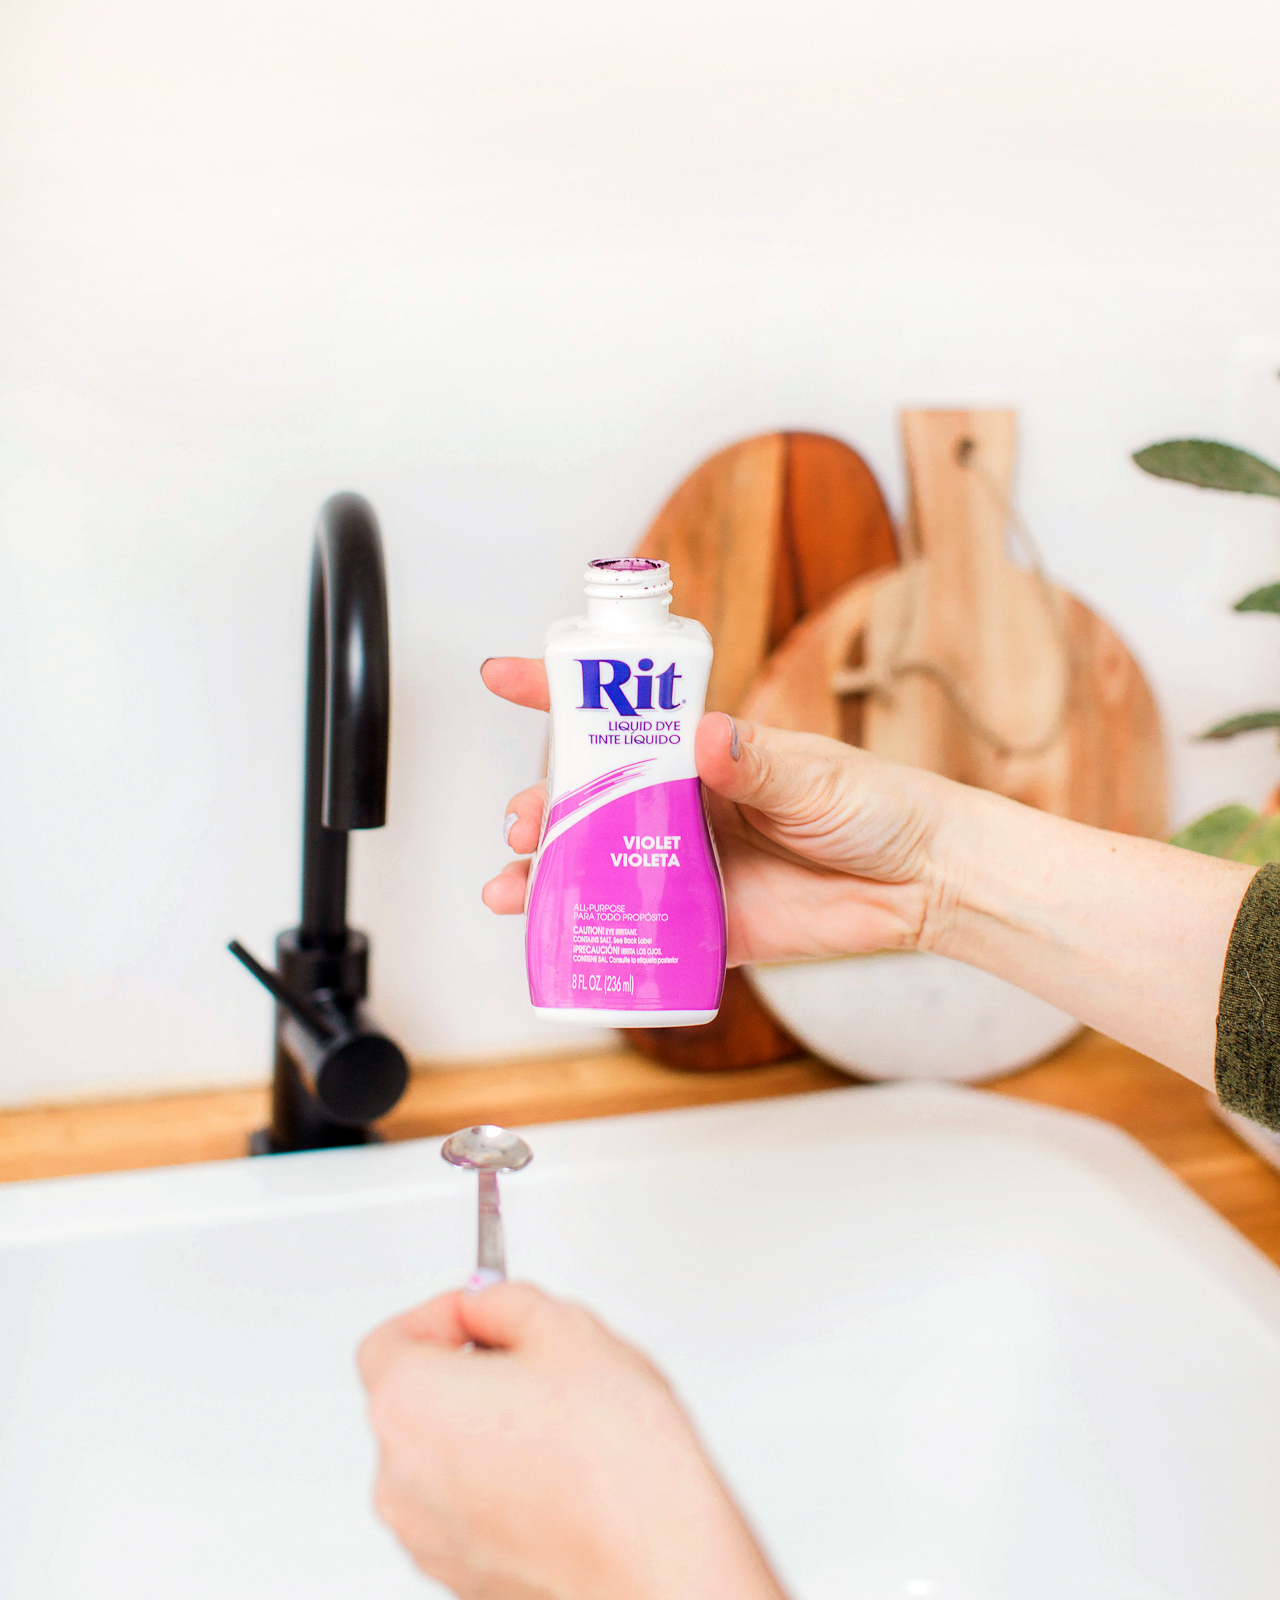
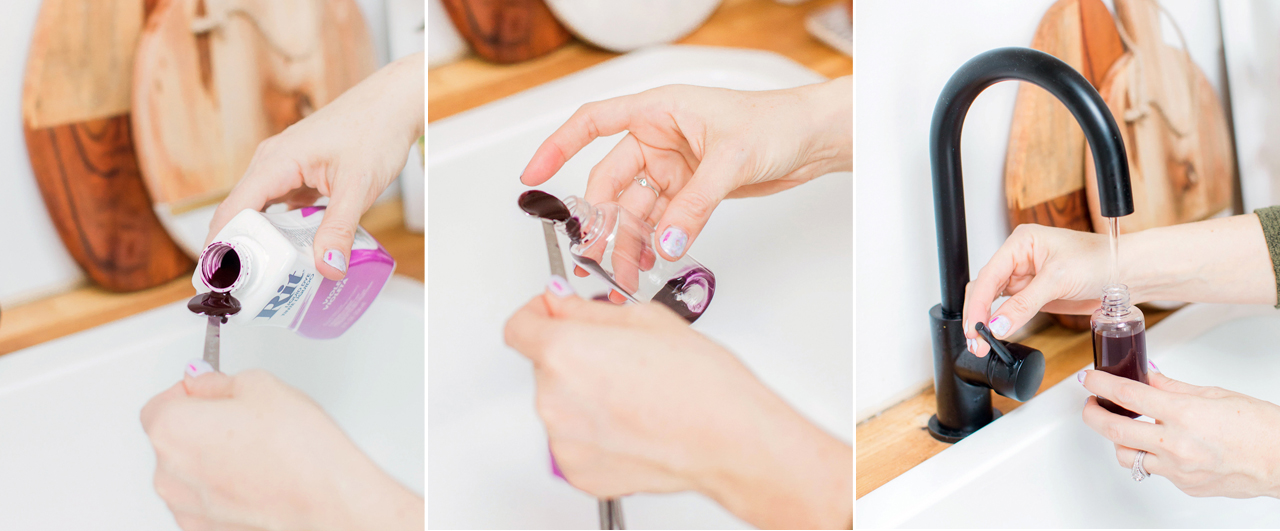
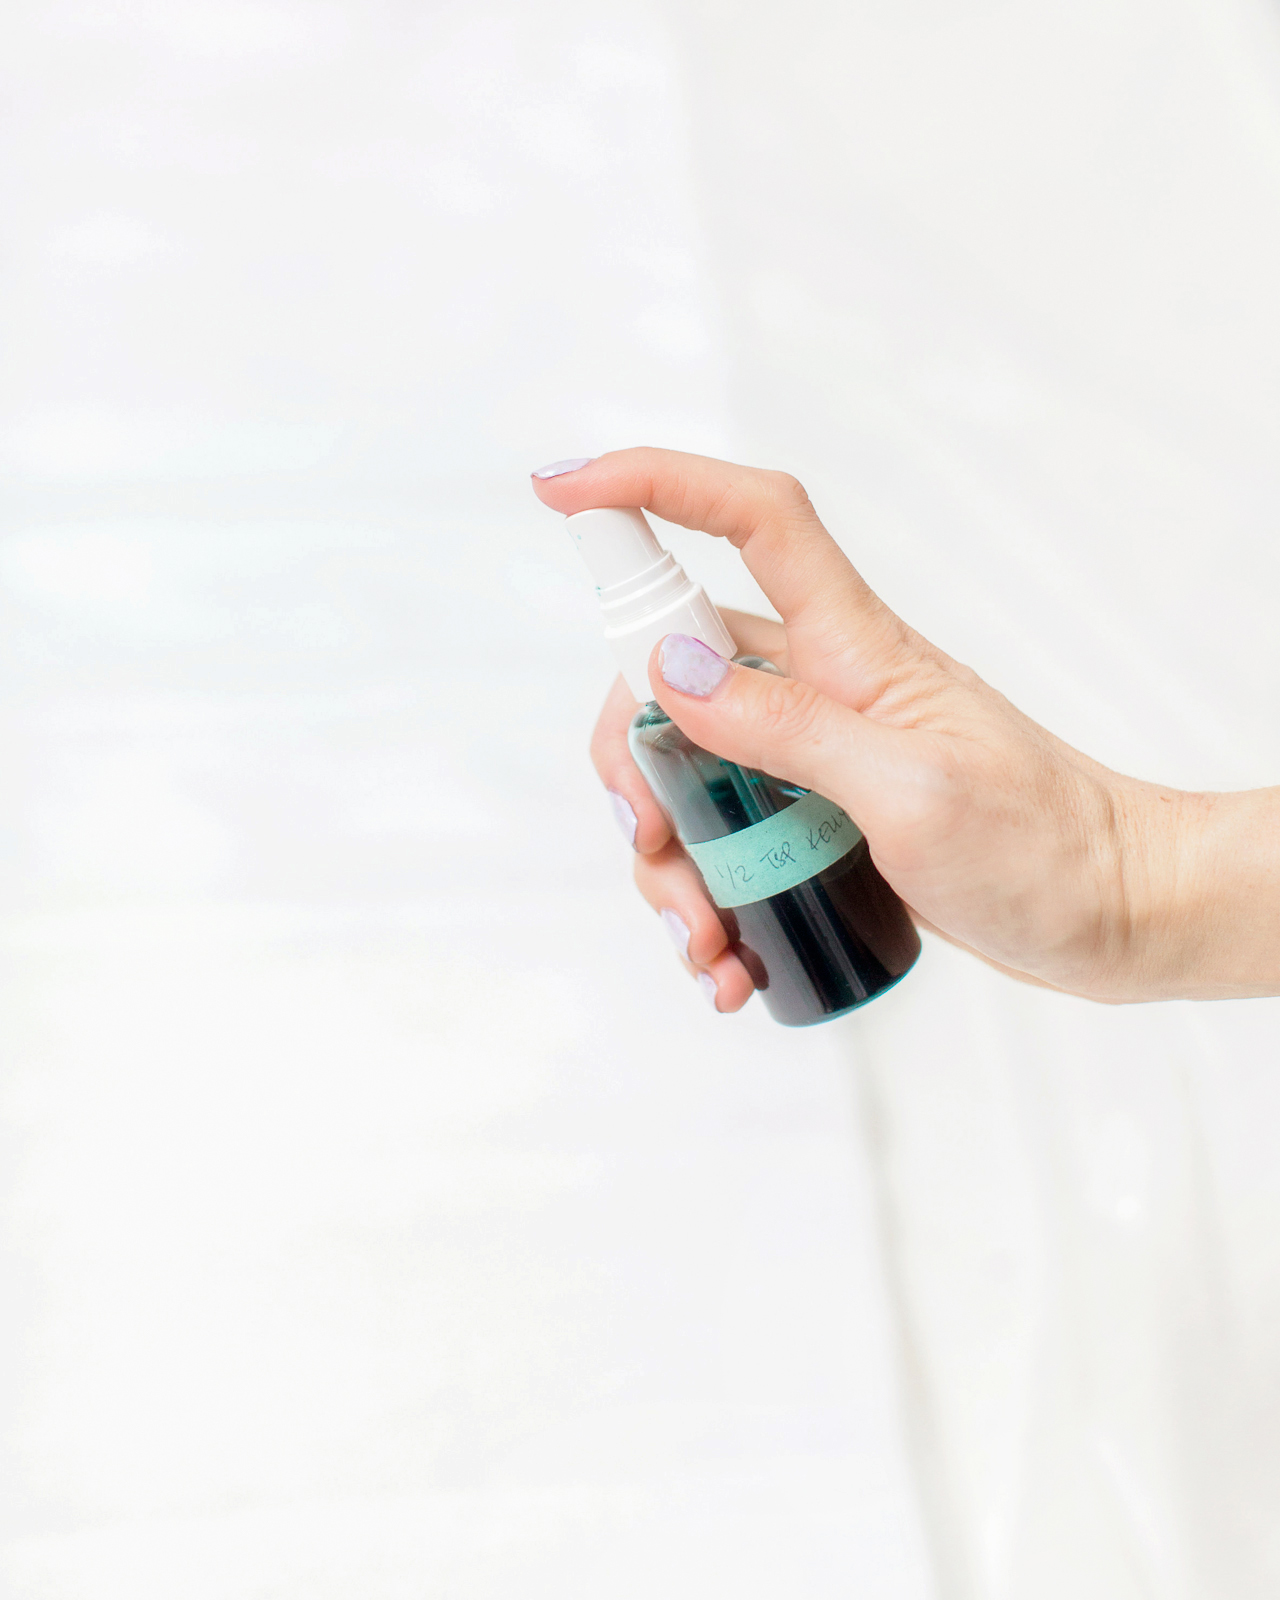
Step 2. Now that you’ve chosen your colors, mix your colors according to the recommended formula in the Rit Color Library, dividing the recommended dye amounts by 1/4. Don’t forget to wear your protective gloves! We’re using smaller amounts of dye than we’d need if we were planning to dye textiles, but because we’re turning the dye into a super fine mist, we still need the dye to be a bit more concentrated and intense. Dividing the color formula recipe by four seemed to do the trick for me! Shake dye bottles before pouring. Using a measuring spoon, measure the amount of Rit All-Purpose Dye and carefully pour the dye into the small spray bottles, then fill the spray bottle with hot water. Shake carefully to mix.

DIY Rainbow Watercolor Crepe Paper Backdrop with RIT Dye / Process

Pro tip: be sure to label your bottles as you go, otherwise you’re bound to lose track of what’s what (trust me on this). I used a bit of washi tape and wrote the color formula on a small piece of tape, then taped the written formula to each bottle.

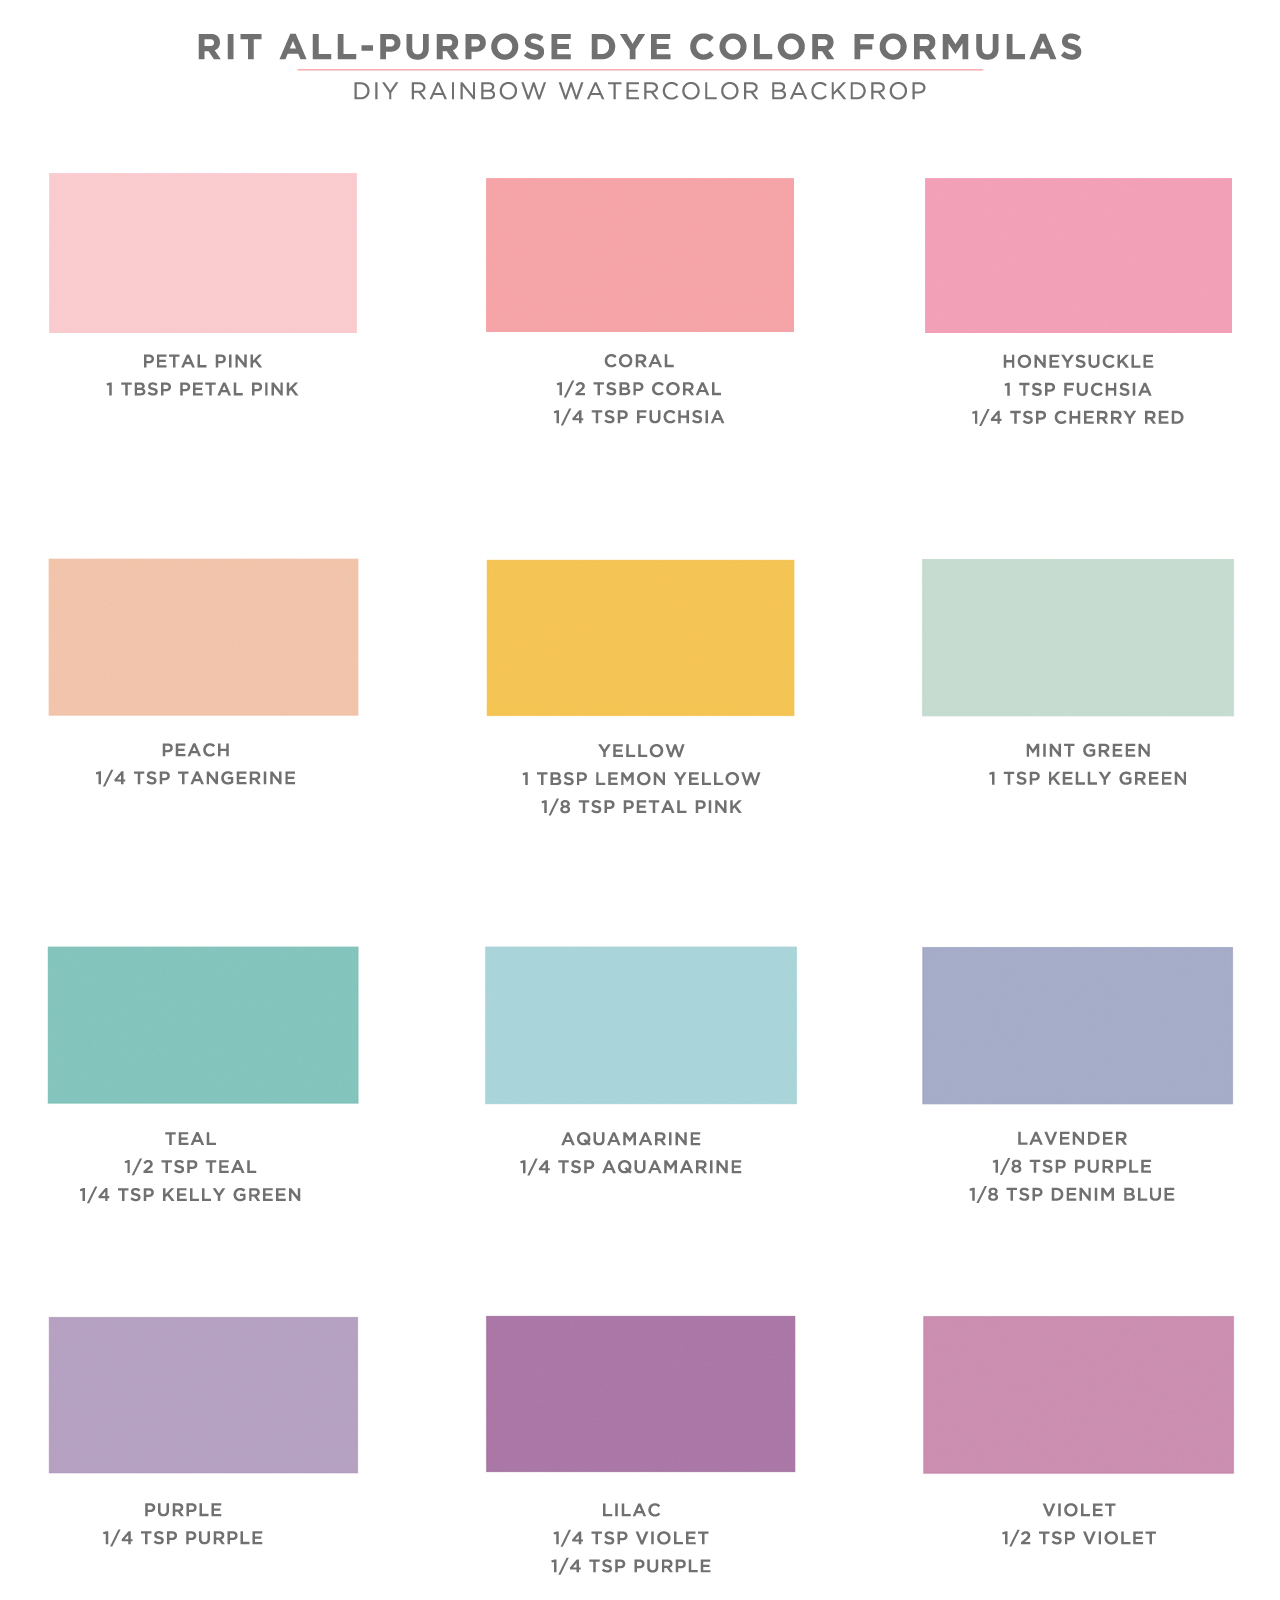
Here are the exact color formulas that I used to create the backdrop:

DIY Rainbow Watercolor Backdrop / Rit All-Purpose Dye Color Formulas

Step 3. Unravel each roll of white crepe paper until it’s one big long sheet, then place each sheet on top of a protective drop cloth on the floor of your workspace. Before you start spray dyeing, be sure to test your colors on a test sheet of crepe paper – or even just on a paper towel – and let it dry completely. The colors will become more intense as they dry! If a color is too dark, pour out a portion of the bottle and add more water to dilute the color. If you need a color to be darker, I found it easiest to pour out the entire 2.5 oz bottle and start over – usually doubling the original quantity of each color (i.e., going from 1/2 teaspoon of kelly green to 1 teaspoon of kelly green to get the perfect shade of mint green).

DIY Rainbow Watercolor Crepe Paper Backdrop with RIT Dye

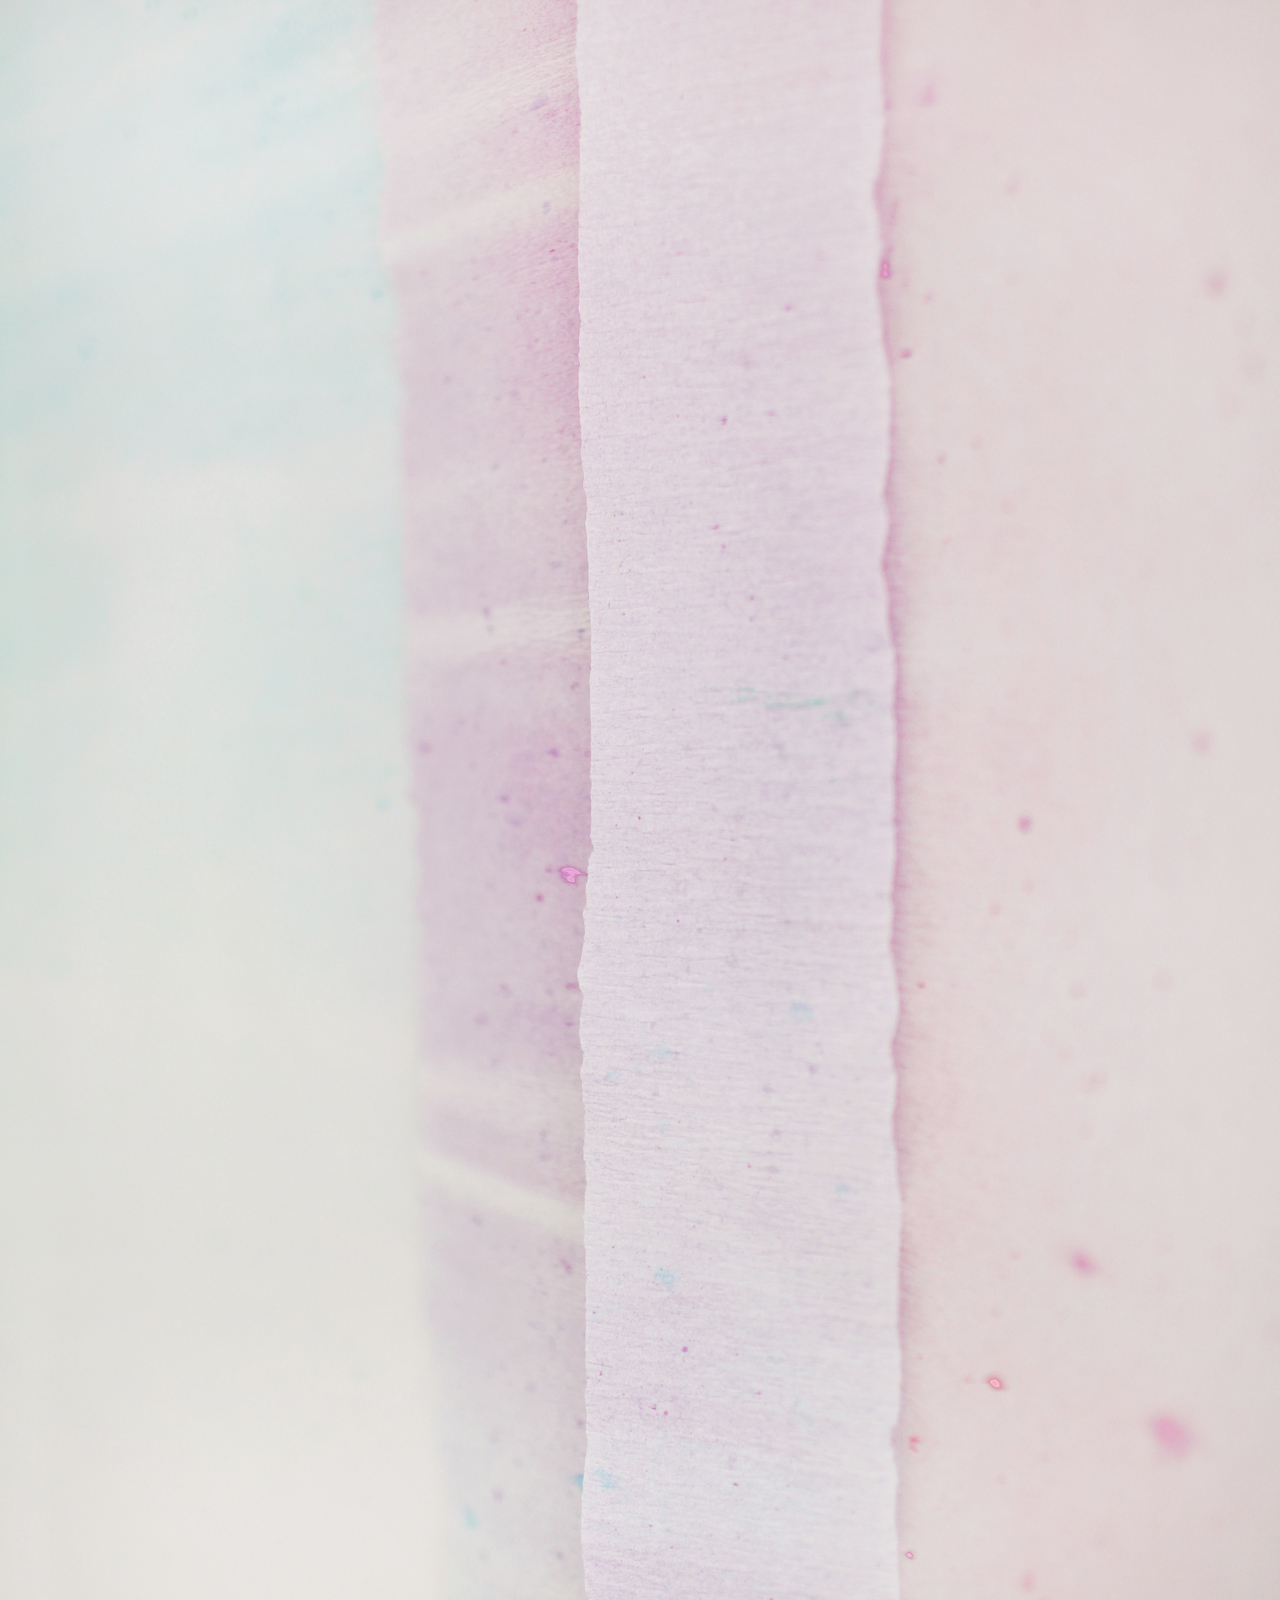
Step 4. Using one spray bottle at a time, spray a very light coat of Rit All-Purpose Dye all over each sheet of white crepe paper, using each dye color in rainbow order. I switched things up a bit with the color order; sometimes I would start with pink or peach at the top and work my way down to lavender, other times I started with lavender and end with blue. Whatever order you choose, place analogous colors next to each other (oranges into pinks into purples) so the colors flow smoothly into each other and don’t end up looking muddy. For the best and most consistent results, make sure the crepe paper doesn’t get too wet and blot the nozzle with a paper towel or a rag after 5-8 pumps to maintain a fine spray mist.

DIY Rainbow Watercolor Crepe Paper Backdrop with RIT Dye

DIY Rainbow Watercolor Crepe Paper Backdrop with RIT Dye

Step 5. Once you’ve dyed all of your crepe paper, apply a couple pieces of gaffer’s tape to one end of each sheet and tape the paper to the floor. Then, pull on the other side of the paper to remove the stretch in the crepe paper and tape the other end to the floor. Allow the crepe paper to dry completely, around 30 minutes, then remove the gaffer’s tape. It’s gentle enough that it shouldn’t tear the paper as long as you’re very careful while removing it!

Step 6. To hang the backdrop, use a few pieces of gaffer’s tape to adhere the crepe paper to long wooden dowels and use non-damaging, removable wall hooks to hang the backdrop. For added depth and visual interest, layer the crepe paper sheets over each other – or even cut some of the sheets into a variety of widths and mix them all together!

DIY Rainbow Watercolor Crepe Paper Backdrop with RIT Dye

DIY Rainbow Watercolor Crepe Paper Backdrop with RIT Dye

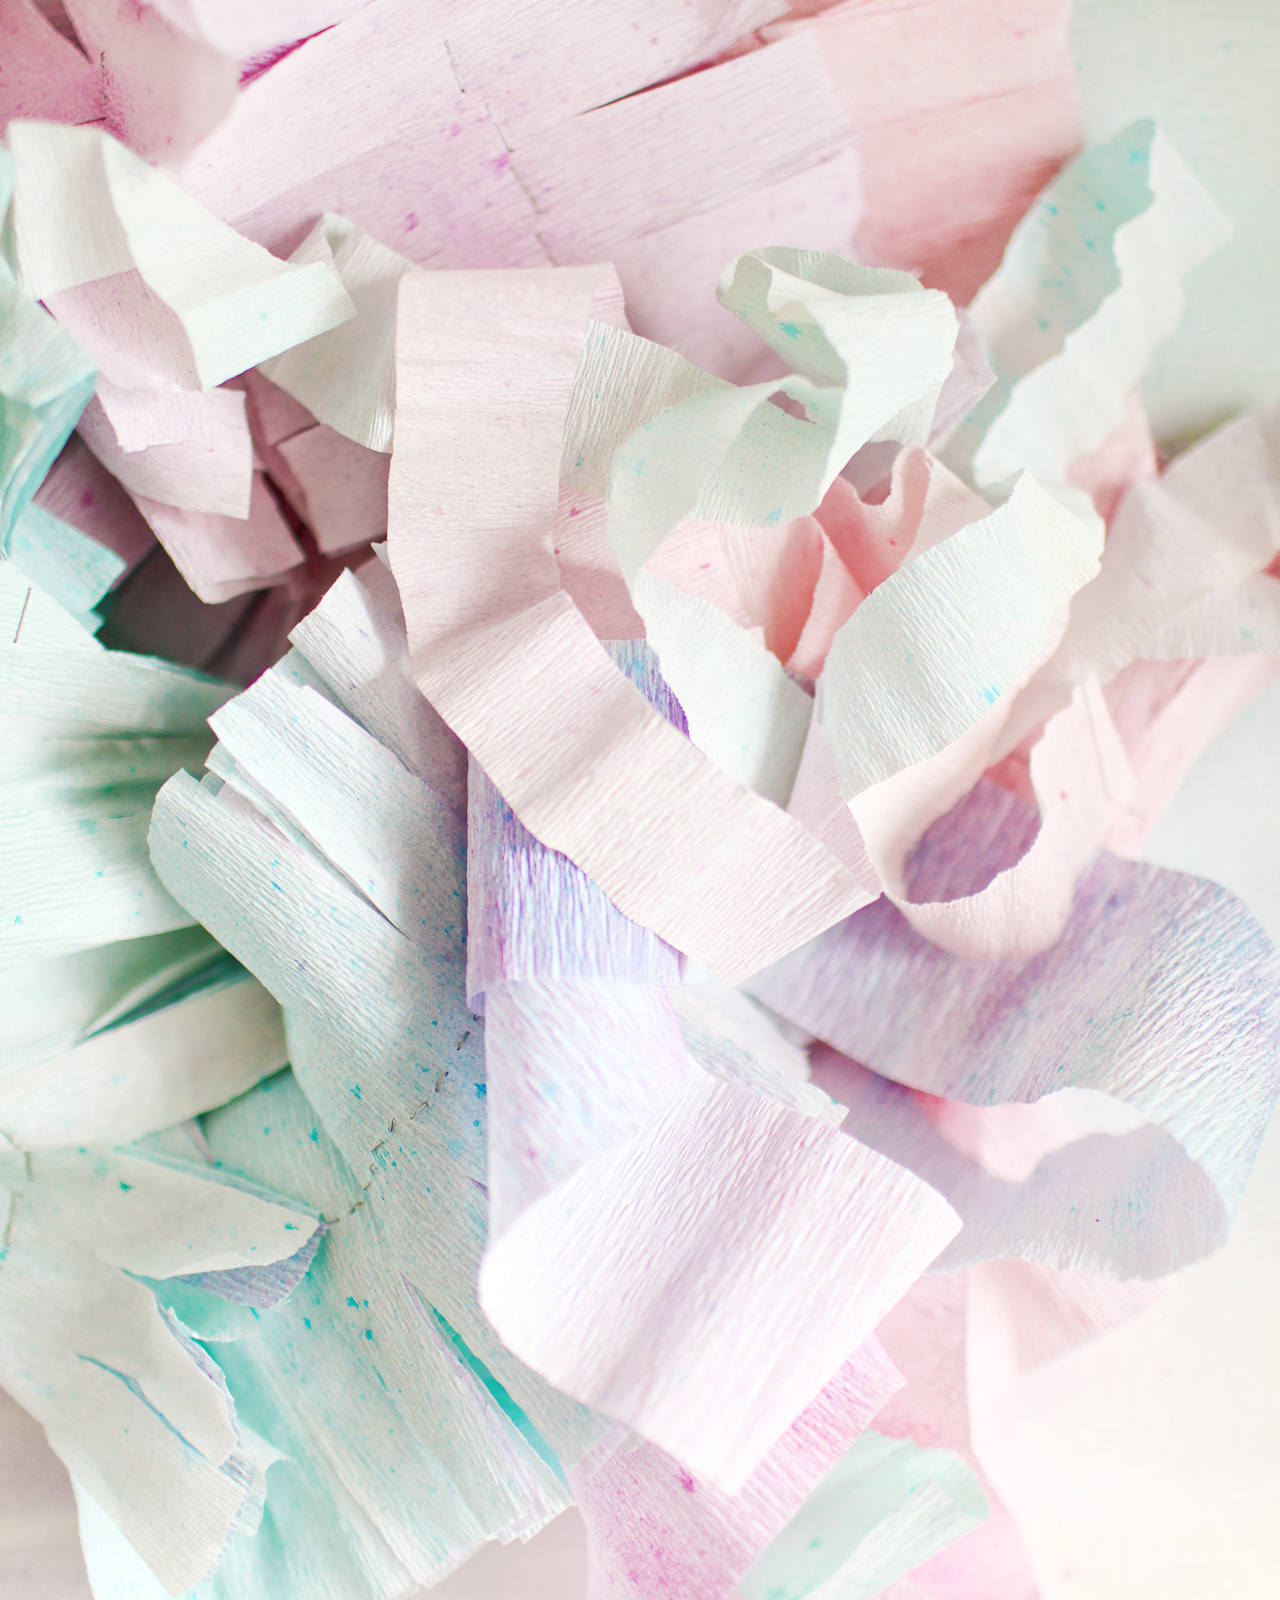
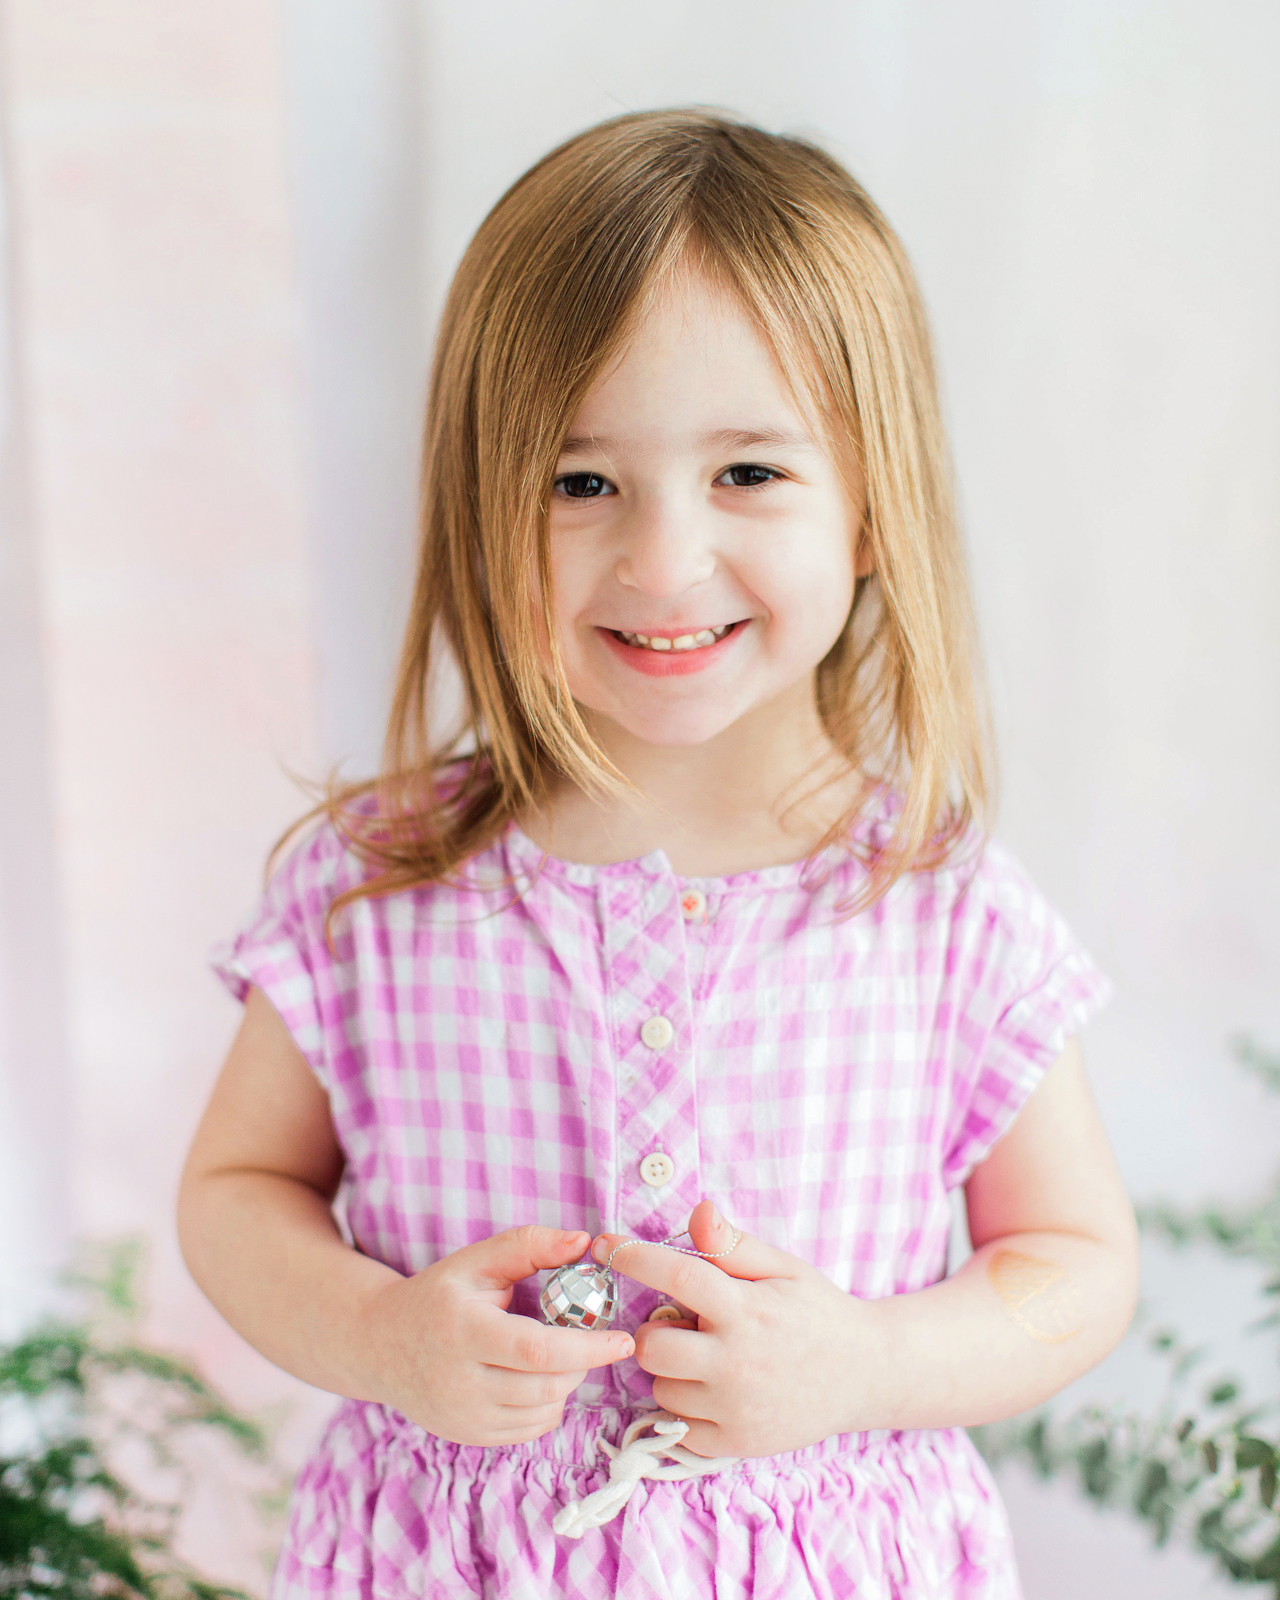
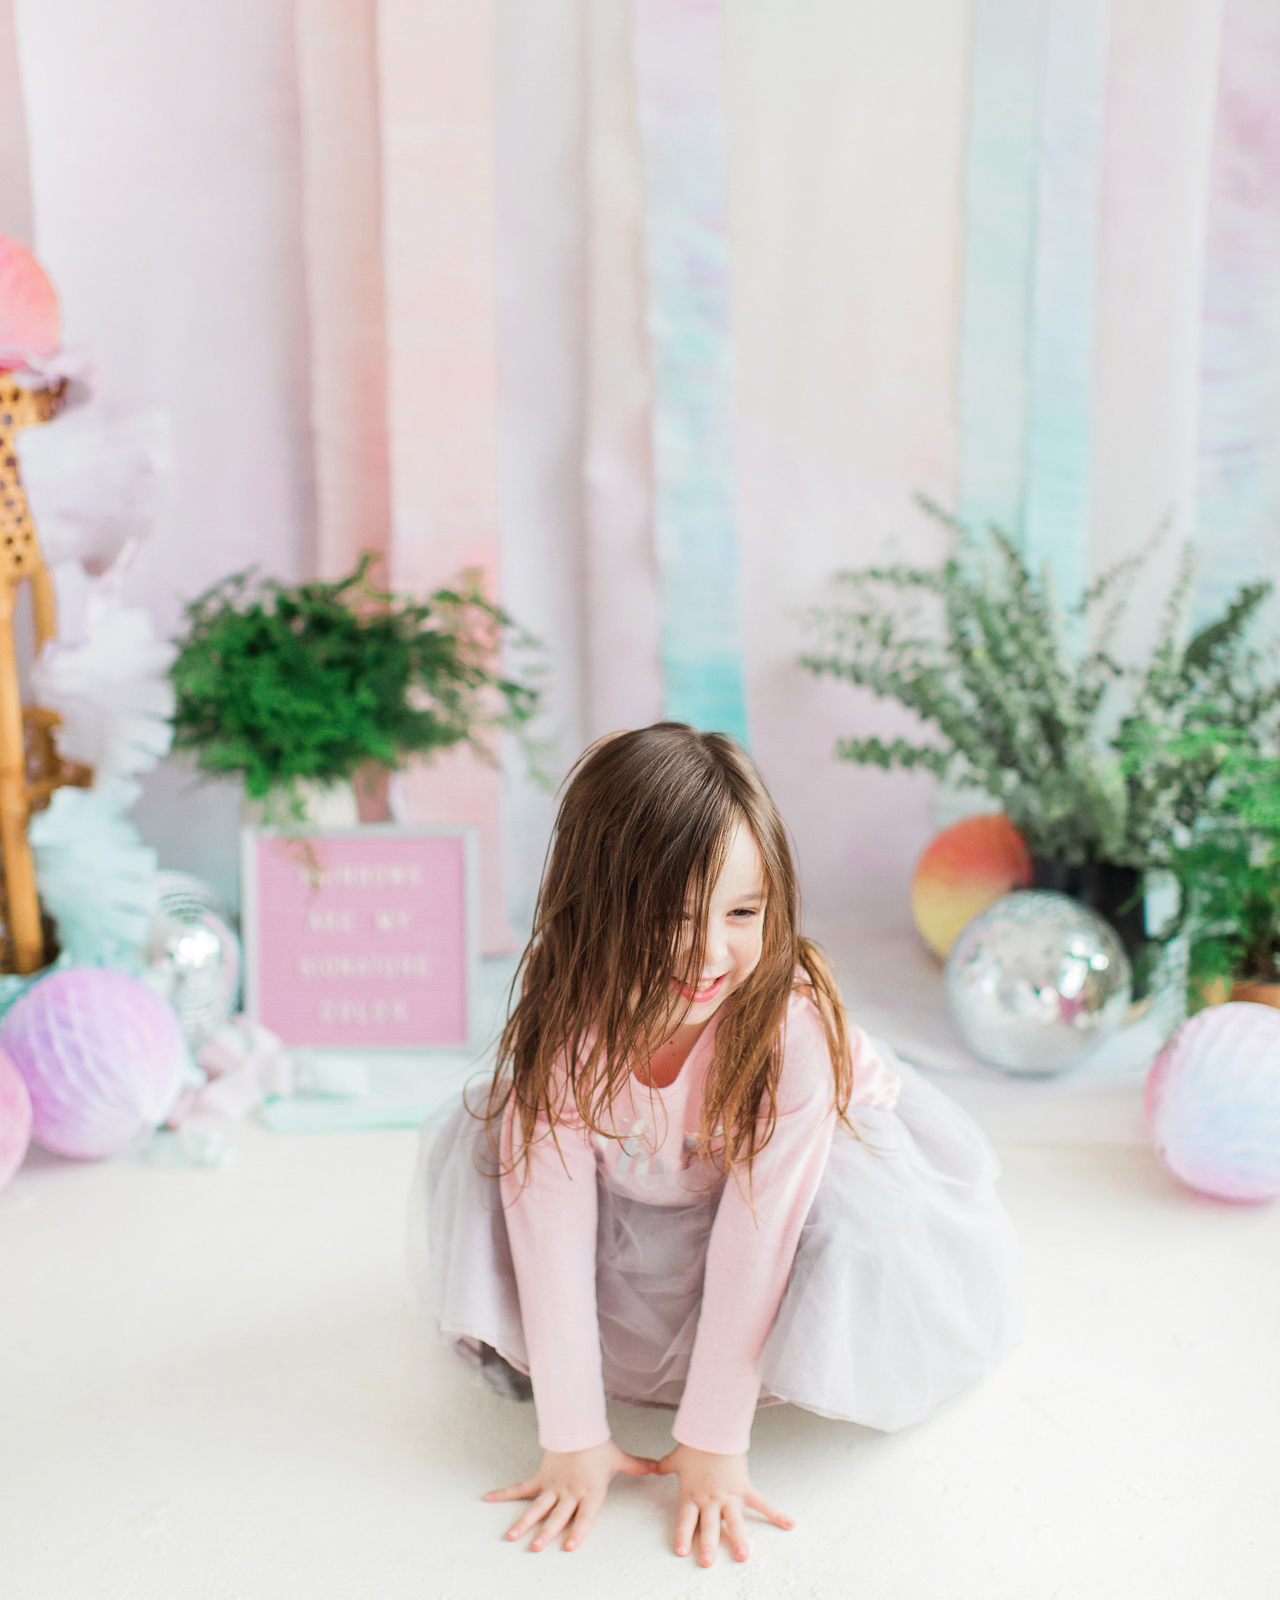
Ta da! It’s such a quick and easy way to add a dose of color to a wedding or party – and you can use the same technique to turn any white paper decorations into a rainbow, from round honeycombs to tissue paper fans and fringe crepe paper garlands! I absolutely LOVE this idea for a wedding ceremony backdrop – which you can reuse as a photo booth backdrop for the reception! Just be prepared for this backdrop to inspire a bit of twirling from your younger guests.

DIY Rainbow Watercolor Crepe Paper Backdrop with RIT Dye

DIY Rainbow Watercolor Crepe Paper Backdrop with RIT Dye

DIY Rainbow Watercolor Crepe Paper Backdrop with RIT Dye

DIY Rainbow Watercolor Crepe Paper Backdrop with RIT Dye

Pastels! Rainbows! Gah, I just love this DIY rainbow watercolor crepe paper backdrop SO much! But what do YOU think?? If you make this crepe paper backdrop for your wedding or party, be sure to share a photo on Instagram with the hashtag #madewithosbp so I can see it!

This is a sponsored conversation written by me on behalf of Rit Dye. The opinions and text are all mine. Check out the 50 shades of Rit All-Purpose Dye right here and browse over 500 color formulas in the Rit Dye Color Library here!


Photo Credits: Meghan Marie Photography and Nole Garey for Oh So Beautiful Paper

Mediterranean Inspired Watercolor Wedding Invitations

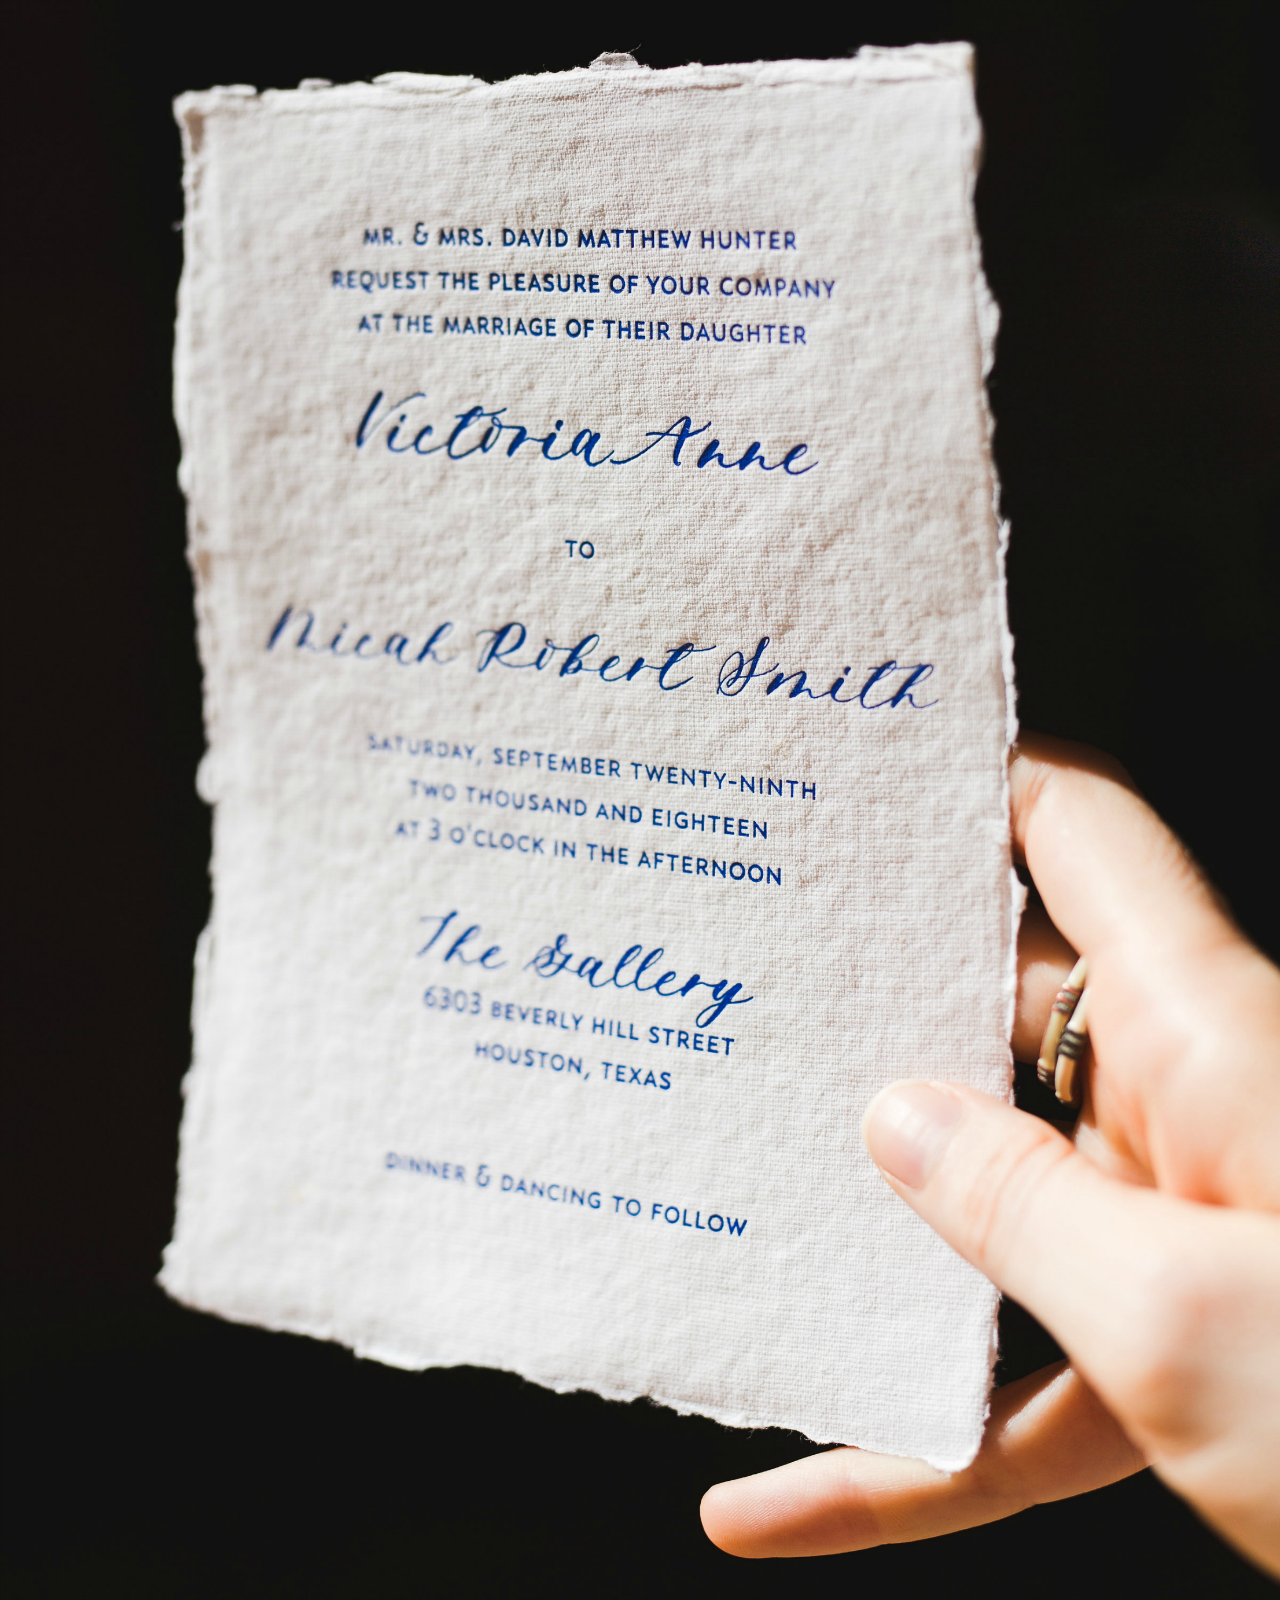
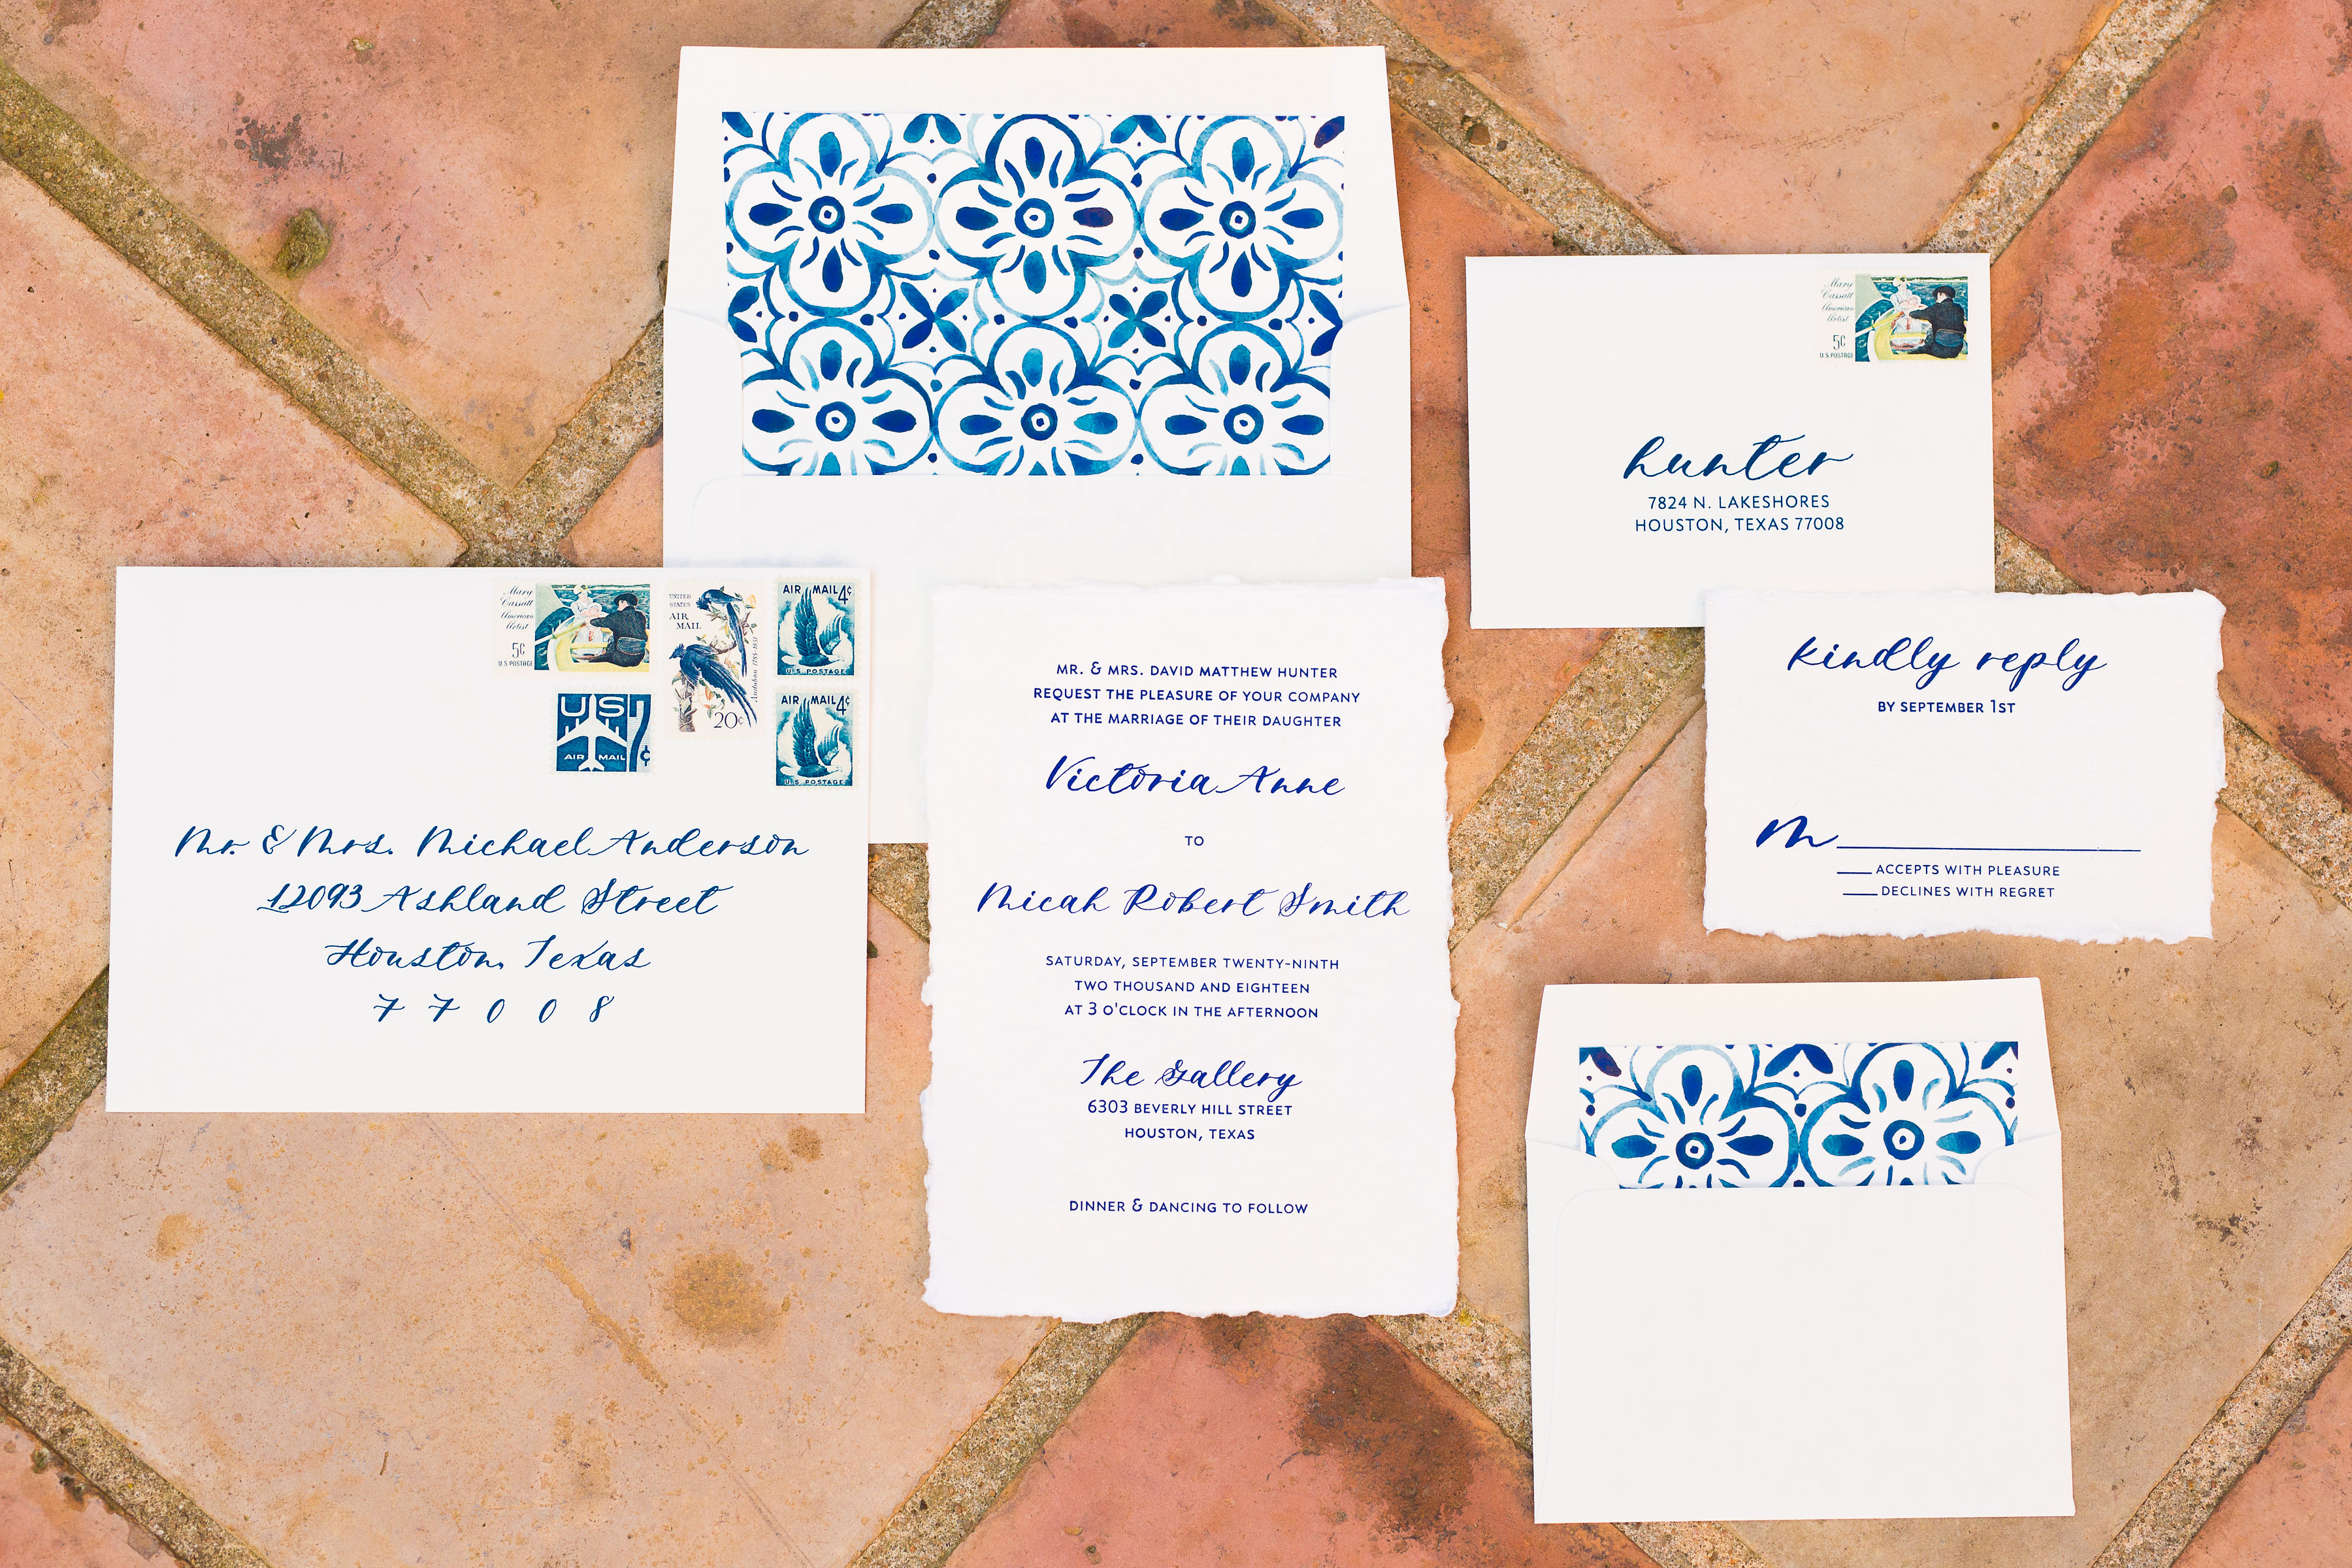
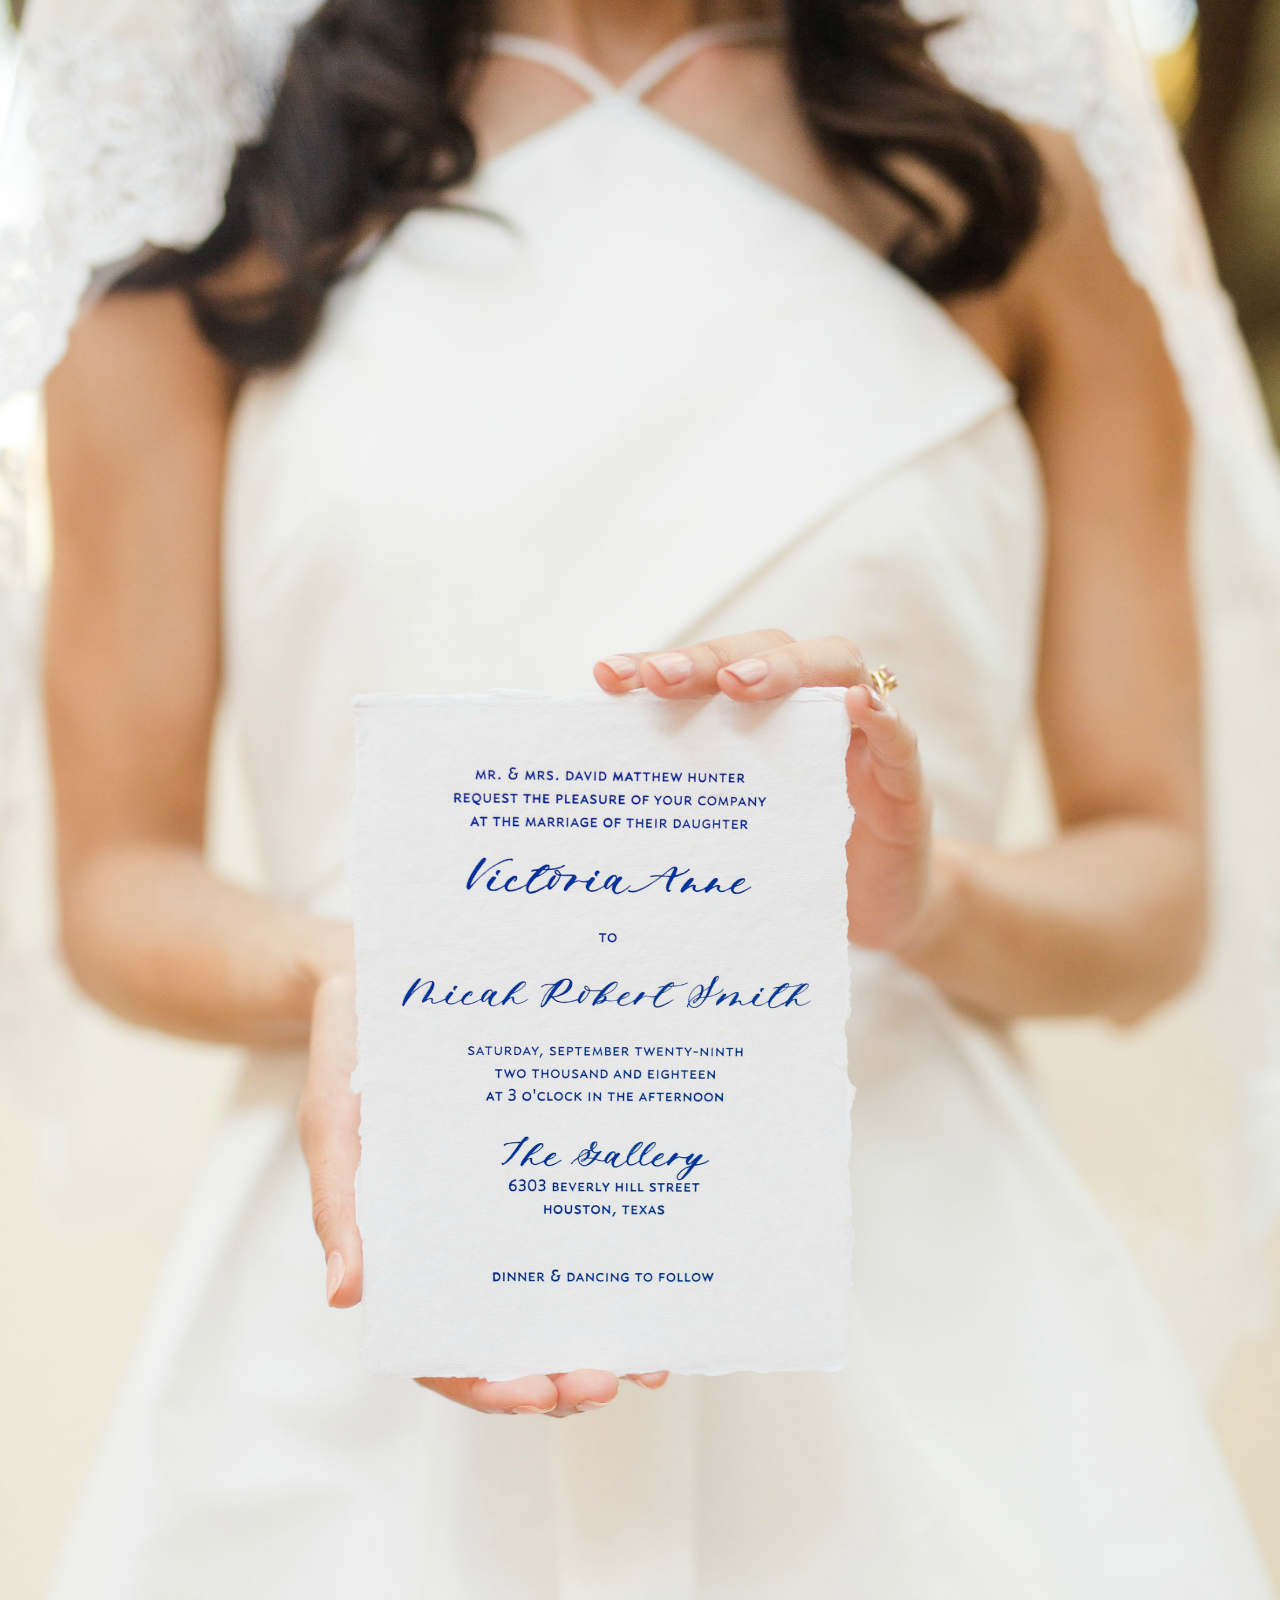
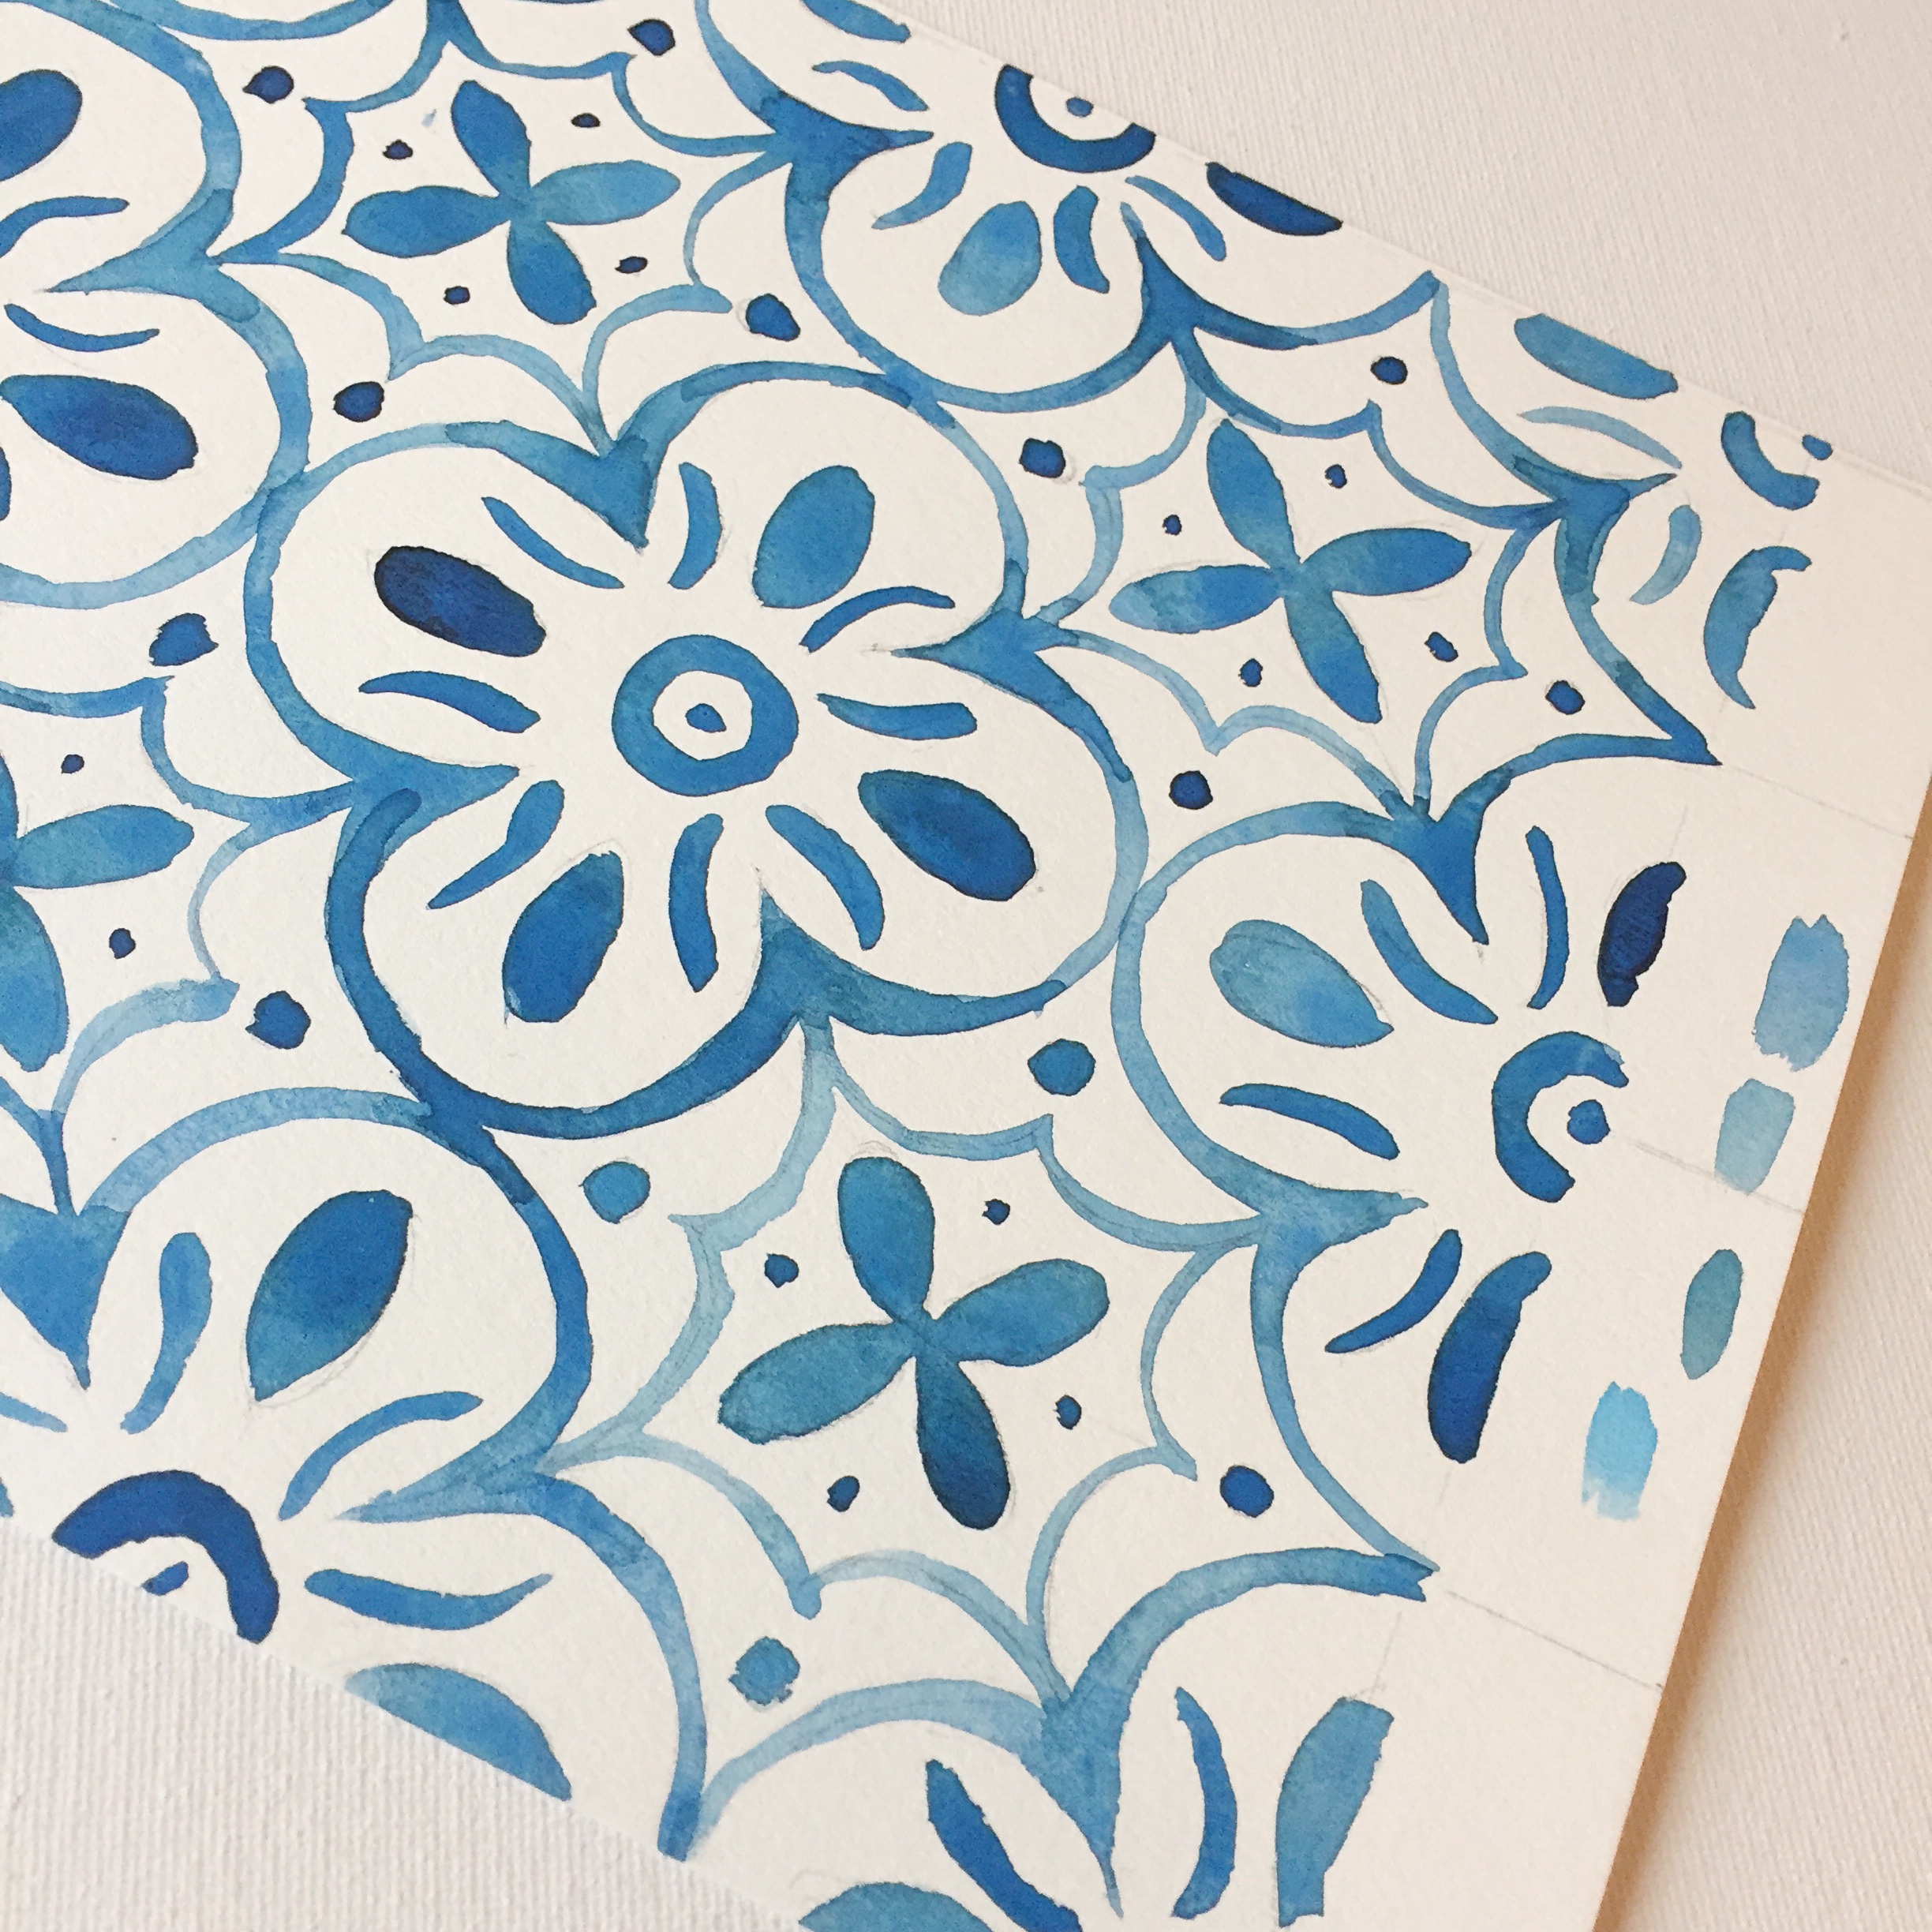
With these beautiful deep blue tones, these stunning Mediterranean-inspired watercolor wedding invitations could be for an al fresco dinner party in Tuscany or an exotic getaway to the Greek Isles! Instead, we’re bringing the Mediterranean a bit closer to home, for a wedding in Houston, Texas! Sarah McKeon of Bluebonnet Press designed these stunning invitations with blue letterpress printed text on white handmade paper. The watercolor tile-inspired envelope liners are the perfect bold touch!

Mediterranean Inspired Watercolor Wedding Invitations by Bluebonnet Press

Mediterranean Inspired Watercolor Wedding Invitations by Bluebonnet Press

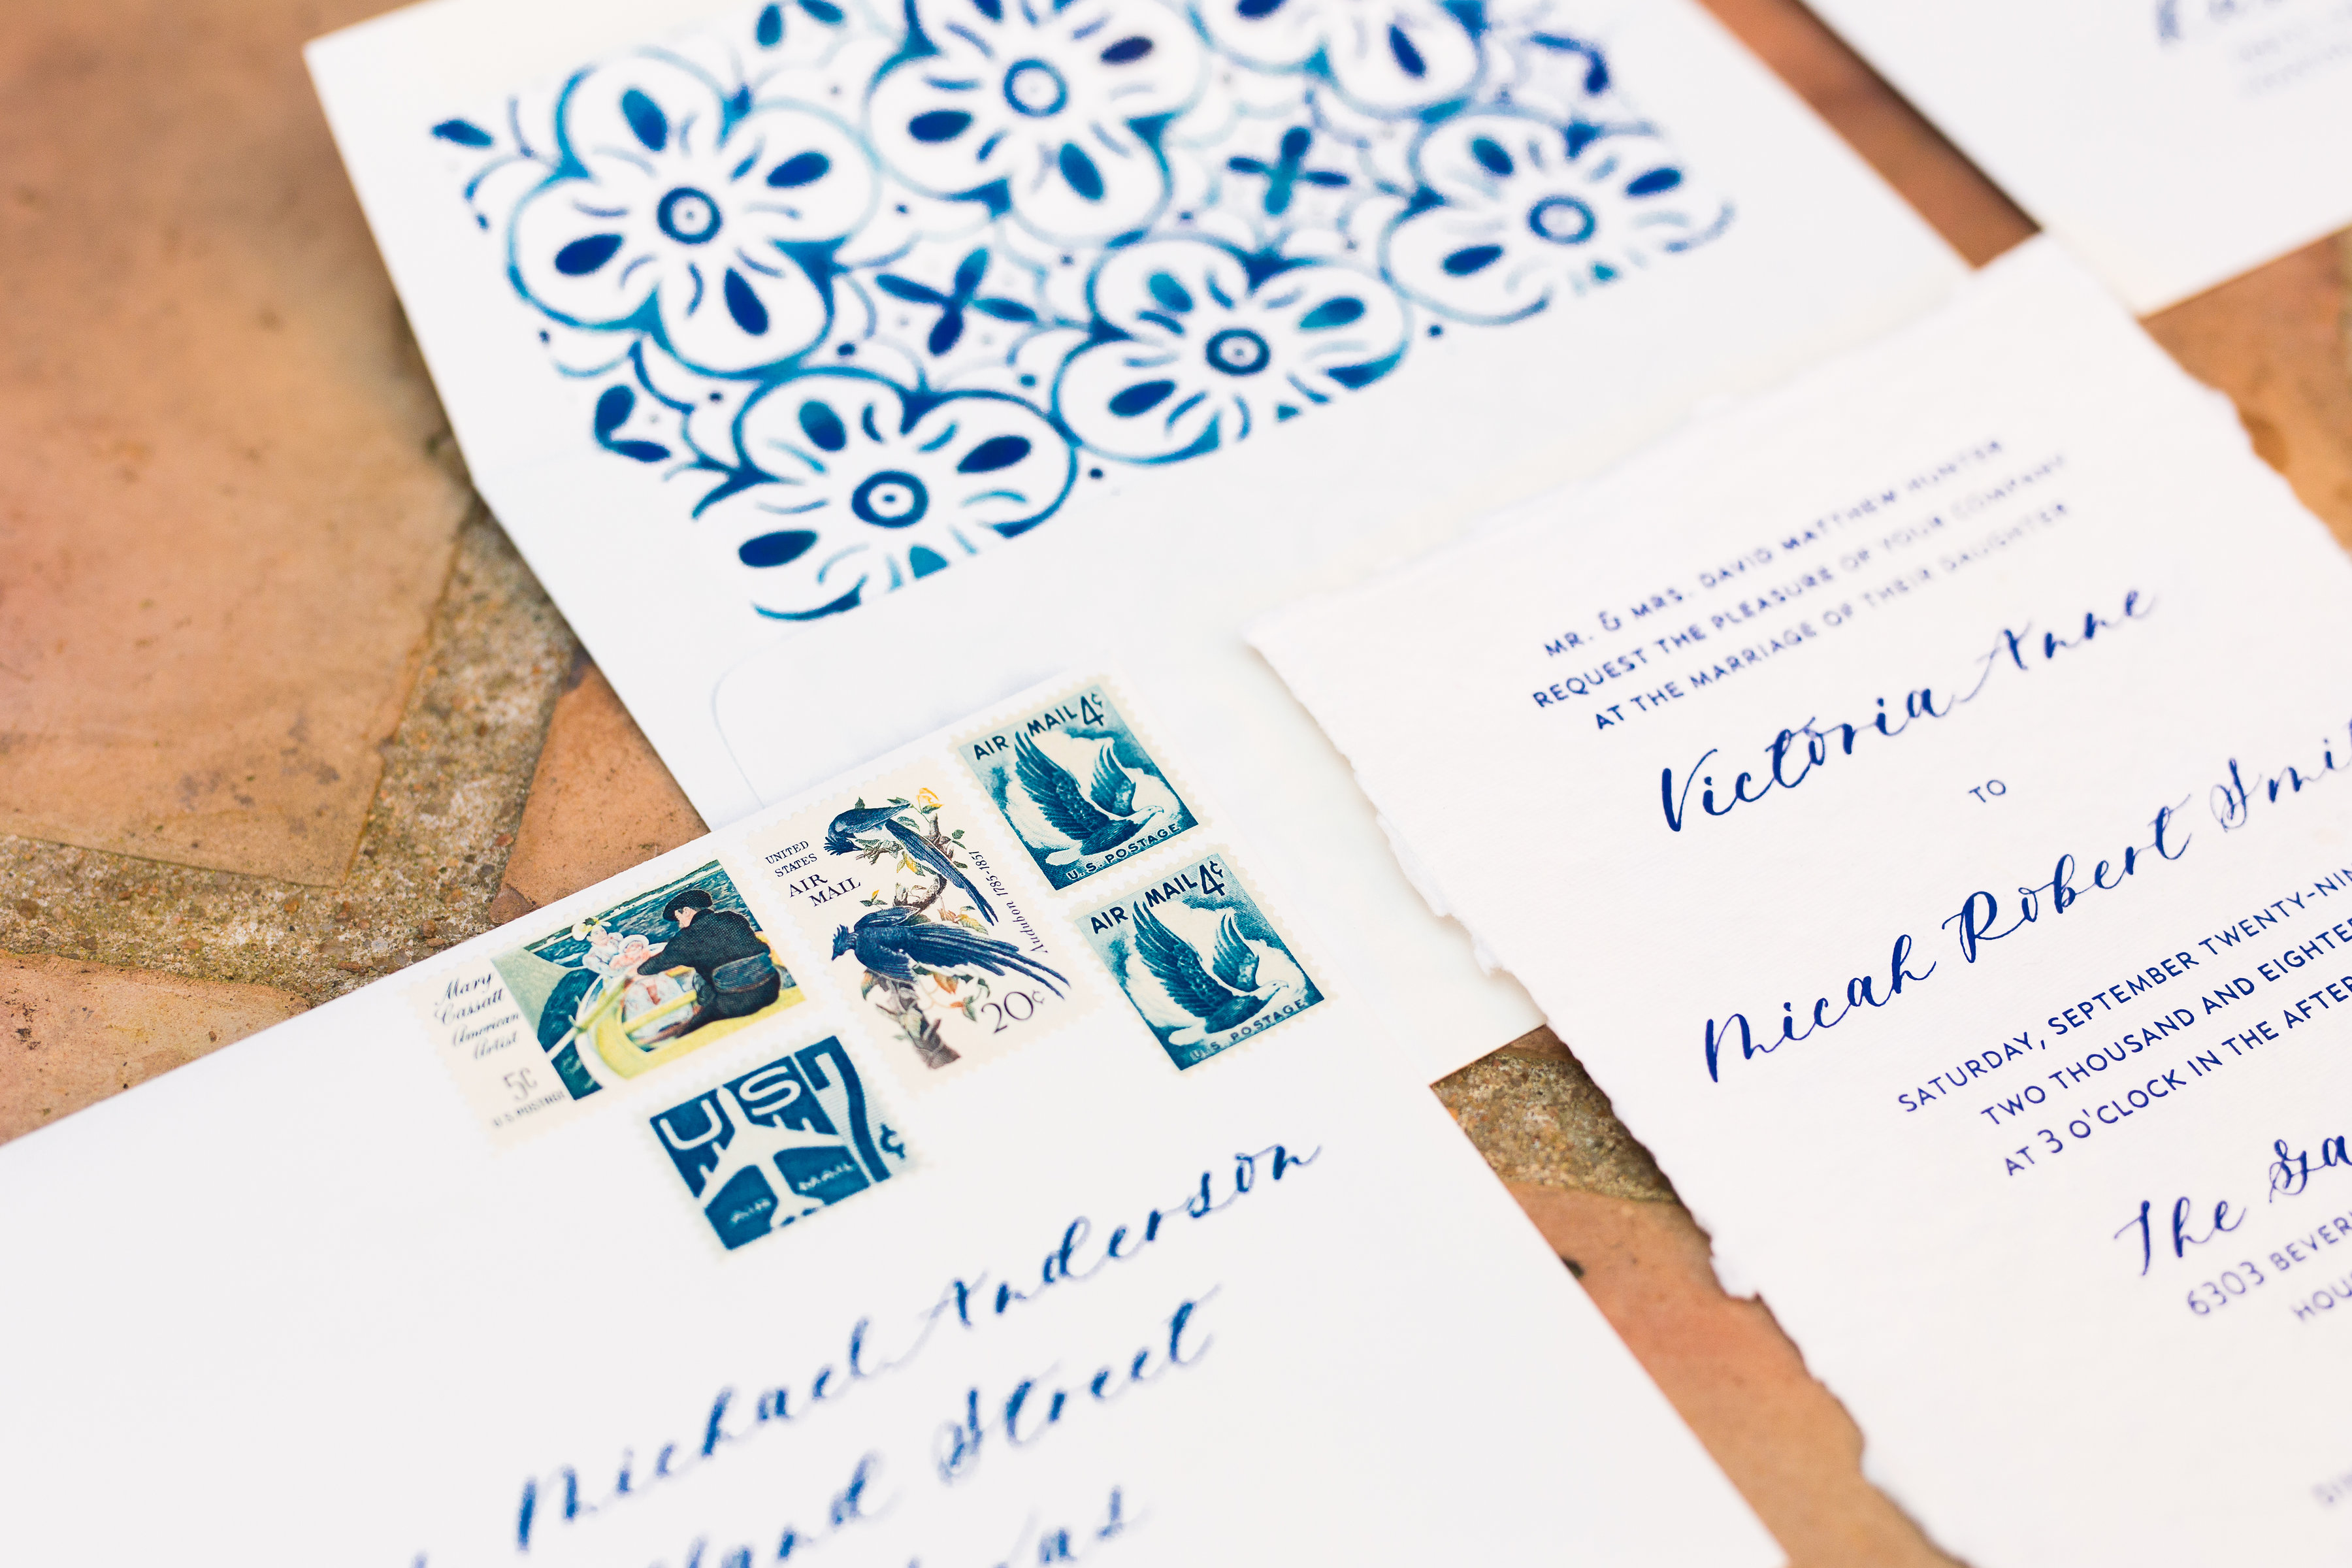
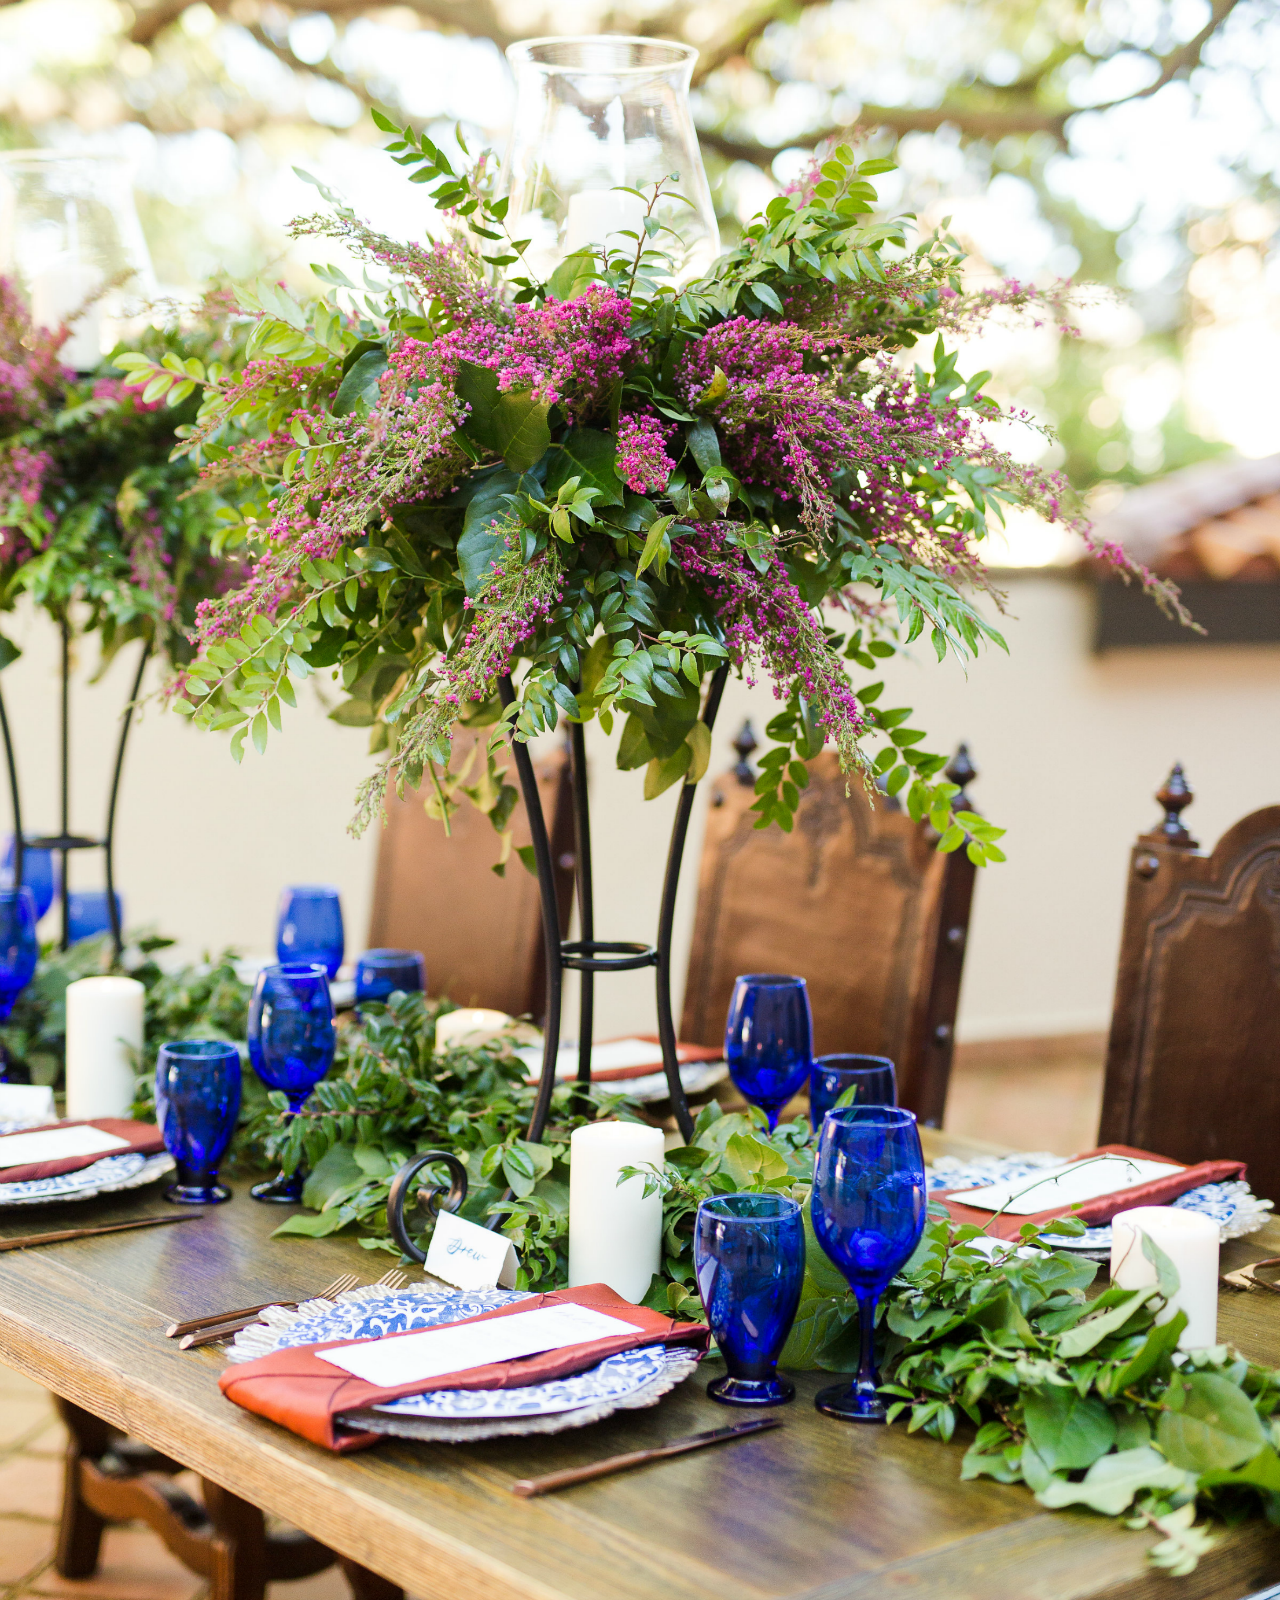
From Sarah: This was one of my favorite custom designs! I love that inspiration can come from anywhere and I’m only limited by my imagination. The inspiration for this invitation suite was the beautiful venue, The Gallery in Houston, which has lots of Mediterranean style architecture and Spanish vibes with all the gorgeous terra cotta tiles. I knew I wanted to use blue because there was going to be blue glassware used in the table settings. I painted a watercolor piece mimicking patterns used in old Spanish tiles, which I then digitized and turned into custom liners for the suite.

Mediterranean Inspired Watercolor Wedding Invitations by Bluebonnet Press

I kept the design of the invitations simple with some beautiful typography to not have it compete with the busy liners. To add texture and give the suite that old world feel we were going for, I letterpress printed them on gorgeous handmade paper. The natural feathery edges of handmade paper get my heart every single time! The finishing touches were the blue vintage stamps that pulled everything together.

Mediterranean Inspired Watercolor Wedding Invitations by Bluebonnet Press

Mediterranean Inspired Watercolor Wedding Invitations by Bluebonnet Press

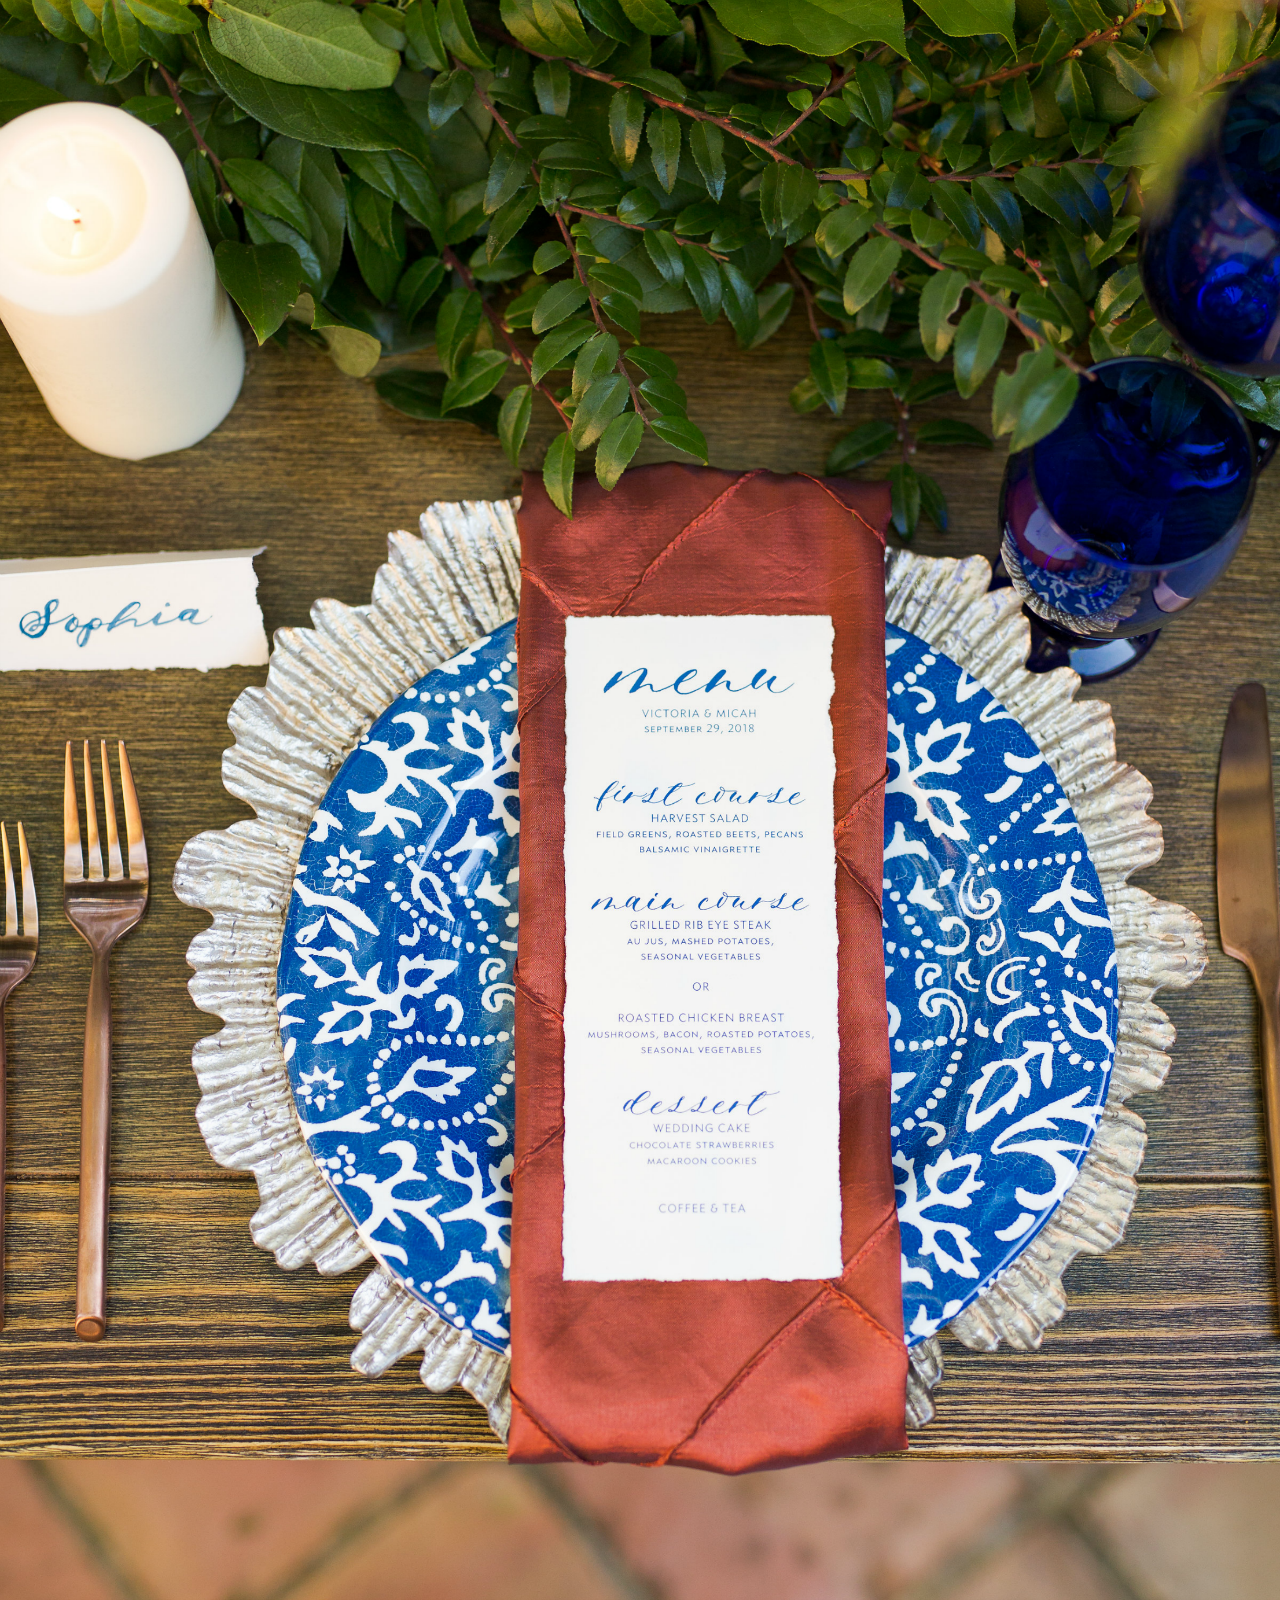
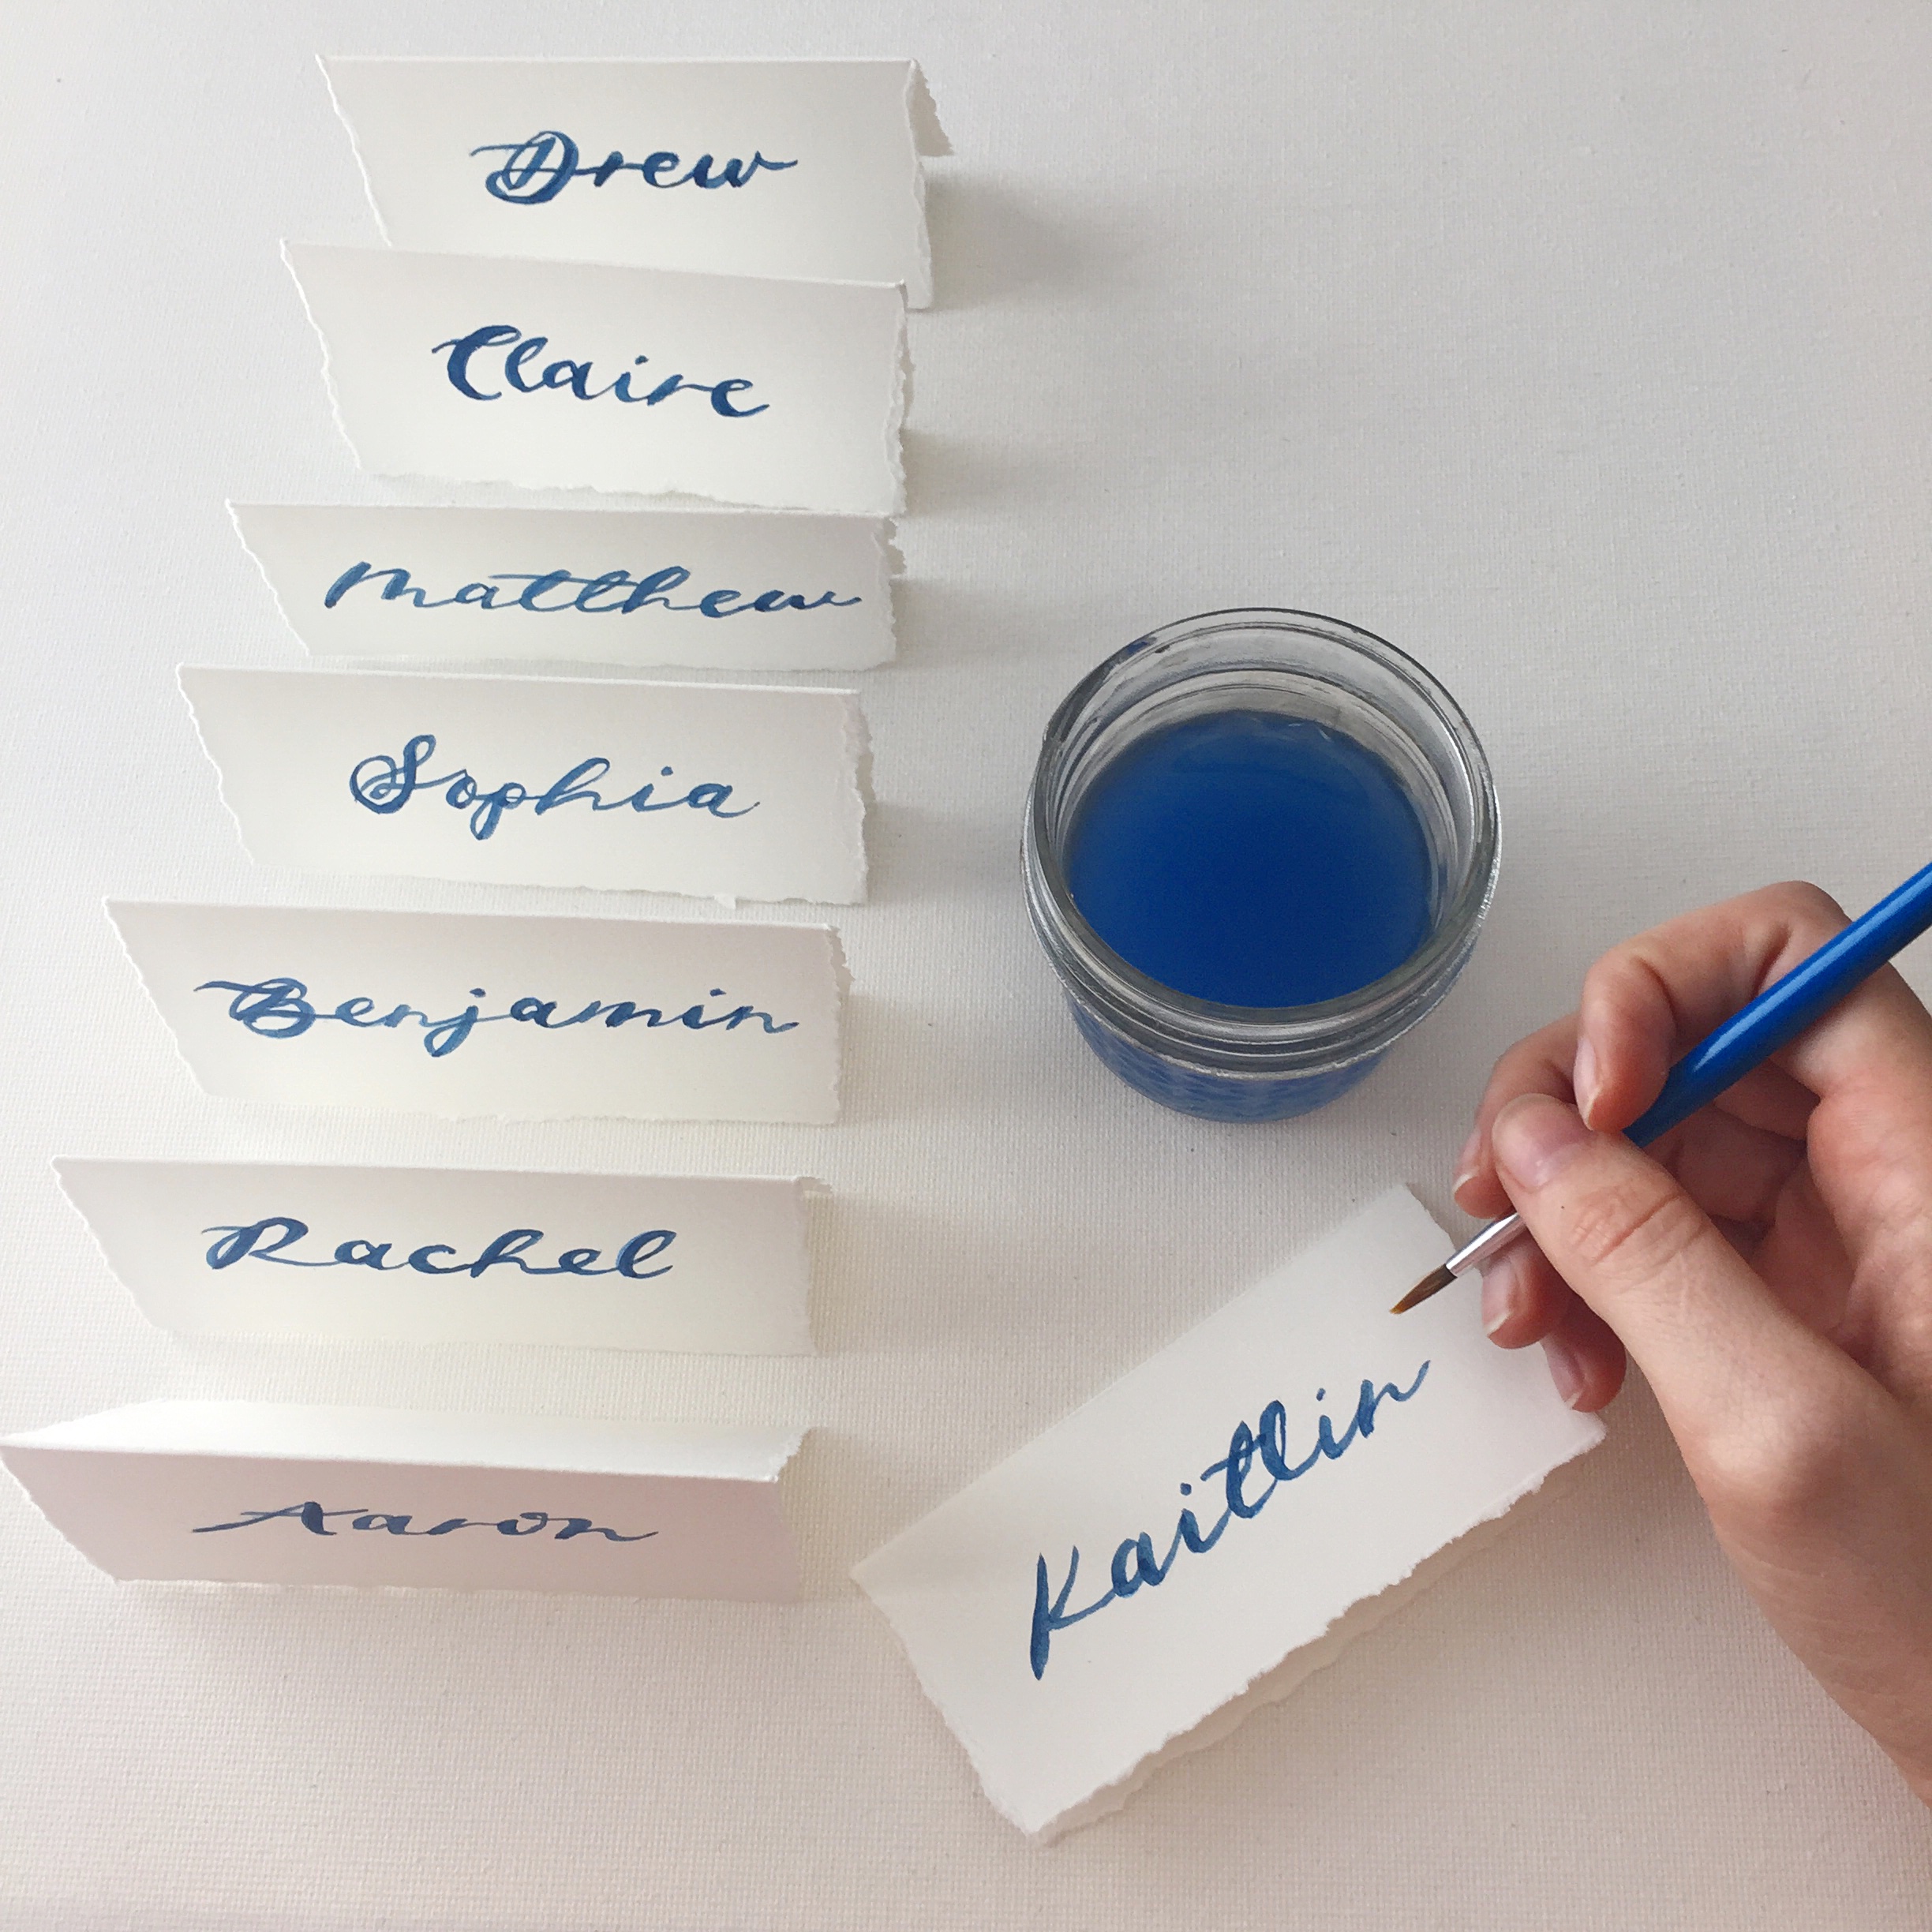
To continue the theme, the place cards were brush lettered, with the same blue watercolor used in the liners. To save on cost we ended up digitally printing the menus, but gave them a rough deckled edge along with the place cards to echo that detail used in the invitations suite.

Mediterranean Inspired Watercolor Wedding Invitations by Bluebonnet Press

Mediterranean Inspired Watercolor Wedding Invitations by Bluebonnet Press

As a stationer, when designing wedding invitations I am often one of the first pieces of the puzzle and get to brainstorm and create with brides as everything starts to fall in place. However, sometimes I wish I could be a fly on the wall at the weddings to see how everything came together. Which is why I absolutely love getting photos, it’s such an honor to work with other creative vendors and see how each of our talents play off each other to create a fabulous event!

Mediterranean Inspired Watercolor Wedding Invitations by Bluebonnet Press

Thanks Sarah!

Design: Bluebonnet Press
Handmade paper: Fabulous Fancy Pants
Vintage stamps: Verde Studio

Check out the Designer Rolodex for more tal­ented wed­ding invi­ta­tion design­ers and the real invi­ta­tions gallery for more wedding invitation ideas!

Photo Credits: Nicole Young