I just love the look of white ink against dark paper. It’s so striking! I just can’t pass up a black or navy blue envelope with a calligraphed address in white ink, like these gorgeous black and white invitations (or these brush lettered envelopes!) Last year, I shared some colorful envelope ideas using Sakura of America’s 3-D opaque Soufflé pens and glossy Glaze pens – it’s still one of my all-time favorite projects that we’ve ever done! Given my love for white ink on black envelopes, I wanted to see what would happen if I used the white Soufflé and Glaze pens on black paper, along with white Gelly Roll pens! I’ve been feeling super inspired by global textiles lately, particularly African mud cloth textiles – so today I’m sharing some fun envelopes and stationery ideas with global-inspired patterns – along with some tips for recreating these DIY mud cloth-inspired envelopes and stationery ideas at home!

For this project, I used opaque white Soufflé pens, gloss white 3-D Glaze pens, and opaque white Gelly Roll pens on black envelopes and flat cards from Paper Source. The Soufflé pens also come in a range of pastel colors that I think would be really fun to play around with – can you imagine some of these patterns in pastel lavender ink on a dark navy envelope??? So good. You can see the other Soufflé colors in action in this post, but I’m loving classic black and white for these graphic global-inspired patterns.
You can definitely freehand some of these patterns, but I found it easiest to create guidelines using a ruler and a No. 2 pencil before creating the individual patterns with my Soufflé, Glaze, and Gelly Roll pens. Each pen has a slightly different texture, so you’ll want to practice on a test sheet of paper before picking the pen that works best for you. The steps vary slightly depending on whether you’re making envelopes, menus, or place cards, so I’ll write the steps out for each one below.
Supplies
White Soufflé pens, Glaze pens, and Gelly Roll pens
Ruler
No. 2 pencil
Black envelopes and flat cards (I used A7 envelopes, A7 flat cards, and 4bar flat cards)
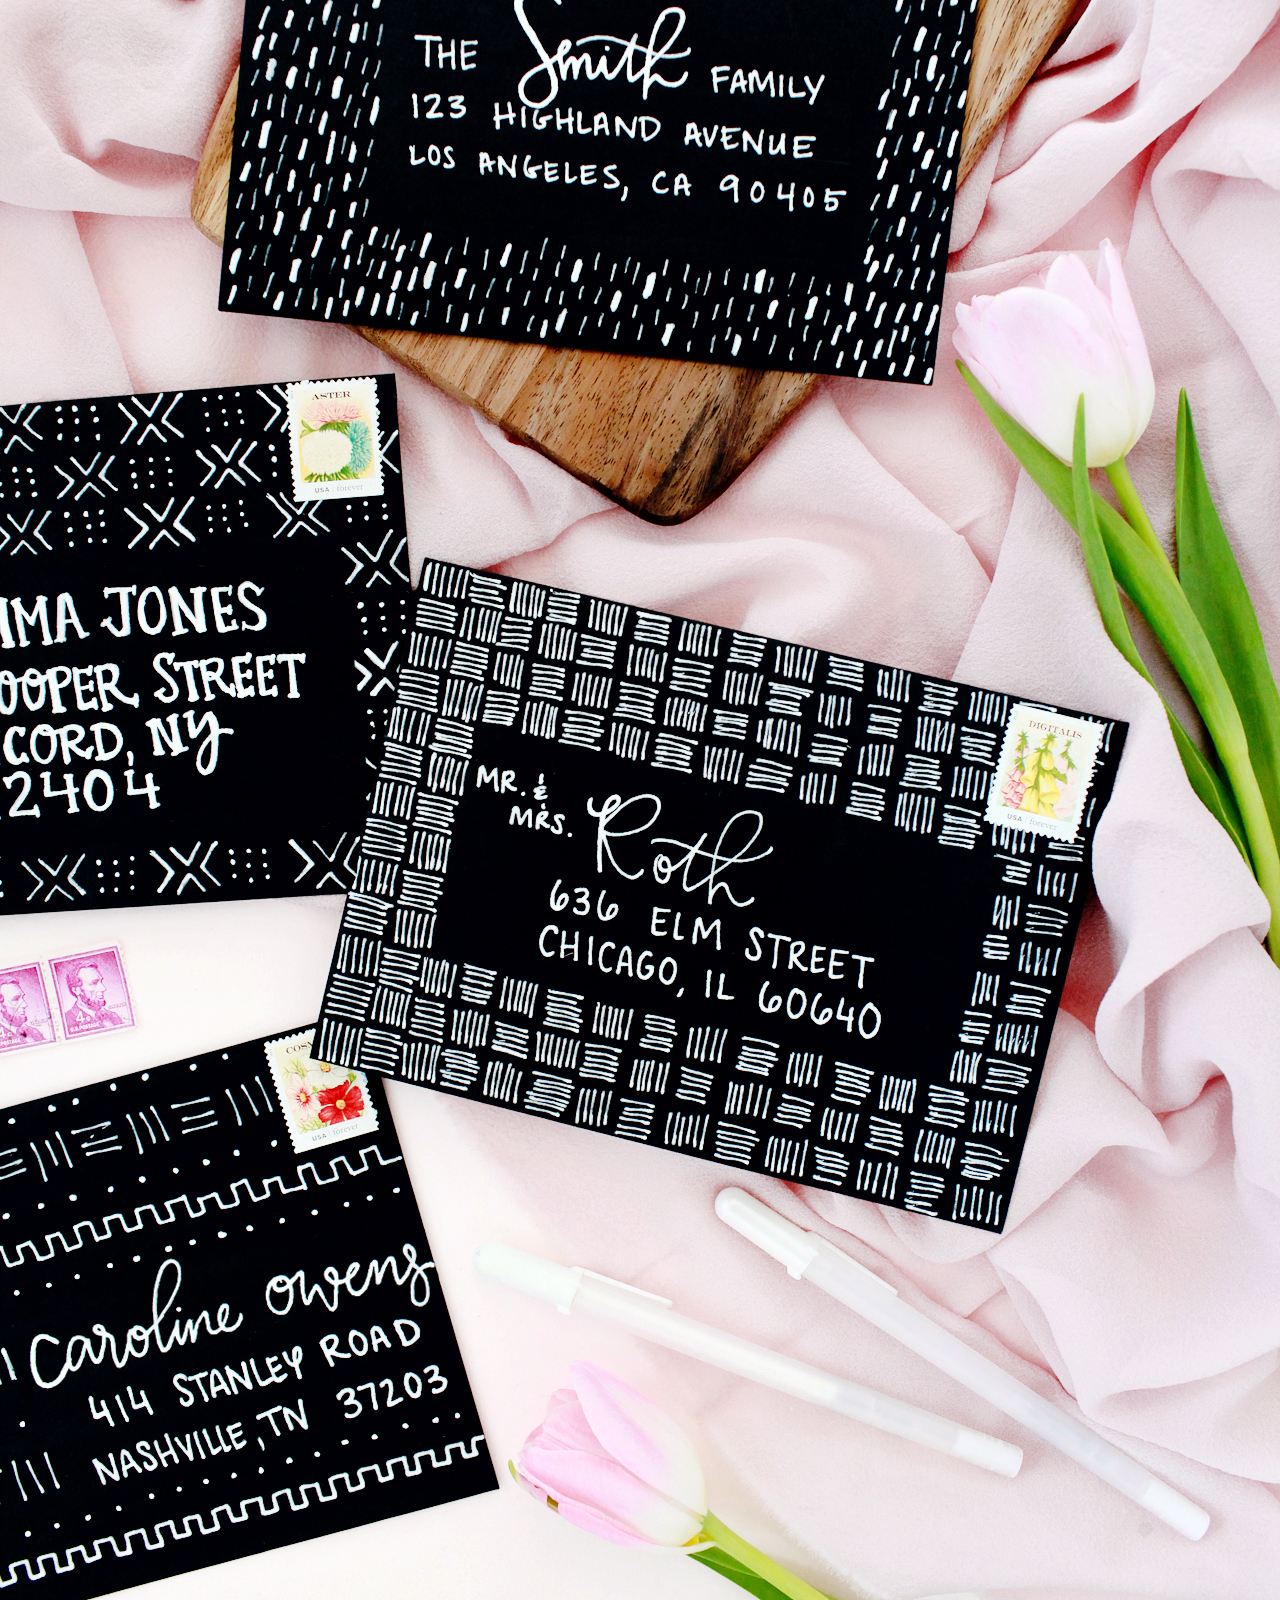
To make the envelopes:
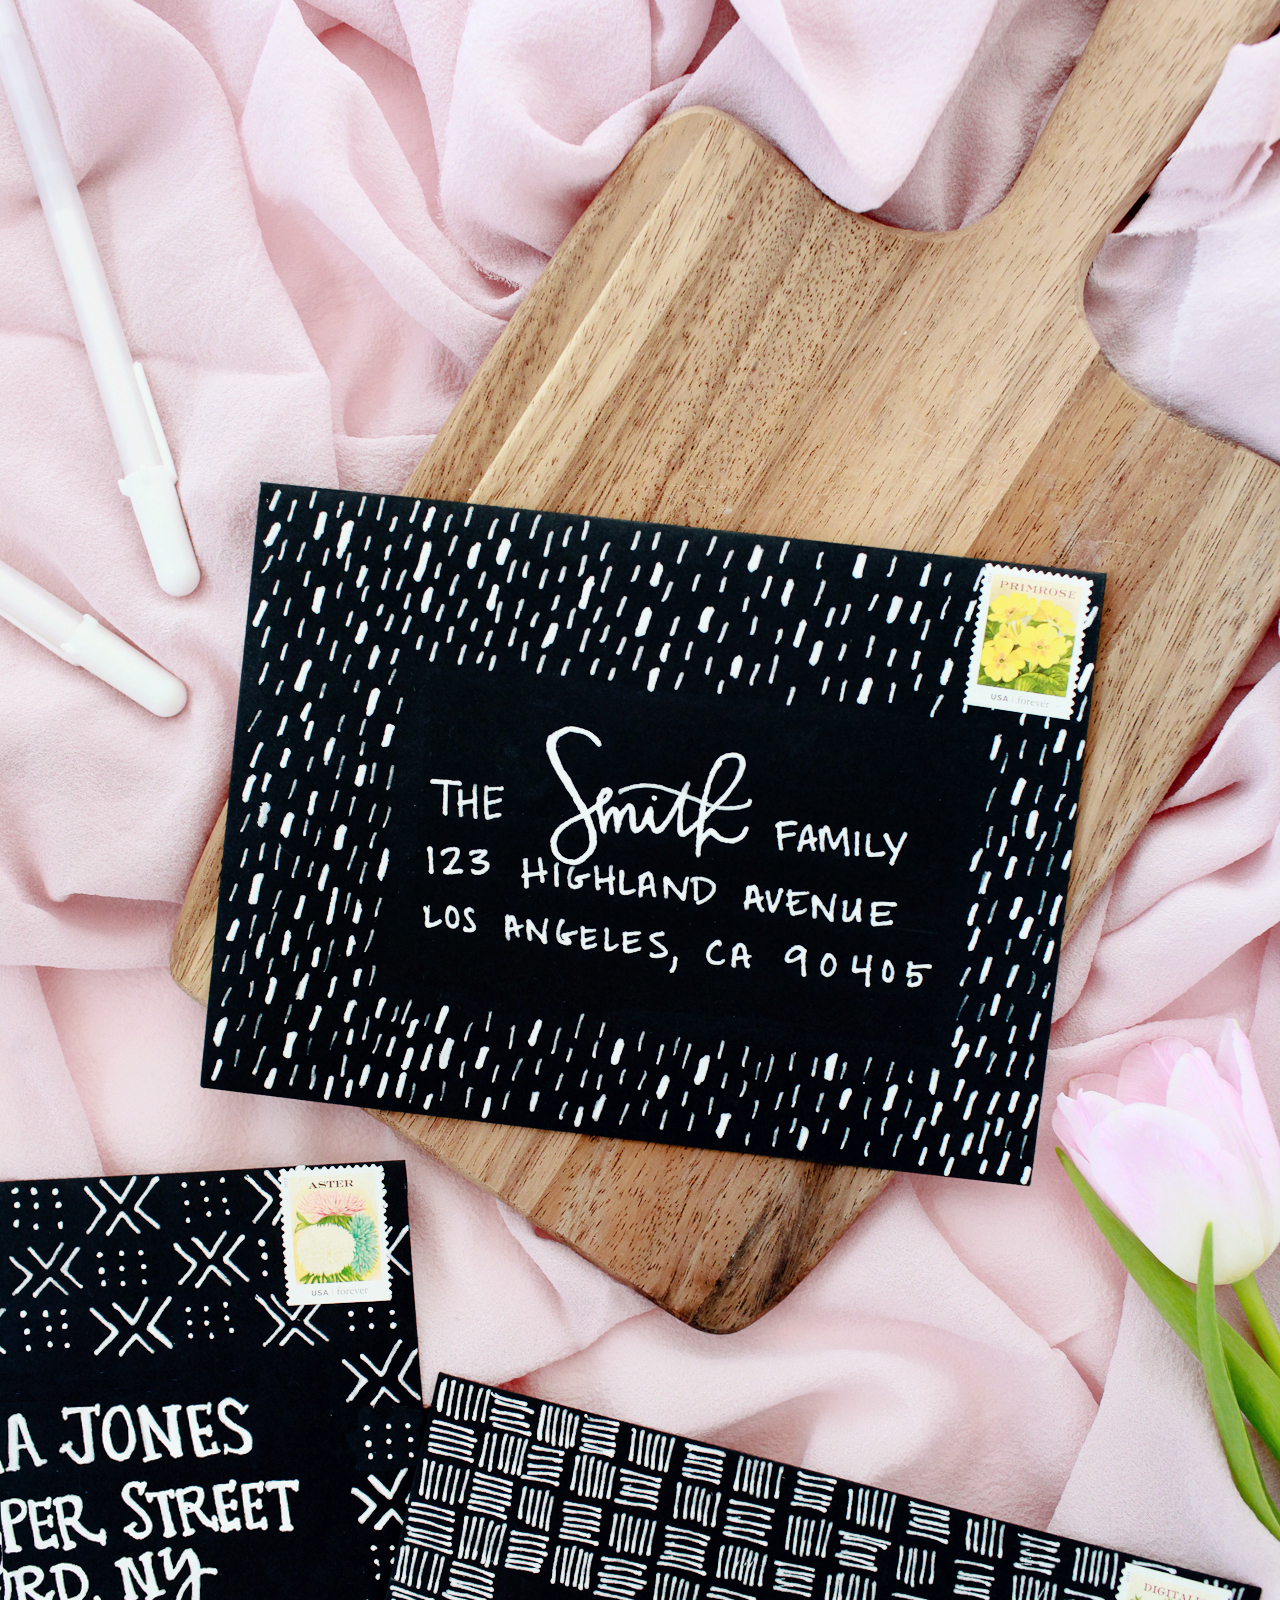
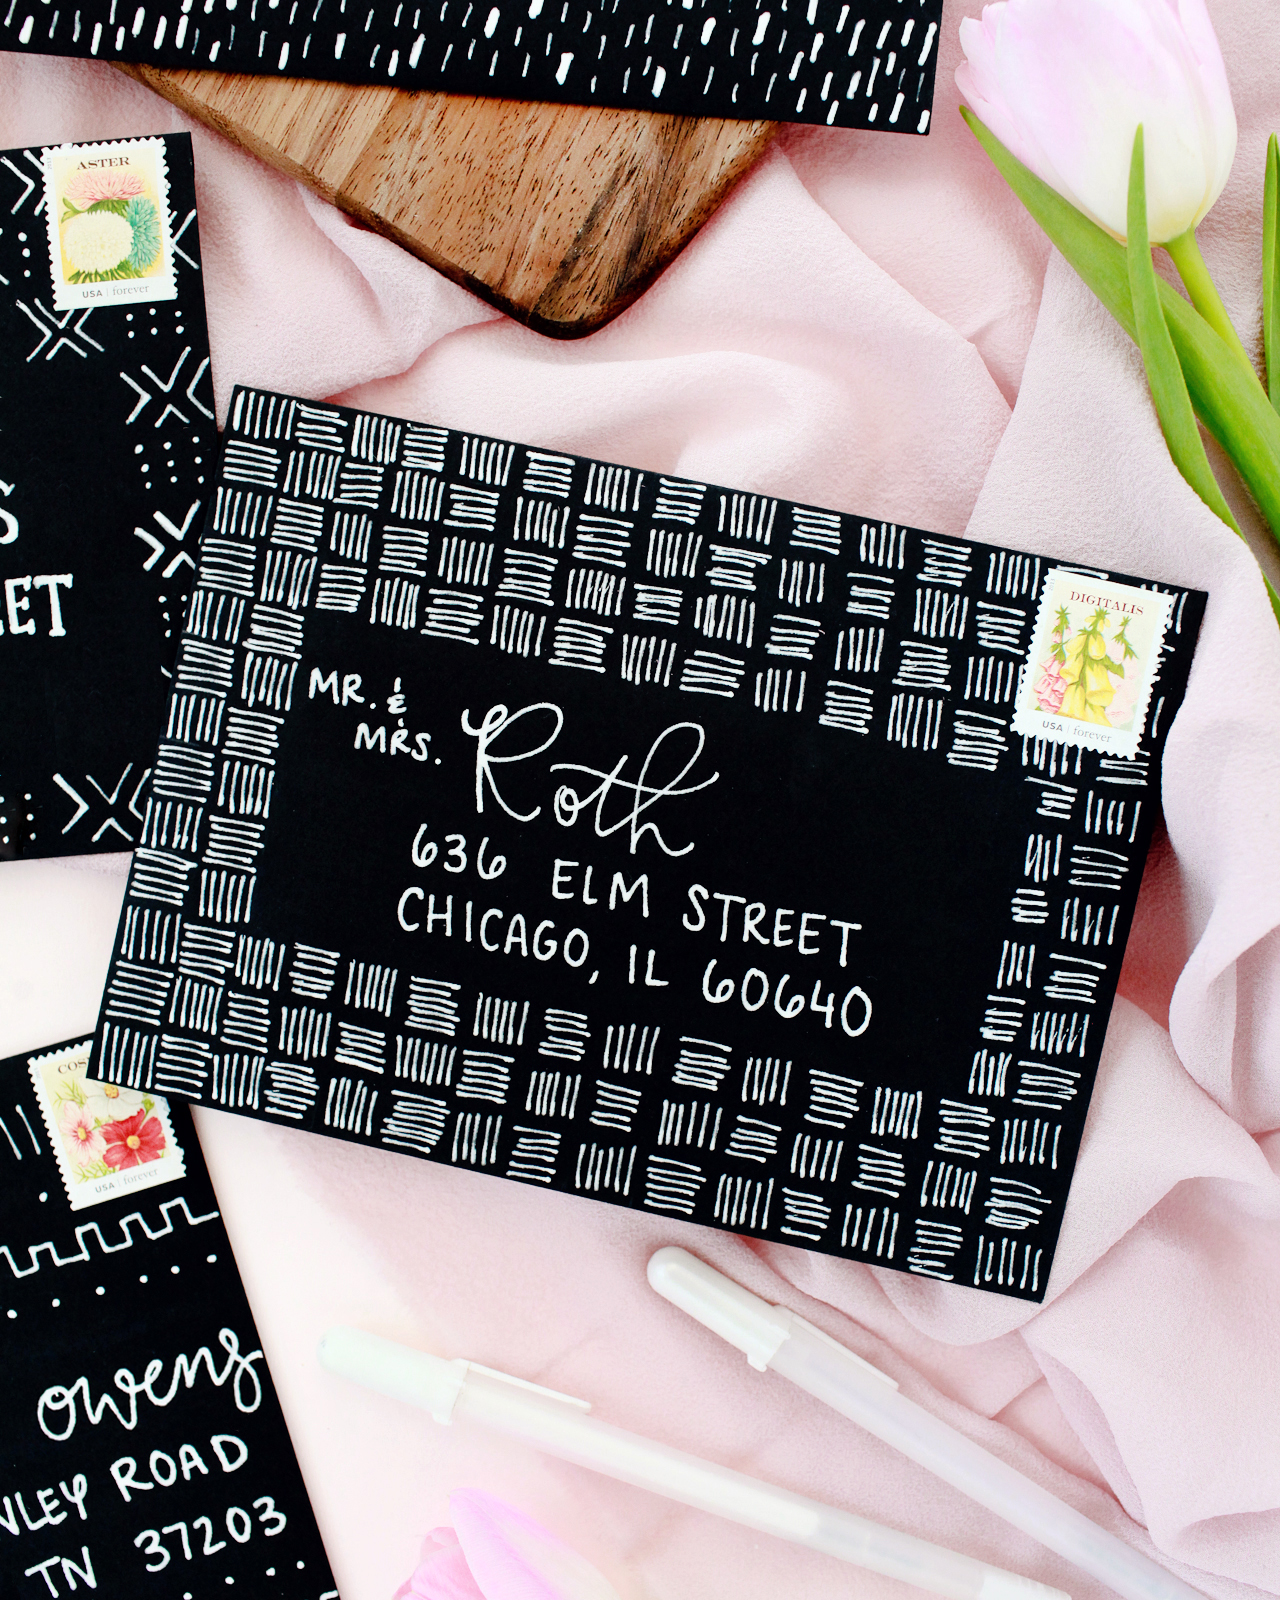
Step 1. First, you’ll need to decide where you want your text to go: centered, left justified, or right justified. Using your ruler and a No. 2 pencil, draw a rectangle approximately 4″ wide and 3″ tall on a black A7 envelope. (For oversize envelopes or longer addresses, adjust the rectangle dimensions as needed.) Within that rectangle, draw lines that are 3.5″ wide and 1/2″ inch apart, leaving some extra room at the top and bottom. That’s where you’ll write the address in your chosen lettering style – I think it’s fun to use a mix of script, serif, and sans-serif lettering!
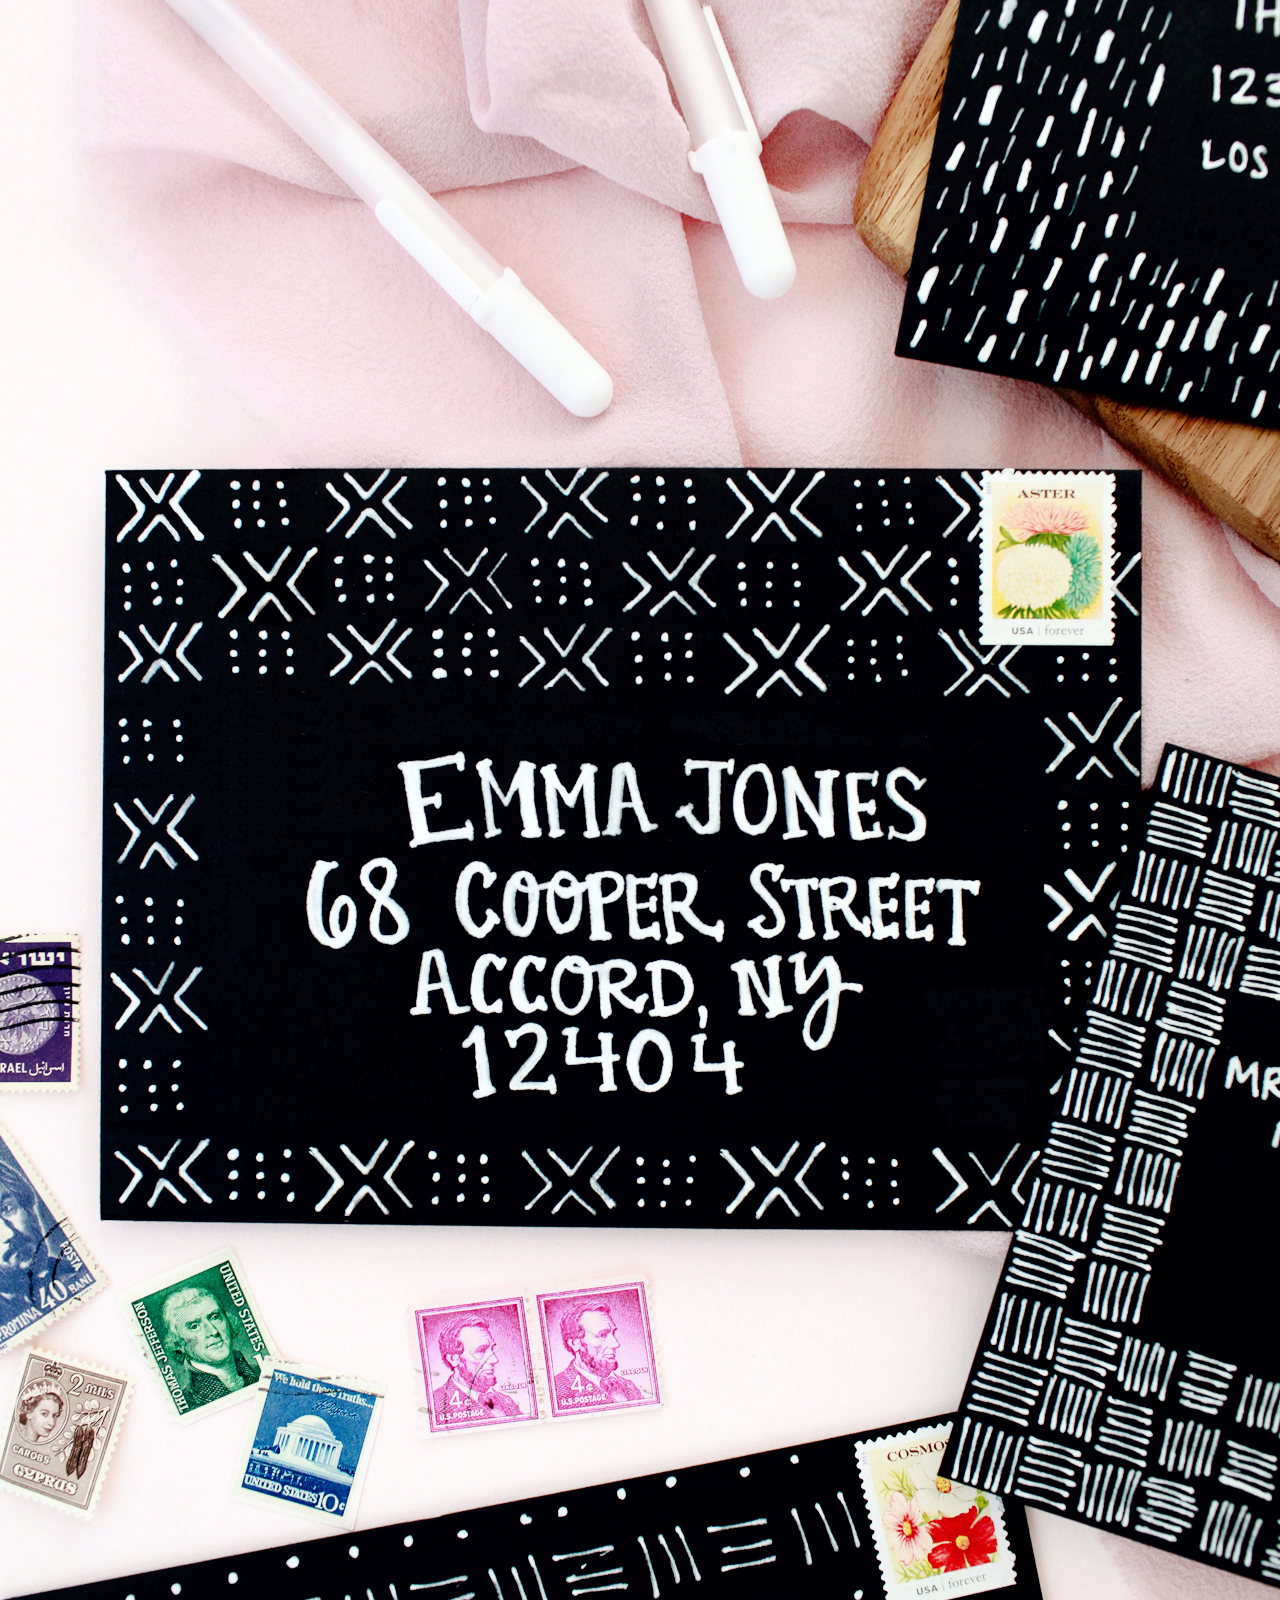
Step 2. Around the address rectangle, draw both vertical and horizontal lines 1/4″ apart across the entire envelope. This will give you a grid guideline for your pattern. I chose a few mud cloth-inspired patterns and freehanded them within the pencil grid. You can find some mud cloth pattern inspiration here!
Step 3. Using your white Soufflé, Glaze, and Gelly Roll pens, draw your chosen pattern on the envelope and allow the ink to dry. If you’re satisfied with the pattern, you can also use the pens to write the address on the lines within the rectangle. Once the ink is completely dry, erase all the pencil lines with the SumoGrip block eraser.
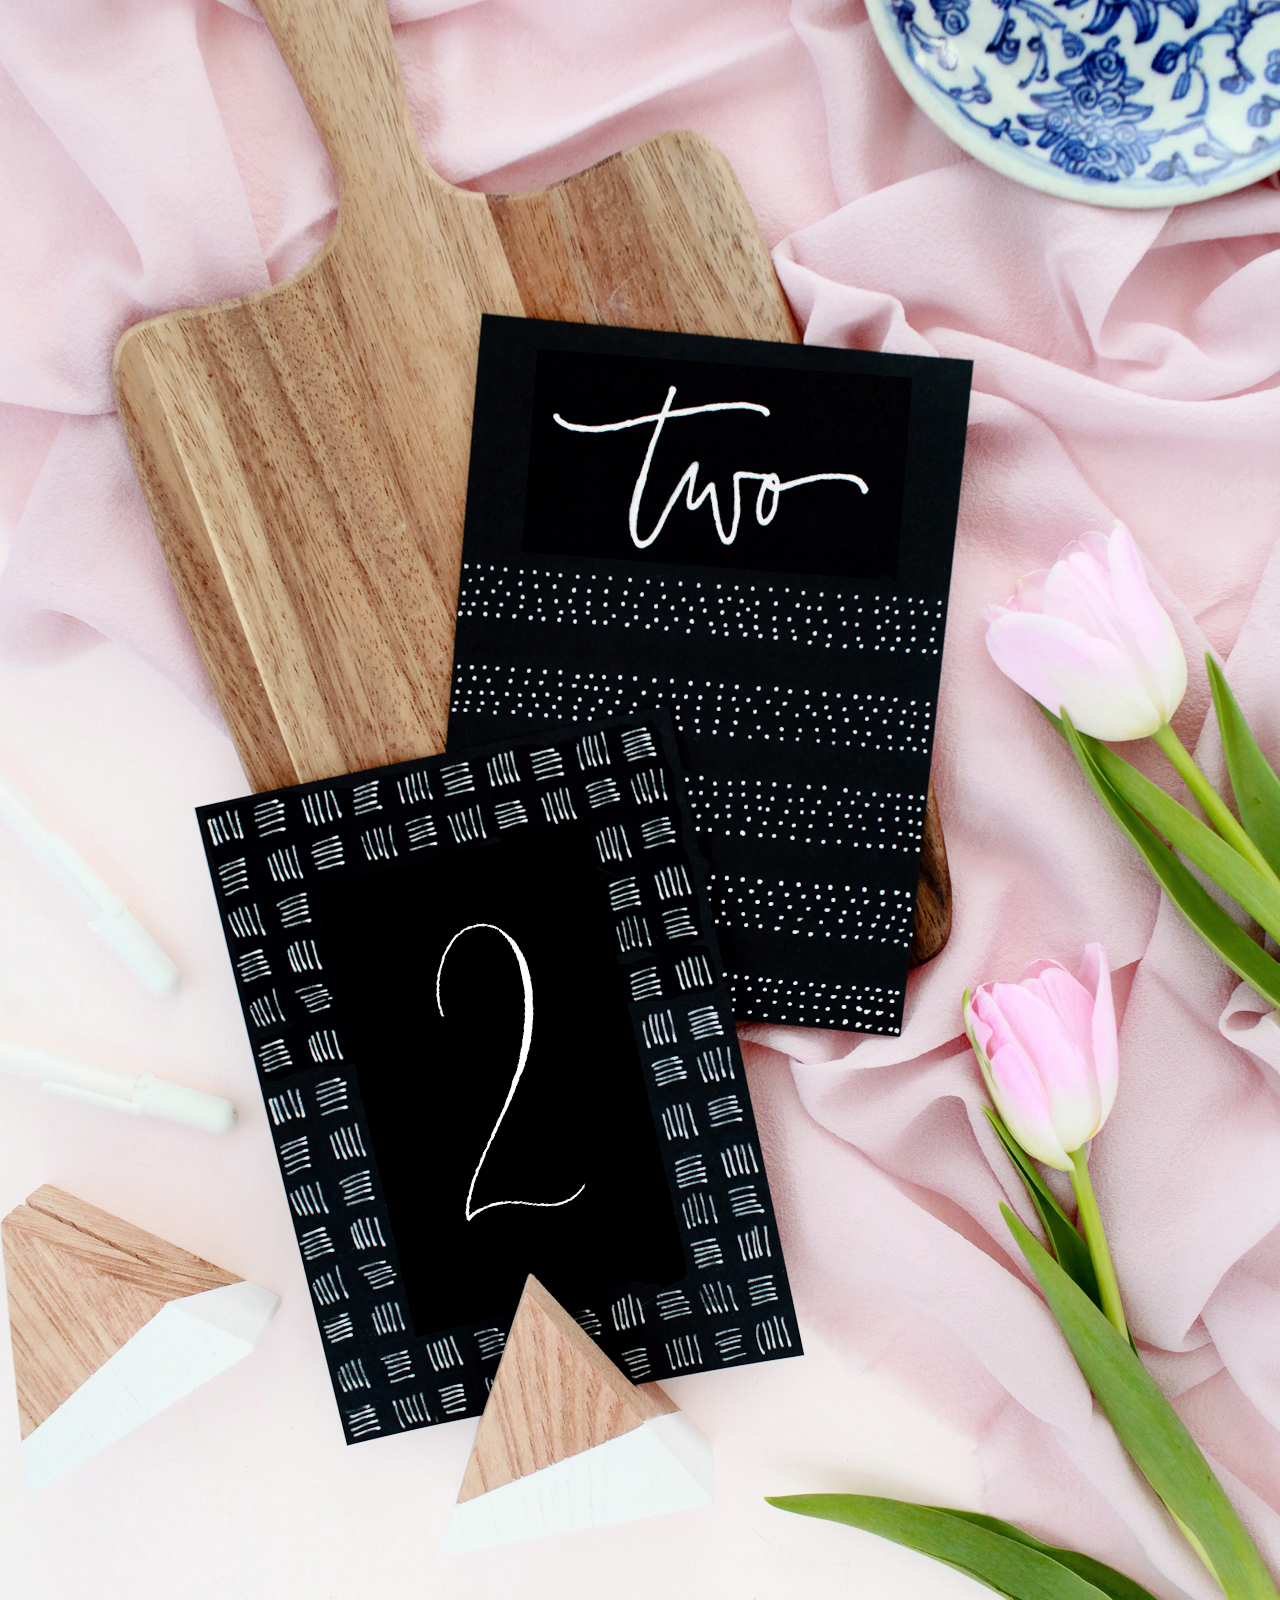
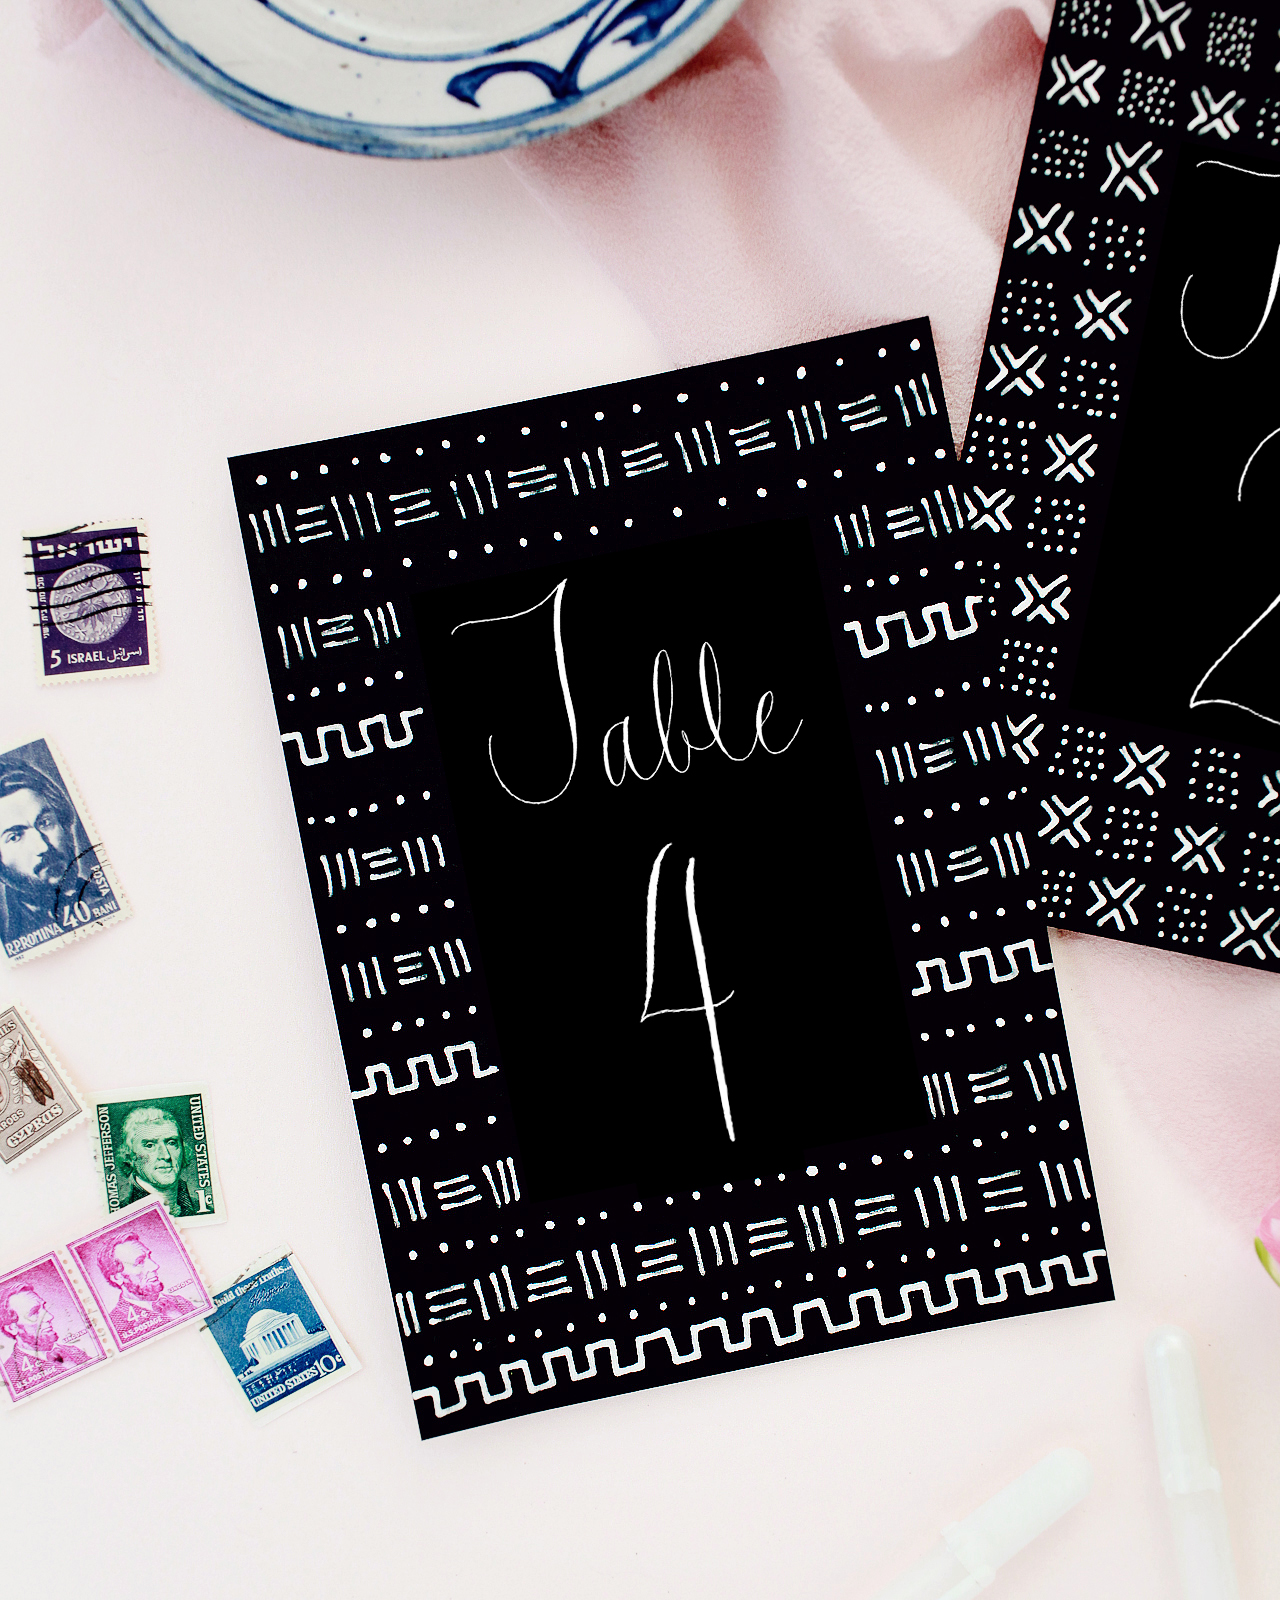
To make the menus and table numbers:
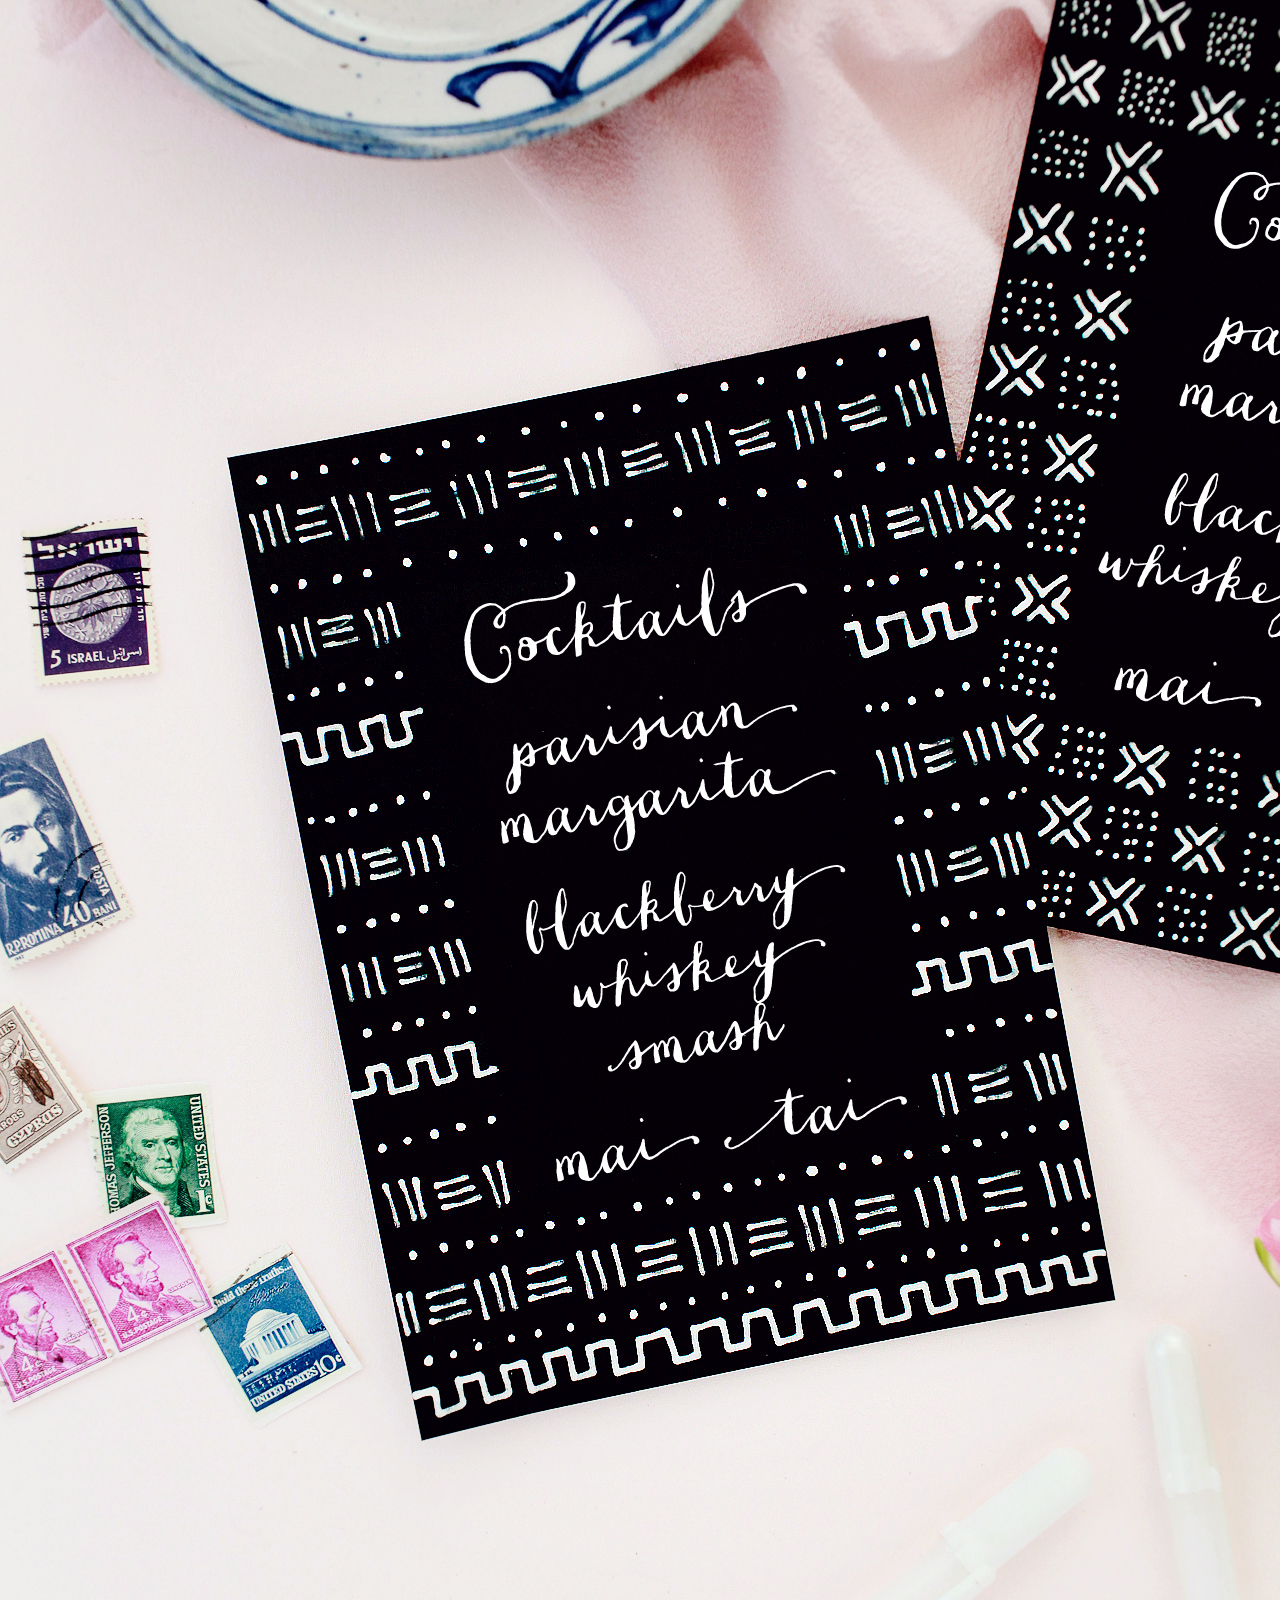
Step 1. Using your ruler and a No. 2 pencil, draw a rectangle approximately 3″ wide and 4″ tall in the middle of an A7 (5×7) flat card. The number of lines that you’ll need inside the rectangle will depend on the text you plan to use, but I spaced my lines at 1/4″ apart and left a line blank between menu items. Around the rectangle, draw both vertical and horizontal lines 1/4″ apart across the entire card. For table numbers and other signs, you can also leave the top third of the card blank and draw your pattern guidelines on the bottom 2/3 of the card.
Step 2. Using your white Soufflé, Glaze, and Gelly Roll pens, draw your chosen pattern on the card and add your text – you could even use the cards to make small signs for a party or wedding reception! Allow the ink to fully dry, then erase all the pencil lines with the SumoGrip block eraser. If you’re working with a calligrapher (which I highly recommend when lots of text is involved), draw your pattern and then hand the patterned card off to your calligrapher to add the text!
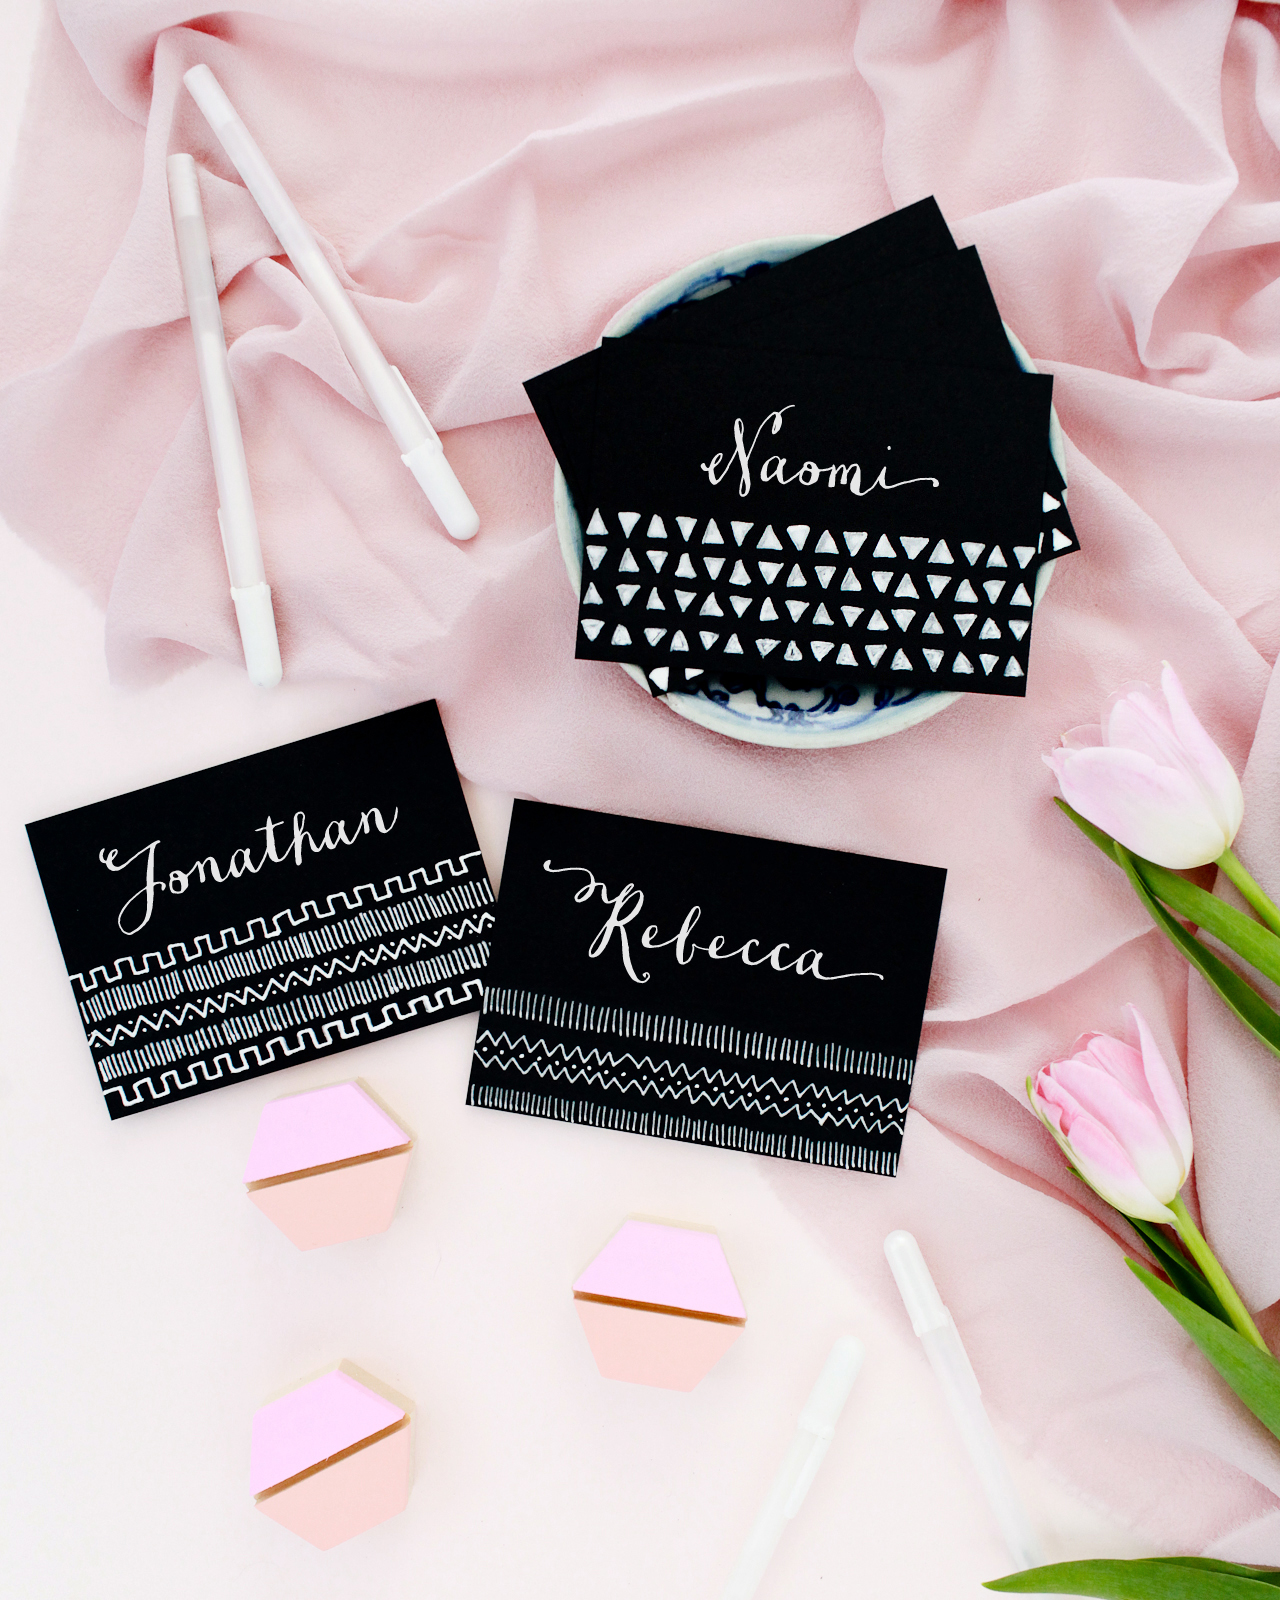
To make the place cards:
Using your ruler and a No. 2 pencil, draw horizontal and vertical lines 1/4″ apart across the lower half of a 4bar flat card. Then use your white Soufflé, Glaze, and Gelly Roll pens to draw your chosen pattern on the card, using the pencil lines as guidelines for your pattern. Allow the ink to fully dry, then erase all the pencil lines with the SumoGrip block eraser. Then write the name of each guest on the top half of the card – or hand the patterned cards off to your calligrapher for lettering!
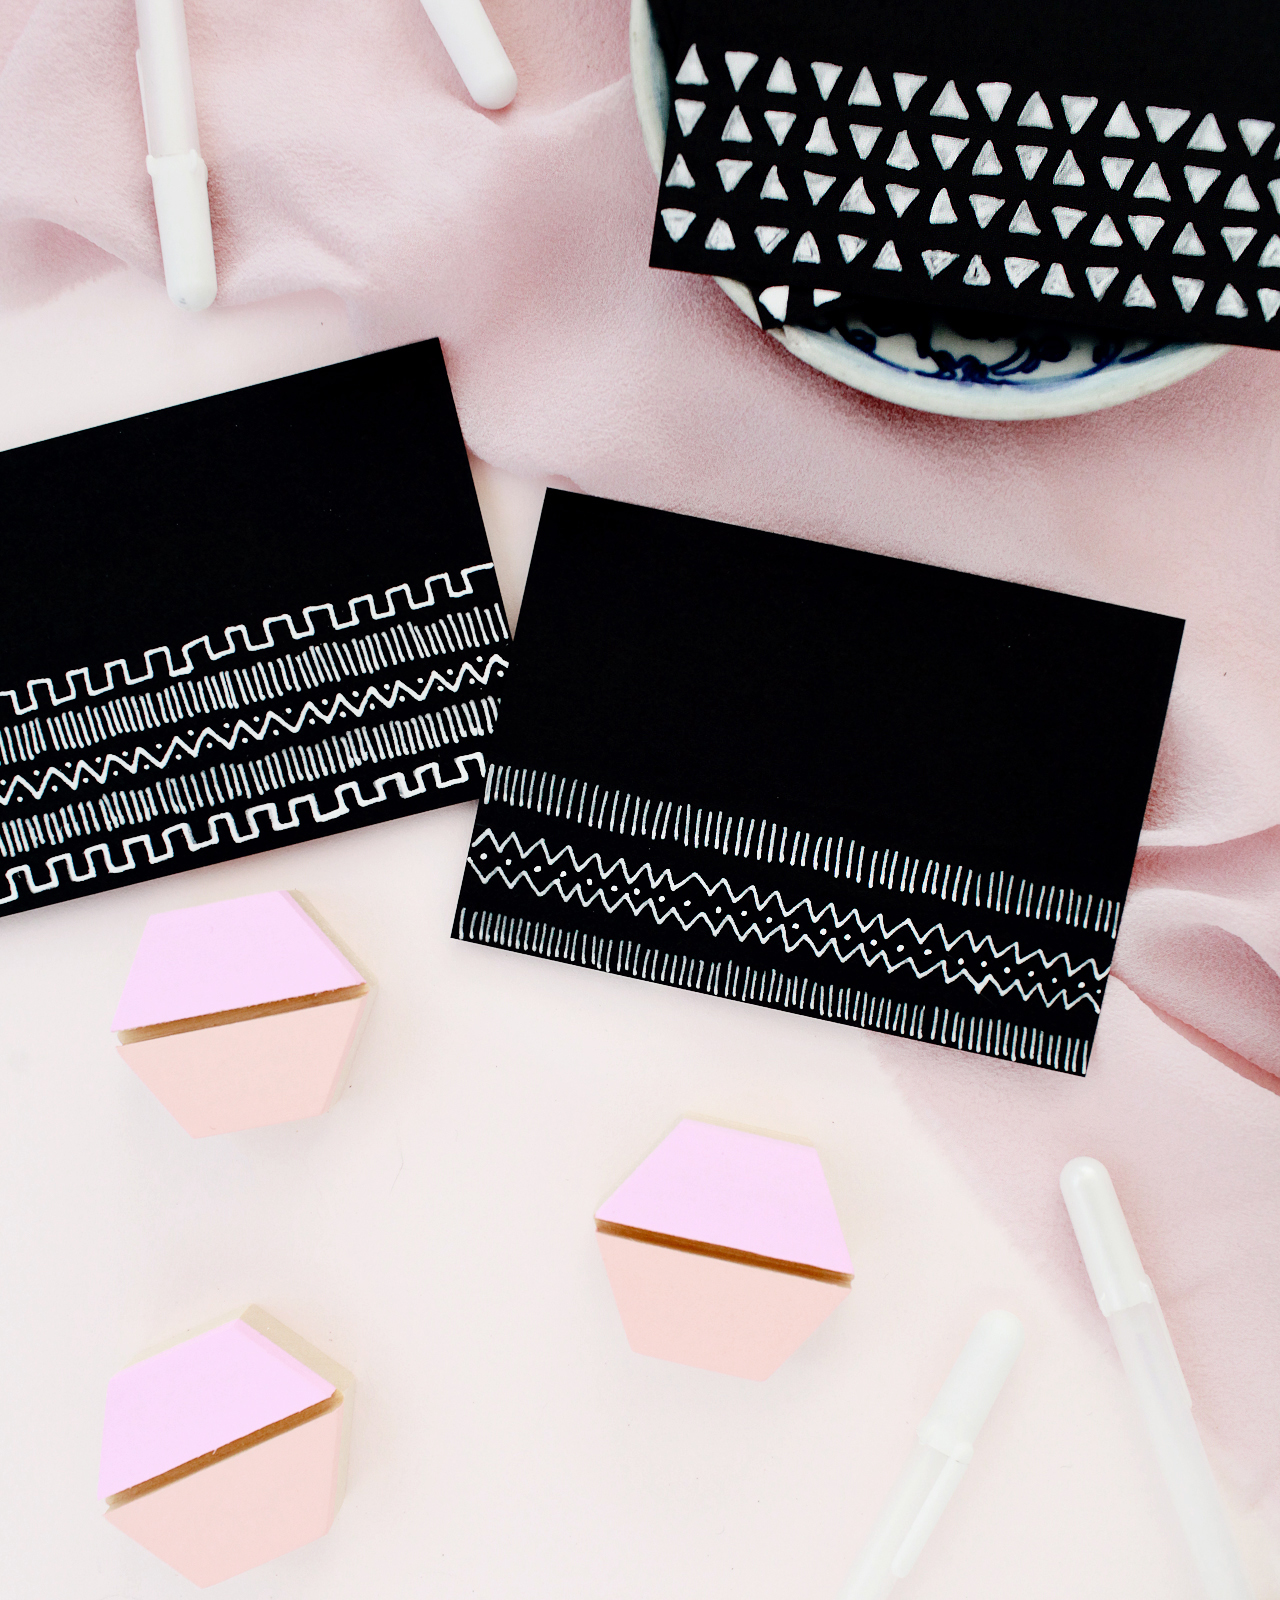
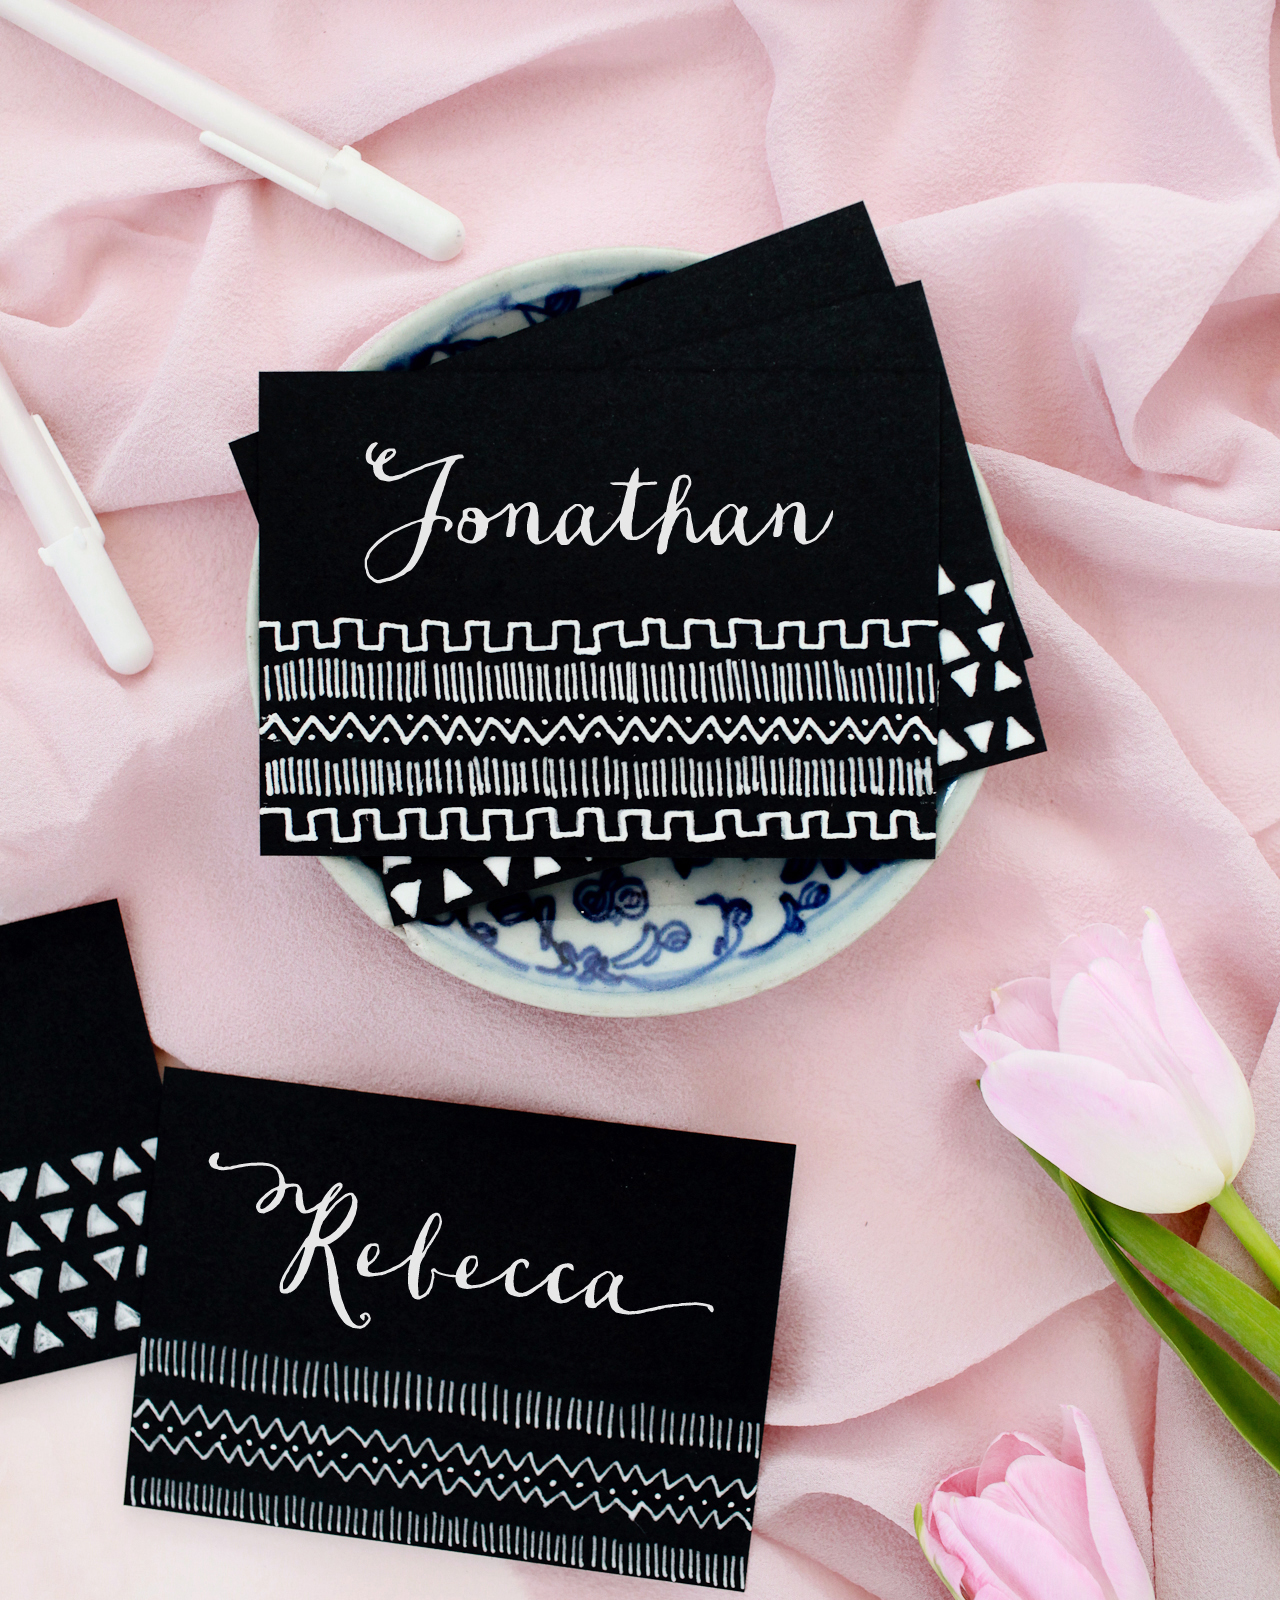

I had SO much fun making these mud cloth-inspired patterns – and I think you will, too! The pencil guidelines help make sure everything is straight and properly spaced, but I love that these patterns are meant to look hand drawn and imperfect. You can pick up your own set of white Soufflé pens here, white Glaze pens here, and white Gelly Roll pens here – and the full color packs here, here, and here – I can’t wait to see all the gorgeous patterns you make with them!
Photos by Nole Garey for Oh So Beautiful Paper
This post is sponsored by Sakura of America. All content and opinions are my own. Thank you for supporting the sponsors that make Oh So Beautiful Paper possible!
Stunning!!! I want!
Me encantó esta idea â¤