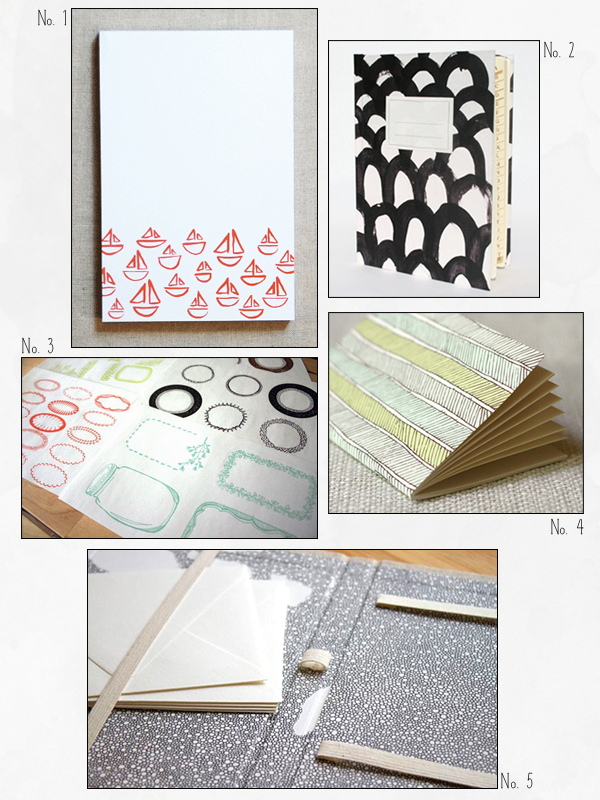
Pretty Paper in the Office: Hand Drawn

Being a fan of hand lettering, it should come as no surprise that any hand drawn element would catch my eye.  The perfectly imperfect touch adds just the right amount of charm and whimsy to any blank canvas, or in this case, any blank sheet of paper.  Inspired by drawings, doodles, and brushstrokes, I’ve put together a round up that will soften the straight and narrow lines of office stationery.

Hand drawn inspired office stationery roundup
No. 1 Sailboats notepad by Linda & Harriett; No. 2 Address book with handmade cover by My Name Is Rabbit; No. 3 Letterpress sticker set by 1 canoe 2; No. 4 Herringbone jotter by Wit & Whistle; No. 5 Monogrammed letterpress stationery set by Book Meat

Hand drawn office stationery detail

Last, but certainly not least, is This Year’s Flowers (a stationery set) by Paper & Type.  I was sold upon seeing the romantic floral illustrations on the back of each sheet.  Paper & Type recommends that letters be four pages in length so that, once put together, you will have also mailed a piece of art!

{images via their respective sources}

DIY Moving Announcement Bookmarks

It’s the ladies of Anti­quaria, back with another fab­u­lous and cre­ative DIY project for you!  This week they’re here with some awesome DIY moving announcement bookmarks!

Here at Antiquaria, we’ve got moving on the brain.  Emma recently moved the Antiquaria design studio out to sunny California and Bailey is prepping to relocate the vintage shop and registry at the end of the year.  As lovers of all things paper… this means only one thing, sending out moving announcements!

We were brainstorming, looking for something that might be fun to send out; that recipients interact with and can use…instead of just a card to keep on their fridge.  And voila…moving bookmarks!  So fun, useful and an impressive little gift to receive in the mail.

DIY Rubber Stamp Moving Announcements

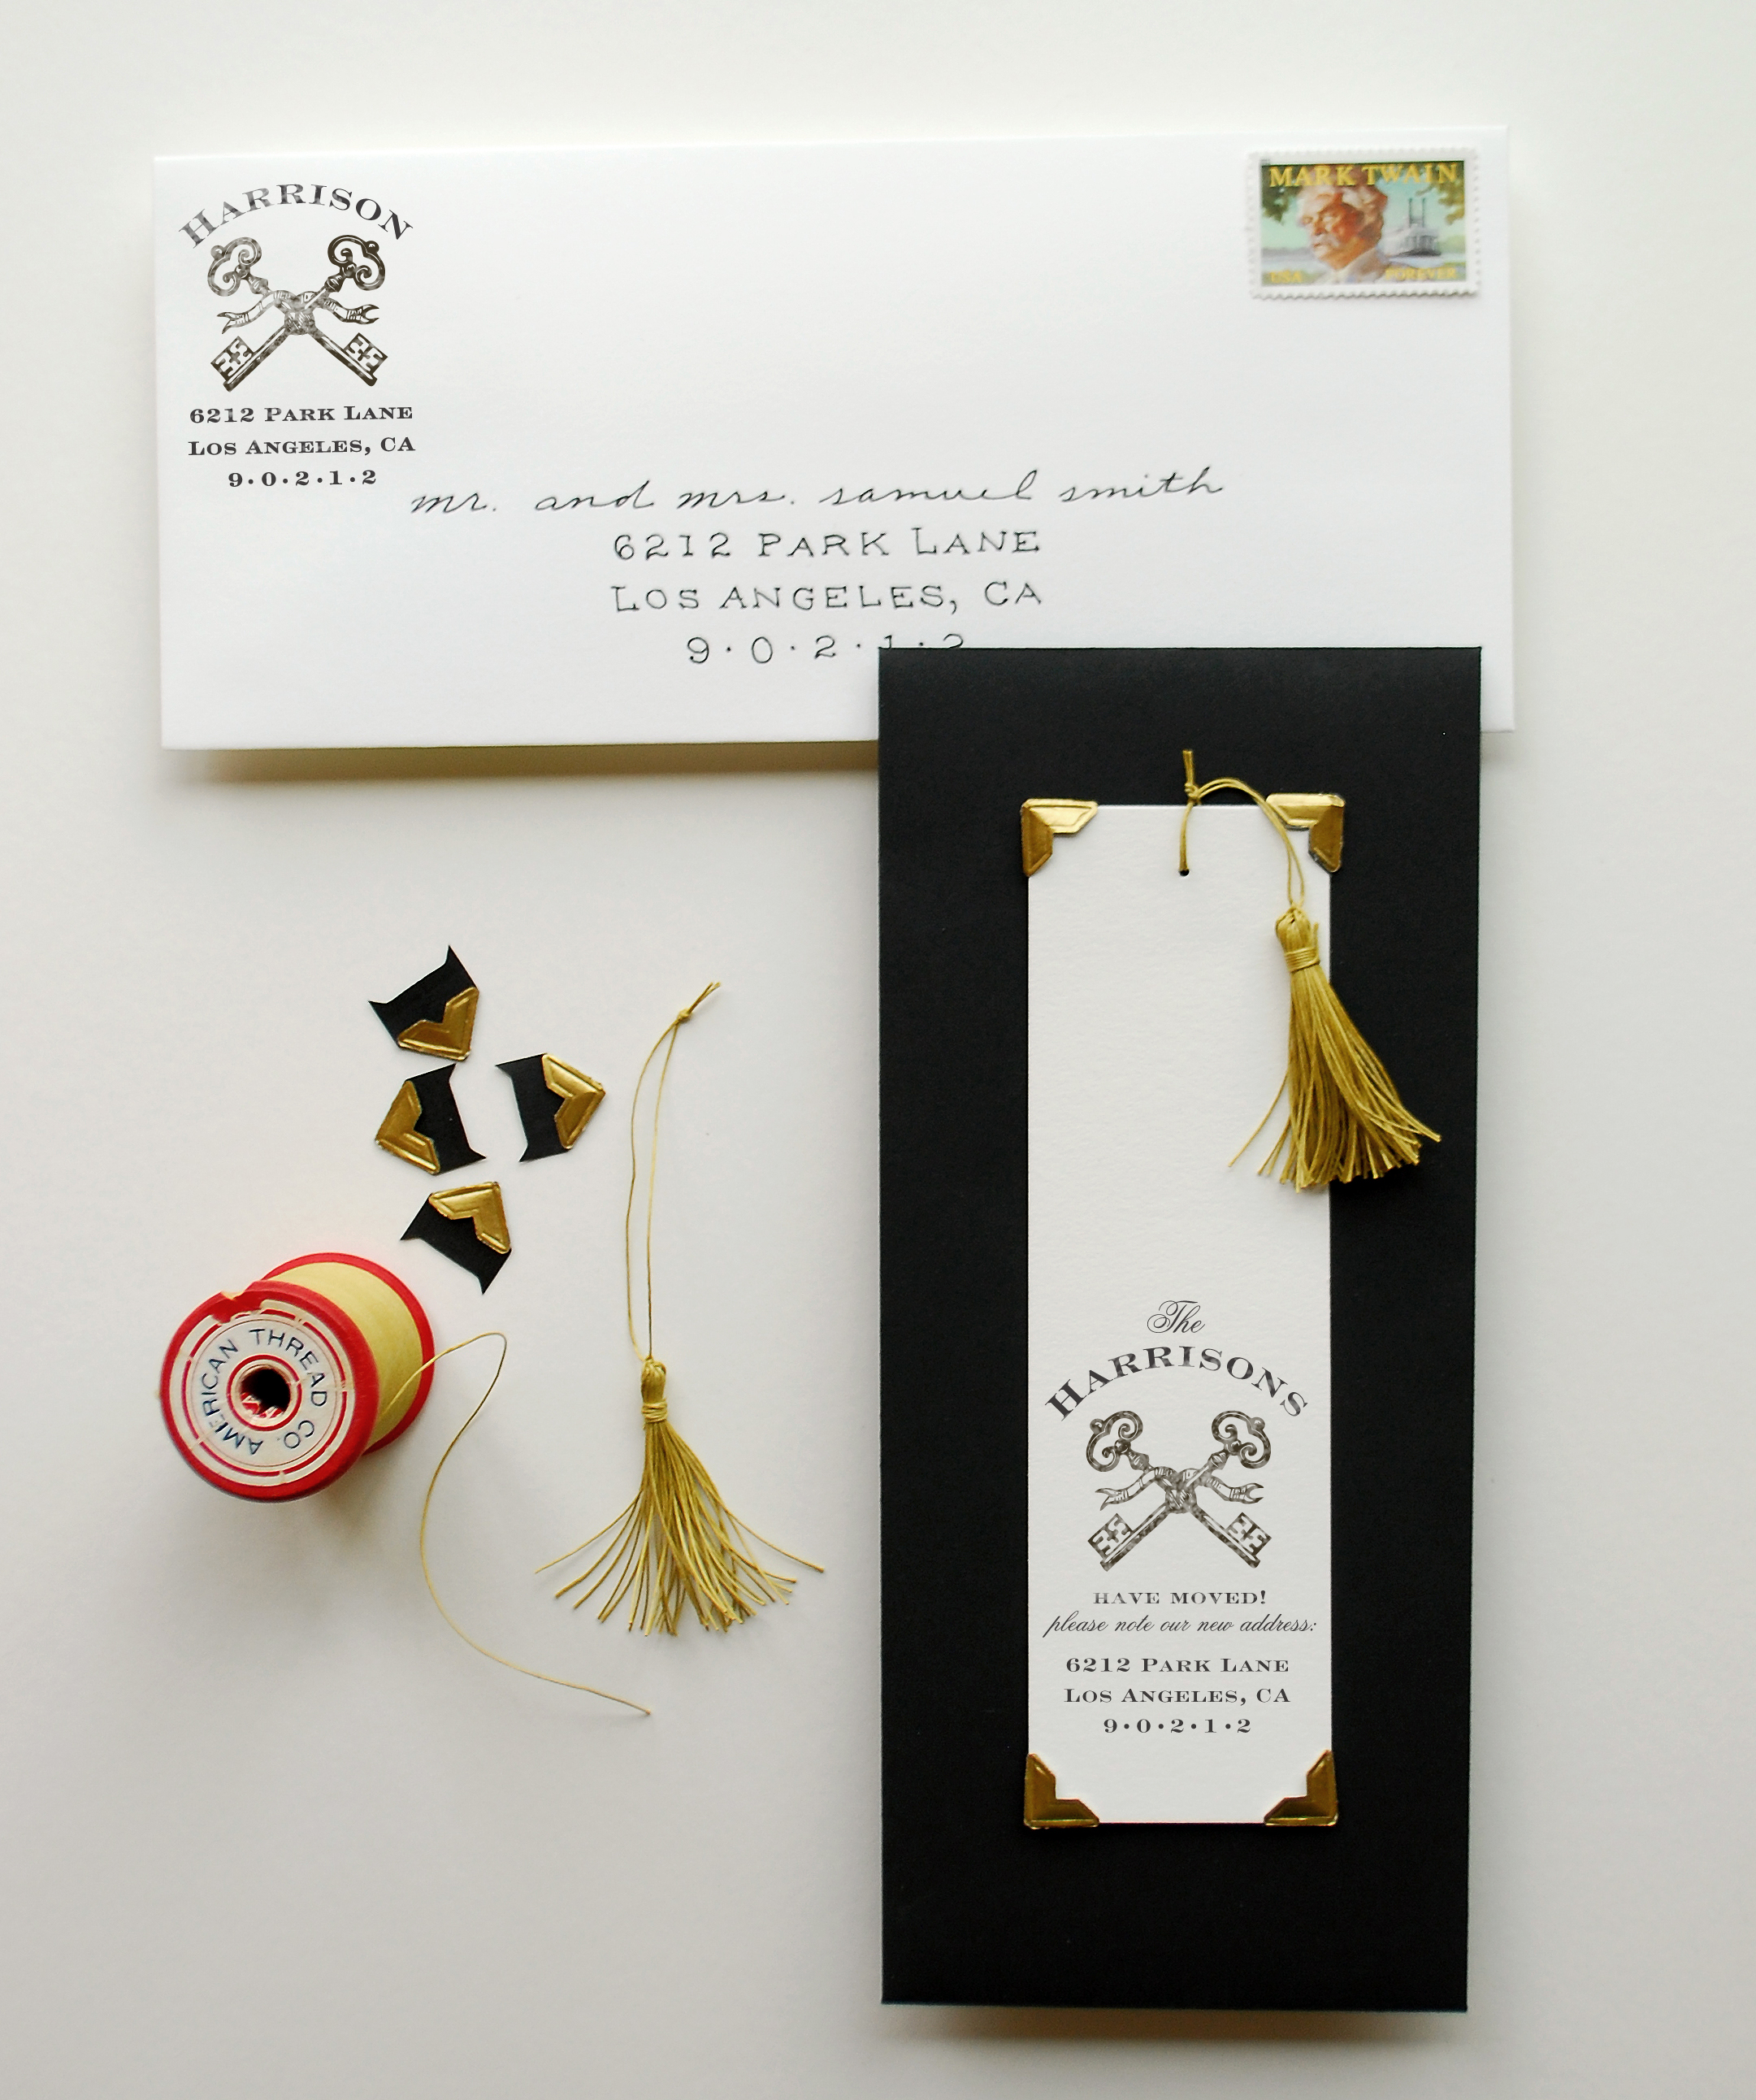
We love the coordinating designs of the moving announcement and the matching return address stamp.

DIY Rubber Stamp Moving Announcements

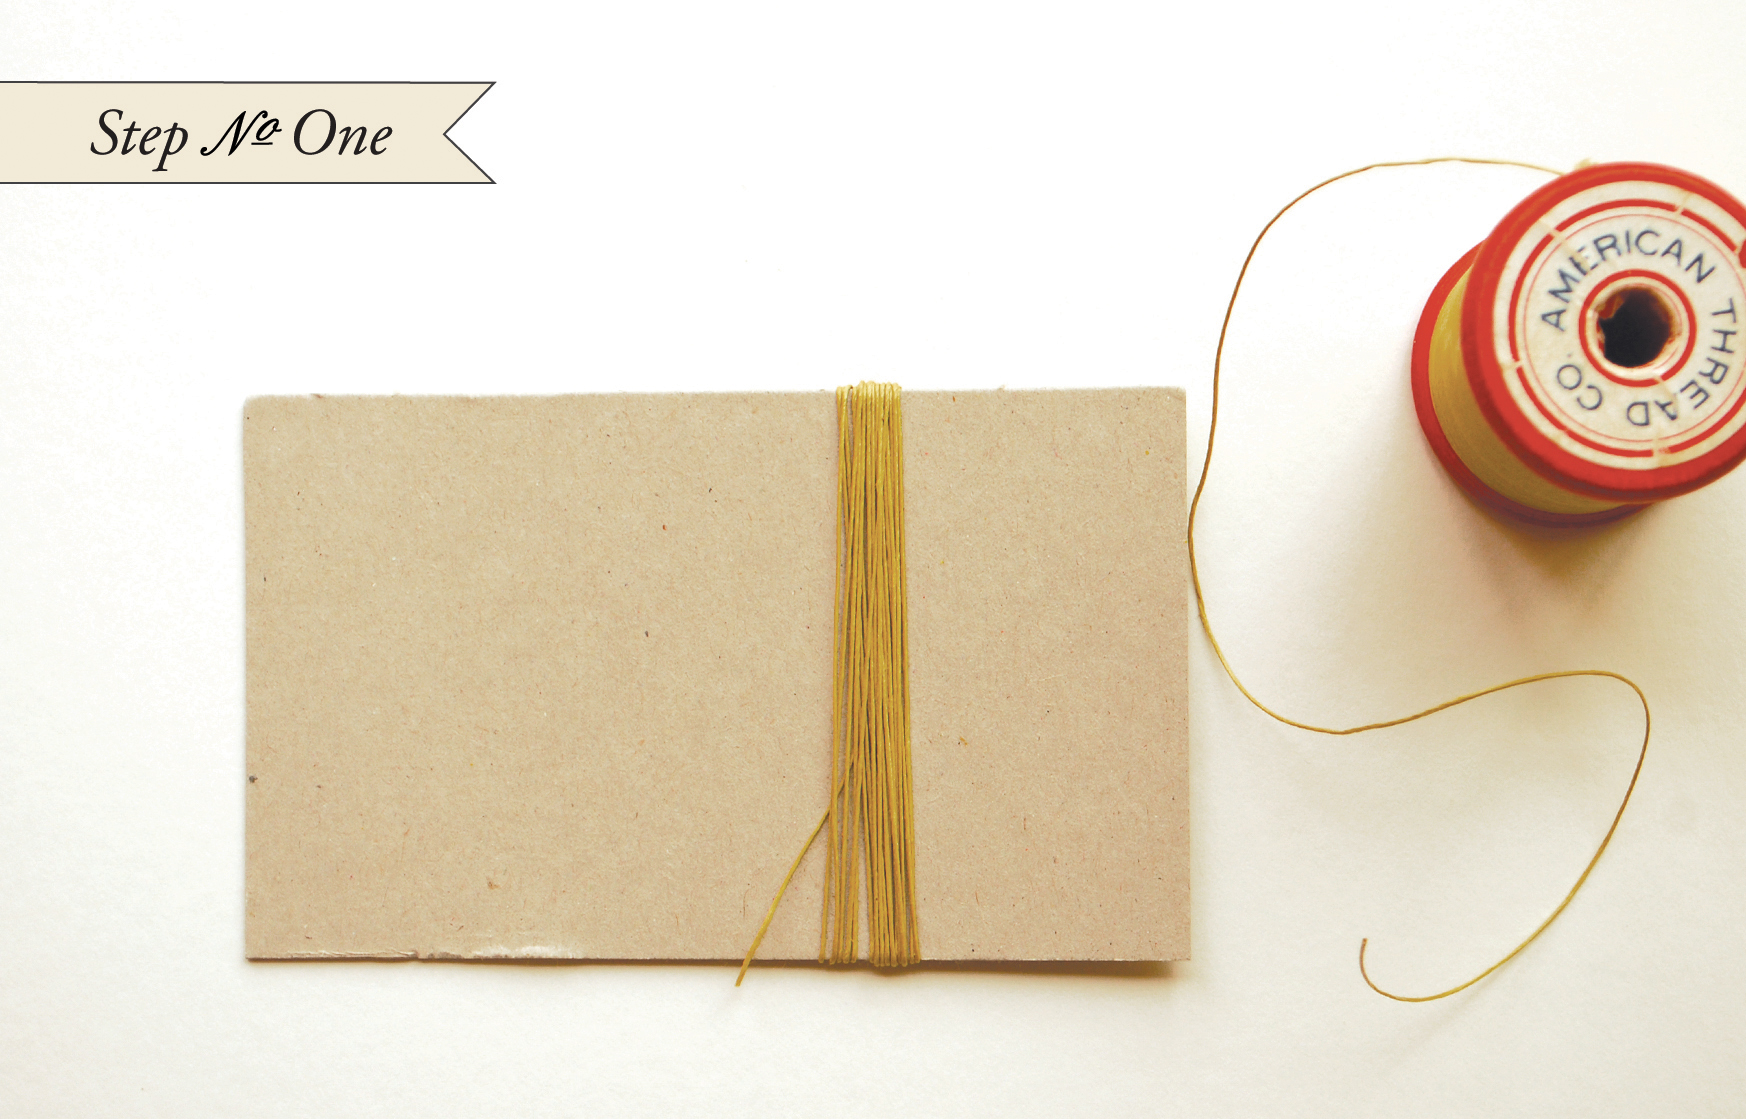
Step One: Get a little rectangle of cardboard and cut it to the height that you would like your tassle to be (we made ours 3 inches).  Wrap your thread around the card approximately 20 times or until you reach your desired thickness.  Leave the tail at the bottom as seen in the photo above.

DIY Rubber Stamp Moving Announcements

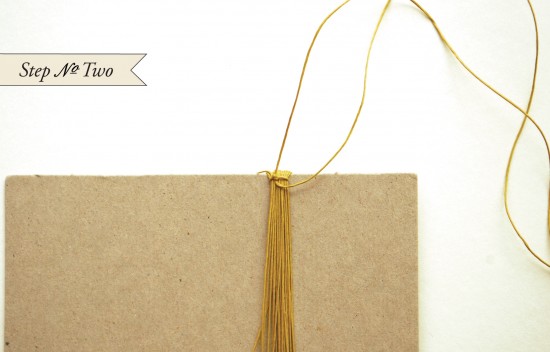
Step Two: Using another piece of thread (~10 inches long), tie a knot at the top of the cardboard, securing all the loops together.

DIY Rubber Stamp Moving Announcements

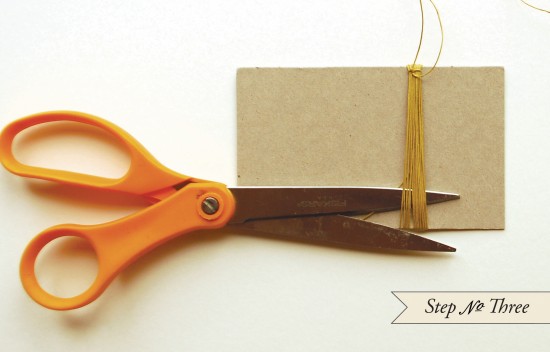
Step Three: Cut the bottom loops, freeing the tassel from the cardboard.

DIY Rubber Stamp Moving Announcements

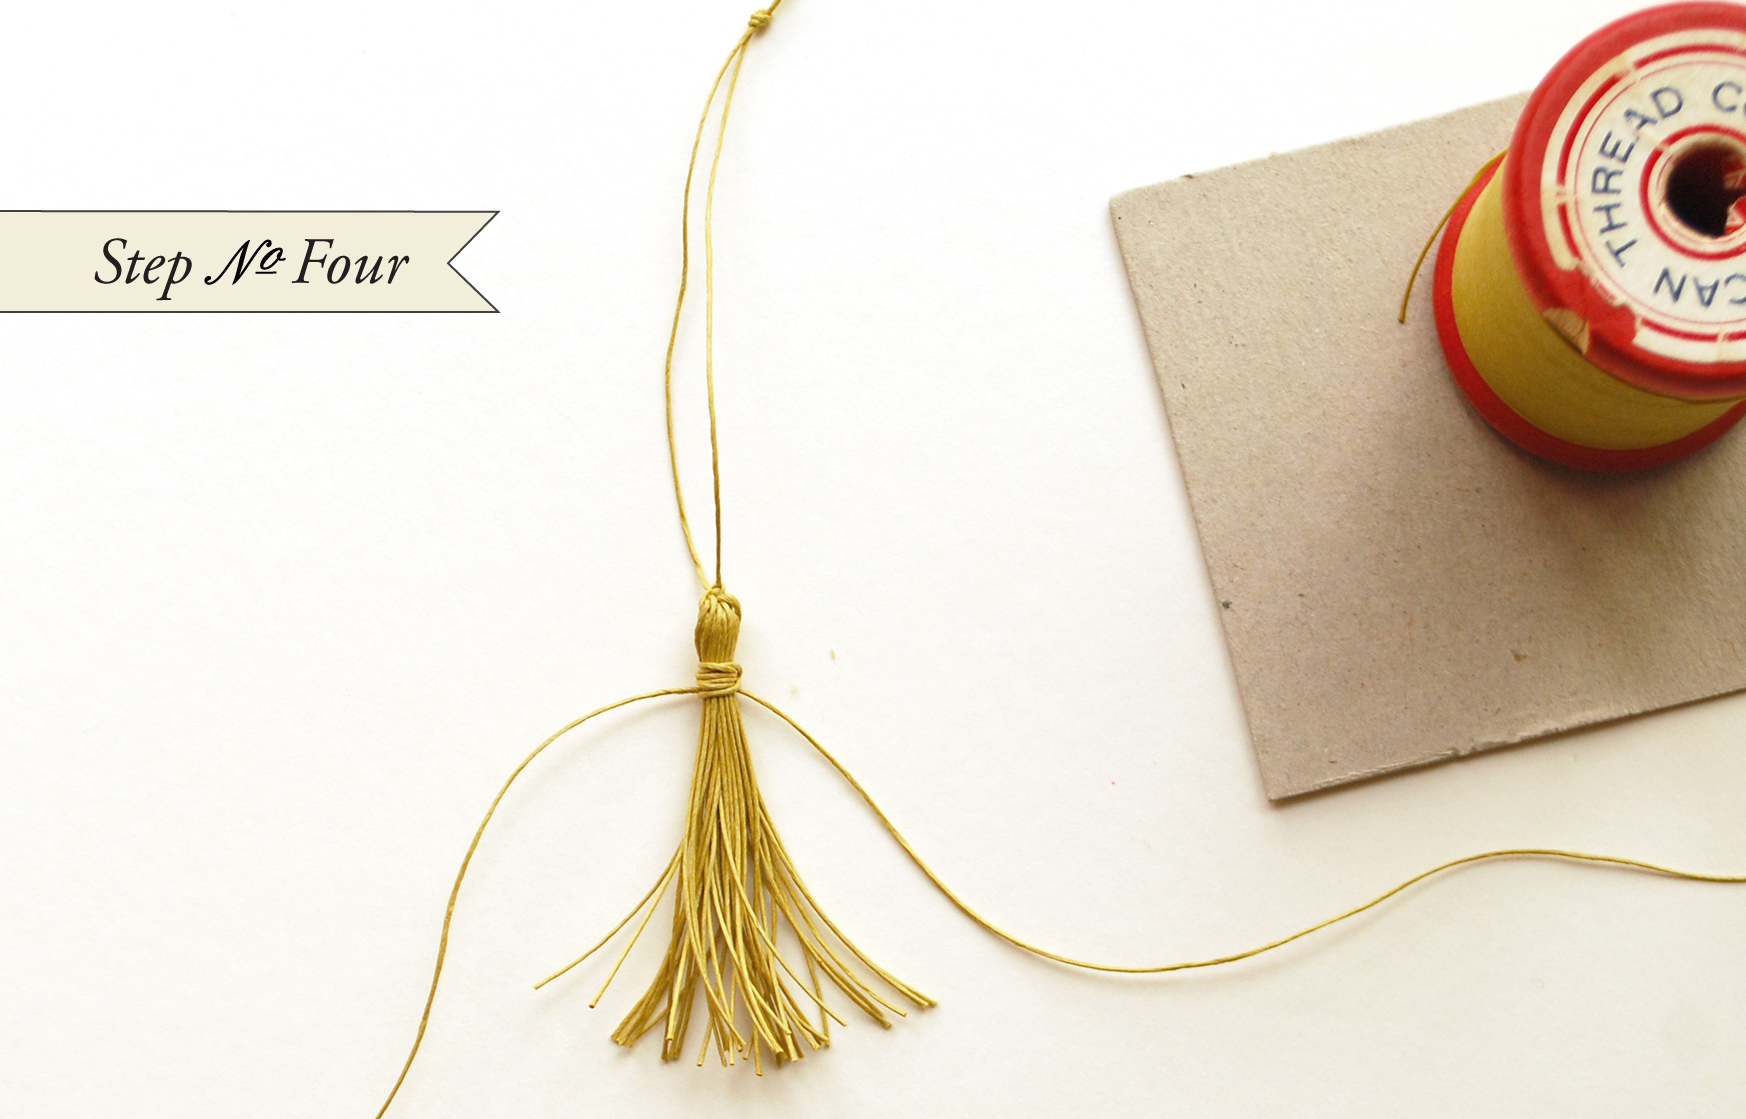
Step Four: With another length of thread (~15 inches), wrap thread close to the top of the tassel and secure with a knot.  Trim the ends, ensuring that you don’t cut the knot.

DIY Rubber Stamp Moving Announcements

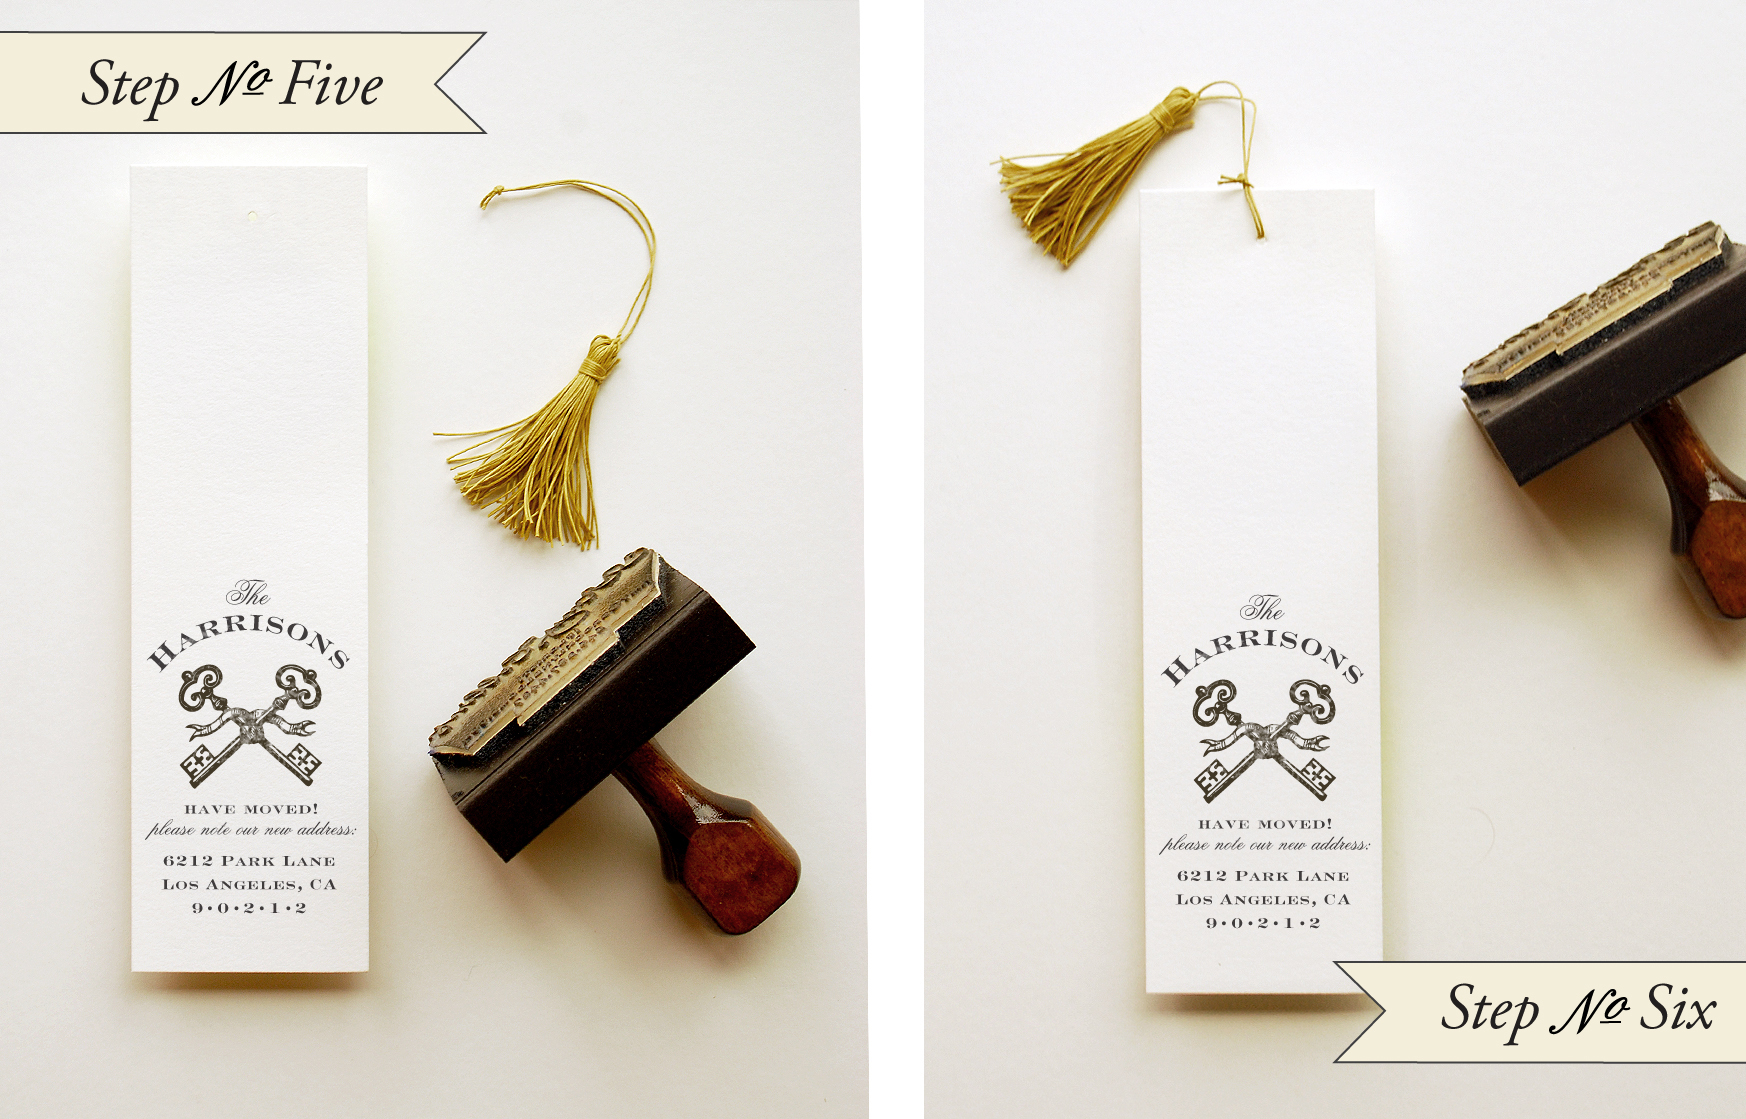
Step Five & Six: Cut bookmarks to desired size (2.125 x 7.25″).  On the bottom of the bookmark, print your stamp (we used our Keys Moving Announcement Rubber Stamp).  Ink stamp throughly and press evenly on a hard surface.  Lift stamp straight up and let ink dry.  Once dry, punch a small hole at the top center of the bookmark and tie on the tassel.

DIY Rubber Stamp Moving Announcements

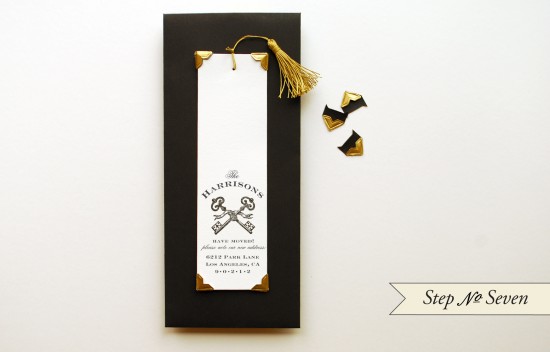
Step Seven: Cut black backers to (4 x 9.25″).  Stick gold photo corner on each corner of the bookmark, lick to activate the adhesive.  Center and press the bookmark down onto the backer.  Let adhesive dry.

DIY Rubber Stamp Moving Announcements

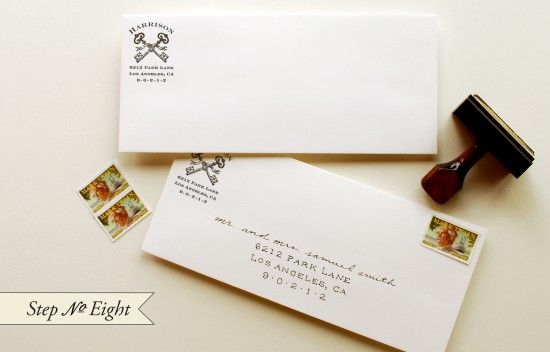
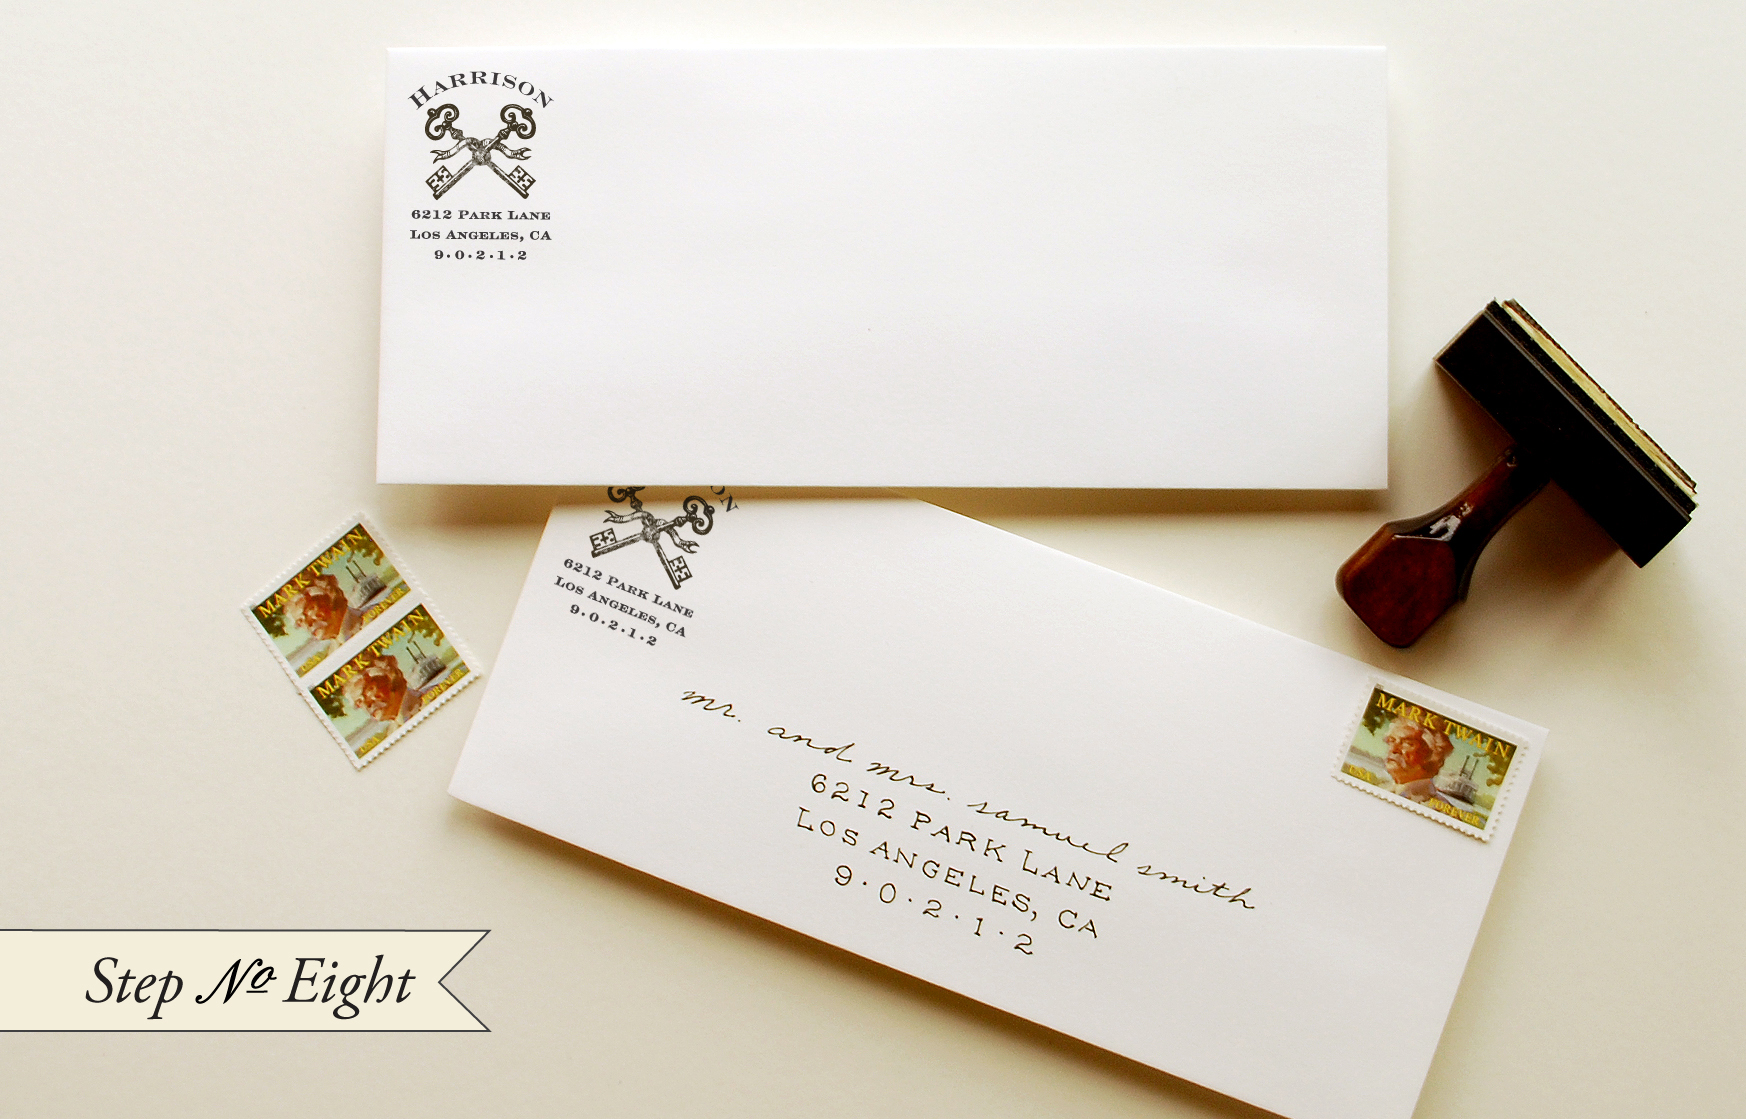
Step Eight: Stamp upper left hand side of an #10 envelope with your new return address stamp.  Address, apply postage and mail them out!!

Materials:

Stamps: Keys Moving Announcement Rubber Stamp, size medium, Keys Return Address Rubber Stamp

Stamp Pad 

Thread: Thrift for vintage thread or buy some at your local craft or fabric store.  Use a thicker cotton thread, such as one for hand quilting.

Scrap Cardboard

Scissors

Hole Punch

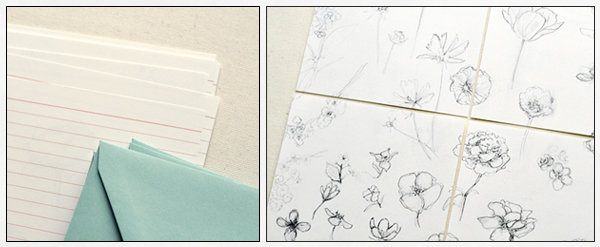
Paper for Bookmarks cut to (2.5 x 7.25″), we used luxe white

Paper for Backers: #10 or (4 x 9.25″), we used black

Photo Corners

#10 Envelopes (we used luxe white)

Photo Credits: Antiquaria

Friday Happy Hour: A Traditional Daiquiri

Me again! I’m popping back in for just a quick second with something a bit different. Over the past couple of months, my husband has been having fun experimenting with different cocktail recipes – and I have to admit, I was kind of skeptical at first, but it’s amazing how good a well crafted cocktail tastes compared to the kind of drinks I was used to before. So today I thought I’d share one of his new recipes with you! This cocktail is a slight twist on a classic daiquiri – not a fru-fru thing with a tiny umbrella, but a citrus-y sweet cocktail right out of the Caribbean.

Cocktail-Recipe-Traditional-Daiquiri

Read below for the full recipe!

The Traditional Daiquiri

2 oz rum
1 oz fresh lime juice
1/4 oz Cointreau
1/4 oz simple syrup

The daiquiri that most people meet is basically a fruit smoothie with alcohol – colorful, filled with ground ice, and overly sweet.  This is not that daiquiri.  This daiquiri is an old drink from Cuba, a natural development from the island’s history of sugar and citrus growing.  It balances sweet and sour, alcohol and citrus, and is remarkably crisp and refreshing.

Cocktail-Recipe-Traditional-Daiquiri

A classic daiquiri is made with just rum, lime juice, and simple syrup.  I usually substitute Cointreau – a liqueur made from dried orange peels – for about half the simple syrup called for in a traditional recipe.  The Cointreau adds both sweetness and a beautiful citrus flavor that pairs really well with the lime in the daiquiri.  Pour all of the ingredients into a shaker filled about halfway with ice.  Shake – hard – for 20 seconds.  Pour into chilled glasses.

Cocktail-Recipe-Traditional-Daiquiri Cocktail-Recipe-Traditional-Daiquiri

A couple of cocktail tips:

A general rule for mixing drinks: if the drink is all spirits, stir it; if it includes spirits and other ingredients, like juice, sugar, or a egg, shake it.  Shaking with ice cools the drink, aerates it to improve the texture, and makes sure all the ingredients are fully blended so they won’t separate out in your glass.  For daiquiris, I like to shake them vigorously, resulting in a nice frothy foam and little slivers of ice on top of the drink.

Cocktail-Recipe-Traditional-Daiquiri

You can mix large batches of simple syrup and store them in a bottle in the refrigerator for up to a month.  Just mix equal parts sugar with water, then gently heat them in a pan on the stove, stirring frequently, until the sugar has dissolved into the water.  Brown sugar or cane sugar are best for mixed drinks, especially the daiquiri.

Enjoy!

Photo Credits: Nole Garey for Oh So Beautiful Paper

Michelle + Rob’s Orange Floral Marriage Announcements

So what do you do if you elope but still want to have a party to celebrate your marriage?  Send out marriage announcements to spread the happy news!  That’s exactly what Michelle and Rob did, and they enlisted Alison from Love Citron to come up with the design for their announcements.  Alison incorporated Michelle’s favorite color – orange – with a bright and happy floral design.  Just perfect for such a happy announcement!

From Alison: Since they eloped, Michelle and Rob wanted a special way of telling their friends and family that while they were still planning a party to celebrate their marriage, they were actually already married! Michelle’s only request was that the color orange be involved somehow, since she loves orange flowers.  I came up with a modern orange flower design against a pale gray background.  We went with digital printing, but on a glossy stock, which lent it depth and made it look a little more luxe.

Thanks Alison!

Check out the Designer Rolodex for more tal­ented wed­ding invi­ta­tion design­ers and the real invi­ta­tions gallery for more wedding invitation ideas!

Photo Credits: Love Citron

Ashley + Nathan’s Whimsical and Rustic Burlap Wedding Invitations

Ashley and Nathan’s wedding invitations from Jill at Lemon Tree Paper Co. feature burlap and kraft paper – the perfect combination for a rustic fall wedding!   Ashley and Nathan’s wedding will take place in Tennessee later this month, so Jill also incorporated hand-sewn burlap pockets with a custom rubber stamp, adding the kraft paper address labels on the outer envelopes for a finishing touch.  So cute!

From Jill: These invitations were made to reflect a classic fall barn wedding.  Ashley wanted a rustic feel, but with personal touches and unique qualities.  I sewed each of these burlap pockets individually, and stamped them with a custom rubber stamp that I designed just for them.  Ashley and Nathan plan to use the stamp throughout their wedding decor.  We also used kraft paper wrap-around address labels to complement the rustic feel of the burlap.


Thanks Jill!

Check out the Designer Rolodex for more tal­ented wed­ding invi­ta­tion design­ers and the real invi­ta­tions gallery for more beau­ti­ful cus­tom invitations!

Photo Credits: Justin Wright Photography