Seasonal Stationery: Valentine’s Day Cards, Part 3

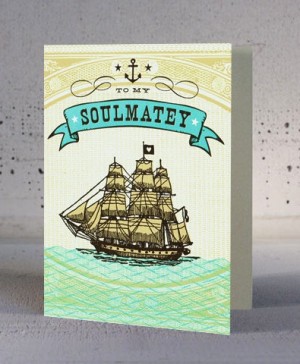
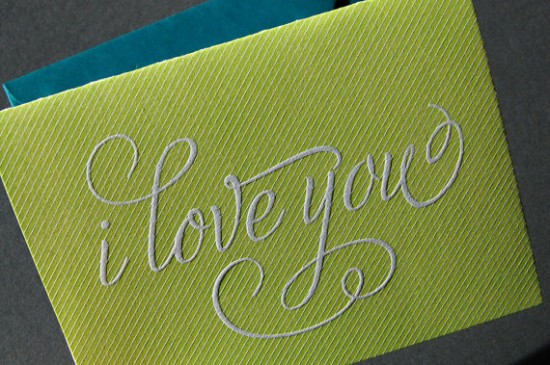
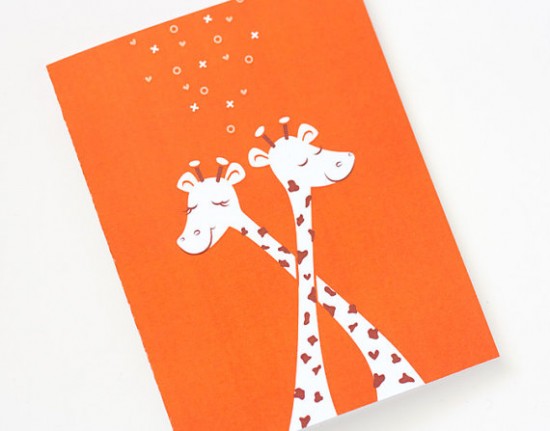
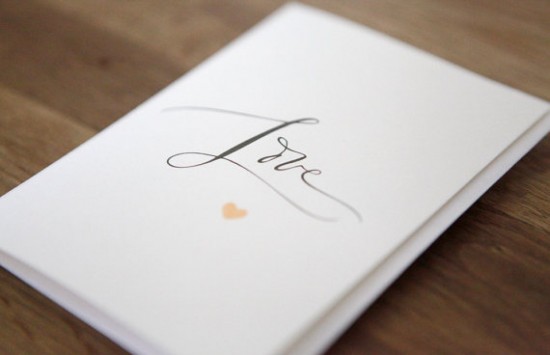
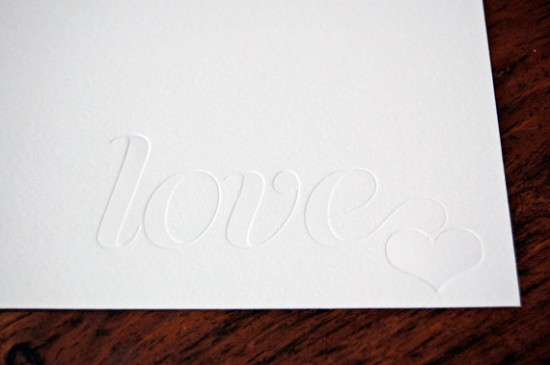
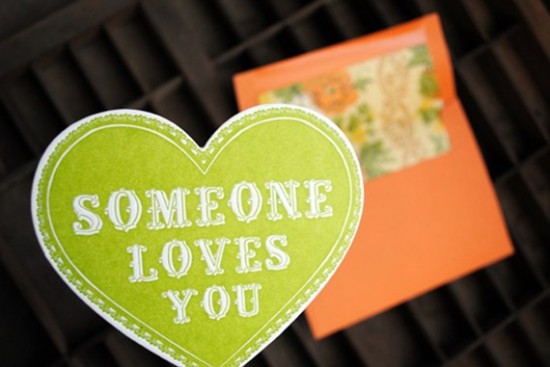
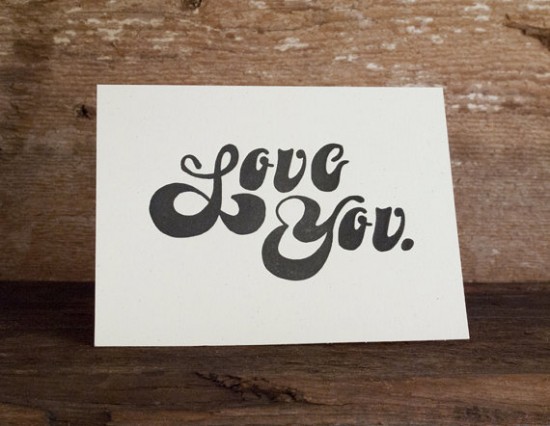
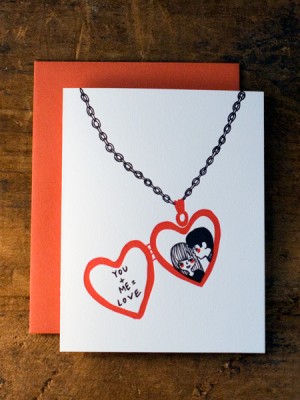
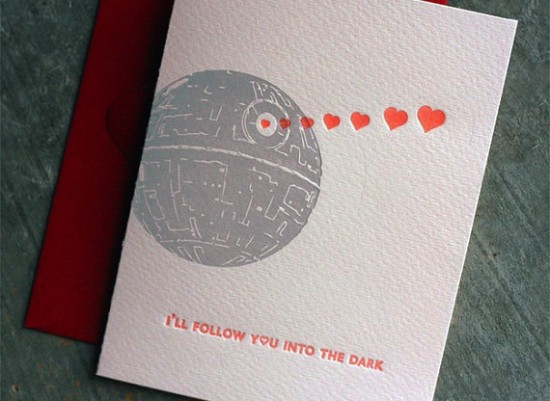
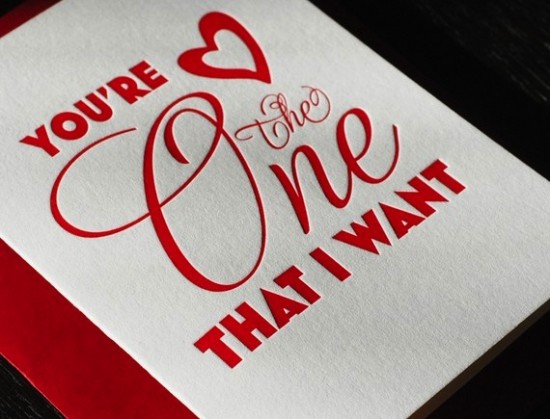
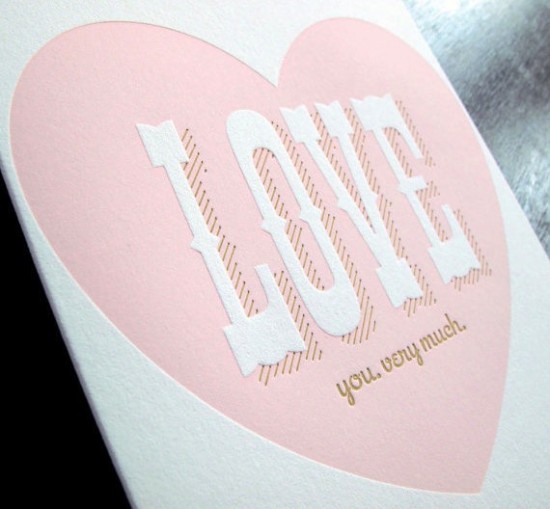
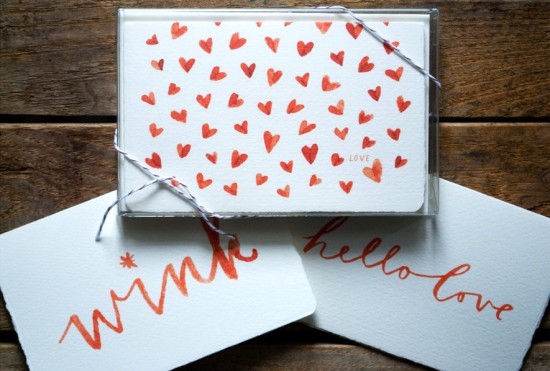
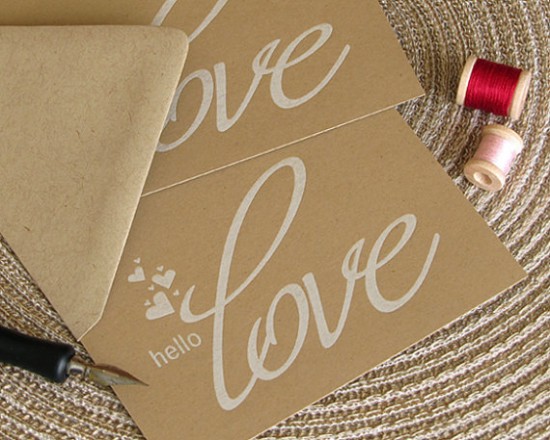
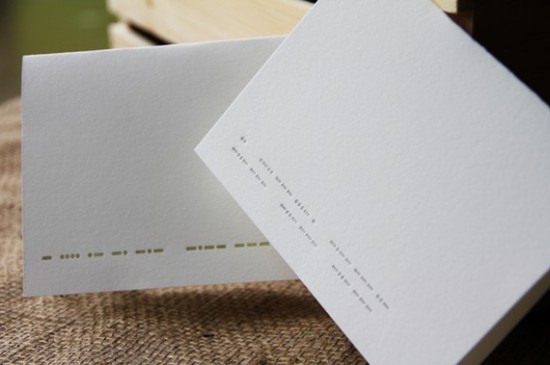
Last week I shared a few of my favorite Valentine’s Day cards – and today I have a few more that I’d like to highlight!  We’ve got a bunch of cute cards to cover, so let’s get right to it…

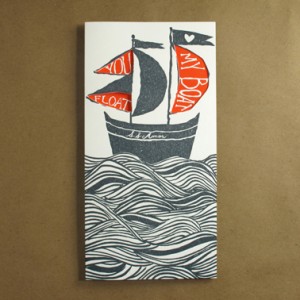
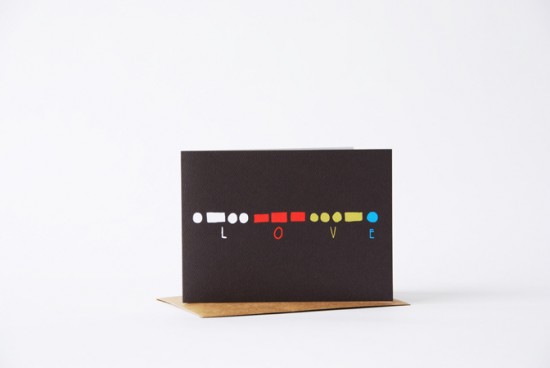
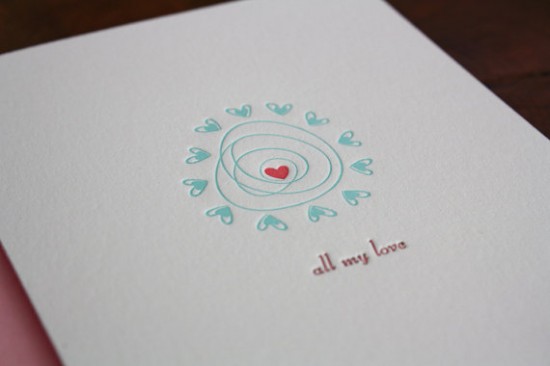
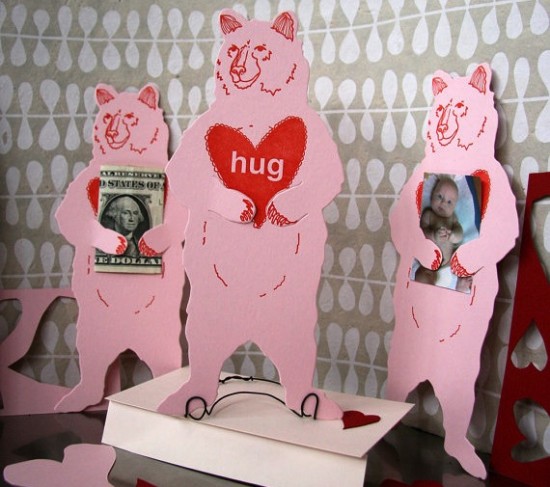
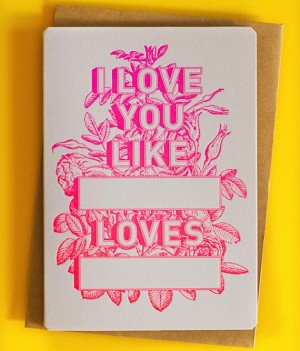
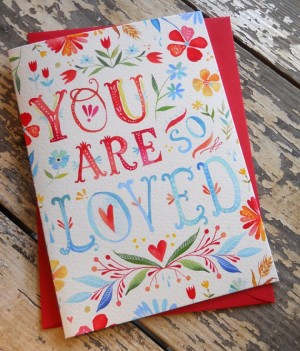
Shortgrass Designs


Egg Press

Yellow Owl Workshop

Honizukle

Blackbird Letterpress


Hammerpress

Pistachio Press

One Plus One

Humunuku


The Hungry Workshop (left); The Wheatfield (right)

Sapling Press

Stay tuned for a few more favorite Valentine’s Day cards coming up in just a bit!

{images via their respective sources}

*Pistachio Press is one of my fab­u­lous spon­sors; for more on my edi­to­r­ial poli­cies please click here.

The Printing Process: Offset Printing

Every morning this week, I’m running a series of guests posts about different printing methods â€“ so if you’ve ever wondered why certain printing methods are best for certain kinds of designs (or cost more than others), this is for you!  You can read the previous installments covering digital printingengravingscreen printingletterpress printing with antique type, and foil stamping all right here.  Today we’re talking about offset printing, with help from Katie of Kelp Designs and Nicole of Barrington Printing.

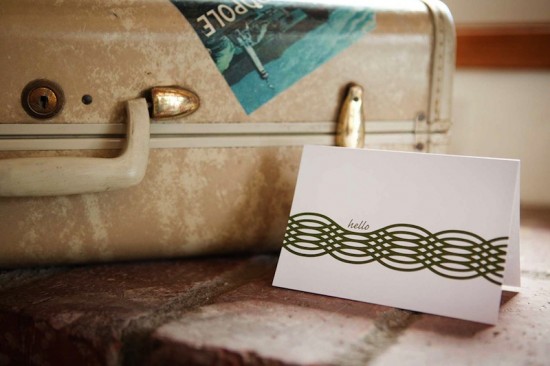
Offset printing is often confused with digital printing – both are four-color flat printing methods, but the process is quite different!  While offset printing is incredibly common, the printing process and procedures are often not well known.  Barrington Printing, a family-owned print shop in Cranston, Rhode Island, provides offset printing to a range of clients around the United States, including Katie of Kelp Designs in Los Angeles, California.  Katie recently interviewed Nicole about the offset printing process.
What is Offset Printing?

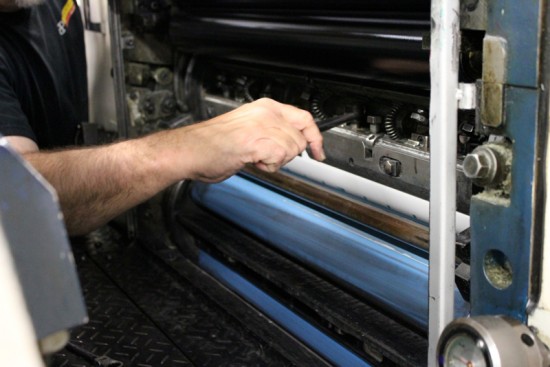
Offset printing is one of the most common flat printing techniques, wherein ink is transferred from a plate to a rubber blanket, then back to the printing surface.  Like most types of printing, offset printing is a mix of art and science.   Although the process is very technical (the science part), the press operator also carries a lot of weight in achieving the desired outcome of the printed piece.
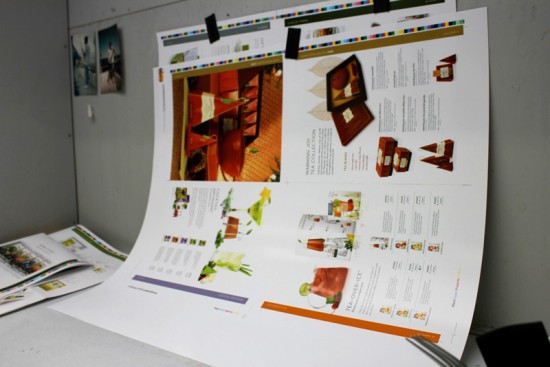
 

Offset printing (or lithography) is what you probably see most often in your day to day travels.  It is often used for direct mail postcards, business cards, brochures, pocket folders, signage and, yes, greeting cards and stationery.  Offset varies from other print methods in many ways including technology, process, cost, material options and turn around time.

The Printing Process

The most important part of the offset printing process is the very beginning.  It is important to ensure that you have very well prepared files.  One of the biggest mistakes we see is a simple one, files must be converted from RGB to CMYK in order to print offset.  This conversion will change the look of your piece, sometimes marginally, sometimes dramatically.  Many designers are unsure how to prepare their files for an offset print job and can end up running into unplanned prepress costs to correct them.  My best advice is to call your local printer and ask to speak with the pre-press manager.  These people are such valuable resources to an artist or designer and can help you avoid trouble spots through the rest of the print process.  Often, much of this information can be found online on the printer’s website.
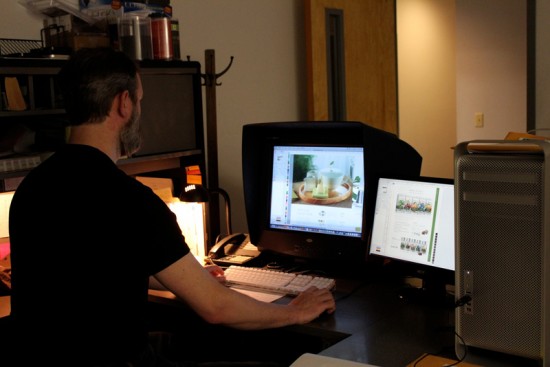
 

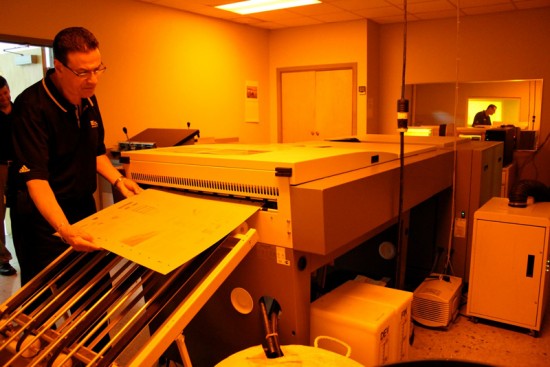
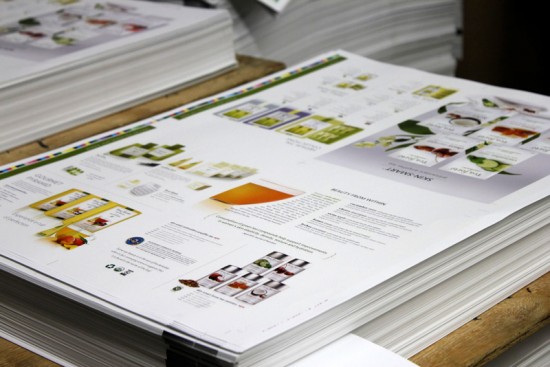
Once the files are in place a proof is prepared, which will give a very close representation of what the final printed piece will look like.  It is never exact, as the process of making the proof is different from the offset print process.  In addition, often times the proofing material is different from the stock that will be used on press which can vary the color slightly.  Once the proof is approved, the job moves onto plating.  Metal plates are made that get “hung” on press.  There is one plate for each color used (Cyan, Magenta, Yellow and Black – aka CMYK – to make four color process, or any Pantone Color for a single color job).
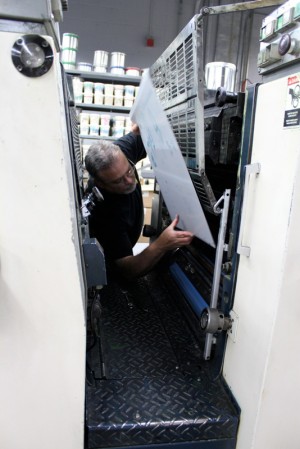
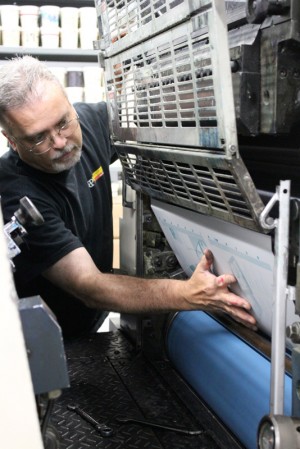
 

The stock will be cut to the size of the press it is being run on and depending on the size and scope if the project it can run for as short as 30 minutes or as long as multiple days. Once the press run is complete, bindery is the next stage.  That could mean, die cutting, scoring, stamping, numbering, folding, stitching, etc.  This can be a multi day process as ink needs to dry before you can finish a job and get it boxed for delivery.

Offset Printing vs. Digital Printing
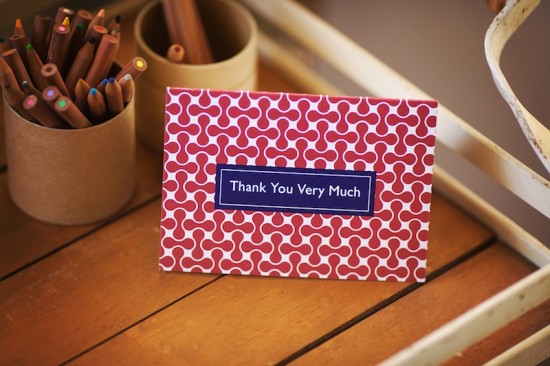
Offset is typically considered the gold standard for quality, although the process is longer and it can be more expensive depending on the quantity being printed.  Offset printing also allows for more material options.   Digital printing is quick and can be less expensive especially when printing smaller quantities, however, the image quality might not be 100% accurate.  Most offset printers offer digital printing, so always check with your printing representative to gauge your options!

Tips and Advice

Offset printing is the highest quality flat printing process available, and there are many paper stock and material options for offset printing.  Projects can also be tweaked for color adjustments on the press during the run. Like other artisan printing methods, such as letterpress and engraving, you’ll find better pricing value in higher volume jobs.  Conversely, offset printing requires a more expensive set up time, which can be an issue for smaller projects.  Offset printing also requires a longer turn around time.
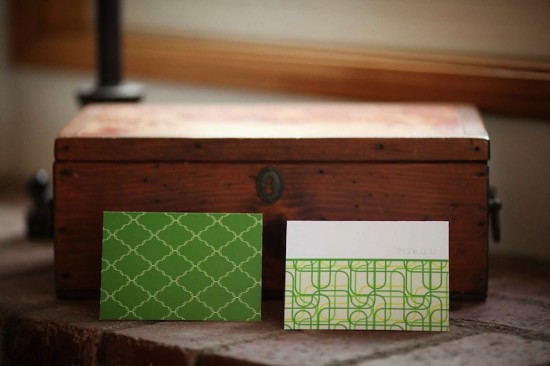
My best advice is to get a good referral to a printer!  It doesn’t have to be in your area (although it may help).  It is super important to find a printer that is invested in YOUR project and understands the exact outcome you are trying to achieve.  If the printer is a good and honorable one, they will give you all of the options and recommend the best one, even if it’s not something that they offer.  It is important to keep in mind that all printers have different niche’s, some have smaller presses, some have larger and your project may or may not be an economical fit for their equipment.  Don’t be afraid to ask them if your project is a good fit for them.

Nicole Couto is a sales person at the family-owned Barrington Printing in Cranston, Rhode Island.  They are celebrating their 30th anniversary this year!

Thanks Nicole and Katie!

Photo Credits: Process photos by Barrington Printing, example photos by Kelp Designs

The Printing Process: Die Cutting

Every morning this week, I’m running a series of guests posts about different printing methods â€“ so if you’ve ever wondered why certain printing methods are best for certain kinds of designs (or cost more than others), this is for you!  You can read the previous installments covering digital printingengravingscreen printingletterpress printing with antique type, and foil stamping all right here.  Today, the talented team at Egg Press is here to talk about the technique known as die-cutting, which they use to produce unique shapes, edges, and message windows in greeting cards and other stationery design elements.
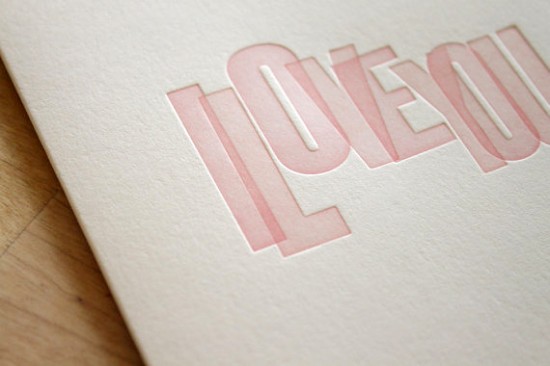
What is Die Cutting?

Die-cutting is a process used in many different industries to cut a thin flat material (in our case, paper) into a specific shape using a steel cutting die.  It can be used to punch out a decorative shape or pattern to incorporate within a larger piece, or it can be used to create the main shape of an object by cutting the entire sheet of paper in an distinct/designed way.  More simply put: for us it’s way of making a hole in paper in a desired shape using the same presses that we use for letterpress printing.

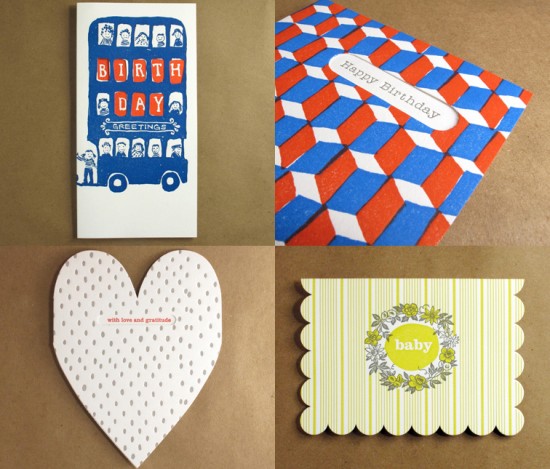
Like letterpress, a die-cut element draws attention to the 3D nature of paper and the character of the material itself.  We mostly use die-cutting as a feature – taking an industrial process and turning it into a design element.  As a letterpress print shop, here are some common ways we use die-cutting:

  • to create die-cut windows for messages on greeting cards
  • to create a unique shaped greeting card (examples include heart die-cuts, scallops, mini-paper sculptures)
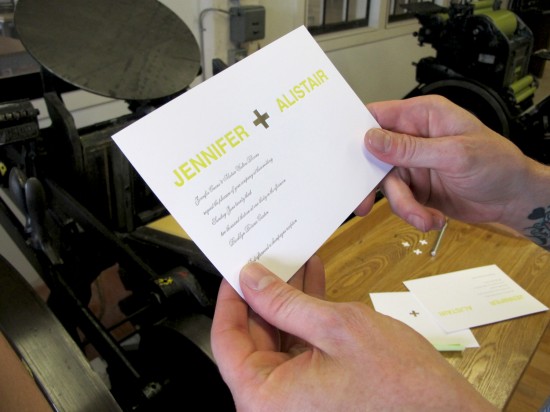
  • as a design element in one of our new wedding suites
  • to create die-cut coasters, hang tags, and rounded corners on business cards for clients
  • to make the boxes in which our cards are packaged

The Printing Process

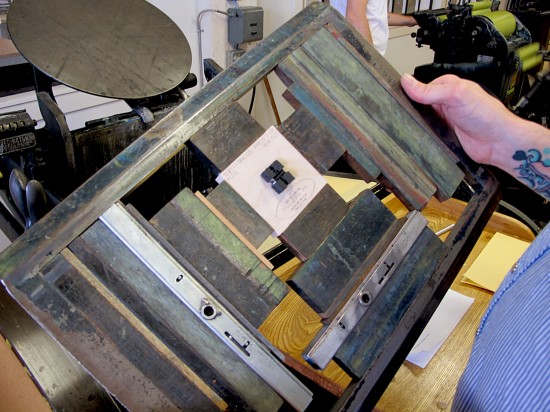
The process of die-cutting is easy for us as letterpress printers, as the set-up is similar to letterpress printing.  Instead of a type-high printing plate we use a type high wood mounted steel cutting die.  The shape of the cutting die is often something we’ve designed and ordered from our local die-makers.  Instead of tympan paper and packing (used to control the impression when printing), we use a sheet of metal on the press bed giving the die a hard surface to cut against.

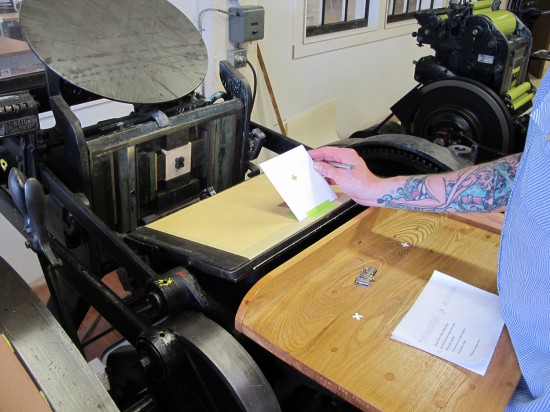
The first few steps are essentially the same as letterpress printing, although since we’re not using ink we’re always sure to remove the rollers from the press before we start.  We don’t want the dies to damage our rubber rollers!

Next, we attach metal plate/backing onto the press bed by locking the die into the chase and inserting the chase into the press.  Then we’re ready to turn on the press and make a cut.

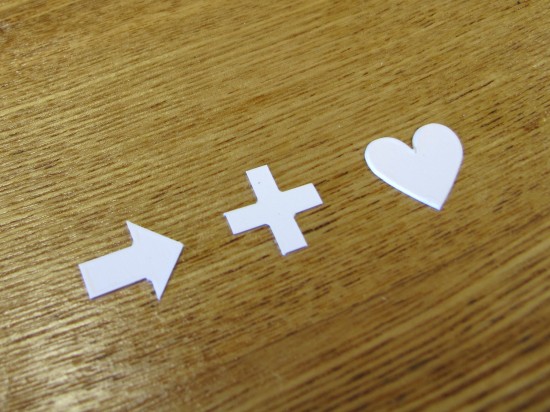
Pop out the cut shape (paper is still taped to press bed).  Slide your mock-up proof underneath – align your mock up with the cut sample – hold in place.  Make any necessary adjustments, start cutting, and enjoy the confetti!

Tips + Advice

Though die-cutting can produce unique results, it’s not for every print job.  This is why it’s not very commonly used, and why it can be so distinctive.  A die-cut can add a decorative element or a functional component to a design.  For stationery or invitations, creating a die-cut silhouette for your suite may add interest and a vintage feel.  Using a small punch-out within the invitation as a motif can be a nice touch (in this case, a modern feel).  A functional die-cut might be something like a half-moon thumb hole on an open ended envelope, or a notch system in a folded piece.  There are many possibilities for die-cutting, but the medium has limitations.

Complicated shapes or patterns may not work (ask your printer or die-maker).  There is a minimum size for die-cut elements.  The maximum size of the die-cut will depend on the capability of the press you are using.
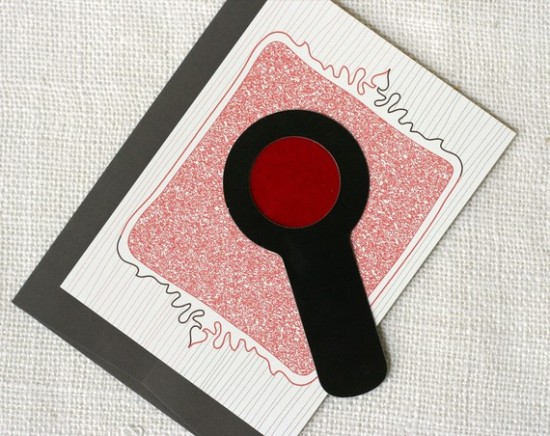
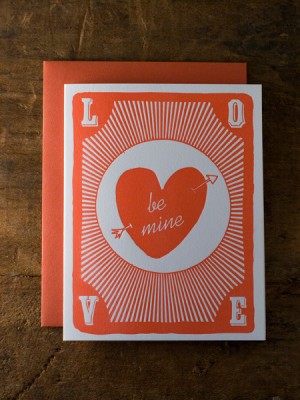
Paper can affect the outcome – this is something to consider when choosing your paper or choosing to use a die-cut element.  In our experience, thinner paper has less resistance and seems to cut more cleanly while thicker stock can yield mushy edges.  Cotton paper can leave a ragged edge.  Finally, when mailing something with a die-cut element it’s a good policy to mail it in an envelope for protection.  It might not be a good choice for a postcard mailer or rsvp card.

Thanks guys!  Check out awesome stationery from Egg Press right here!

Photo Credits: Egg Press

Seasonal Stationery: Valentine’s Day Cards, Part 2

As promised yesterday, I have a few more favorite Valentine’s Day cards to share with you today!

Social Proper

Moontree Letterpress

12fifteen

Cleanwash Letterpress

Wit and Whistle


Wildhorse Letterpress

Dingbat Press

Richie Design

Anemone Letterpess

Kathryn Whyte

Sweet Harvey

Lettuce Press

Check back in a bit for a fun Valentine’s Day giveaway!

{images via their respective sources}

{happy weekend!}

Happy Friday everyone!  This week started off with our first real snowfall here in DC!  Sadly, the snow didn’t stick around and we’re back to rain (boo!).  At least the rain has given me an excuse to spend more time indoors, particularly with our rescue foster cat, Major Tom.  After spending weeks living under the bed, he now finally comes to hang out with us and our other cats in the living room.  Progress!  Next week I’m heading to Salt Lake City for Alt Summit – I’m looking forward to seeing old blog friends and meeting new ones!  But in the meantime…

…a few links for your weekend!

This week on Oh So Beautiful Paper:

As usual, we have a fun cocktail coming up for you this afternoon, so check back a bit later for the recipe!  I hope you all have a wonderful weekend, and I’ll see you back here on Monday! xoxo

Photo Credits: v frolov