DC Guide: The National Postal Museum

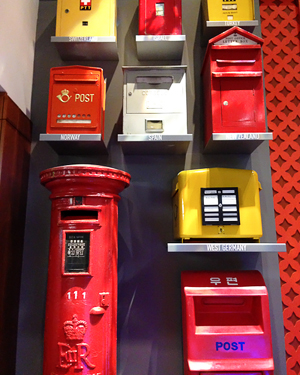
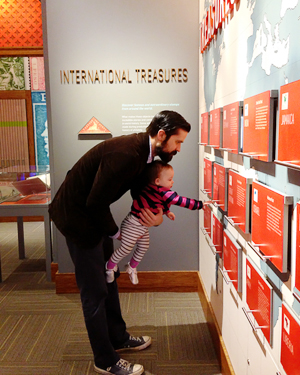
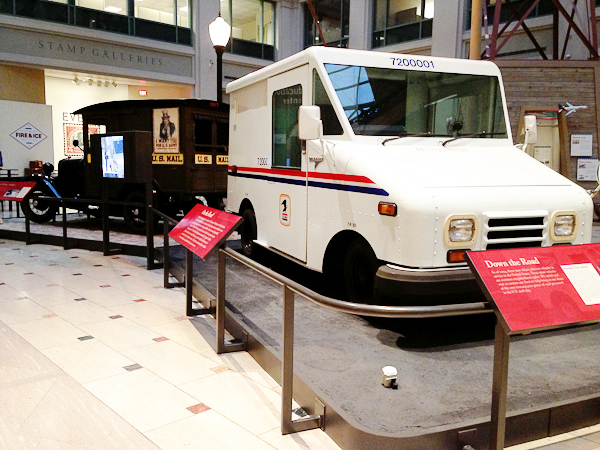
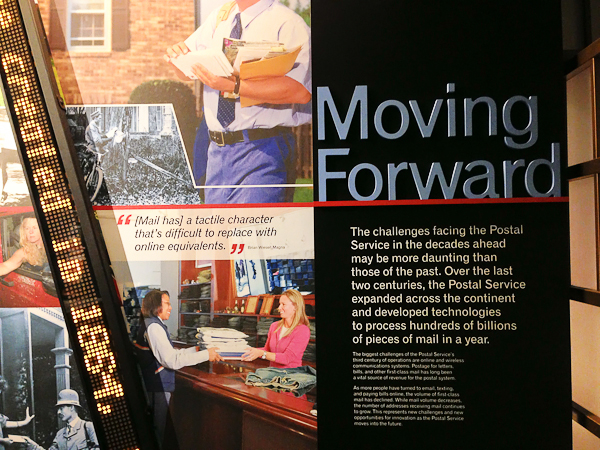
We made an impromptu trip to the Smithsonian National Postal Museum on a rainy Saturday a couple of weeks ago. It was actually my first time at this museum, but I’m so glad we went – it’s now on my must-visit list for DC! The stamp collection alone is worth a visit, but there are also exhibits on the evolution of the postal service, from the original private letter carriers to the Pony Express to the modern U.S. Post Service, and a display of mail delivery vehicles and airplanes. Sophie even had fun at the museum pulling out the displays in the stamp gallery and pretending to drive a mail delivery truck!

OSBP-DC-Guide-National-Postal-Museum-5

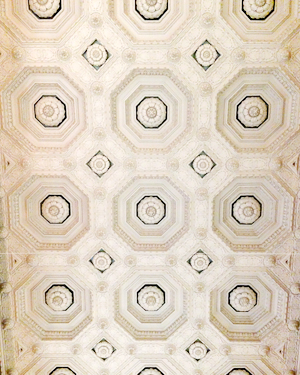
The National Postal Museum is located in Northeast DC next to Union Station, and is housed on the lower level of the historic City Post Office Building, which was constructed in 1914 and served as the DC post office from 1914 to 1986. I love these old buildings – the architectural details are amazing! The Museum also houses a 6,000-square-foot research library, a stamp store, and of course a museum shop.
OSBP-DC-Guide-National-Postal-Museum-2OSBP-DC-Guide-National-Postal-Museum-6

OSBP-DC-Guide-National-Postal-Museum-10OSBP-DC-Guide-National-Postal-Museum-9

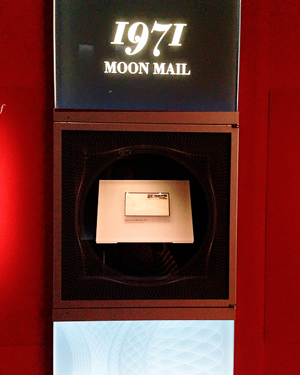
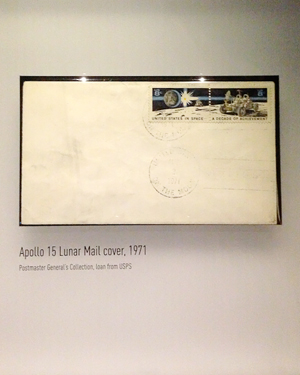
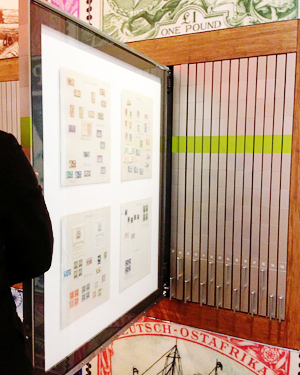
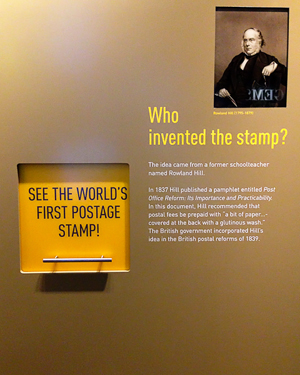
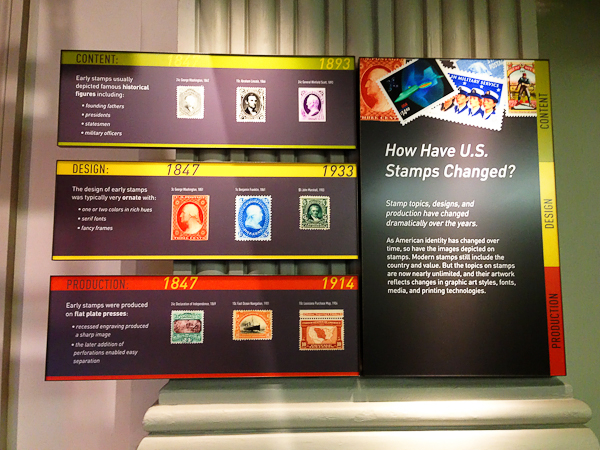
The stamp collection is amazing – not that you’d expect anything else! Everything from the first postage stamp to mail sent from the Moon, examples of engraving dies used to make antique stamps, and tons of international stamps.
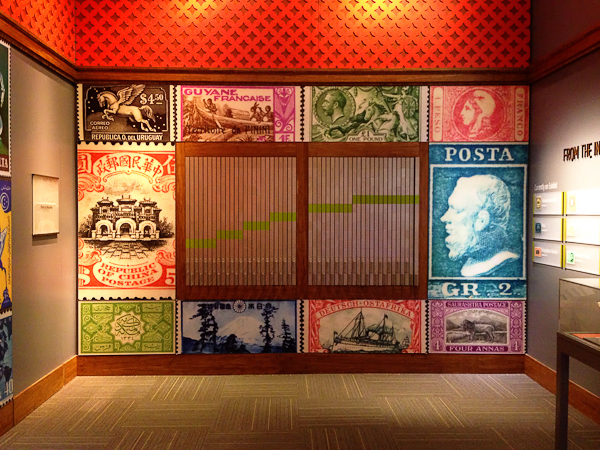
OSBP-DC-Guide-National-Postal-Museum-16

OSBP-DC-Guide-National-Postal-Museum-14

OSBP-DC-Guide-National-Postal-Museum-28OSBP-DC-Guide-National-Postal-Museum-12

OSBP-DC-Guide-National-Postal-Museum-36

OSBP-DC-Guide-National-Postal-Museum-21OSBP-DC-Guide-National-Postal-Museum-23

OSBP-DC-Guide-National-Postal-Museum-40

OSBP-DC-Guide-National-Postal-Museum-50OSBP-DC-Guide-National-Postal-Museum-44

OSBP-DC-Guide-National-Postal-Museum-41

OSBP-DC-Guide-National-Postal-Museum-47

As you can probably tell, the National Postal Museum is very kid friendly (which I love!). We’re looking forward to going back!

More fun things to do in DC right here!

Photo Credits: Nole Garey for Oh So Beautiful Paper

DIY Tutorial: Modern Washi Tape Save the Dates

Who doesn’t love washi tape? Ever since this awesome product arrived state side, we’ve been on board. We typically use it to seal envelopes, paper or belly bands but lately, we’ve had a desire to make it the real star. In this DIY, we use different tapes to add a bit of graphic drama to our stamped save the date cards. The effect you get is so much fun, especially considering it’s humble beginnings as tape! – Bailey and Emma of Antiquaria

DIY Tutorial: Modern Washi Tape Save the Dates by Antiquaria for Oh So Beautiful Paper

Each save the date is its own, unique piece of art. The best part is that you can make it as simple or tricked out as you like!

DIY Tutorial: Modern Washi Tape Save the Dates by Antiquaria for Oh So Beautiful Paper

Step One: Before you decorate, you’ll need to stamp your save the date (we used our Art Deco Save the Date stamp) on the bottom of a blank, cream A7 card. Choose an ink color that will coordinate nicely with the tape that you’ve selected. For a step-by-step video tutorial about this printing process go here.

DIY Tutorial: Modern Washi Tape Save the Dates by Antiquaria for Oh So Beautiful Paper

Step Two: Let your creative flag fly! Adorn the top of the card with washi tape in any pattern you like. We used a simple design with straight line and pop of diagonal tape for this example.

DIY Tutorial: Modern Washi Tape Save the Dates by Antiquaria for Oh So Beautiful Paper

Step Three: Next, you’ll need to square up the tape so that you have a clean, professional look. Using a straight edge metal ruler and a craft knife, carefully cut the tape, making sure not to press so hard that it cuts the paper as well.

DIY Tutorial: Modern Washi Tape Save the Dates by Antiquaria for Oh So Beautiful Paper

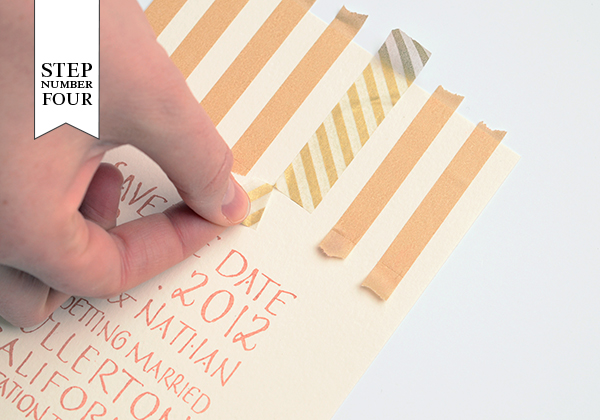
Step Four: Peel off the tape and press down the cut edge. Repeat the process on the top.

DIY Tutorial: Modern Washi Tape Save the Dates by Antiquaria for Oh So Beautiful Paper

There are an infinite amount of possibilities for the tape designs. Get creative and experiment with tape colors and patterns. We love the way that they all look together, so don’t feel limited to one design!

DIY Tutorial: Modern Washi Tape Save the Dates by Antiquaria for Oh So Beautiful Paper

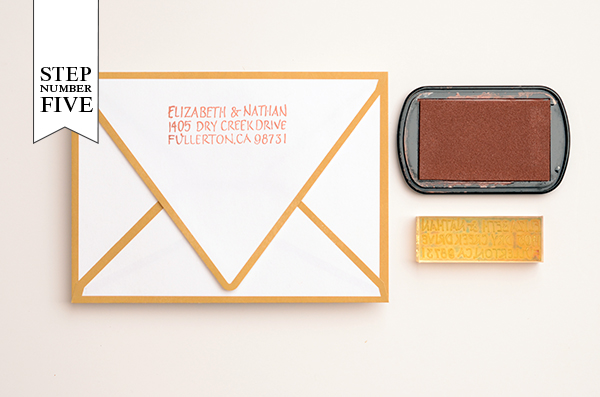
Step Five: Next, you’ll need to stamp your return address (we used our Art Deco Return Address stamp) on the back flap of your envelopes. Now all that’s left is to address them, add postage and send them on their merry way!

Materials:

Art Deco Save the Date Stamp

Art Deco Return Address Stamp

Stamp Pad in Cocoa

Washi Tape

A7 Cream Cards

A7 Envelopes

Metal Ruler and Craft Knife

Anti­quaria is a mem­ber of the Designer Rolodex – you can see more of their beau­ti­ful work right here or visit the real save the dates gallery for more save the date ideas!

Photography: Antiquaria for Oh So Beautiful Paper

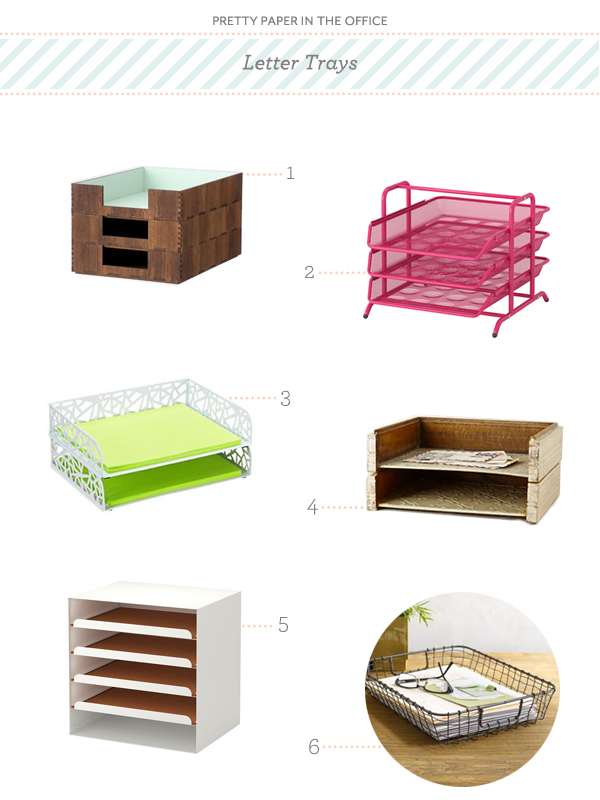
Pretty Paper in the Office: Letter Trays

After having faced the task of cleaning up my desk for the new year, I noticed there were a lot of loose sheets (envelopes, bills and the like) floating around;  some of it I needed now, some I would need later. The simplest solution for this problem is one I was pretty excited to shop for. Letter trays are an easy way of corralling everything you need into one place, while allowing you to organize what it’s for or when you’ll need it. Here is a round up of letter trays that will have you and your desk organized all year long. – Julie

Pretty Paper in the Office: Letter Tray Round Up via Oh So Beautiful Paper

No. 1 Letter trays by ferm LIVING; No. 2 DOKUMENT letter tray by IKEA; No. 3 Network stacking letter tray from The Container Store; No. 4 Handcarved stacking tray from Anthropologie; No. 5 KVISSLE letter tray by IKEA; No. 6 Vintage letter basket from See Jane Work

 {images via their respective sources}

Friday Happy Hour: The Danish Mary

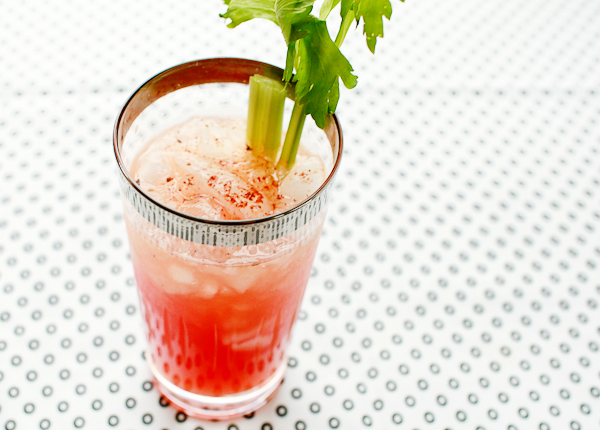
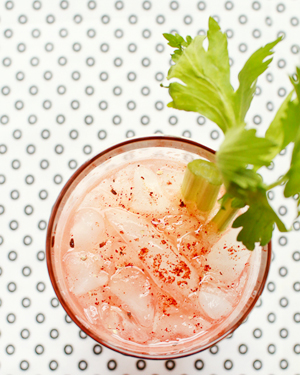
Here’s a confession: I’m not the biggest fan of the Bloody Mary for two big reasons. First, all that tomato juice: I’m not crazy about savory drinks. Second, all that vodka: there’s no room in my bar for a neutral spirit that basically exists to liquor up a drink without adding any flavor. So for those of you desperately searching for a post-New Year hangover cure looking for a delicious brunch cocktail, here’s a slight variation that’s even better than the Bloody Mary: the Akvavit-based Danish Mary. – Andrew

OSBP-Signature-Cocktail-Recipe-Danish-Mary-50

OSBP-Signature-Cocktail-Recipe-Card-Danish-Mary-Shauna-Lynn-Illustration

Illustration by Shauna Lynn for Oh So Beautiful Paper

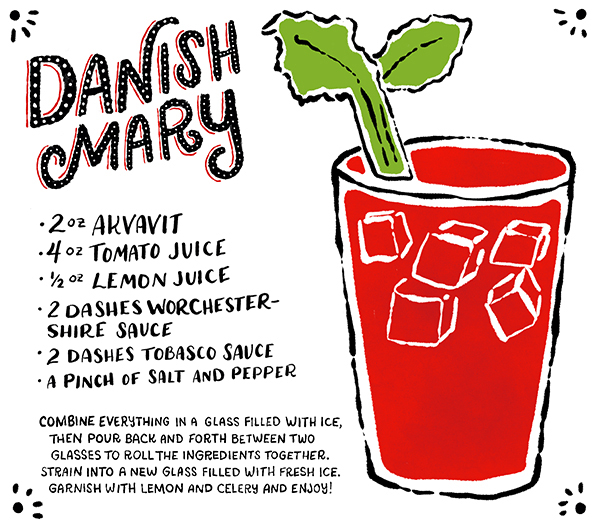
Danish Mary

2 oz Akvavit
4 oz Tomato Juice
1/2 oz Lemon Juice
2 Dashes Worcestershire Sauce
2 Dashes Tabasco Sauce
A Pinch of Salt + Pepper

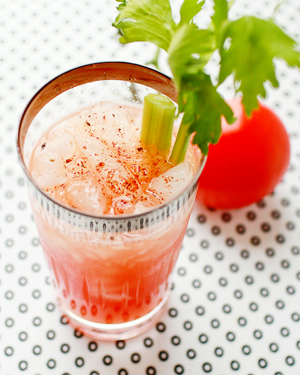
Combine everything in a glass filled with ice, the pour back and forth between two glasses to roll the ingredients together. (Tomato juice foams a lot when shaken; this is a much gentler method of mixing.) Strain into a new glass filled with fresh ice. Garnish with lemon and/or celery and enjoy!

OSBP-Signature-Cocktail-Recipe-Danish-Mary-33

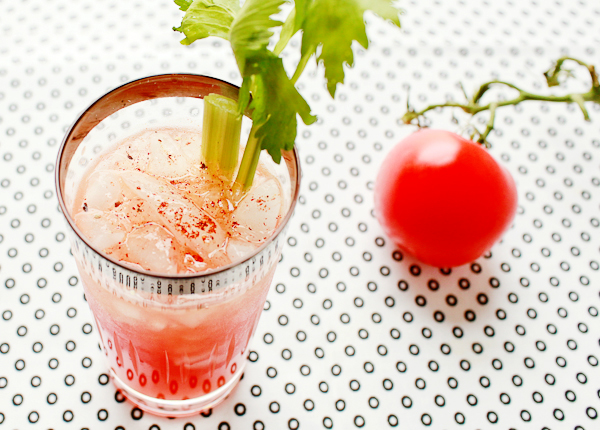
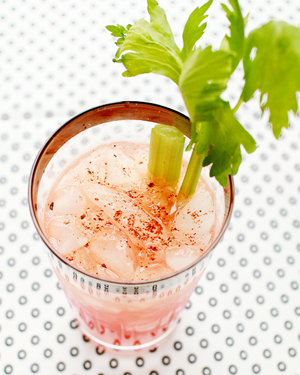
The Danish Mary is rich and savory, with a touch of spicy heat, just like a Bloody Mary, but even more complex, thanks to the herbaceous spiciness of the Akvavit. Akvavit (also Akevitt or Aquavit) is, as we’ve mentioned before, is a Scandinavian liquor flavored with spices and herbs, primarily flavors like caraway and dill, but also lemon, mint, ginger, cardamom, allspice and the like. It imparts a depth of flavor to the Danish Mary that vodka can’t match.

OSBP-Signature-Cocktail-Recipe-Danish-Mary-40 OSBP-Signature-Cocktail-Recipe-Danish-Mary-1

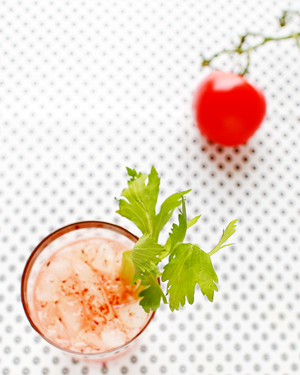
The easiest way to make a Danish (or Bloody) Mary is with bottled tomato juice. No one will judge you if you use this. But fresh juice really does make a difference, in this drink and every other. I muddled three medium tomatoes on the vine to get about 5 oz of juice; just make sure to filter the juice through a fine sieve or cheesecloth, or your Danish Mary will be pulpy. If you’re feeling extra fancy, try heirloom tomatoes. Modern tomatoes are bred for their color, firmness, and smoothness, but definitely not for taste, so heirloom tomatoes will give your drink a much richer tomato flavor. If that’s your thing.

OSBP-Signature-Cocktail-Recipe-Danish-Mary-8 OSBP-Signature-Cocktail-Recipe-Danish-Mary-13

The origins of the Bloody Mary are a little murky, but may have been invented at the New York Bar in Paris – the same bar at which the French 75 was invented – in the early 20th century. It makes sense that no one really remembers who first mixed one up, since it was invented as a hangover cure. Everyone around was probably too drunk, or too hungover, to write down or remember the details.

Just make sure to finish your Danish Mary before brunch ends. I’m pretty sure it’s against the law to drink one of these at any other time of day.

Photo Credits: Nole Garey for Oh So Beautiful Paper

Seasonal Stationery: 2014 Calendars, Part 6

If you’re like me, you look forward to hanging a brand new calendar (or four) on the wall each January. But in case you’re still searching for your perfect 2014 calendar, I thought I’d help start the new year by pulling together a few more options from the full 2014 calendar round up!

2014-Calendars-Part8

1. Sesame Letterpress; 2. Pressbound; 3. Prismatic Print Shop; 4. Paper Boat Studios; 5. Linea Carta

More calendar posts right here – or you can check out the full 2014 calendar round up right here!

{images via their respective sources}