Benjamin Franklin’s Clarified Milk Punch

Milk Punch? Yes: milk punch. Back in the good old days – the 1700s – drinkers loved mixing their booze with their milk. There’s probably something in Leviticus about not doing that, but they did it anyway. We still have a few holdovers from those days, like eggnog. (Real eggnog, with brandy and rum.) Thick and rich and creamy, we usually save those for the holidays. But there’s a whole other way of making milk punch that sounds super gross and takes days to make and is super messy but is so, so worth it. Clarified milk punch is crystal clear, intensely flavorful, and silky smooth. So read below to learn how to make Benjamin Franklin’s very own clarified milk punch recipe at home. –Andrew
Clarified Milk Punch Recipe

Benjamin Franklin’s Clarified Milk Punch Recipe

Makes 40 Servings

3 cups Brandy
3 cups Aged Rum
2 cups Lemon Juice
4 cups Filtered Water
1 1/2 cups Sugar
3 cups Whole Milk
11 Lemons
1 Whole Nutmeg
1 Cinnamon Stick
1 Star Anise Pod

Day One: thinly peel the lemons with a sharp paring knife or vegetable peeler, taking care to avoid the bitter white pith. Combine the peels with the brandy and rum in a jar and let it sit for 24 hours. Juice the lemons (and run the rinds through the garbage disposal; they’ll make it smell nice). You’ll have more than you need for the punch, so save the rest for other cocktails.

Day Two: strain the peels out of the brandy and rum. (Citrus peels will turn spirits very bitter if they infuse for too long.) Add the lemon juice and sugar to the brandy and rum and stir until the sugar is dissolved. Grate the nutmeg and break up the cinnamon stick and star anise into the mix. Then, bring the milk to a boil in a big pot. As soon as it is boiling, add the spirits and lemon juice mixture. Stir a bit to melt any remaining sugar. Turn off the heat and watch the milk curdle into a big, gross mess. Let it sit, covered, for at least two hours.

Then, using lots of cheese cloth (or, as in Ben’s original recipe, a Jelly-bag, whatever that was), strain the milk solids out of the punch. Working in small batches, run the punch through the cheesecloth, which will clog up quickly. Change out the cheesecloth frequently, taking time to squeeze out as much liquid as you can from each batch.

What’s left will still be pretty cloudy, so you can handle the next step a couple of ways: you can let it sit overnight so the solids settle to the bottom and then carefully decant the punch into another container, or you can do what we did: strain everything painstakingly through a coffee filter. We used our Chemex coffee maker. It takes forever, but what comes out will be crystal clear and you won’t lose any liquid in the dregs.

Clarified Milk Punch Recipe

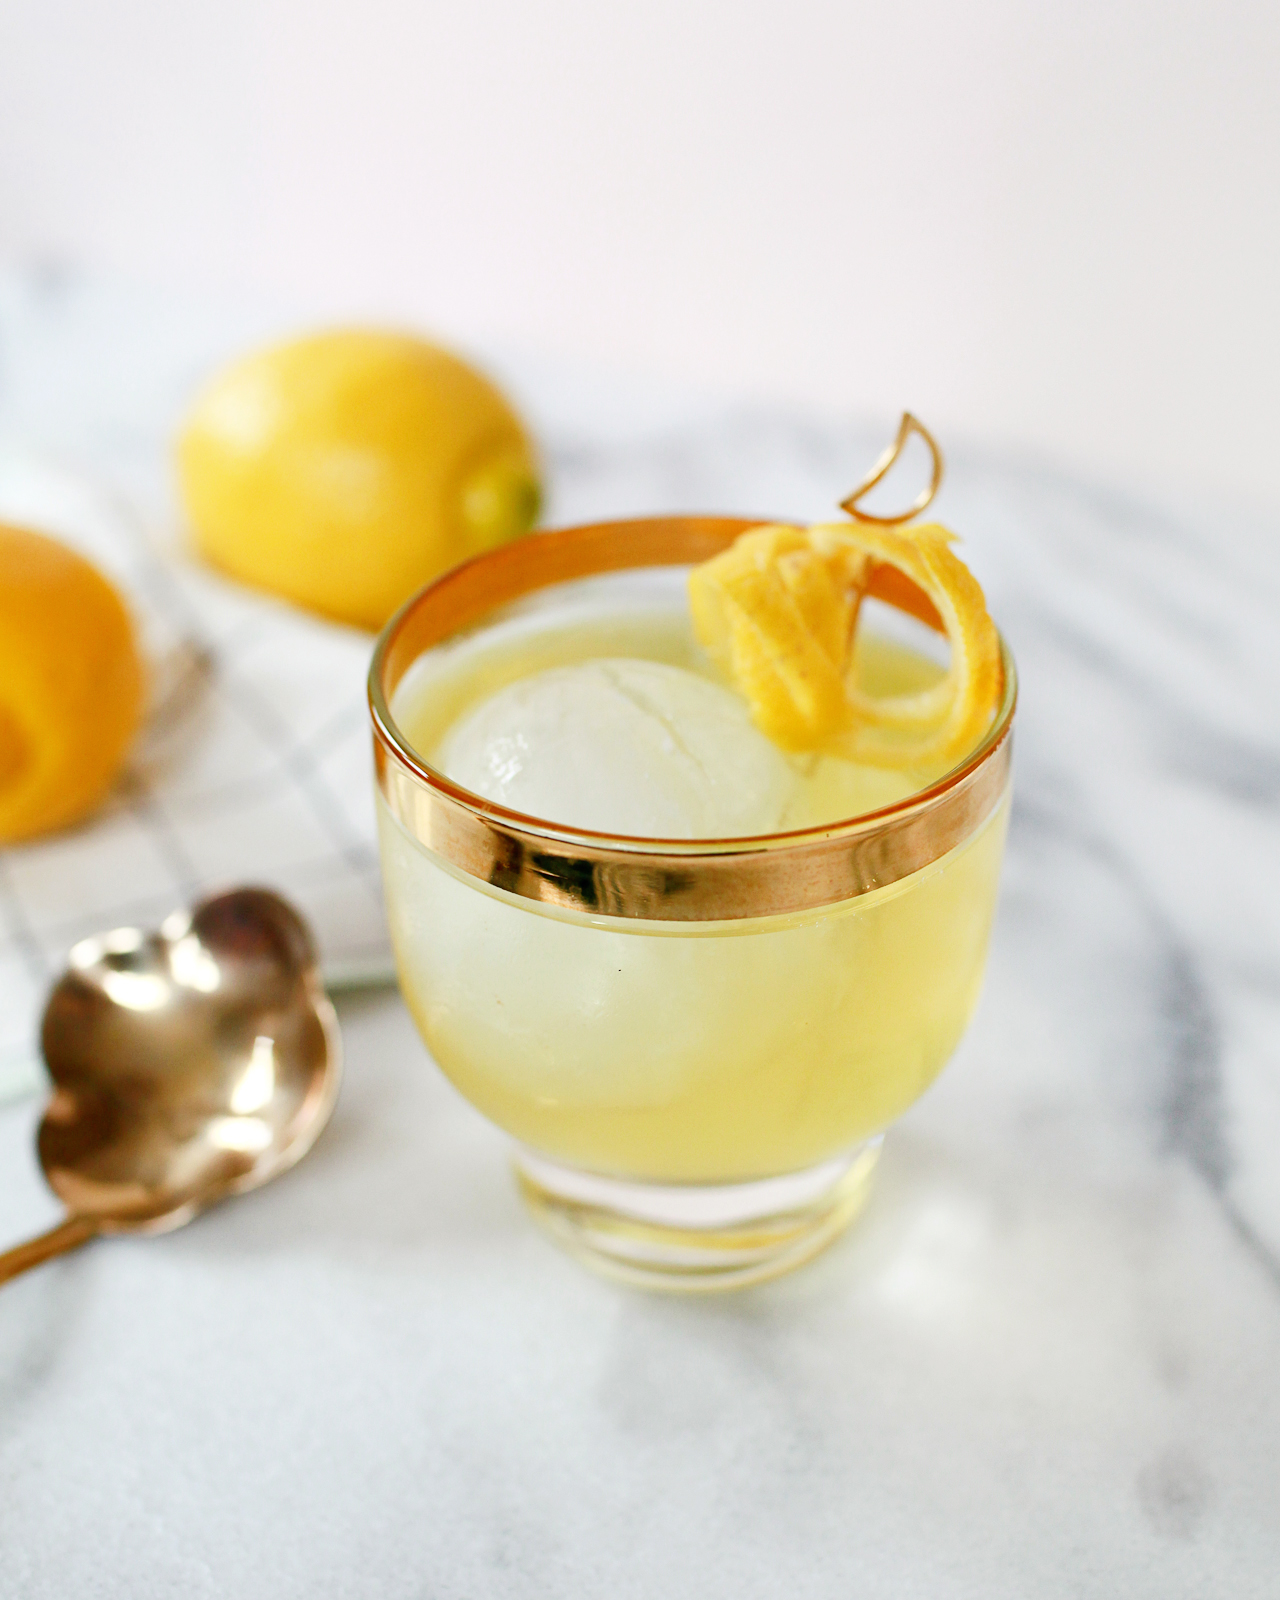
Got all that? If you’ve made it this far, and survived the curdling, then you’ll be left with a crystal clear, amber-hued liquid of sublime flavor and texture. Clarified milk punch is dark and smooth, with layers of citrus and hints of spice. It’s also silky and smooth in a way that no other drink is. By letting the lemons’ acidity curdle the milk solids, you’re really just using the whey – sugar, in the form of lactose; proteins; and almost no fat. The result is an unctuousness that’s surprising the first time you try it.
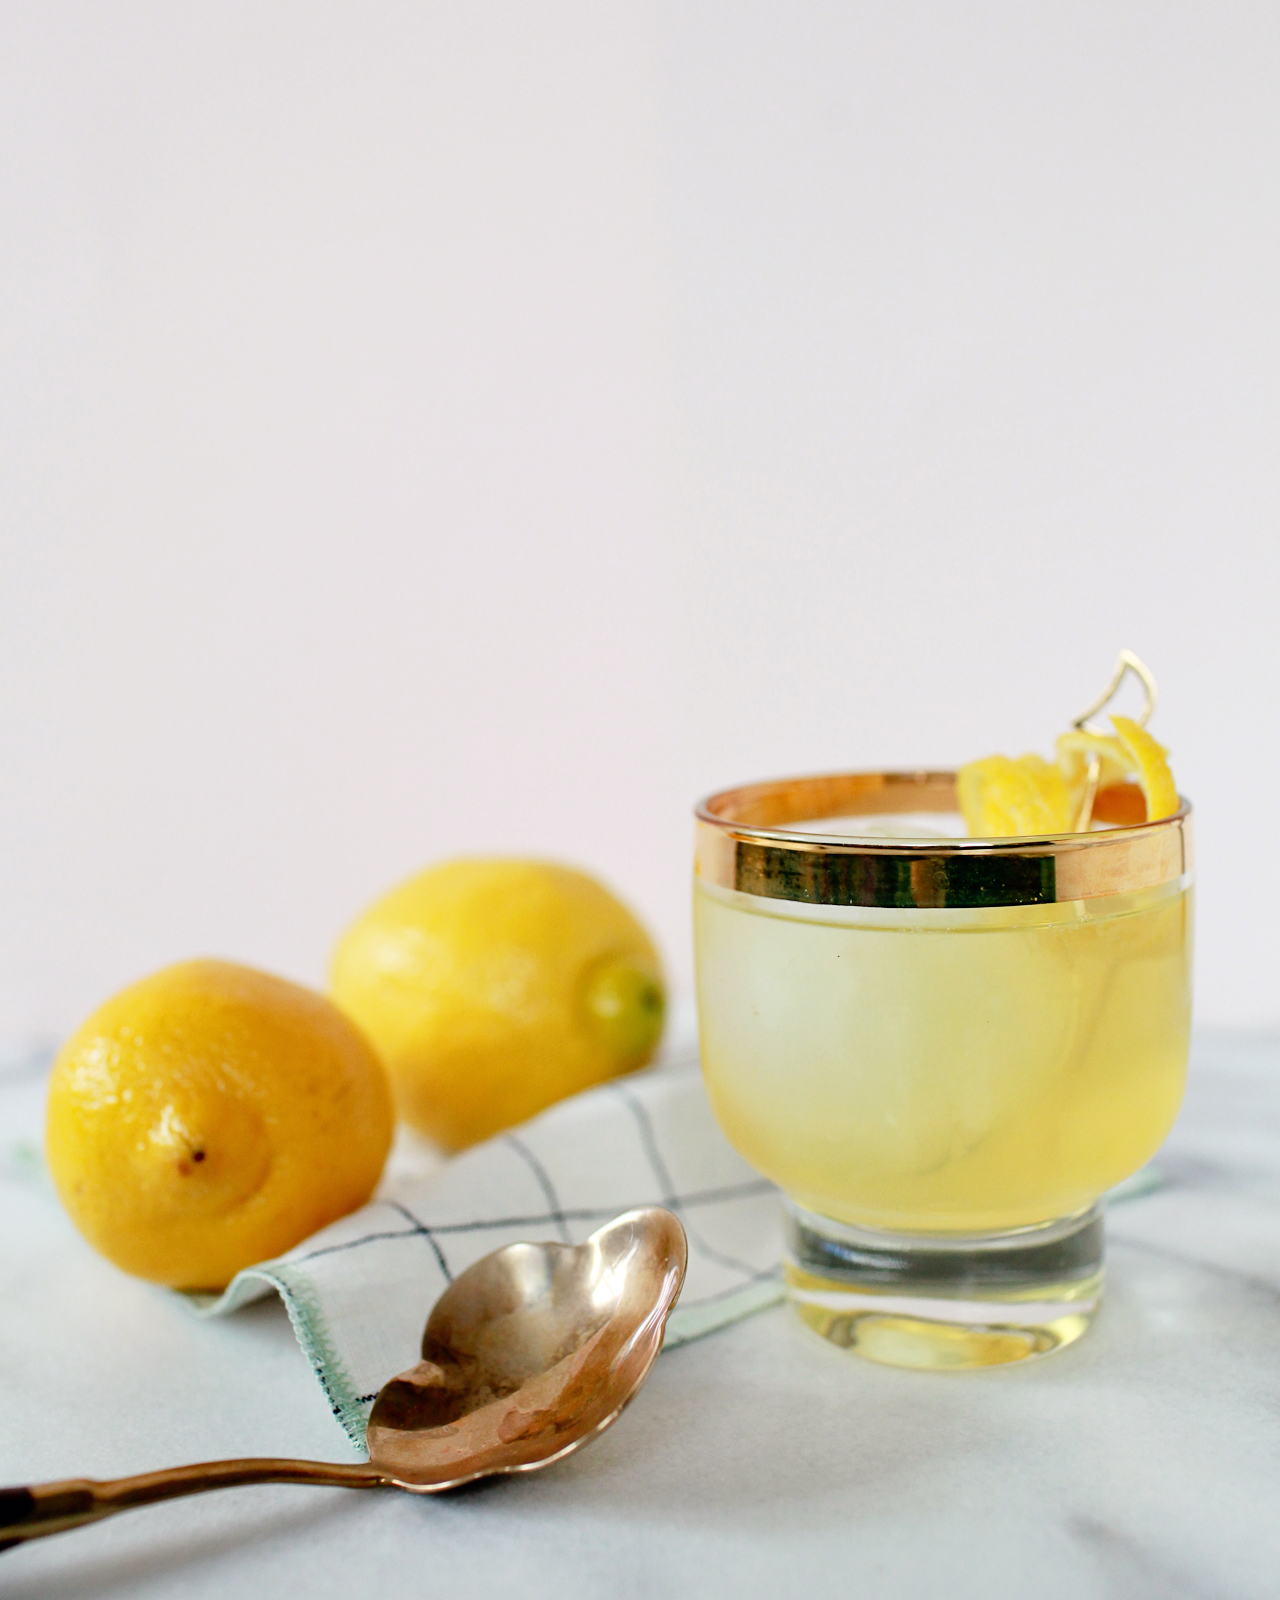
Clarified Milk Punch Recipe

This is definitely an old drink. Even people who have enjoyed classic cocktails before will probably be surprised by clarified milk punch. And not just its texture: this punch almost seems like a showcase for citrus, with all the lemon juice and lemon oil in there, and exotic (at the time) spices. Which makes sense: in the 1700s, citrus was a fairly rare treat. And spending two or three days making a single punch will definitely remind you of how different life was back then, when people actually had time to make and enjoy a bowl of punch like this. So it’s odd. Delicious, but odd.
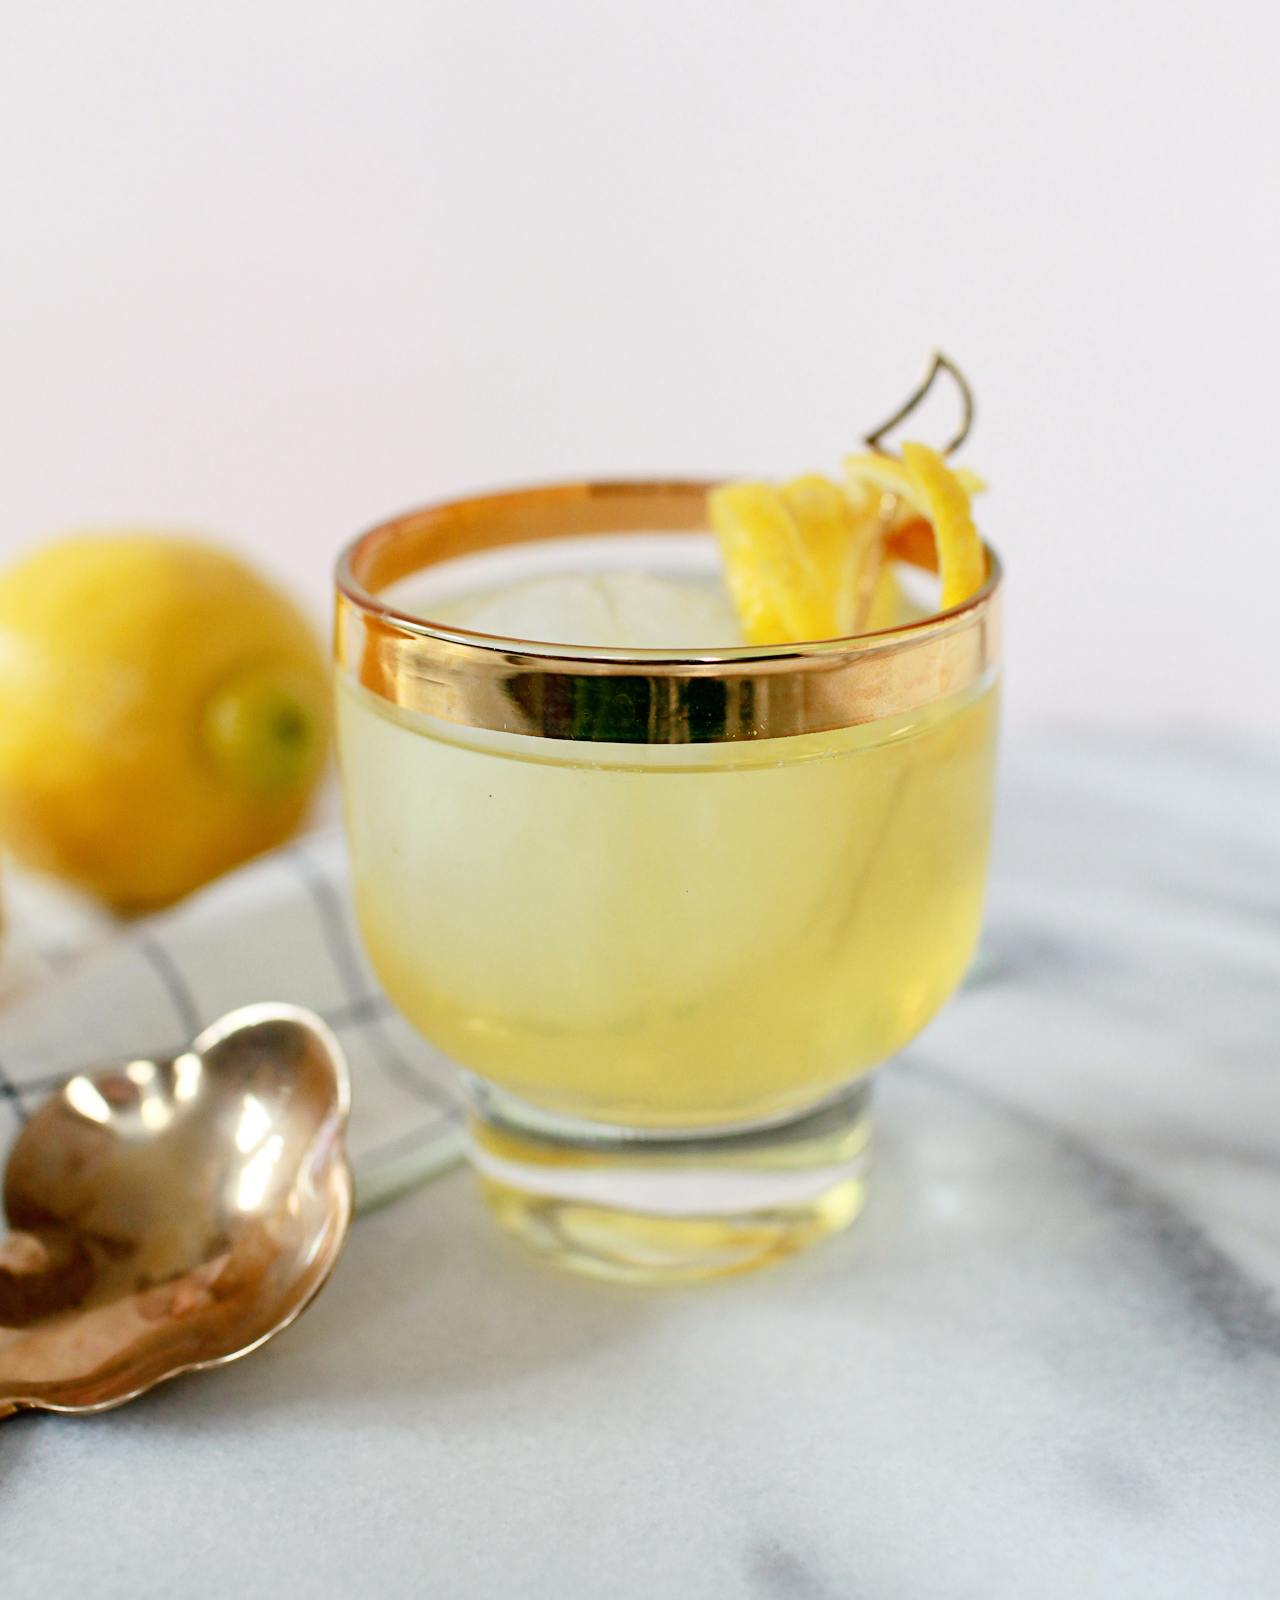
Clarified Milk Punch Recipe

Some logistics. This recipe makes about a gallon, so be prepared with a large bowl and some thirsty mouths to help you drink this down. (And this is a short version of Ben Franklin’s original, which made about four gallons and used 44 lemons (!!). Serve it over ice; if you’re serving from a bowl, put the biggest block of ice you can fit into the bowl. No need for a garnish, since it has all that spice and lemon oil in it, but it won’t hurt if you want to make it pretty. And because it’s clarified, it will keep in the fridge, so keep some swing bottles handy to save any leftovers.

(Don’t forget to follow us on Instagram!)

Glassware by Liquorary

Photo Credits: Nole Garey for Oh So Beautiful Paper

The World of Illustration: Salini Perera Illustration

Hello everyone! The countdown to Christmas is upon us. I was in the mood for finding some Christmas goodness in the illustration world, and I was also poking around the world of female illustrators. Something about Christmas and the female spirit hits home for me. I feel like my mom was the gatekeeper of Christmas for me when I was a child, and now as a mom myself, I love creating rituals and traditions (and crafting!) with my kids. When I started scouting around the world of female illustrators, I stumbled on the work of Salini Perera, a woman who draws in a mix of mediums and even has an illustrated Christmas book with the 12 Days of Christmas. Let’s go take a peek! Jen

The World of Illustration / Salini Perera Illustration

The World of Illustration / Salini Perera Illustration

The World of Illustration / Salini Perera Illustration

I personally have a soft spot for any whimsical, illustrated depiction of the 12 Days of Christmas. A few years back, I bought a set of ornaments from the Land of Nod featuring the 12 Days of Christmas, and they’re still some of my favorite ornaments for the tree. I love Salini’s version of a partridge in a pear tree.

The World of Illustration / Salini Perera Illustration

What a pitch-perfect color palette for these illustrated three french hens.

The World of Illustration / Salini Perera Illustration

The World of Illustration / Salini Perera Illustration

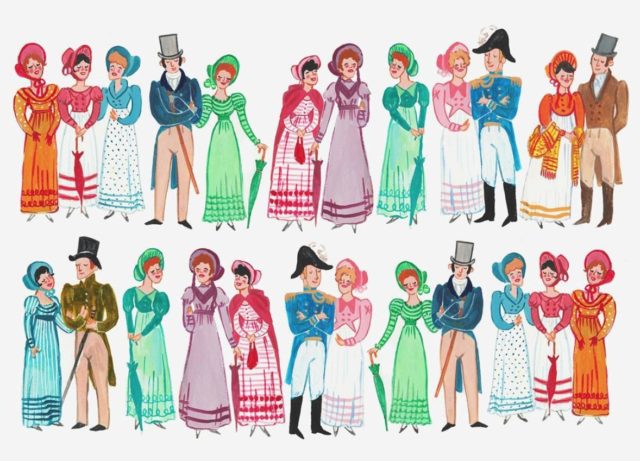
She’s inspired by folk art, vintage children’s books, and you do get a sense of nostalgia looking through some of her work — yet her illustrations still feel modern.

The World of Illustration / Salini Perera Illustration

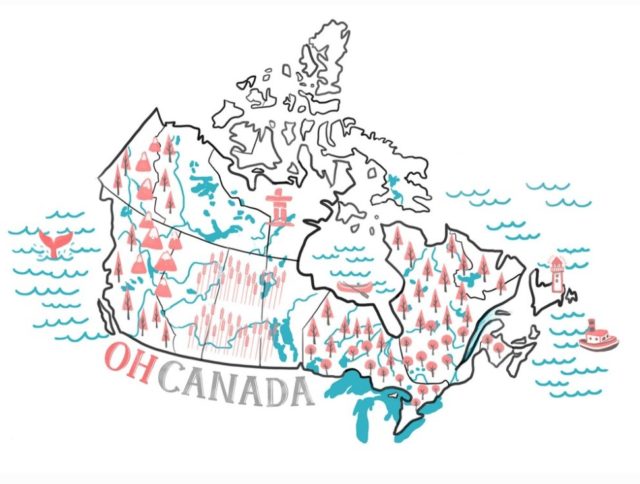
Here’s a whimsical, modern map of Canada, where Salini now calls home. I like her use of color for the map — it’s more spare so that all the details don’t get lost.

The World of Illustration / Salini Perera Illustration

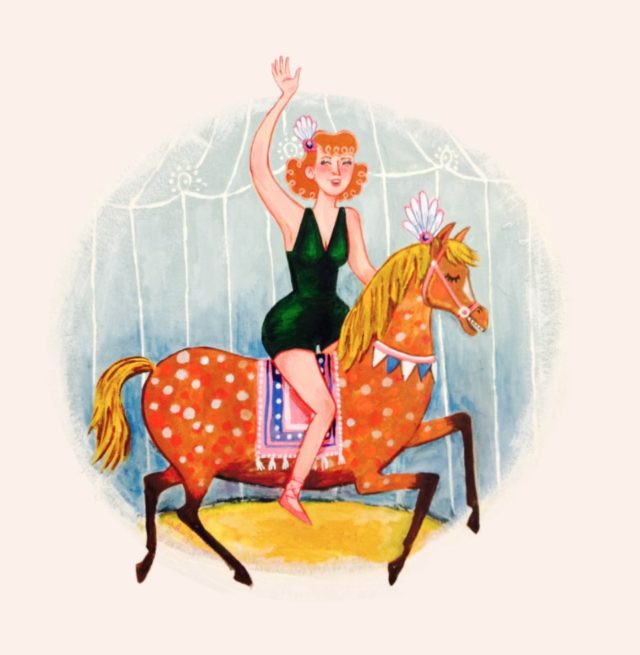
Besides how awesome this fun girl-on-a-horse illustration is, I think it’s totally awesome that Salini draws women with real bodies. Growing up, I honestly don’t think I saw an illustrated woman with hips.

The World of Illustration / Salini Perera Illustration

Here’s hoping your countdown to Christmas is filled with many good things. Thanks for following along this look into illustrator Salini Perera’s work!

Photo Credits: Salini Perera Illustration and Salini Perera on Instagram

DIY Iridescent Winter Wreaths

I kind of missed out on holiday decorating last year. We were in the middle of renovating our bathroom for most of December and were living at a rental apartment for Christmas and New Year’s. So I’m making up for it this year by decorating ALL of the rooms in our house. Wreaths are such an easy way to decorate for the holidays, especially when there are little kids running around! Today I’m super excited to team up with Krazy Glue to share a trio of DIY iridescent winter wreaths that you can make for the holidays! I’m always looking for more ways to bring iridescent shimmer into my life, especially during the holidays. And these wreaths look so cute hanging on doors from a colorful ribbon, they’d be the perfect way to decorate a kids bedroom for the winter season!

DIY Iridescent Winter Wreath

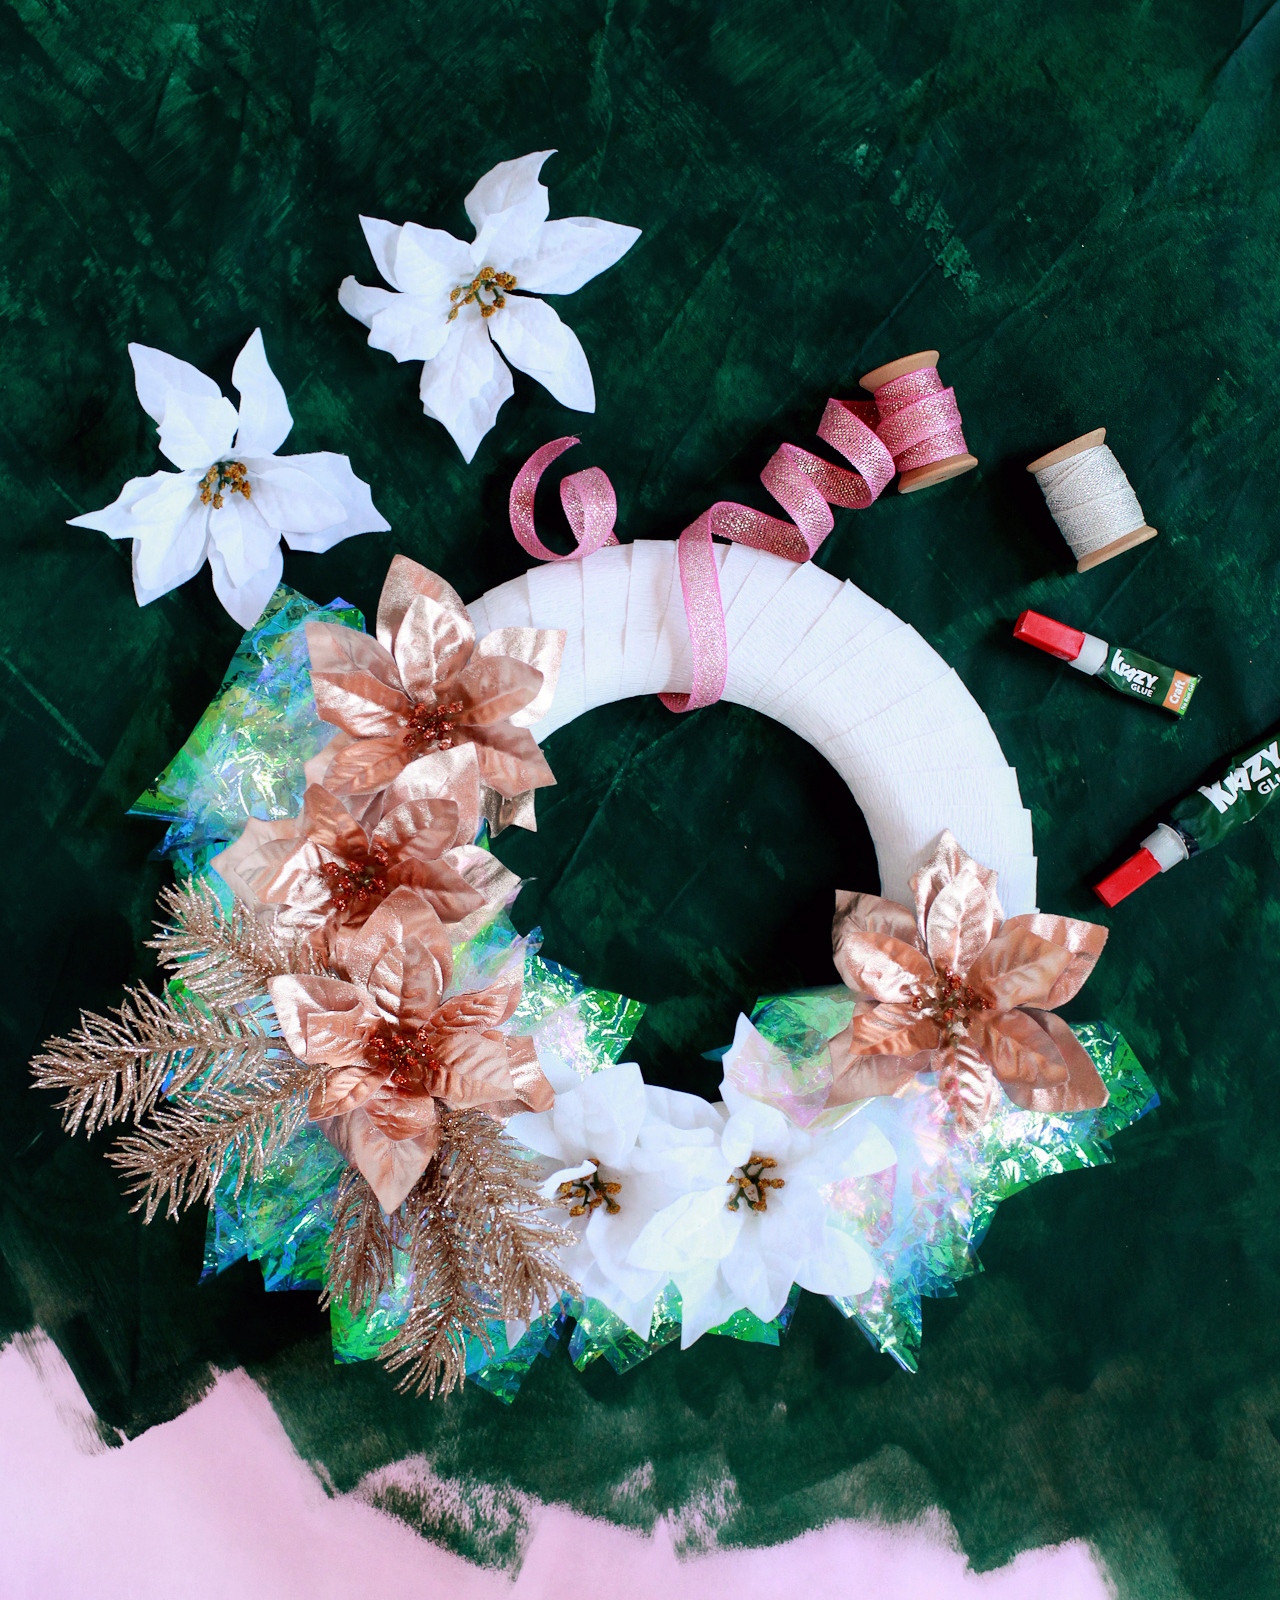
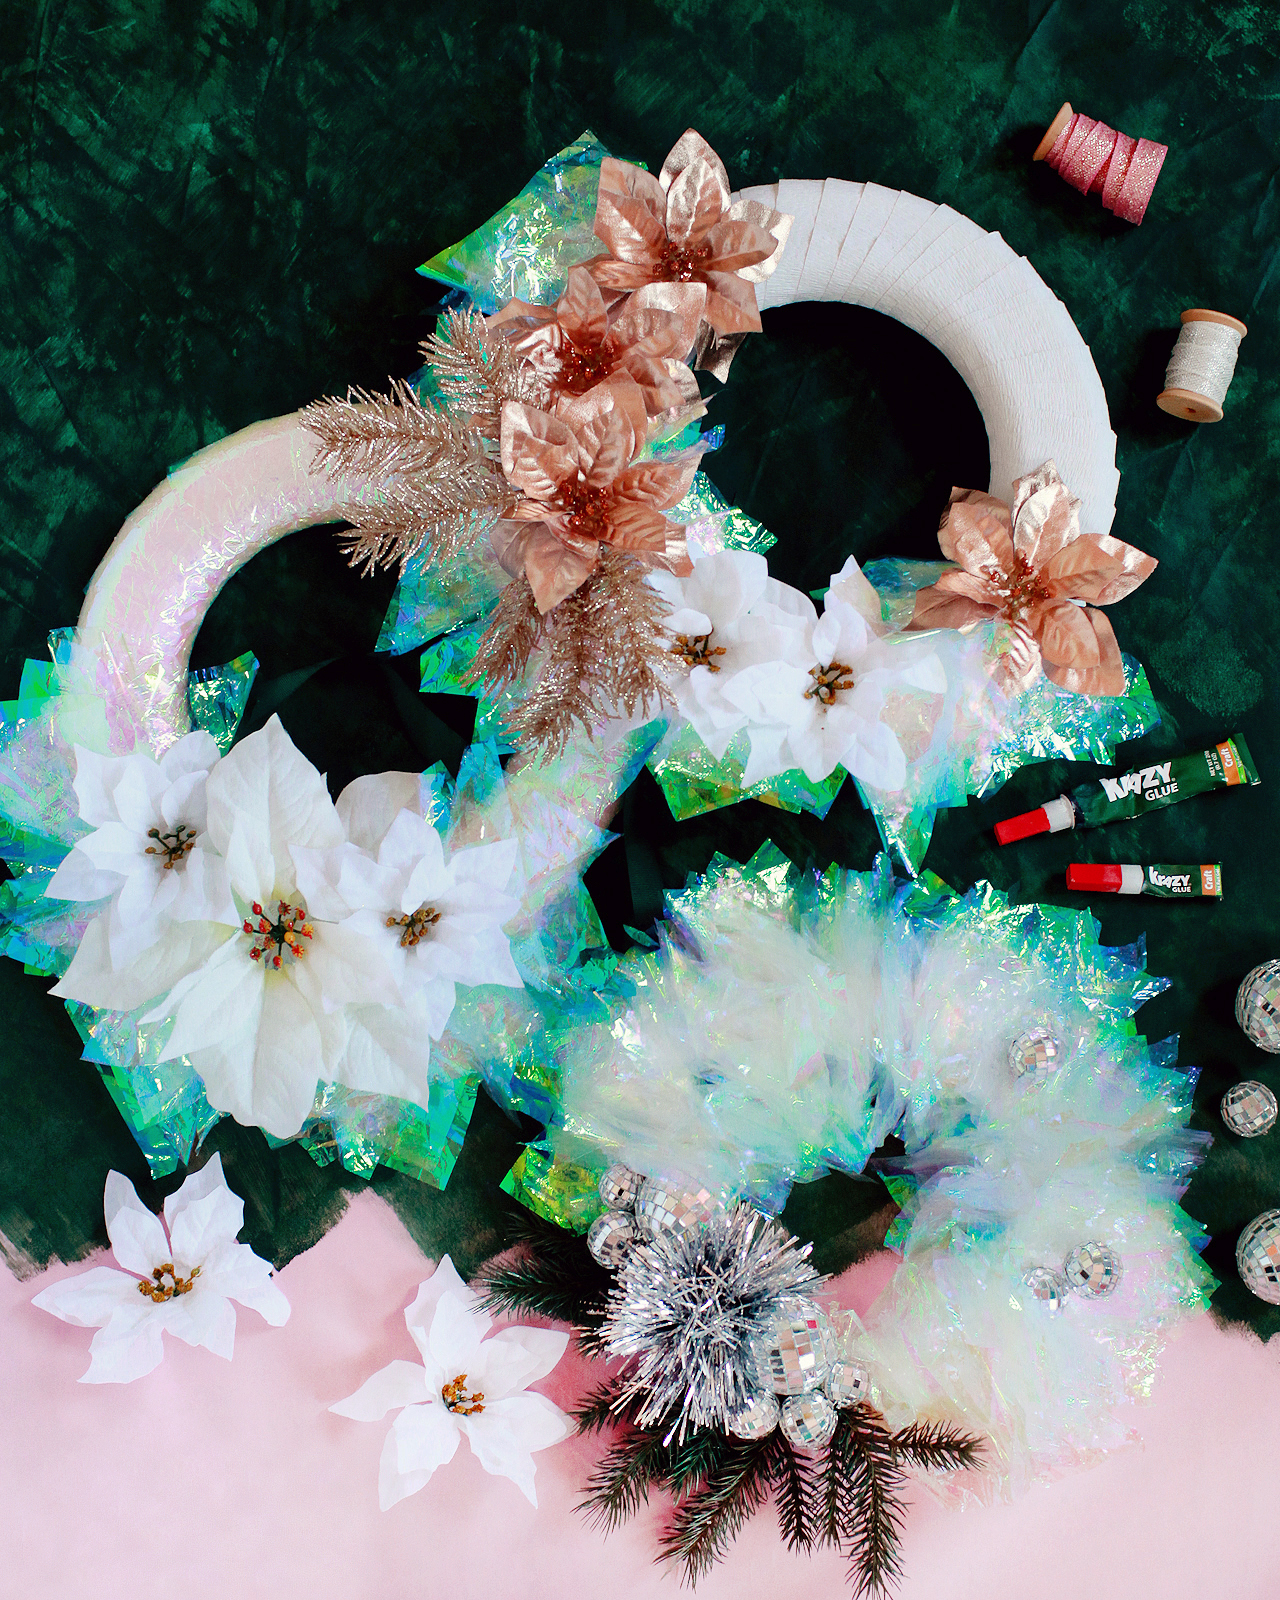
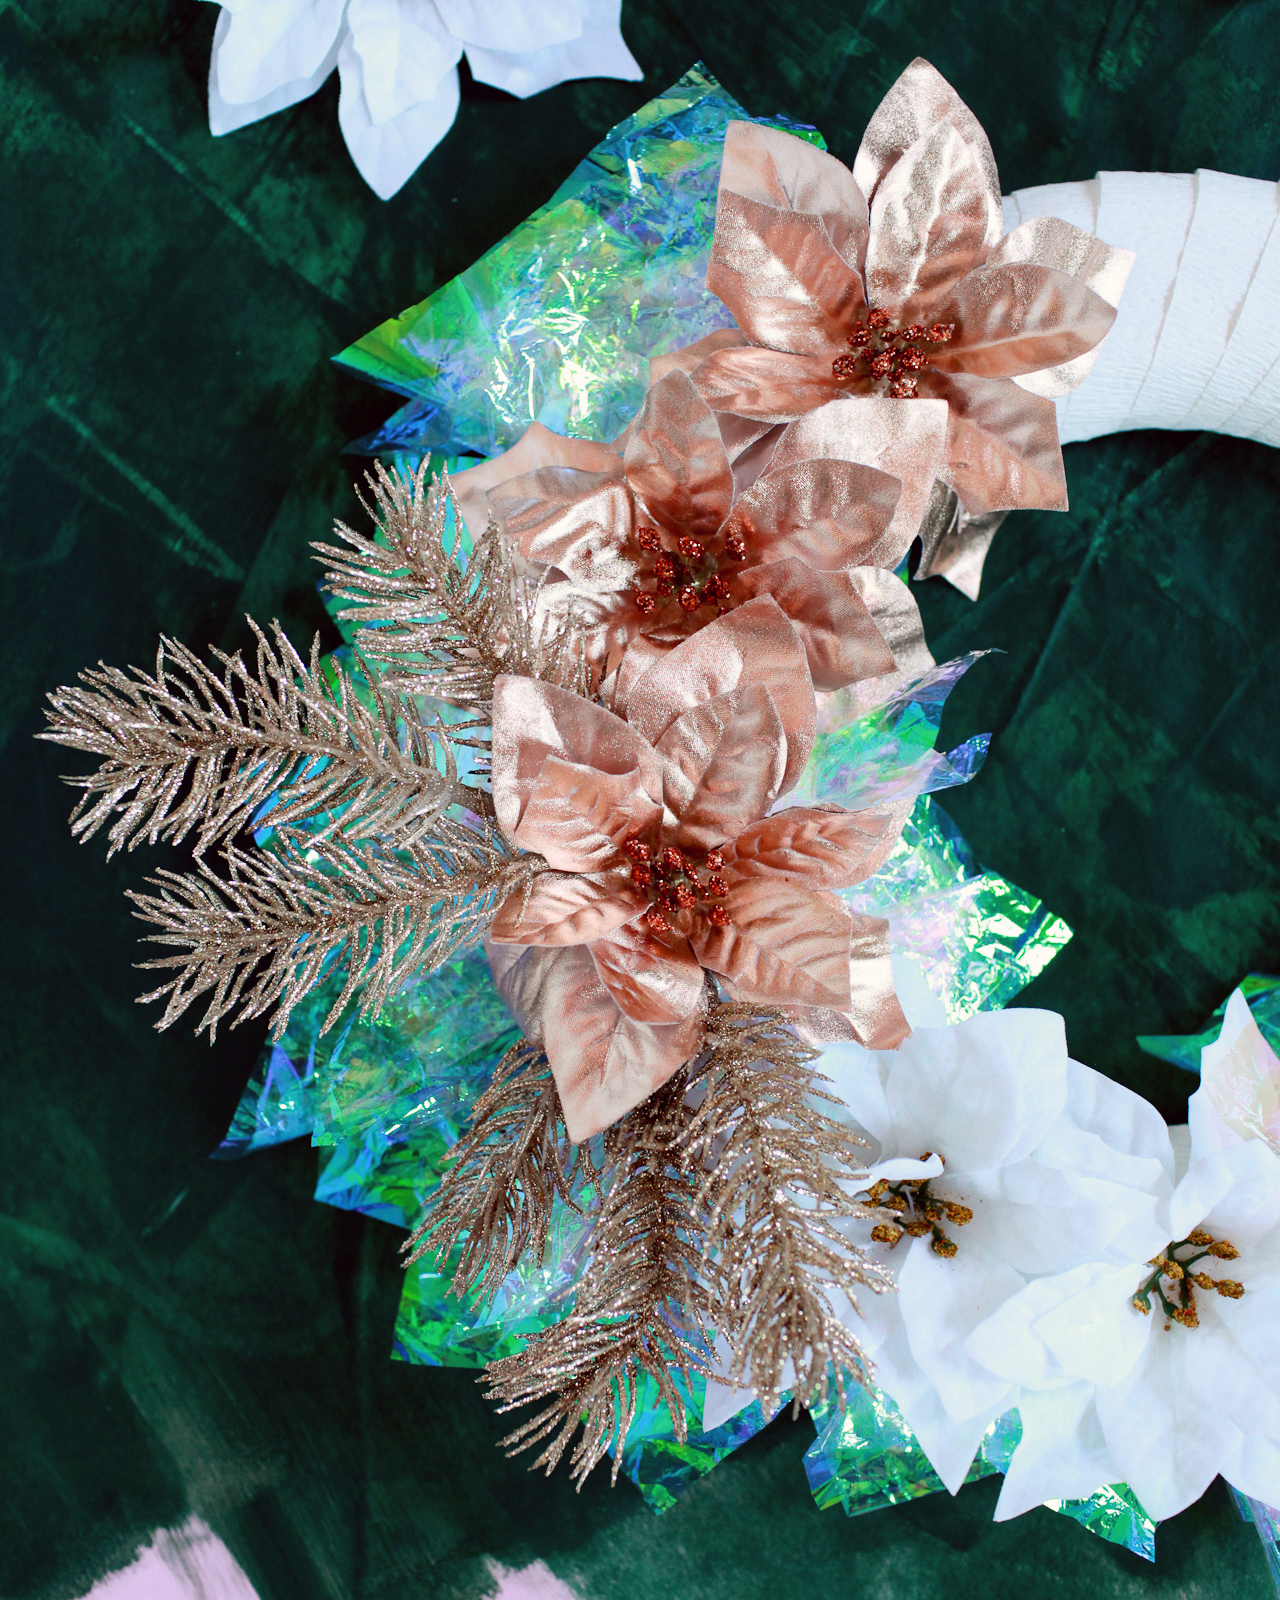
When it comes to the holidays and winter months, I like to use decorations that can stay up even after the Christmas tree comes down. I mean, January and February are rather dark and dreary – and DEFINITELY in need of some extra sparkle, don’t you think? I always buy a few potted poinsettias and grow paperwhites during the winter, and I’ll probably leave some of our twinkle lights on the mantel for a few weeks. I took the same approach with this trio of winter wreaths, bringing in seasonal faux foliage like poinsettias and pine sprigs and mixing winter whites and metallics with shimmery iridescent tissue. Make a few wreaths for Christmas and then keep them up through the end of January!

DIY Iridescent Winter Wreath

DIY Iridescent Winter Wreath

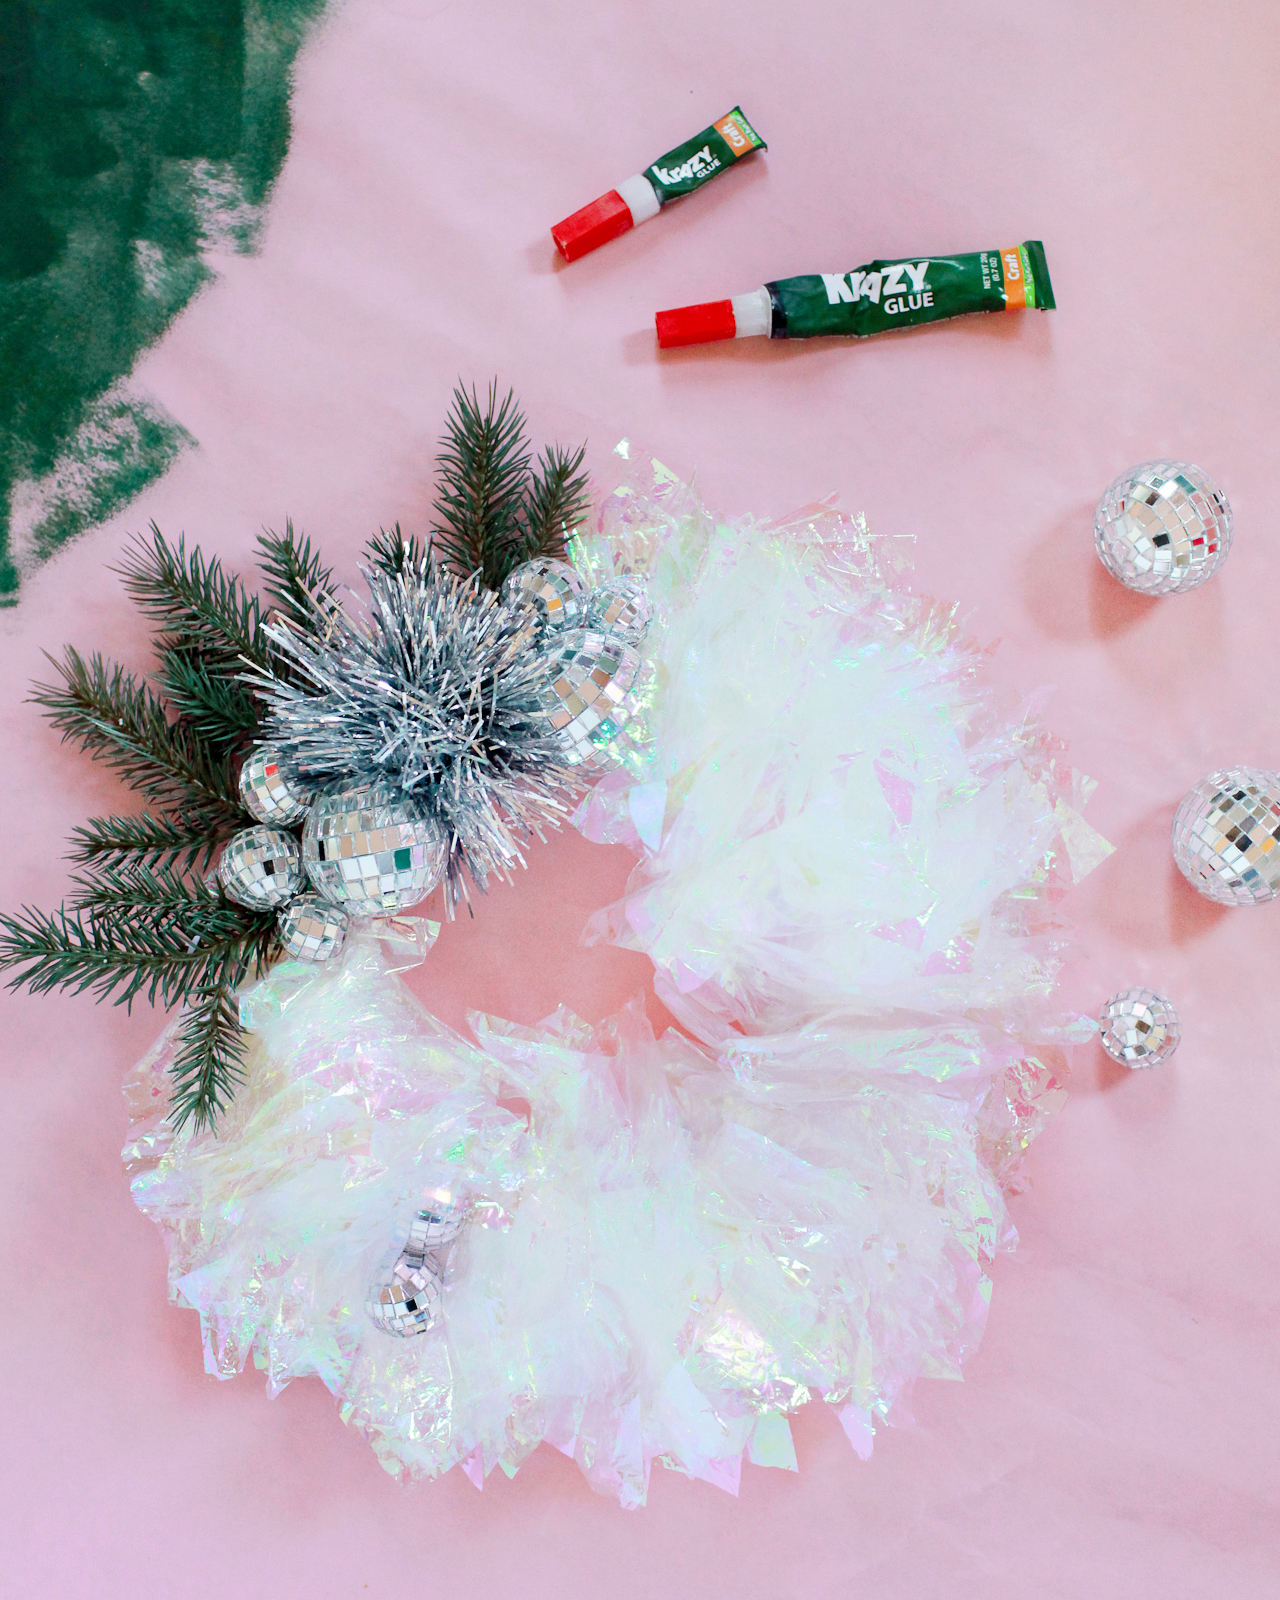
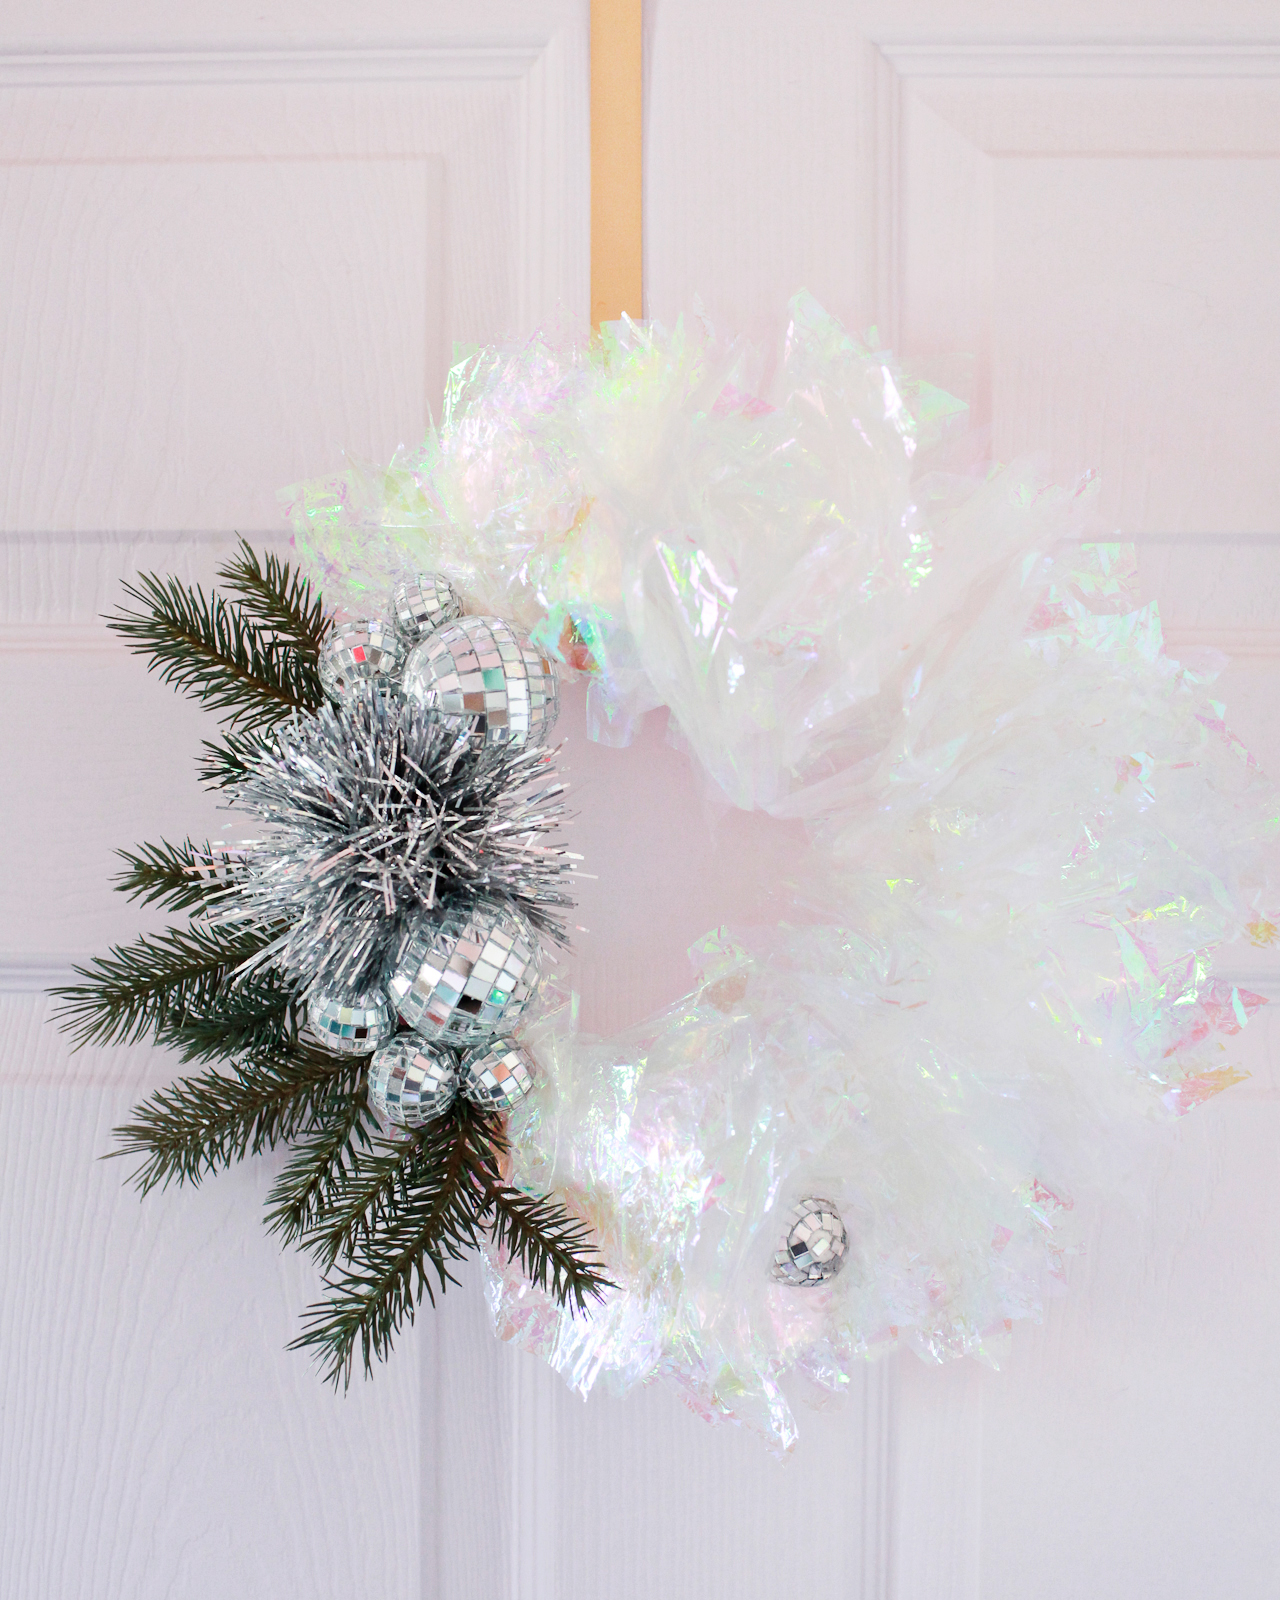
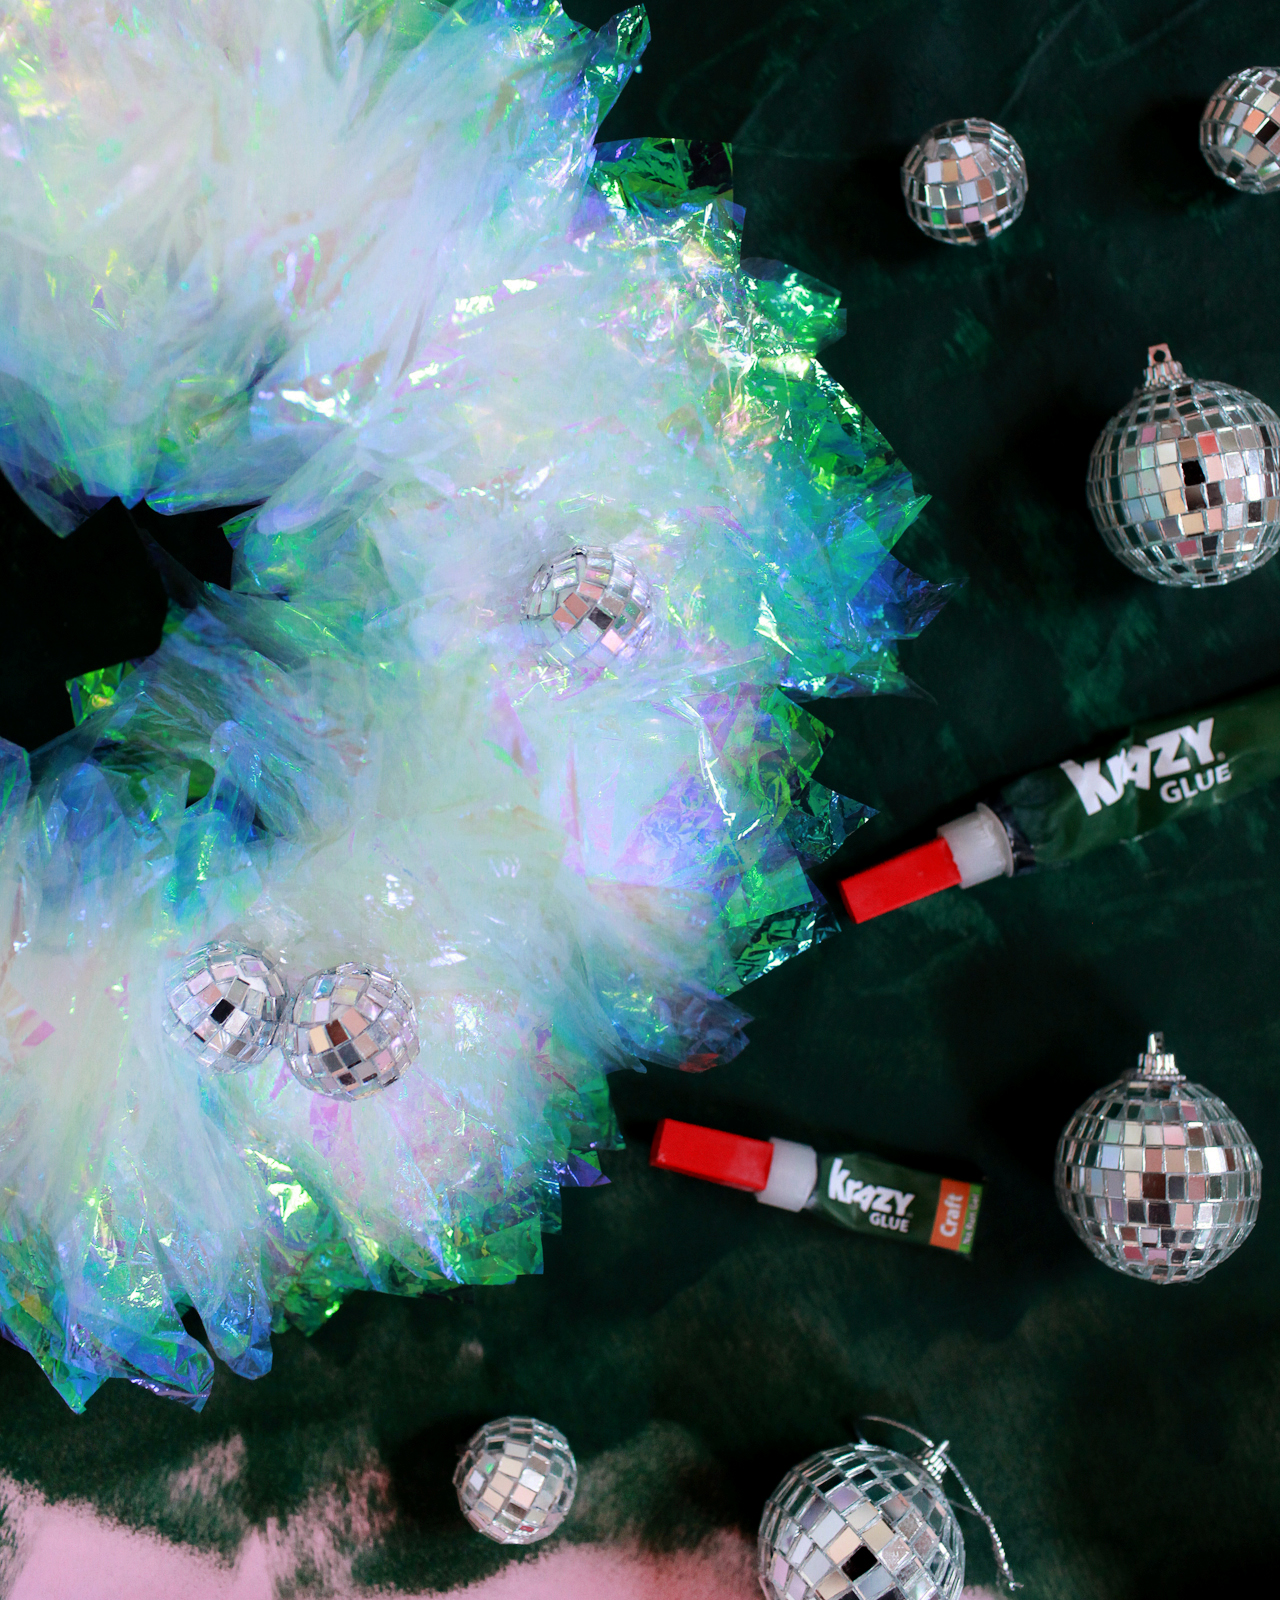
And since my love for all things iridescent goes hand in hand with my disco obsession, I couldn’t resist incorporating some disco ball ornaments into at least one of the wreaths. Just a single drop of Krazy Glue can hold up to 2,000 pounds and takes just 30 seconds to dry. I wanted to put the power of Krazy Glue to the test – and it totally worked! I used Krazy Glue Craft No Run Gel with Skin Guard to make all of my wreaths, but Krazy Glue is available in a wide assortment of instant adhesives for multiple applications, along with an all-purpose formula that bonds to a variety of surfaces, so you can find the right adhesive for your crafting project. I recommend hanging the disco ball wreath near a window so that it catches morning or afternoon light and fills the room with sparkles!

diy-iridescent-winter-wreath-krazy-glue-osbp-8

Supplies

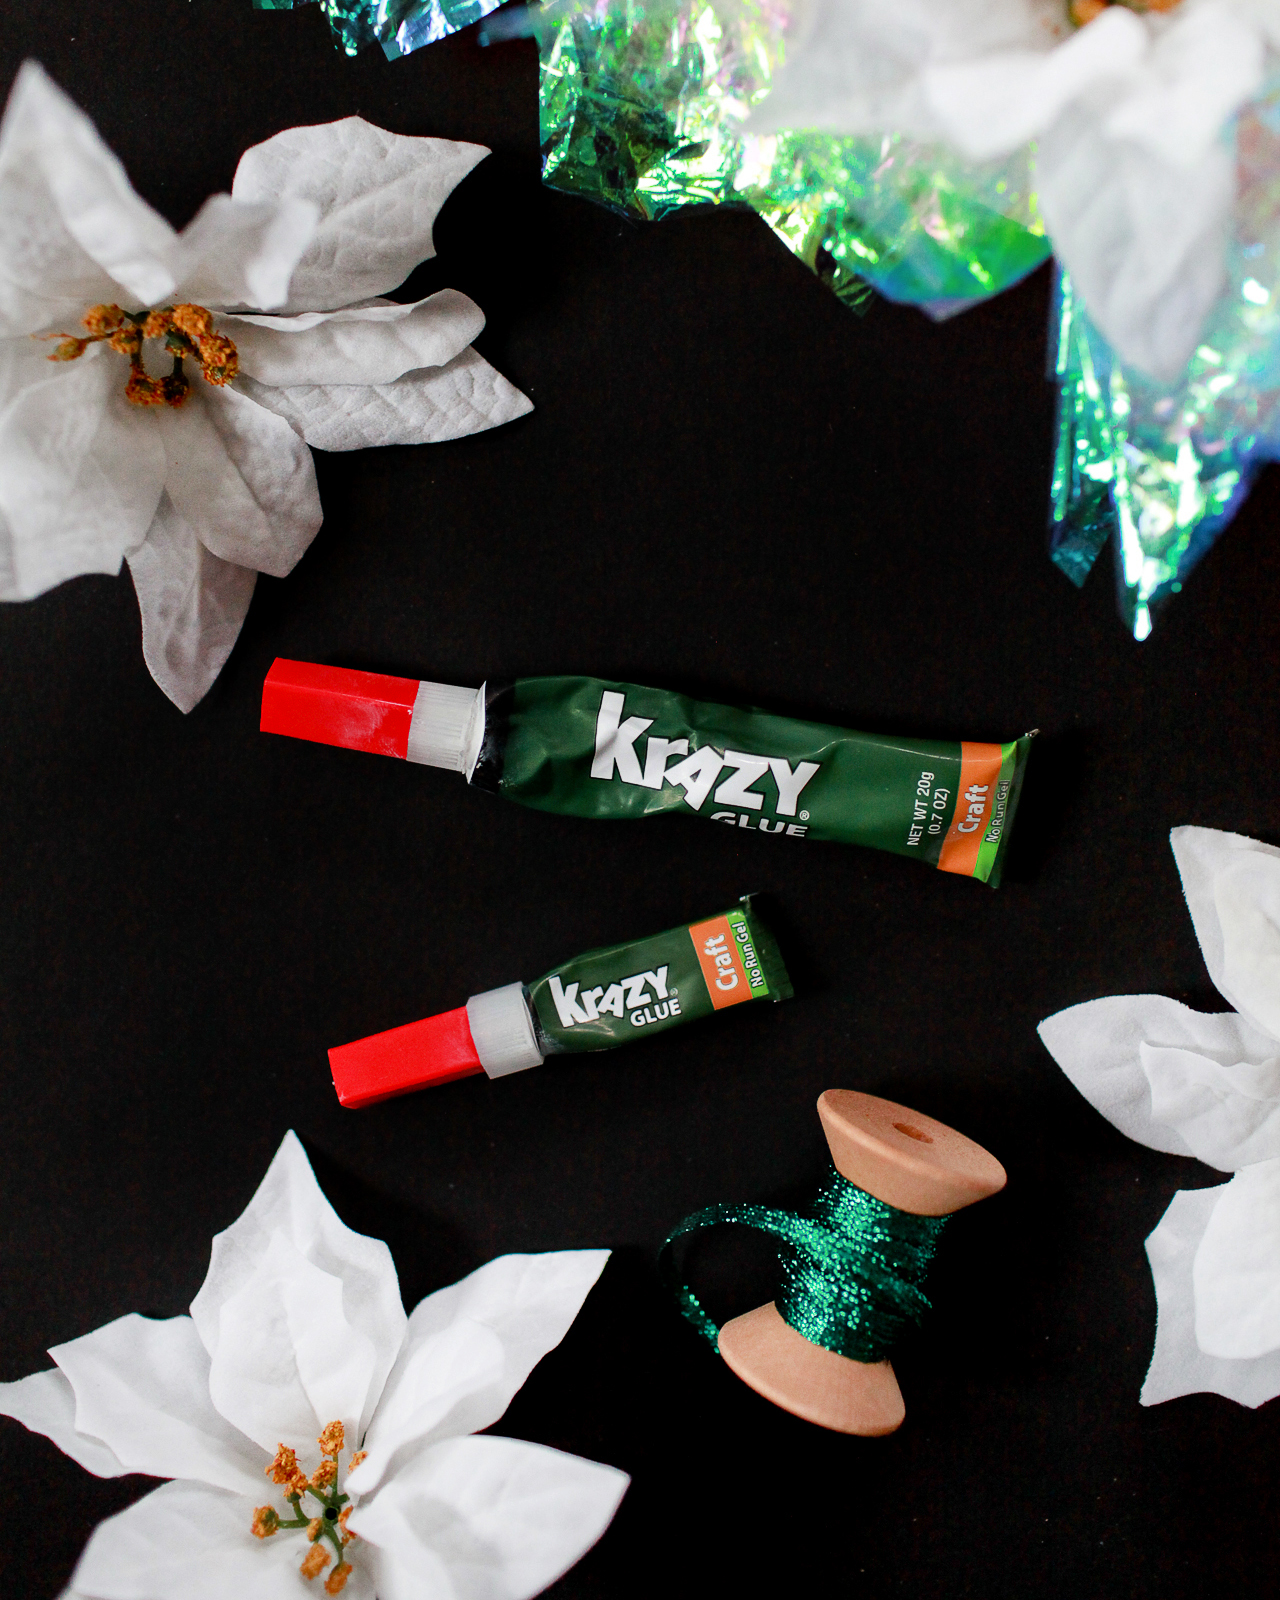
Krazy Glue Craft No Run Gel with Skin Guard

White Wreath Form

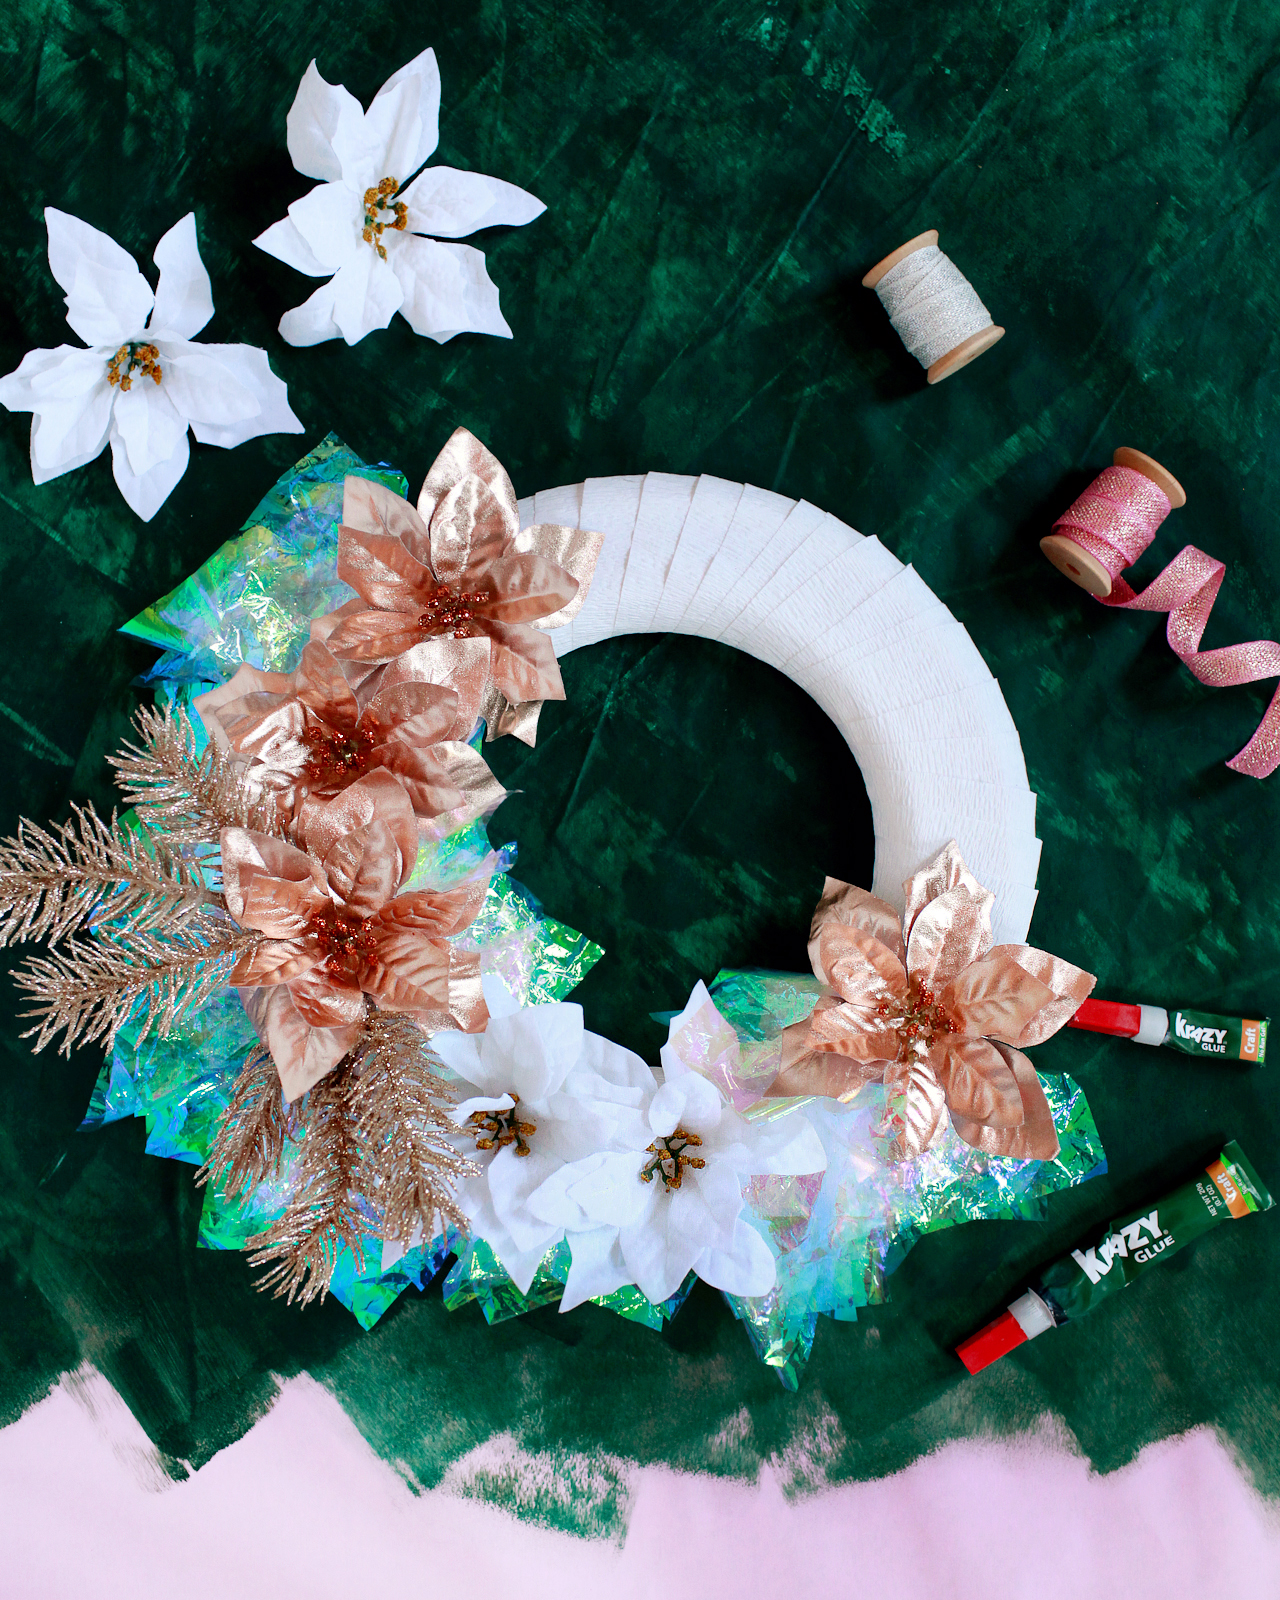
Faux foliage (I used gold and white Poinsettia and gold and green faux pine sprigs)

White Crepe Paper Streamer

Iridescent Tissue Sheets

2″ Disco Ball Ornaments

7/8″ Mini Disco Ball Ornaments

Scissors

Stapler

DIY Iridescent Winter Wreath

To make the wreaths:

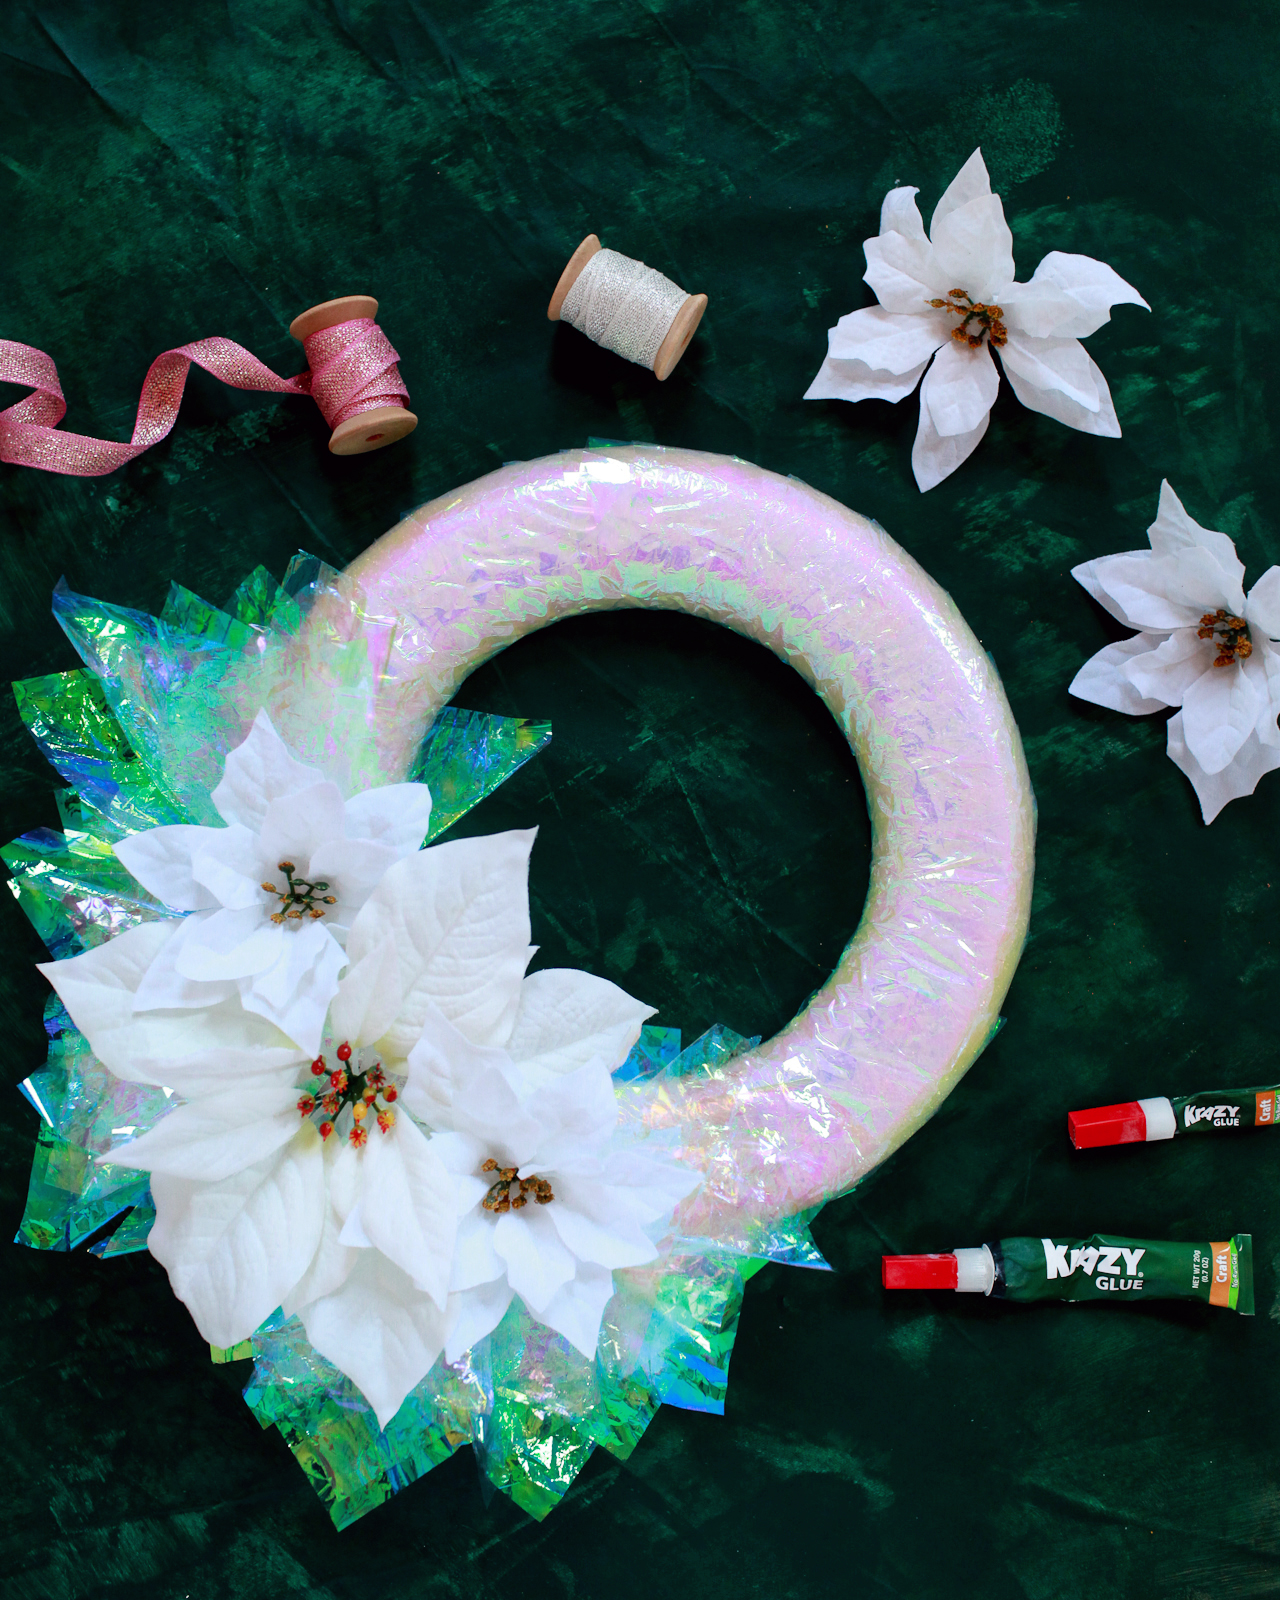
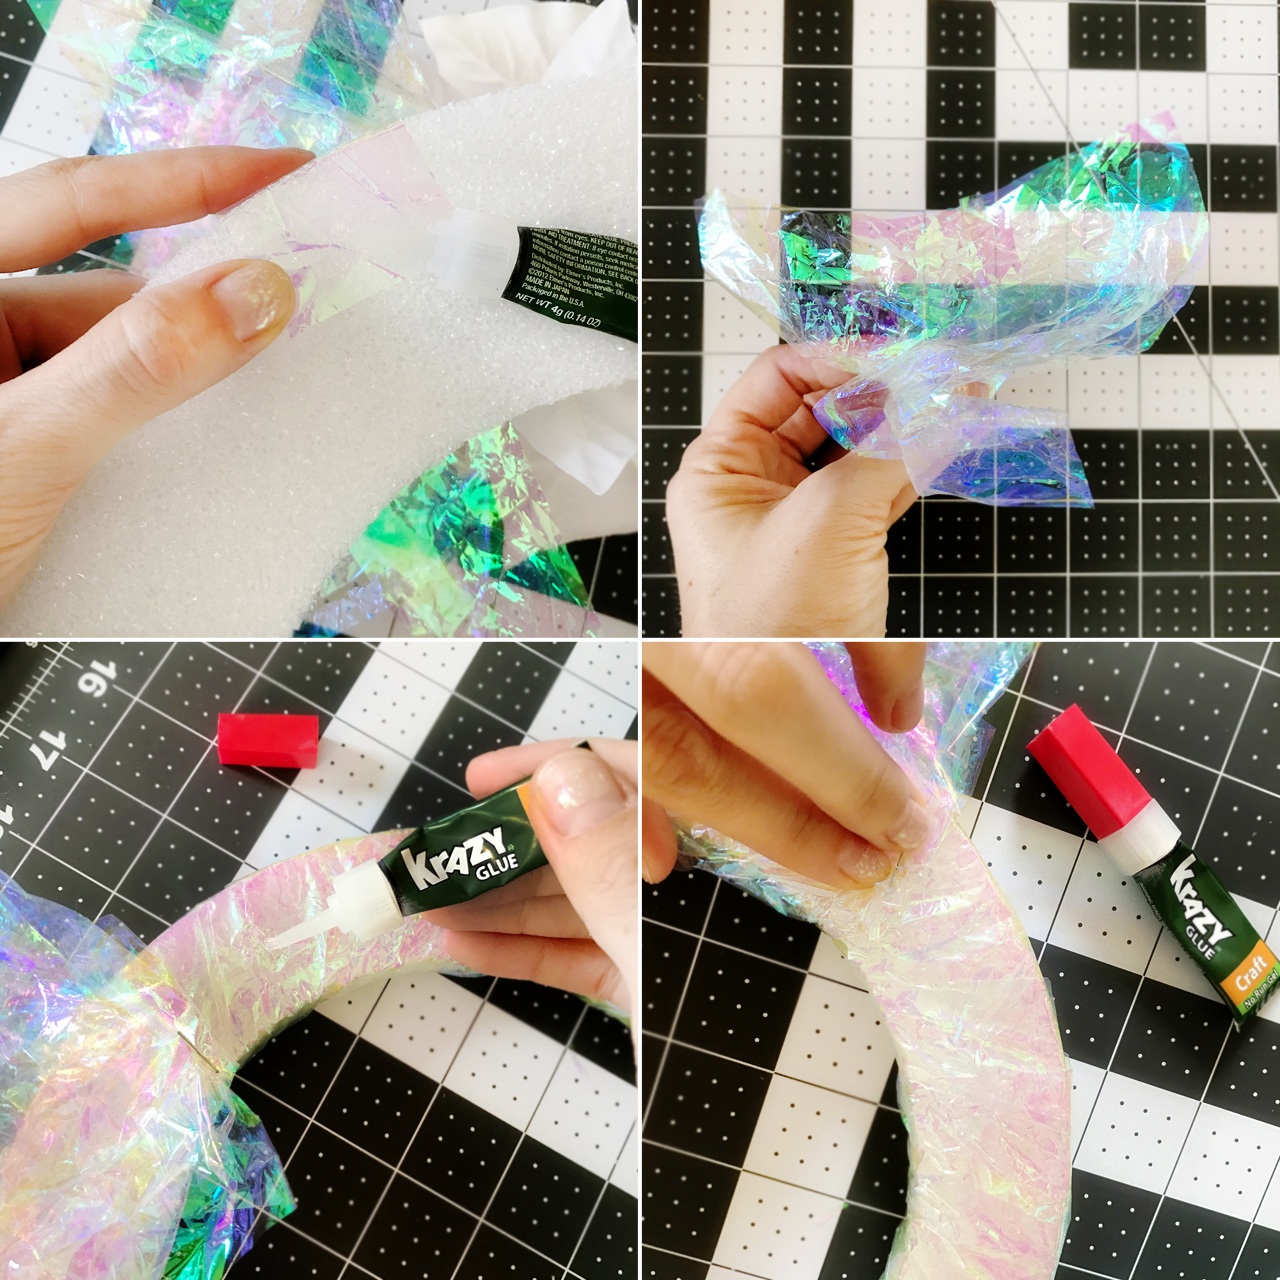
Step 1. Start by placing any faux foliage on your wreath form, either in an asymmetrical arrangement or with foliage continuing all around the wreath form. Cut stems down to about 1″ long and use the stem to make a small hole in the wreath form. Add a drop of Krazy Glue Craft No Run Gel to the bottom of the stem and insert the stem into the hole.

Step 2. Once you’ve placed your foliage, wrap the entire wreath form with the white crepe paper streamers or 2″ strips of iridescent tissue, making sure to weave the material between the previously placed foliage. Use a small drop of Krazy Glue Craft No Run Gel to secure the ends of the crepe paper or tissue, and hold the end down until dry, approximately 30 seconds.

Step 3. Cut the iridescent tissue sheets into 4″ squares. Fold 2-3 squares together and pinch them at the bottom, forming a bouquet-like shape. Staple the tissue paper squares together, then secure the iridescent tissue bundle to the wreath form with Krazy Glue. Hold each bundle in place until the glue is completely dry. Continue around the entire wreath, filling any gaps between foliage with iridescent tissue bundles.

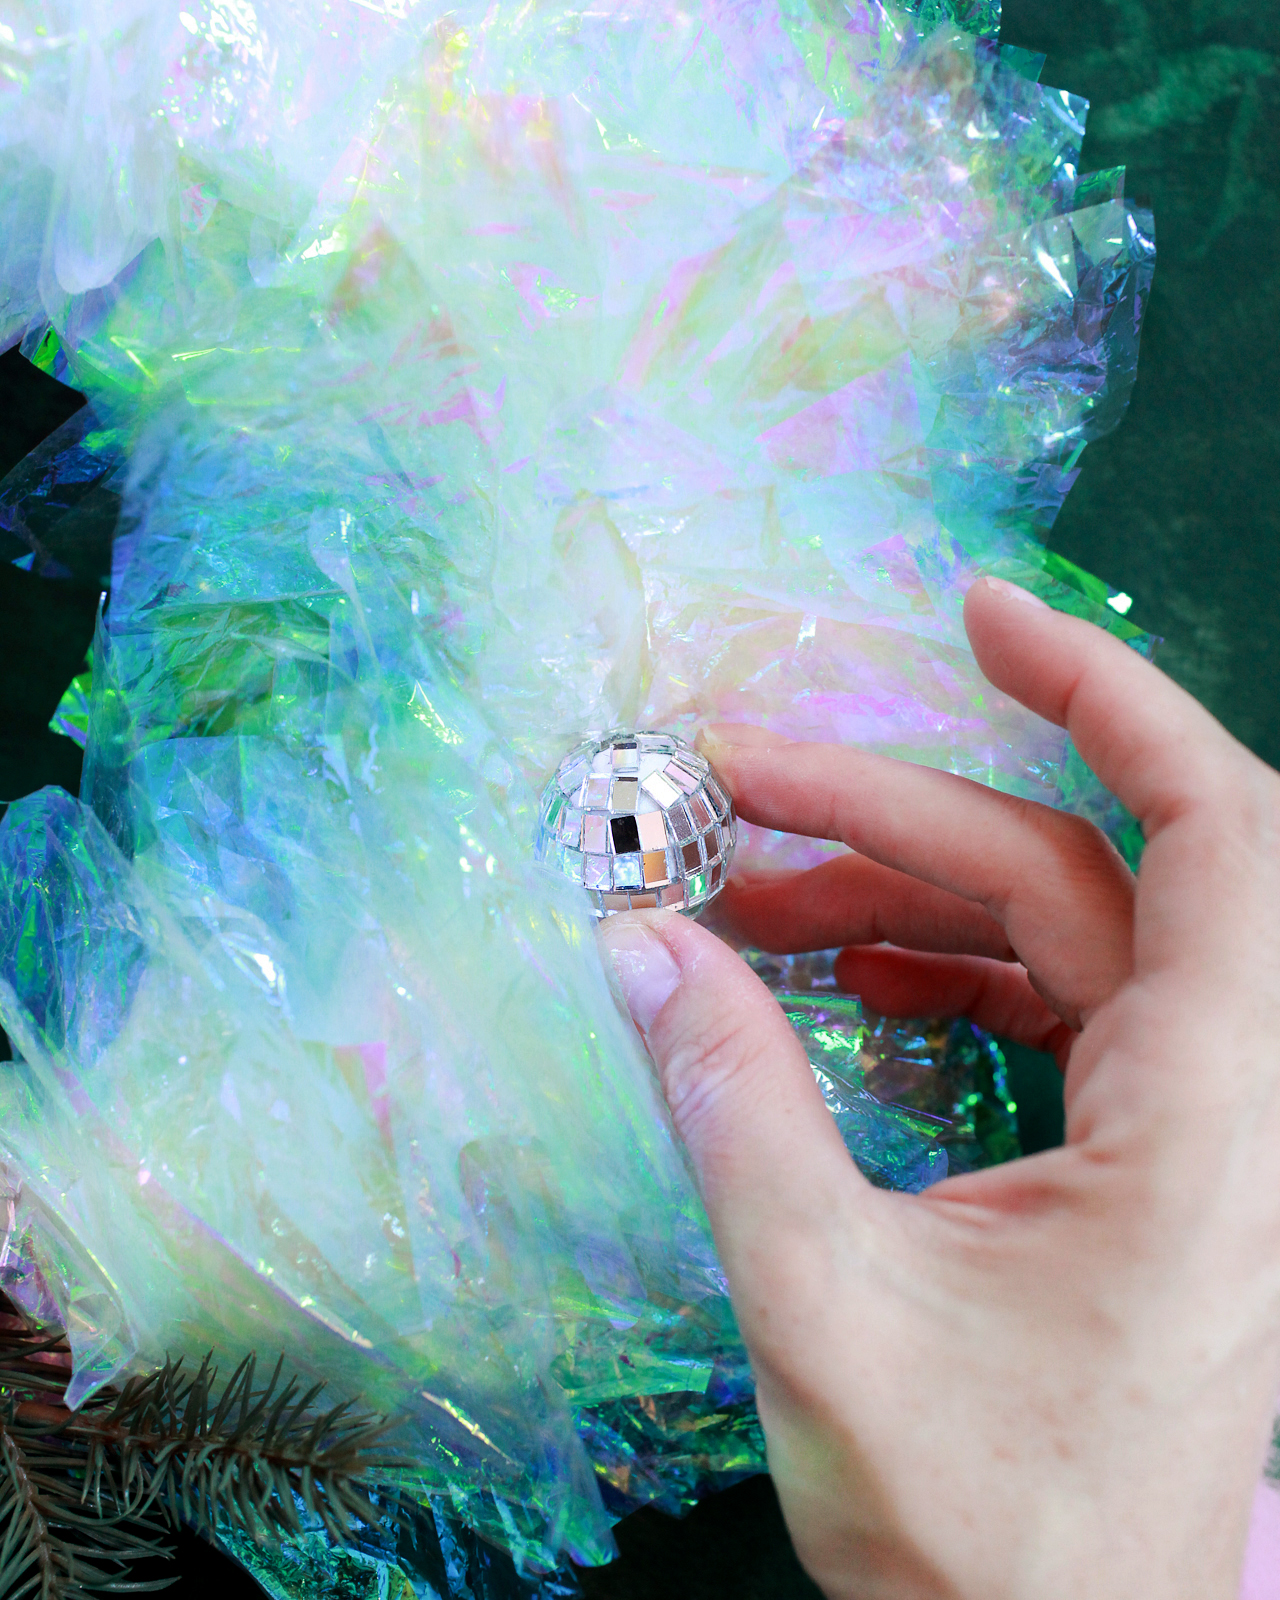
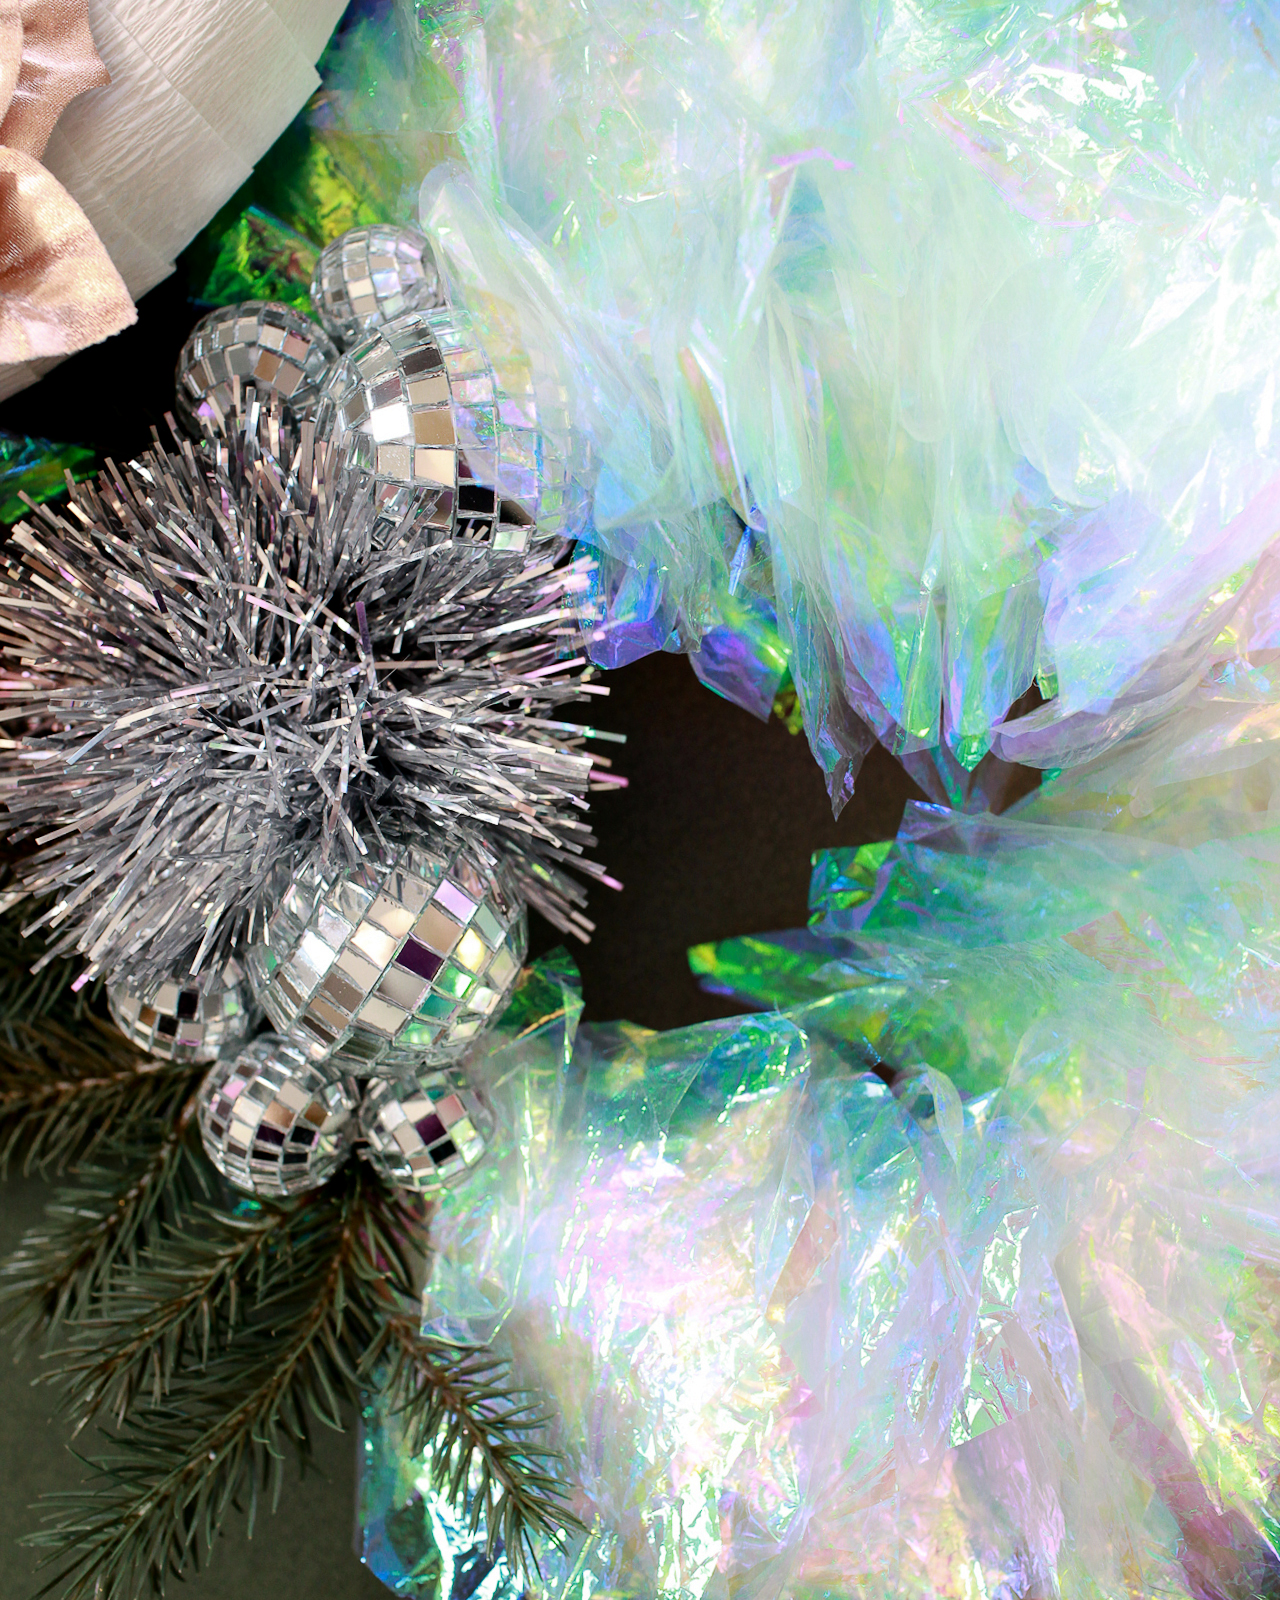
Step 4. (Optional) For the disco ball wreath, start by wrapping the entire wreath form in 2″ strips of iridescent tissue. Next, place faux pine sprigs on the wreath form using the method above. In lieu of foliage, I used a silver tinsel gift topper, but a faux Poinsettia would be great here, too! Glue the largest disco ball ornament to the pine foliage first, followed by a few smaller disco ball ornaments. The Krazy Glue Craft No Run Gel is perfect for gluing mismatched surfaces and works great on the iridescent tissue, just be sure to use plenty of the Krazy Glue to make sure the glue gets a good enough hold to secure the disco balls to each other. Let the glue dry between applying each disco ball. Cover the entire wreath form in bundles of iridescent tissue, working clockwise around the wreath form and making sure to tuck the end of each bundle under the previous bundle so there were no visible gaps. Glue additional mini disco ball ornaments around the wreath form as desired.

DIY Iridescent Winter Wreath – made with Krazy Glue!

DIY Iridescent Winter Wreath

DIY Iridescent Winter Wreath

DIY Iridescent Winter Wreath

diy-iridescent-winter-wreath-krazy-glue-osbp-21

DIY Iridescent Winter Wreath

DIY Iridescent Winter Wreath

These wreaths are such a fun way to add some iridescent shimmer to your holiday décor – and I love that you can keep them up until well into the New Year! Yay for all the sparkly things!

This post was created in partnership with Krazy Glue. All content and opinions are my own. Thank you for supporting the sponsors that make Oh So Beautiful Paper possible!
Elegant Monochromatic Calligraphy Wedding Invitations

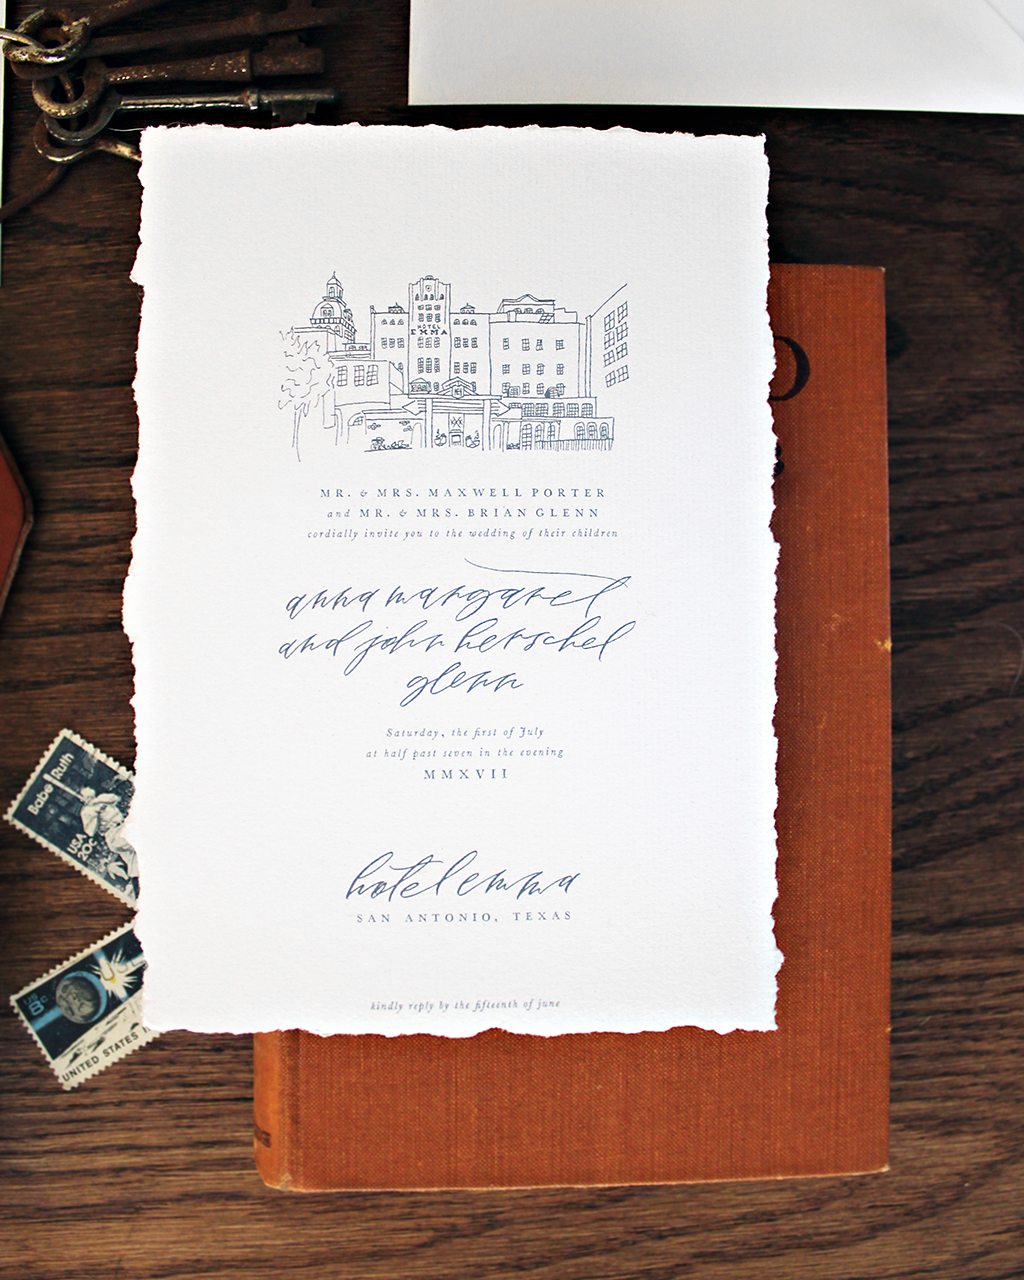
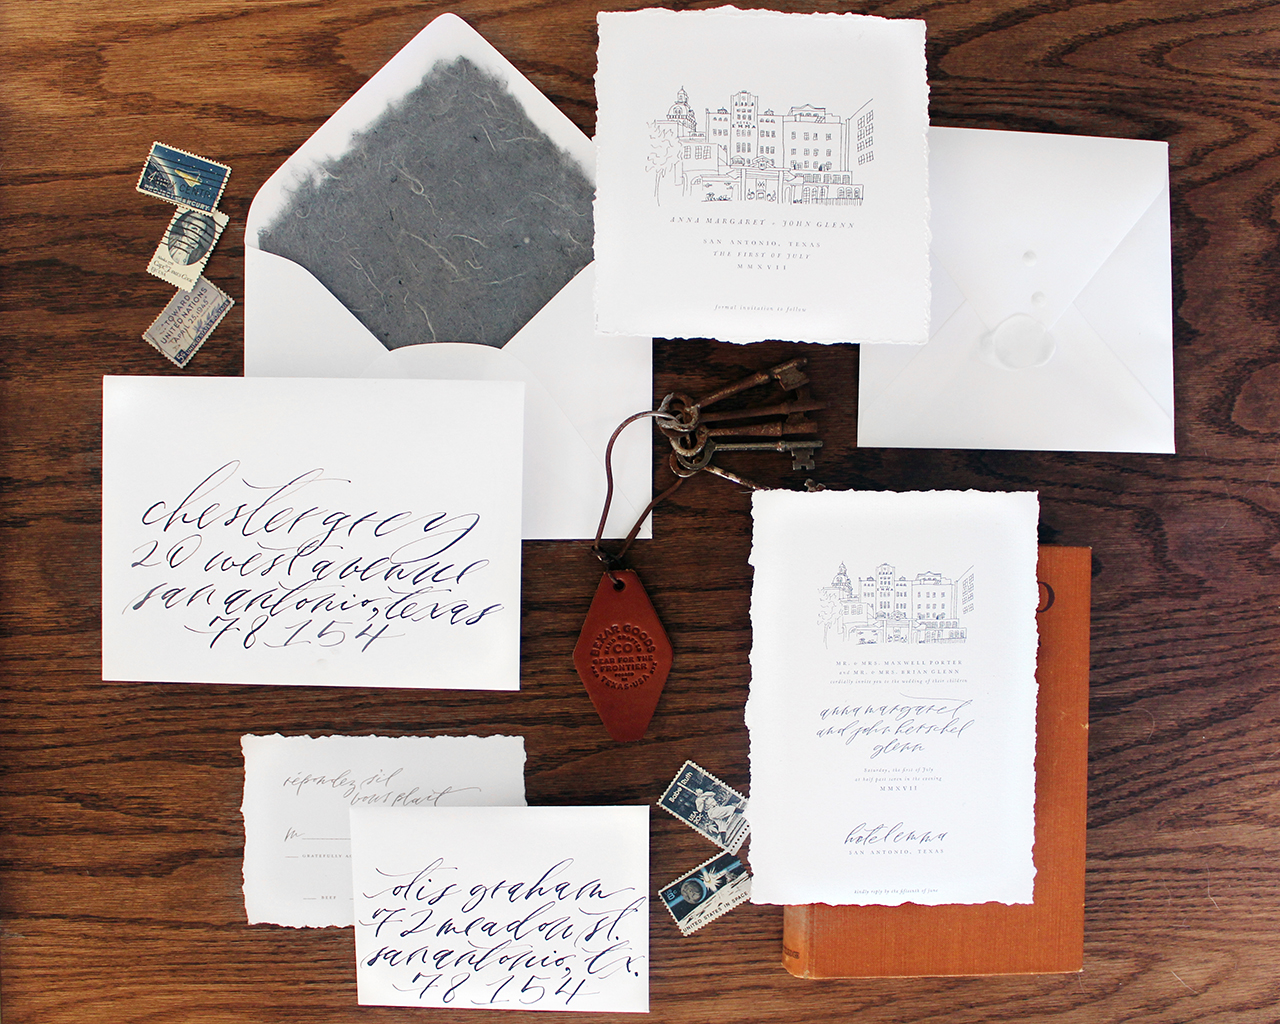
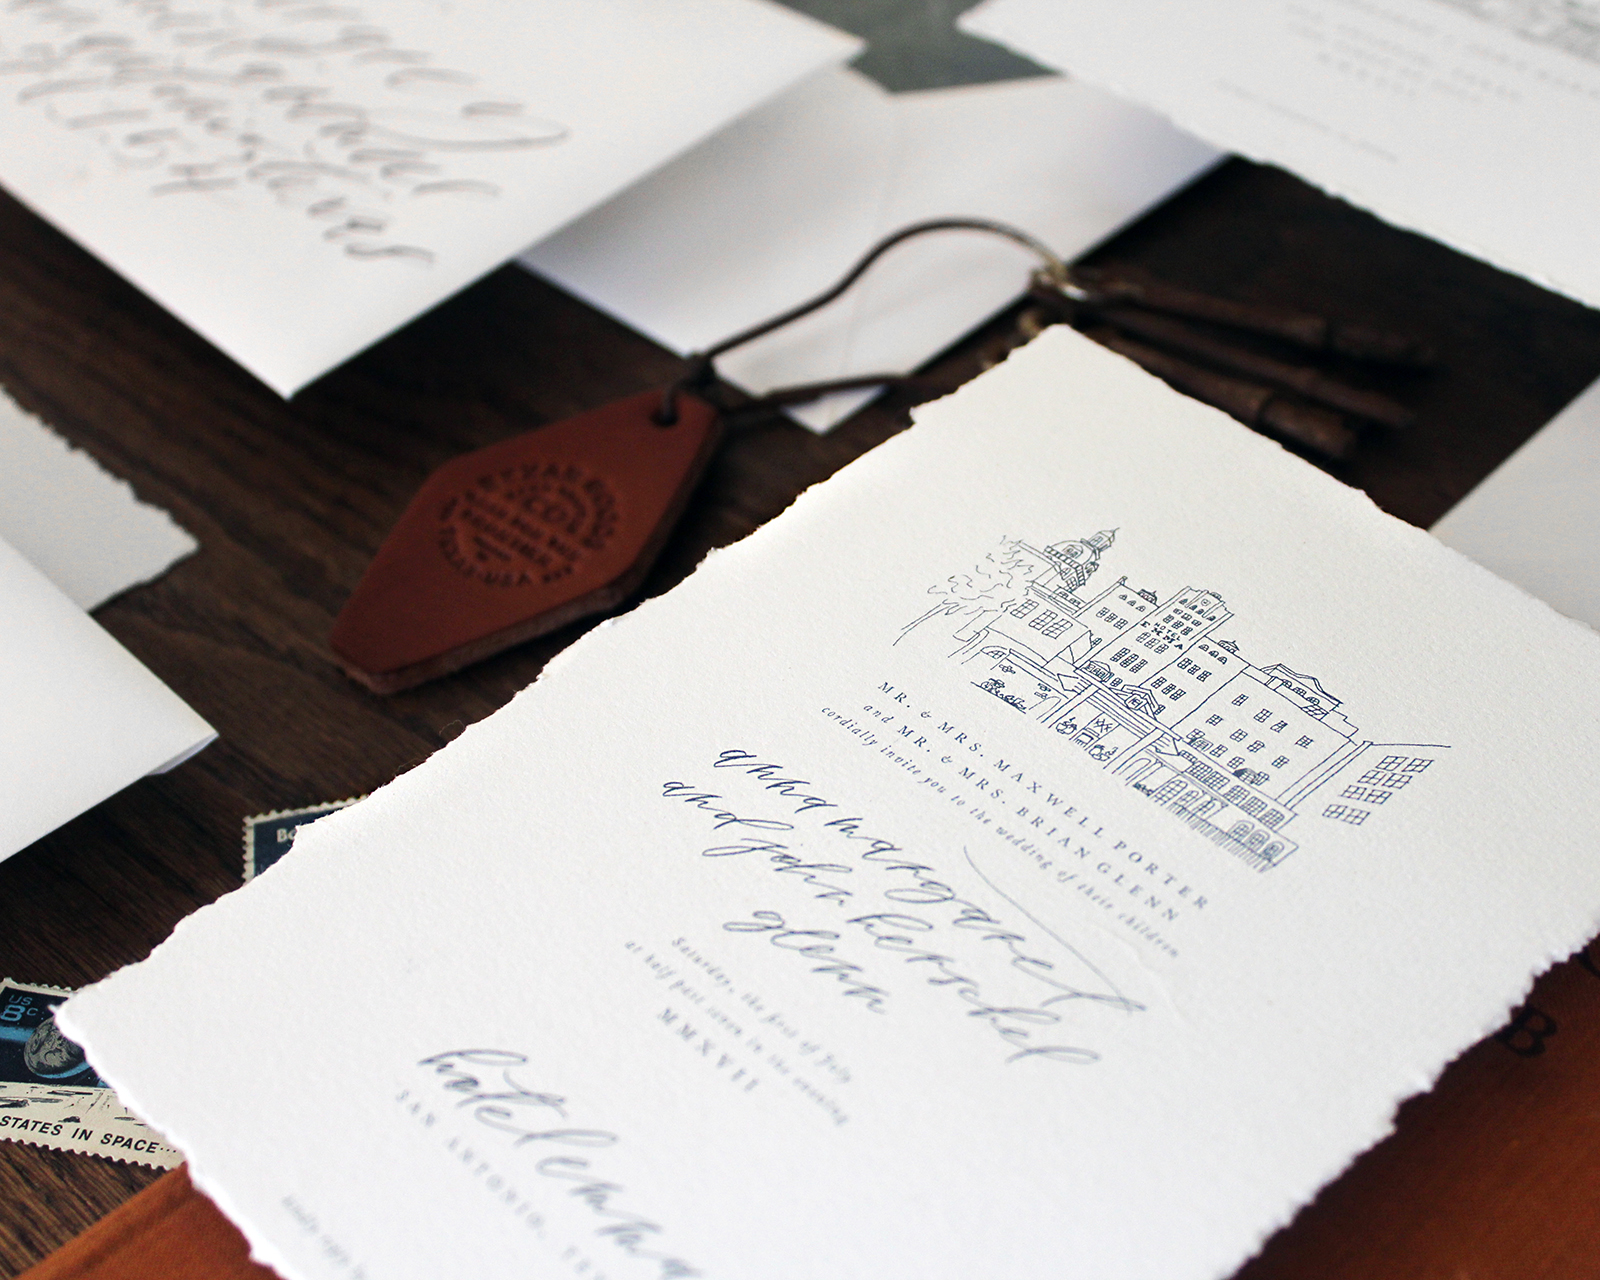
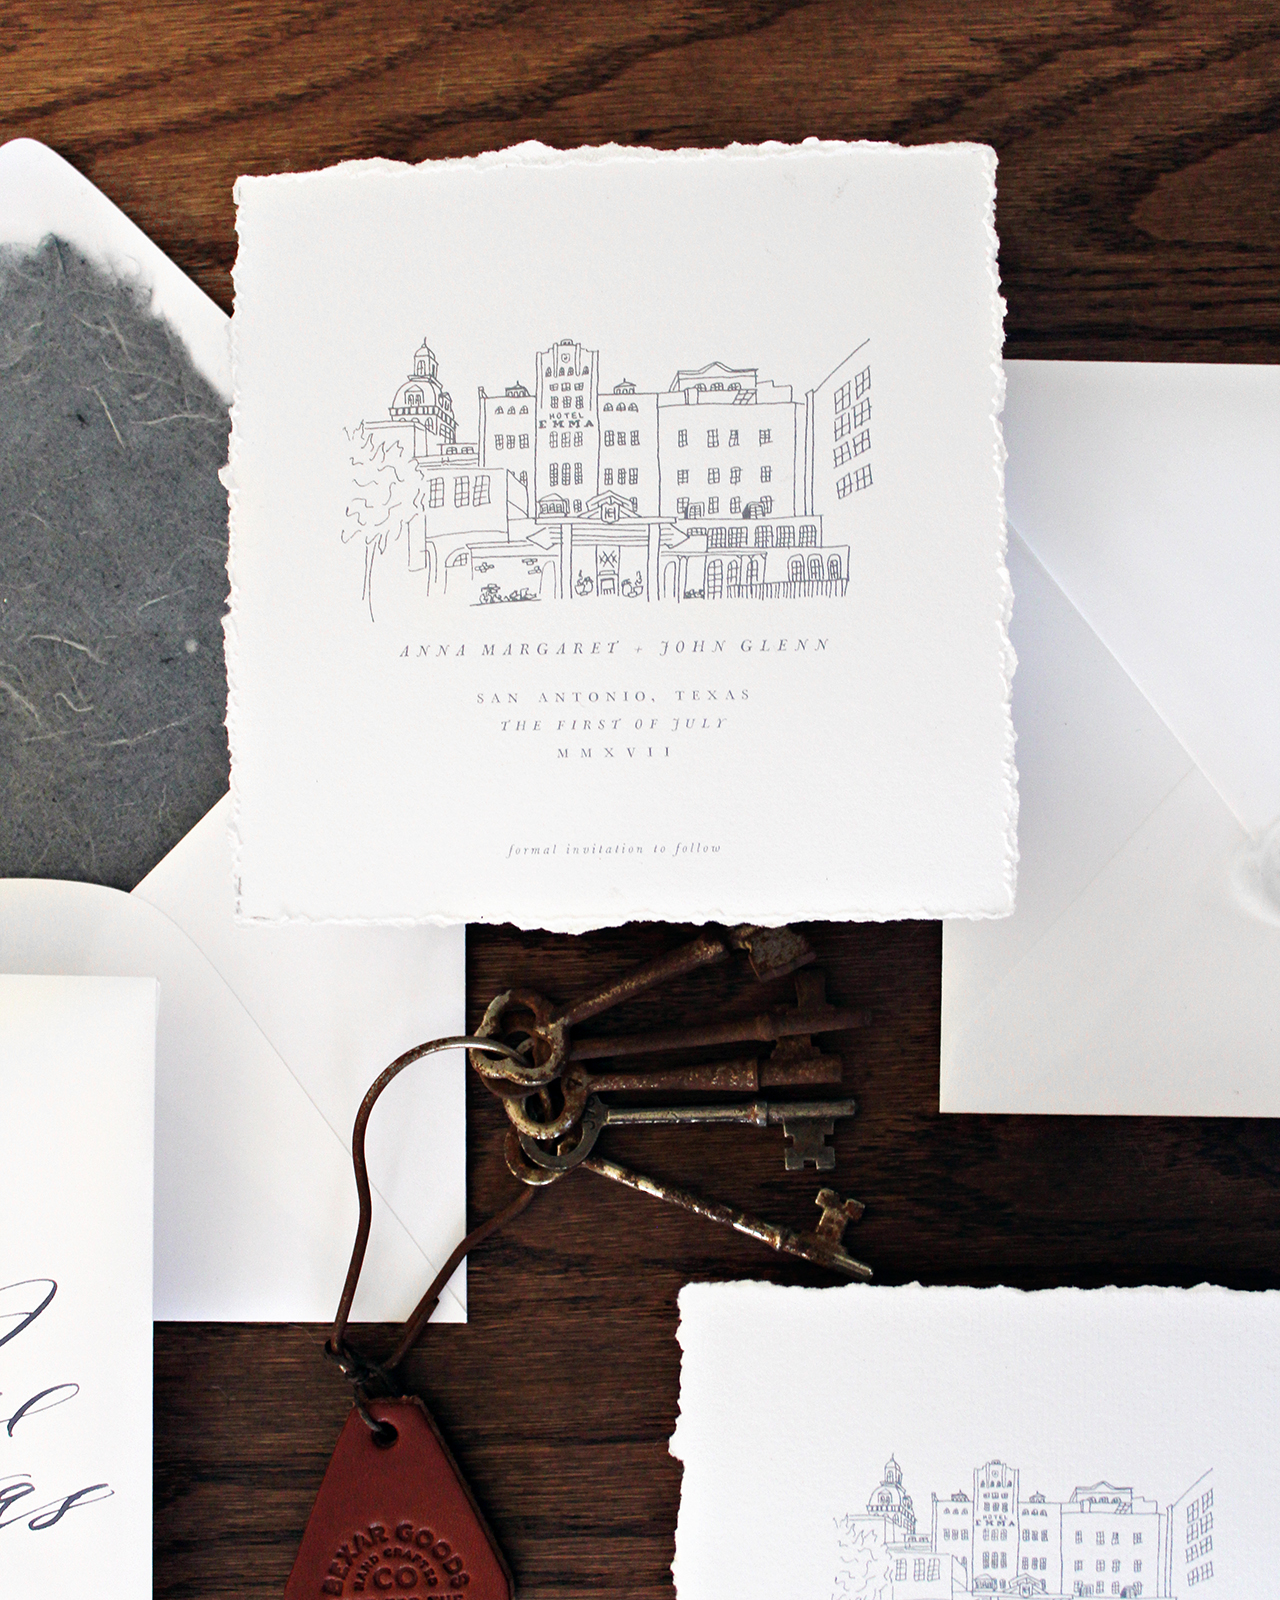
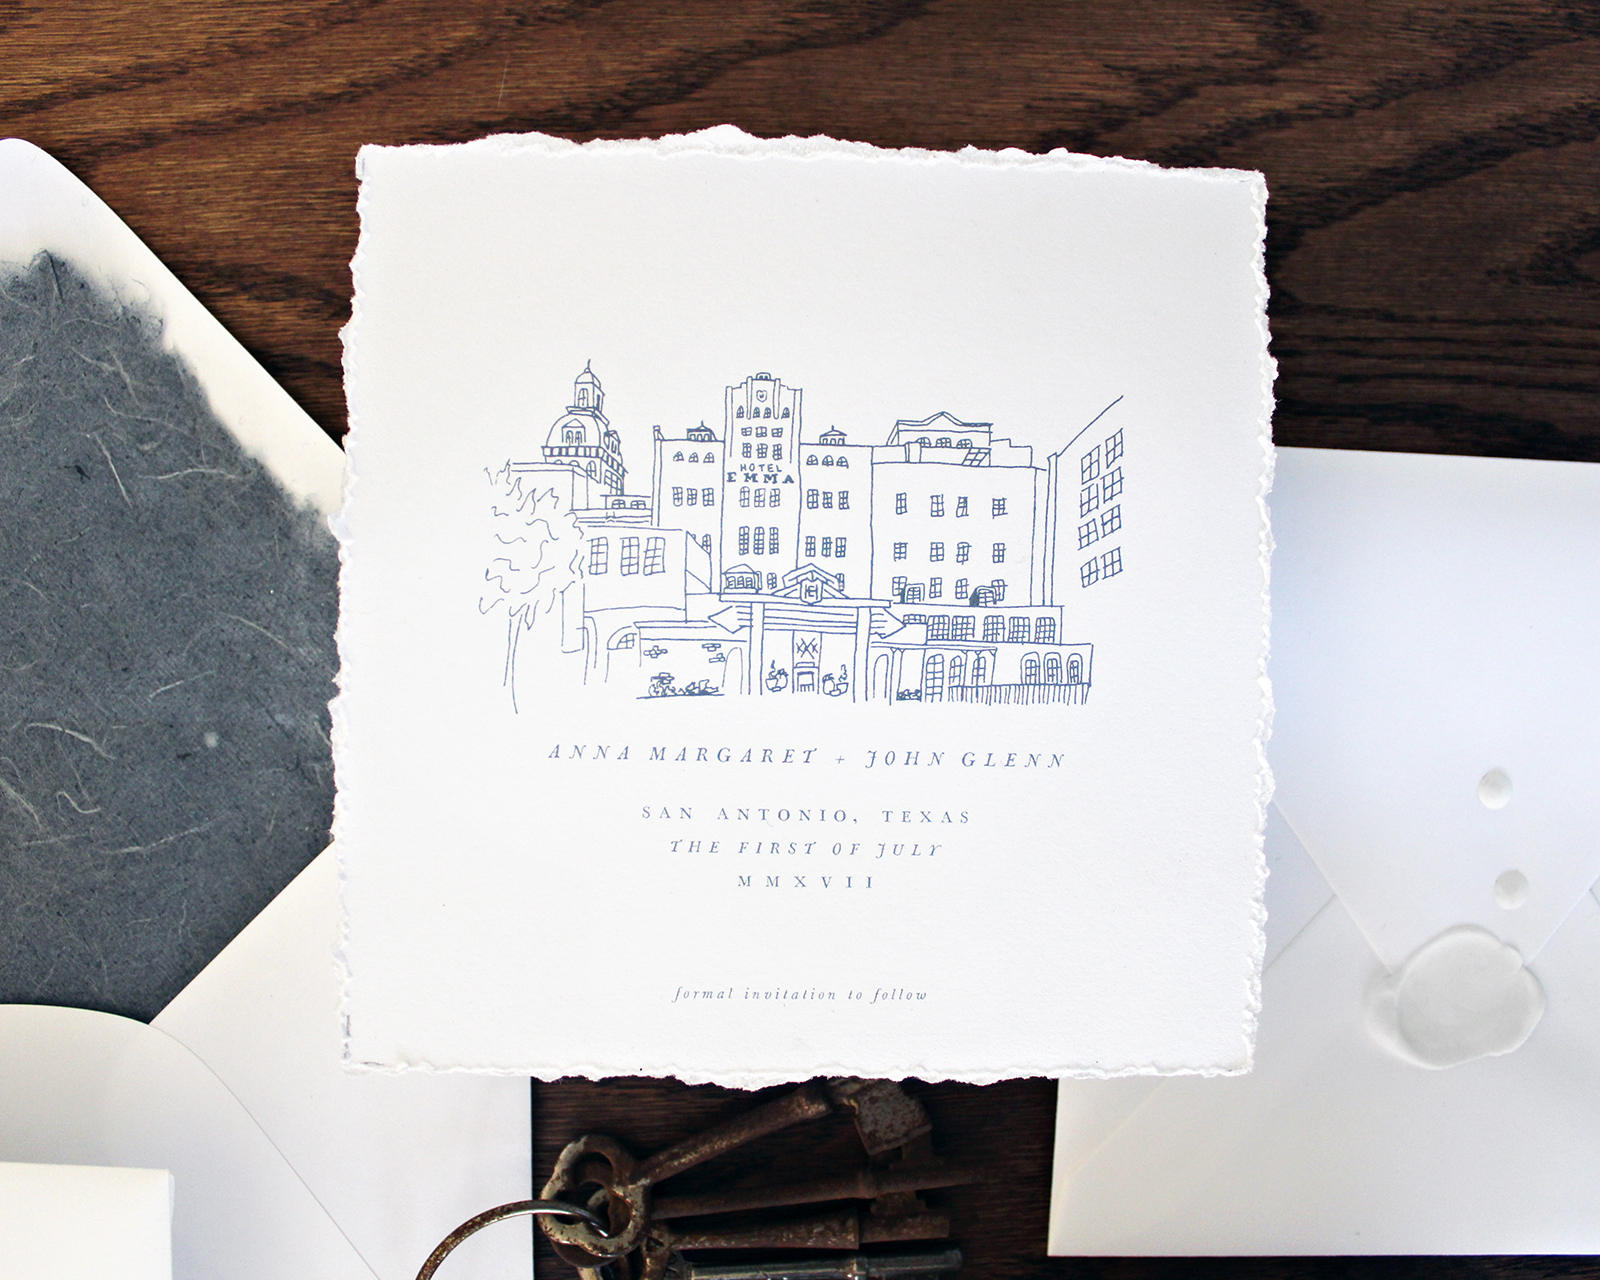
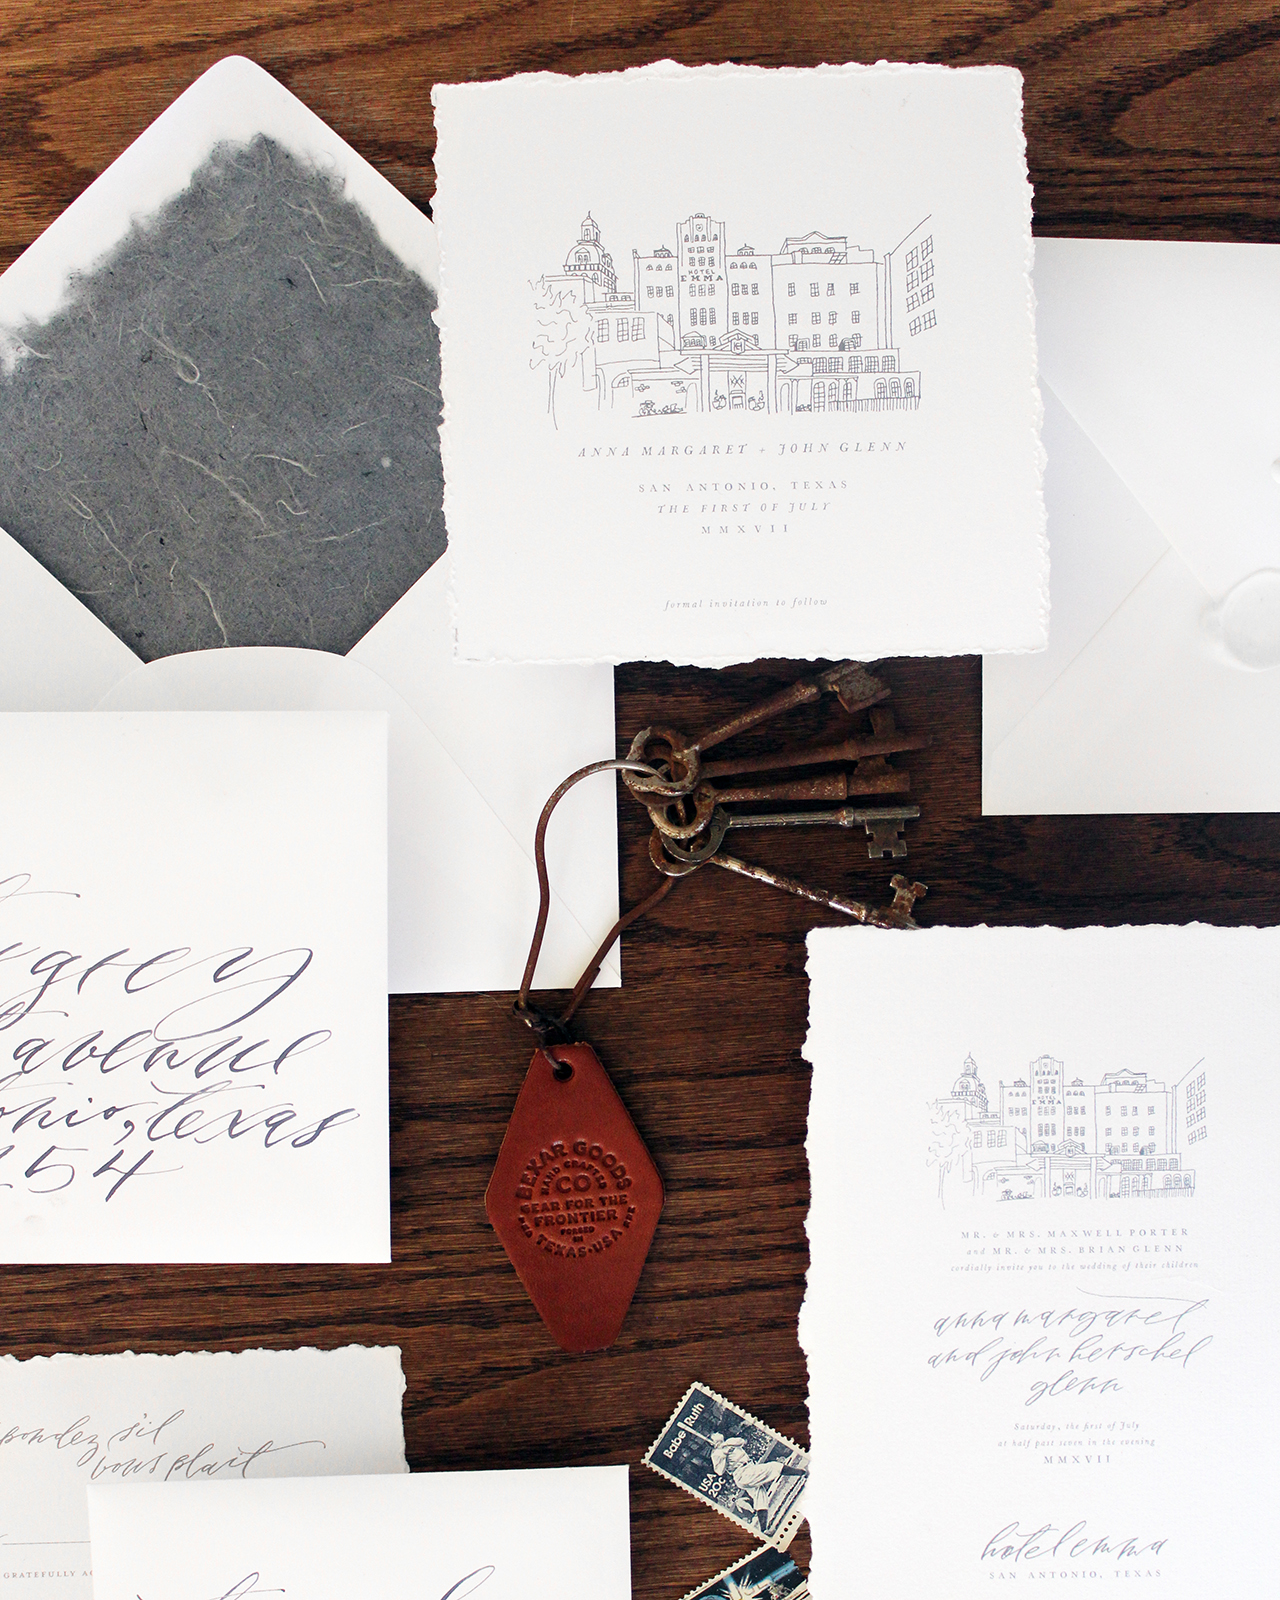
This is the second time this year we’ve featured invitations inspired by The Hotel Emma in San Antonio! These elegant monochromatic calligraphy wedding invitations by Nicolette of Lazywood Lane feature custom illustrations of the hotel, along with Nicolette’s modern and organic calligraphy and vintage-inspired serif type selections. Add in a dusty blue envelope liner made from handmade paper and a gorgeous white wax seal, and you’ve got one seriously stunning invitation suite.

Elegant Monochromatic Calligraphy Wedding Invitations by Lazywood Lane

From Nicolette: The Hotel Emma has quickly become a landmark in San Antonio, inspiring me to create this invitation suite and illustrate the face of the building, which was once a 19th century brewery. The design was printed on a cotton paper with hand deckled edges.

Elegant Monochromatic Calligraphy Wedding Invitations by Lazywood Lane

Elegant Monochromatic Calligraphy Wedding Invitations by Lazywood Lane

I carried the illustration through both the save the dates and the wedding invitation. The illustration was the main focus of the square save the dates, so I kept the rest of the design simple and used a typeface inspired by the original font family that was used to print the classic works of Voltaire. The hotel has a charming library with classic industrial decor, in which I imagine these historical specimens would fit comfortably.

Elegant Monochromatic Calligraphy Wedding Invitations by Lazywood Lane

Elegant Monochromatic Calligraphy Wedding Invitations by Lazywood Lane

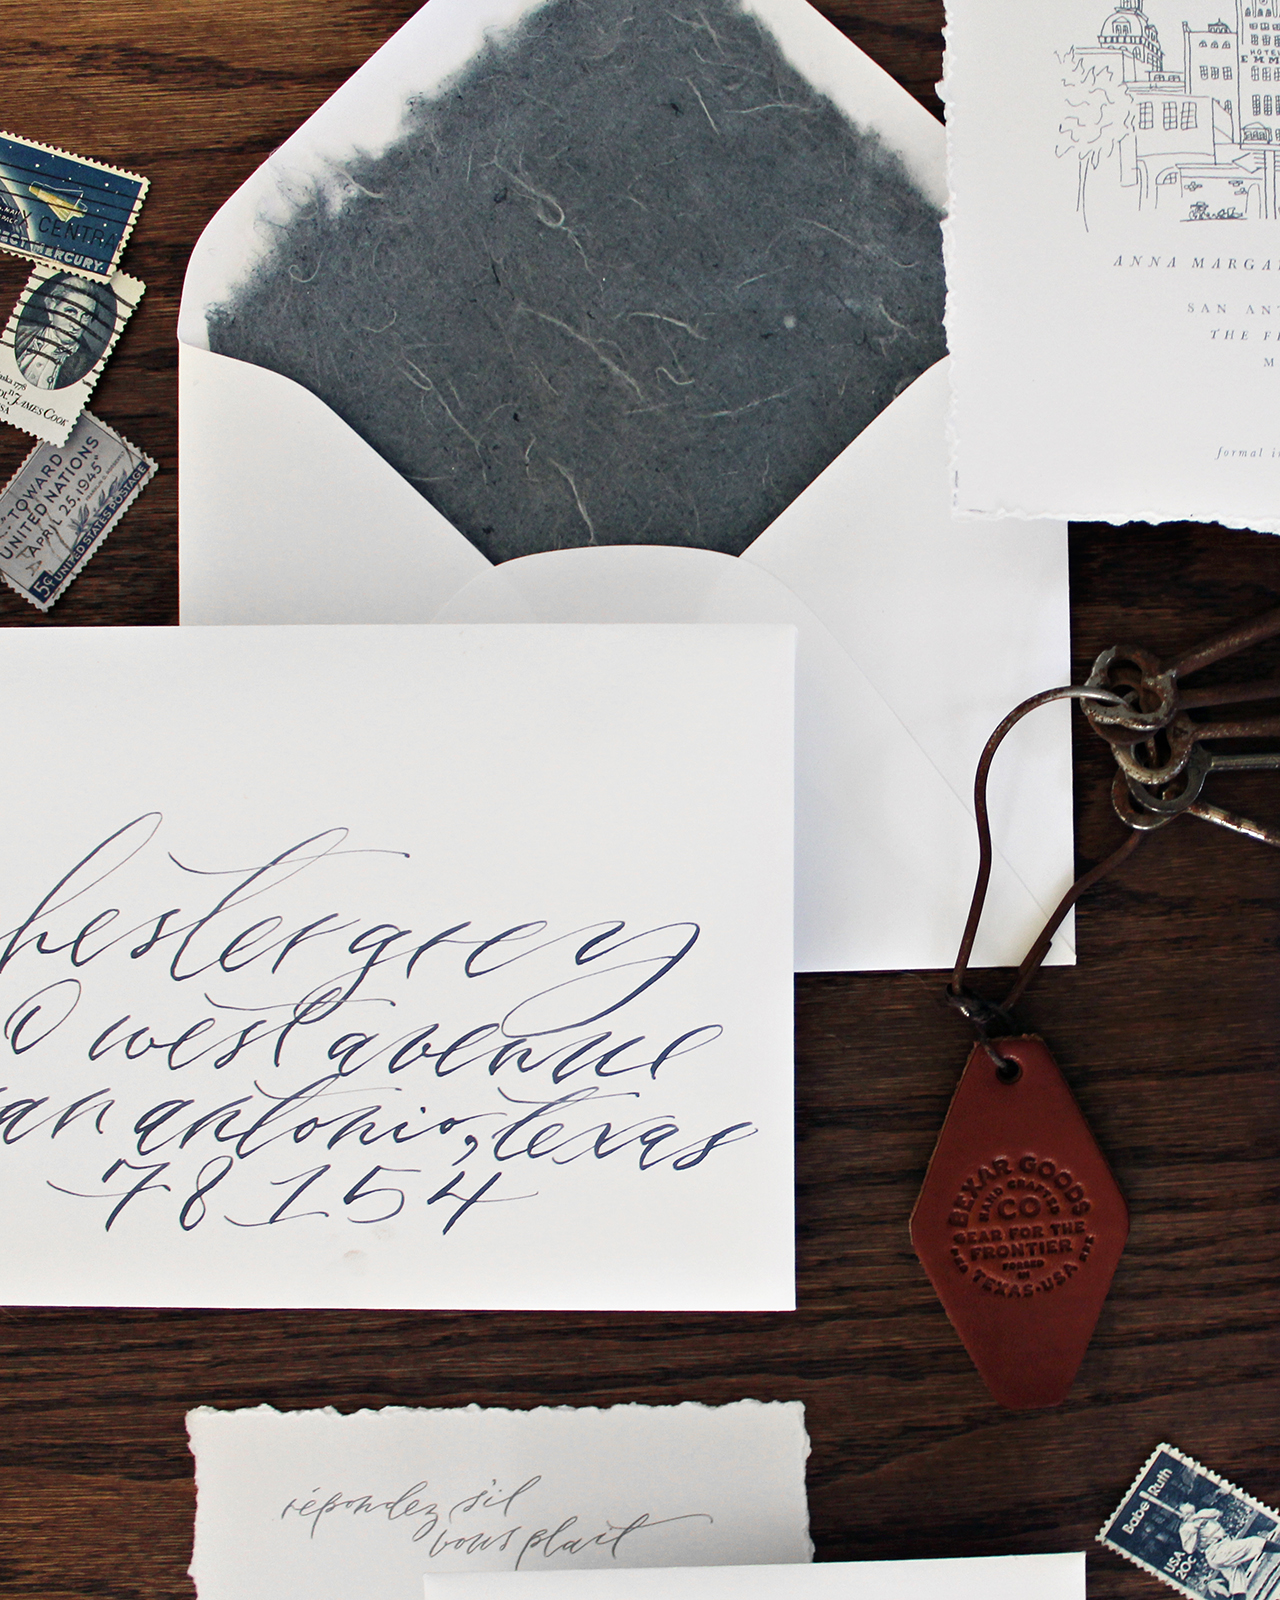
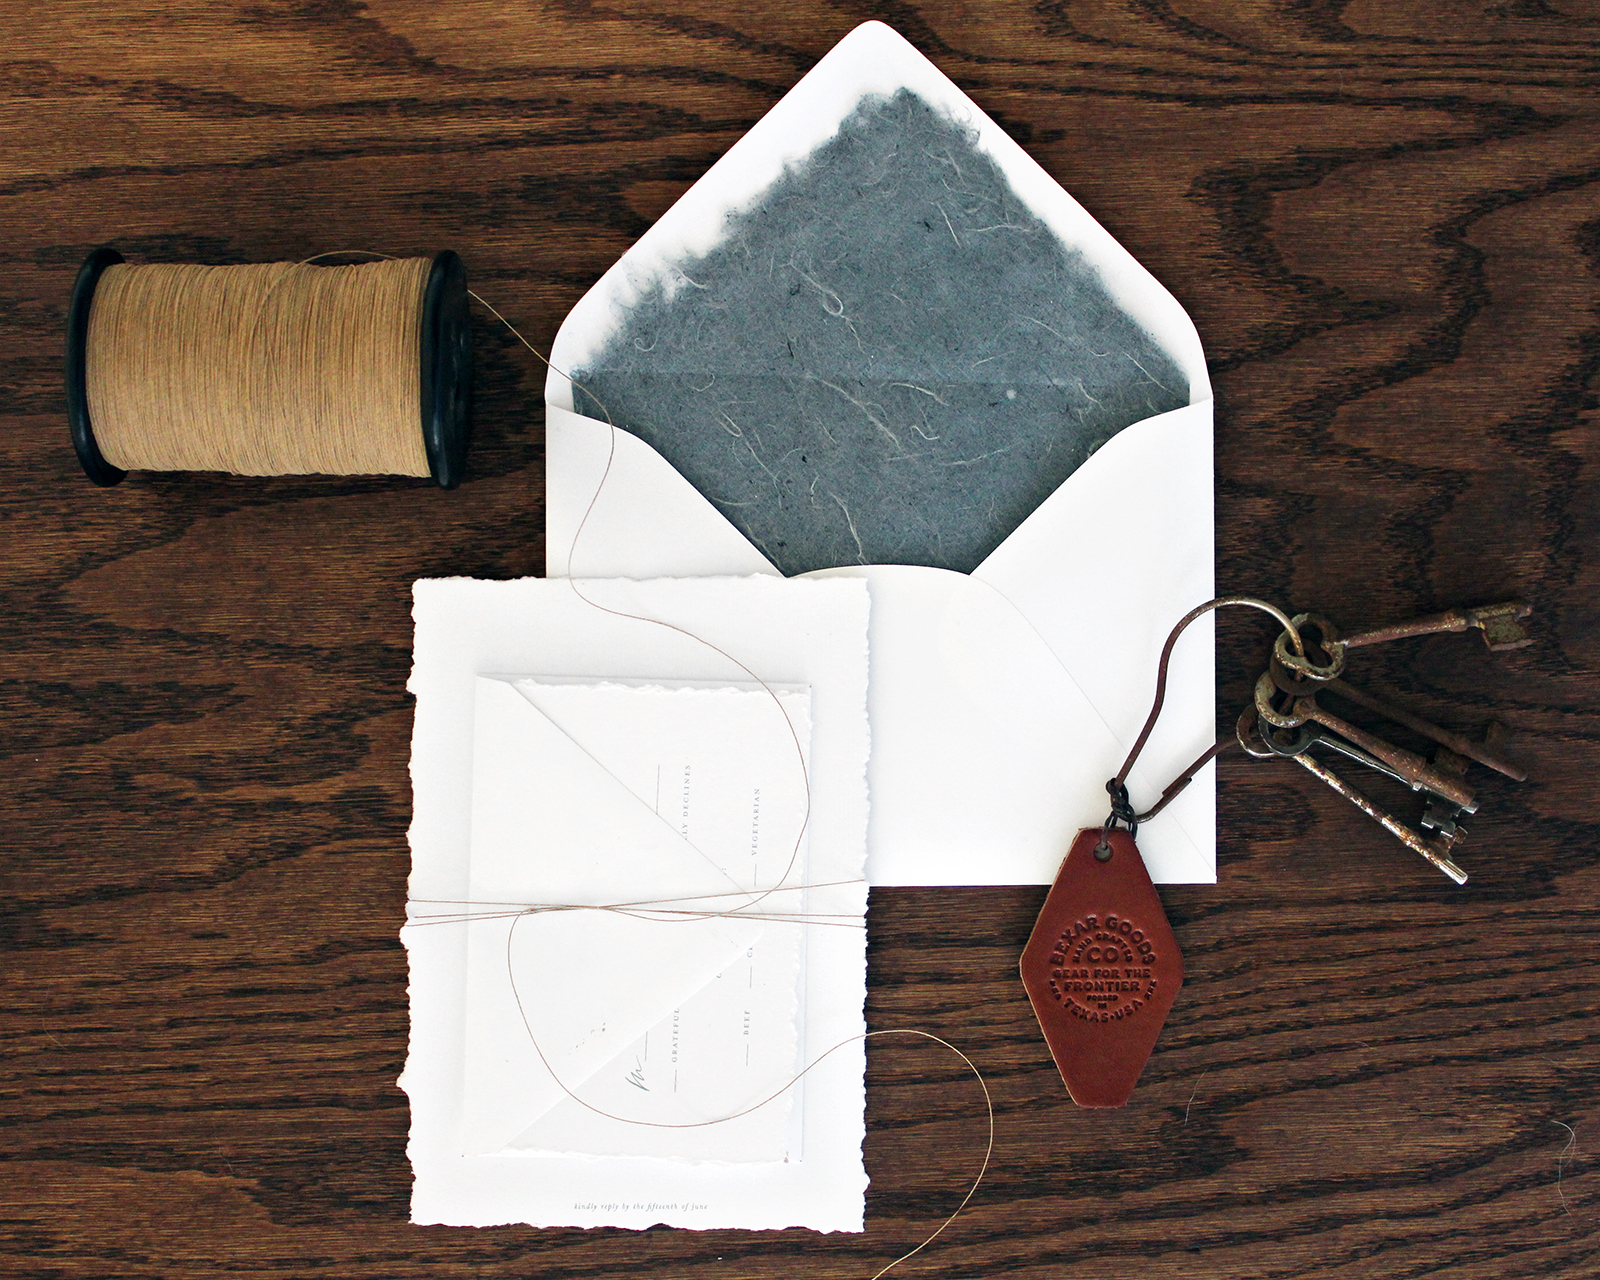
The Hotel Emma has custom seersucker robes in their rooms, so when I saw this matching shade of chambray blue handmade paper from Share Studios, I knew it would make the perfect envelope liners. They made for a pop of color that was both neutral and refreshing. The entire design is very simple, focusing on my calligraphy and the venue illustration, so I decided to leave the natural deckled edge on the liners.

Elegant Monochromatic Calligraphy Wedding Invitations by Lazywood Lane

The white envelope was sealed with matching white wax and a blank seal. Again, to keep the focus on the simplicity of the design and the shade of dusty blue inspired by their bathrobes and the hotel tile that was chosen by the American design firm, Roman and Williams.

Elegant Monochromatic Calligraphy Wedding Invitations by Lazywood Lane

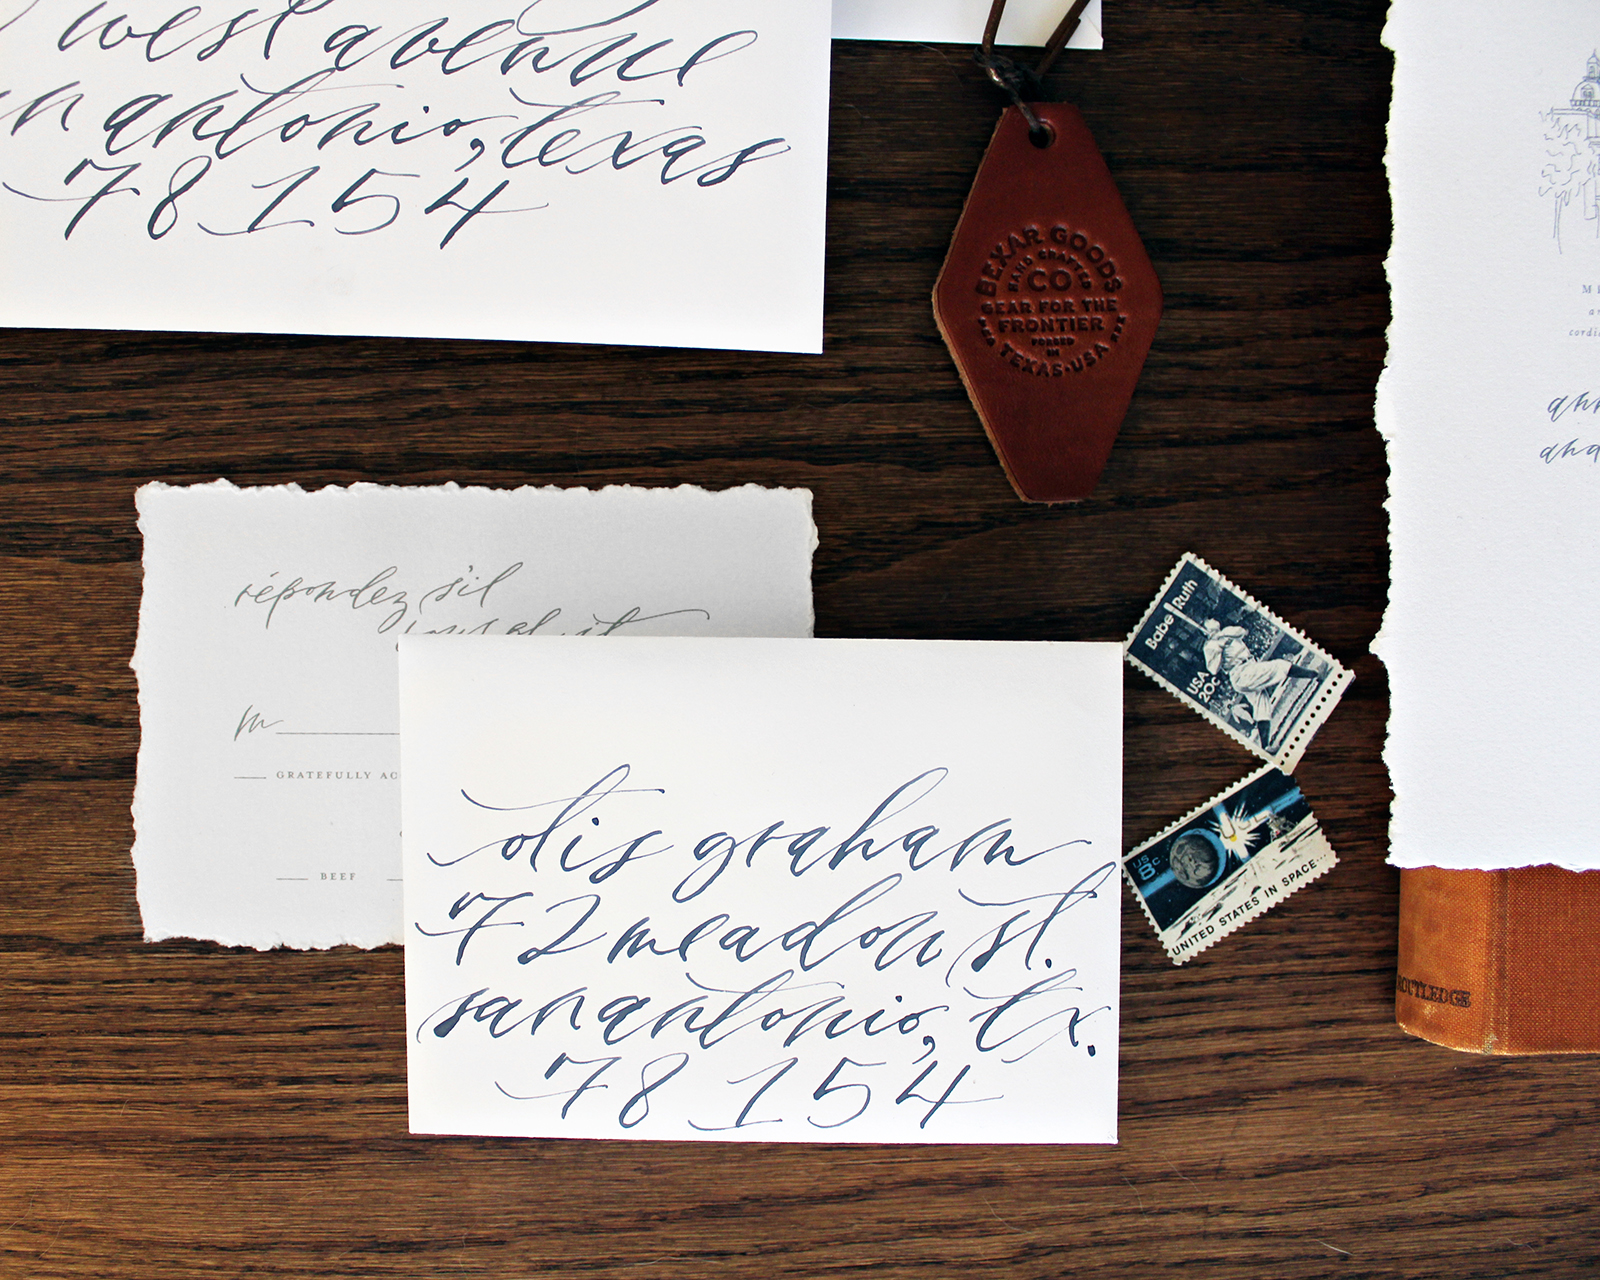
The envelopes were addressed in custom mixed blue-gray ink and lettered in an organic, perfectly imperfect calligraphy hand. I strive to make my hand feel authentic, yet refined. This is my signature calligraphy style, which I wanted to appear delicate and effortless.

Elegant Monochromatic Calligraphy Wedding Invitations by Lazywood Lane

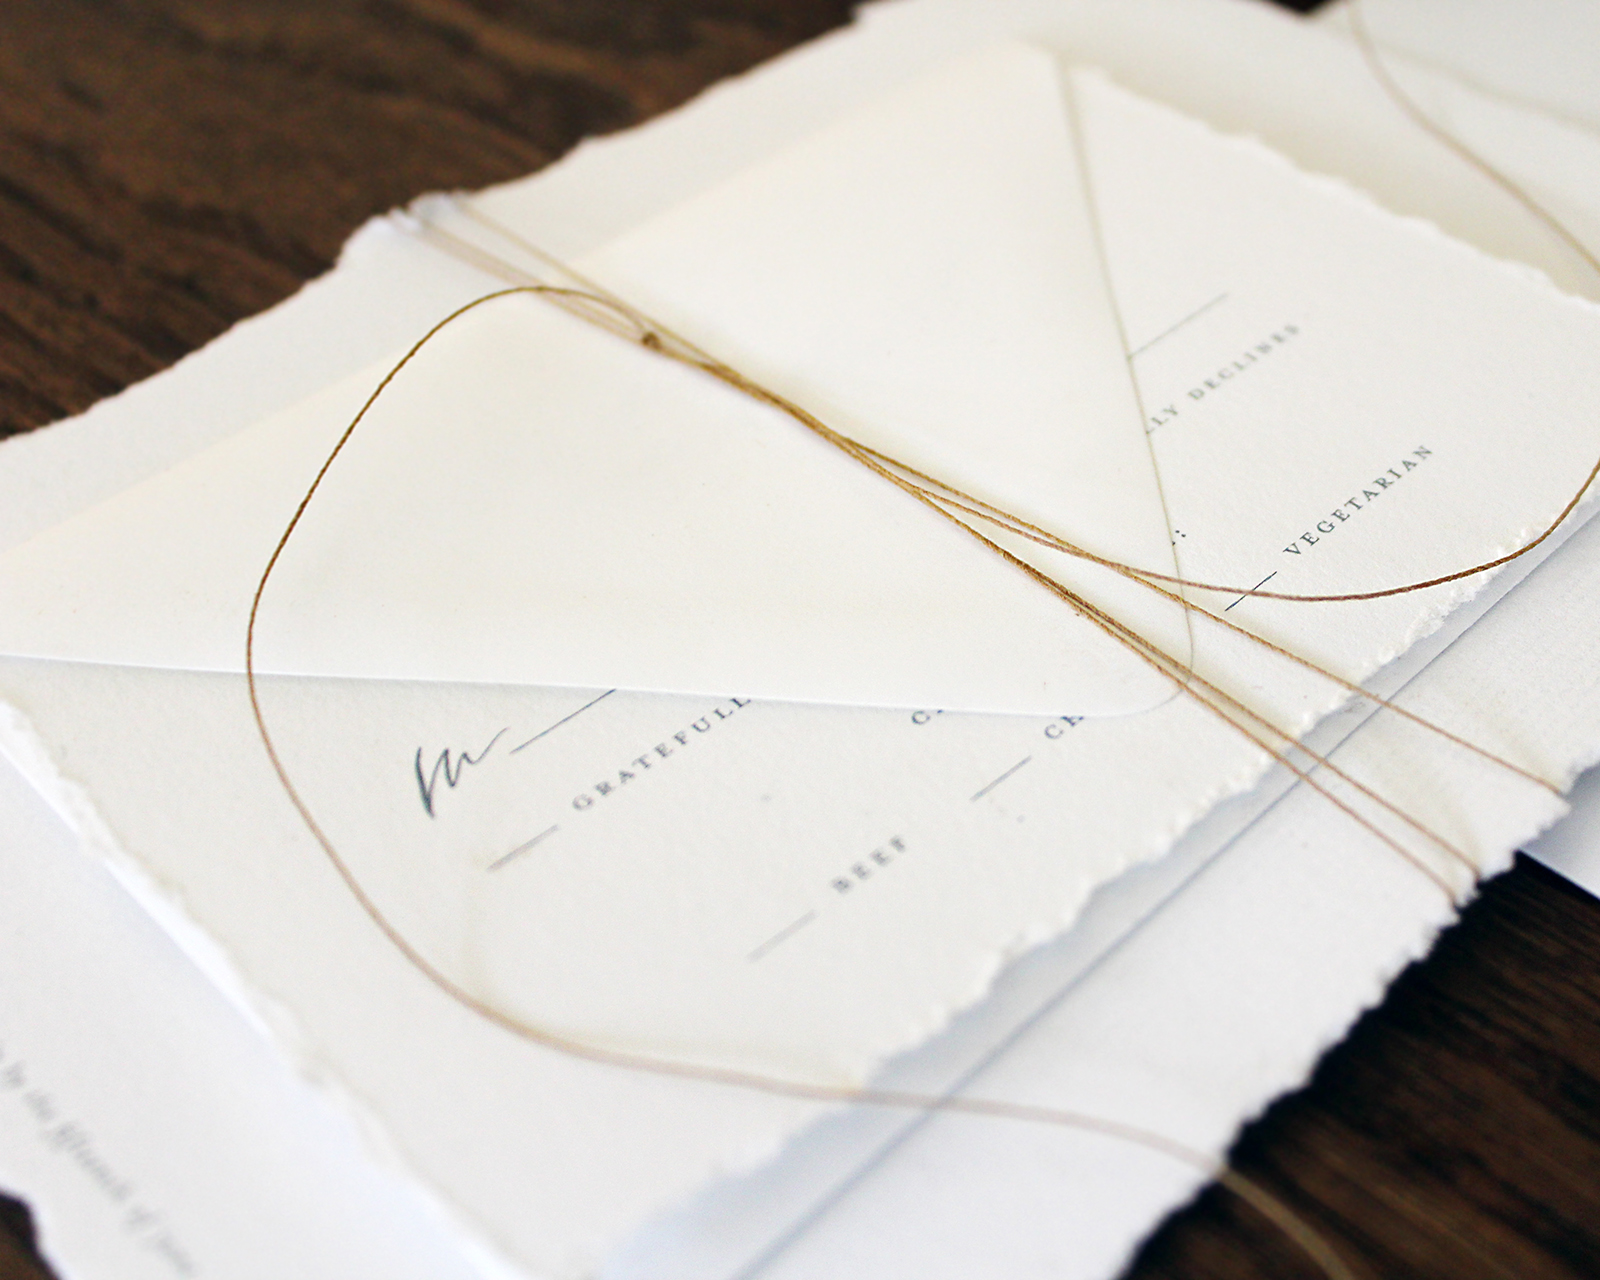
To complete the natural, delicate feel of these invitations, I tied everything up with fine kraft paper twine which I wrapped around the suite in an intentionally imperfect way.
Elegant Monochromatic Calligraphy Wedding Invitations by Lazywood Lane

Elegant Monochromatic Calligraphy Wedding Invitations by Lazywood Lane

Thanks Nicolette!

Design: Lazywood Lane

Paper: Share Studios

Check out the Designer Rolodex for more tal­ented wed­ding invi­ta­tion design­ers and the real invi­ta­tions gallery for more wedding invitation ideas!

Photo Credits: Nicolette Selman