Happy Long Weekend!

Happy Friday everyone! I don’t know about you, but I’m really looking forward to a three day weekend! We had been planning to go out of town for a few days, but decided to scrap our plans and enjoy a quiet weekend at home instead. As nice as it would have been to get out of DC, it’s actually kind of a relief to just stay home. I’m such a homebody. Anyway, Happy Thanksgiving (on Monday) to our Canadian friends! I hope we all have a nice and relaxing long weekend. But in the meantime…

Anne Robin Calligraphy / Photo by Love & Splendor via Instagram / Oh So Beautiful Paper

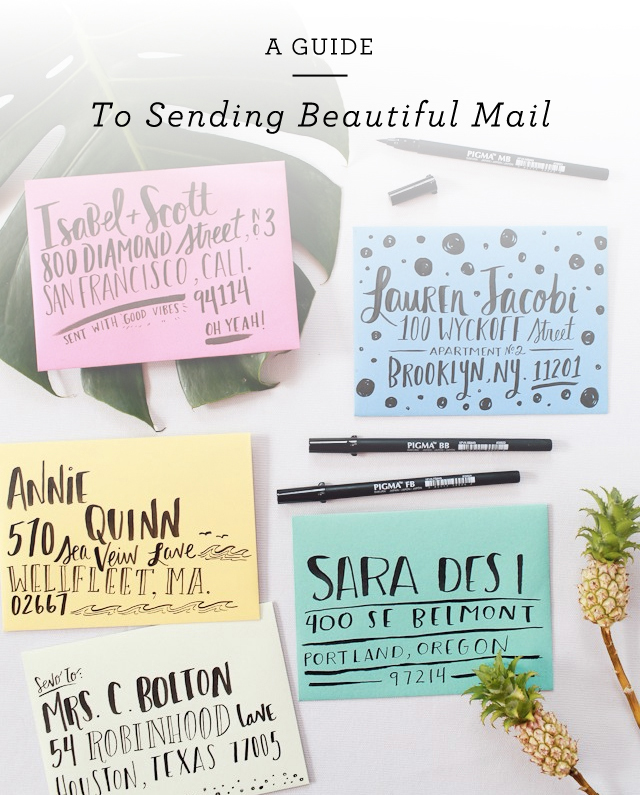
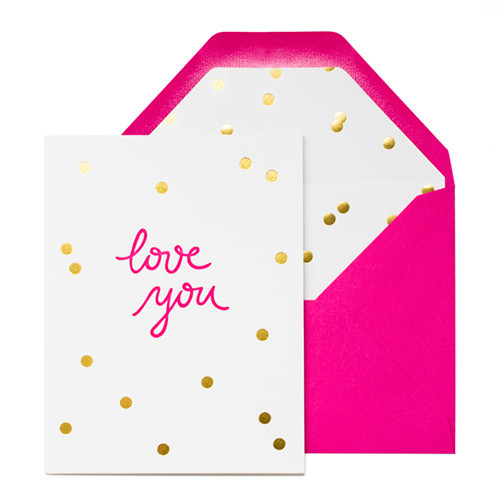
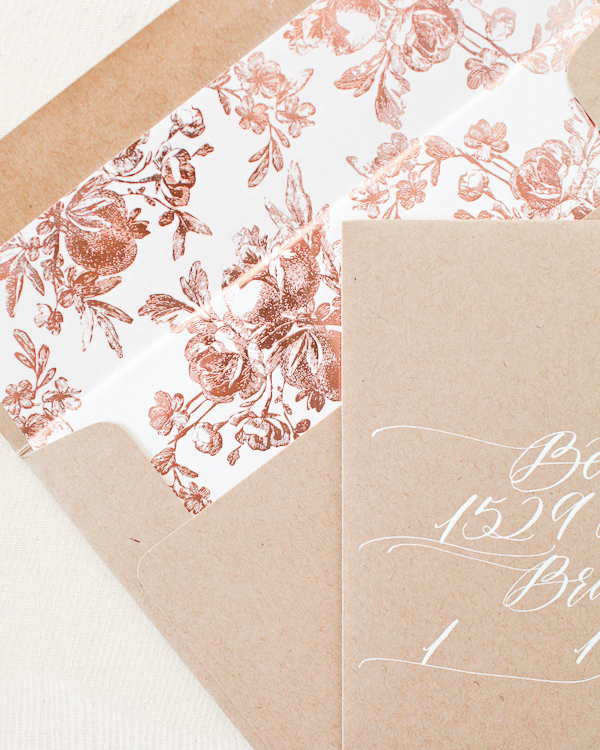
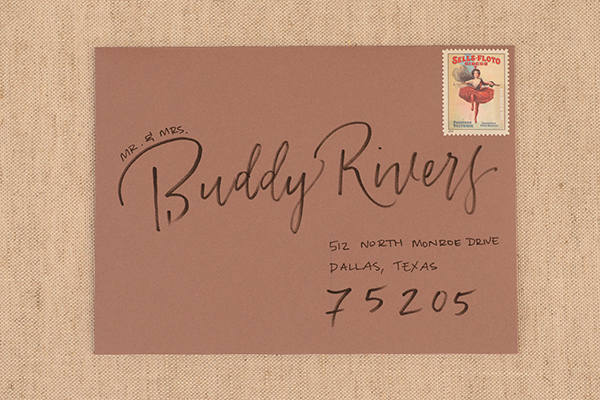
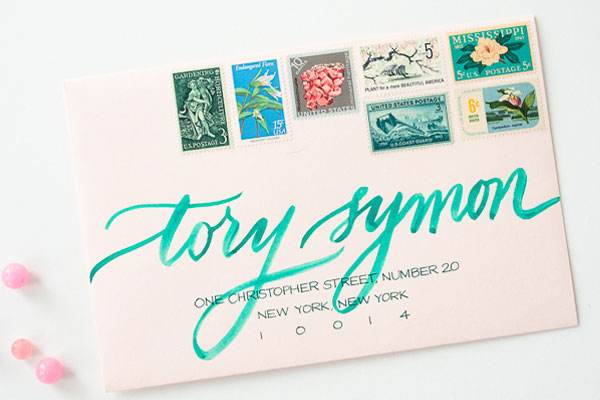
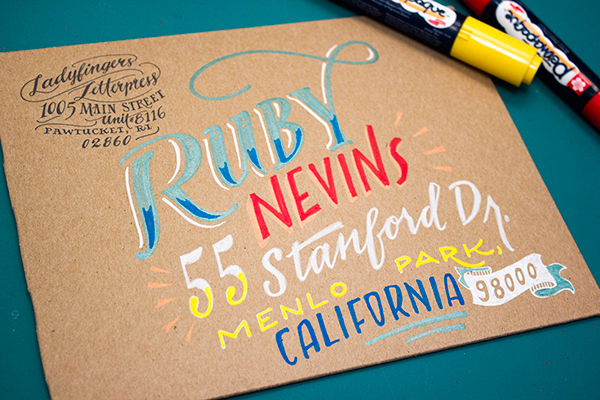
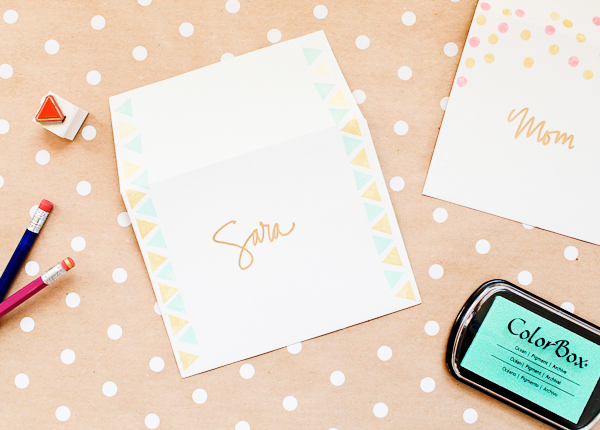
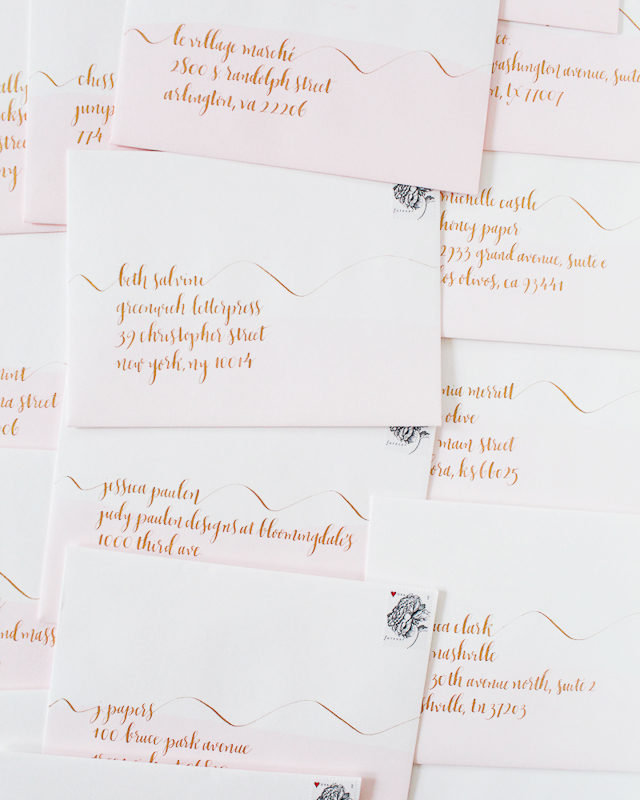
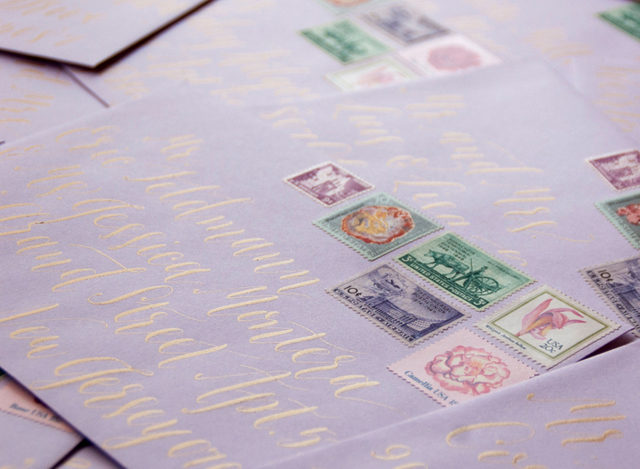
Envelope calligraphy by Anne Robin / Photo by Love & Splendor via Instagram

…a few links for your weekend:

This week on Oh So Beautiful Paper:

That’s it for me this week! Check back later for this week’s cocktail recipe – I hope you all have a wonderful weekend, and I’ll see you back here on Tuesday! xoxo

Calligraphy Inspiration: Script Merchant

This month’s calligraphy inspiration comes from Birmingham, Alabama. The work of Katherine Ross of Script Merchant Calligraphy and Design caught my eye scrolling through Instagram in search of new and lovely letterforms. Katherine’s feed is a never-ending source of calligraphy eye-candy. She offers a variety of beautiful modern styles. From short scribbled musings to romantic and wispy wedding materials, you’re bound to fall for her talented hand and impressive portfolio. – Julie

Calligraphy Inspiration: Script Merchant Calligraphy and Design / Oh So Beautiful Paper Calligraphy Inspiration: Script Merchant Calligraphy and Design / Oh So Beautiful Paper

Calligraphy Inspiration: Script Merchant Calligraphy and Design / Oh So Beautiful Paper

Calligraphy Inspiration: Script Merchant Calligraphy and Design / Oh So Beautiful Paper

Calligraphy Inspiration: Script Merchant Calligraphy and Design / Oh So Beautiful Paper

Calligraphy Inspiration: Script Merchant Calligraphy and Design / Oh So Beautiful Paper

To keep up with the latest from Katherine, be sure to follow her on Instagram or like her on Facebook!

Photo credits: 1, 6 l+r Gregory Ross; 2 Elisa Bricker; 3 left, 5: Spindle Photography, right: Heather Hawkins; 4 Katherine Ross

DIY Mini Flower Bouquet with Printable Paper Wrap

I absolutely love the idea of sending your friends off with a little bundle of your favorite flowers after a party or event. But I am always worried about how long they will last. You have to prep them prior to your party, display them throughout your get together, and then your guests would have to rush them home to put them in water. So I wanted to share a little trick for creating mini bouquets that will last. And since you don’t have to unwrap them right away to put in water, they can stay bundled in their wrapping for a little longer than usual. So, I created a printable calligraphy paper wrap if you want to add an extra special detail there as well! – Lauren

DIY Mini Flower Bouquet with Printable Paper Wrap / Lauren Saylor of A Fabulous Fete for Oh So Beautiful Paper

DIY Mini Flower Bouquet with Printable Paper Wrap / Lauren Saylor of A Fabulous Fete for Oh So Beautiful Paper

Supplies

Fresh flowers and greens (make sure to choose flowers with skinny stems to fit into the water tubes)

Regular text weight paper

Floral water tubes

Scissors

Ribbon

DIY Mini Flower Bouquet with Printable Paper Wrap / Lauren Saylor of A Fabulous Fete for Oh So Beautiful Paper

To make the bouquets:

Step 1. Fill the water tubes all the way up and close the cap.

Step 2. Pick 4 to 5 stems per bouquet. Trim the stems to about 2-3 inches in length and insert into the hole at the top of the water tubes.

Step 3. Download our free calligraphy printable and print onto text weight letter size paper. I tore the edges of the paper after they were printed.

Step 4. Wrap your flowers and water tube in the paper, trim or tear off excess and finish off with matching ribbon. Fill a tray or basket with your mini bouquets for guests to grab as they leave!

DIY Mini Flower Bouquet with Printable Paper Wrap / Lauren Saylor of A Fabulous Fete for Oh So Beautiful Paper

DIY Mini Flower Bouquet with Printable Paper Wrap / Lauren Saylor of A Fabulous Fete for Oh So Beautiful Paper

DIY Mini Flower Bouquet with Printable Paper Wrap / Lauren Saylor of A Fabulous Fete for Oh So Beautiful Paper

DIY Mini Flower Bouquet with Printable Paper Wrap / Lauren Saylor of A Fabulous Fete for Oh So Beautiful Paper

Download the 8.5″ x 11″ ‘for you’ paper right here

Photo and Calligraphy Credits: Lauren Saylor of A Fabulous Fete

All artwork © 2016 A Fabulous Fete created exclusively for Oh So Beautiful Paper. All artwork is made available for personal use only. By downloading the patterns you agree to the terms of use.

How to Send Beautiful Mail

I’m all about sending beautiful mail. And this goes beyond the adorable card on the inside (which, ahem, I’m assuming you already found the perfect card right here on OSBP) to include the actual envelope as a way of brightening someone’s mailbox. With the holiday season – and holiday cards – right around the corner, I thought we could all use a few tips on how to send beautiful mail, from colorful envelopes and envelope liners to quirky off-center address alignments! Let’s all step up our envelope game this year!

How to Send Beautiful Mail / Oh So Beautiful Paper for eBay

Sugar Paper / Love You

Card by Sugar Paper

1. Colorful Envelopes

I’m going to assume that you already have a super cute card picked out – or that you made your own. But if you can, ditch the white envelope in favor of a bright colorful envelope. It becomes a literal bright spot in an otherwise dreary mailbox.

Rose Gold Foil Envelope Liner by Bella Figura / Photo Credit: Nole Garey for Oh So Beautiful Paper

Rose Gold Foil Envelope Liners by Bella Figura from Alice’s Birth Announcements


2. Envelope Liners

Envelope liners are a great way to signal that the contents of that envelope are particularly special. I like to use envelope liners for milestone stationery like birth announcements and wedding invitations – as well as our annual holiday cards. Vintage wallpaper and gift wrap sheets make fantastic DIY envelope liners!

Creative Envelope Address Ideas by Antiquaria for Oh So Beautiful Paper

Photo Credit: Antiquaria Design for Oh So Beautiful Paper

3. Creative Addresses

Now that you have the inside of the envelope sorted out it’s time to think about the outside of the envelope! It can be fun to think creatively when writing out the address – from asymmetrical alignments to incorporating brush pens (or even actual brushes!).

Brush Lettered Envelope Address by Anne Robin Calligraphy

Calligraphy by Anne Robin Calligraphy / Vintage Stamps by Underwood Letterpress / Photo Credit: Stephanie Collins Photography

This envelope features brush watercolor lettering for the name combined with a fine tip pen for the street address. Brush lettering requires a bit of practice to get a hang of the technique but isn’t as hard as you might think!

Hand Lettered Envelope Address Ideas by Ladyfingers Letterpress

Hand Lettered Envelope Address Ideas by Ladyfingers Letterpress

This envelope was addressed with paint pens – a wonderful way to add even more color to an envelope! A white paint pen is also the best way to address in white ink on a dark colored envelope.

DIY Colorful Rubber Stamped Envelopes by Oh So Beautiful Paper

DIY Colorful Rubber Stamped Envelopes

4. Adorn the Envelope

Add a bit of decoration to your addressed envelope! Playful polka dots. Bold lines. Even an illustration or two! Rubber stamps (and pencil erasers in a pinch) work well for adding a colorful pattern to any envelope.

Dip Dyed Envelopes by Oh So Beautiful Paper

Dip dyed envelopes by Oh So Beautiful Paper with gold address calligraphy by Meant to Be Calligraphy

If you are working with white envelopes, dip dyeing is a quick and easy way to add a pop of color to your envelopes! You can use anything from food coloring and Kool-Aid to Rit Dye, so the colors are completely customizable!

Calligraphy by Letter Love Studio / Photo Credit: Sarah Carpenter Photography

Calligraphy by Letter Love Studio / Photo Credit: Sarah Carpenter Photography

5. Pretty Stamps

The final step! Pretty postage stamps are a surefire way to elevate any envelope into a work of art. Vintage postage stamps are readily available in large quantities and look amazing when grouped together – but you can also find some really beautiful stamps from USPS these days.

Now stick your beautiful card in the mail and make someone’s day instantly brighter! Isn’t sending (and receiving) mail the absolute best?!?

This post was created in partnership with eBay. All content and opinions are my own. Thank you for supporting the sponsors that make Oh So Beautiful Paper possible!

Happy Weekend!

Wait, what day is it?? My poor brain is so confused by this short week. We spent the long Labor Day weekend in upstate New York visiting family, which I think made the transition back to regular life even more difficult. And I’m not sure if it’s preschool or time with the cousins, but both of my girls are sick this week! Ugh. I’m ready for the weekend (Sophie turns 3 on Sunday!!) and to put this week behind me. But in the meantime…

Lucy Halcomb (@lucy_mail) via Instagram / Oh So Beautiful Paper

Photo by Lucy Halcomb via Instagram

…a few links for your weekend!

This week on Oh So Beautiful Paper:

That’s it for me this week! Check back later for this week’s cocktail recipe – I hope you all have a wonderful weekend, and I’ll see you back here on Monday! xoxo