Wood Veneer and Watercolor Floral Wedding Invitations

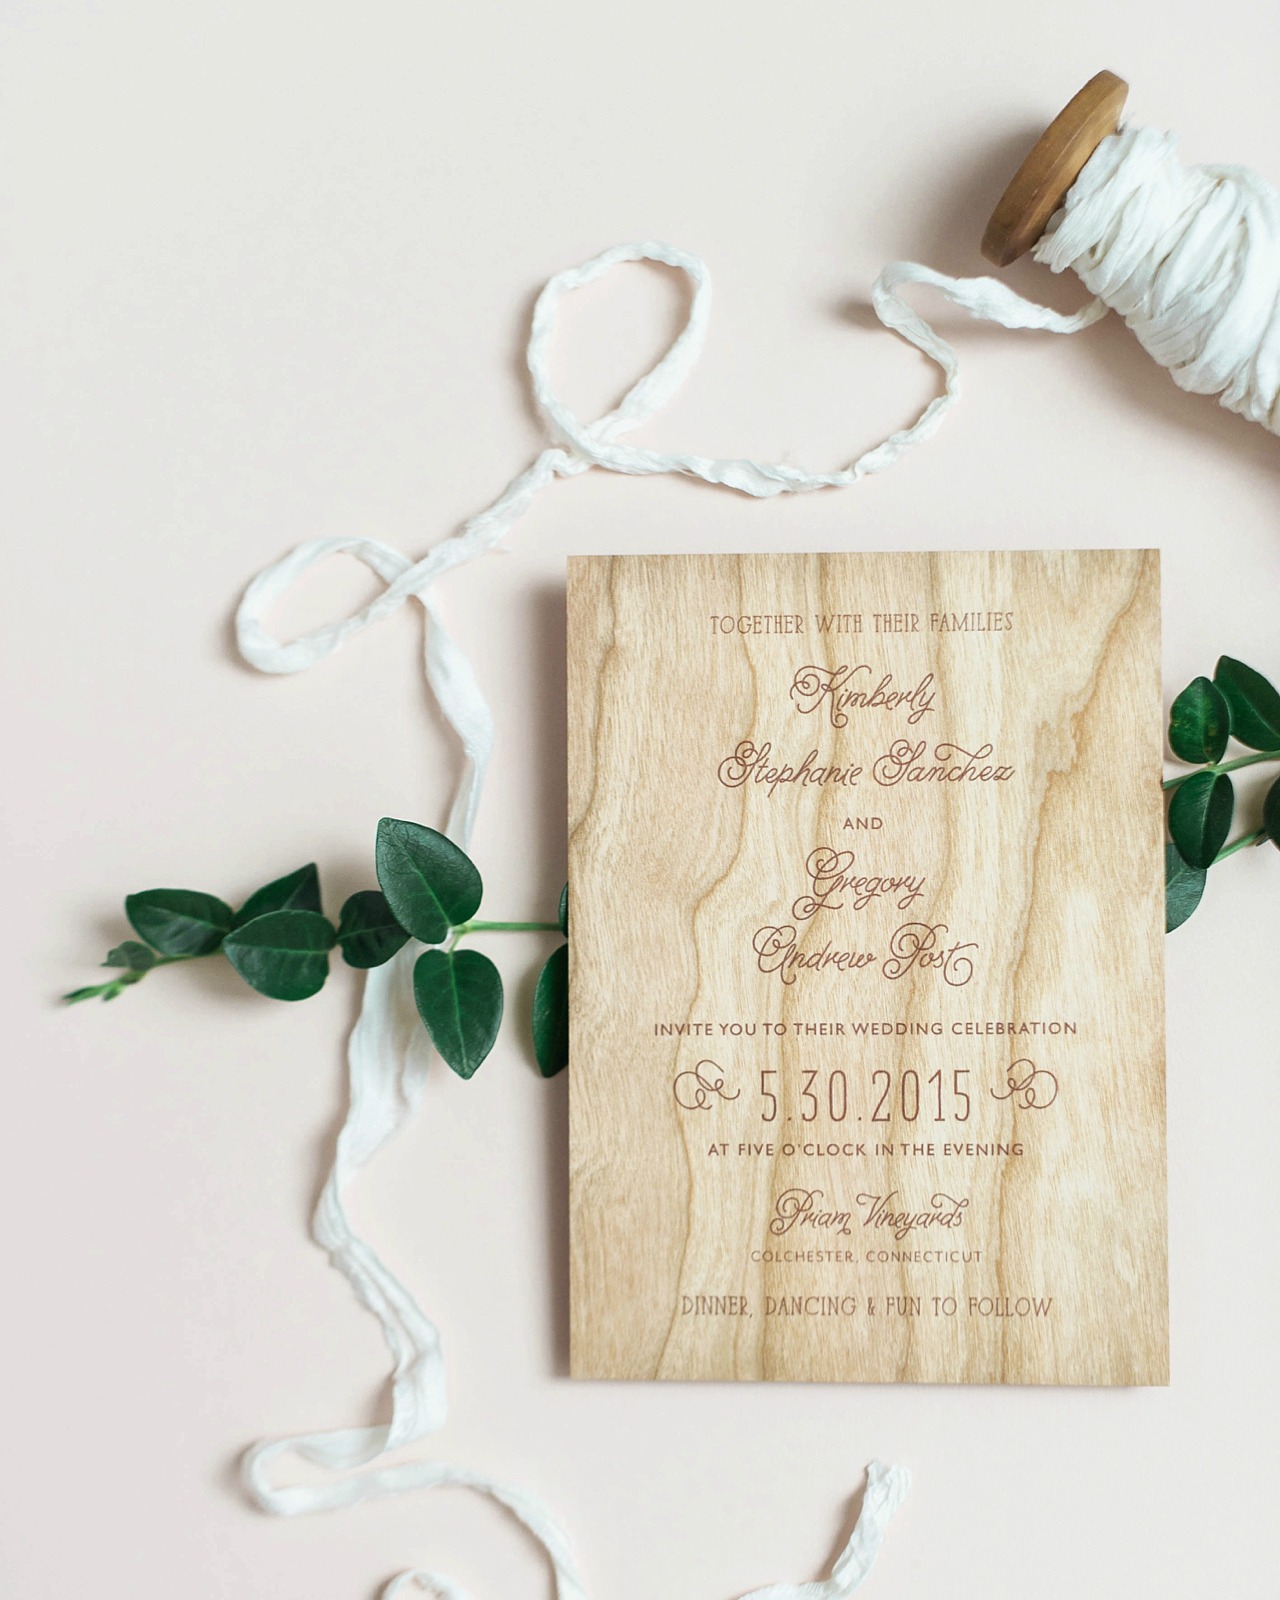
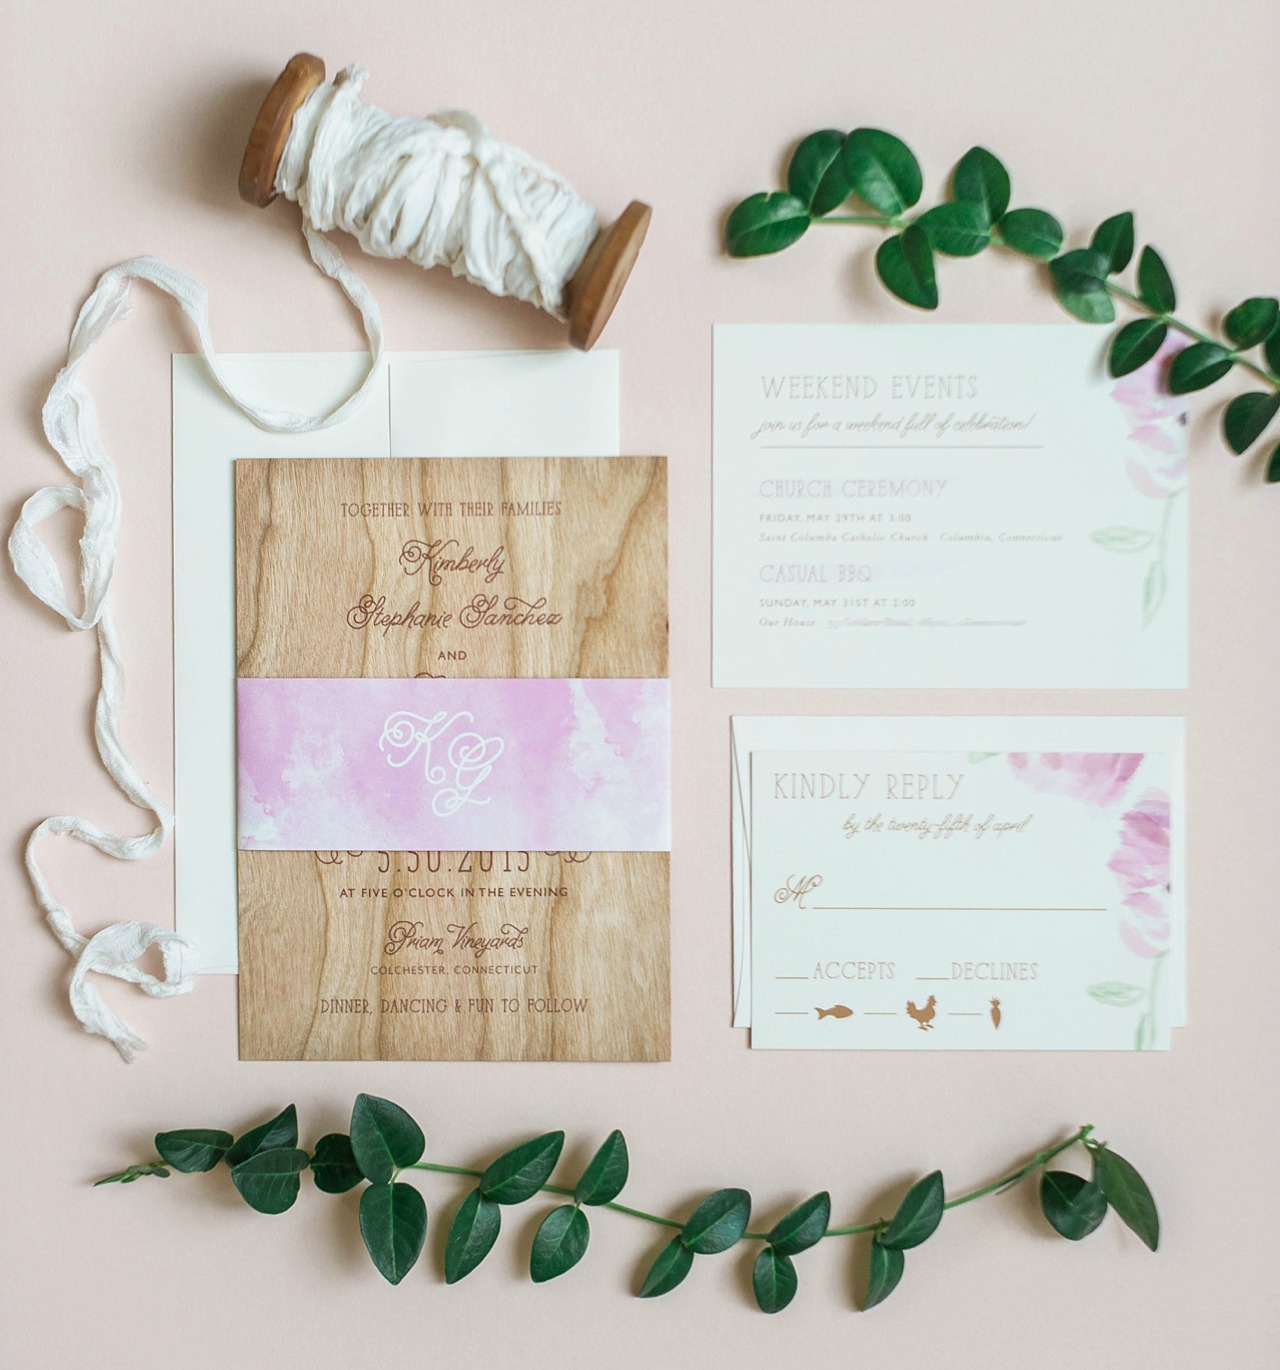
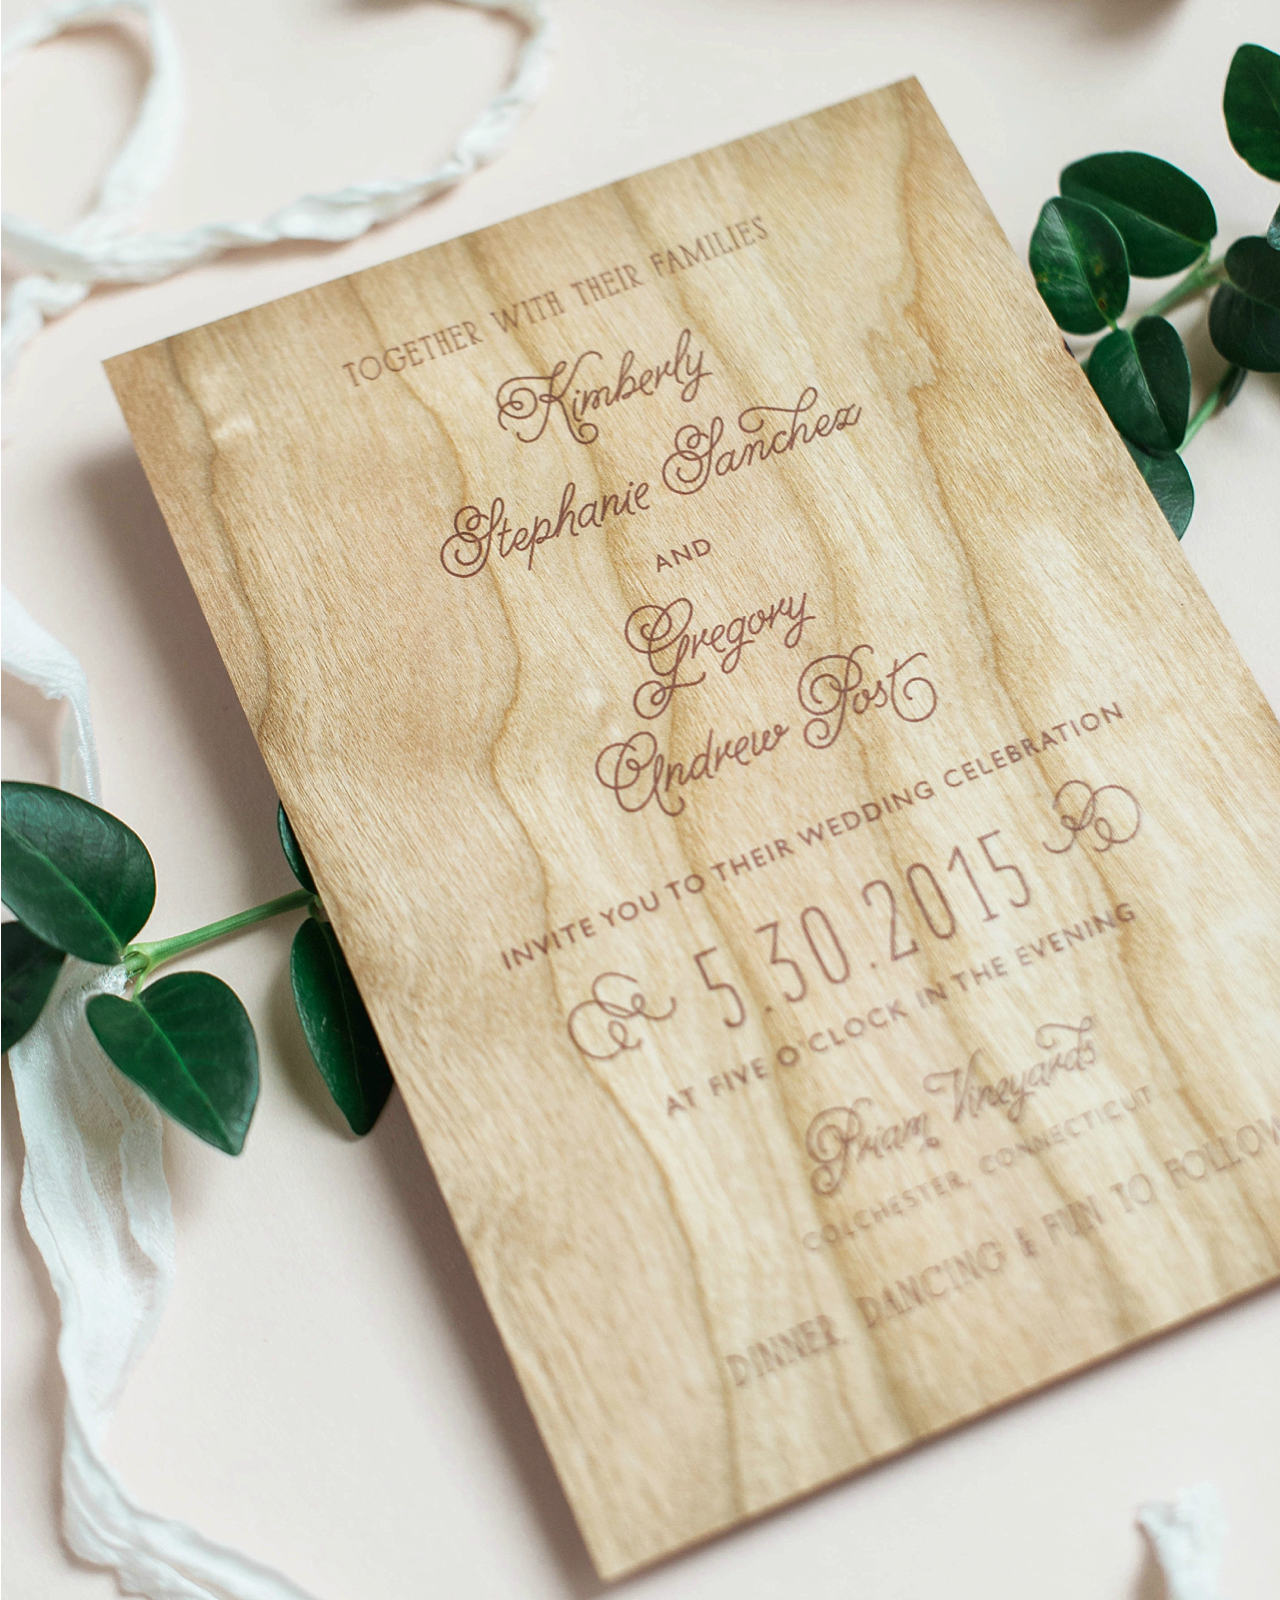
Wood veneer invitations are a fantastic choice for rustic weddings, but they can also be soft and bohemian when paired with soft watercolor floral elements! Sandy of Roseville Designs created these rustic-yet-bohemian wood veneer and watercolor floral wedding invitations, inspired by the eco-friendly Connecticut vineyard where the wedding took place. The clean and simple design allows the wood veneer to take central stage in such an elegant way!
Wood Veneer and Watercolor Floral Wedding Invitations by Roseville Designs

From Sandy: I am so excited to share Kim and Greg’s rustic and bohemian wood wedding invitation suite! They wanted their wedding invitations to reflect the rustic look of their Connecticut vineyard wedding, while still maintaining some soft floral elements. I immediately fell in love with their vision for the big day! Priam Vineyards, their wedding venue, is a sustainable and wind-powered winery, and they really wanted to honor its eco-friendly vibe. We loved the idea of printing the invitations on wood veneer sheets, which creates a unique and tactile experience for guests upon opening the envelope.
Wood Veneer and Watercolor Floral Wedding Invitations by Roseville Designs

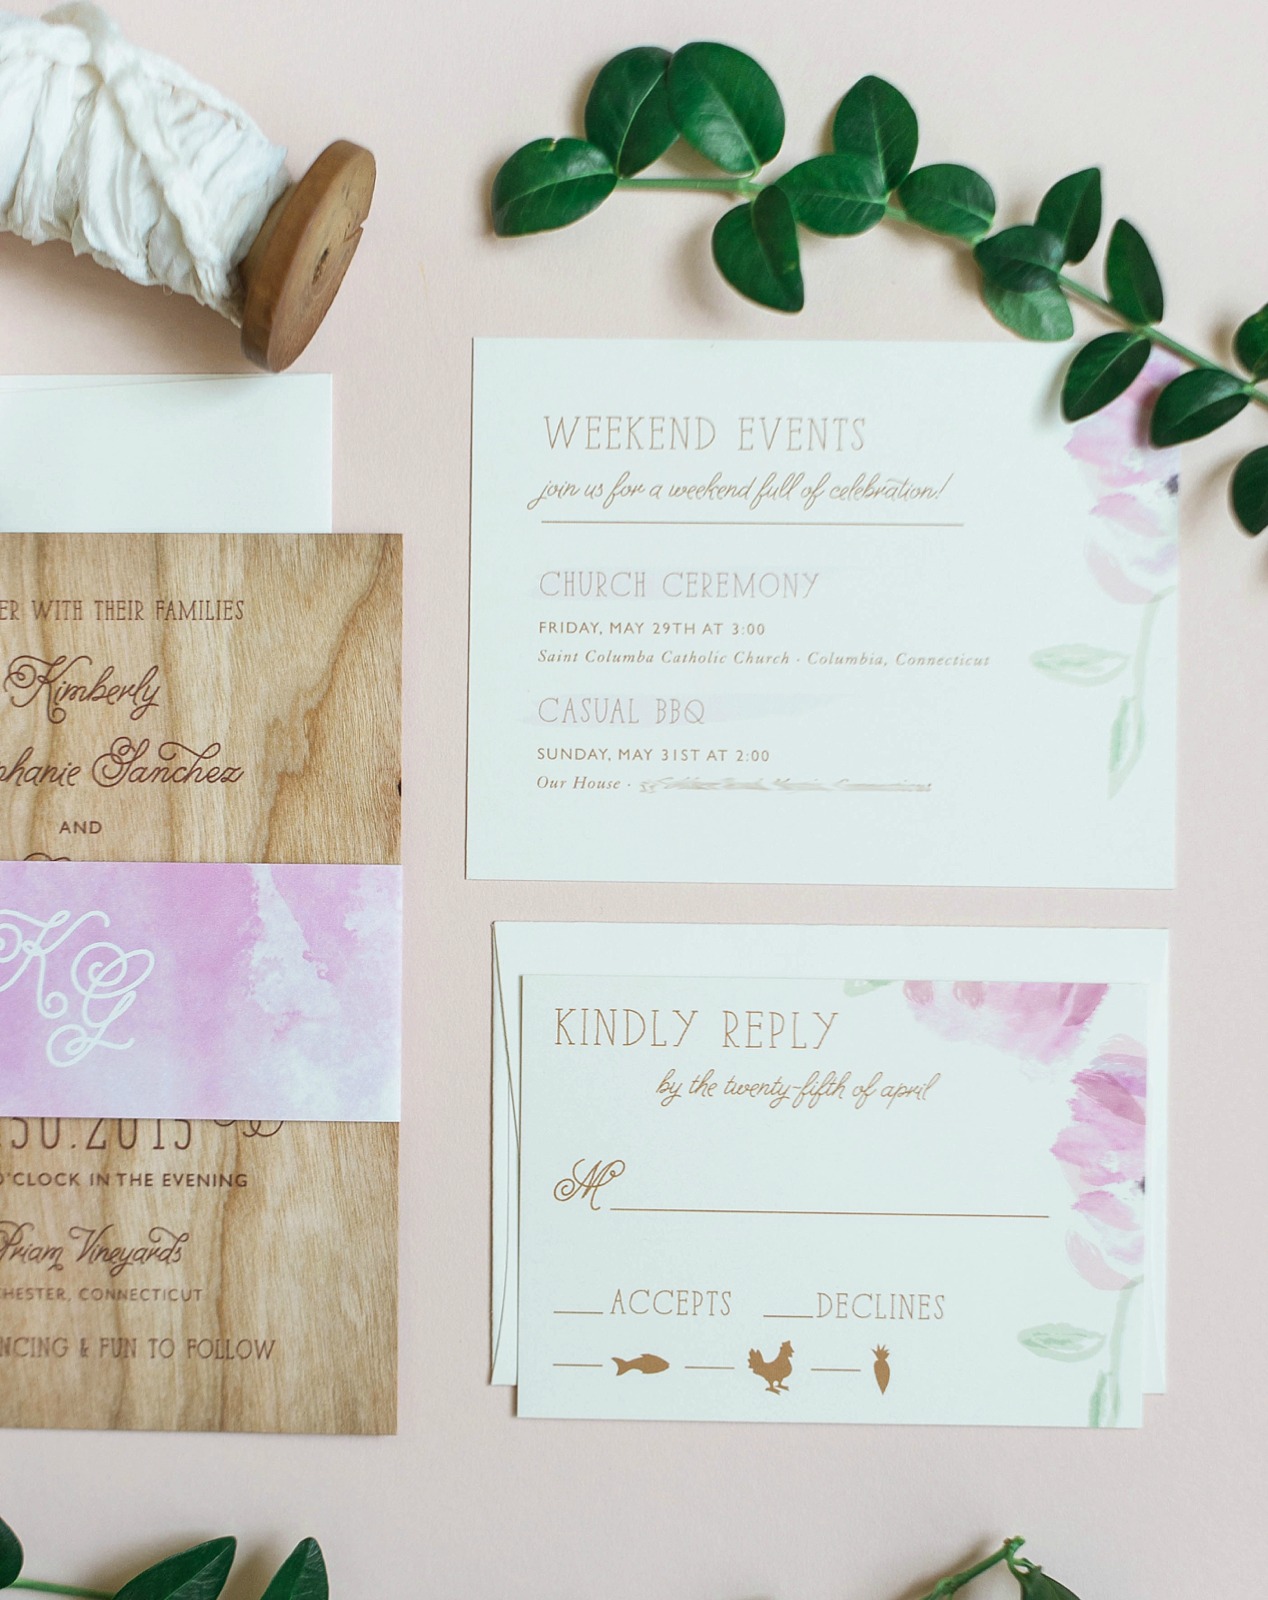
We kept the invitation card clean, simple, and type-driven so the texture of the actual wood card would be the main focus. To balance out the wood and incorporate that bohemian feel, I created purple watercolor flowers that we used on the RSVP card and info card, which included details about all the weekend festivities.
Wood Veneer and Watercolor Floral Wedding Invitations by Roseville Designs

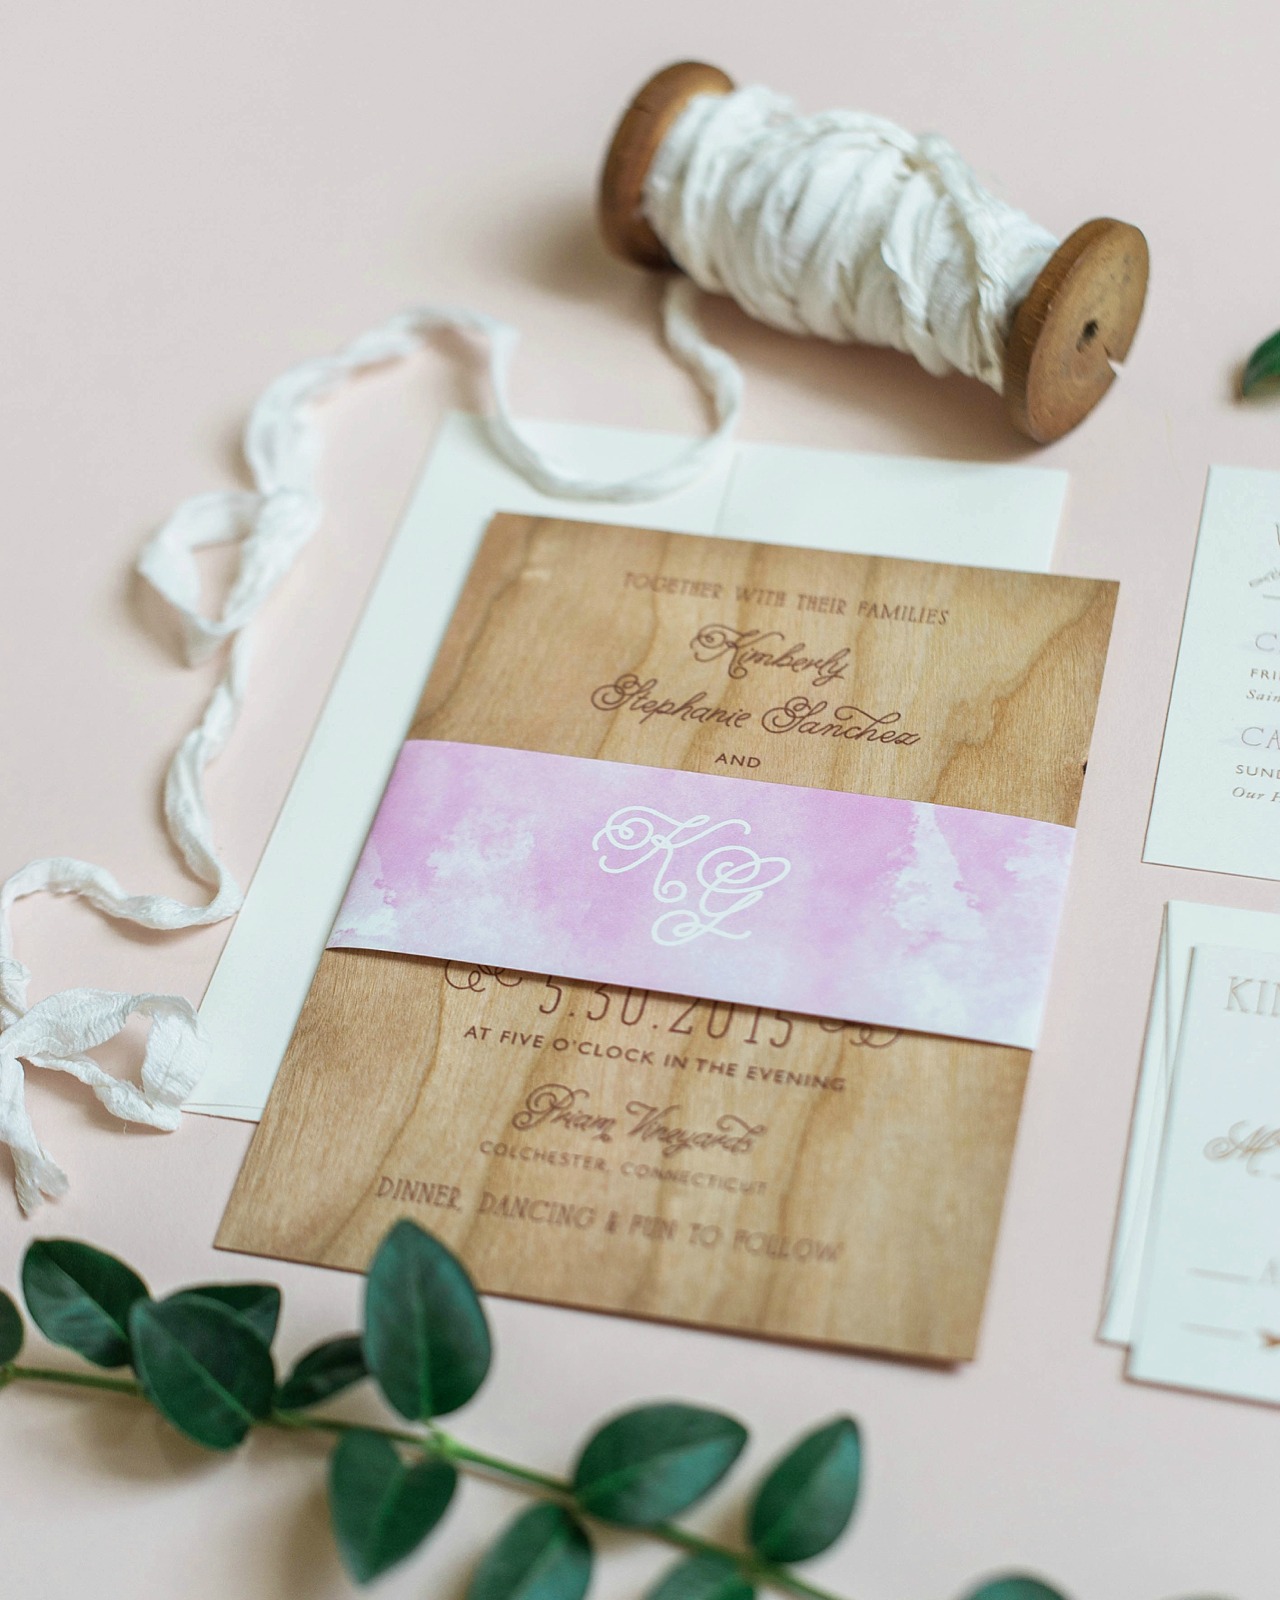
I also used the purple watercolor brush strokes from the flowers to create a background on a paper belly band, which wrapped about the entire suite. The soft purple made a real statement on top of the wood veneer! The belly band featured a custom wedding monogram that we used throughout their wedding paper story, including their programs, favors, and menus.
Wood Veneer and Watercolor Floral Wedding Invitations by Roseville Designs

The rest of the invitation suite was digitally printed, with the insert cards on cream paper stock to complement the darker wood tones of the invitation card. Kim and Greg were a fantastic couple because they gave me such a clear sense of their vision, but trusted me to run with it and create something unique, approachable, and reflective of them as a couple.
Wood Veneer and Watercolor Floral Wedding Invitations by Roseville Designs

Thanks Sandy!

Design: Roseville Designs

Check out the Designer Rolodex for more tal­ented wed­ding invi­ta­tion design­ers and the real invi­ta­tions gallery for more wedding invitation ideas!

Photo Credits: Brooke Allison Photography

The 2016 National Stationery Show, Part 8

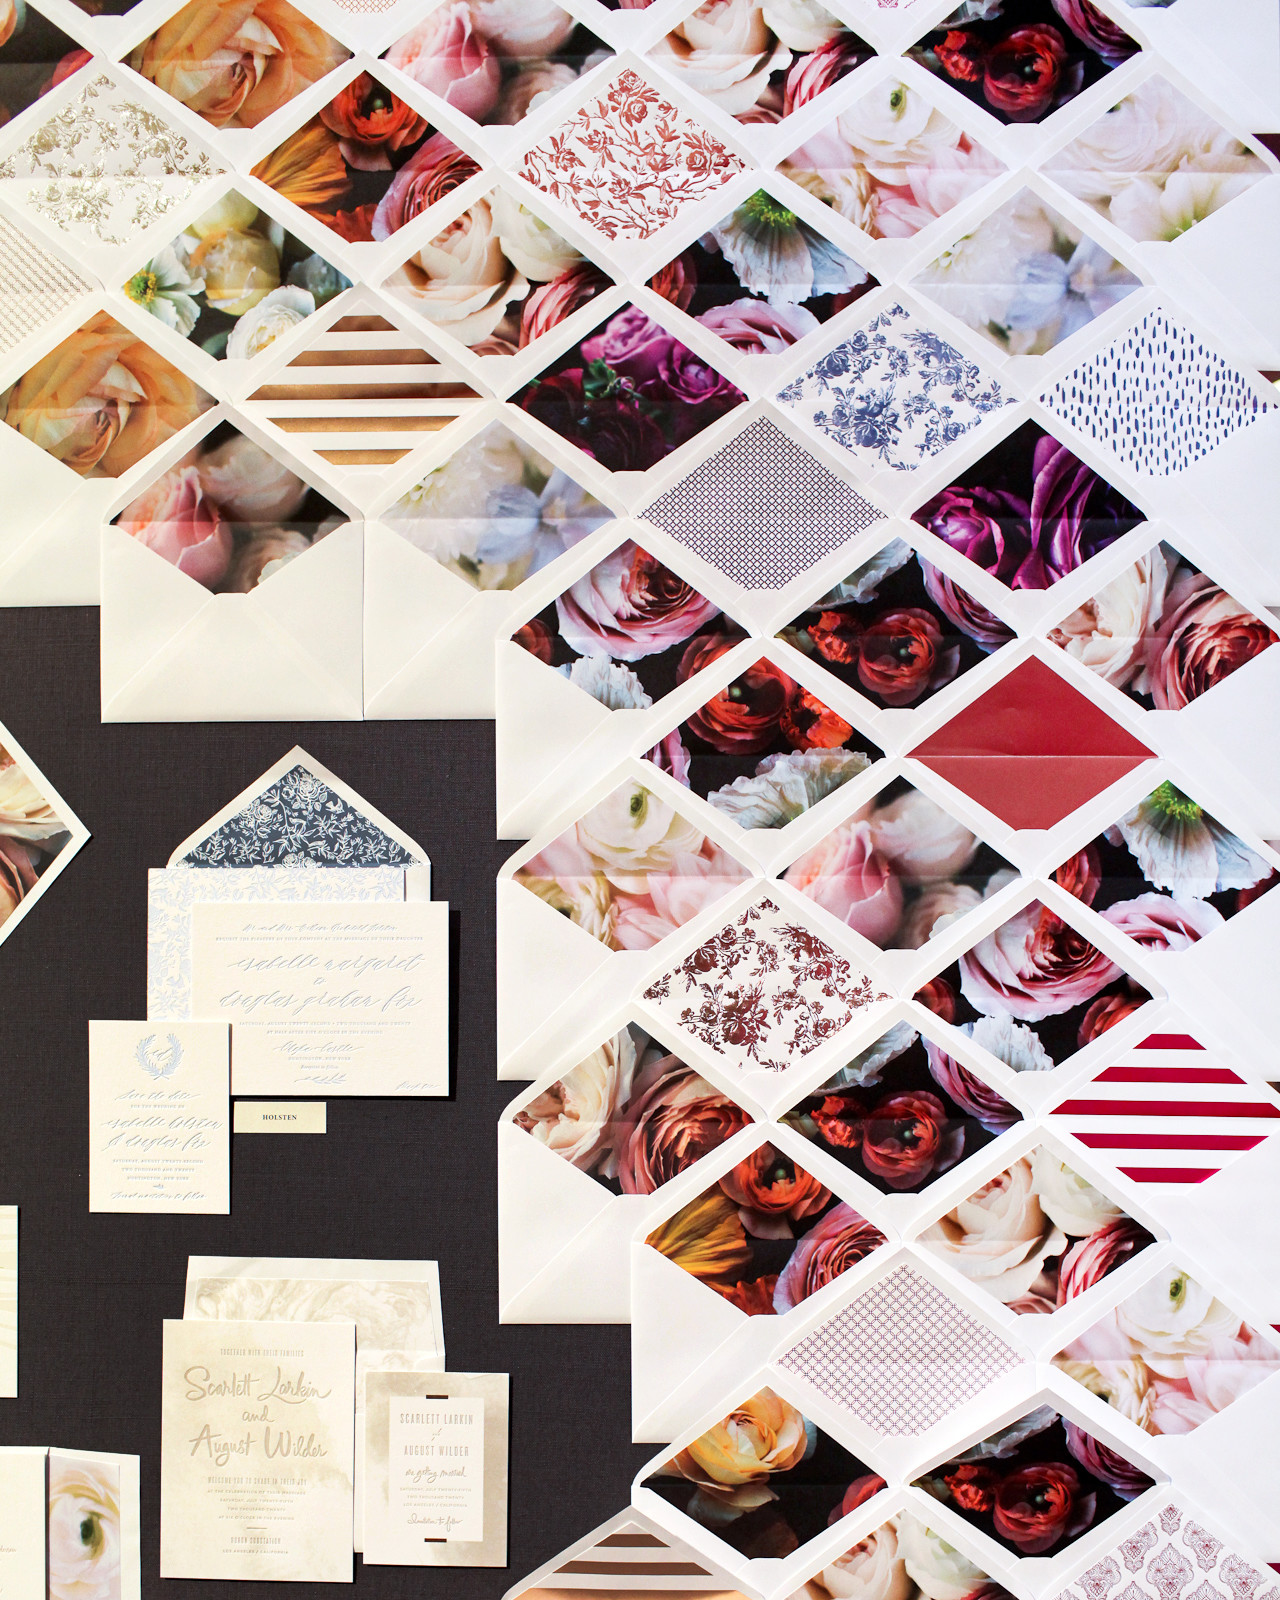
One of my first recaps from the 2016 National Stationery Show featured veteran booths that are always on my can’t-miss-list at the show. Today I’m sharing another NSS 2016 recap featuring even more of my favorite veteran exhibitors from this year’s show! These should all be VERY familiar names here at Oh So Beautiful Paper, from Snow & Graham to Hammerpress to Smudge Ink. You’ll see beautiful envelope liners and wedding invitations from Bella Figura, eco-friendly greeting cards, art prints, keepsake boxes, and notebooks from Smock, the most beautiful cotton ribbons from Studio Carta, city postcards from Albertine Press, and social preparedness kits from Egg Press. Let’s dive right in!

NSS 2016: Smock and Bella Figura / Oh So Beautiful Paper

How stunning is this wall  featuring Bella Figura‘s new collection of flower photograph envelope liners?? And those copper foil envelope liners? Gorgeous!

NSS 2016: Smock and Bella Figura / Oh So Beautiful Paper

Continue reading

DIY Painterly Pink and Gold Easter Eggs

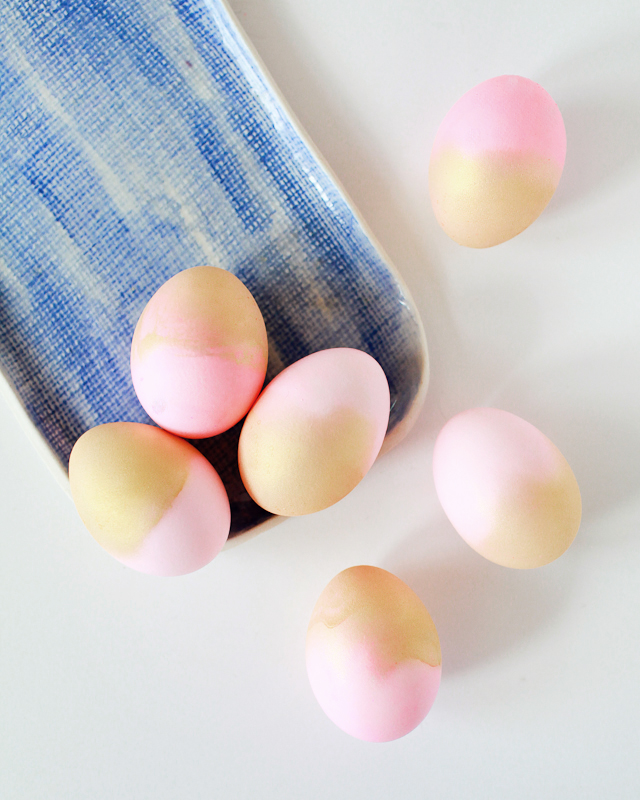
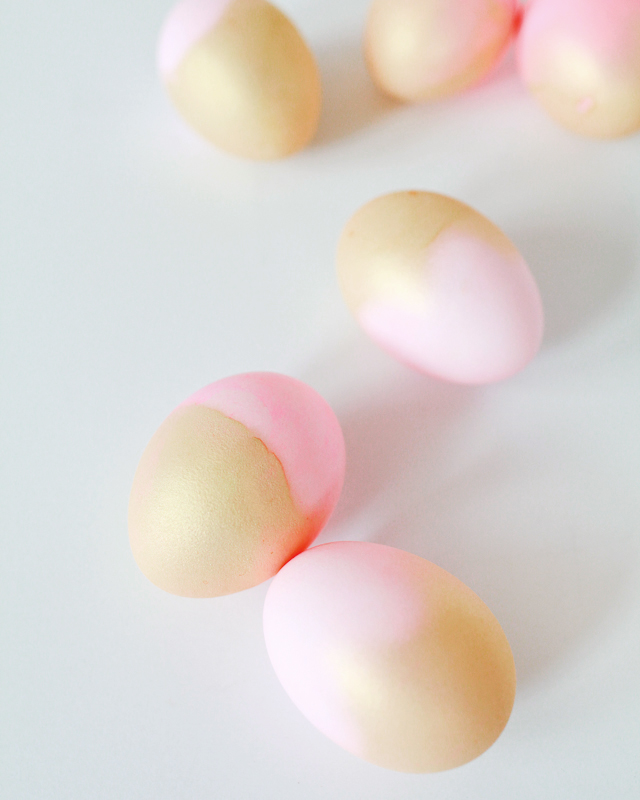
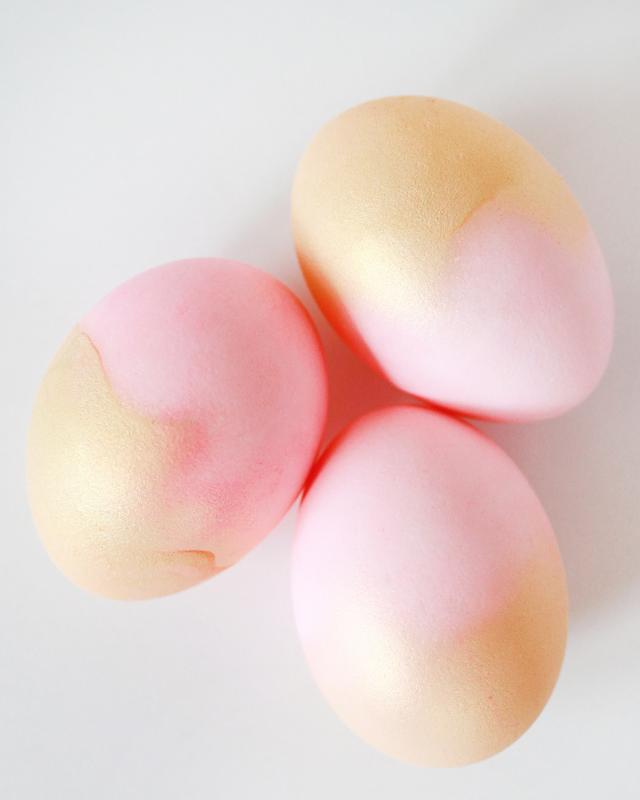
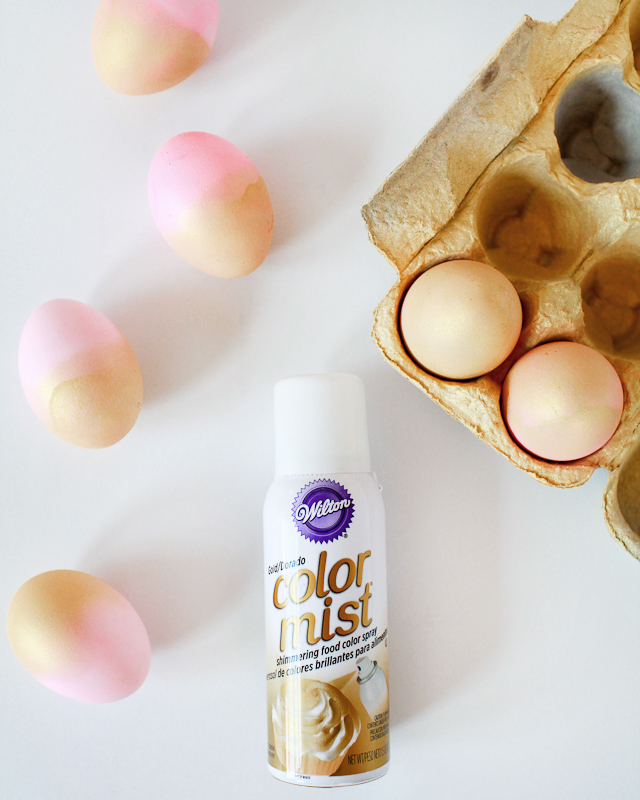
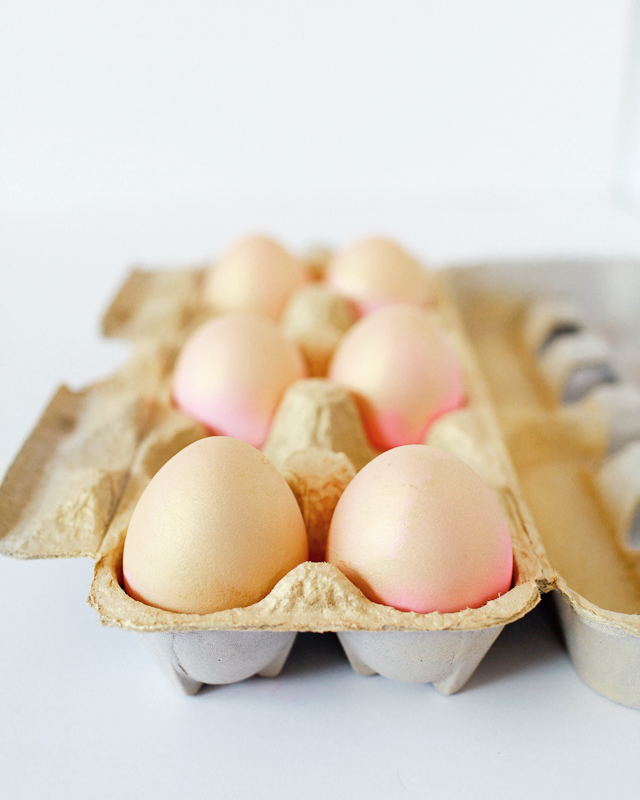
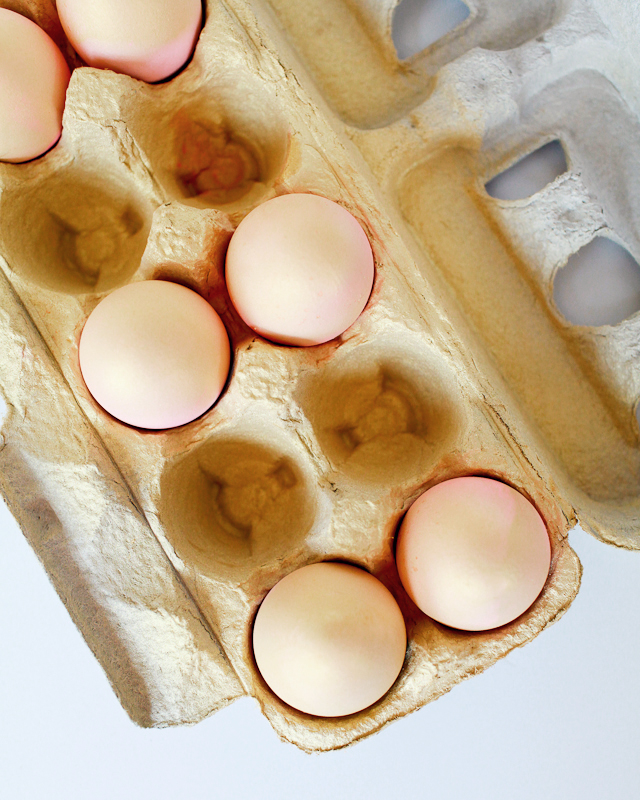
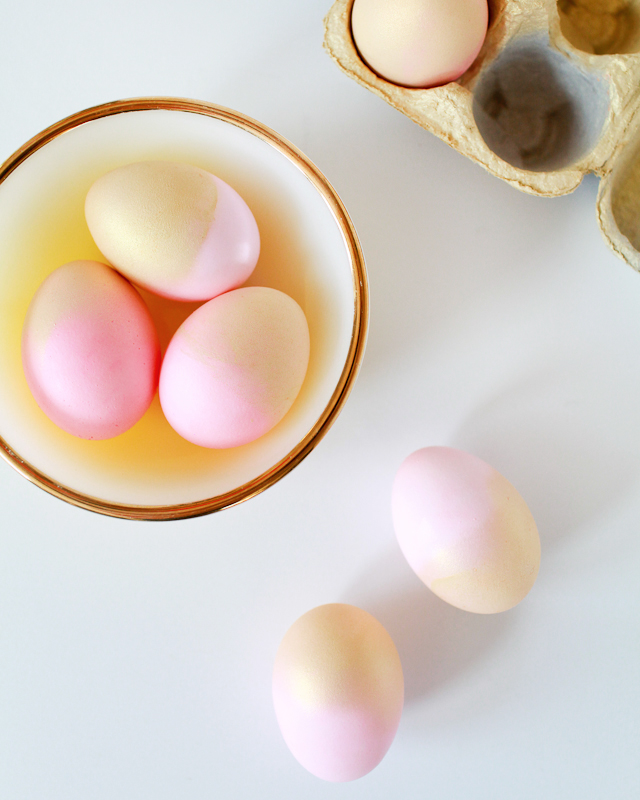
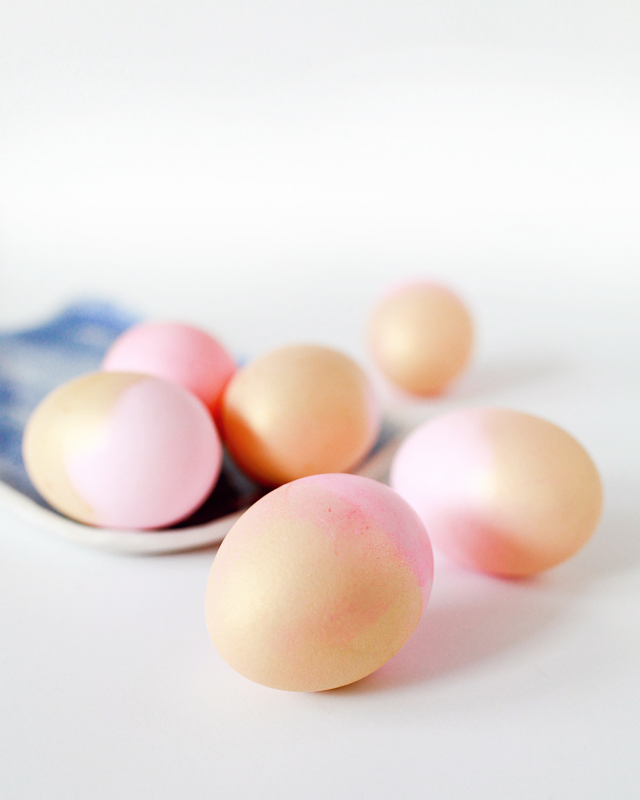
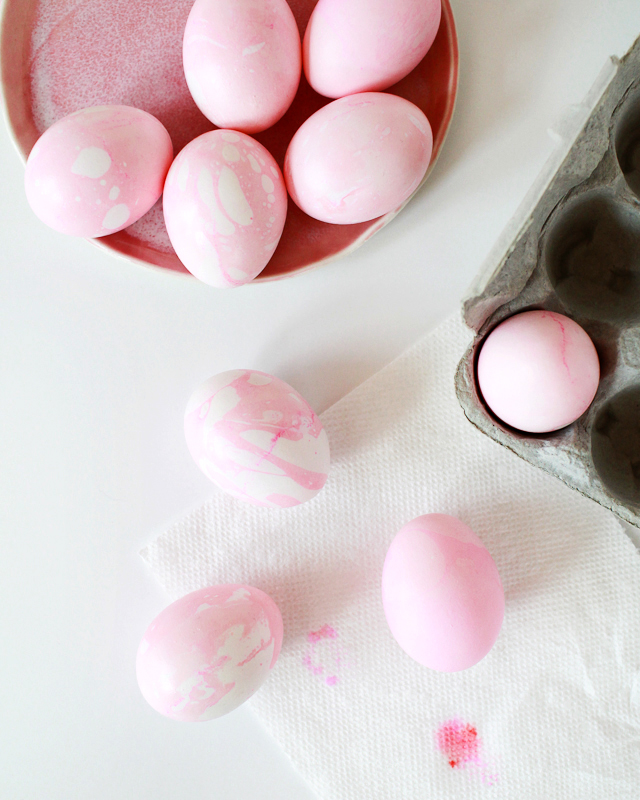
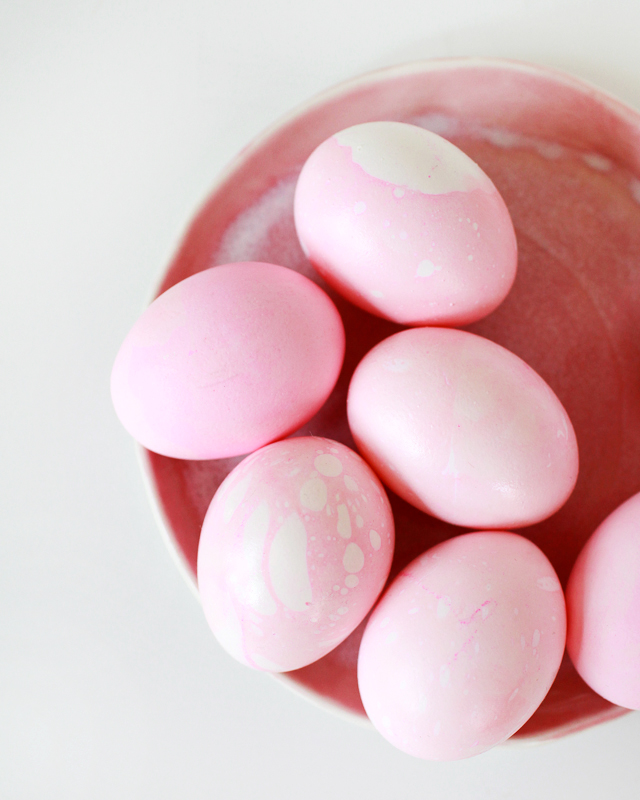
Last week, I shared this tutorial for toddler-friendly marbled Easter eggs using food coloring and vegetable oil! Well, since I was already dyeing some eggs, I thought I’d experiment with some spray food coloring that I happened to have on hand. The eggs turned out with a soft painterly vibe that I really love, so I thought I’d share the results with you!

DIY Painterly Pink and Gold Easter Eggs / Oh So Beautiful Paper

DIY Painterly Pink and Gold Easter Eggs / Oh So Beautiful Paper

I used Wilton Color Mist Spray, which you can find on Amazon or in person at pretty much any party or craft store in the cake decorating section. It comes in a whole range of colors, but I kept things simple by using the gold color mist with pale pink eggs. I love the soft edges of the gold food color spray, and it leaves a really beautiful and subtle shimmer on the eggs!

DIY Painterly Pink and Gold Easter Eggs / Oh So Beautiful Paper

Supplies

Wilton Gold Color Mist

Hardboiled Eggs

Egg Carton

Liquid Food Coloring (or other dye of your choice)

Small Bowl

Vinegar

Spoon

Paper Towels

DIY Painterly Pink and Gold Easter Eggs / Oh So Beautiful Paper

To make the eggs:

Step 1. First, dye the eggs in your chosen base color. Fill a small bowl with warm water, then add one tablespoon of vinegar, followed by several drops of liquid food coloring (or any other dye method) in your chosen color.

Step 2. Using a spoon, submerge a hardboiled egg in the dye bath for approximately 1 minute. Remove the egg from the dye bath and return to the egg carton to dry completely.

Step 3. Once your dyed eggs are fully dry, you can apply the food color spray. Place paper towels under the egg carton to protect your surface, then place eggs in every other row so that you have plenty of room to apply the spray. Hold the spray can 4-5 inches away from the egg and spray a thin layer of food coloring on the visible half of the egg, being sure to cover the entire surface of the egg. Allow the food color spray to dry completely, then apply additional layers if necessary.

DIY Painterly Pink and Gold Easter Eggs / Oh So Beautiful Paper

DIY Painterly Pink and Gold Easter Eggs / Oh So Beautiful Paper

DIY Painterly Pink and Gold Easter Eggs / Oh So Beautiful Paper

DIY Painterly Pink and Gold Easter Eggs / Oh So Beautiful Paper

DIY Painterly Pink and Gold Easter Eggs / Oh So Beautiful Paper

These spray painted eggs were so much fun to make! And Sophie absolutely LOVED them. Pretty pastels and some metallic shimmer – what could be better for Easter??

DIY Marbled Easter Eggs Using Food Coloring

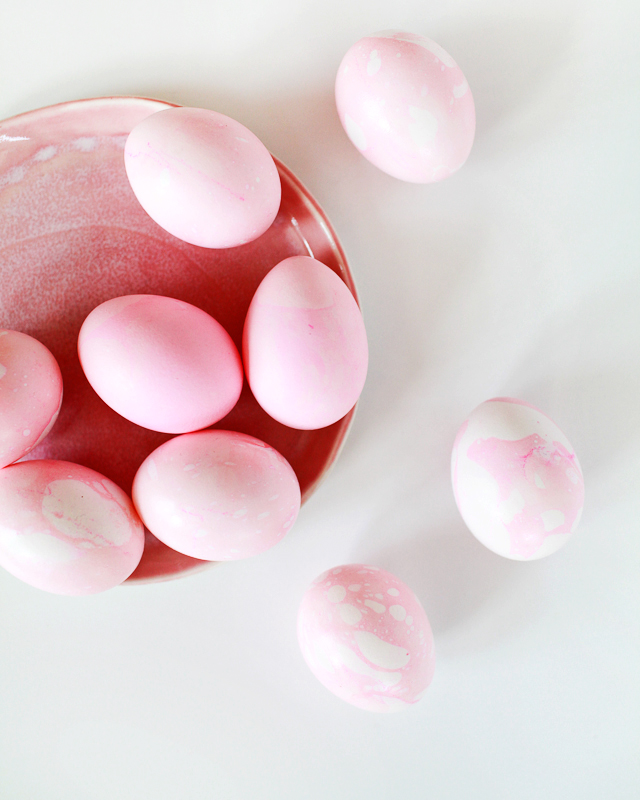
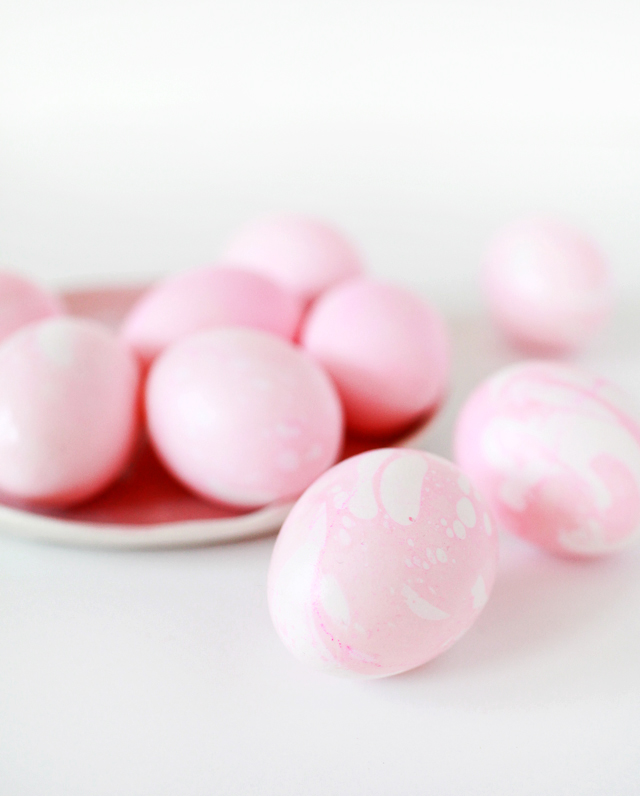
Last year was the first year that Sophie, my (now) three and a half year-old, really got into the whole Easter experience. We spent the holiday weekend with family, and she absolutely LOVED dyeing Easter eggs and the subsequent backyard hunt with her cousins. So naturally I’ve been thinking of fun ways to decorate our Easter eggs this year, and I’m excited to share some with you! First up, marbled Easter eggs using food coloring! I’ve seen some gorgeous marbled Easter eggs that use nail polish (these are my favorite), but nail polish marbling can be very messy and isn’t food safe. But it turns out that you can create beautiful marbled eggs using just plain old liquid food coloring and a bit of vegetable oil. Super easy and totally toddler friendly!

DIY Marbled Easter Eggs Using Food Coloring / Oh So Beautiful Paper

I really had one goal in mind when it came to these eggs: a marbled pattern in my favorite shade of pale pink. It also happens to be Sophie’s favorite color (win win!), but I also think it’s the perfect shade for early spring. Since we’re using regular old liquid food coloring, you can easily adjust the color and shade to your preferences. Start with less food coloring for a lighter shade, or just add more food coloring to achieve a deeper shade of your chosen color.

DIY Marbled Easter Eggs Using Food Coloring / Oh So Beautiful Paper

DIY Marbled Easter Eggs Using Food Coloring / Oh So Beautiful Paper

Supplies

Hardboiled Eggs

Liquid Food Coloring

Small Bowl

Vinegar

Vegetable Oil

Spoon

Paper Towels

Disposable Gloves (optional)


DIY Marbled Easter Eggs Using Food Coloring / Oh So Beautiful Paper

To make the eggs:

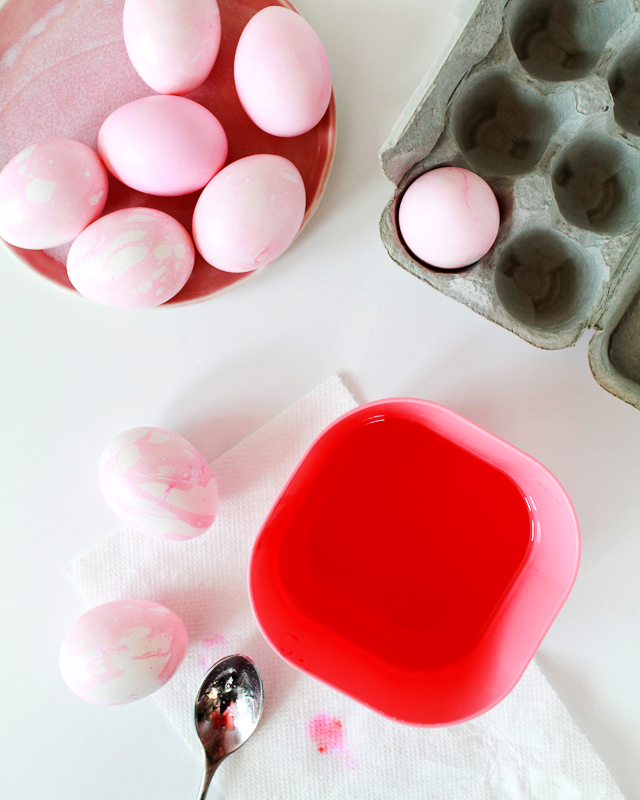
Step 1. Fill a small bowl with hot water (you’ll want enough water to fully cover a submerged egg). Add one tablespoon of vinegar, followed by several drops of liquid food coloring in your chosen color. I added about ten drops of red food coloring to achieve this pale pink color.

Tip: You can test the dye color with a paper towel before submerging your eggs, but keep in mind that a paper towel will absorb the dye much faster than an egg, so you’ll want the paper towel to show a dye color several shades darker than your intended egg color.

Step 2. Add a dash of vegetable oil (or any other oil you might have in the house) to your dye bath, and swirl around with a spoon. The marbling pattern on your egg will be determined by the size of the little oil bubbles floating around the dye bath, so for a more marbled look be sure to give that oil several stirs!

Step 3. Wearing gloves or using a spoon, submerge an egg in the dye bath, rotating it fully to make sure that the entire surface makes contact with the oil bubbles on the surface of the dye bath. Remove from the dye bath immediately and pat dry with a paper towel.

DIY Marbled Easter Eggs Using Food Coloring / Oh So Beautiful Paper

So easy!

If you like, you can achieve a more subtle tone-on-tone marbled pattern by dyeing your eggs a lighter shade of the same color in a separate dye bath before dipping them in the marbled dye bath, which I did to a couple of my eggs. But I honestly love the look of the marbled dye on white eggs, and it takes all of 30 seconds per egg!

DIY Marbled Easter Eggs Using Food Coloring / Oh So Beautiful Paper

So pretty, right? I’m so excited to make these quick and easy marbled eggs with Sophie (and her cousins) this year! I may even add a few more pastel shades to the final mix. I hope you’ll try making them, too!

How to Host a Backyard Fire Pit Party

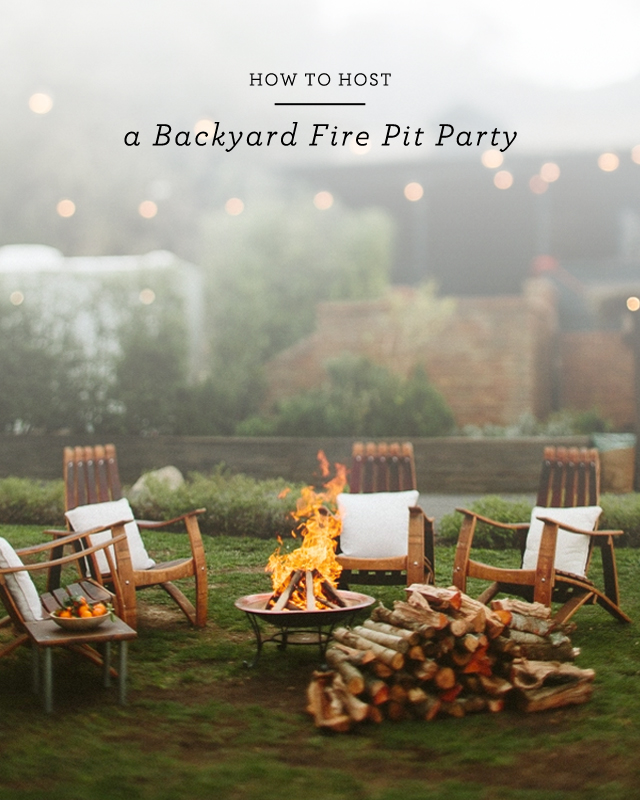
As if a bathroom renovation wasn’t enough, my husband and I are getting ready to do a bit of work in our backyard! When we first moved in almost three years ago, we were thrilled to have a little outdoor space where we could grow some plants and entertain friends. I’ve been working on the garden, but we’re planning to make our backyard a little bit more friendly for the entertaining part. And with these cold winter nights, I’ve got backyard fire pit parties on the brain! A warm fire, cozy blankets, and s’mores, all while sipping a mug of something hot and delicious? Winter is the perfect time of year to invite a few friends over and hang out in the backyard around a fire pit. Here are a few ideas for how to host a backyard fire pit party – on cold winter nights or any time of year!

How to Host a Backyard Fire Pit Party / Oh So Beautiful Paper

1. The Invitations
A backyard fire pit party is the perfect opportunity for a whimsical rustic invitation. And since it’s your backyard, it doesn’t need to be too serious. I love the idea of handwritten text on cotton paper with rustic branch and leaf illustrations. Add some leather cord and vintage tree postage stamps and you’re good to go!

2. The Fire Pit
So, obviously you can’t have a backyard fire pit party without the fire pit. But you have options! You can go with something more permanent – built of stone or installed in a backyard patio – or something a bit more mobile that can be moved around a yard or patio as needed.

3. Cozy Blankets
Whether it’s the middle of winter or the dog days of summer, the night air is bound to have some chill. Help your guests stay cozy with some wool camp blankets.

4. String Lights
Photo Credit: Stephen Michael Photography via Country Living
No need to go overboard with decorations. Some additional soft lighting around the backyard should be all you need. I’m a big fan of white string lights and globe patio lights for backyard get togethers.

5. Sage Bundles
Did you know that sage helps keep mosquitos away when thrown into a fire? Super handy for midsummer get togethers!

6. S’mores
Photo Credit: My Life At Playtime
I think anyone who sits next to a fire automatically gets the urge to roast marshmallows! Berry baskets come in quite handy for making s’mores kits for your guests.

7. The Drinks
Mugs and fire pit parties go hand in hand. Enamel mugs are perfect for everything from hot chocolate to a warm Mulled Winter Sangria!

p.s. For those of you as obsessed with pink and gold as I am, I put a collection together with some pink and gold glassware! A few champagne, water, and wine glasses to make the prettiest glassware cabinet EVER.

Also, How to Host a Modern Tiki Party, What to Grow in a Cocktail Garden, and a recipe for Mulled Winter Sangria.

Photo Credit: Allan Zepeda for Scribe Winery