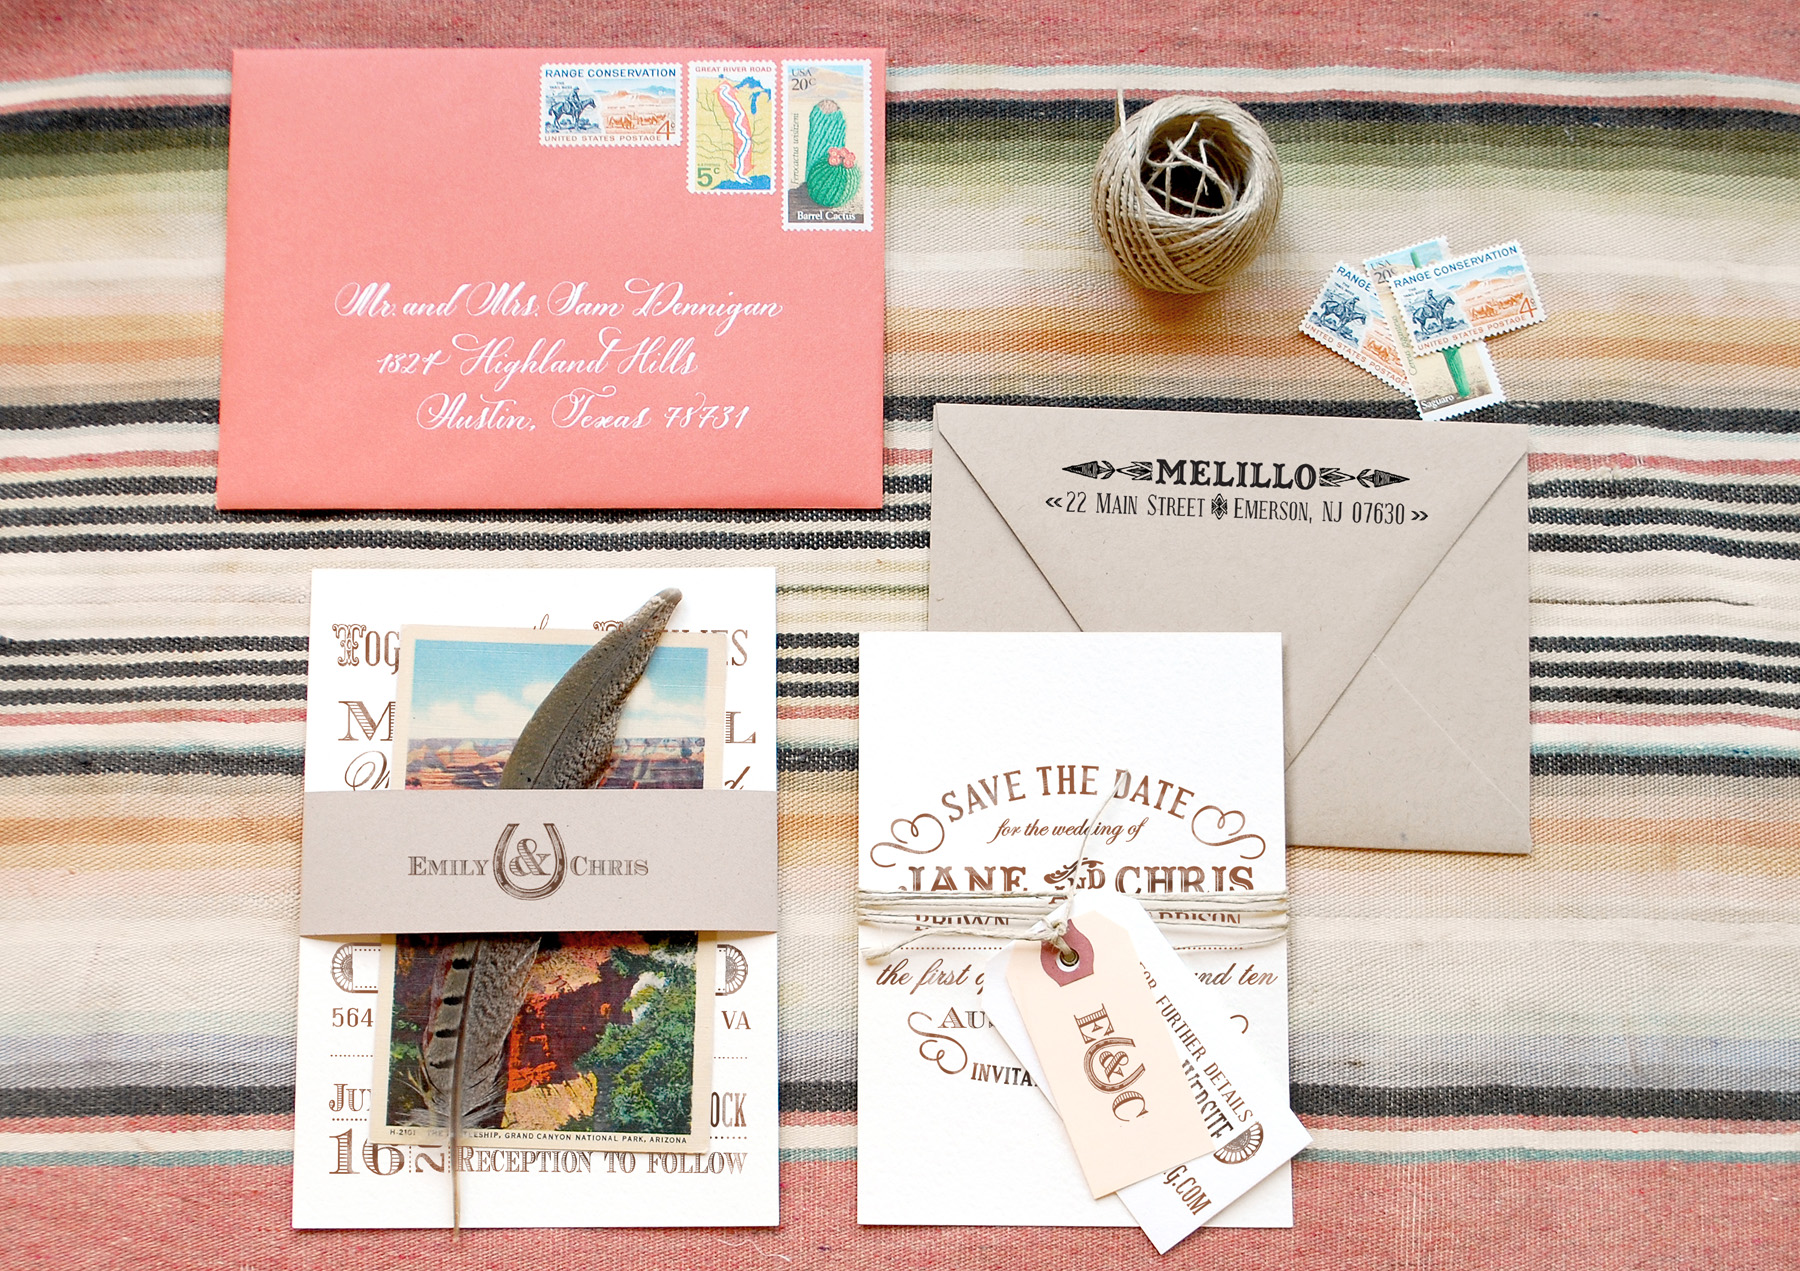
Every morning this week, I’m running a series of guests posts about different printing methods – so if you’ve ever wondered why certain printing methods are best for certain kinds of designs (or cost more than others), this is for you! You can read the previous installments covering digital printing, engraving, screen printing, letterpress printing with antique type, and foil stamping all right here. Today we’re talking about offset printing, with help from Katie of Kelp Designs and Nicole of Barrington Printing.
Offset printing is often confused with digital printing – both are four-color flat printing methods, but the process is quite different! While offset printing is incredibly common, the printing process and procedures are often not well known. Barrington Printing, a family-owned print shop in Cranston, Rhode Island, provides offset printing to a range of clients around the United States, including Katie of Kelp Designs in Los Angeles, California. Katie recently interviewed Nicole about the offset printing process.

What is Offset Printing?
Offset printing is one of the most common flat printing techniques, wherein ink is transferred from a plate to a rubber blanket, then back to the printing surface. Like most types of printing, offset printing is a mix of art and science. Although the process is very technical (the science part), the press operator also carries a lot of weight in achieving the desired outcome of the printed piece.

Offset printing (or lithography) is what you probably see most often in your day to day travels. It is often used for direct mail postcards, business cards, brochures, pocket folders, signage and, yes, greeting cards and stationery. Offset varies from other print methods in many ways including technology, process, cost, material options and turn around time.
The Printing Process
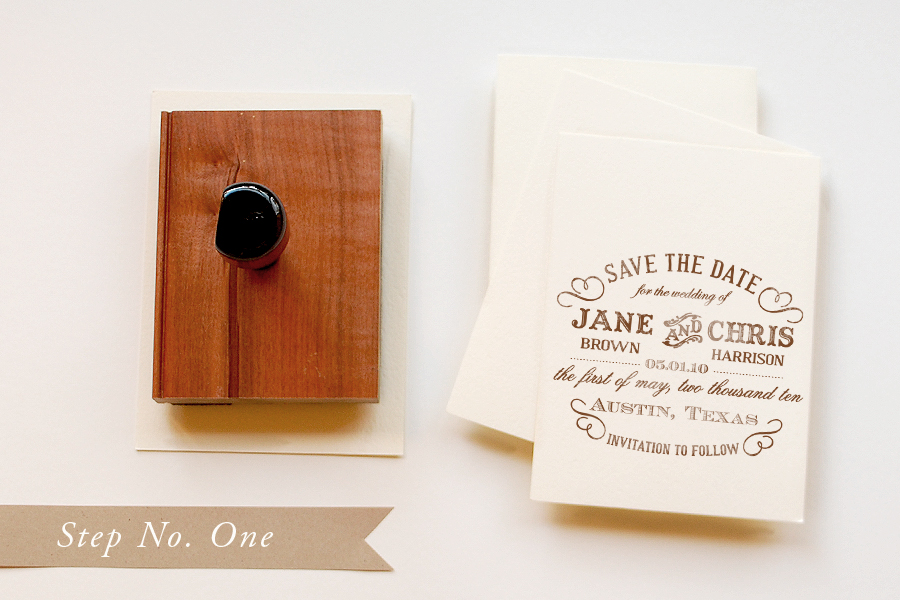
The most important part of the offset printing process is the very beginning. It is important to ensure that you have very well prepared files. One of the biggest mistakes we see is a simple one, files must be converted from RGB to CMYK in order to print offset. This conversion will change the look of your piece, sometimes marginally, sometimes dramatically. Many designers are unsure how to prepare their files for an offset print job and can end up running into unplanned prepress costs to correct them. My best advice is to call your local printer and ask to speak with the pre-press manager. These people are such valuable resources to an artist or designer and can help you avoid trouble spots through the rest of the print process. Often, much of this information can be found online on the printer’s website.

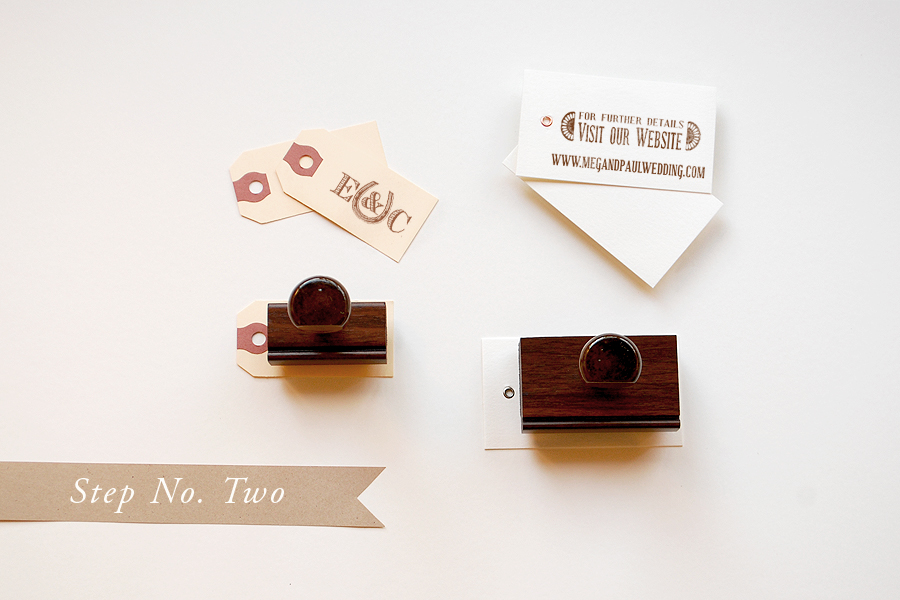
Once the files are in place a proof is prepared, which will give a very close representation of what the final printed piece will look like. It is never exact, as the process of making the proof is different from the offset print process. In addition, often times the proofing material is different from the stock that will be used on press which can vary the color slightly. Once the proof is approved, the job moves onto plating. Metal plates are made that get “hung” on press. There is one plate for each color used (Cyan, Magenta, Yellow and Black – aka CMYK – to make four color process, or any Pantone Color for a single color job).


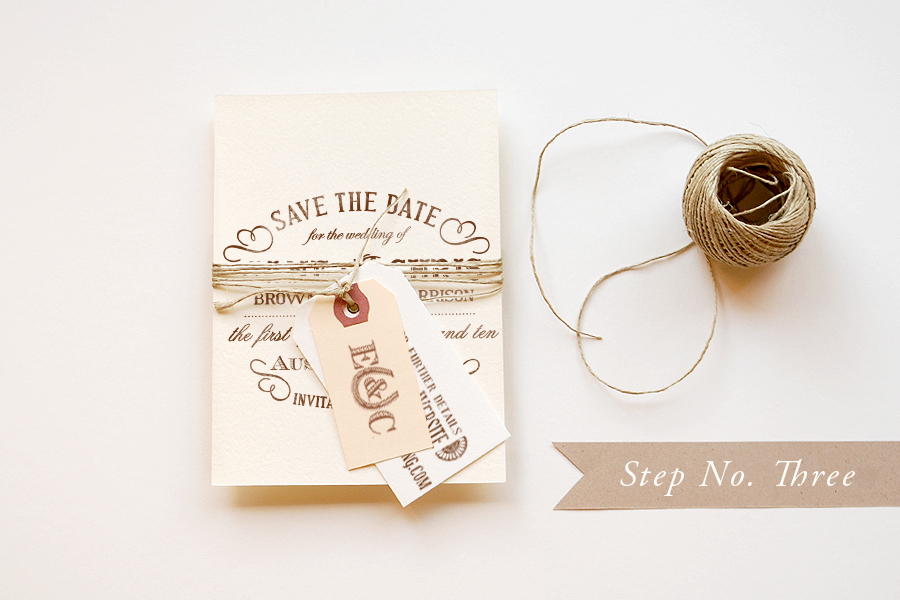
The stock will be cut to the size of the press it is being run on and depending on the size and scope if the project it can run for as short as 30 minutes or as long as multiple days. Once the press run is complete, bindery is the next stage. That could mean, die cutting, scoring, stamping, numbering, folding, stitching, etc. This can be a multi day process as ink needs to dry before you can finish a job and get it boxed for delivery.
Offset Printing vs. Digital Printing

Offset is typically considered the gold standard for quality, although the process is longer and it can be more expensive depending on the quantity being printed. Offset printing also allows for more material options. Digital printing is quick and can be less expensive especially when printing smaller quantities, however, the image quality might not be 100% accurate. Most offset printers offer digital printing, so always check with your printing representative to gauge your options!
Tips and Advice
Offset printing is the highest quality flat printing process available, and there are many paper stock and material options for offset printing. Projects can also be tweaked for color adjustments on the press during the run. Like other artisan printing methods, such as letterpress and engraving, you’ll find better pricing value in higher volume jobs. Conversely, offset printing requires a more expensive set up time, which can be an issue for smaller projects. Offset printing also requires a longer turn around time.

My best advice is to get a good referral to a printer! It doesn’t have to be in your area (although it may help). It is super important to find a printer that is invested in YOUR project and understands the exact outcome you are trying to achieve. If the printer is a good and honorable one, they will give you all of the options and recommend the best one, even if it’s not something that they offer. It is important to keep in mind that all printers have different niche’s, some have smaller presses, some have larger and your project may or may not be an economical fit for their equipment. Don’t be afraid to ask them if your project is a good fit for them.
Nicole Couto is a sales person at the family-owned Barrington Printing in Cranston, Rhode Island. They are celebrating their 30th anniversary this year!
Thanks Nicole and Katie!
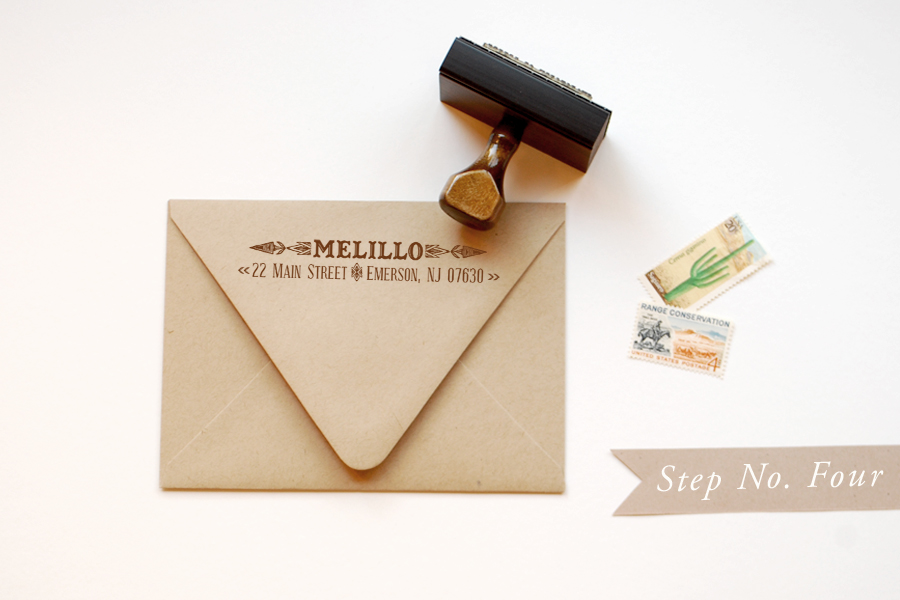
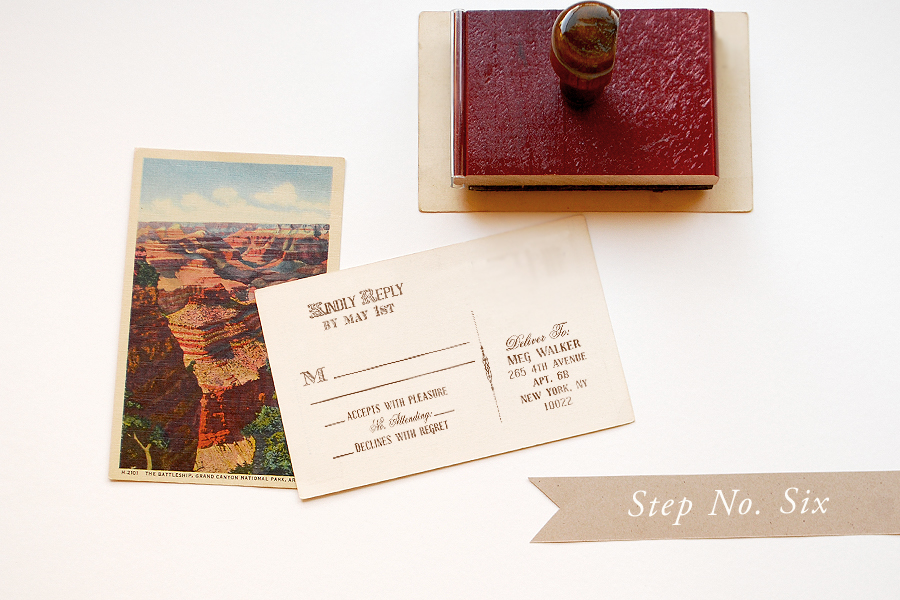
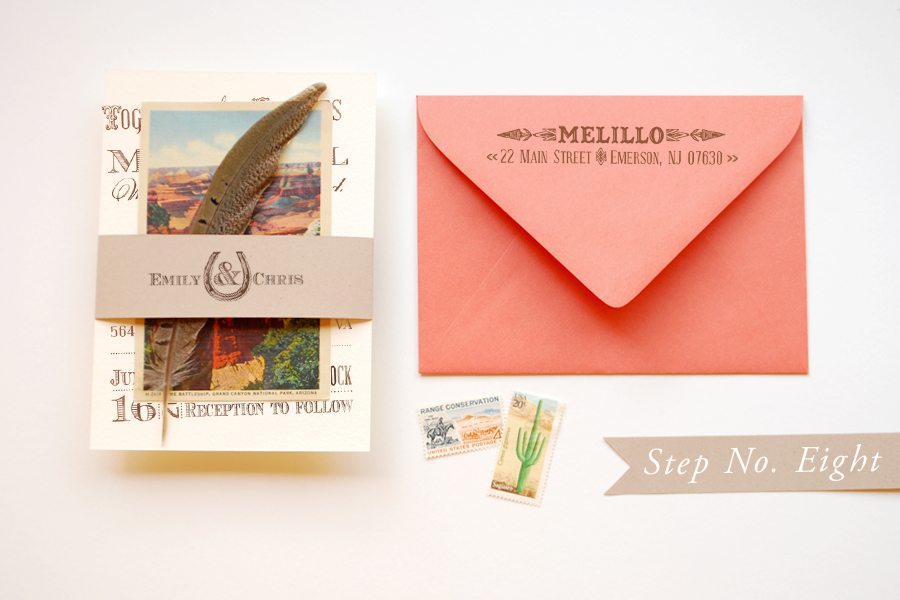
Photo Credits: Process photos by Barrington Printing, example photos by Kelp Designs