Seasonal Stationery: Easter Cards

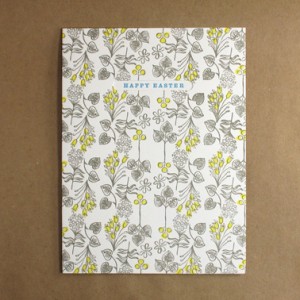
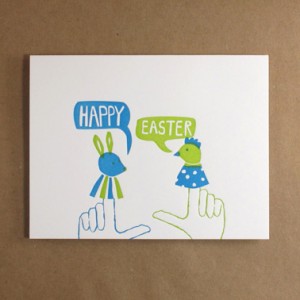
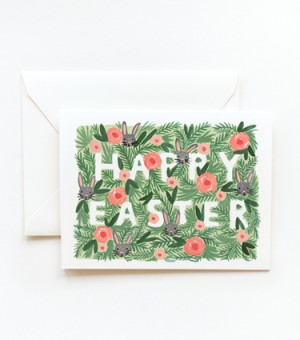
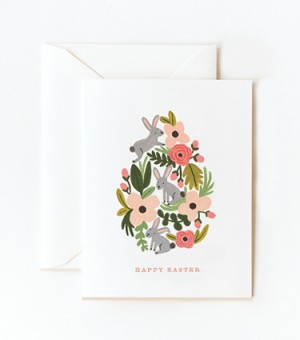
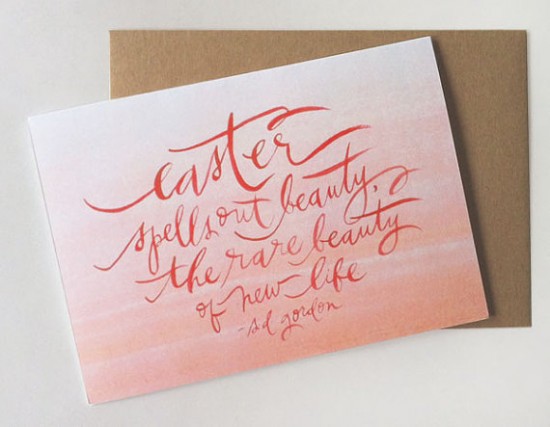
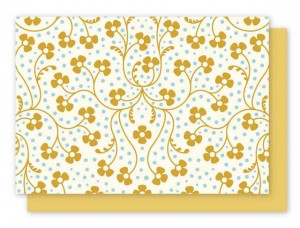
With only a week left (!!) in March, Easter is just around the corner!  Today we thought we’d round up a few favorite cards for those of you celebrating the Easter holiday.  Whether Easter is celebrated in your home or your neighborhood, the bright colors, references to fuzzy animals, and spring-inspired floral designs conjure a rousing warmth perfect for the new season and warmer days. – Tashia

line foliage easter 

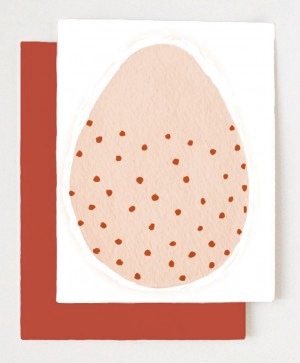
Egg Press

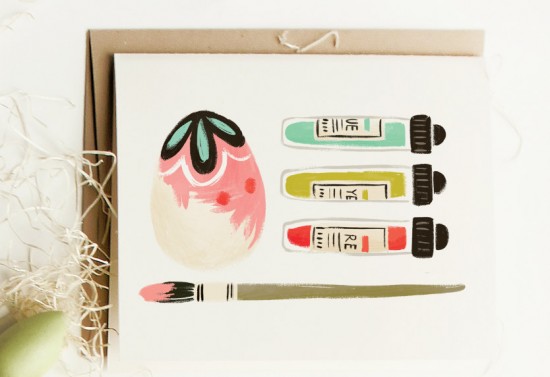
Egg Painting by Quill and Fox

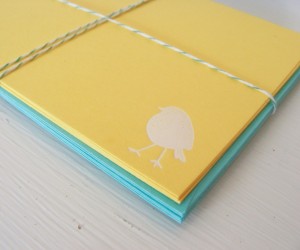
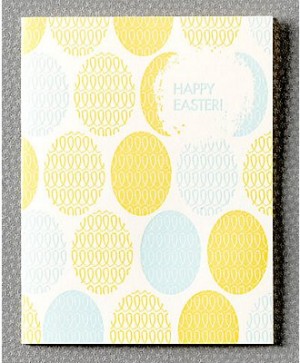
Fishers by by Enormous Champion White Bird Hot Foil Little Bird Notecard Set in Yellow by Letter C Design

Enormous Champion (left); Letter C Design (right)

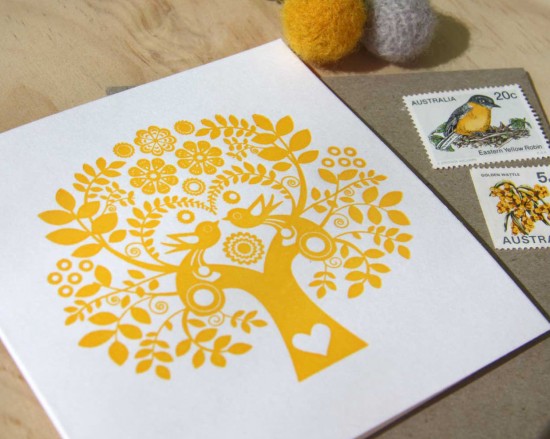
Letterpress Easter Card Scandinavian Folk Style yellow mustard Tree of Life

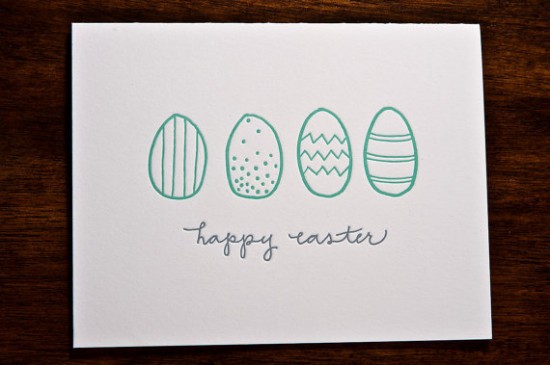
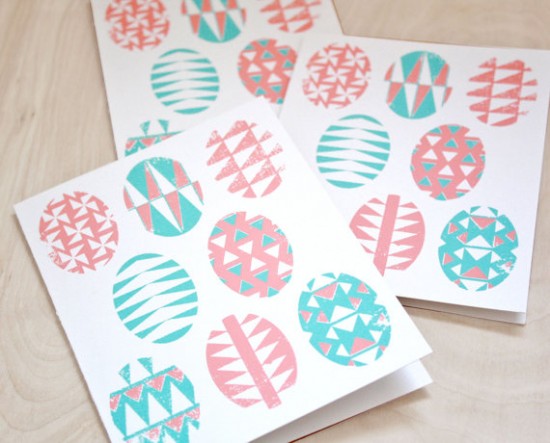
Fluid Ink Letterpress


Social Proper (left); Hello!Lucky (right)

Sass & Peril

{images via their respective sources}

*Hello!Lucky is a sponsor of Oh So Beautiful Paper

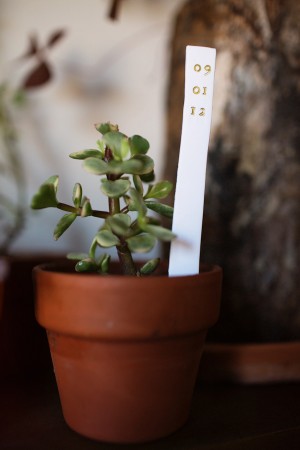
Meg + Bryan’s Plant Marker and Plantable Save the Dates

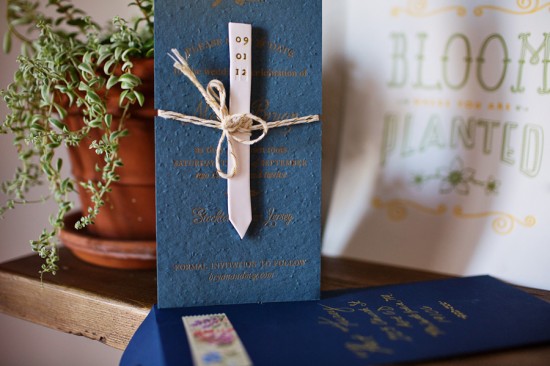
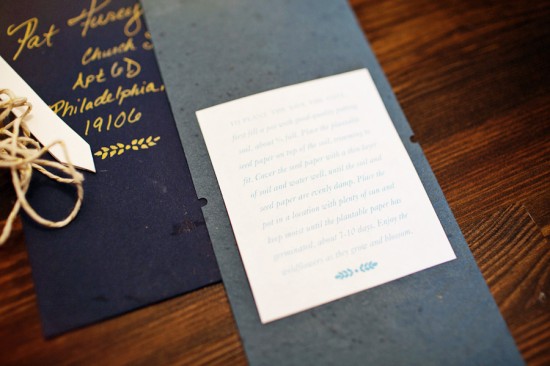
Happy Monday everyone!  We’re starting the week off with an unusual (and very cool) save the date from Meg at Belle + Union.  The bride and groom were inspired by the concept of putting down roots with their wedding, so they decided to incorporate handmade ceramic plant markers and letterpress printed text on plantable paper.  The bride also created a video of the printing and assembly process that you can watch below!

From the bride, Meg: Bryan and I had been dating for over six and half years when we got engaged.  Since we’ve been all over and done seemingly a thousand and one things in our six+ years together, the concept of “roots” and “growth” were really strong in our conversations, which paved the way for the entire aesthetic direction of our wedding.  We plan to incorporate a lot of natural elements and plants and herbs in lieu of cut flowers in the decor.


We really wanted the save the date to set the tone for the wedding.  I remembered something called seed paper, and Meg and I eventually decided on a rich french blue paper letterpress printed with gold ink, combined with handmade clay plant markers stamped with our date and tied to the paper with sparkly gold and white twine.  The idea was kind of perfect – you could actually plant the save the date and watch it grow roots.

After a weekend of printing and crafting,  I flew back home with a giant box of goodies and spent the next weekend cutting, tying, stuffing envelopes with my best friend and my fabulous mother.  All the while, I was documenting the process, which I edited into this video.  The video has become something really special for us – since we’re encouraging our friends and family to plant their save the dates and not keep them as mementos, we will all have this video and the flowers that grow from them instead.

Thanks Meg!  You can check out more from Belle + Union right here!

Design and Letterpress Printing: Belle + Union

Photo Credits: Pat Furey Photography

Friday Happy Hour: A Trio of Cobblers

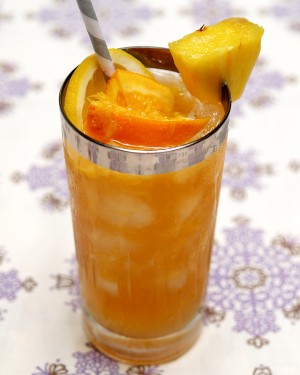
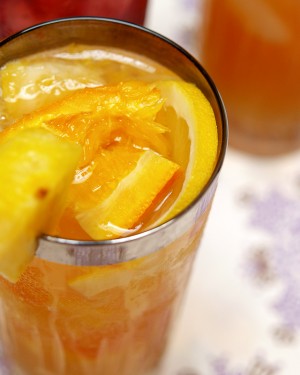
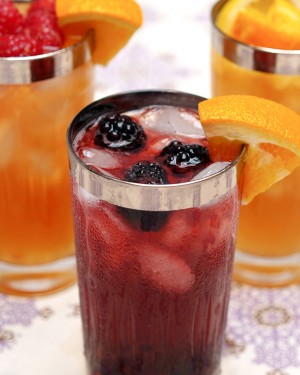
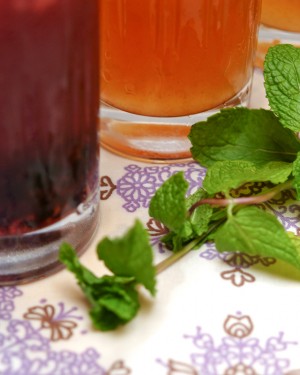
No, this is not a pie, but it does involve fruit – lots of fruit.  The results can be fantastically complex, but this is one of the simplest to make and best drinks for improvising on a hot summer night.  Throw together some spirits, a little sugar, and a ton of fruit and ice, and you have: The Cobbler.  Here are three basic recipes to get you started, but play around with this one.  It’s hard to go wrong!

Cocktail Recipe - The Cobbler (22)

Read below for the recipes!

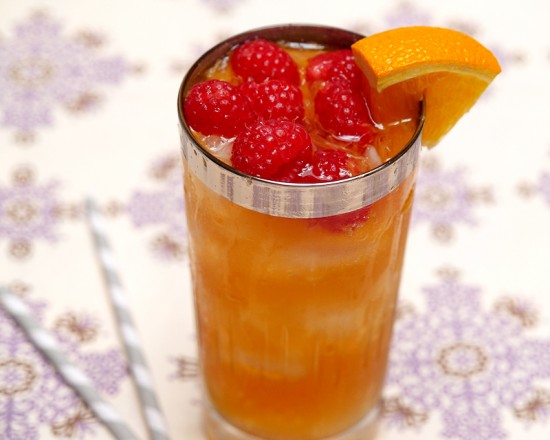
Sherry Cobbler

4 oz Dry or Amontillado Sherry
1/4 oz Sugar
2-4 Slices of Orange
Cocktail Recipe - The Cobbler (36)

Blackberry-Bourbon Cobbler

2 oz Bourbon
1/4 oz Sugar
1 Handful of Blackberries

Cocktail Recipe - The Cobbler (49)

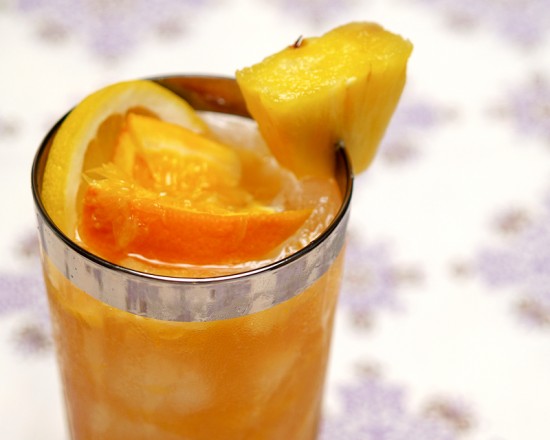
Brandy Cobbler

2 oz Brandy
1/4 oz Raspberry Syrup or Raspberry Liqueur
Handful of Slices of Orange, Lemon, and Pineapple
Cocktail Recipe - The Cobbler (24)

Combine the spirits, sugar, and fruit, then shake really well with ice.  (You can muddle the fruit first, but I find shaking gets plenty of flavor out of the fruit by itself.)  Strain into a highball glass filled with lots of crushed ice, then garnish with lots and lots of fresh fruit.  Plunk in a straw and enjoy.

Cocktail Recipe - The Cobbler (29) Cocktail Recipe - The Cobbler (12)

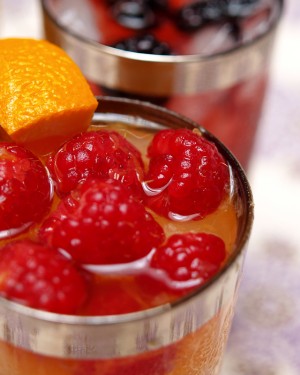
If you prefer a cleaner-looking drink, strain before you garnish.  This is easiest with a 3-part shaker called (what else?) a Cobbler Shaker, with a separate cap and strainer.  Though it’s not traditional, I’m a big fan of just pouring the whole thing, fruit and all, into the glass.  Garnish with whatever fits the drink or, better yet, whatever’s in season – blackberries and raspberries are usually a good bet.
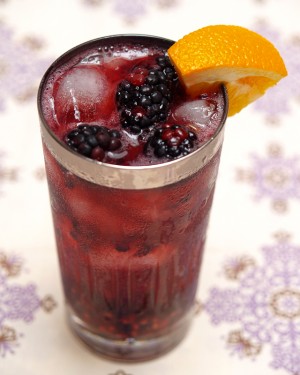
Cocktail Recipe - The Cobbler (46) Cocktail Recipe - The Cobbler (44)

Cocktail Recipe - The Cobbler (20) Cocktail Recipe - The Cobbler (3)

Here’s what you’ll get: a smooth, refreshing drink with lots of outstanding fruit flavors that don’t overwhelm your choice of spirit.  A Bourbon Cobbler is definitely a Bourbon drink, and a Sherry Cobbler is very much a Sherry drink.
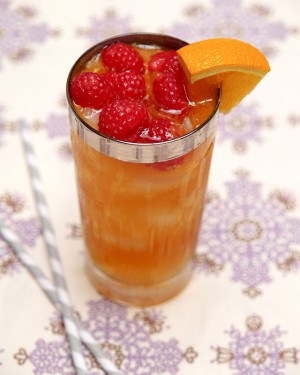
Cocktail Recipe - The Cobbler (34) Cocktail Recipe - The Cobbler (13)

The Cobbler is an old drink, dating back at least to the 1830s, and was once one of the most popular in America – David Wondrich writes in Imbibe that, in an 1840 in New World article, one author called the Sherry Cobbler “the greatest ‘liquorary’ invention of the day.”  And not just America – Wondrich adds that French customers at the 1867 Exposition Universelle de Paris were going through 500 bottles of Sherry, most in the form of Sherry Cobblers served up at the Exposition’s American Bar.  I don’t know why this fantastic, easy-to-make drink went out of fashion, but I implore you to do your part in reviving the Cobbler.
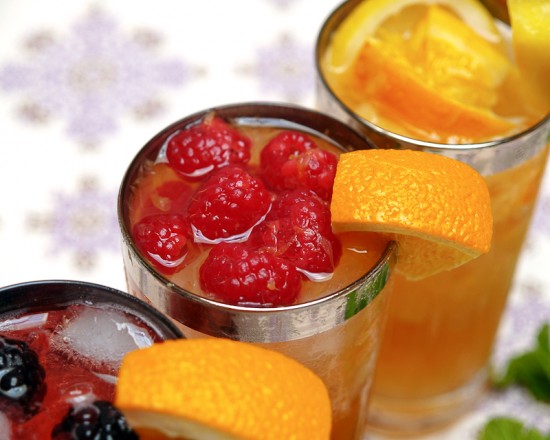
Cocktail Recipe - The Cobbler (1)

Photo Credits: Nole Garey for Oh So Beautiful Paper

{happy weekend!}

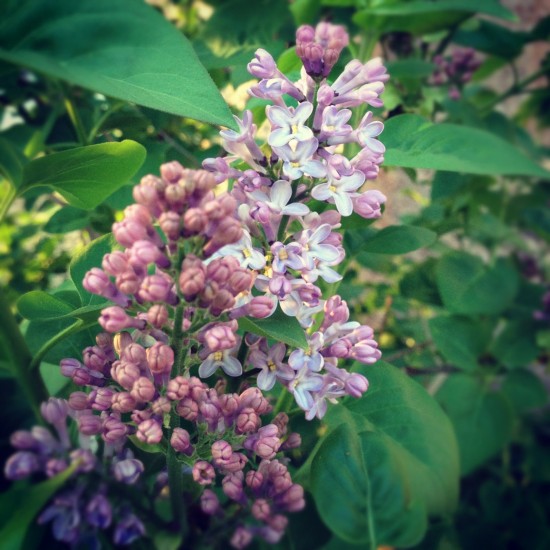
I apologize to those of you who might be tired of hearing me blather on about spring in DC, but it really is just so beautiful this time of year I can’t help it!  My husband and I went for a walk in our neighborhood yesterday evening and I spotted some lilacs just starting to bloom, and earlier in the day I spotted some wisteria!  It’s early in the season for a lot of these flowers, but apparently everything is going to be early this year due to the relatively mild winter and I’m not exactly complaining.  I’m just trying to soak as much of it in while it lasts.  One of my favorite things to do during lilac season is to visit the Mount Vernon estate; it’s covered in the gorgeous (and fragrant) blossoms!  I’ll have to plan a trip soon, but in the meantime…

…a few links for your weekend!

This week on Oh So Beautiful Paper:

A big welcome to the newest Designer Rolodex members!

As usual, we have a fun cocktail coming up for you this afternoon, so check back a bit later for the recipe!  Oh, and speaking of cocktails – one of our recipes, the Oaxacan Sunrise, is a competition finalist!  If you’re over 21 and have a moment, we’d love it if you could vote for us!  Voting ends later today, but you can vote right here.  Thank you so much!

I hope you all have a wonderful weekend, and I’ll see you back here on Monday!  xoxo

Photo by me (via Instagram), taken at the Congressional Cemetery yesterday evening

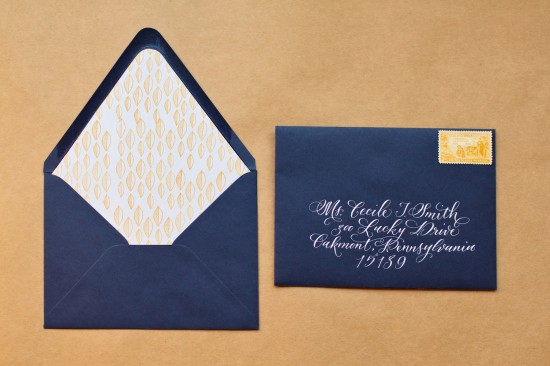
DIY Rubber Stamp Pattern Envelope Liners

It’s the ladies of Anti­quaria, back with another cre­ative DIY project for you!  Today they’re sharing a fun tutorial on how to make DIY envelope liners using rubber stamps!

The finishing touches make your stationery special and unique.  It’s the little things – like vintage postage, twine, washi tape, calligraphy and envelope liners – that can turn a basic invitation, card or letter into a show stopper.  At Antiquaria, we love envelope liners… but they can be mighty expensive, so we figured out a way to get the look of decorative paper on a shoestring budget.  Plus it’s super easy!

DIY Tutorial: Rubber Stamp Envelope Liners

DIY Tutorial: Rubber Stamp Envelope Liners

DIY Tutorial: Rubber Stamp Envelope Liners

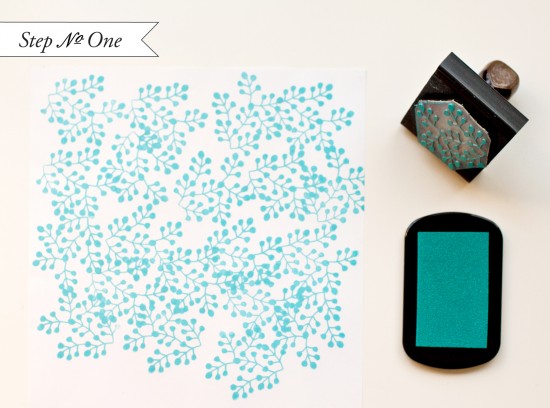
Step 1: Lay your sheet of text weight paper out on a hard surface.  Choose your stamp (we used our Mod Fern Pattern stamp), and ink it well.  Print your pattern stamp in an orderly fashion on the paper, making sure you stamp enough area so that the images will bleed off once the liner is cut.  In general, you will not want to overlap the stamped images (but don’t worry if they do).

DIY Tutorial: Rubber Stamp Envelope Liners

Step 2: Cutting your liner… the technique will all depend on what style of envelope you choose.  You can find envelope liner template kits at Paper Source to fit their envelopes.  To use these, trace the template and cut along the line.  If you’re using square envelopes, you can have your local print shop cut paper down to your envelope specifications or draw out the dimensions and cut your own!
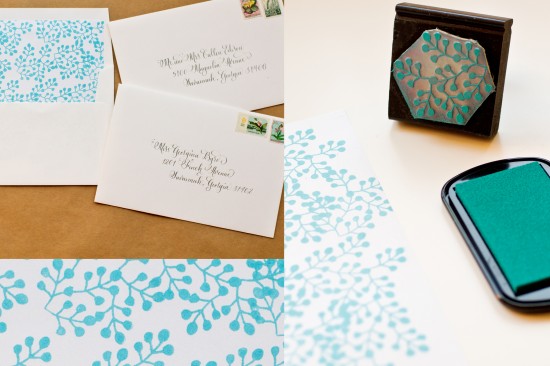
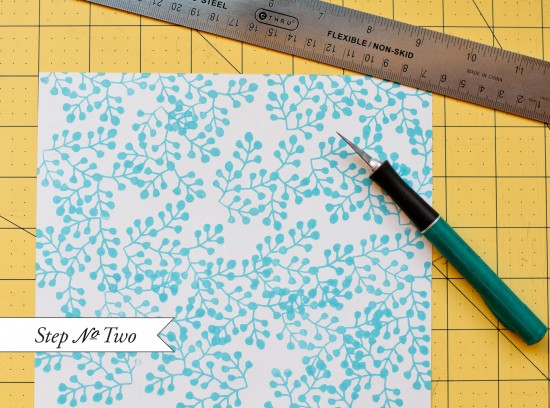
DIY Tutorial: Rubber Stamp Envelope Liners
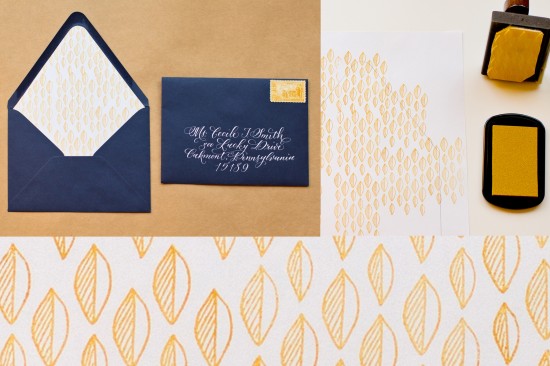
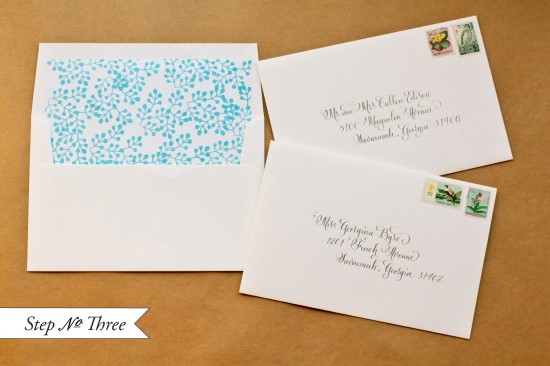
Step 3:  To insert your liner,  place a line of double stick tape or stick glue across the top (or around the top triangle), slide them into position and press to secure.  Fold at the crease with a bone folder to get a nice, crisp edge.

DIY Tutorial: Rubber Stamp Envelope Liners

Materials

Pattern Stamps – we used Mod Fern Pattern stamp (in turquoise), Repeat Leave Pattern Stamp (in ochre)

Stamp Pad

Envelopes

Double Stick Tape or Stick Glue

Bone Folder

Anti­quaria is a mem­ber of the Designer Rolodex – you can see more of their beau­ti­ful work right here!

Photo Credits: Intertwyned for Antiquaria