DIY Hologram Foil Ornaments

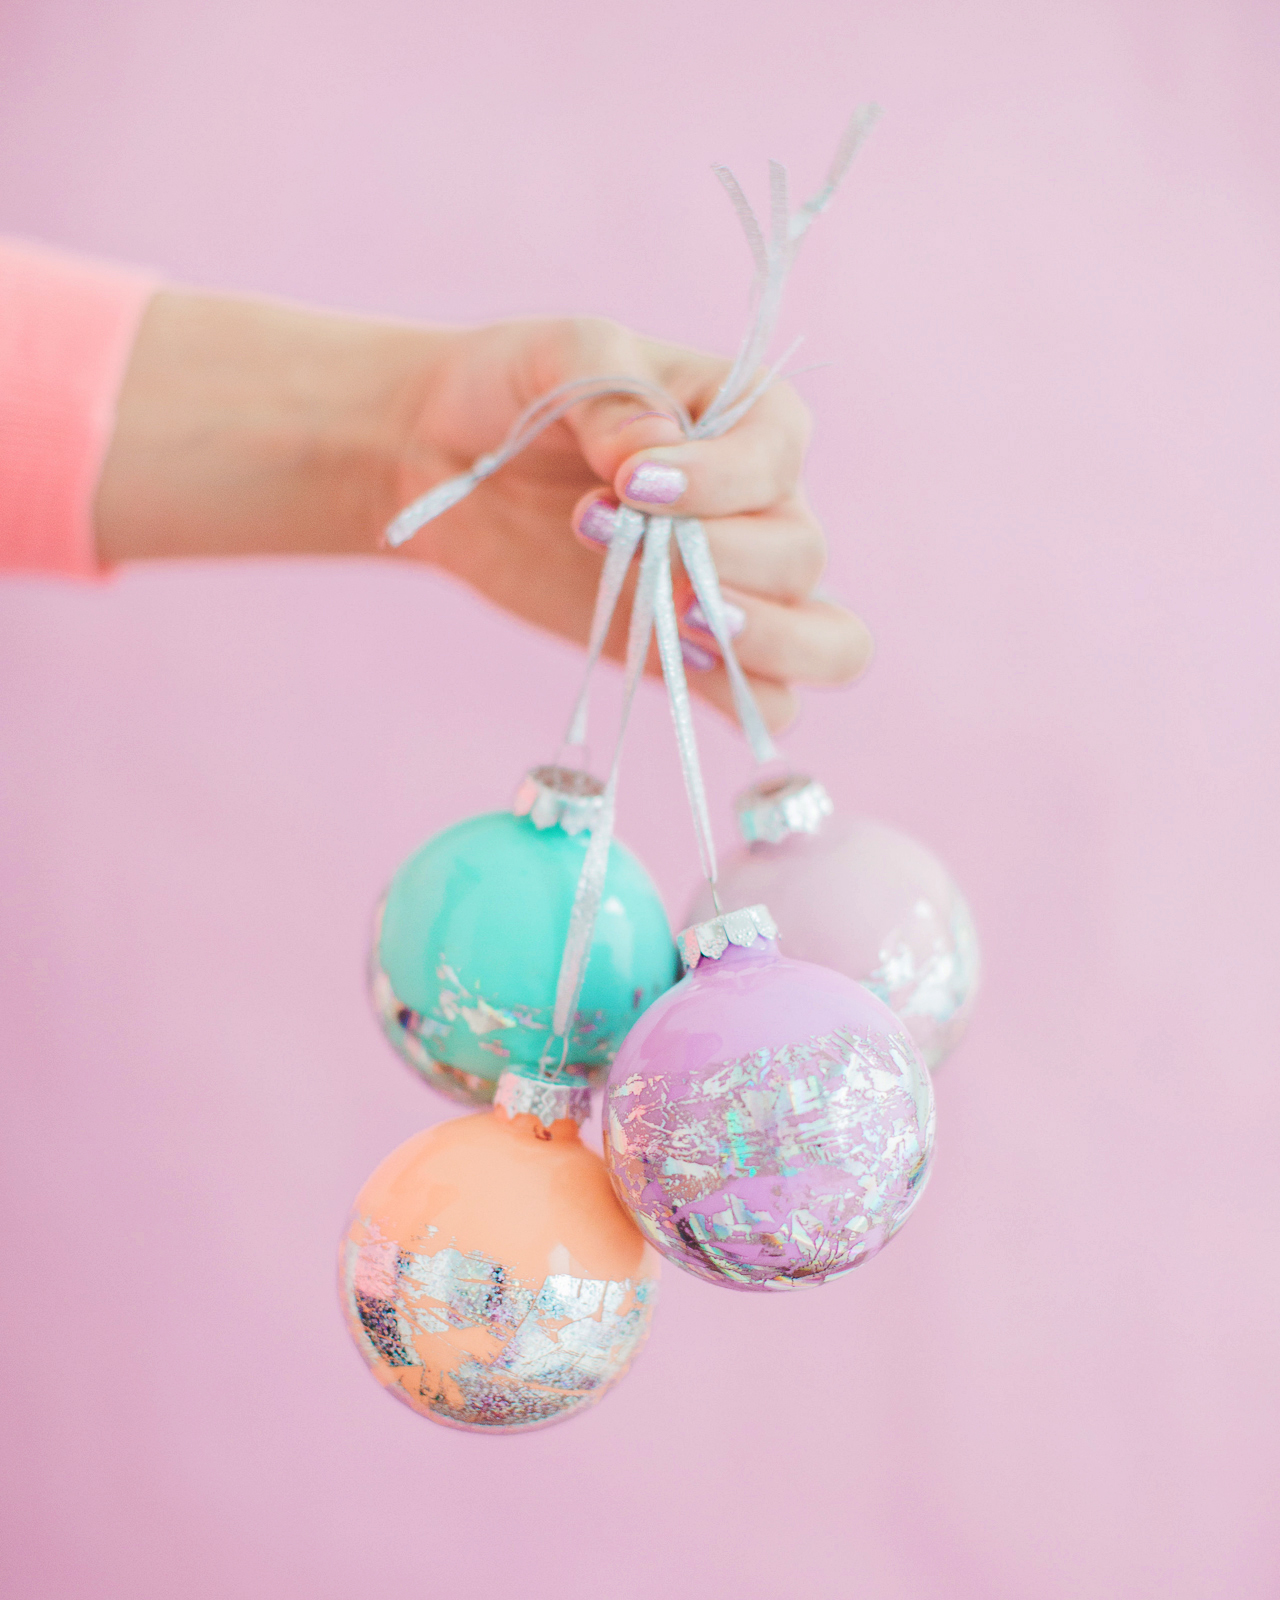
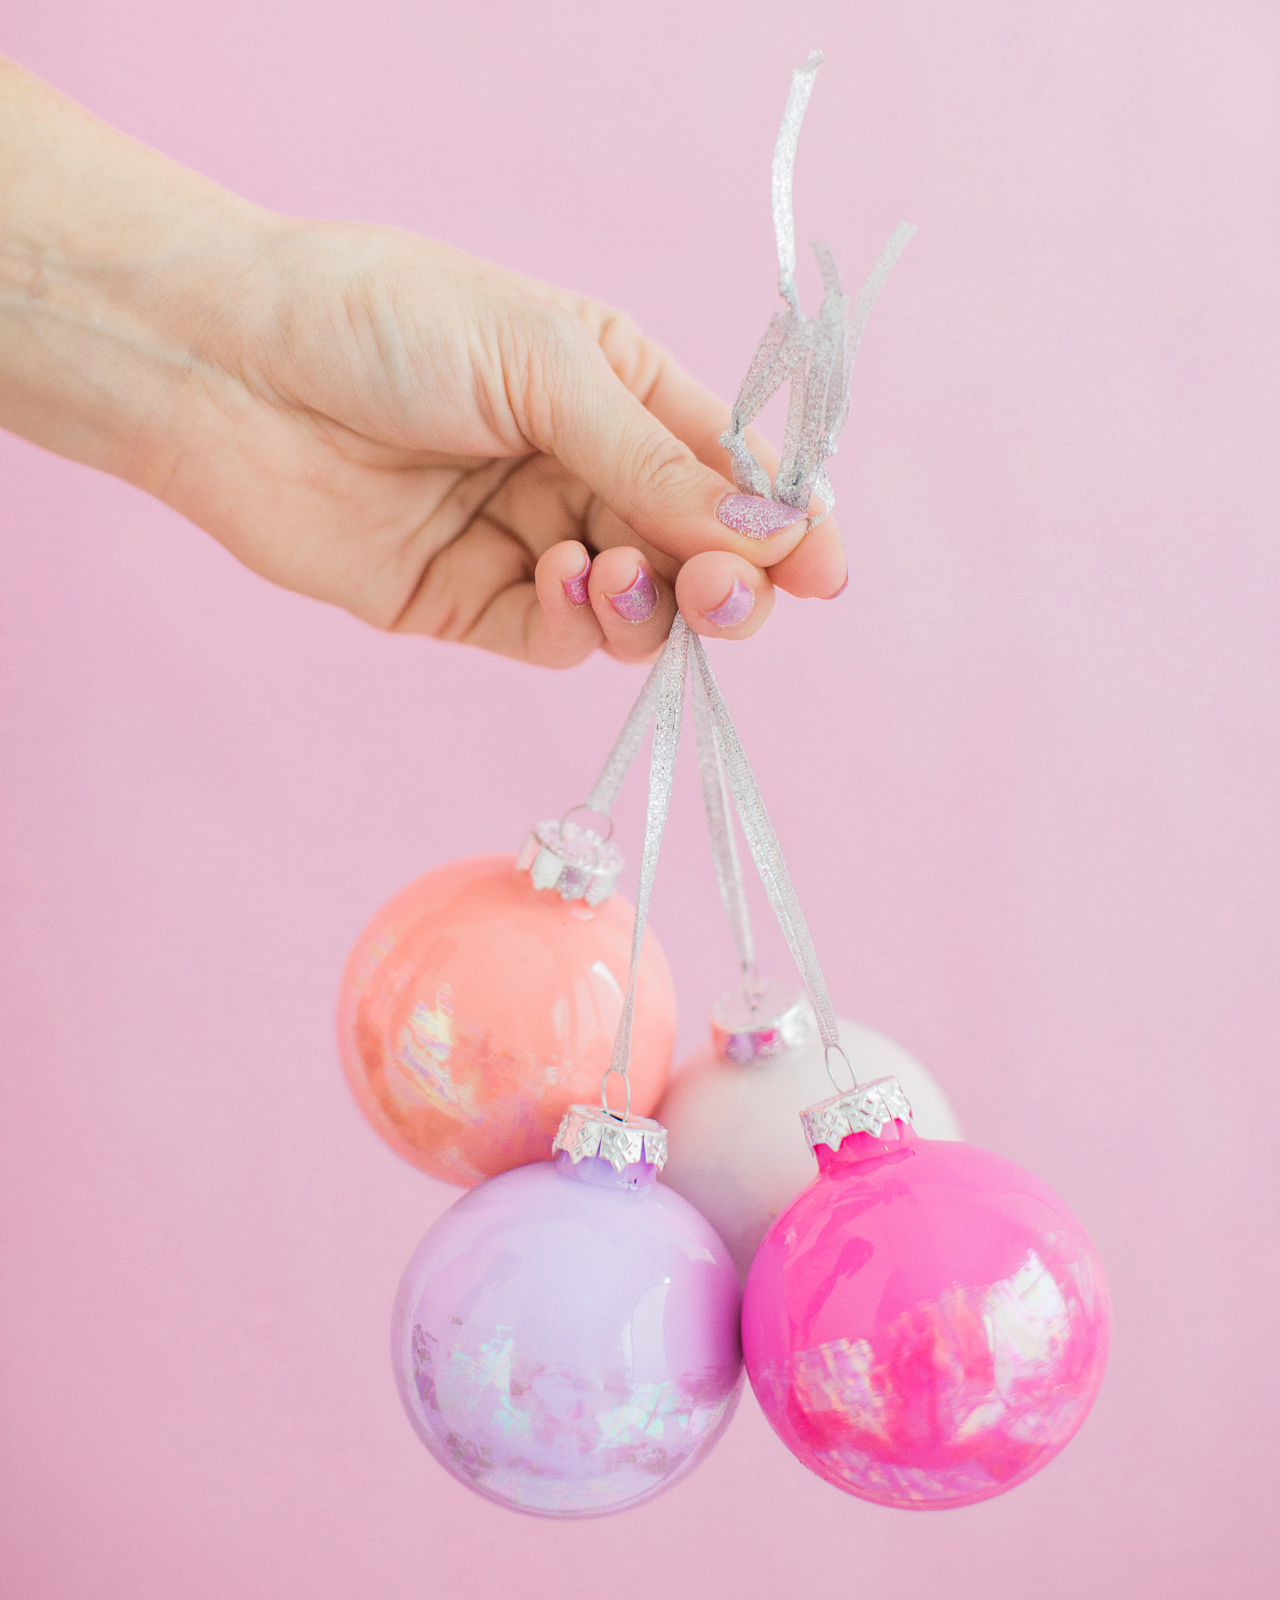
So apparently my brain works best on a really tight deadline. Here’s my brain: a week to go until Christmas? Great! Here are five DIY christmas ornament ideas! So for those of you looking for some fun non-traditional DIY ornament ideas, I’ve got a couple of ideas to share with you this week! First up, DIY hologram foil ornaments! You might remember these DIY hologram Easter eggs that I made last Spring, and I couldn’t resist making a set of Christmas ornaments from these amazing iridescent and hologram nail foils!
DIY Hologram Foil Ornaments

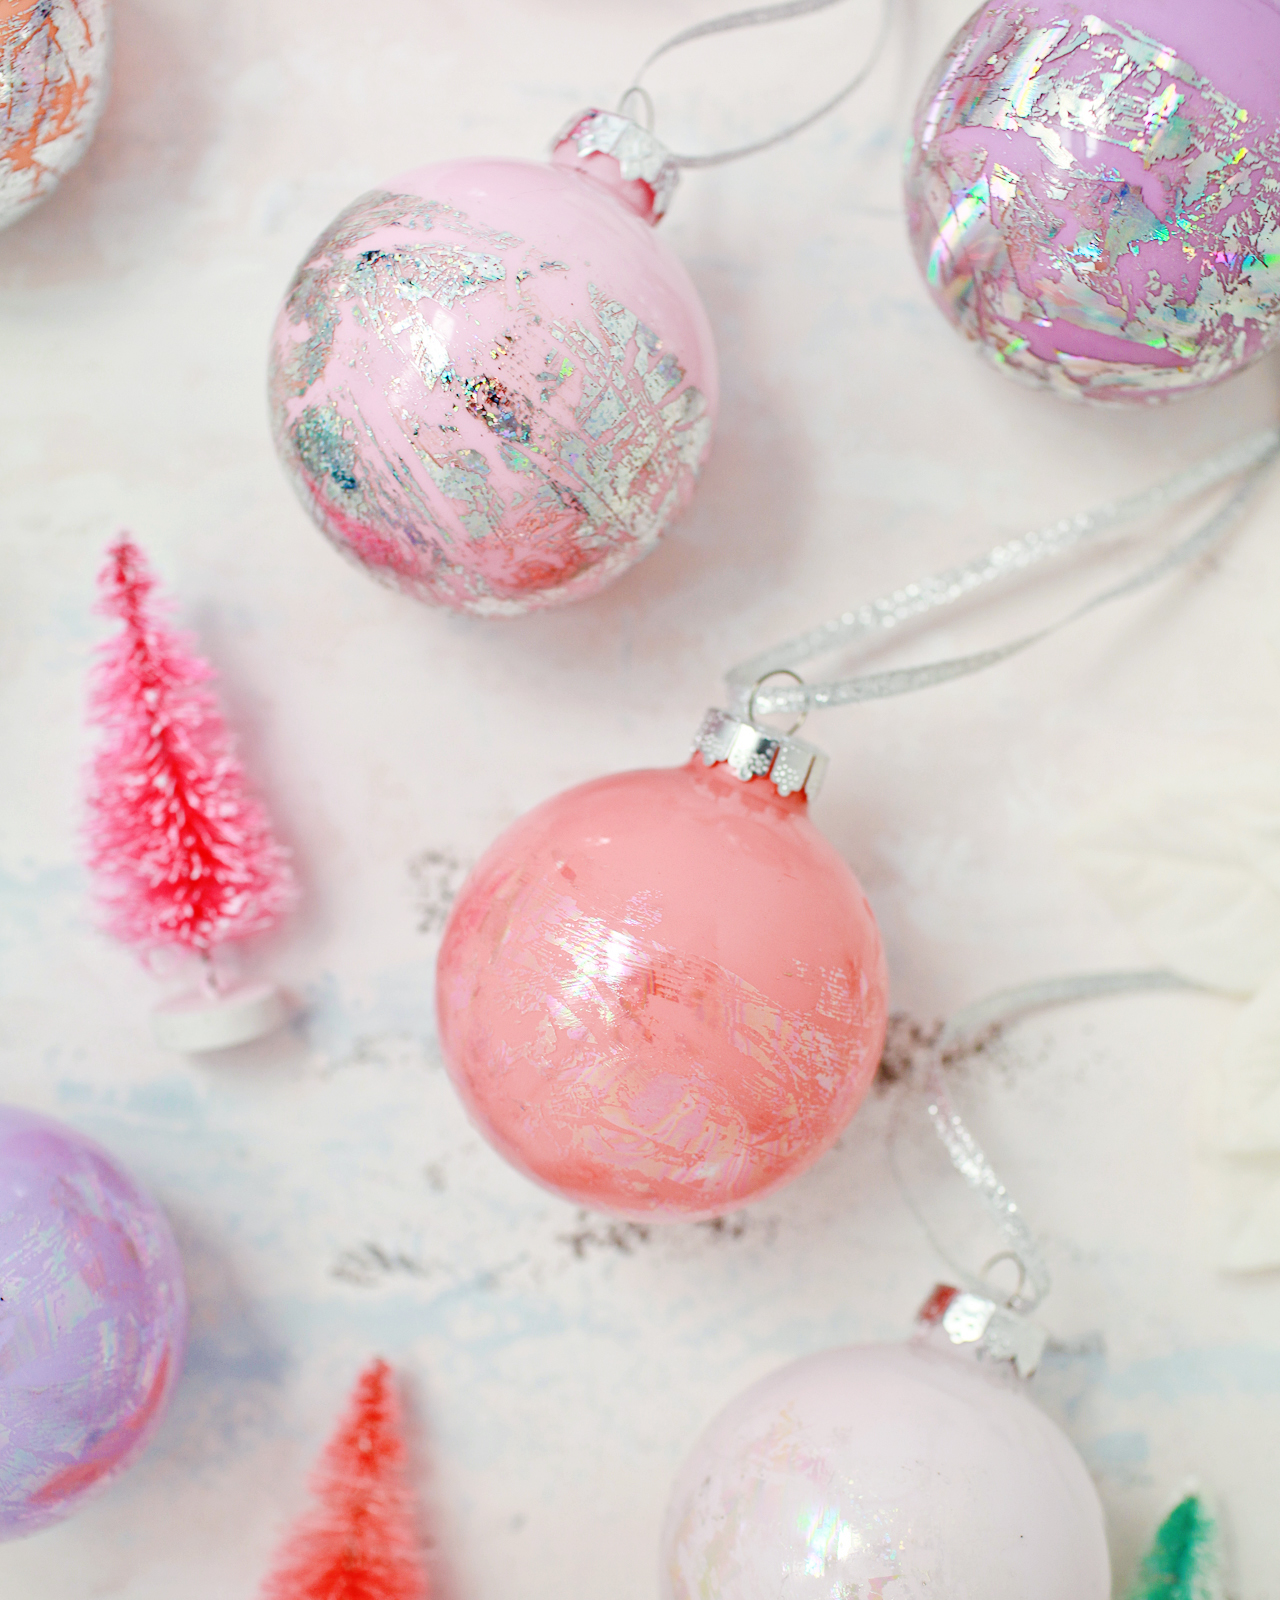
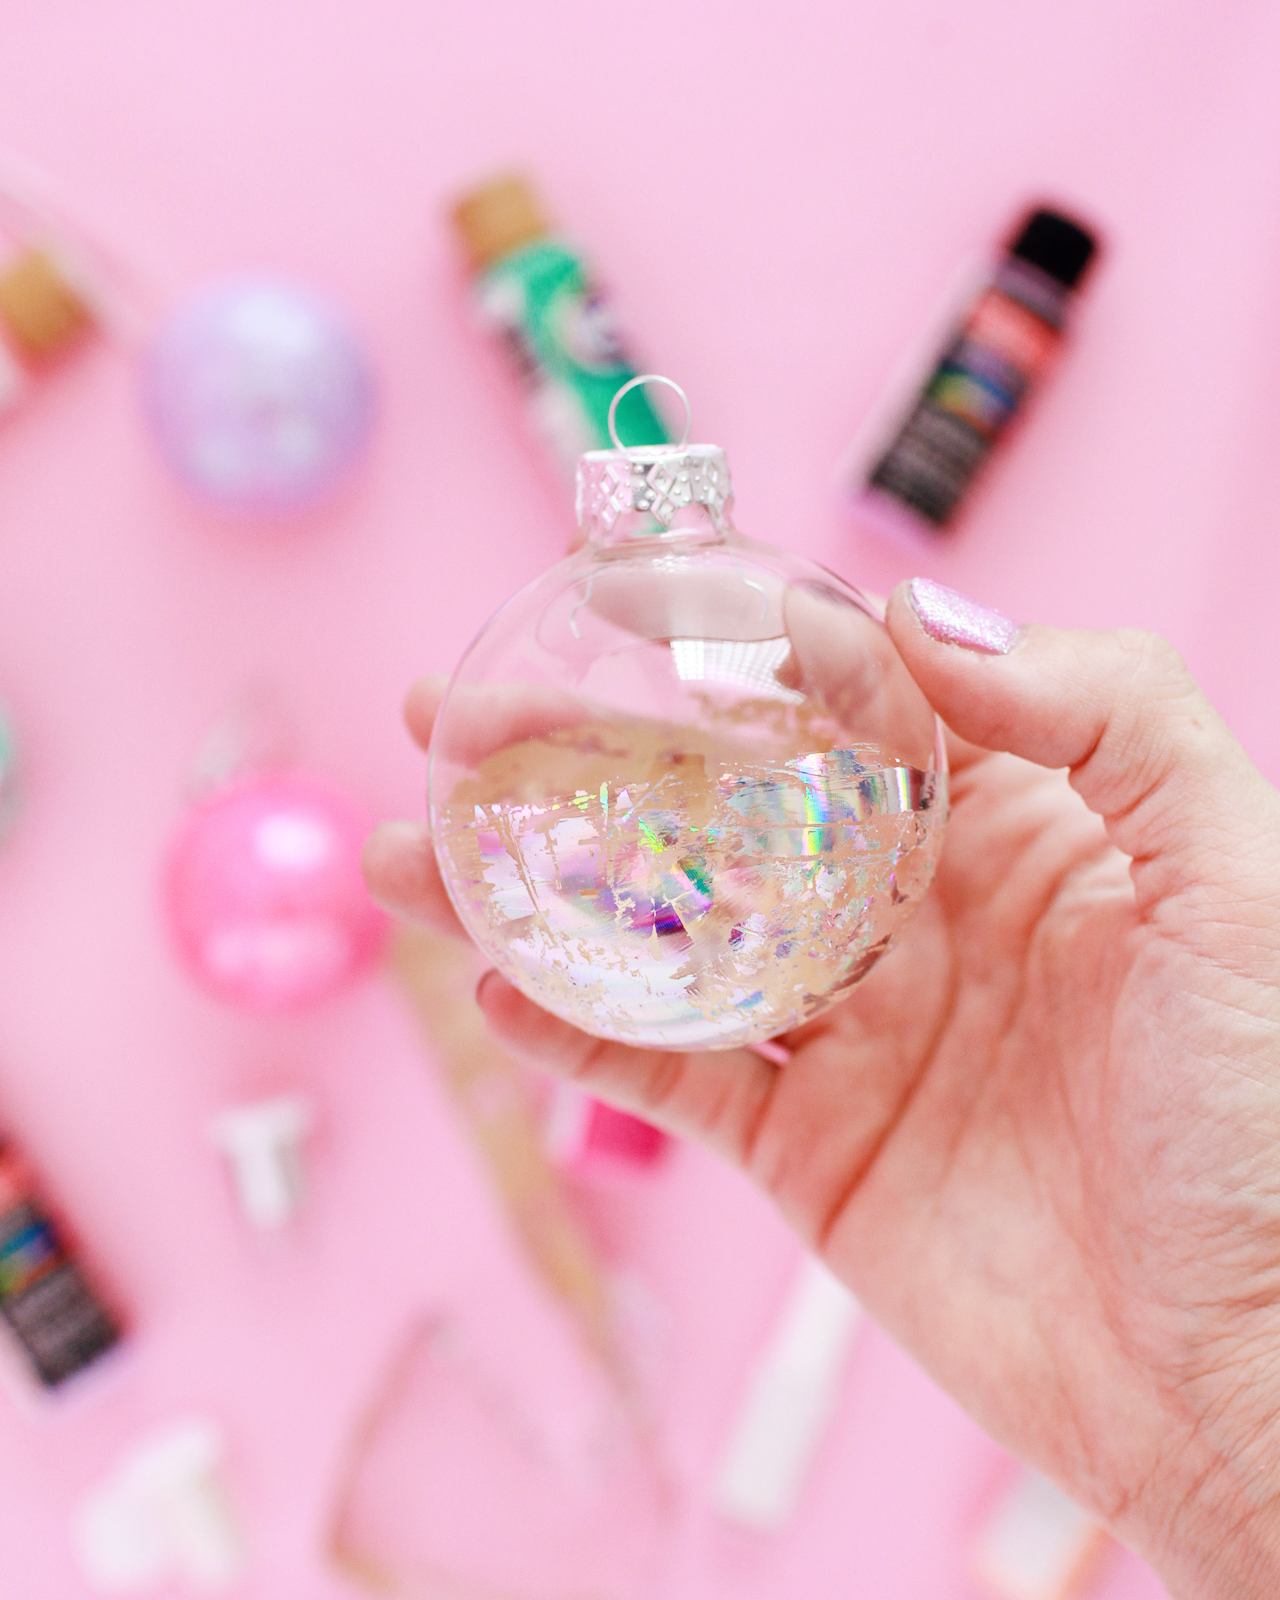
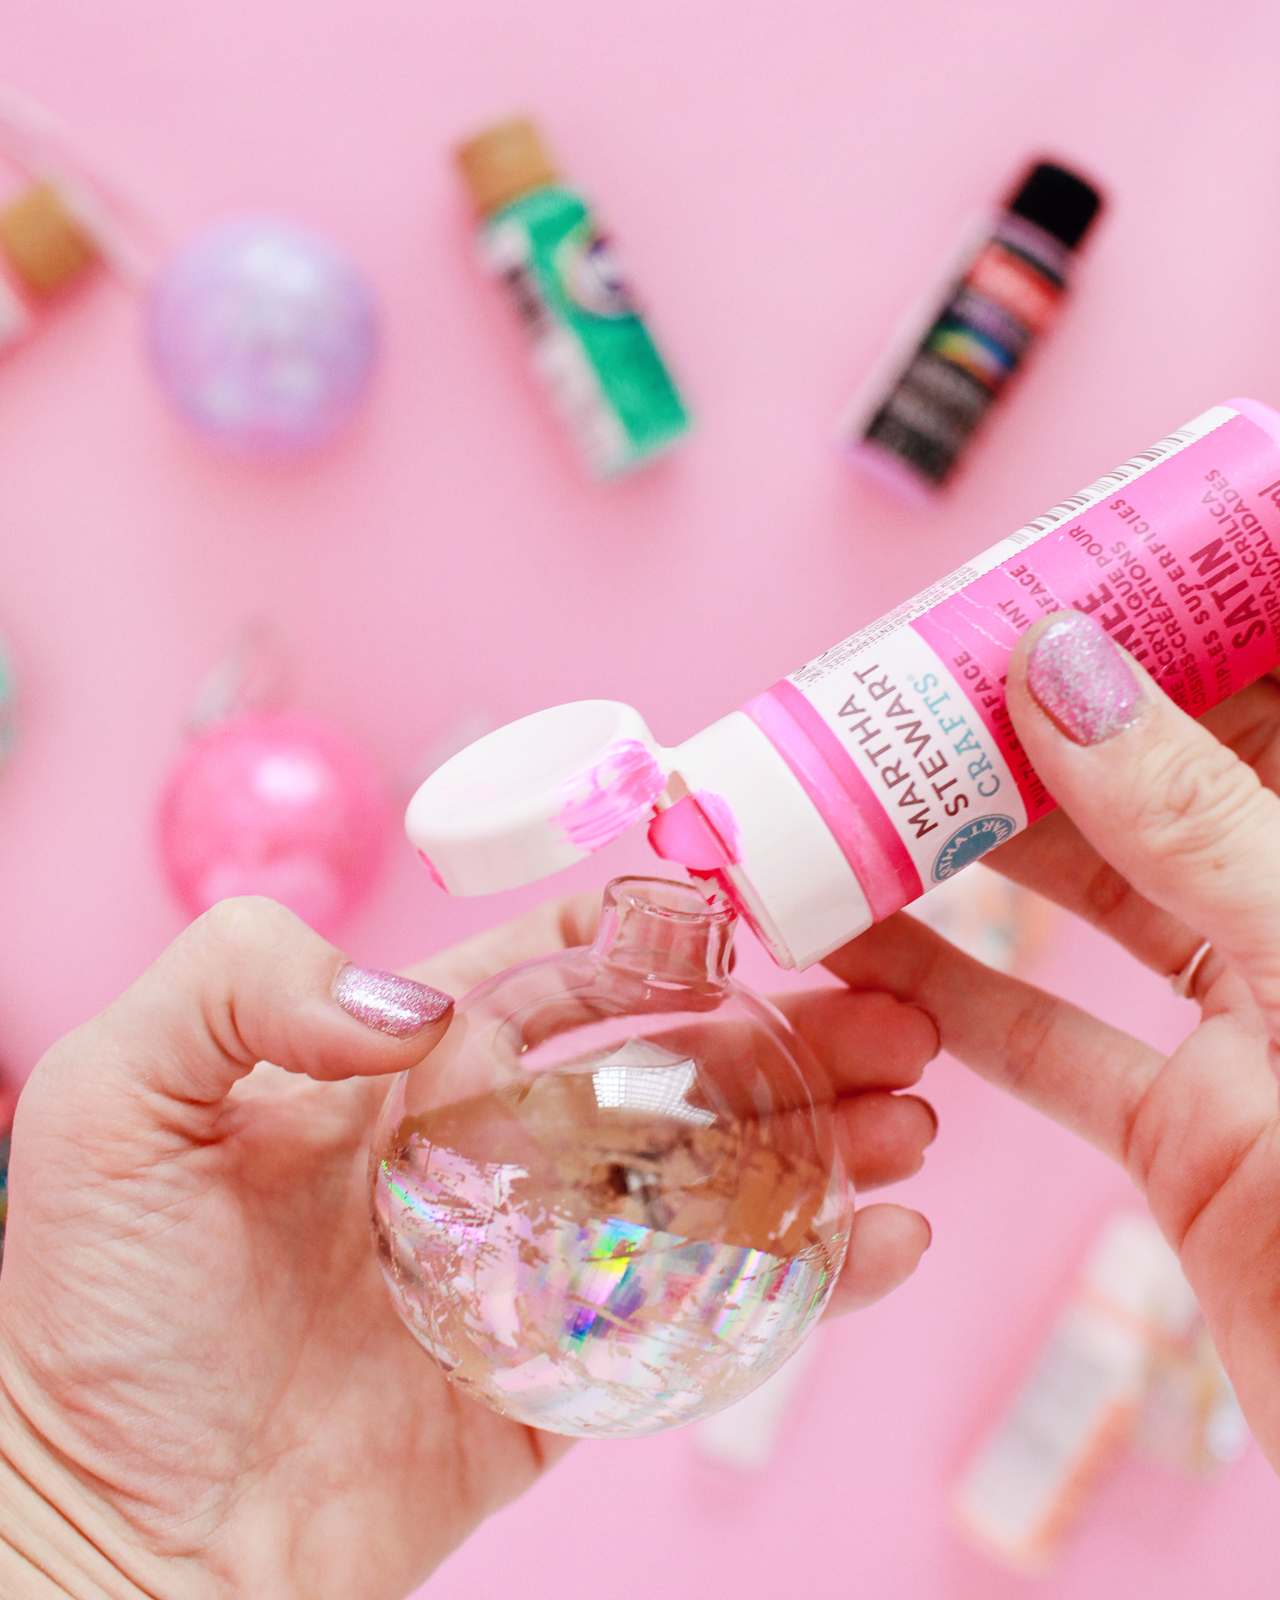
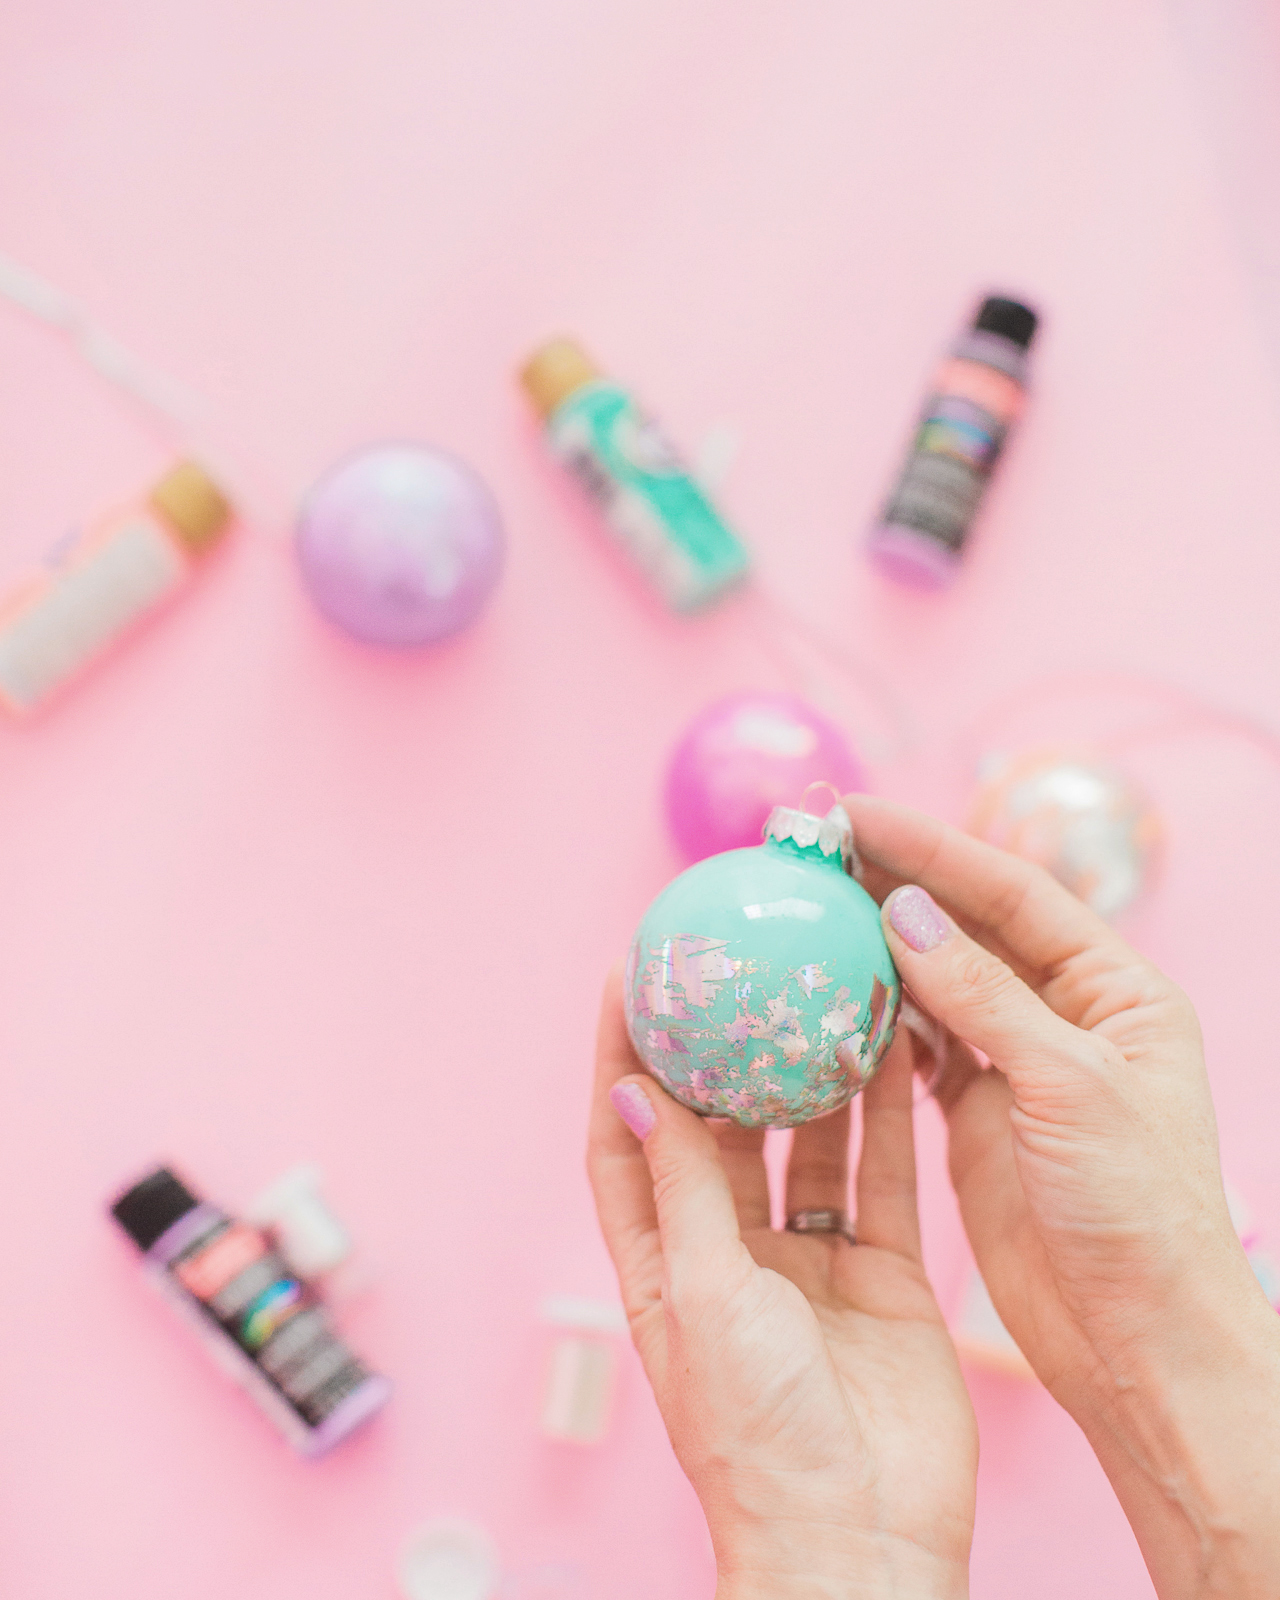
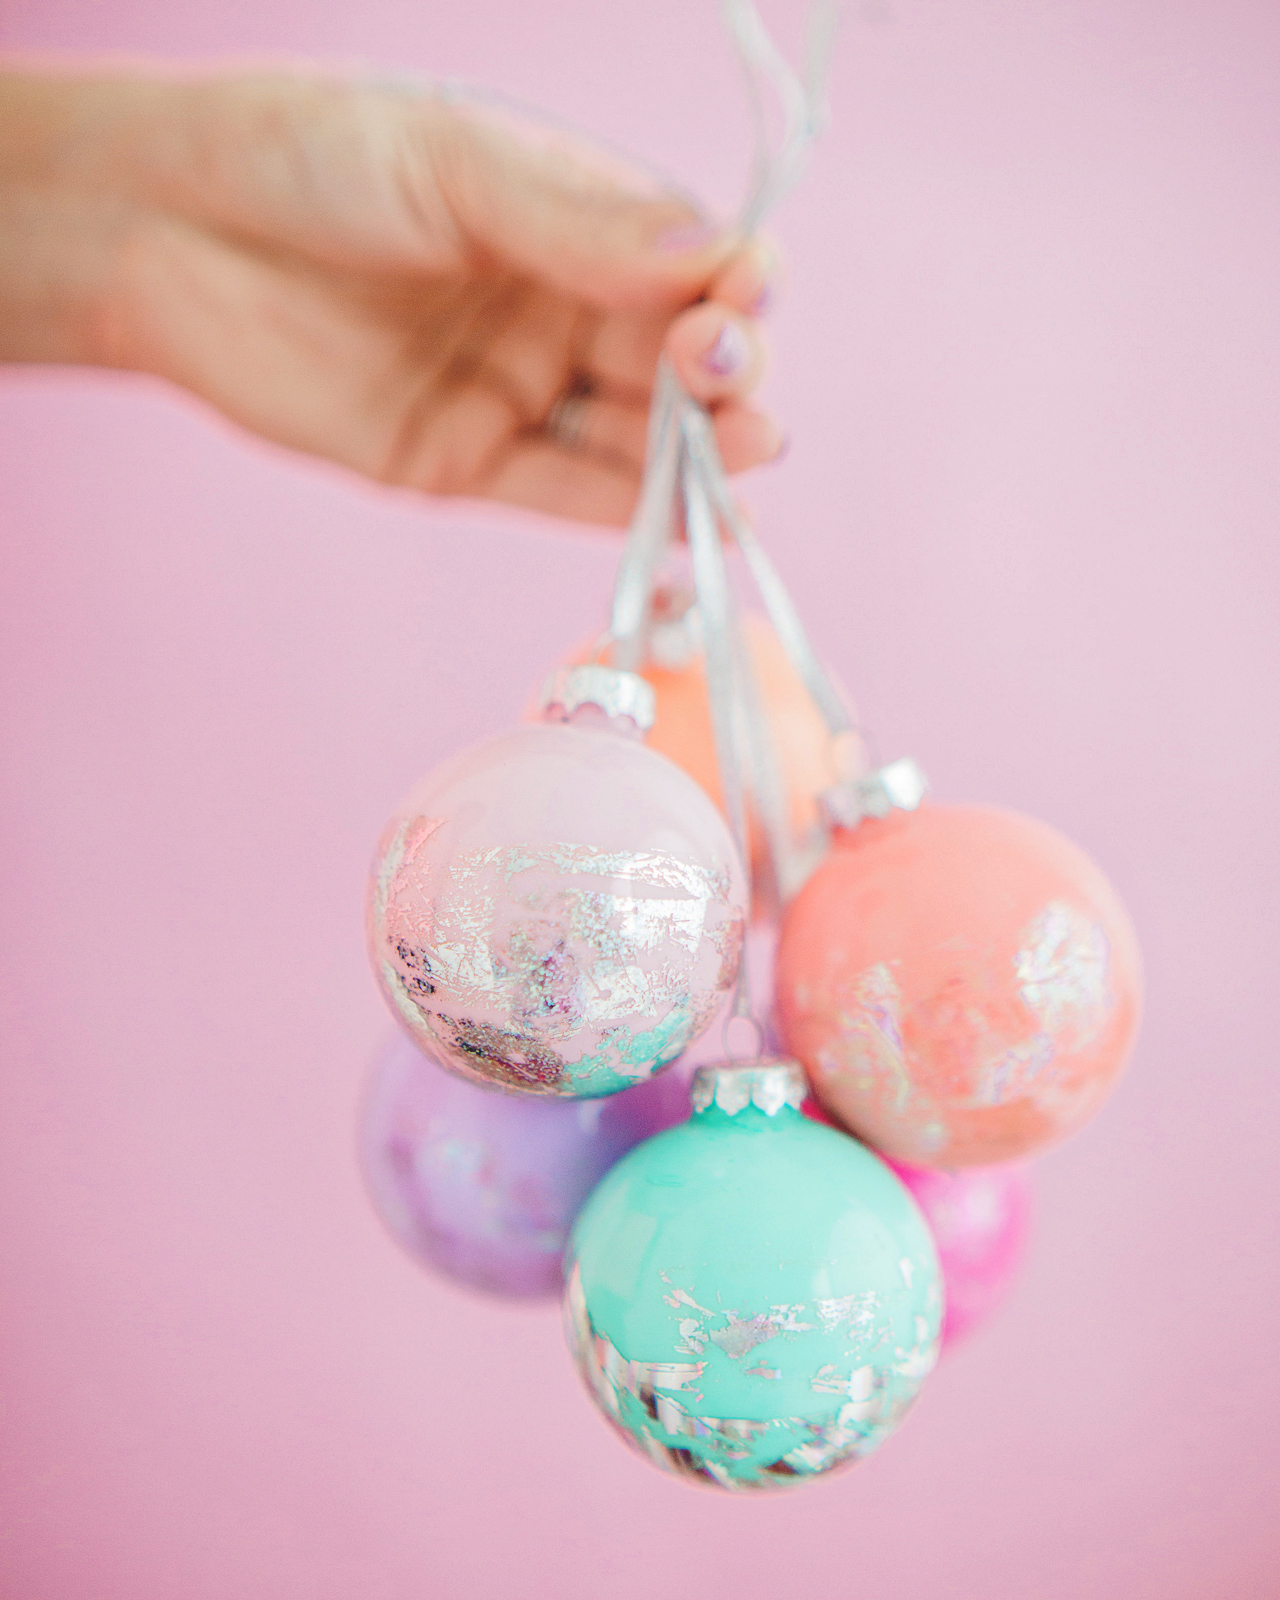
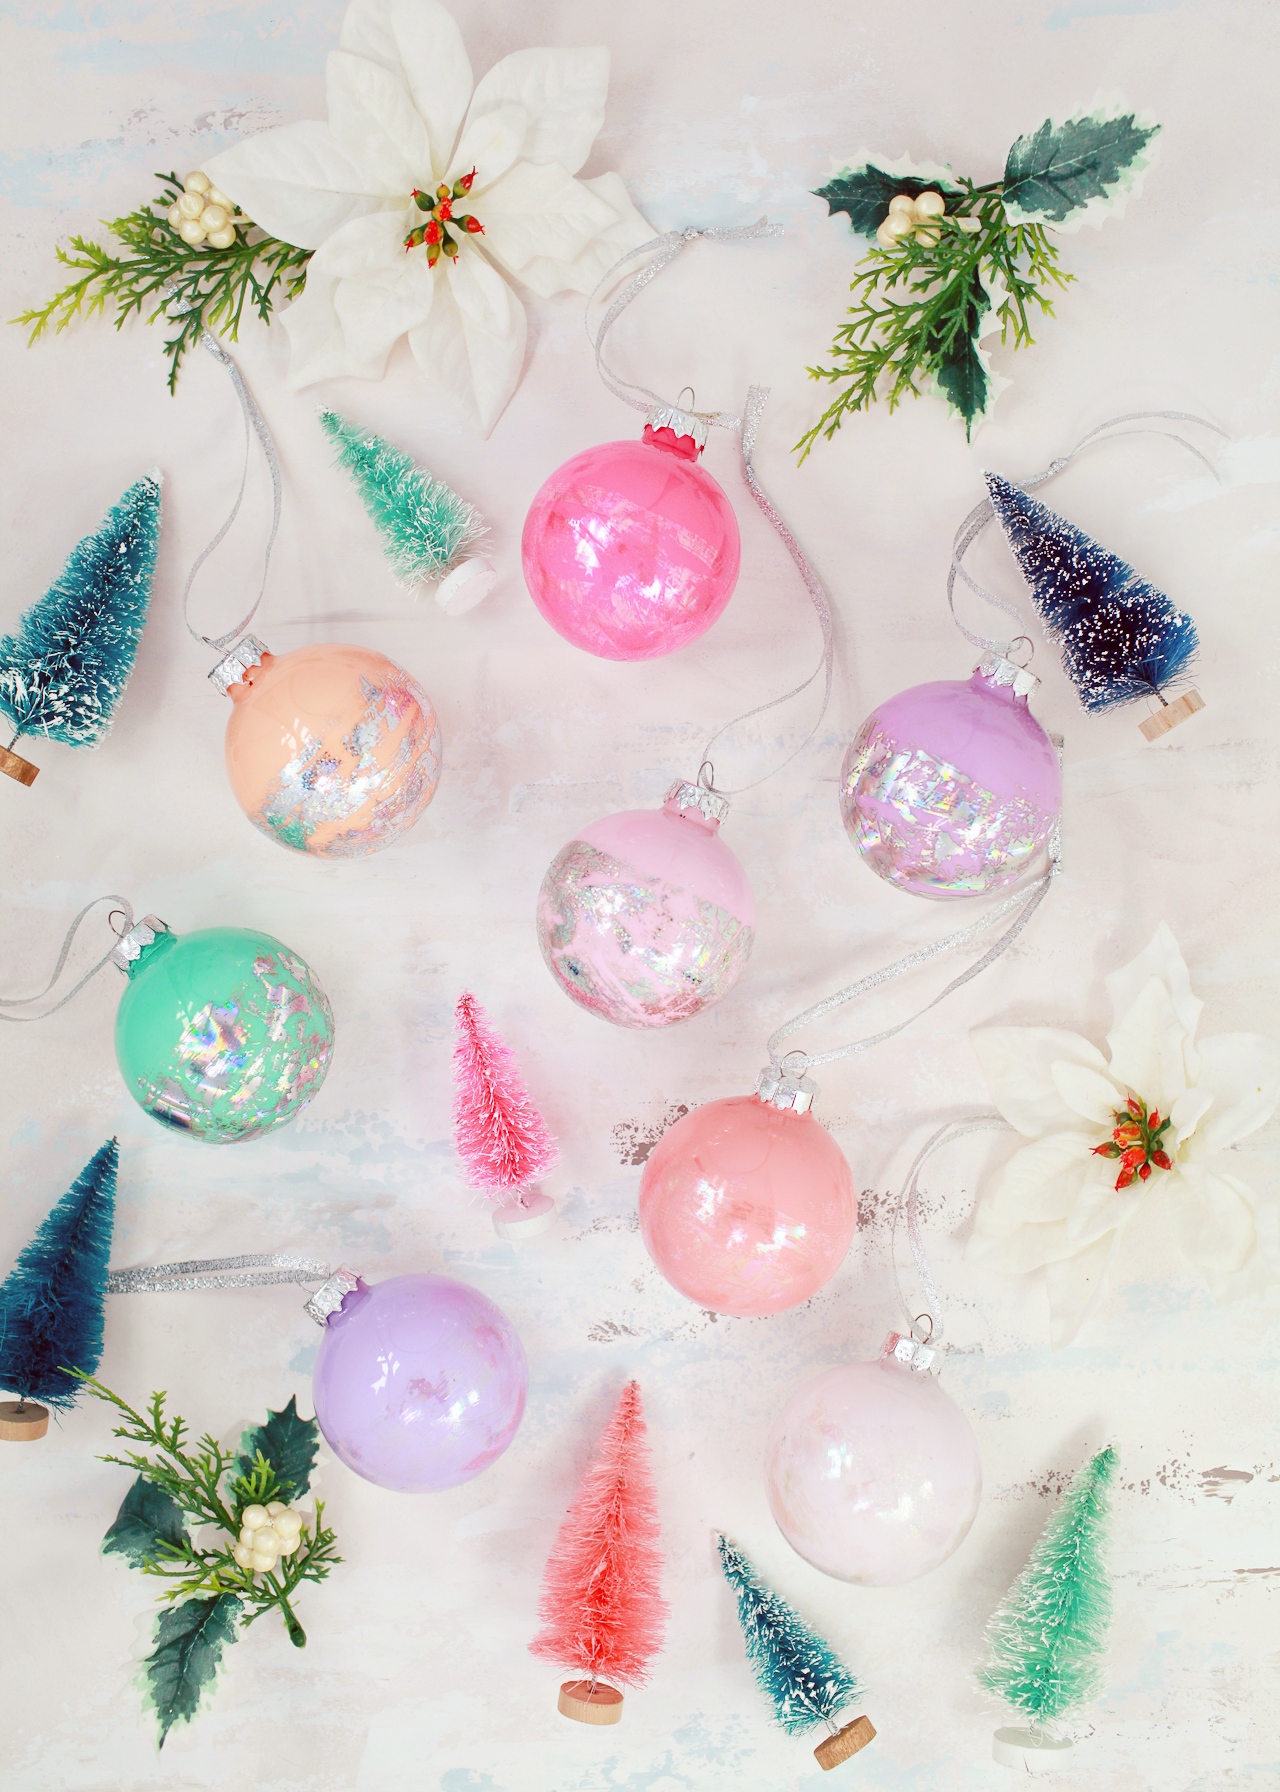
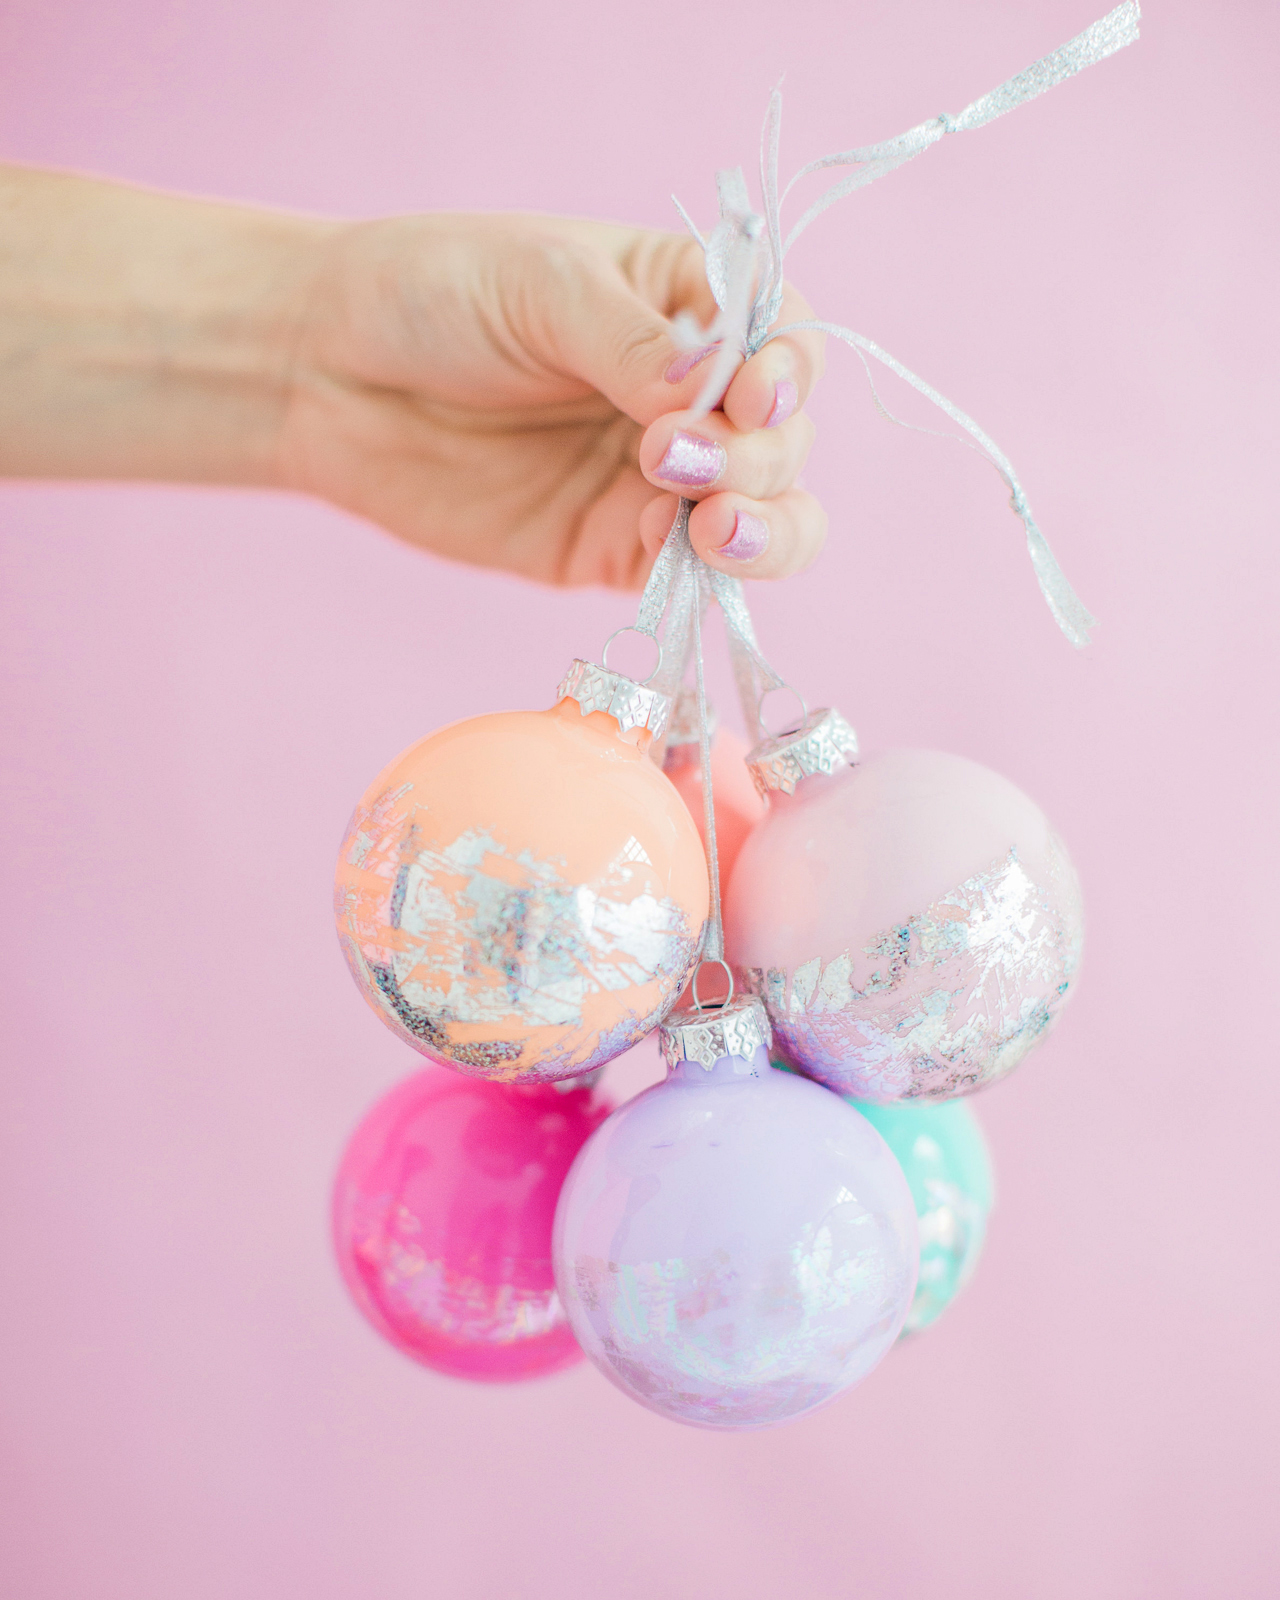
I know pastels are on the non-traditional side for Christmas, but I just couldn’t resist! I used clear glass ornaments and filled them in with a few colors of craft paint that I had on hand, but you could definitely pick more traditional colors. Or use existing solid color ornaments – either glass or plastic. The hologram nail foils stick to pretty much anything!
DIY Hologram Foil Ornaments

DIY Hologram Foil Ornaments

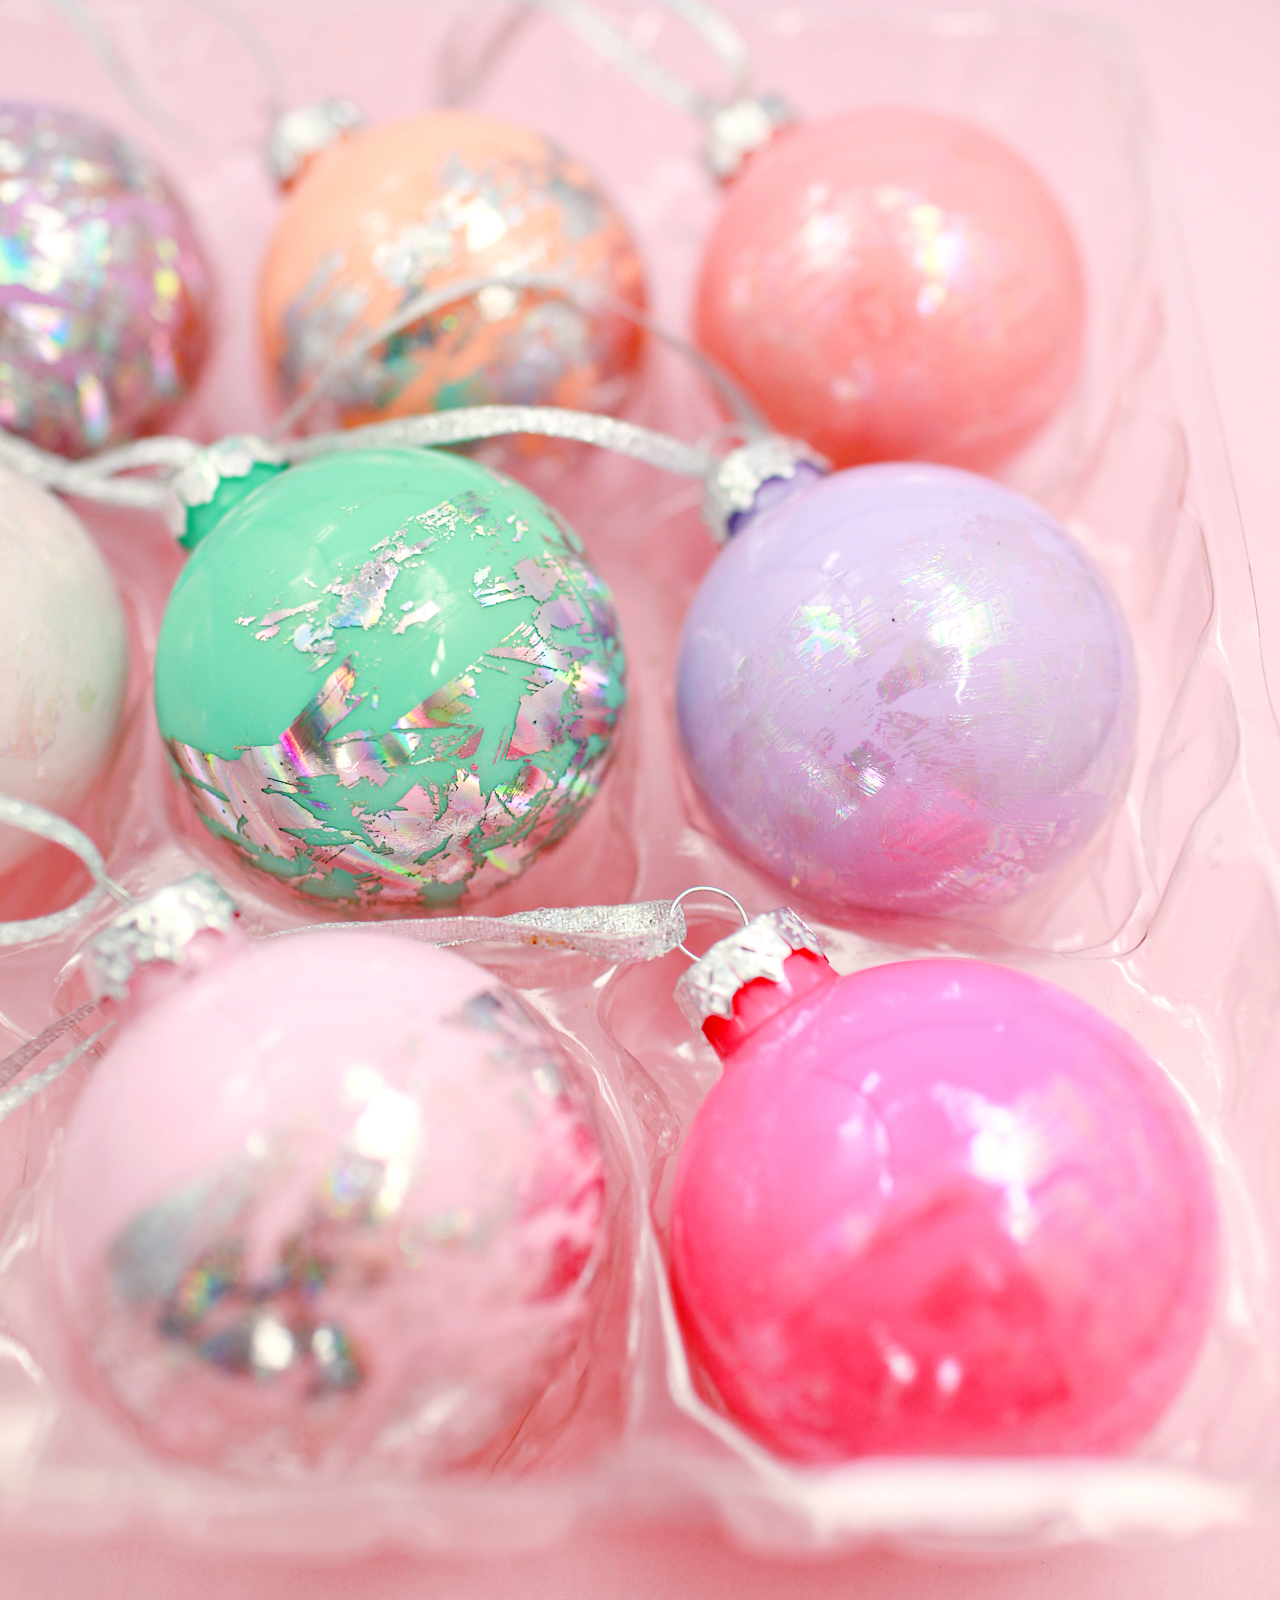
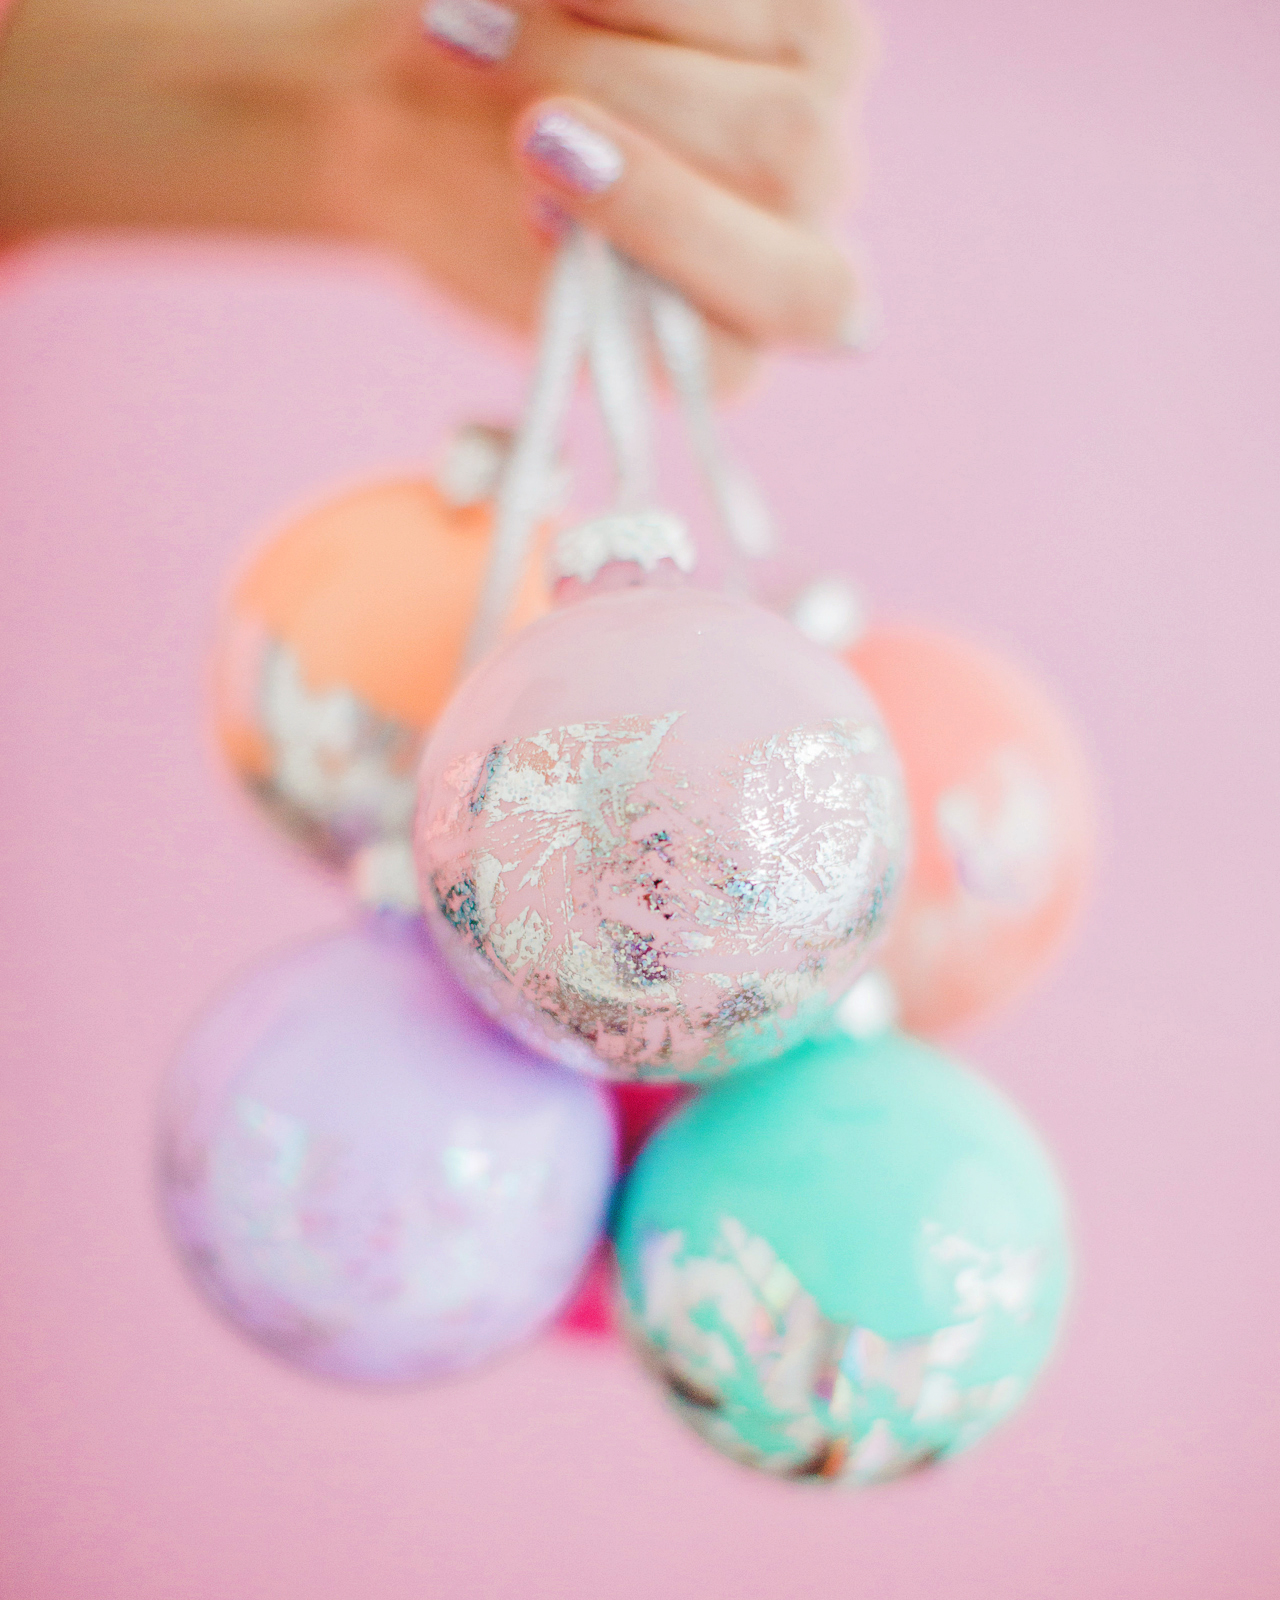
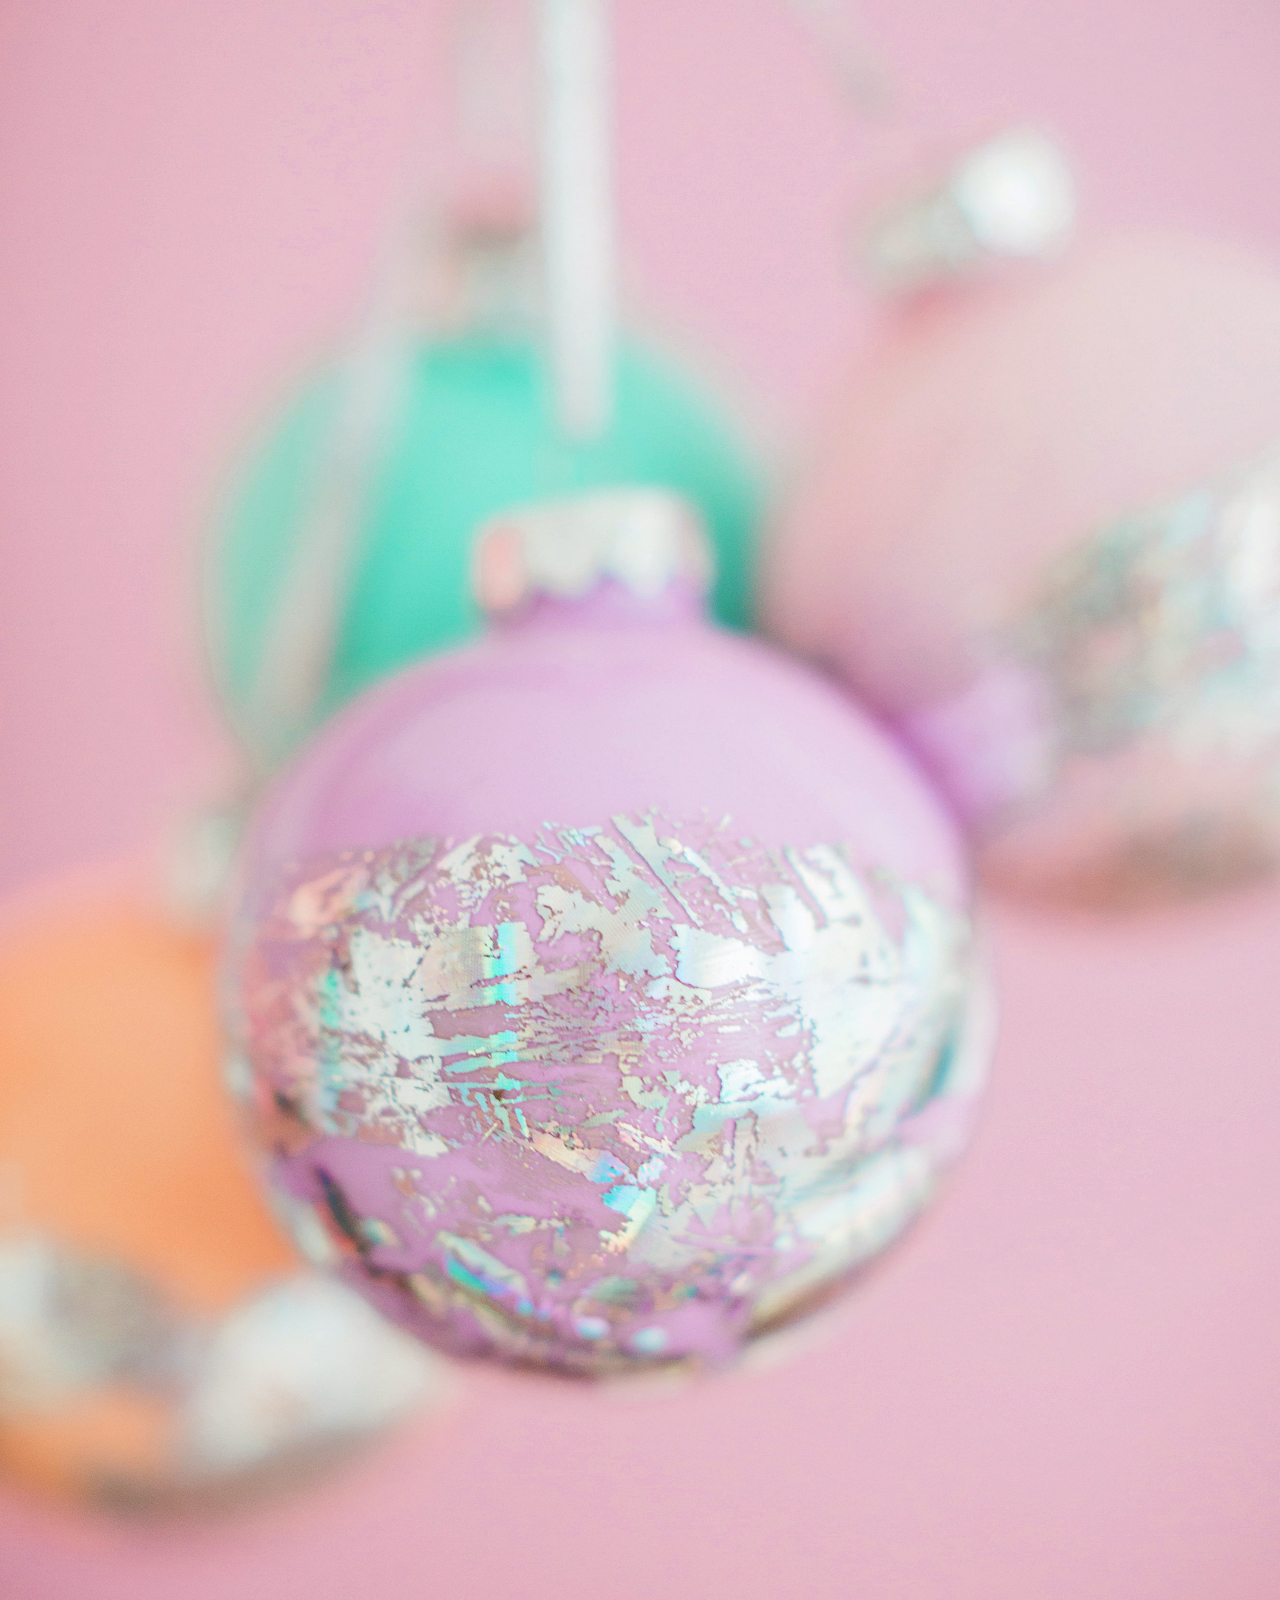
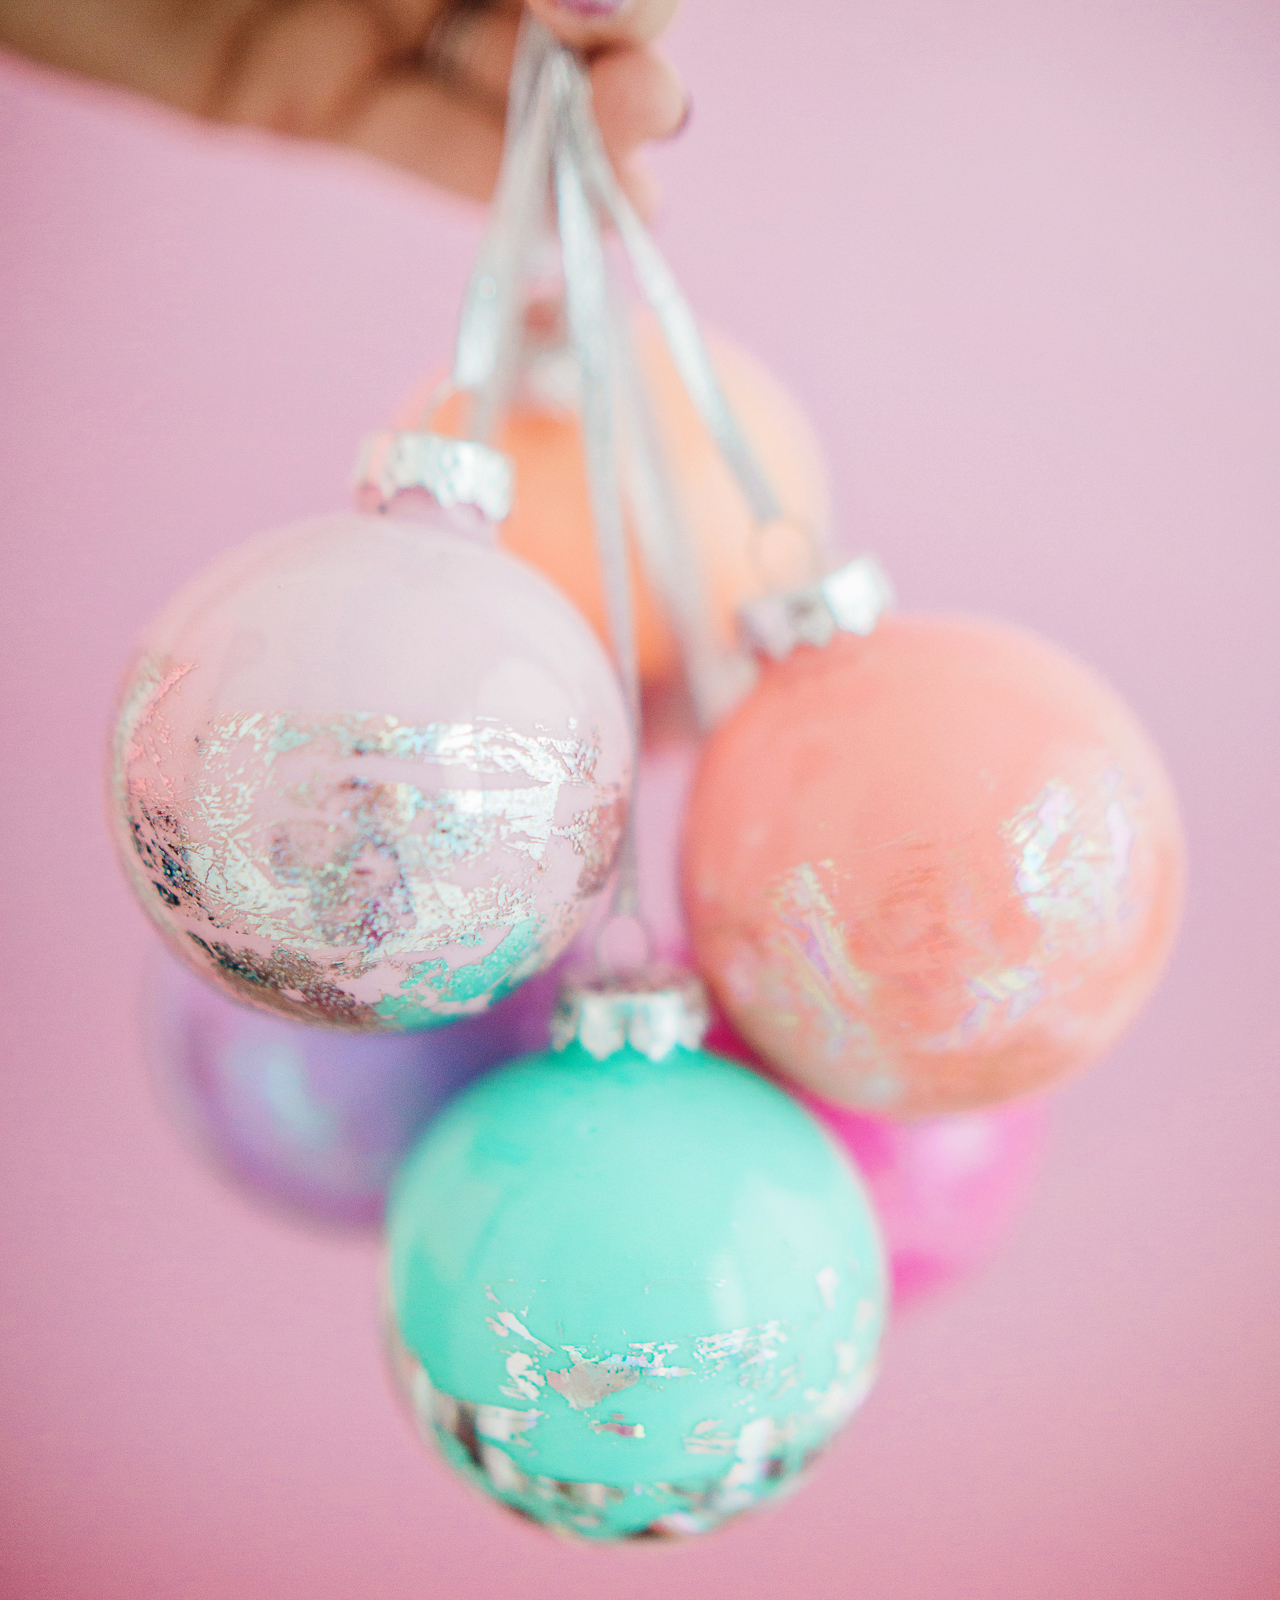
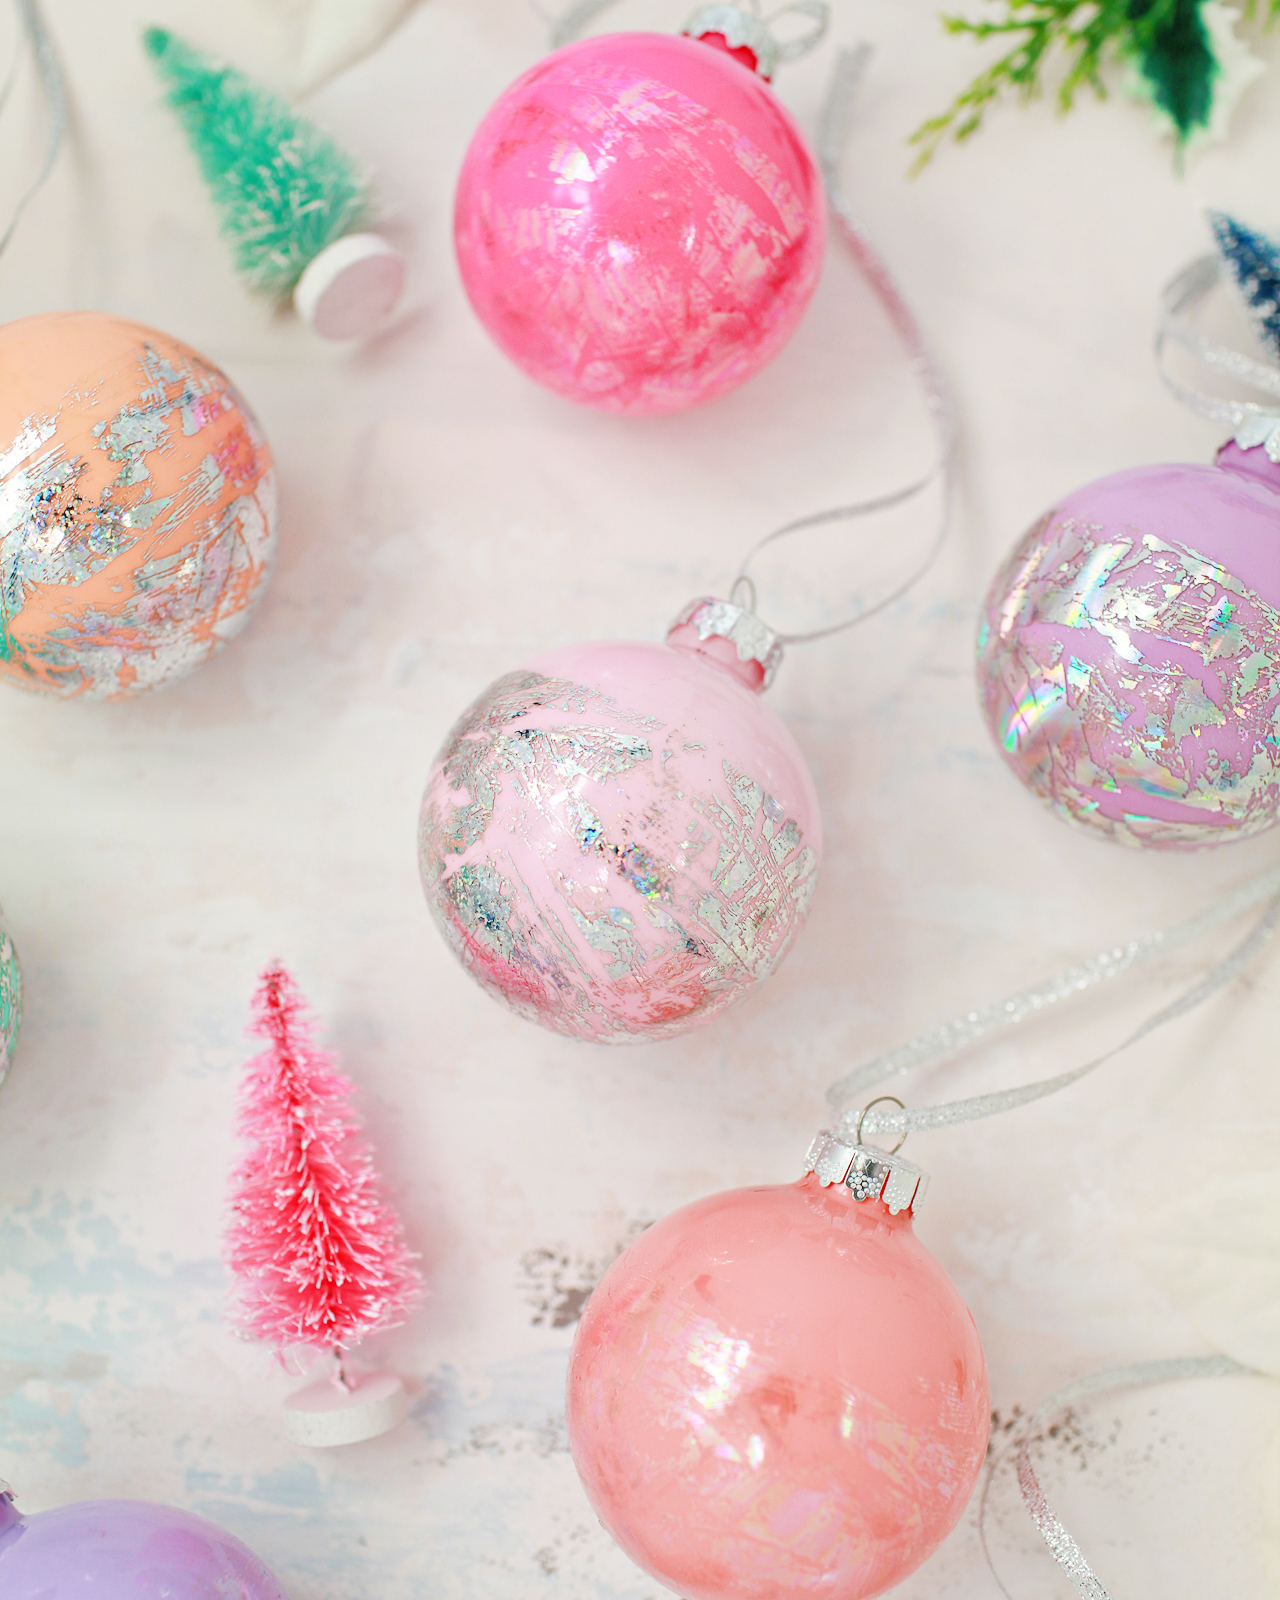
The silver hologram foil really stands out, while the clear iridescent foil makes for a more subtle shimmer – but both are just totally gorgeous in person. That lavender and iridescent opal swirl is such a dreamy combination!
DIY Hologram Foil Ornaments

DIY Hologram Foil Ornaments

DIY Hologram Foil Ornaments

Supplies

Plastic or glass ornaments

Nail foil in your choice of color – I used Silver Spectrum, Silver Dots, Opal Glitter, and Opal Swirl. I bought all my nail foils here, but you can also find some fun colors and patterns on Amazon.

Nail foil transfer adhesive

Thin ribbon

Craft paint in assorted colors (optional)
DIY Hologram Foil Ornaments

To make the DIY hologram foil ornaments:

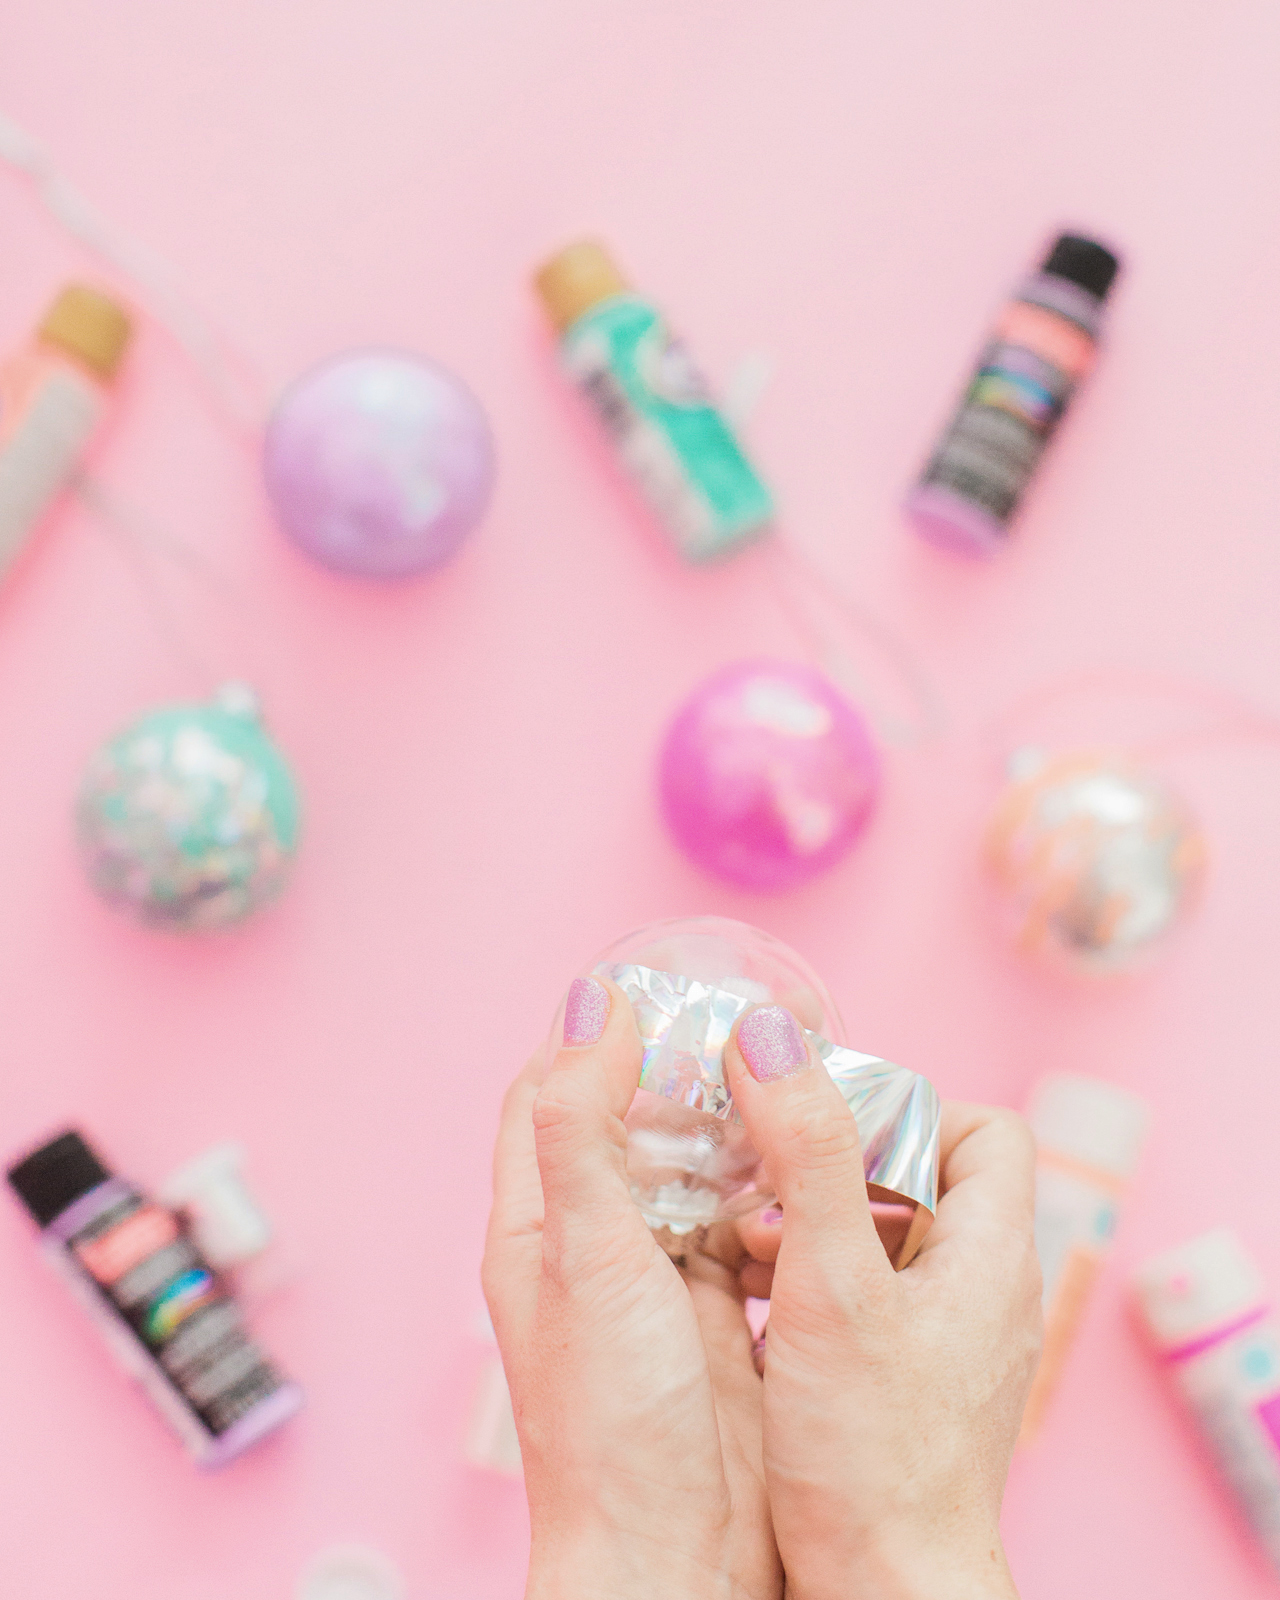
Step 1. Start by cutting several lengths of nail foil in your chosen colors. I usually needed one 5-inch piece to wrap around the middle of the ornament, then a few 3-inch pieces to fill in the rest of the ornament. The foiling process moves pretty quickly, so it’s helpful to have a bunch of pre-cut pieces ready to apply ahead of time. 

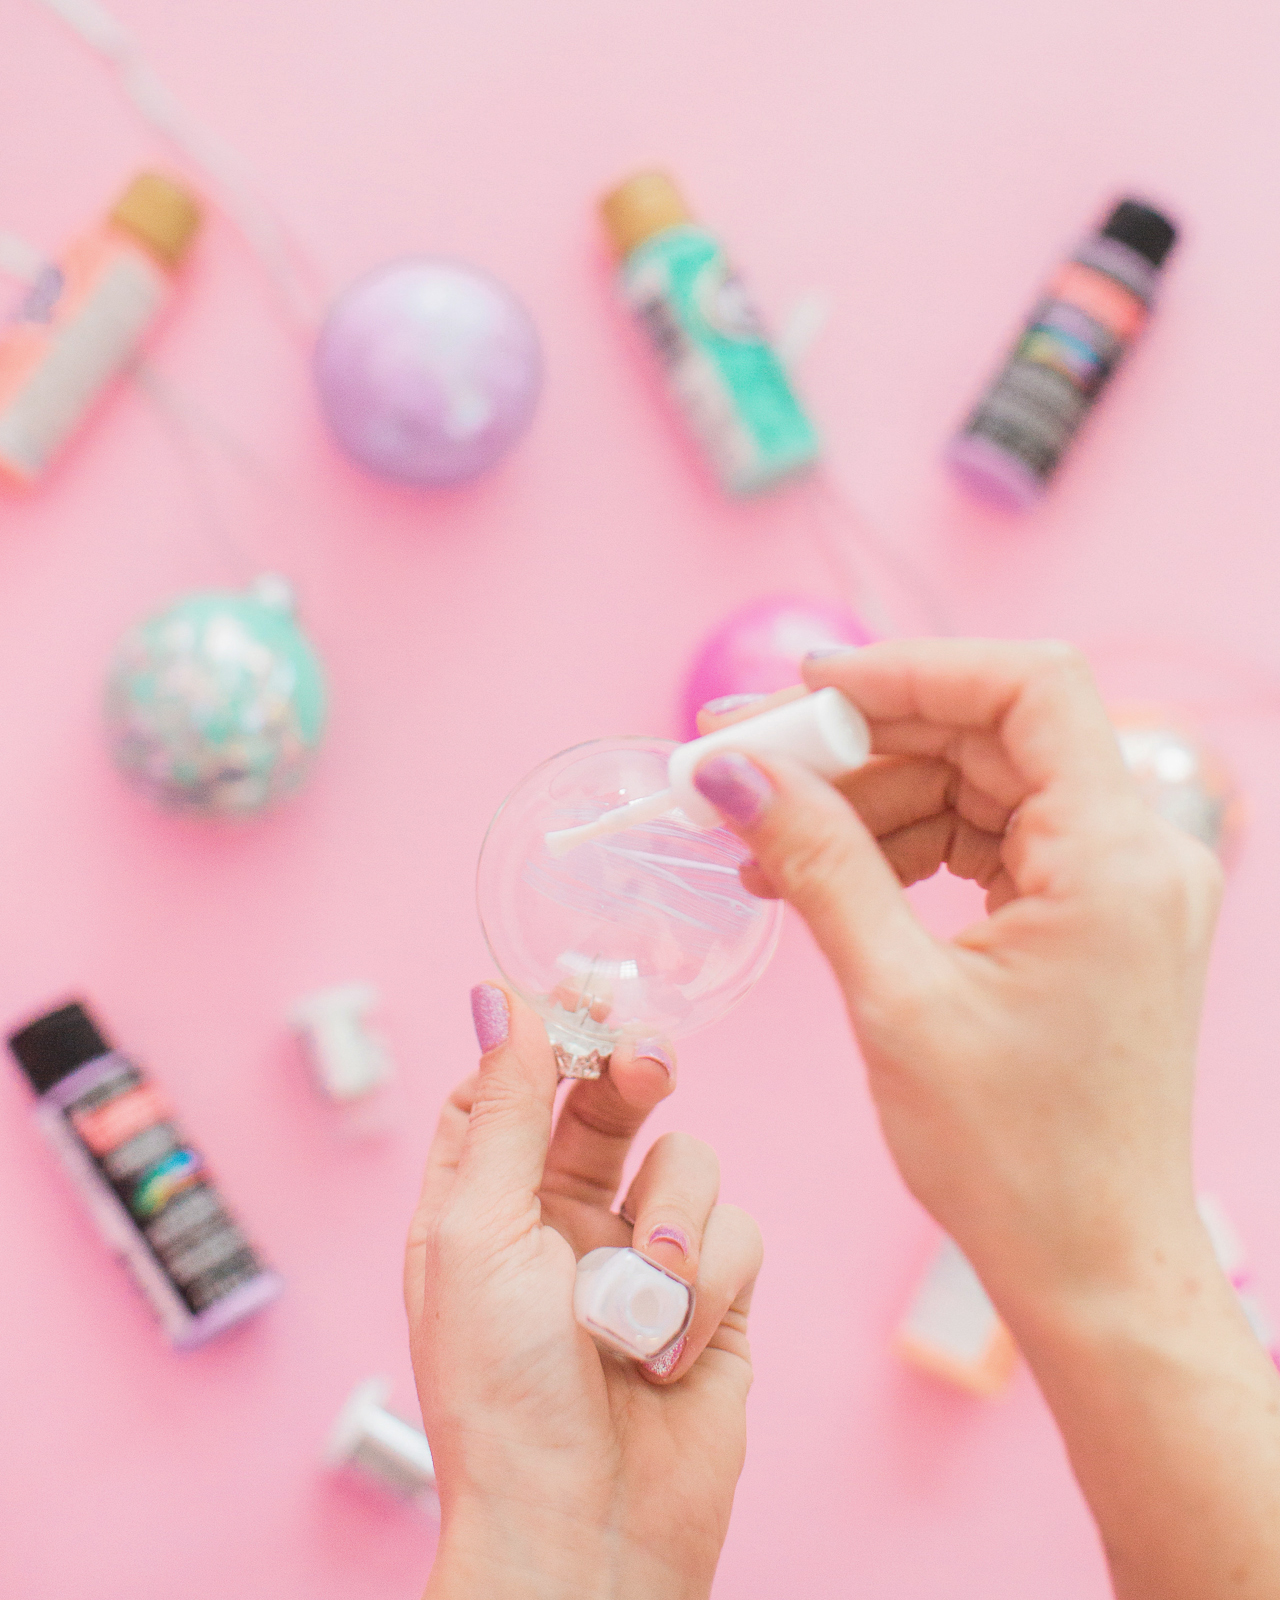
Step 2. Apply the nail foil transfer adhesive to the bottom half of your ornament. Allow the adhesive to dry until it becomes clear and tacky (usually 2-3 minutes).

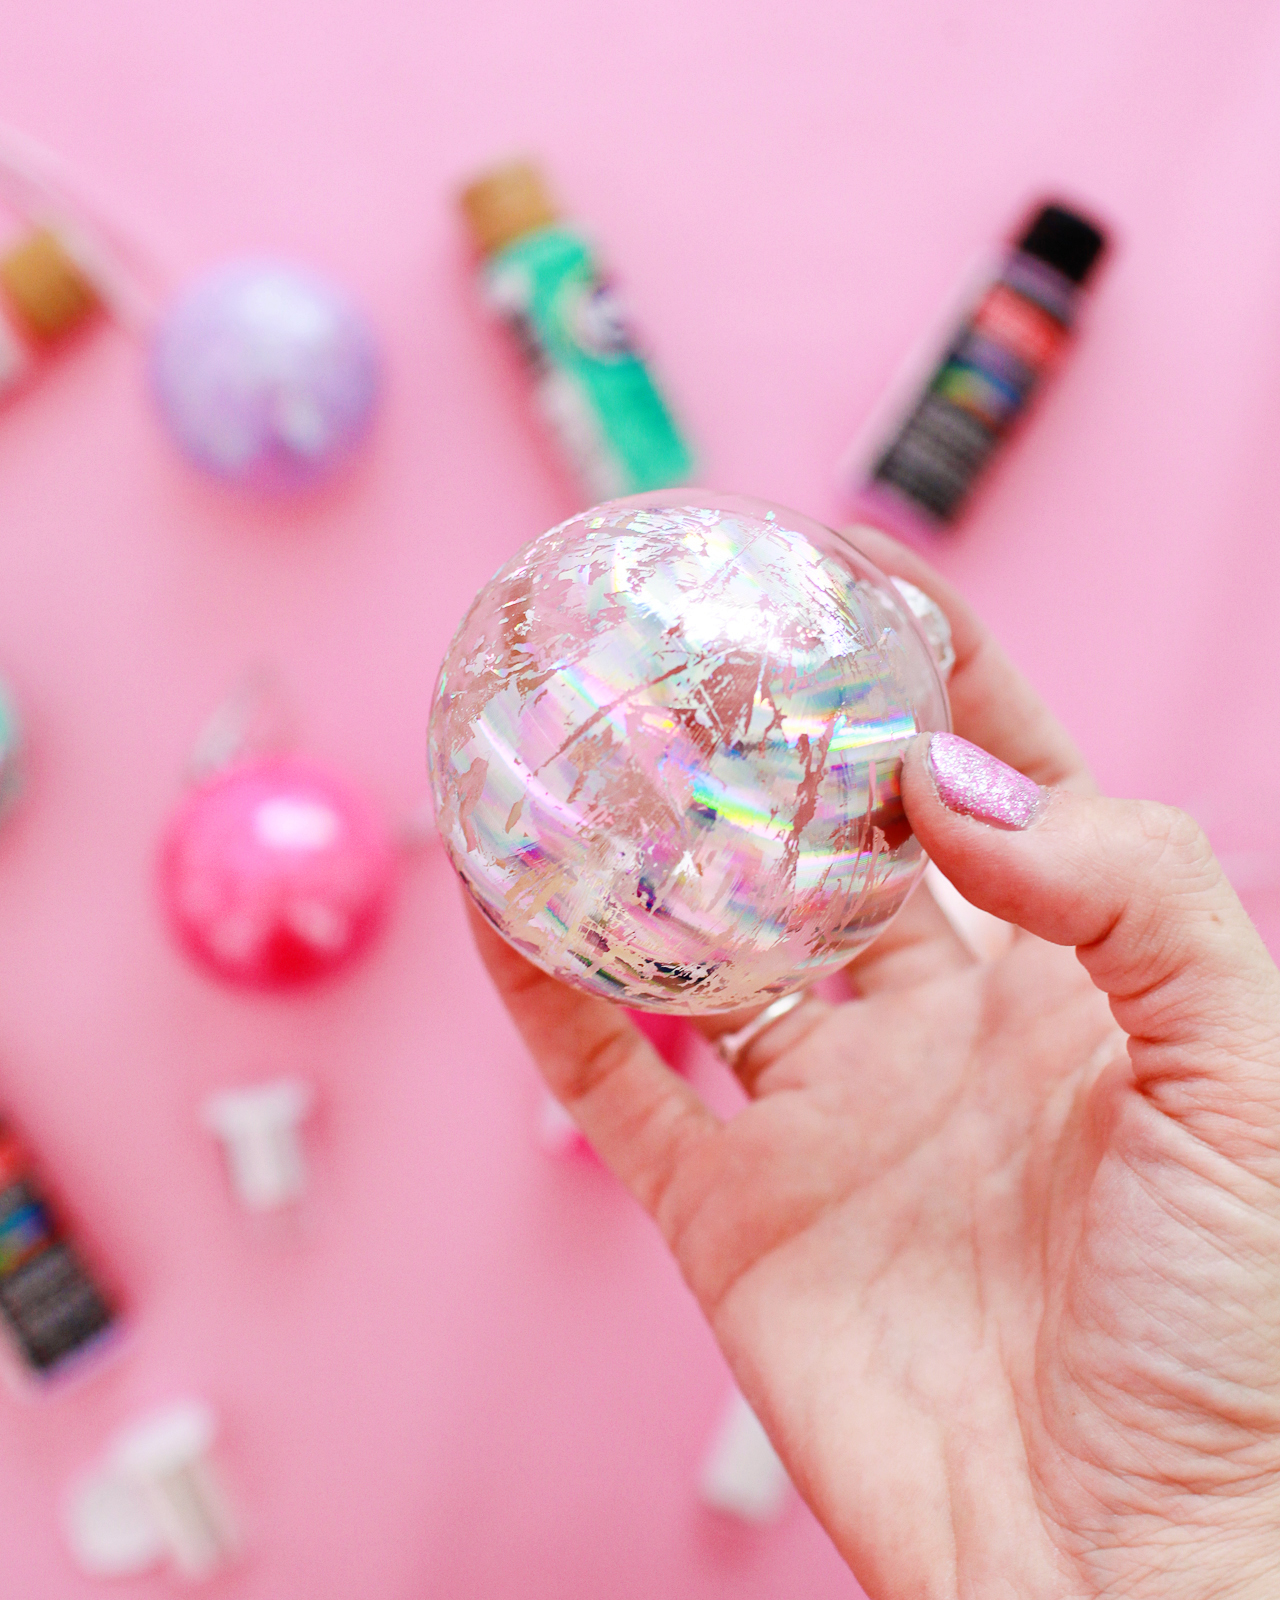
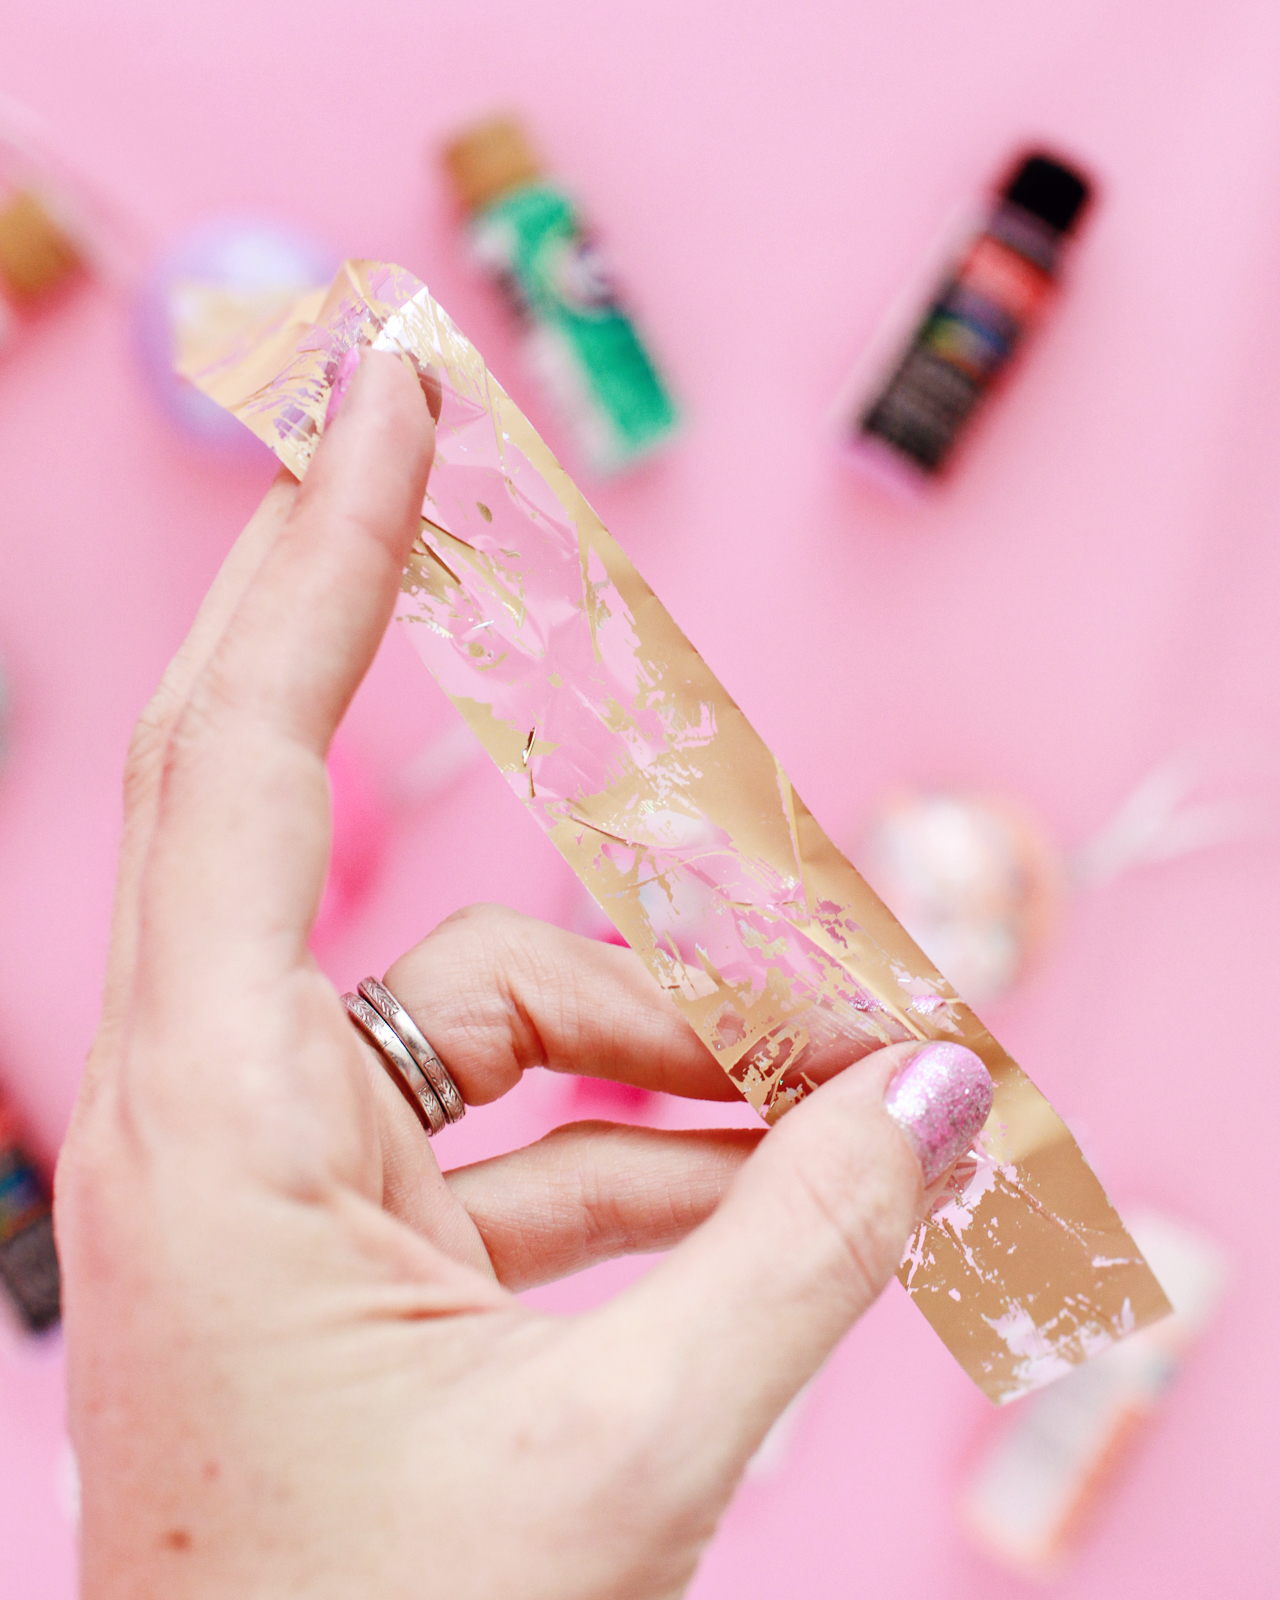
Step 3. Once the adhesive is clear, apply the hologram foil to the ornament, pressing the foil down over the adhesive and smoothing it down with your fingers. Smooth the foil down for 10-20 seconds, then remove the foil. Continue applying the nail foils over all parts of the ornament where you applied the adhesive until you’re satisfied with the amount of coverage.

Step 4. If using clear glass ornaments, remove the top of each ornament, then fill the ornaments with craft paint in your chosen colors. With your finger (and maybe a paper towel) over the open end, shake the ornament until the paint covers the entire inside of the ornament. Allow the paint to dry completely (ideally overnight), then replace the ornament top. If using solid color ornaments, you can skip this step entirely!

Step 5. Cut a length of thin ribbon and string it through the ornament – and it’s ready to hang!
DIY Hologram Foil Ornaments

DIY Hologram Foil Ornaments

DIY Hologram Foil Ornaments

DIY Hologram Foil Ornaments

DIY Hologram Foil Ornaments

DIY Hologram Foil Ornaments

DIY Hologram Foil Ornaments


DIY Hologram Foil Ornaments

So much hologram and iridescent sparkle! Gah, I just love these ornaments SO much – and my girls are absolutely crazy about them! I think it also helped that I used their favorite colors to fill the inside of the glass ornaments. I’m loving all the pastel prettiness of these ornaments, but I also want to give this a try on some darker tones like navy blue and green!
DIY Hologram Foil Ornaments

DIY Hologram Foil Ornaments

DIY Hologram Foil Ornaments

DIY Hologram Foil Ornaments

What do YOU think?? Will you be making DIY hologram foil ornaments this year? If you do, I hope you’ll share a photo on Instagram with the hashtag #madewithosbp â€“ I want to see your craftiness in action!

p.s. DIY hologram foil Easter eggs and my favorite holiday gift wrap pairings

Photo Credits: Meghan Marie Photography and Nole Garey for Oh So Beautiful Paper

DIY Vellum Gift Tags

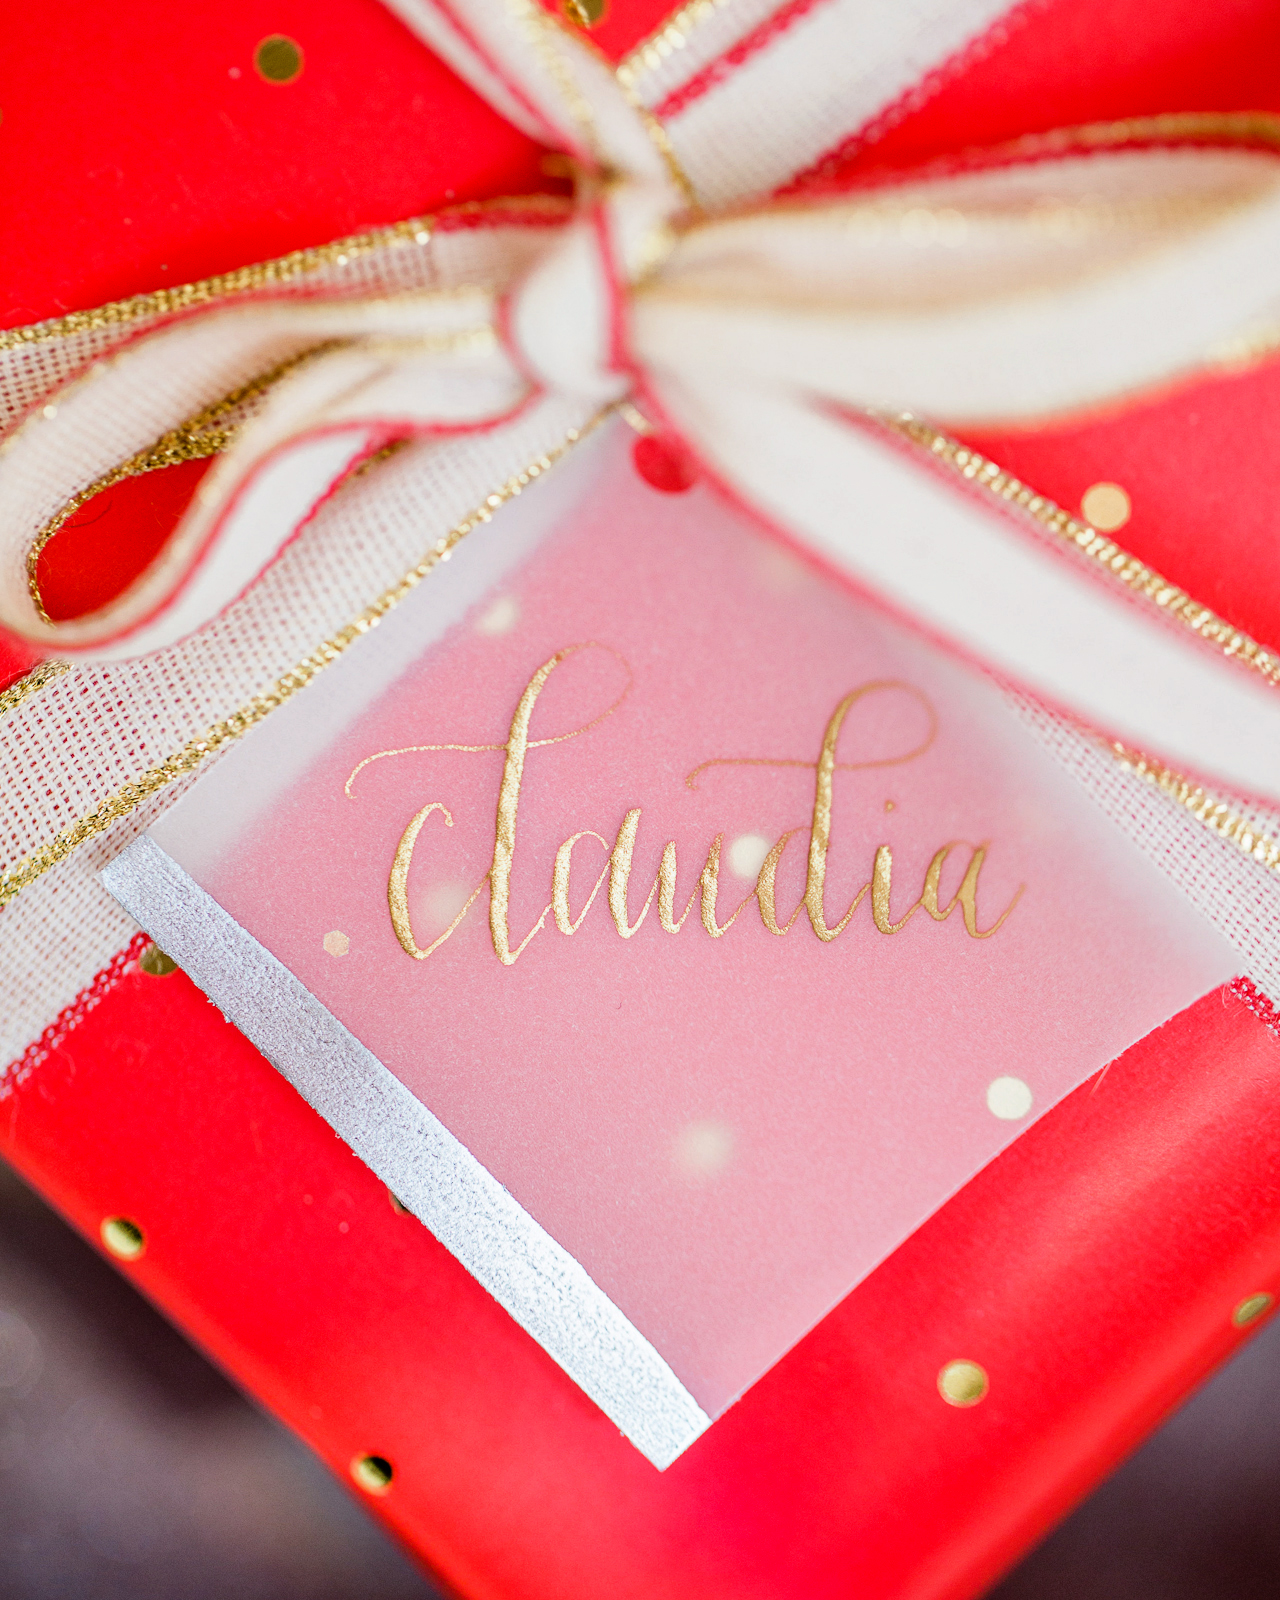
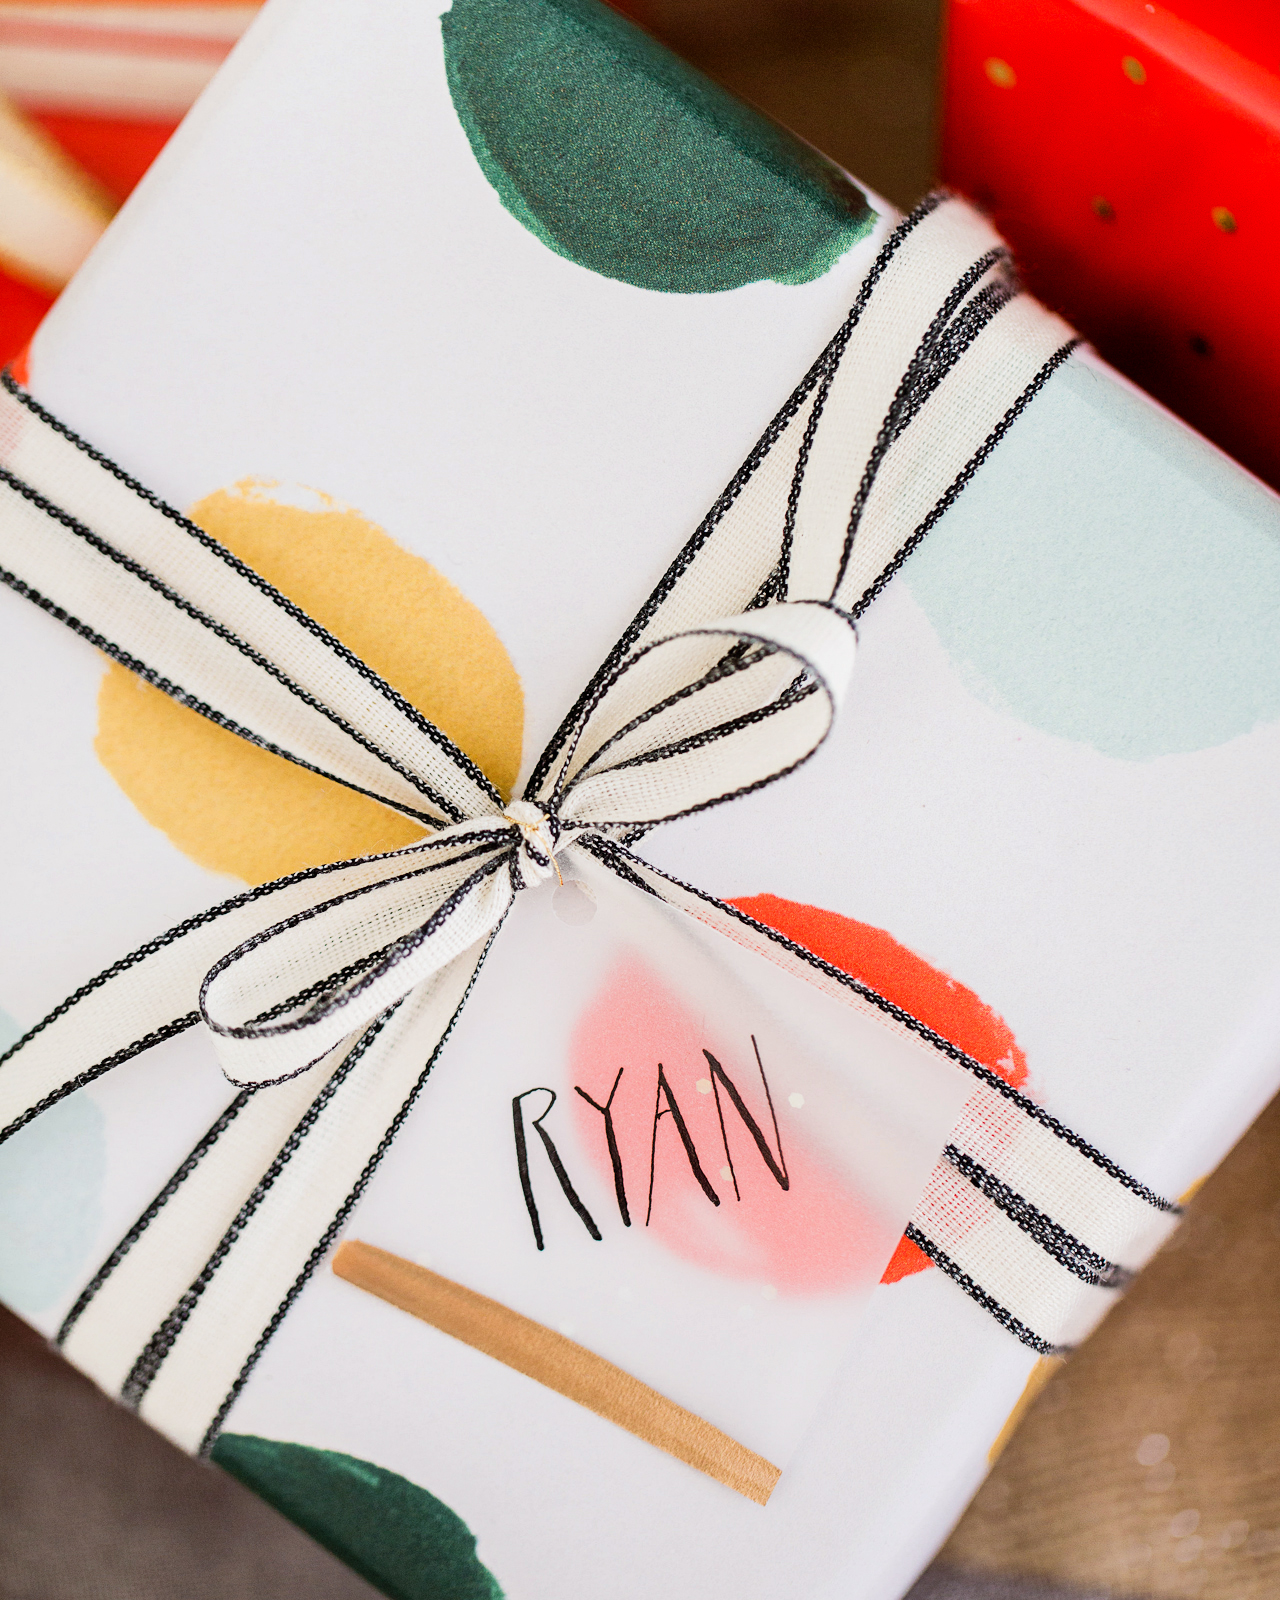
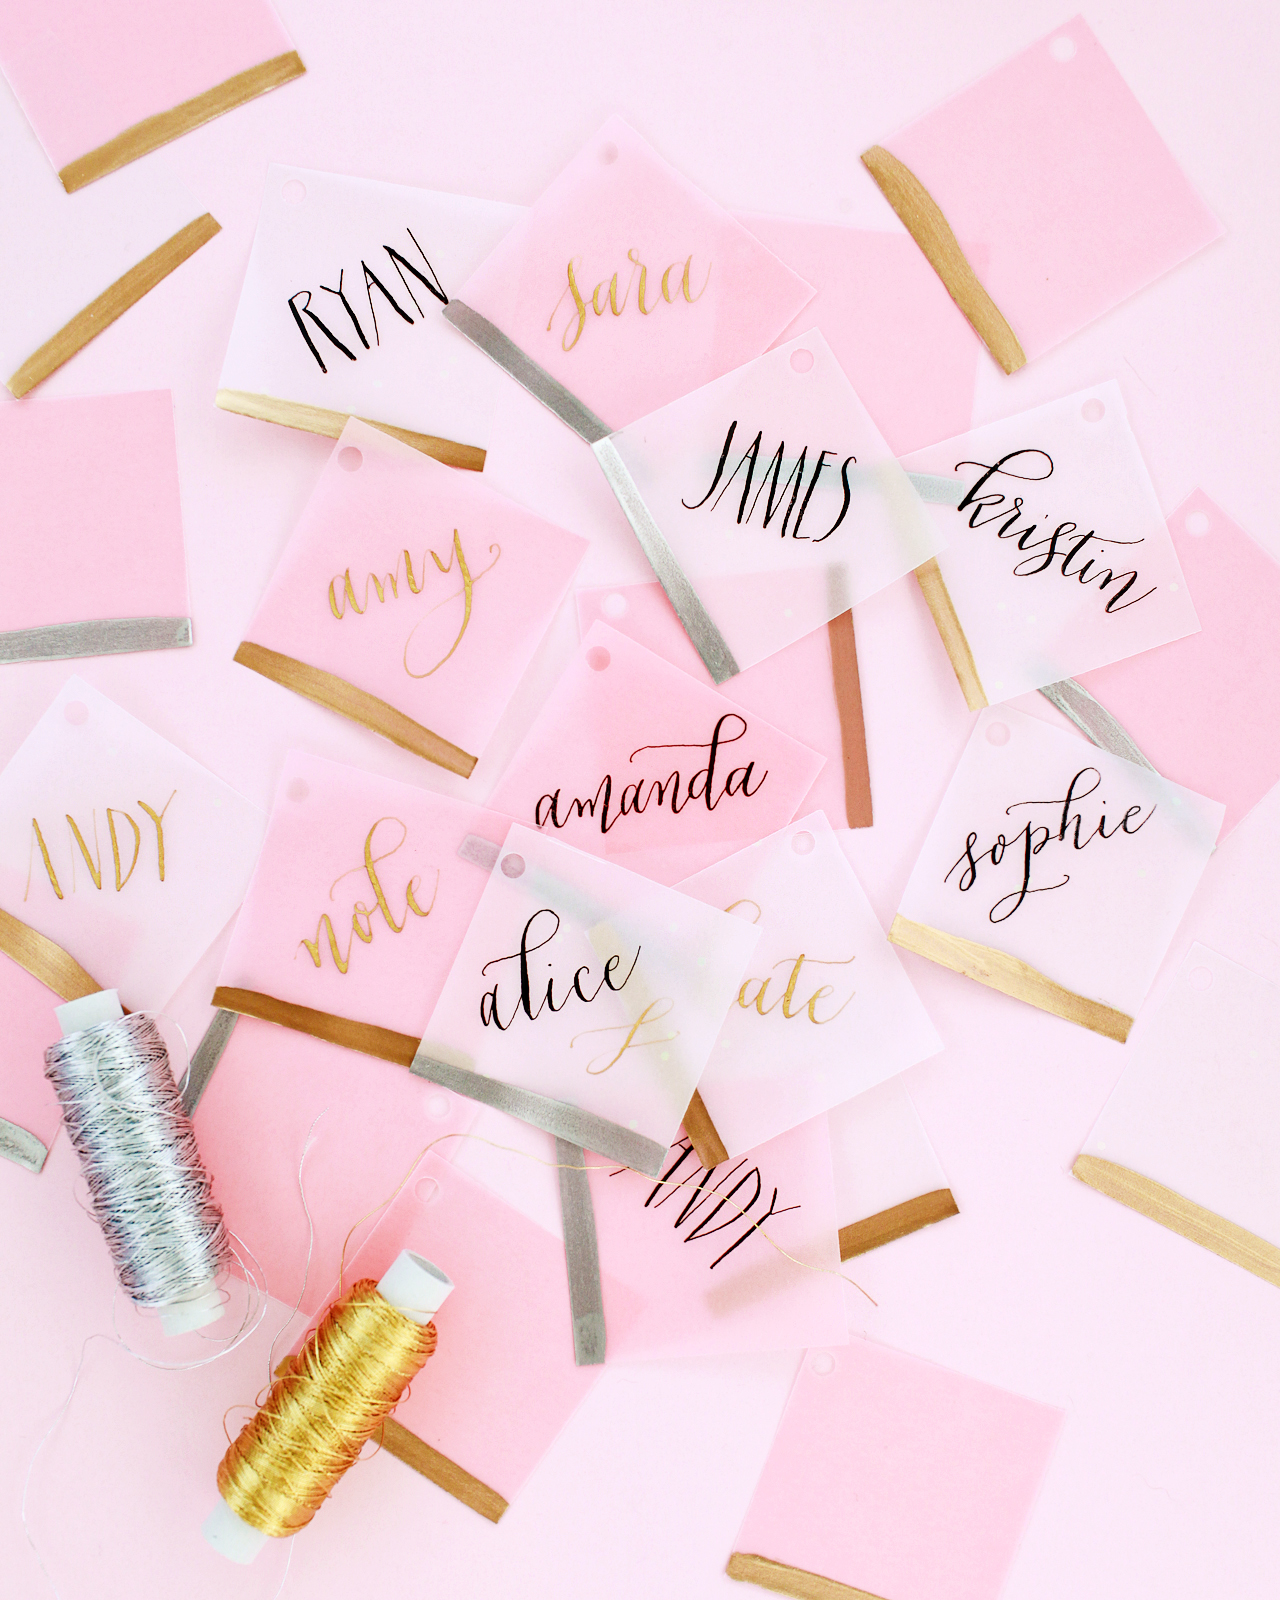
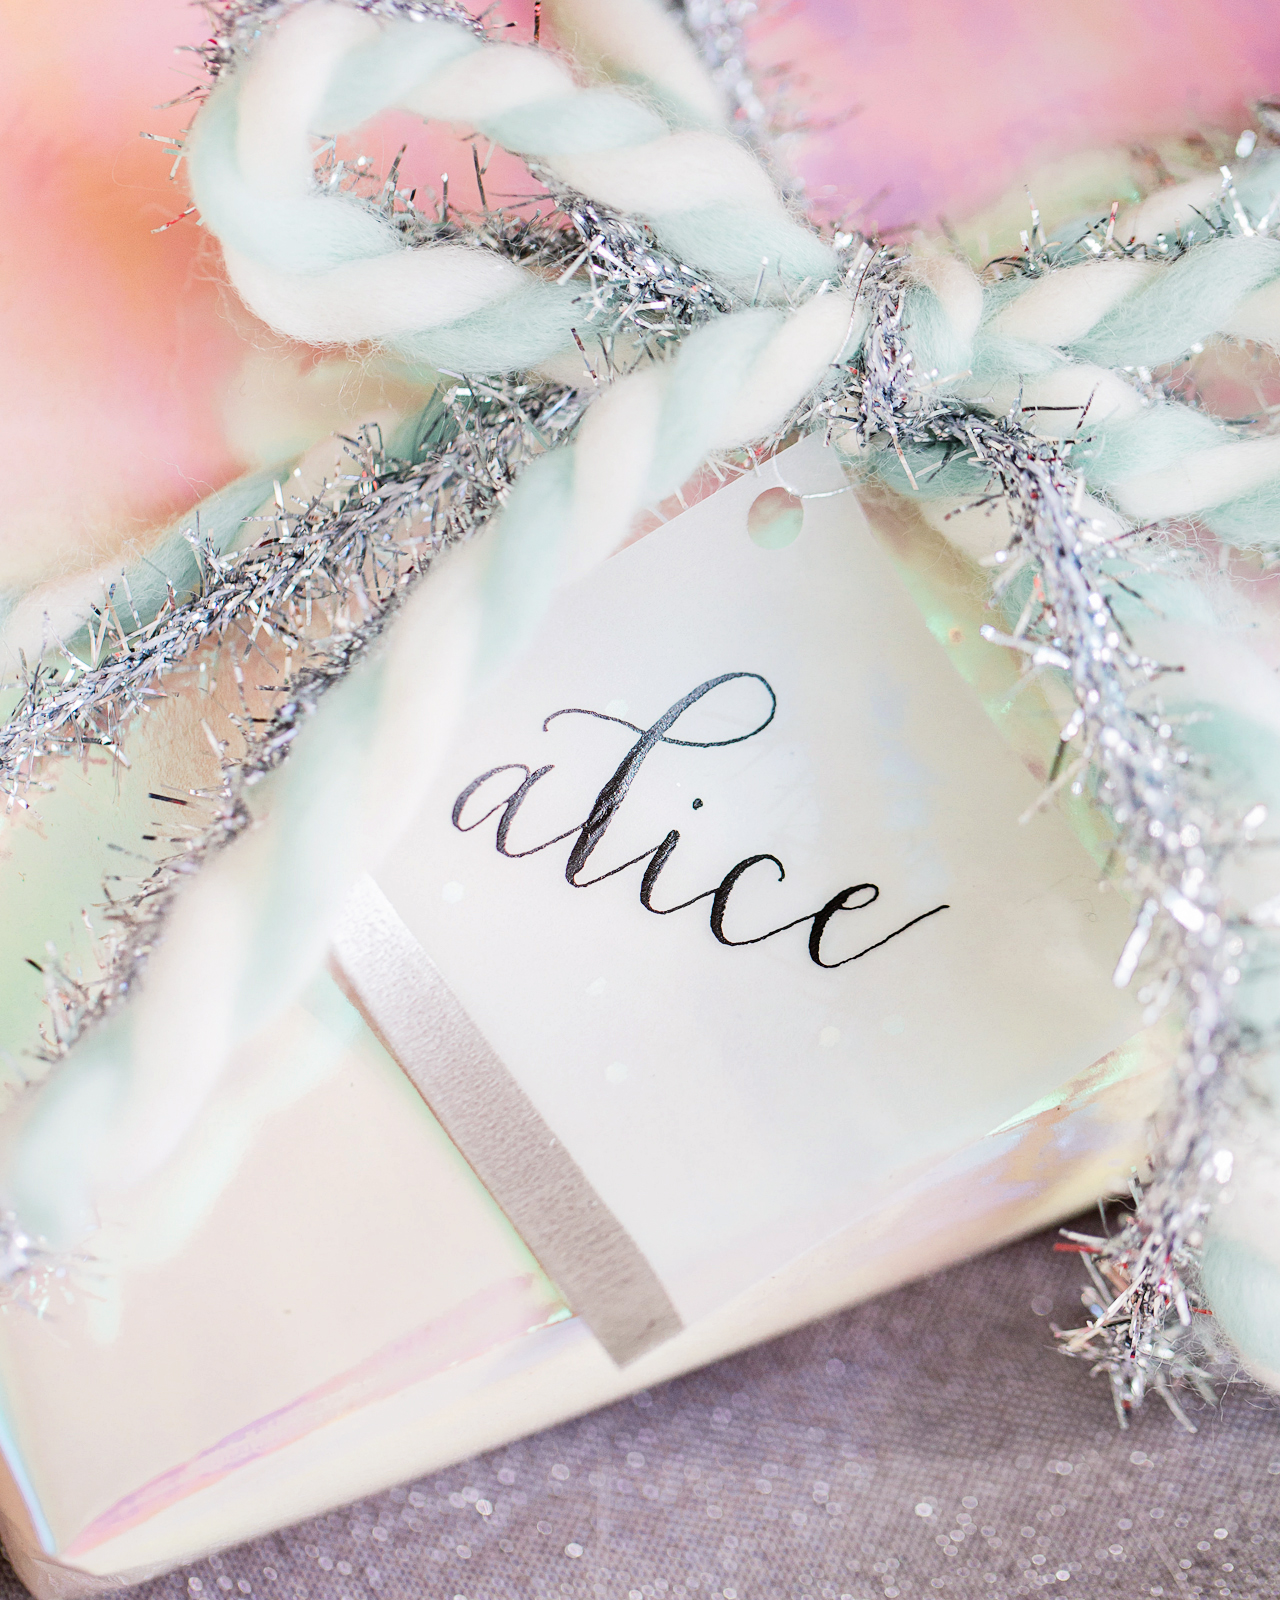
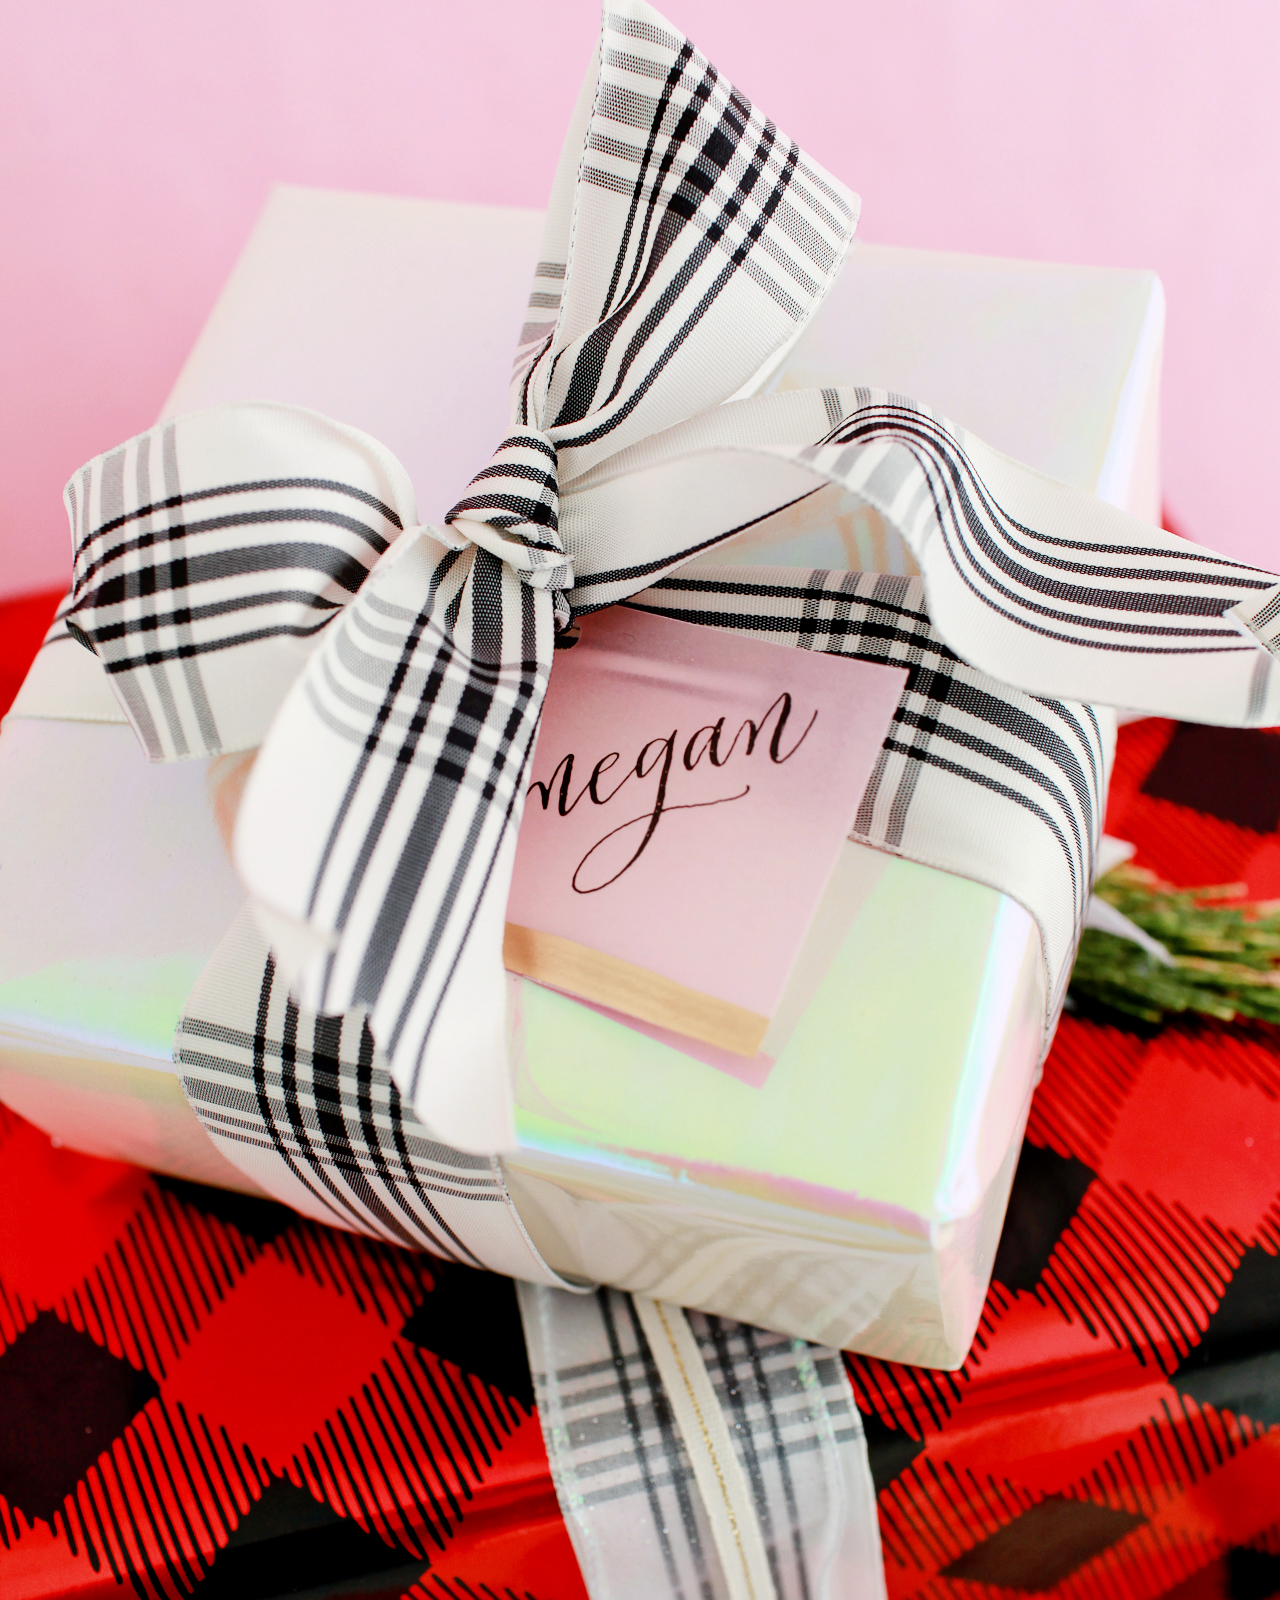
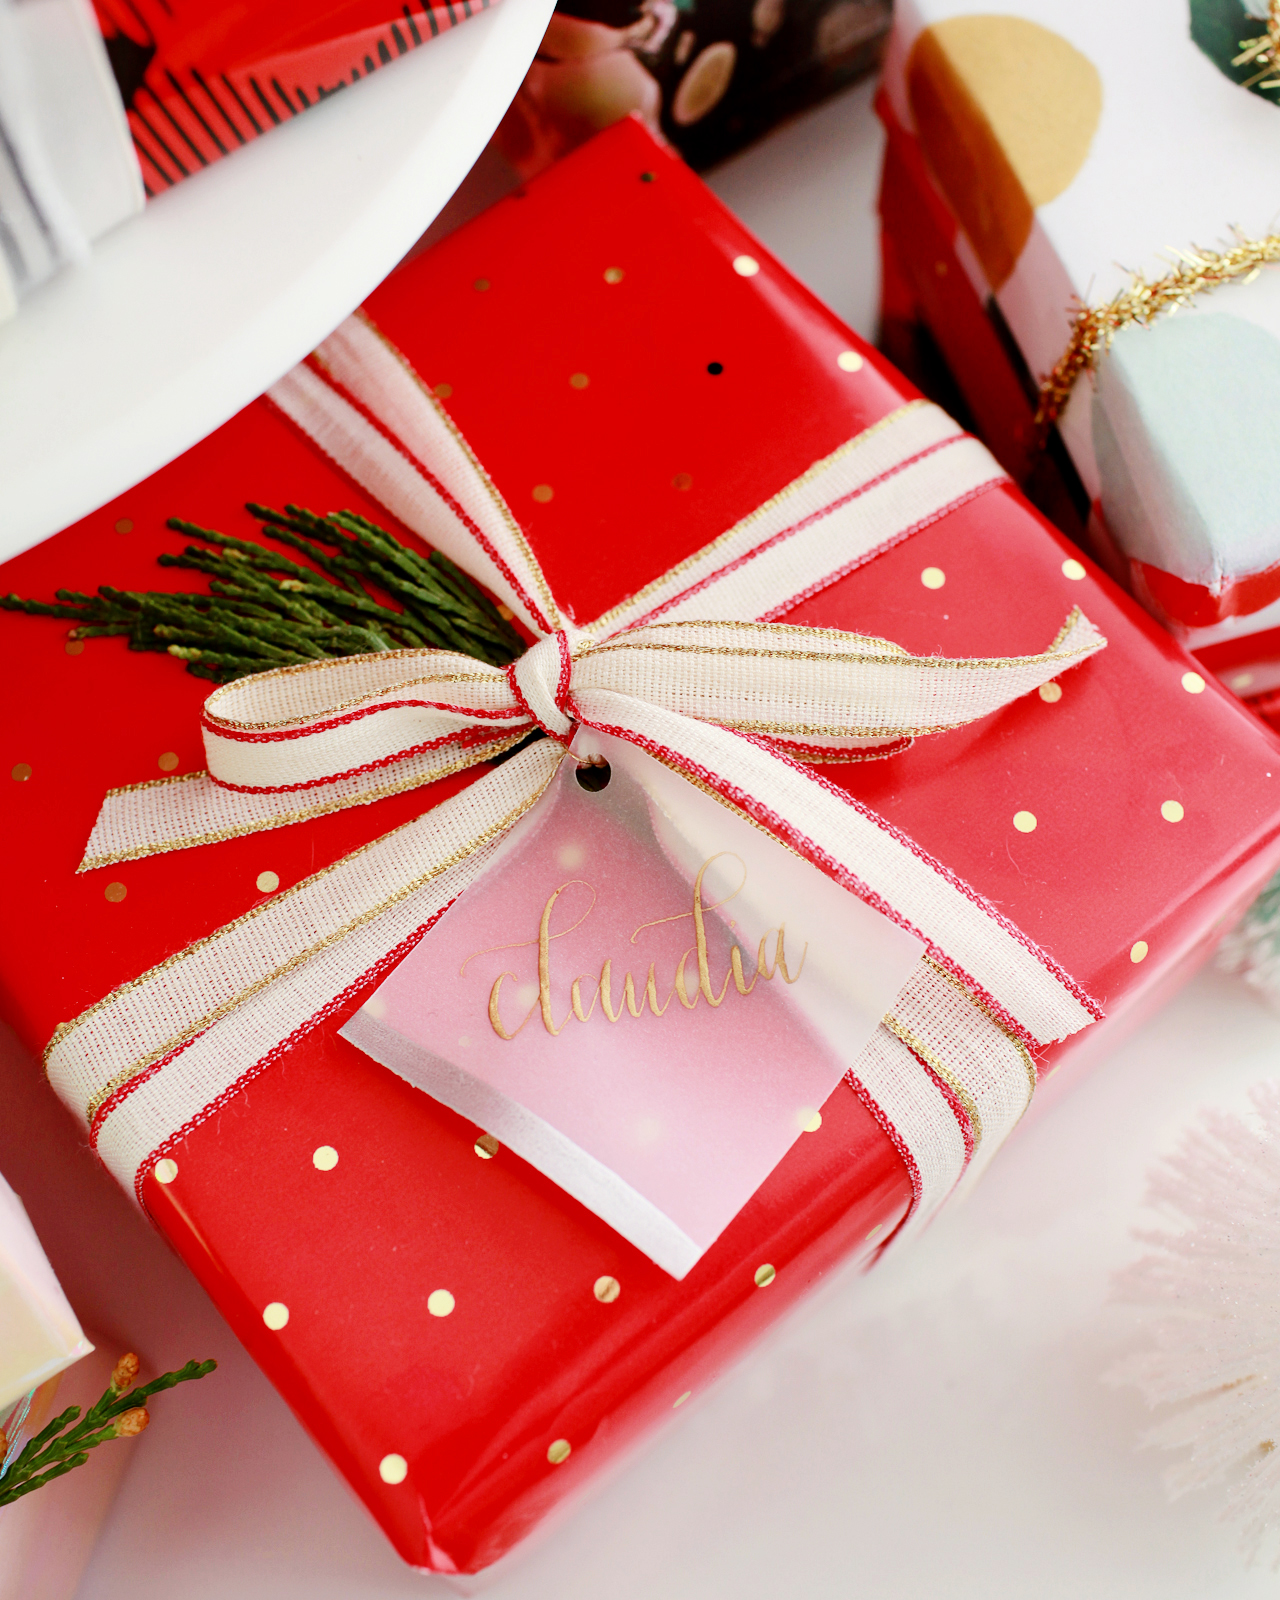
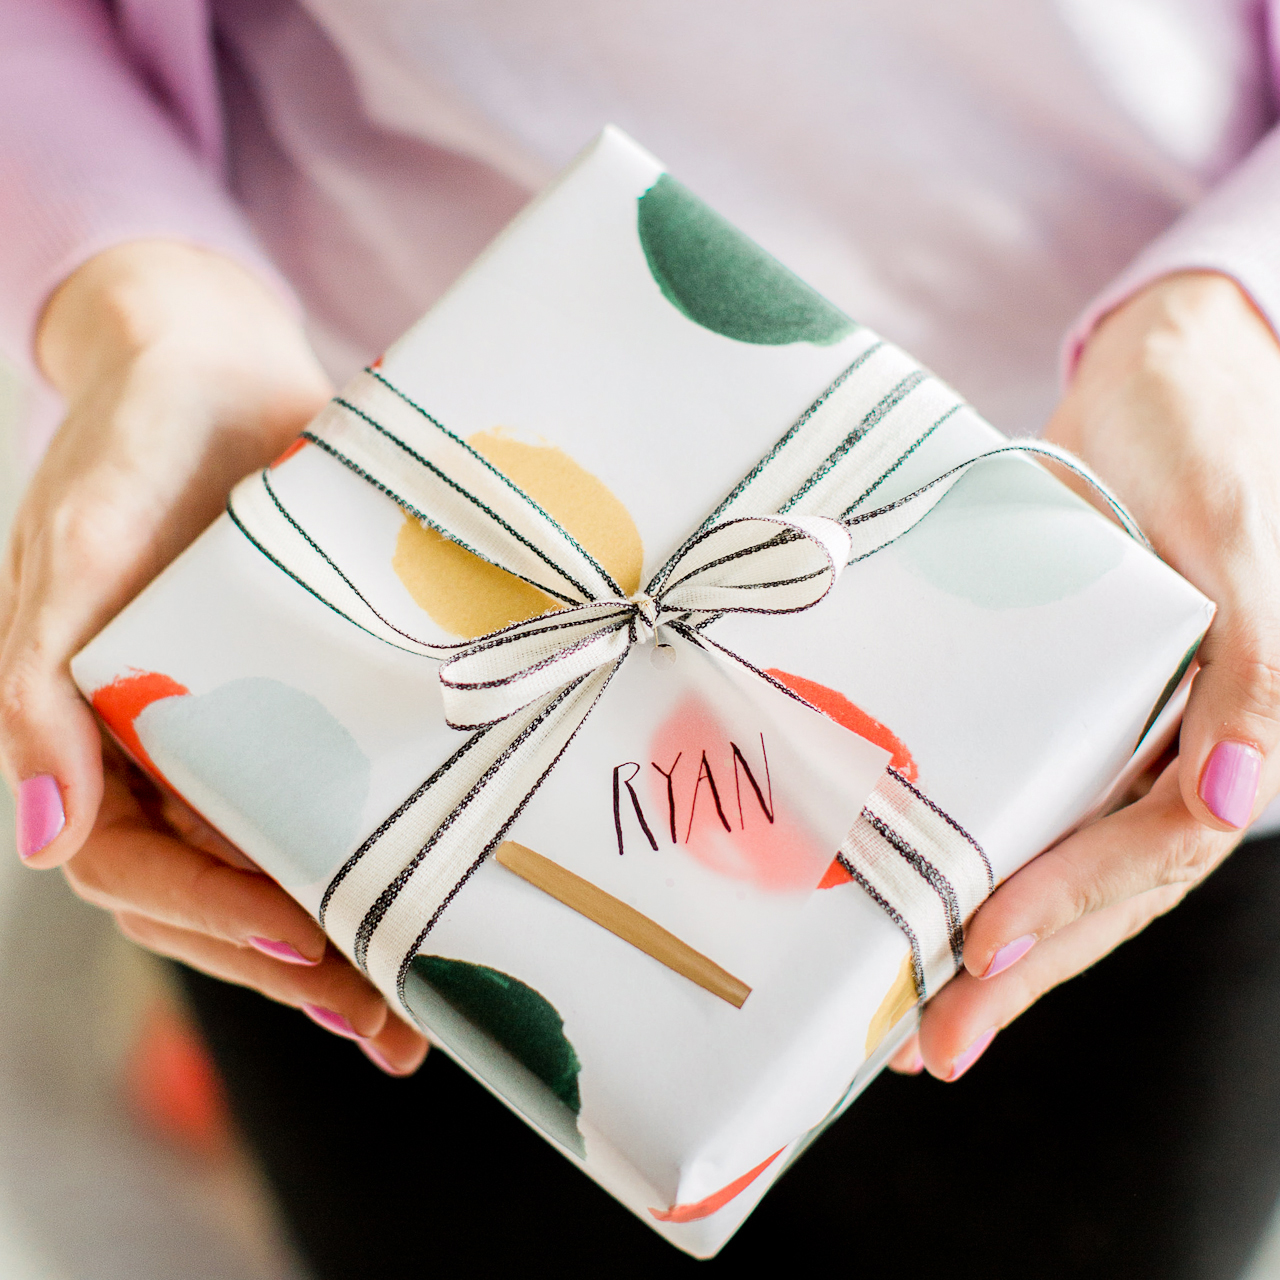
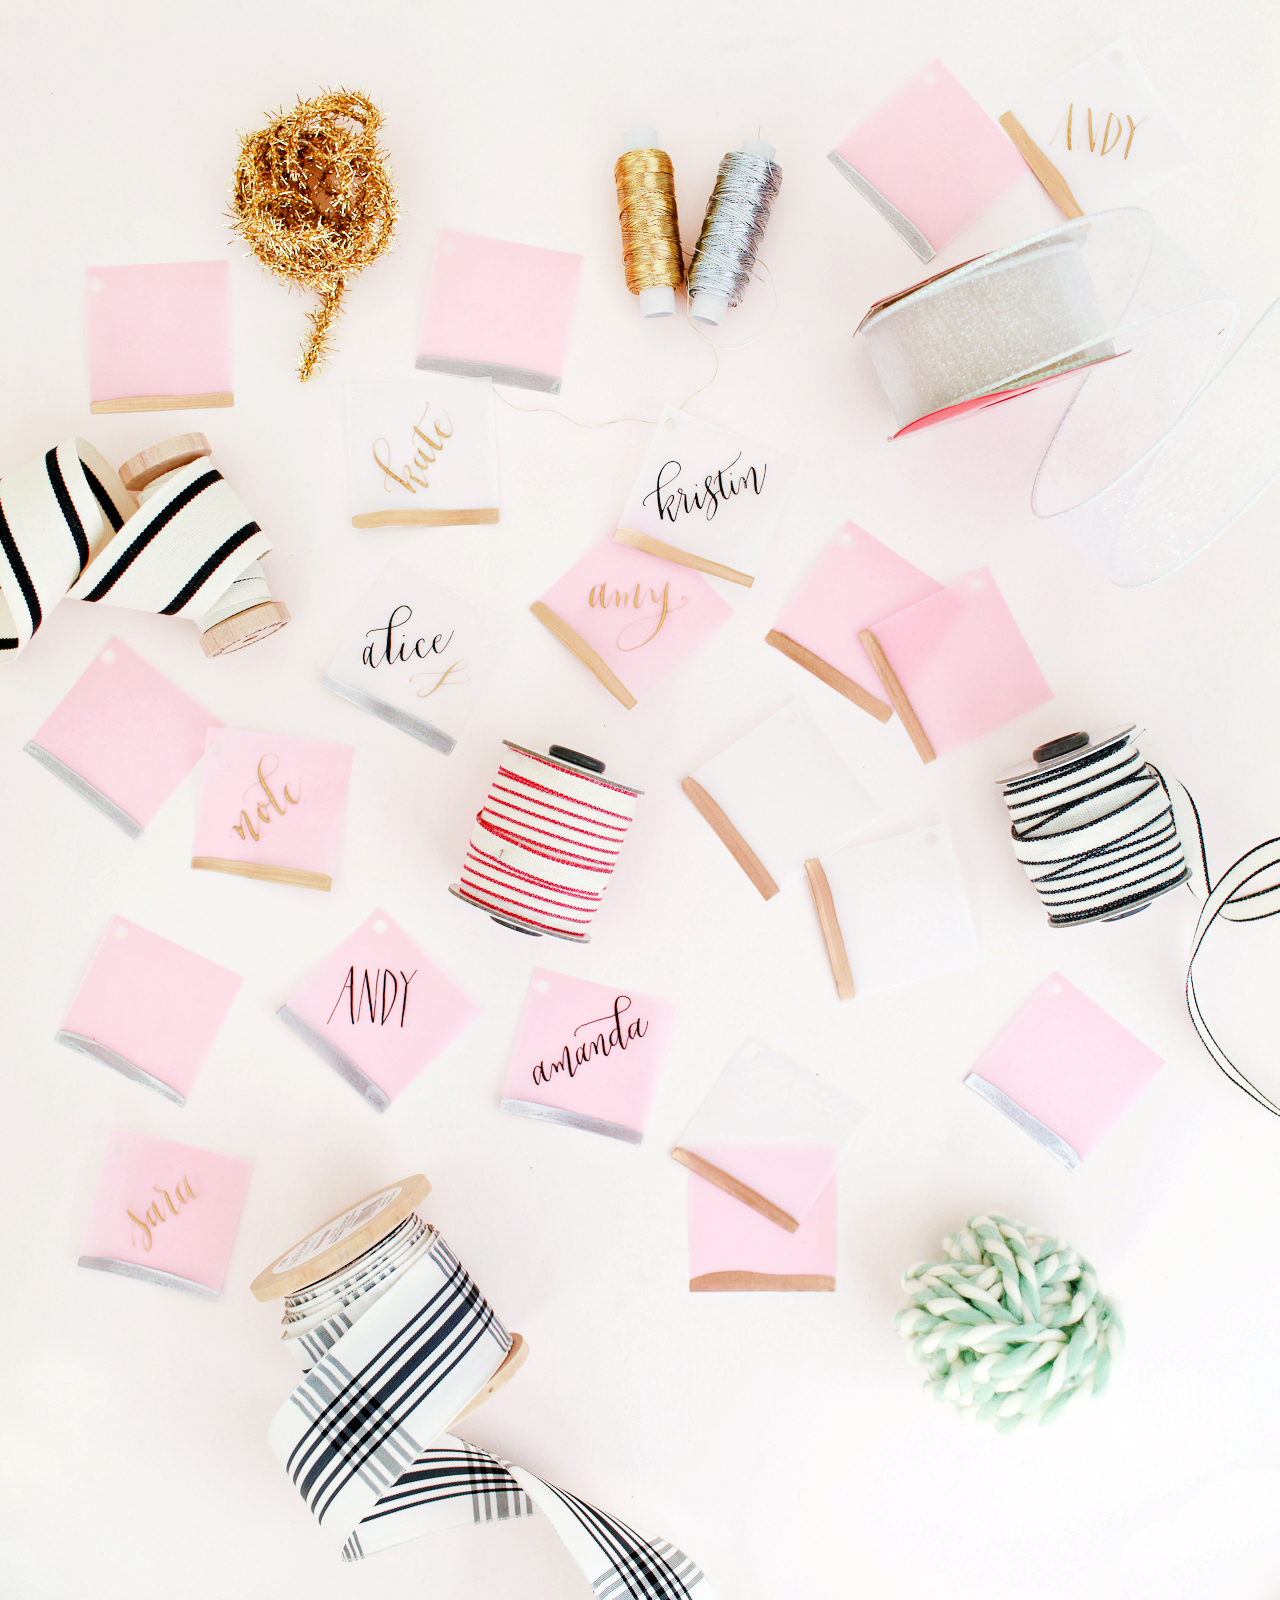
Yesterday I shared how I’m mixing and matching my holiday gift wrap pairings this year. You may have noticed the subtle vellum gift tags peeking through the ribbon and trim, and today I’m sharing the DIY tutorial with you! It’s no secret that I’ve been loving the vellum trend over the last couple of years, so I wanted to turn this gorgeous translucent material into quick and easy DIY vellum gift tags for the holidays. Seriously, these gift tags take approximately 30 seconds to make and look SO dreamy on any gift. Are you ready??

DIY Vellum Gift Tags with Gold and Silver Leaf

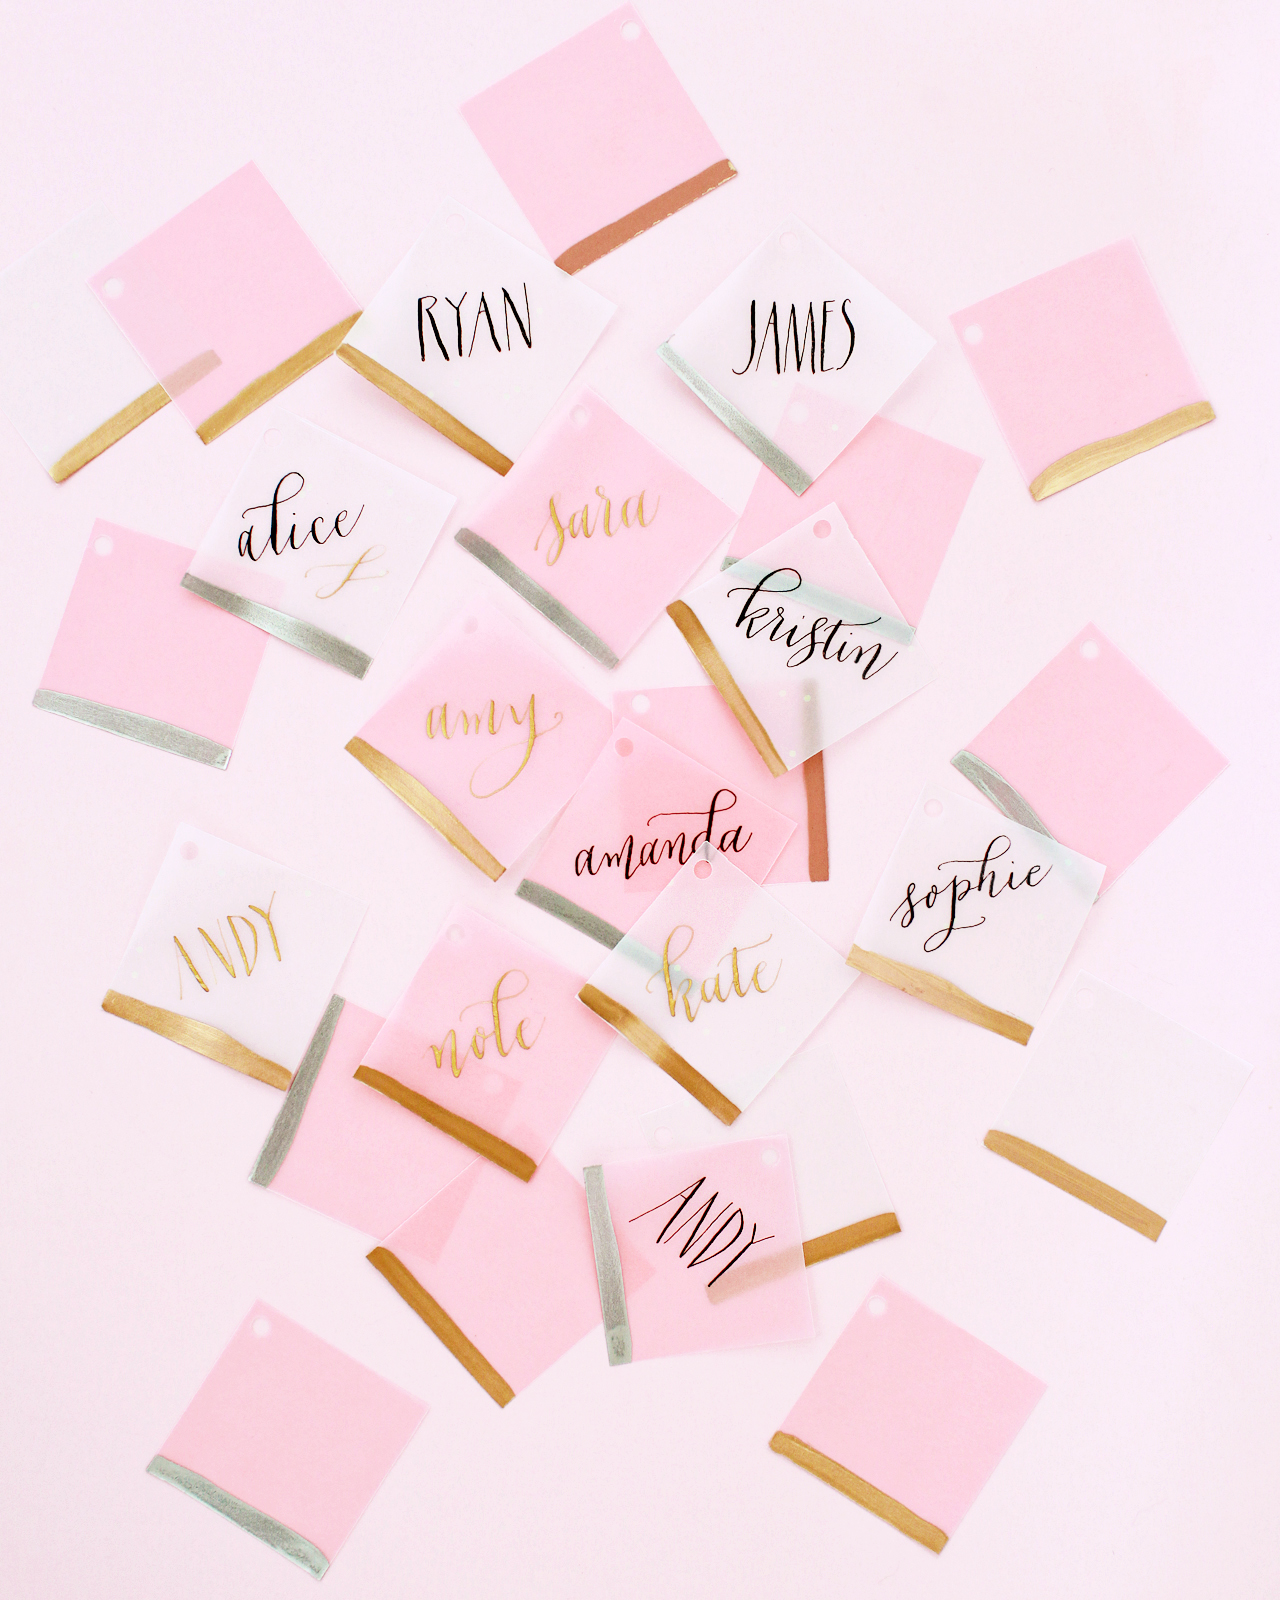
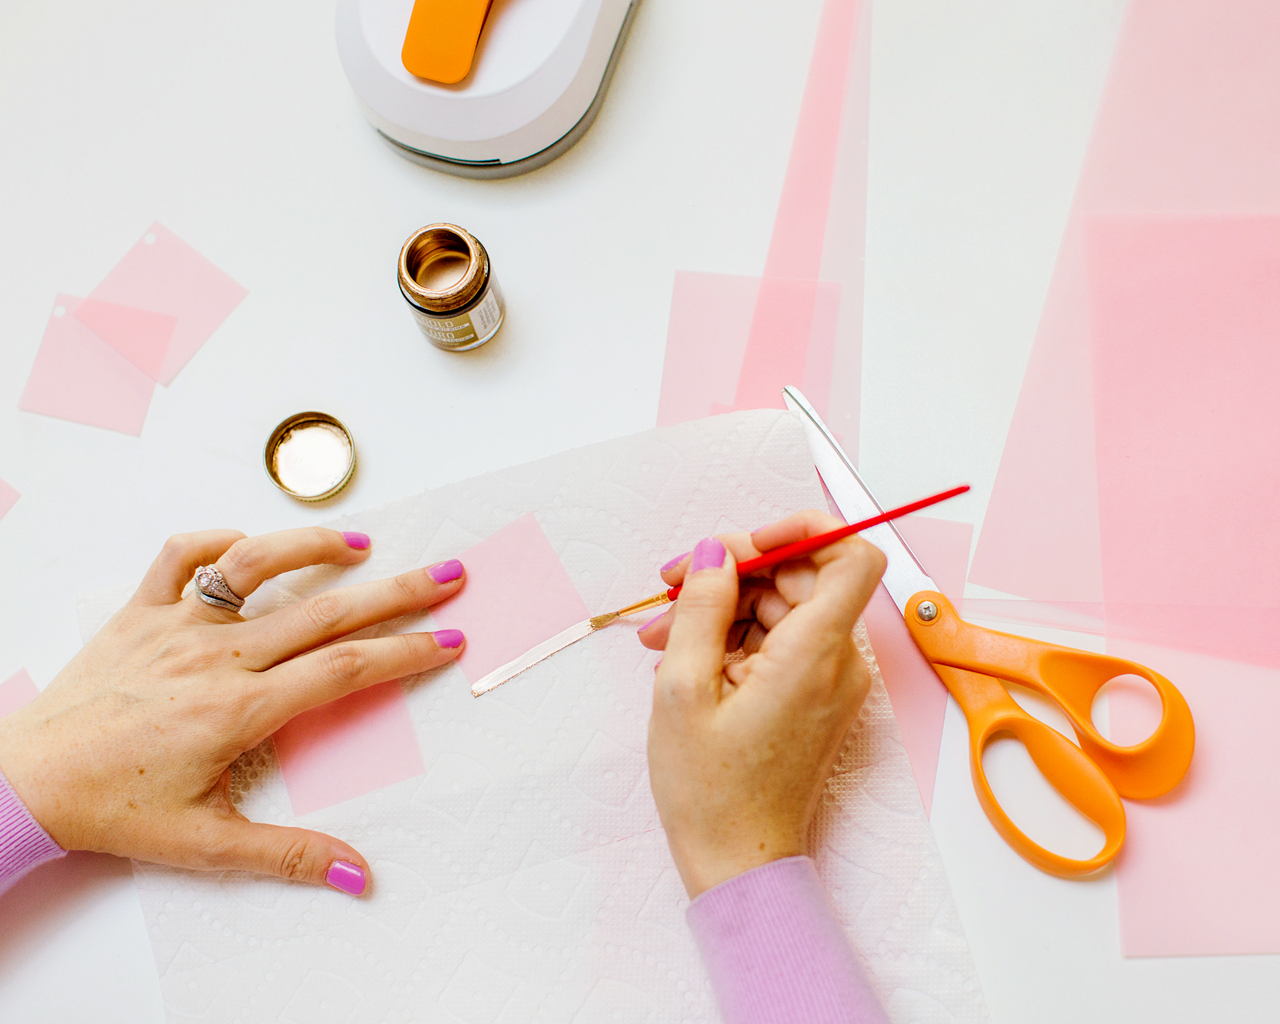
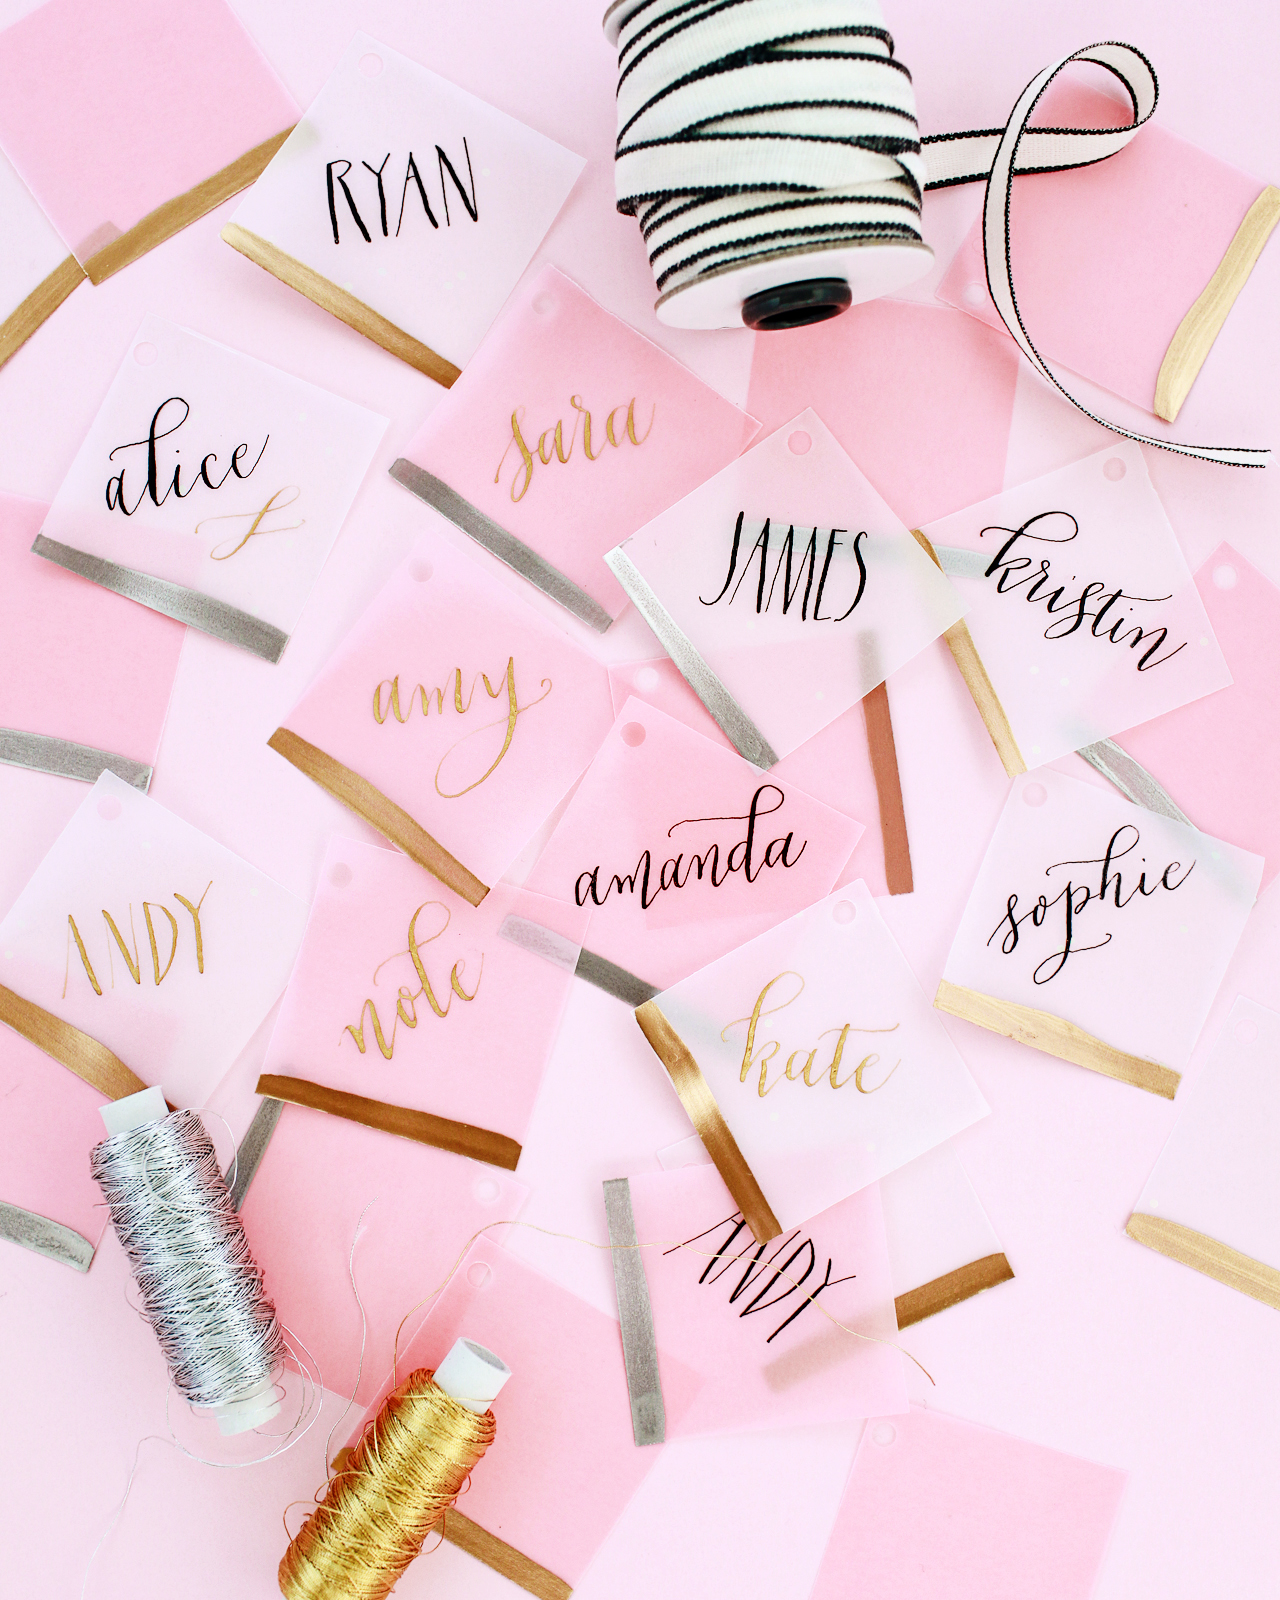
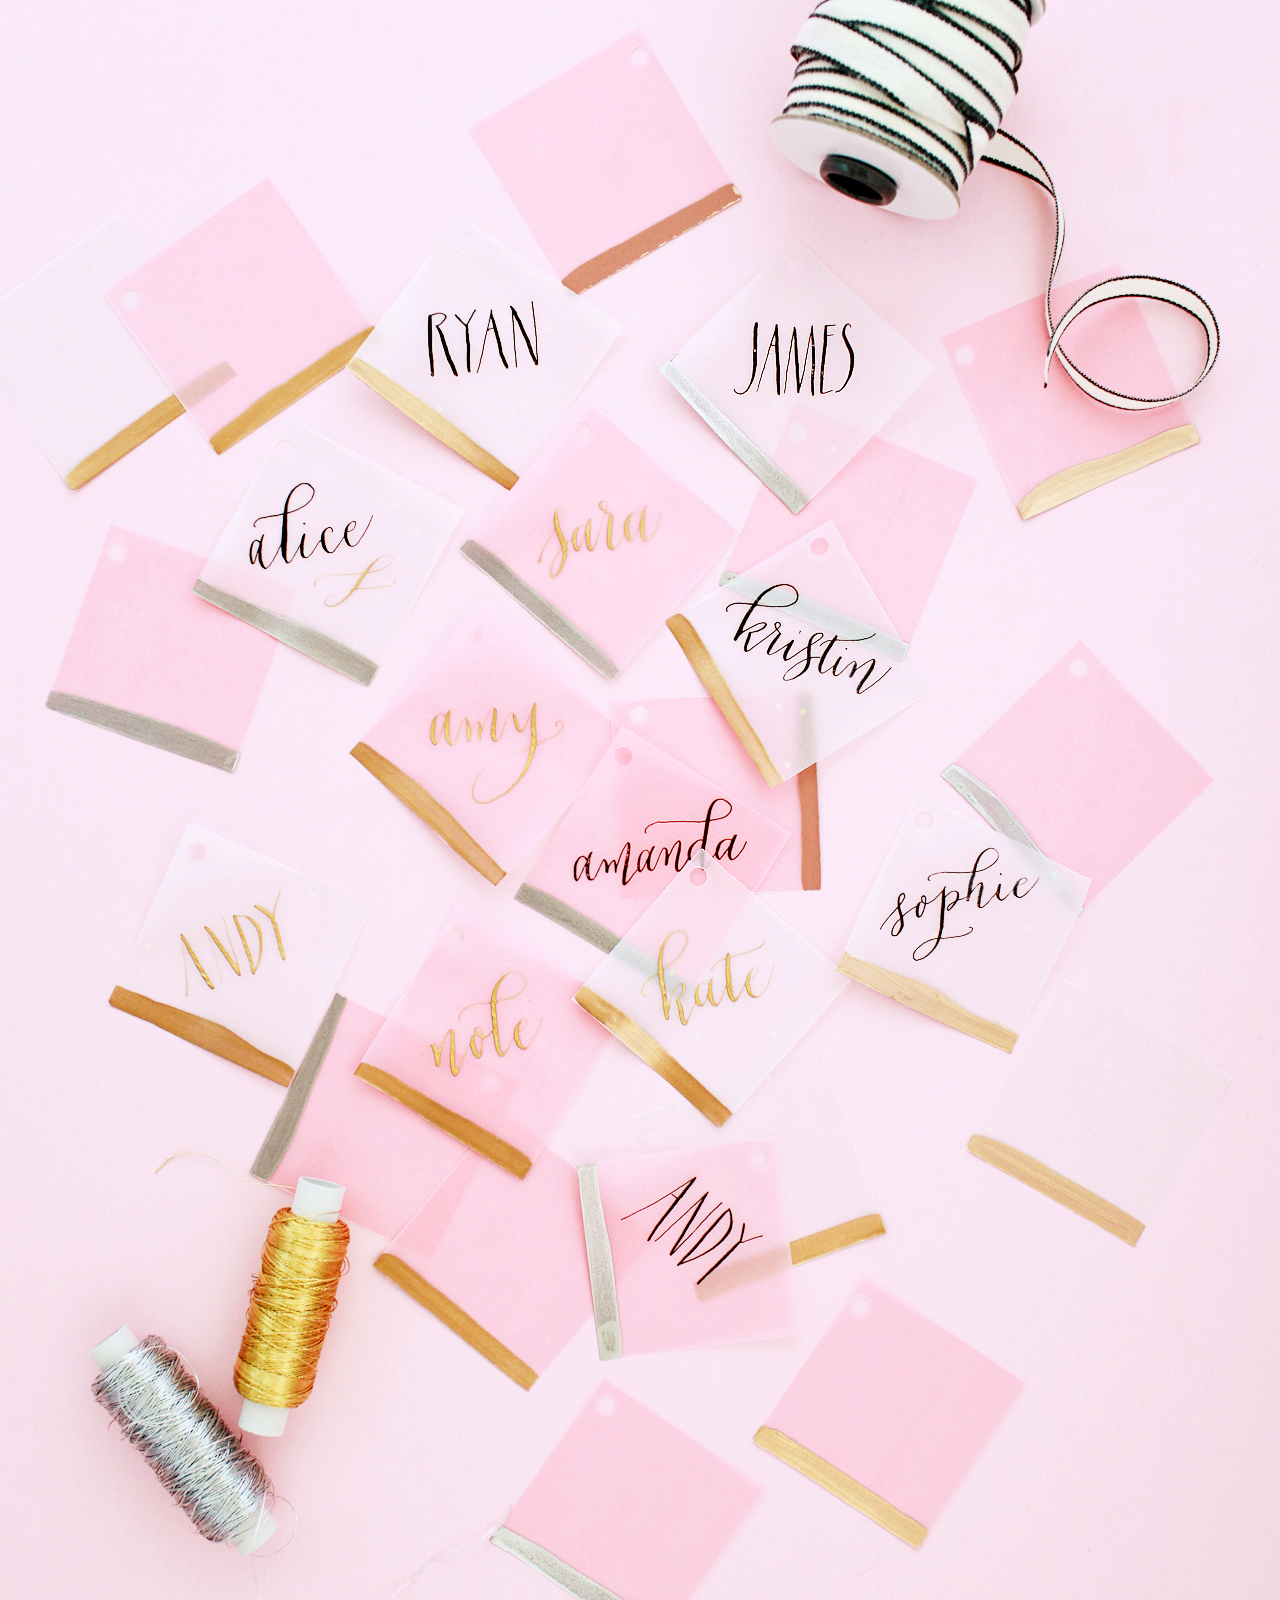
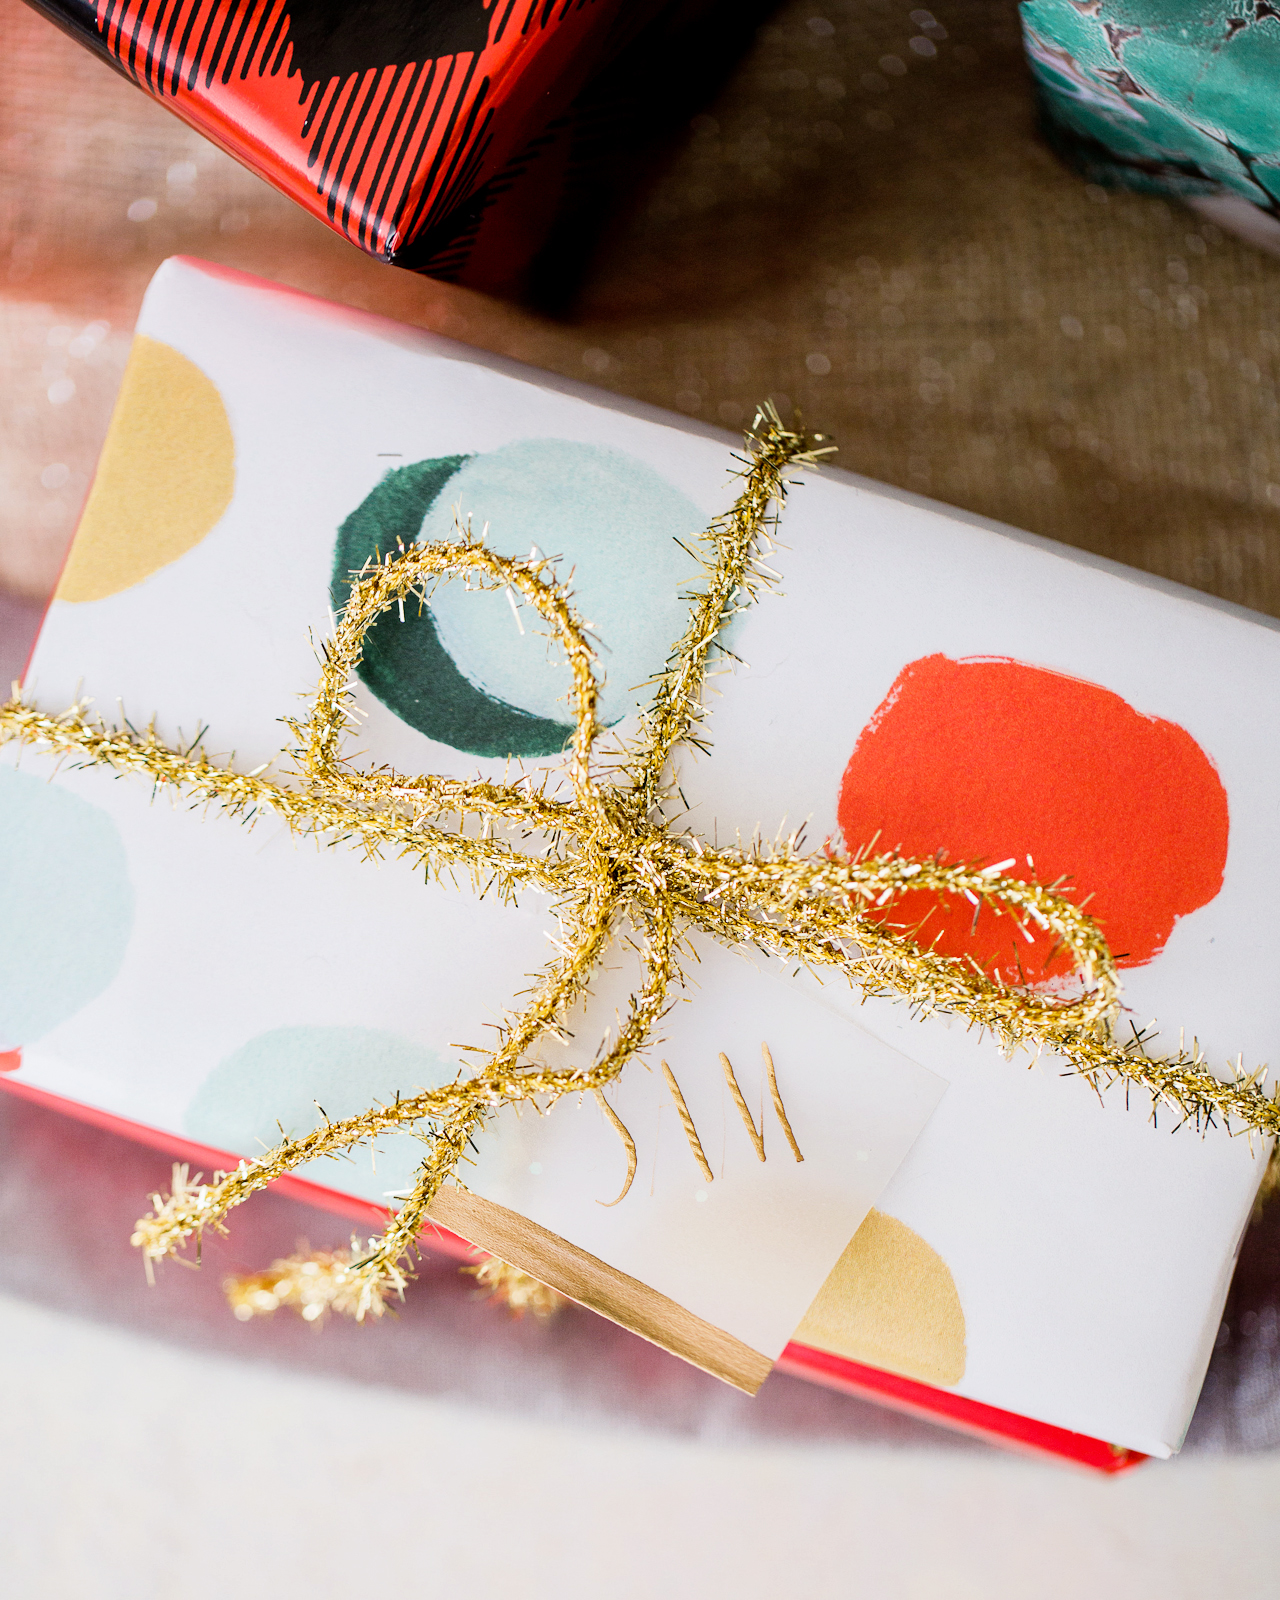
I always prefer smaller gift tags in simple shapes (squares, circles, even hexagons!) over larger gift tags in the traditional shape that you often see in stores. These gift tags are just simple vellum squares with a hole punched in one corner, then a quick swipe of gold or silver (or even copper!) liquid leaf on the bottom. Traditional gold or silver leaf (the kind that comes in sheets) would also work on vellum, but it tends to be a lot more time intensive, so I decided to stick with the liquid version to keep things simple.

DIY Vellum Gift Tags with Gold and Silver Leaf

DIY Vellum Gift Tags with Gold and Silver Leaf

Let’s start with the supplies that you’ll need to make these DIY vellum gift tags!

DIY Vellum Gift Tags with Gold and Silver Leaf

Supplies

Vellum (I like this iridescent vellum, and this variety pack has lots of fun colors)

Liquid Gold Leaf

Liquid Silver Leaf

Small Paint Brush

Gift Tag Maker with Built-in Eyelet Setter or 3/16″ Circle Punch

Paper Trimmer

Gold or Silver Thread

DIY Vellum Gift Tags with Gold and Silver Leaf

DIY Vellum Gift Tags with Gold and Silver Leaf

To make the DIY vellum gift tags:

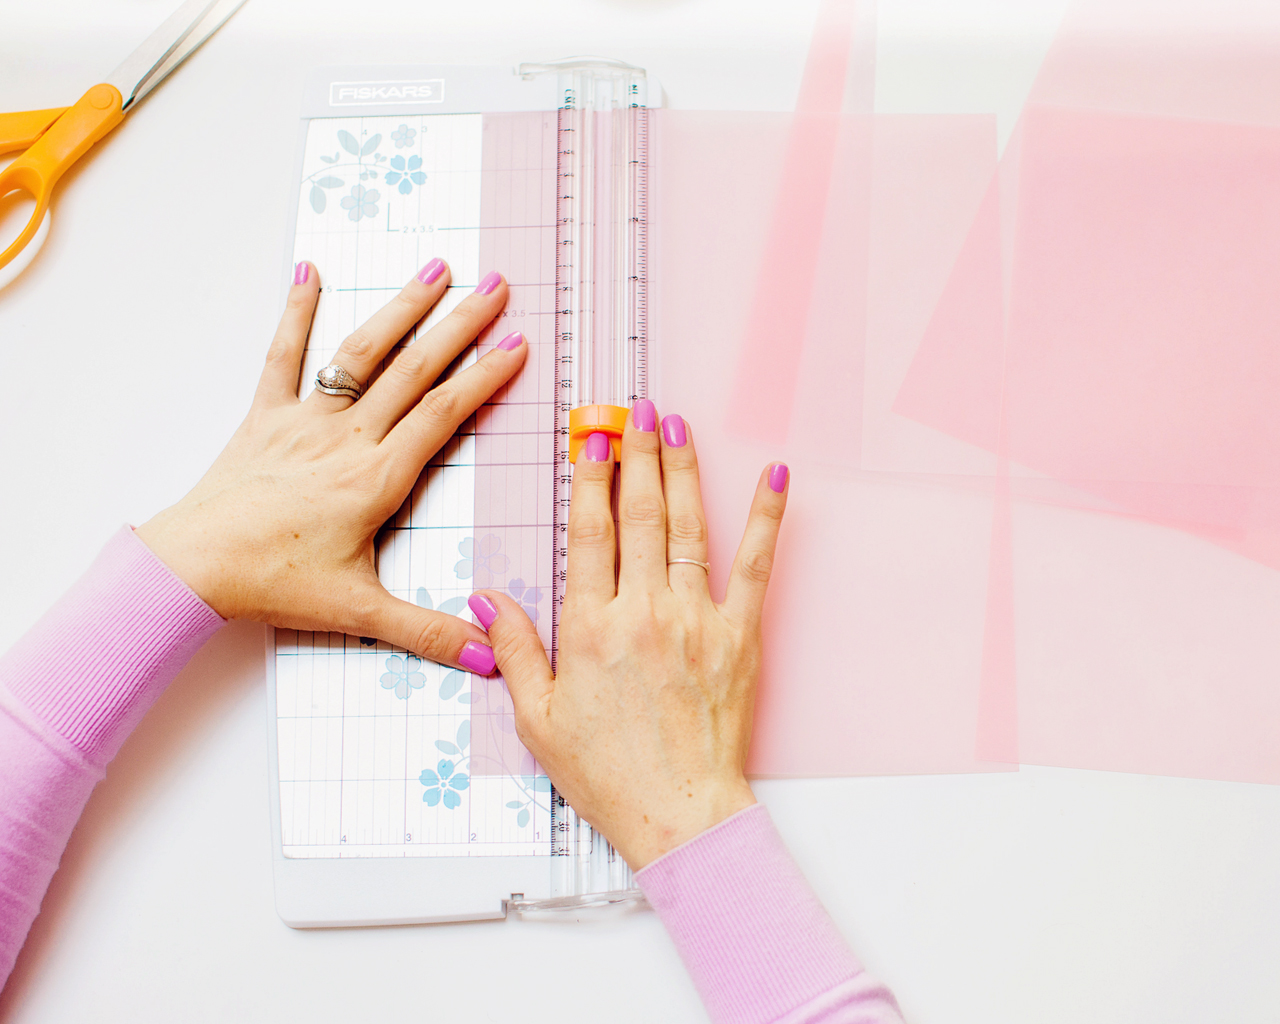
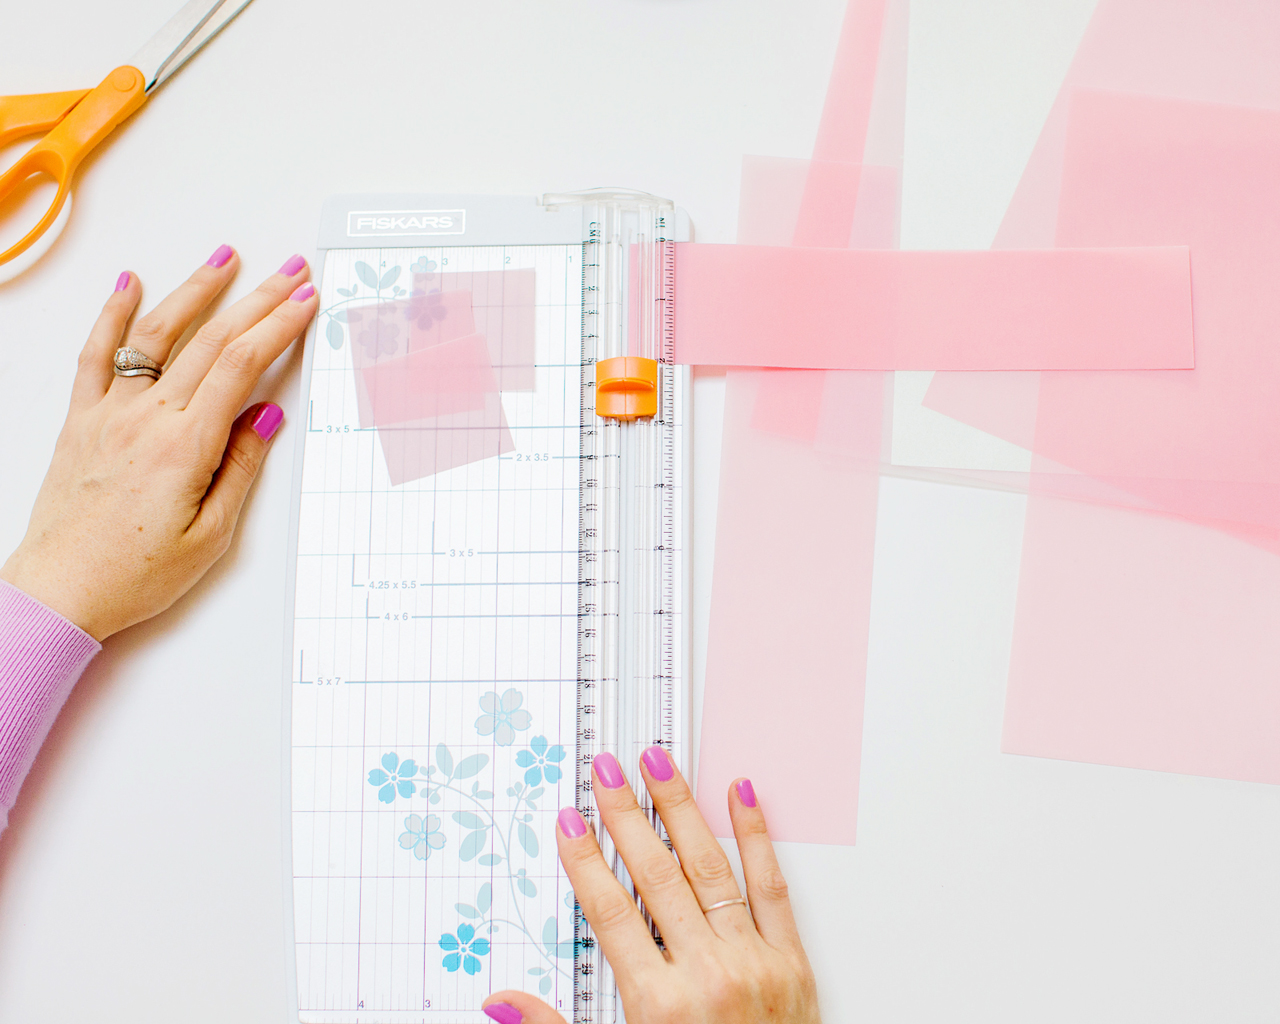
Step 1. Using your paper trimmer, cut a sheet of letter-sized vellum into 2″ strips, then cut the strips into 2″ squares. Pro tip: because vellum is fairly thin, you can stack 3-4 vellum strips and cut them into squares all at once! Makes things so much faster.

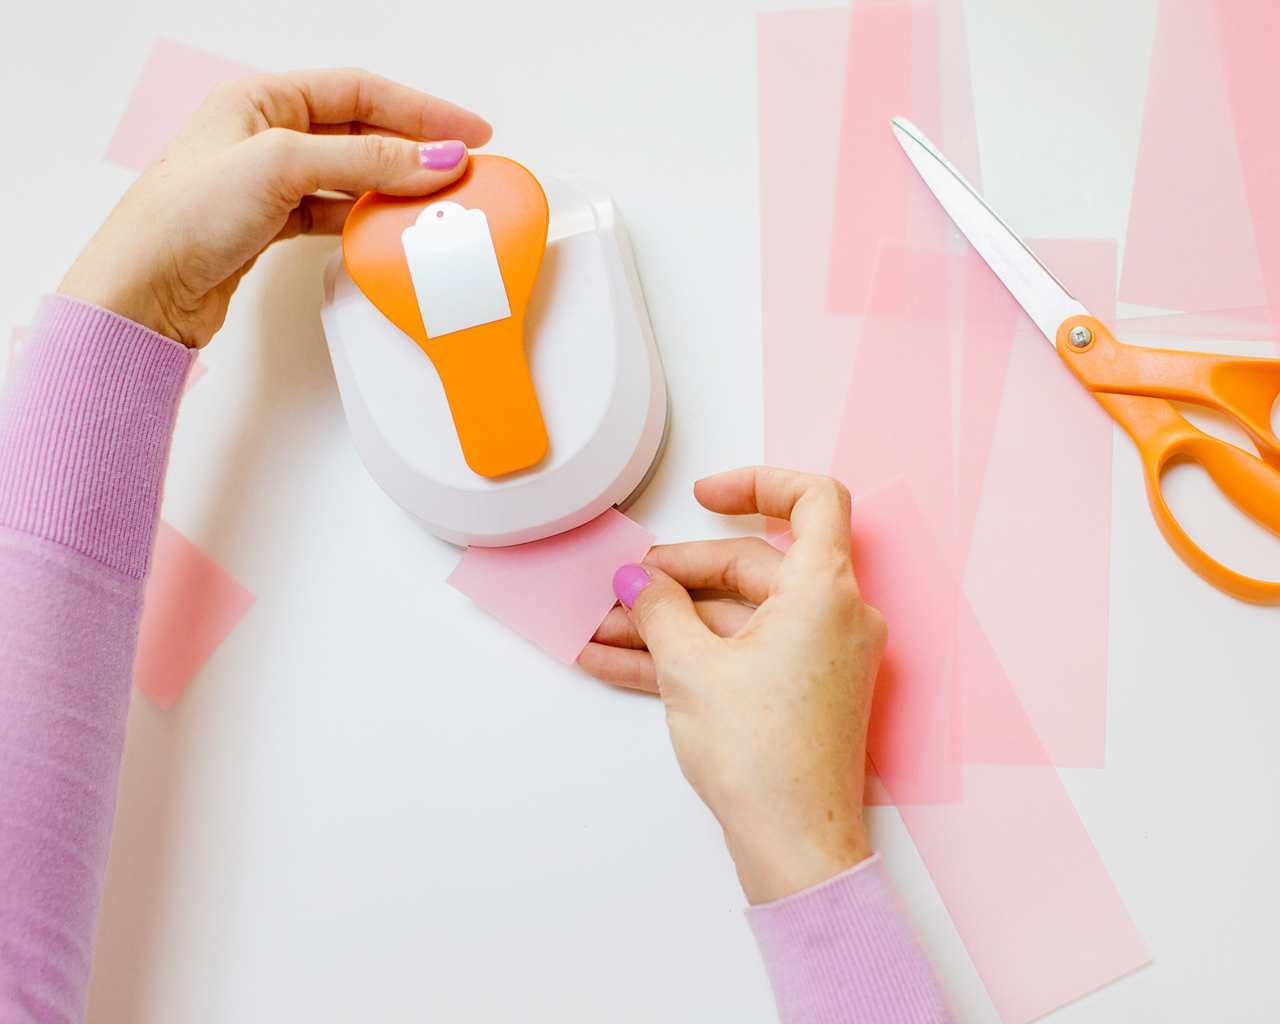
Step 2. Punch a 3/16″ hole in one corner of the gift tag. This is where you’ll eventually string your thread or ribbon. You can either use the eyelet hole punch on a gift tag maker, or just a stand alone 3/16″ hole punch. And yep, you can also stack several vellum squares and punch them all at the same time. 

Step 3. Paint a thin strip of gold or silver leaf on the bottom edge of each square. I recommend placing a paper towel, sheet of newspaper, or even wax paper under the gift tags to protect your work surface, since gold and silver leaf can be difficult to clean up. If you’re using both gold and silver, you’ll need to use a different brush for each color – or thoroughly wash and dry the brush before moving from one to the other.

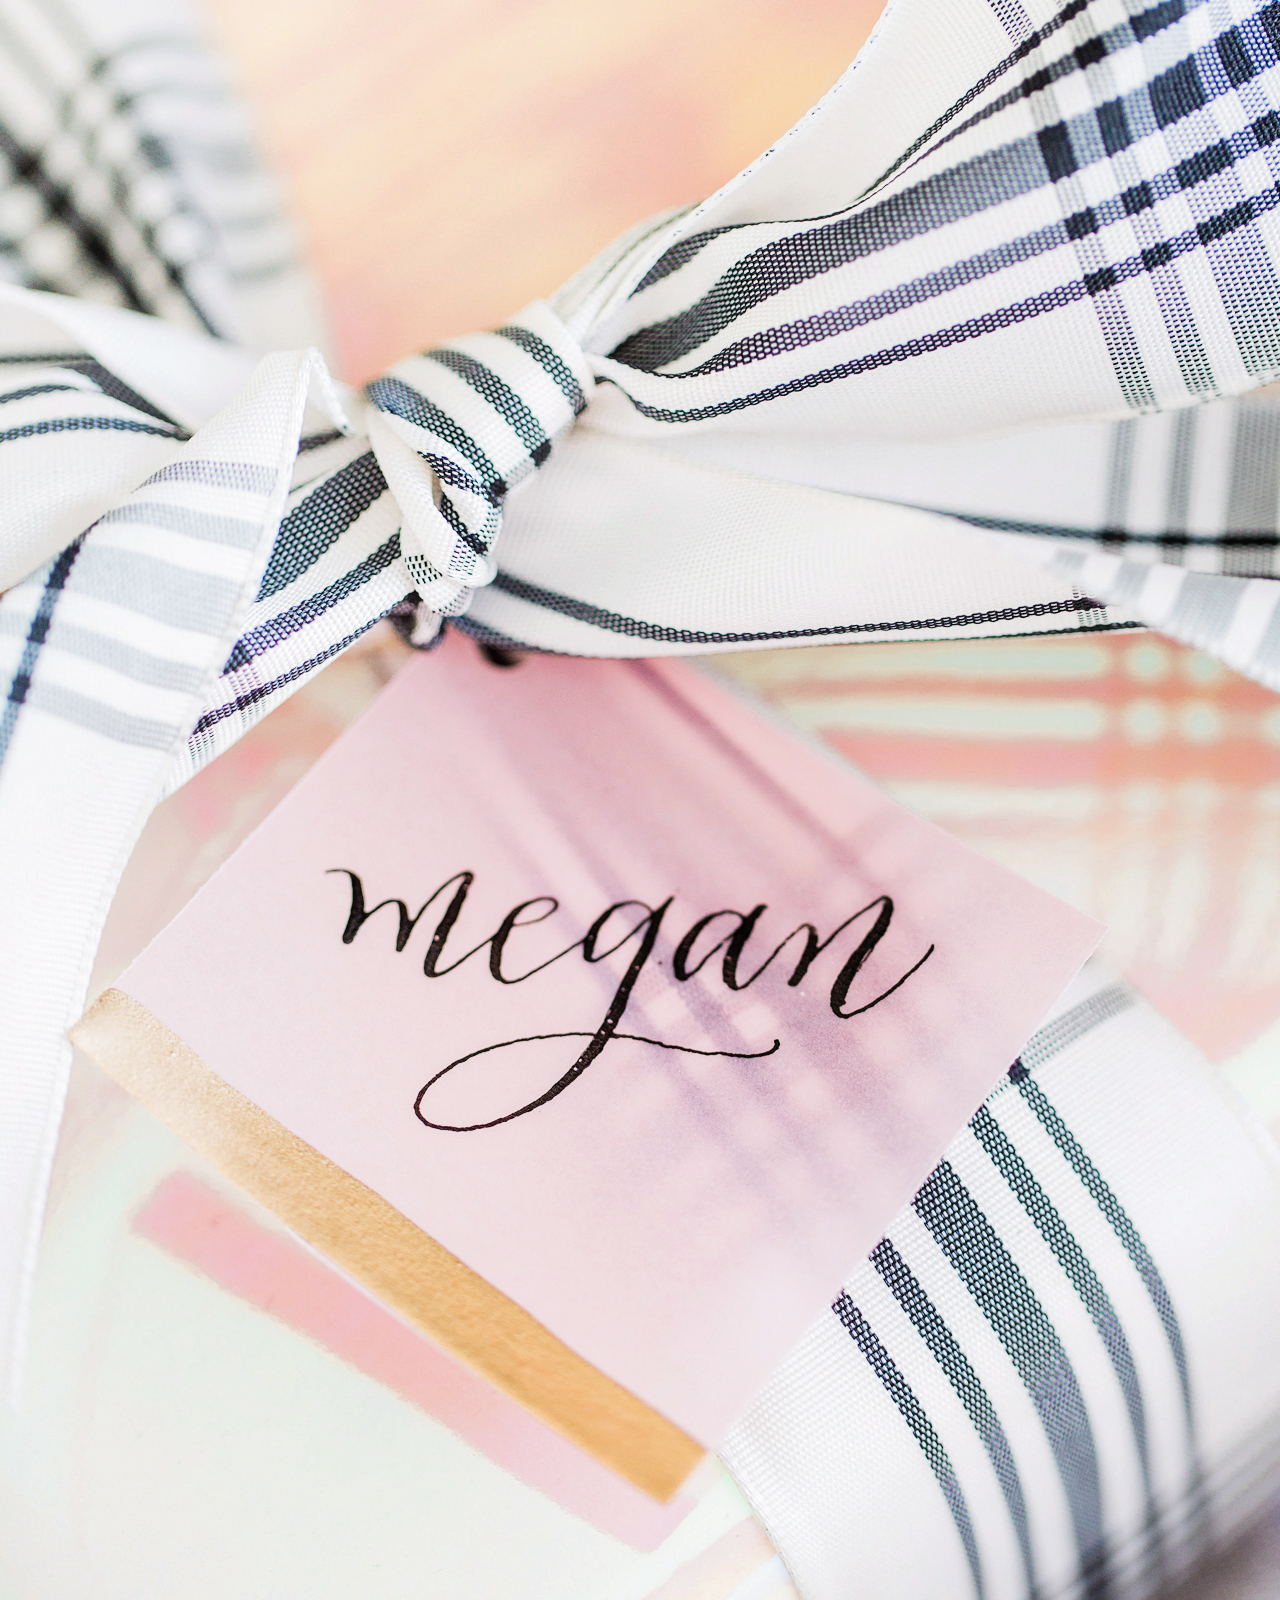
Step 4. After the metallic leaf has fully dried, write the name of the recipient on each gift tag. You could use gold or silver extra-fine paint markers to match the liquid leaf, or these archival black pens. Use gold or silver thread to attach the gift tags to the gift, and you’re all done!

DIY Vellum Gift Tags with Gold and Silver Leaf

DIY Vellum Gift Tags with Gold and Silver Leaf

DIY Vellum Gift Tags with Gold and Silver Leaf

DIY Vellum Gift Tags with Gold and Silver Leaf

DIY Vellum Gift Tags with Gold and Silver Leaf

I love the way these gift tags are both elegant and modern at the same time, don’t you? The quick stripe of gold or silver adds just the perfect amount of shimmer, while the vellum makes everything feel fresh and modern. I used iridescent and pink vellum since that’s what I had on hand, but you can use whatever colors work for your holiday style. I’d love to try this with a dark green or navy blue vellum next!

DIY Vellum Gift Tags with Gold and Silver Leaf

DIY Vellum Gift Tags with Gold and Silver Leaf

DIY Vellum Gift Tags with Gold and Silver Leaf


DIY Vellum Gift Tags with Gold and Silver Leaf

Gift Tag Calligraphy: Meant to Be Calligraphy

p.s. How I’m wrapping my holiday gifts this year!

Photo Credits: Meghan Marie Photography and Nole Garey for Oh So Beautiful Paper
Holiday Gift Wrap Pairings

Okay, show of hands: who gets just as excited about finding the perfect wrapping paper during the holiday season? Or really, any time of year! My color palette changes from year to year, but I always enjoy mixing traditional holiday patterns with non-traditional (aka year-round) gift wrap patterns. So today I thought I’d show you how I’m wrapping my holiday gifts this season and how I’m mixing and matching my holiday gift wrap pairings to create an eclectic holiday vibe. Oh, and the ribbons! That might actually be my favorite part. Plus, I’ve got a fun DIY gift tag coming up tomorrow that adds just the perfect amount of sparkle to your holiday gifts. Let’s jump right in!

Beautiful Holiday Gift Wrap Pairings

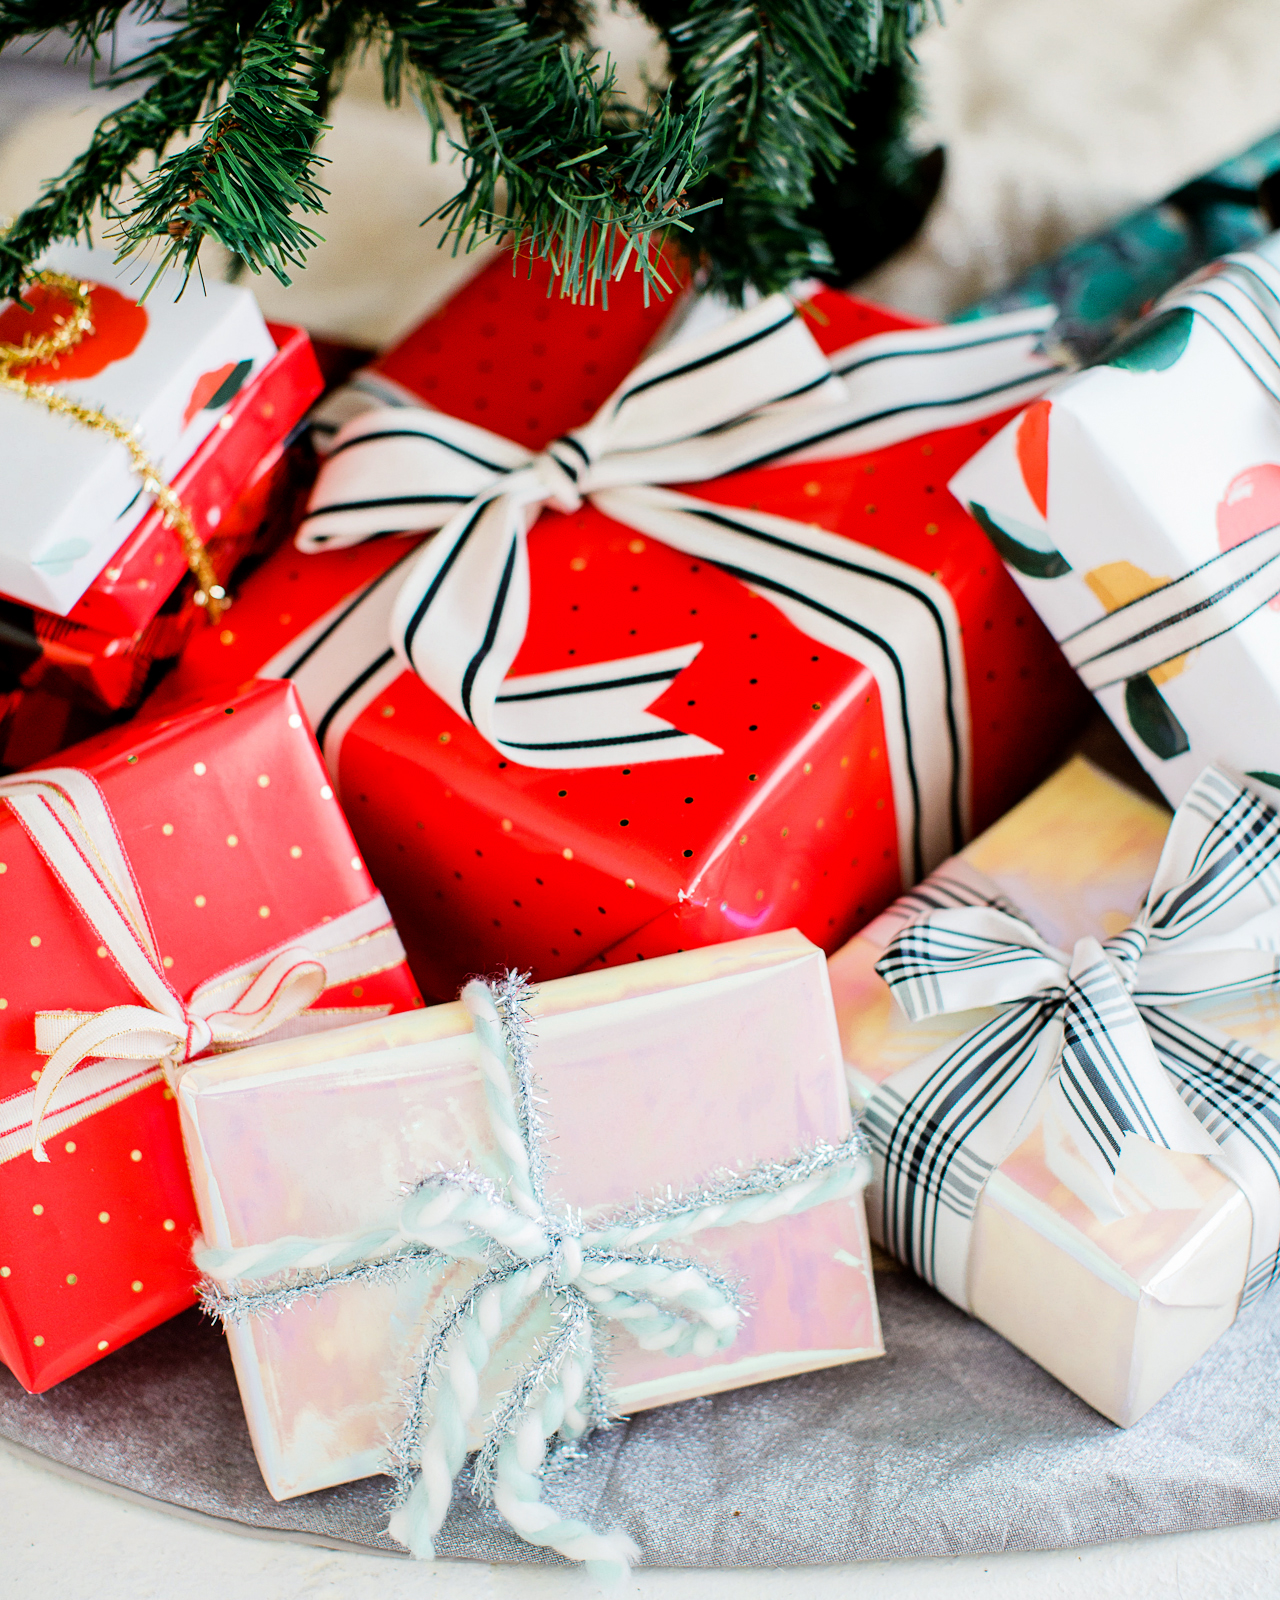
Each year, I start with a color palette. In past years I’ve done kraft paper gift wrap with red and white accents, I’ve done all metallics, and last year I went with pink and green in honor of my daughter’s favorite colors. I’m normally not a traditional red-and-green-Christmas kind of girl, but this year I was definitely feeling it – so I decided to just roll with it! My color palette for this year ended up being red, white, and black mixed with pops of green, gold, and silver. I’m loving it!

Beautiful Holiday Gift Wrap Pairings

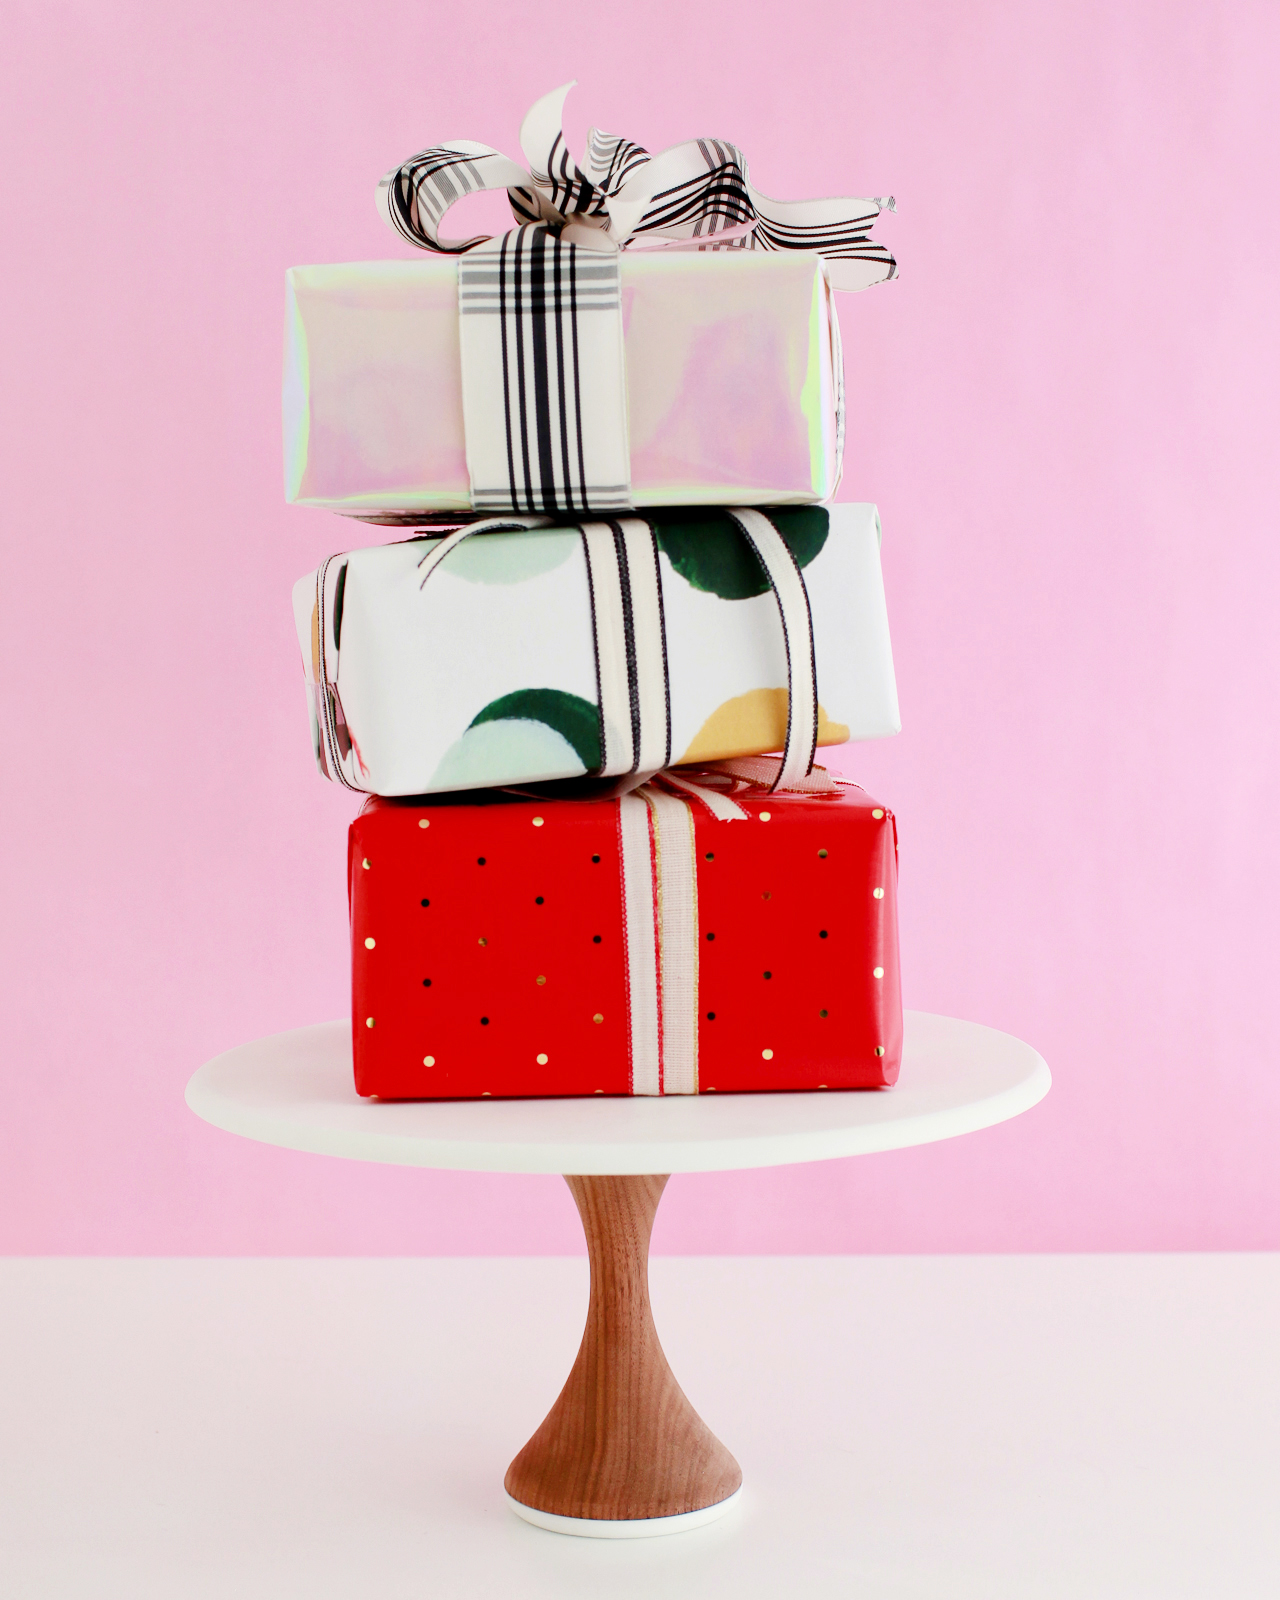
Once I have my color palette established, I pick out 1-2 patterns in the following categories: traditional, modern, and non-traditional. This year, my traditional patterns were plaid and tiny polka dots, my modern pattern was large painterly dots, and my non-traditional patterns were iridescent white and green marbled gift wrap. I find it’s easiest to mix linear patterns (like stripes and plaids), polka dot patterns (large and small), solids, and one organic or abstract pattern like marbling or hand painted patterns. You can definitely mix illustrated gift wrap patterns, but make sure you pick different pattern sizes (not all large scale illustrations or all small scale illustrations) and keep them in the same color palette to avoid clashing.

Beautiful Holiday Gift Wrap Pairings

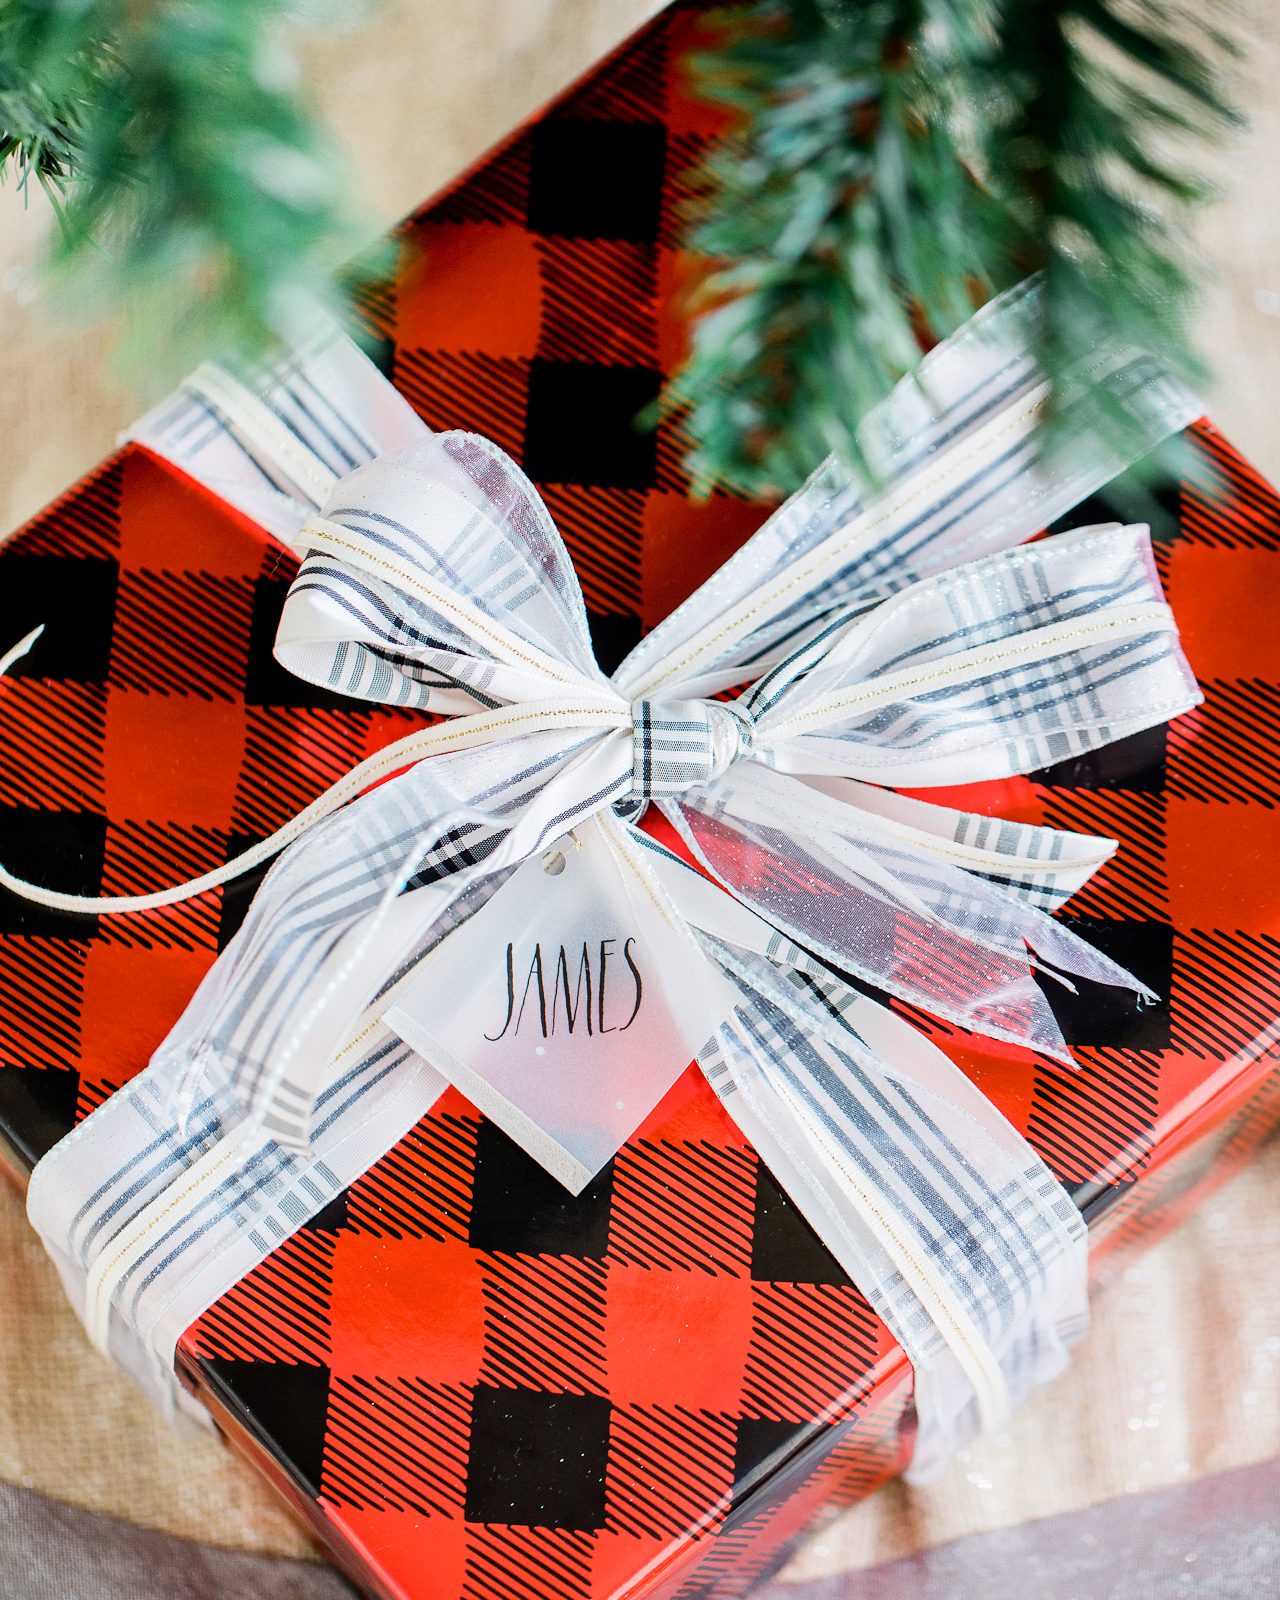
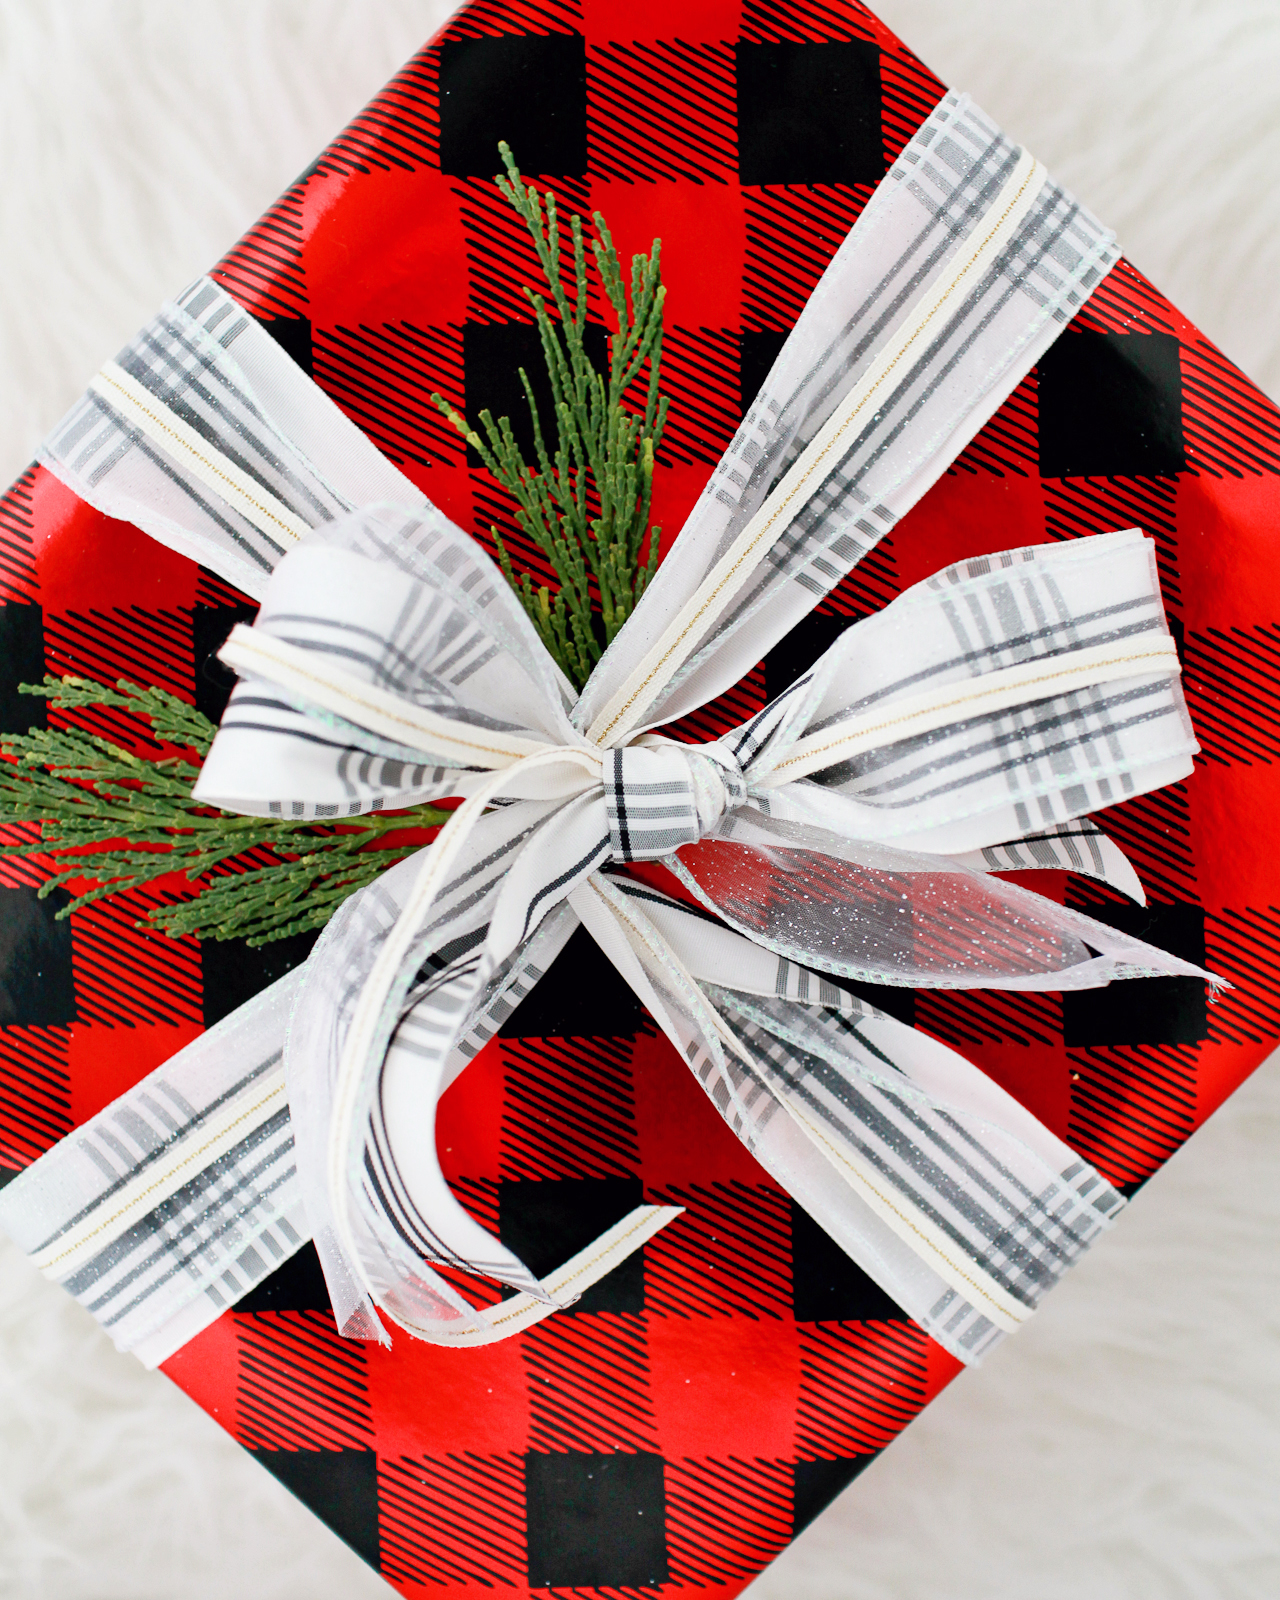
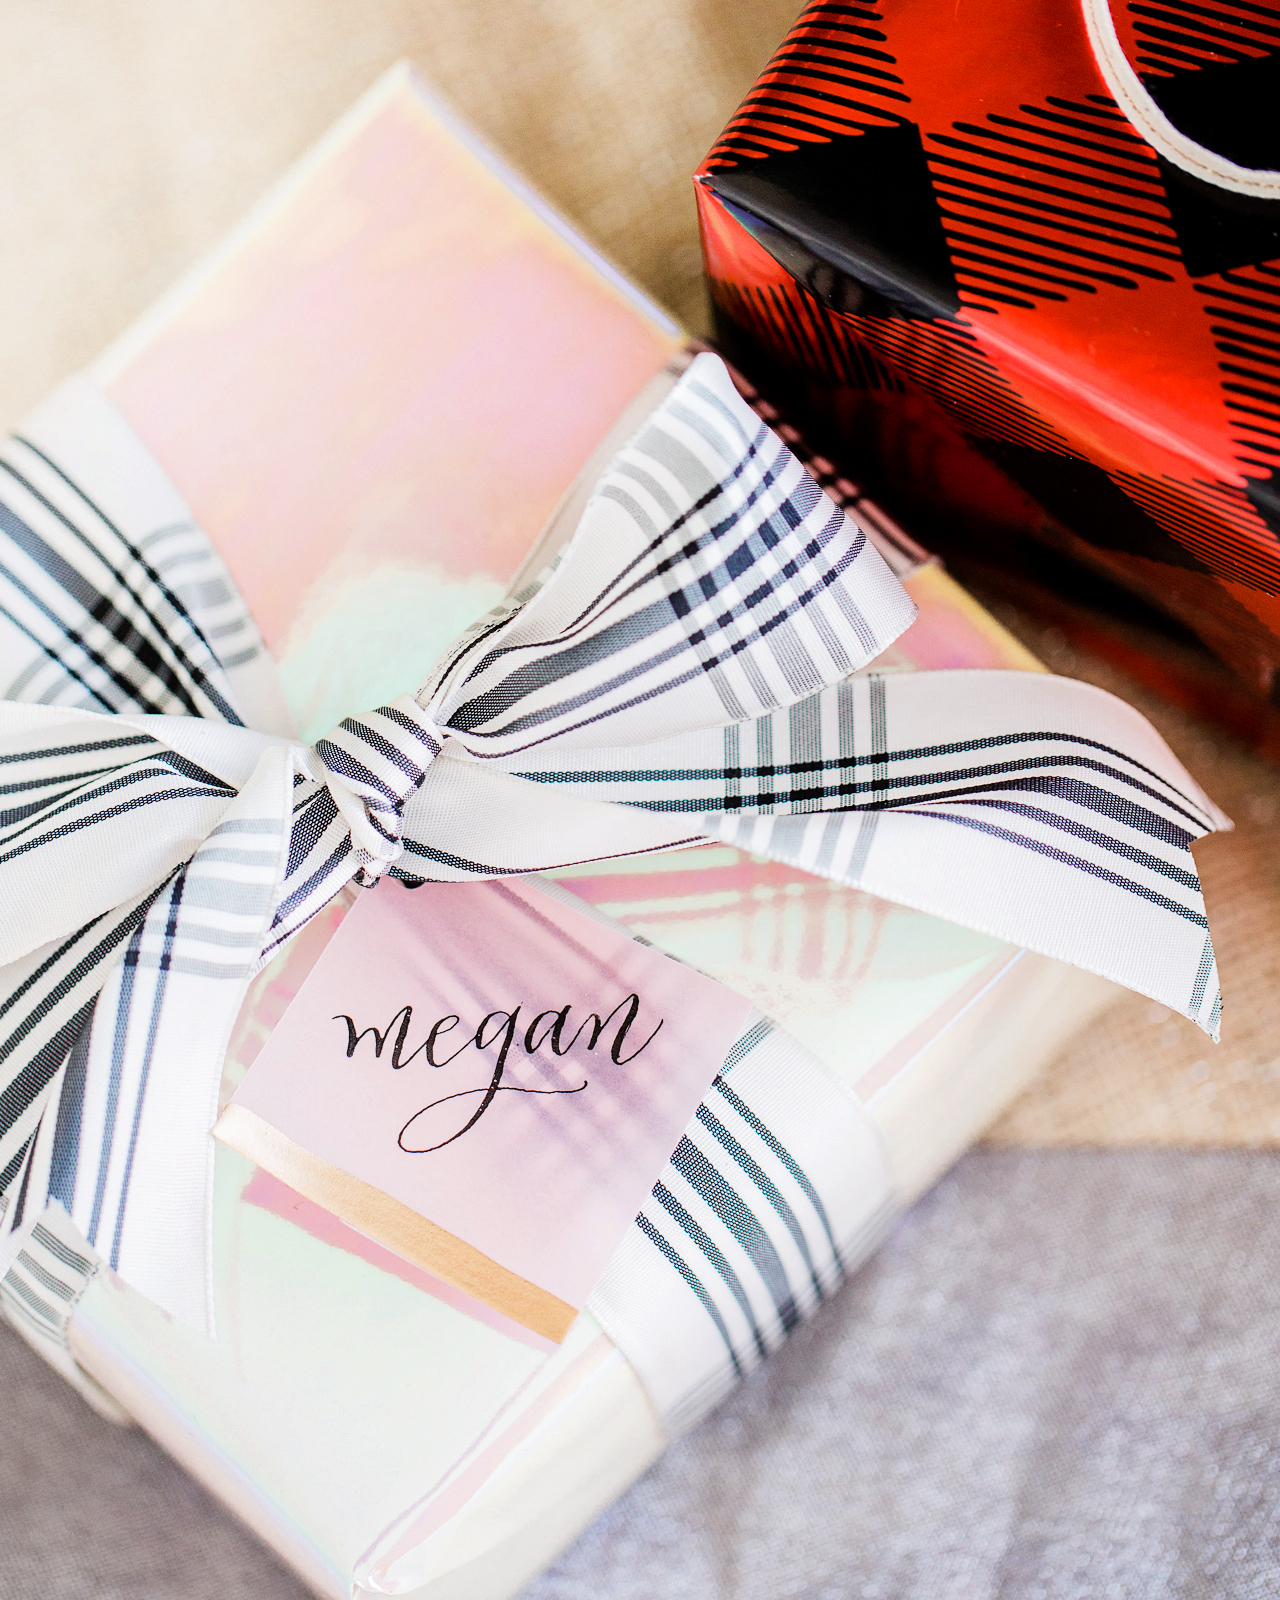
Let’s start with the traditional patterns! I can’t resist a good buffalo check, and I went all in with a plaid ribbon, too! It looks so pretty with a bit of greenery tucked into the ribbon! I also love the plaid ribbon layered over white iridescent gift wrap from the Target birthday party supply aisle.

Beautiful Holiday Gift Wrap Pairings

Beautiful Holiday Gift Wrap Pairings

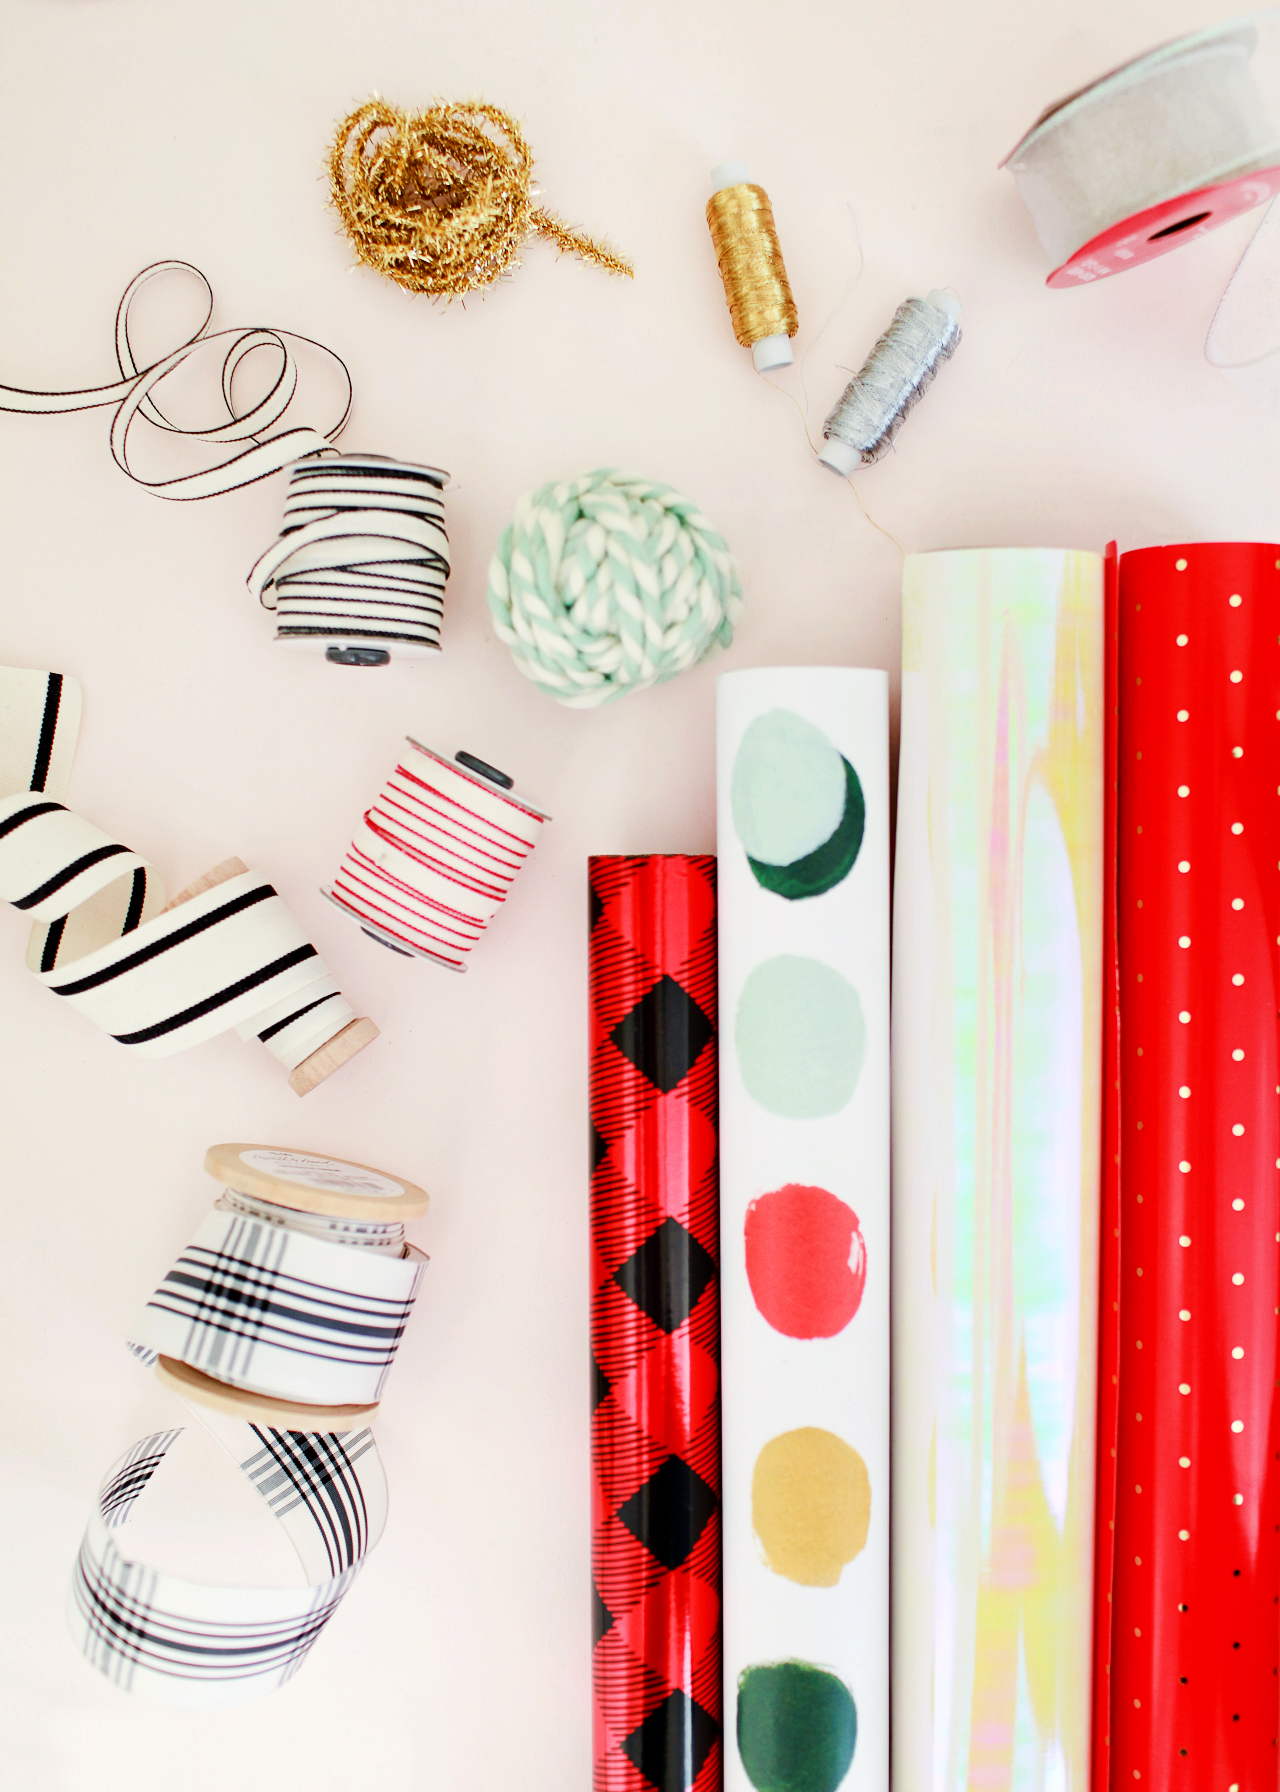
Buffalo Check Gift Wrap | White Iridescent Gift Wrap | Plaid Grosgrain Ribbon | Glitter Wire Ribbon | Gold Metallic Line Ribbon

Beautiful Holiday Gift Wrap Pairings

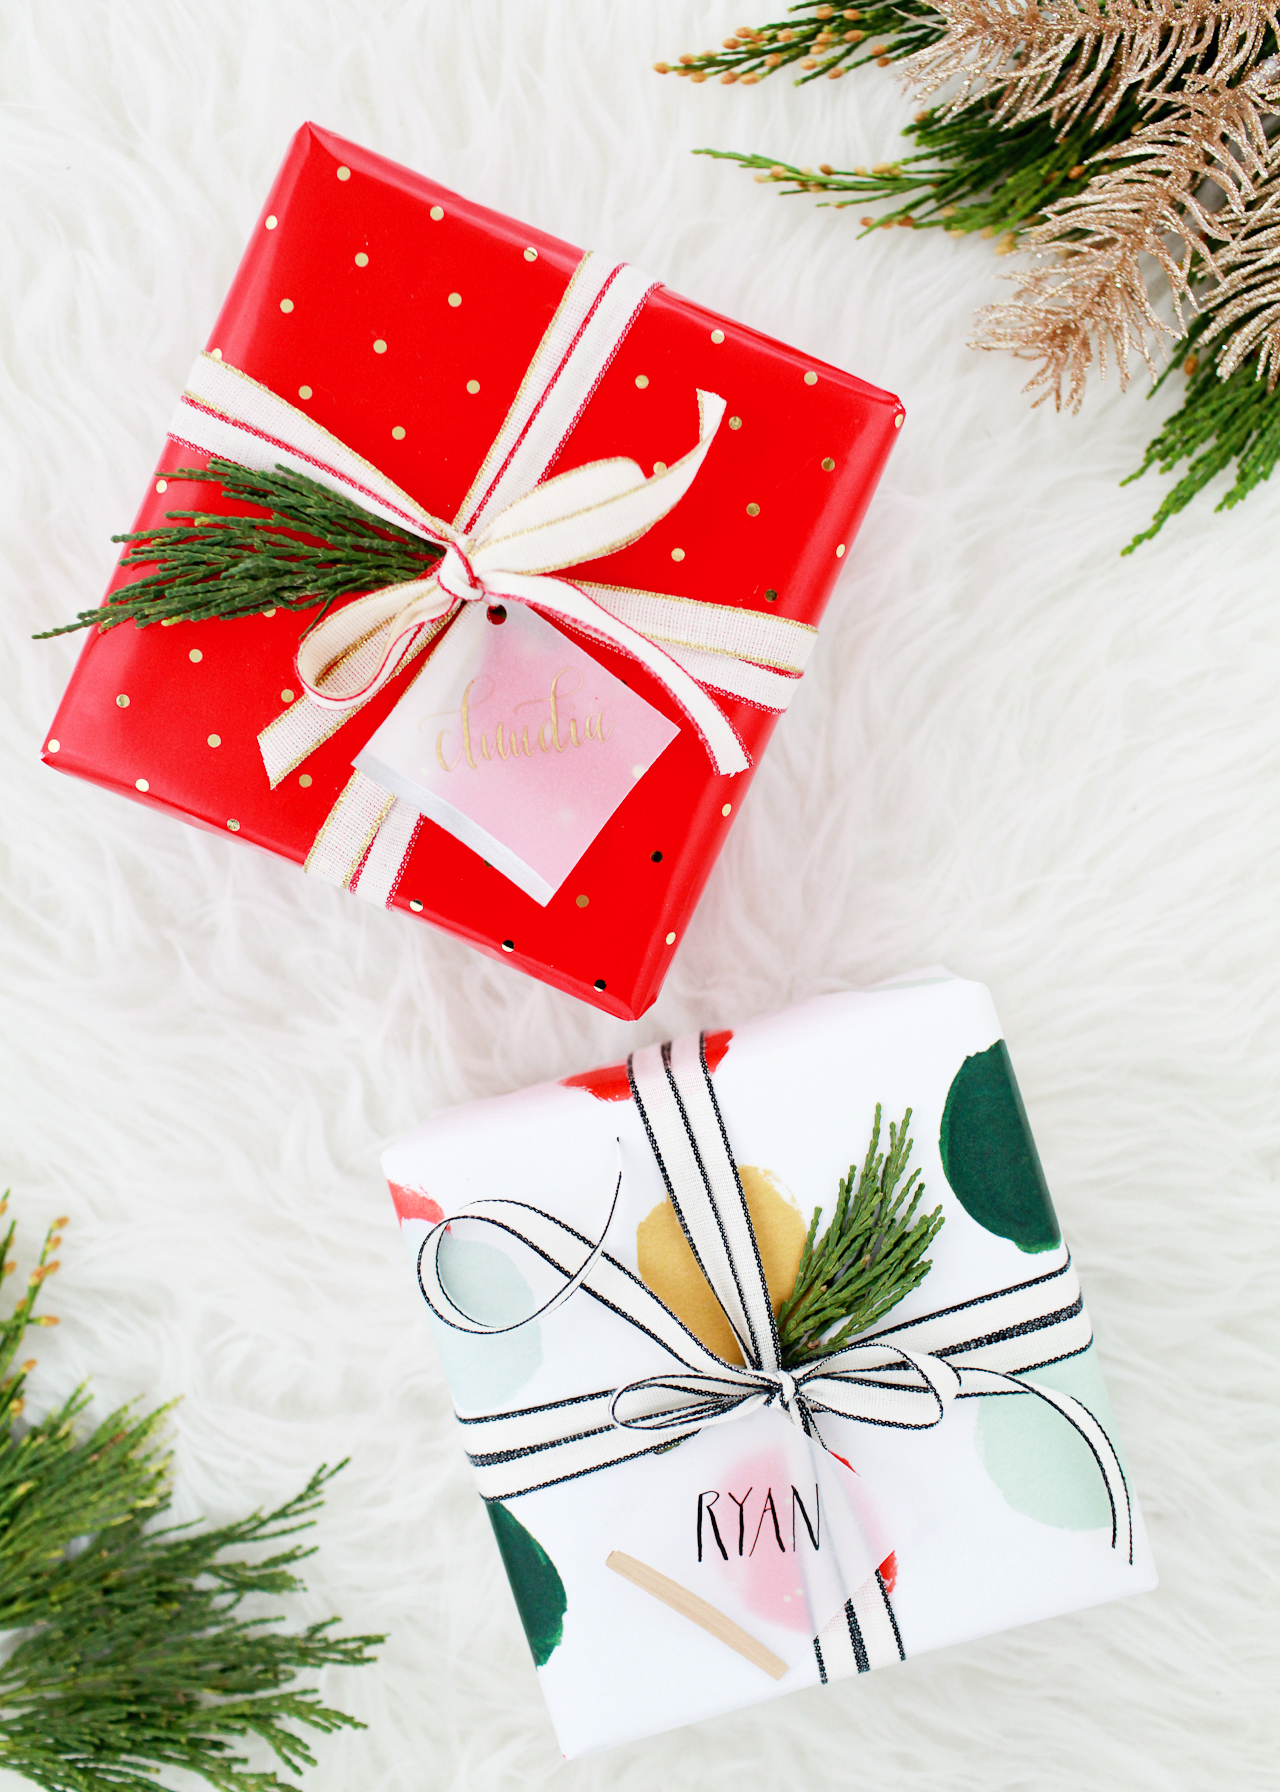
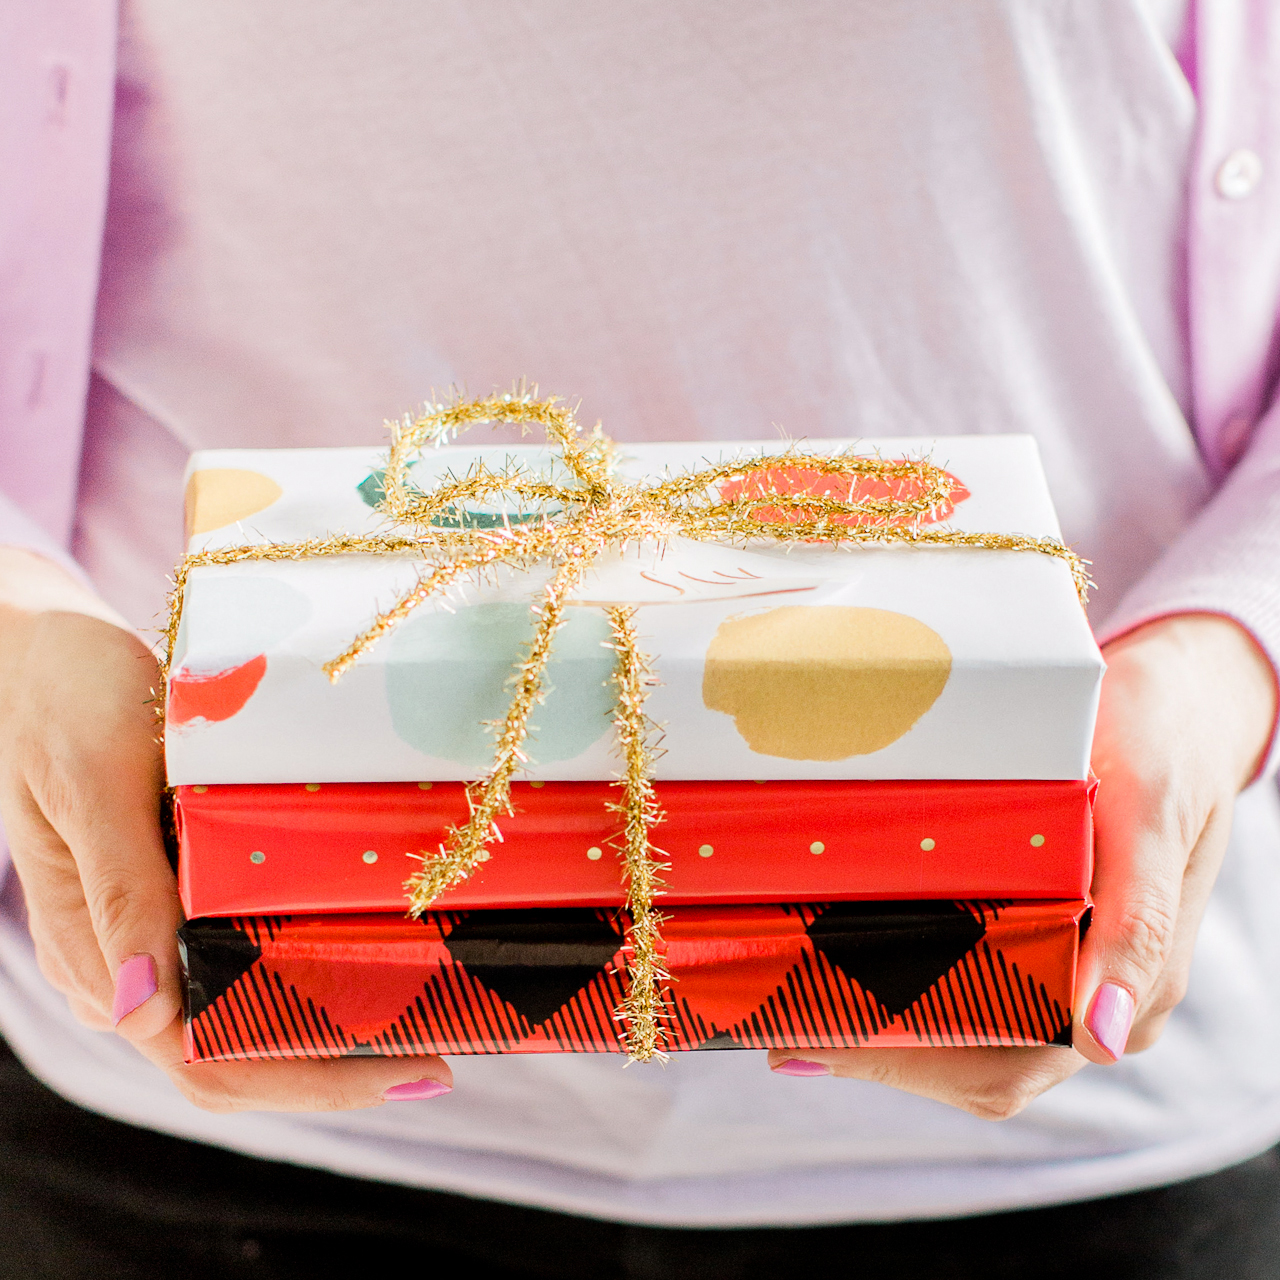
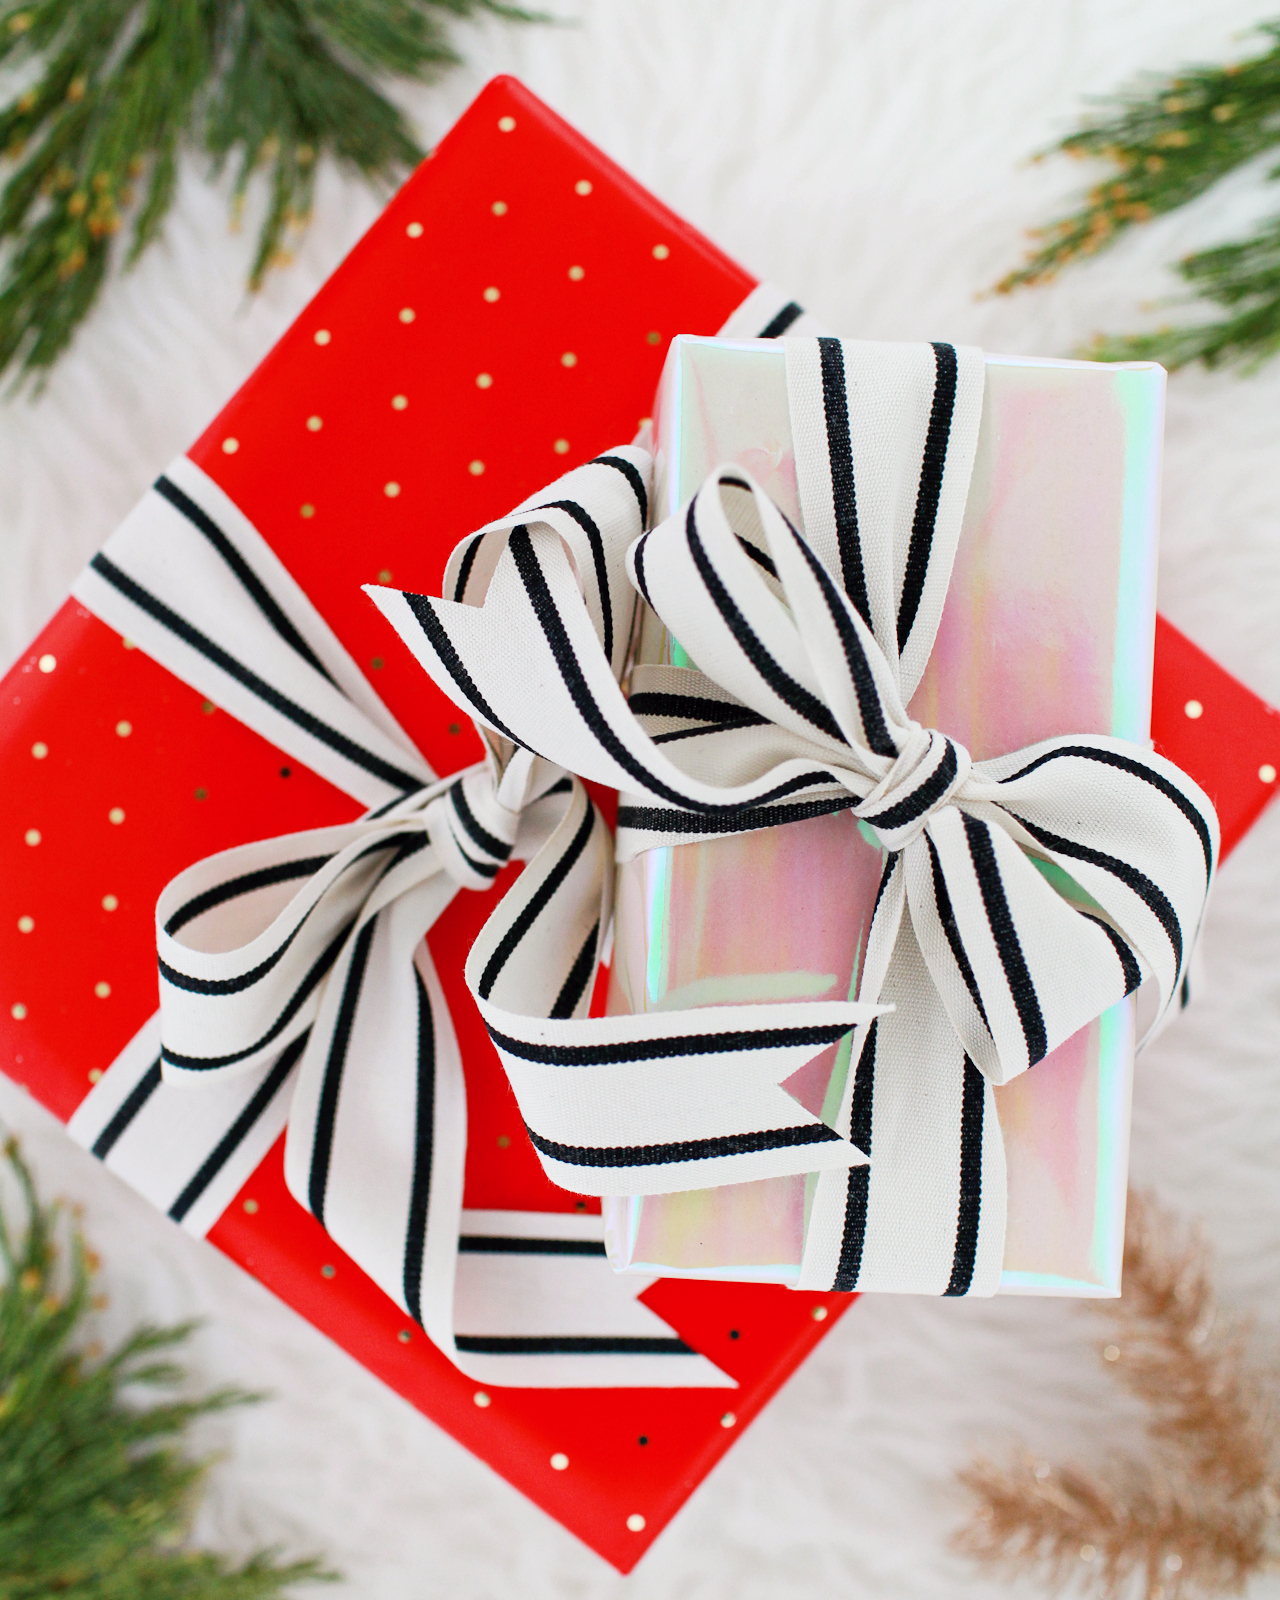
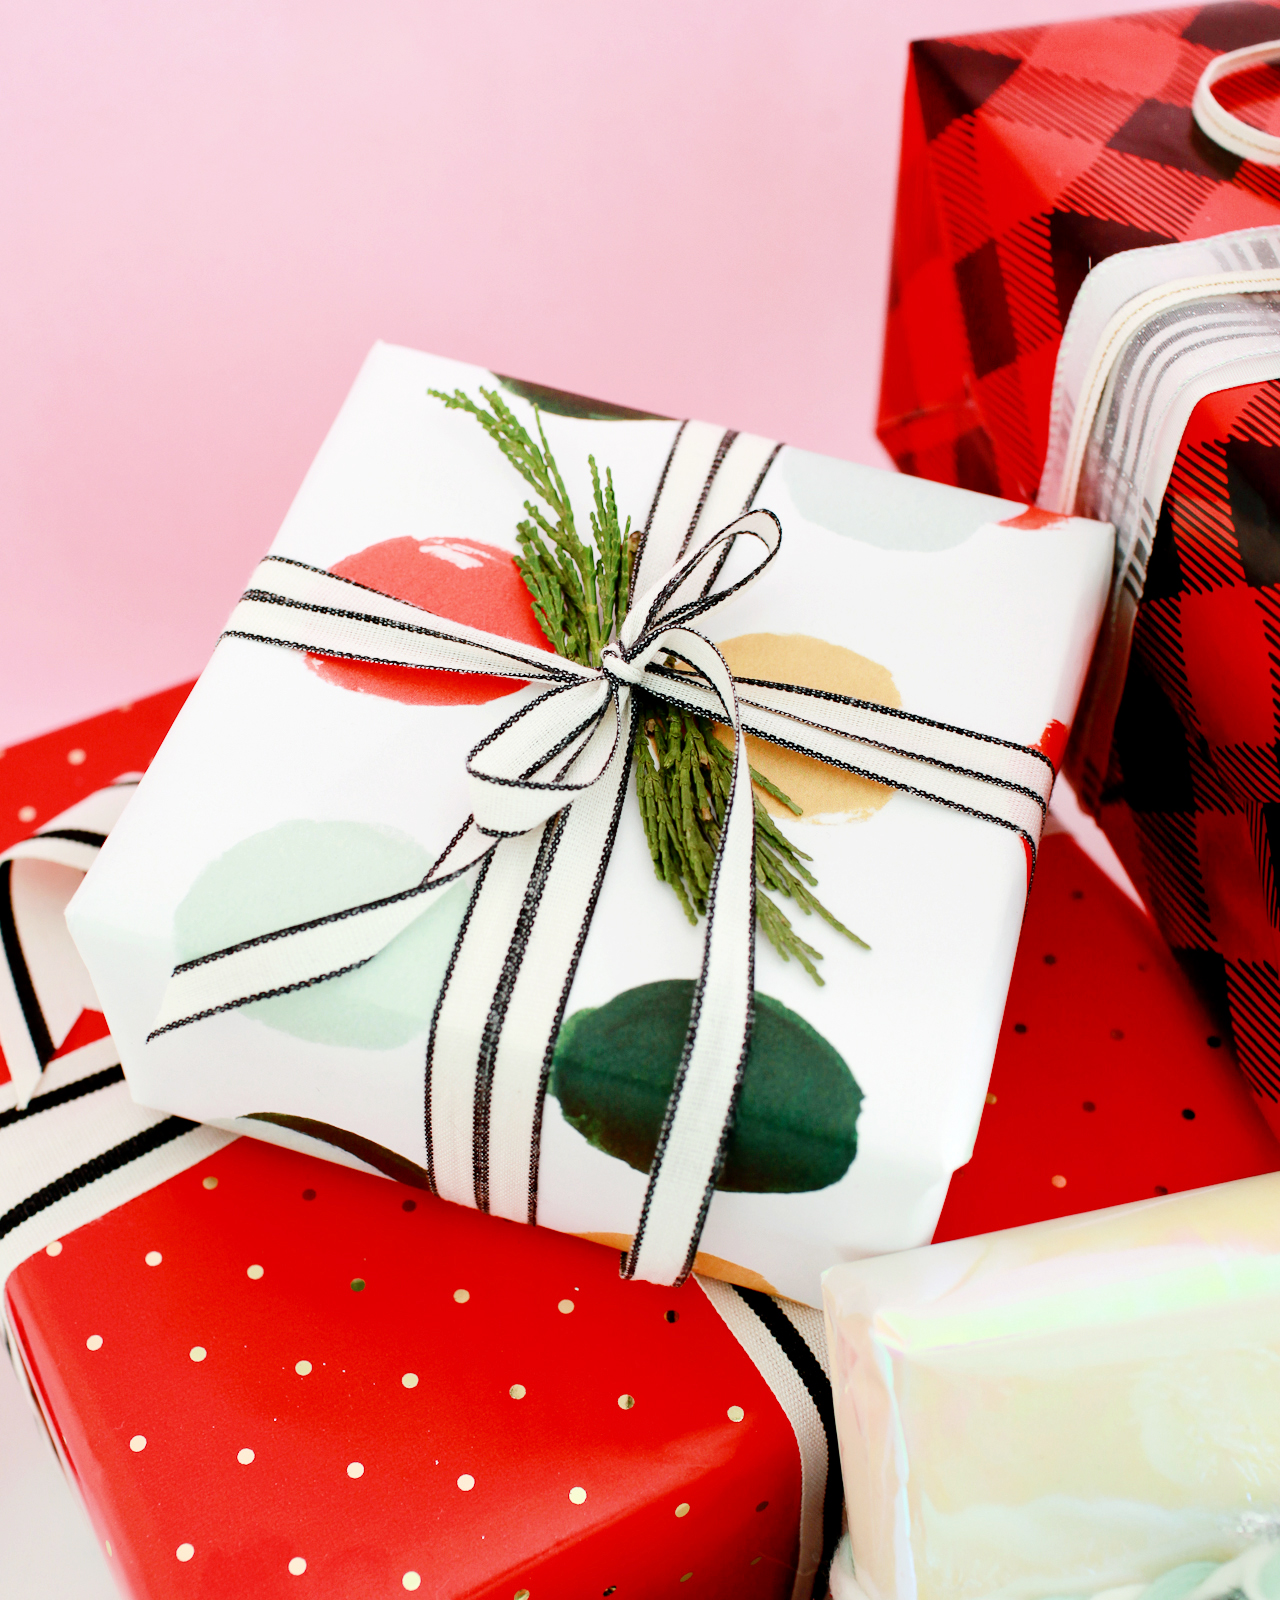
You can’t go wrong with polka dots! I love the contrast between the tiny red and gold polka dots (from this year’s Sugar Paper for Target collection) and the larger multicolor hand painted dots from Our Heiday. And those new Drittofilo cotton ribbons from Angela Liguori? An instant favorite!

Beautiful Holiday Gift Wrap Pairings

Beautiful Holiday Gift Wrap Pairings

Red and Gold Dot Gift Wrap | Hand Painted Dot Gift Wrap | Drittofilo Cotton Ribbons (in Natural with Black, Red, and Gold edges)

Beautiful Holiday Gift Wrap Pairings

Don’t they look so pretty all mixed together? When wrapping a set of gifts (these are Star Wars books for our nephew) with multiple patterns, I like to keep the ribbon fairly simple. This gold tinsel ribbon is simple but very festive!

Beautiful Holiday Gift Wrap Pairings

Hand Painted Dot Gift Wrap | Red and Gold Dot Gift Wrap | Buffalo Check Gift Wrap | Gold Tinsel Ribbon

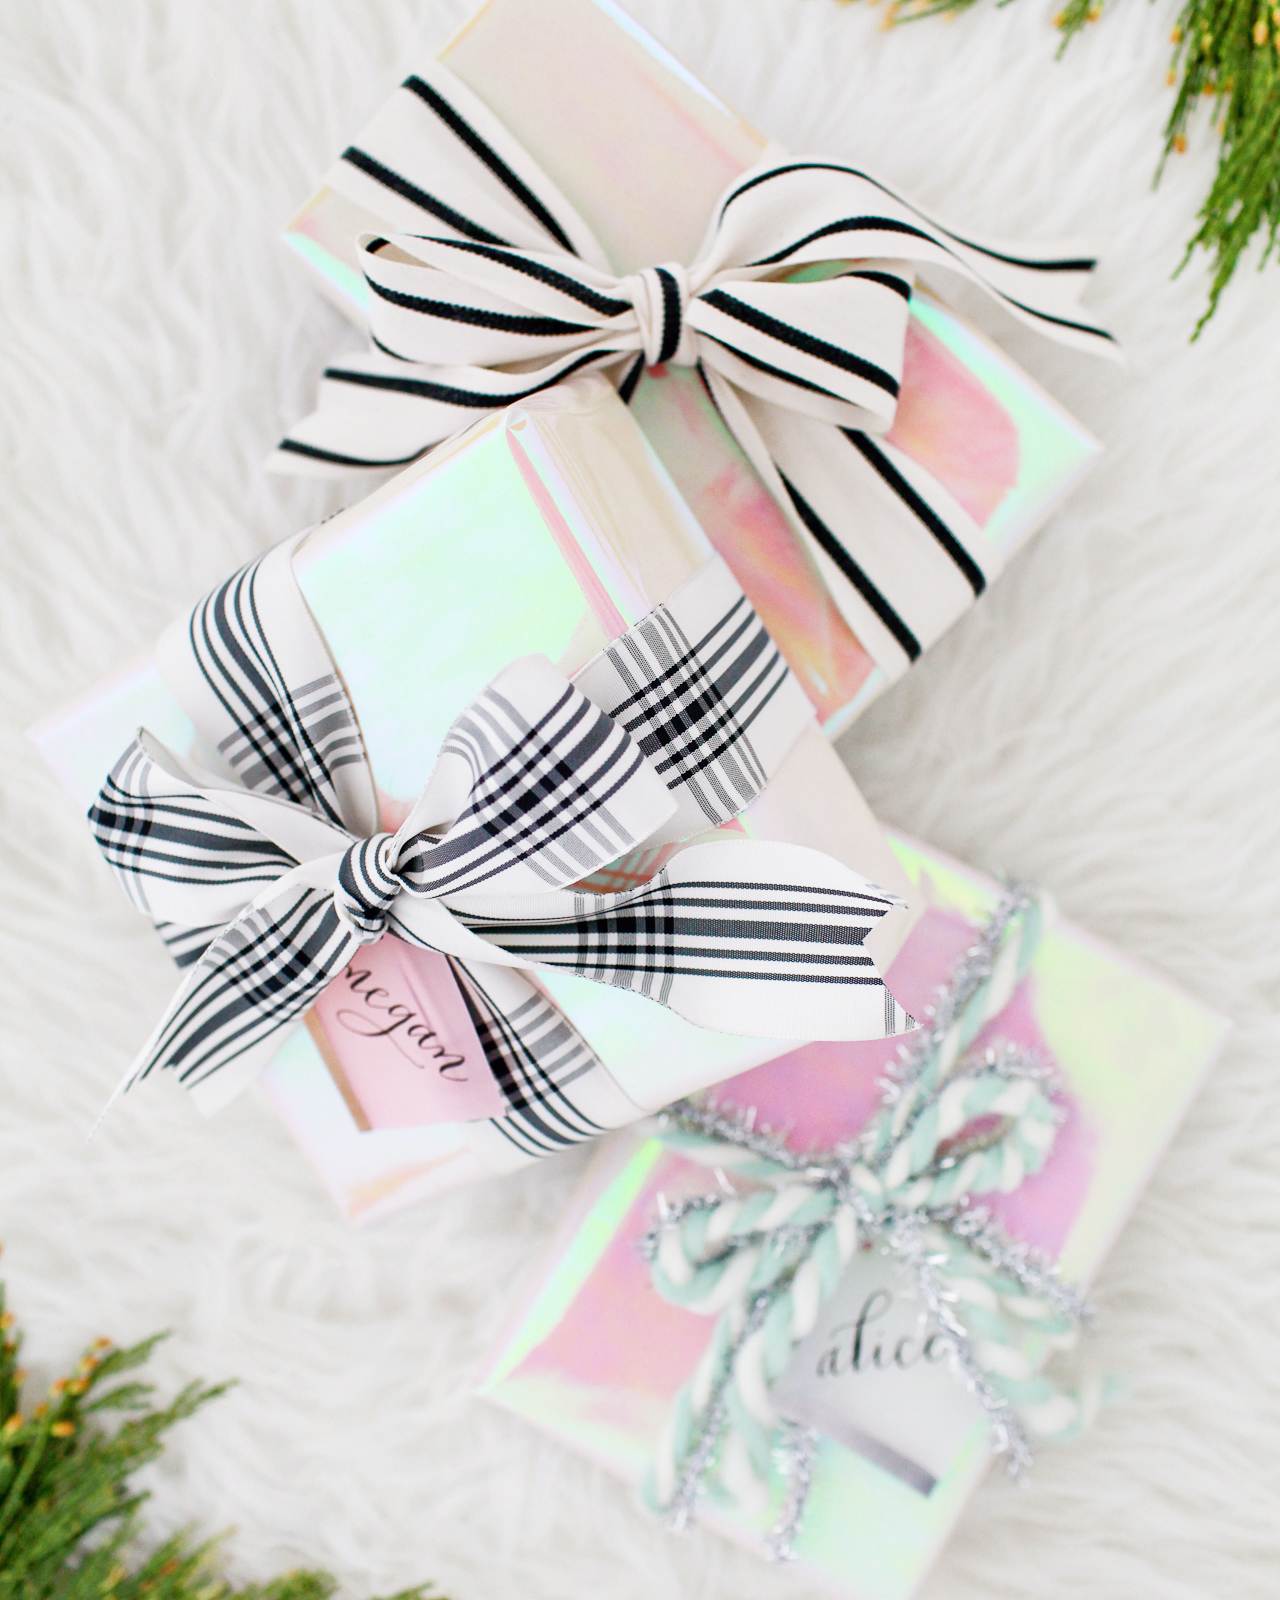
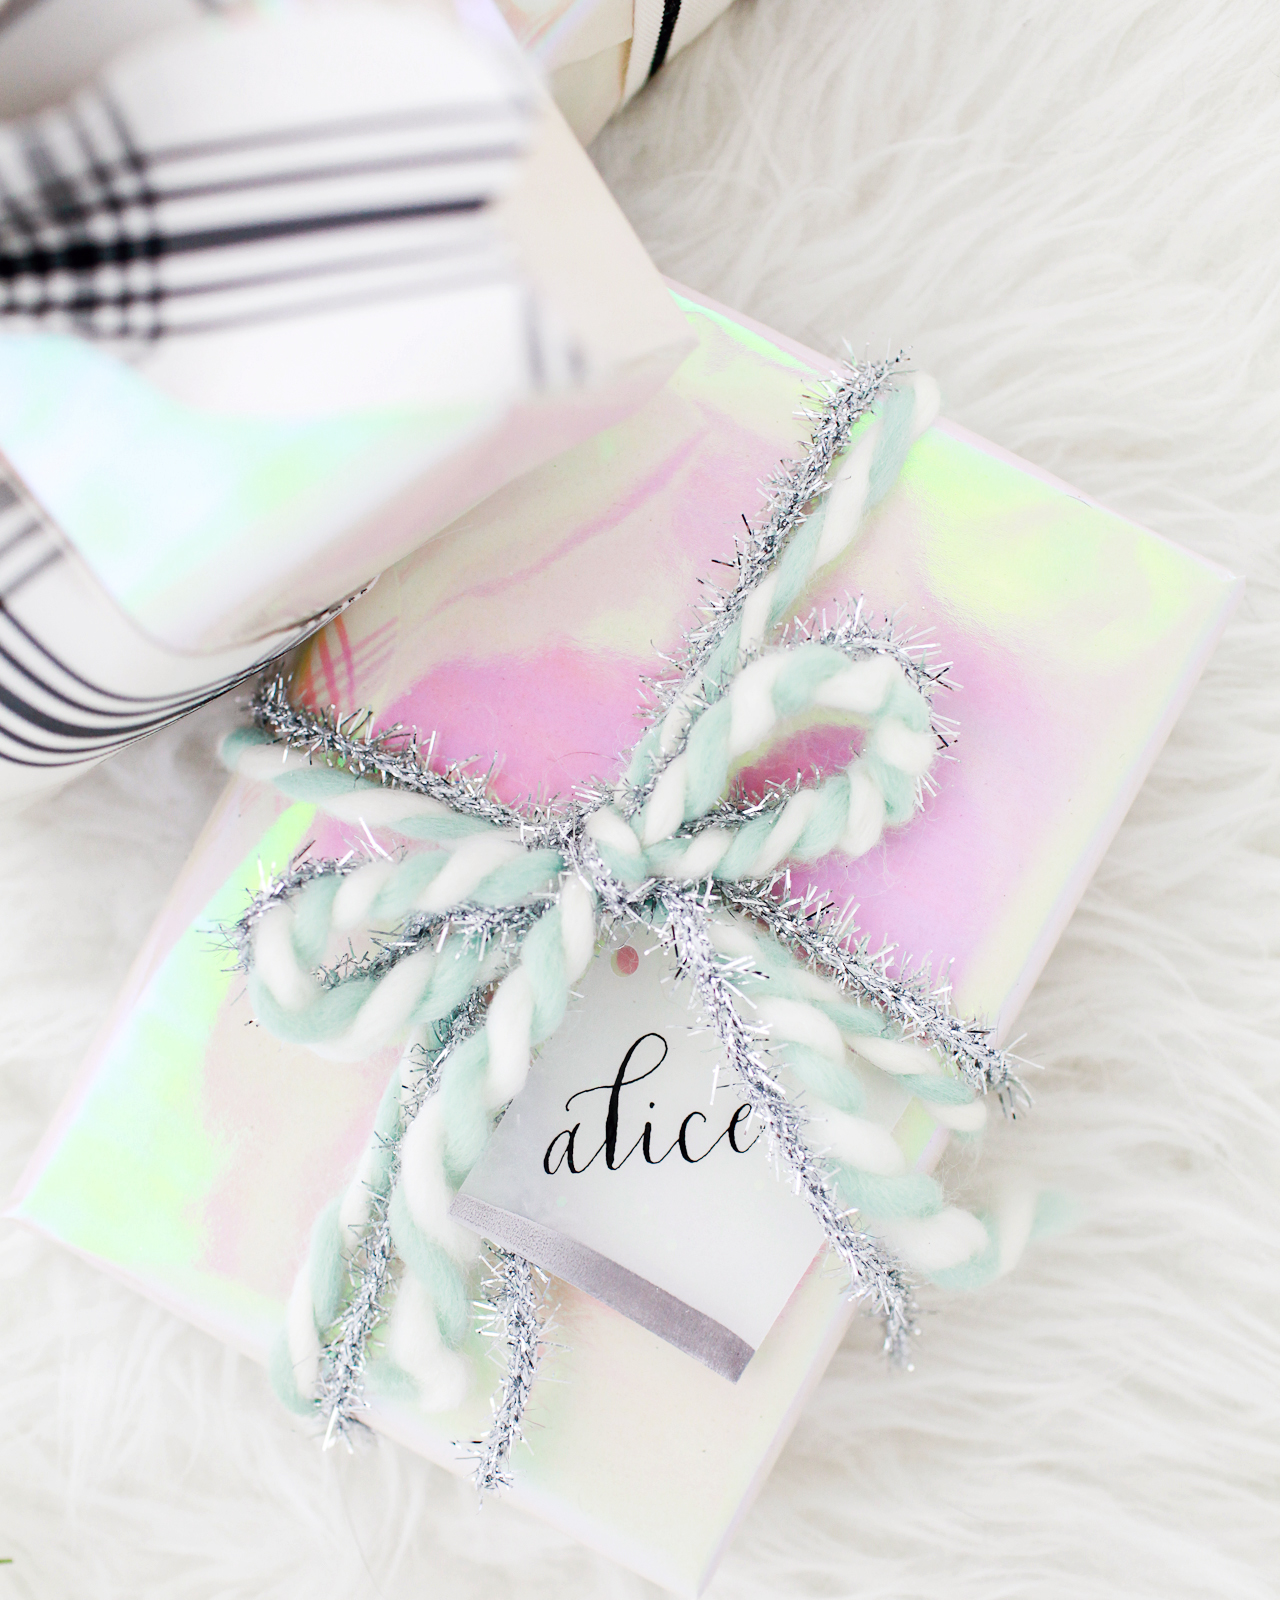
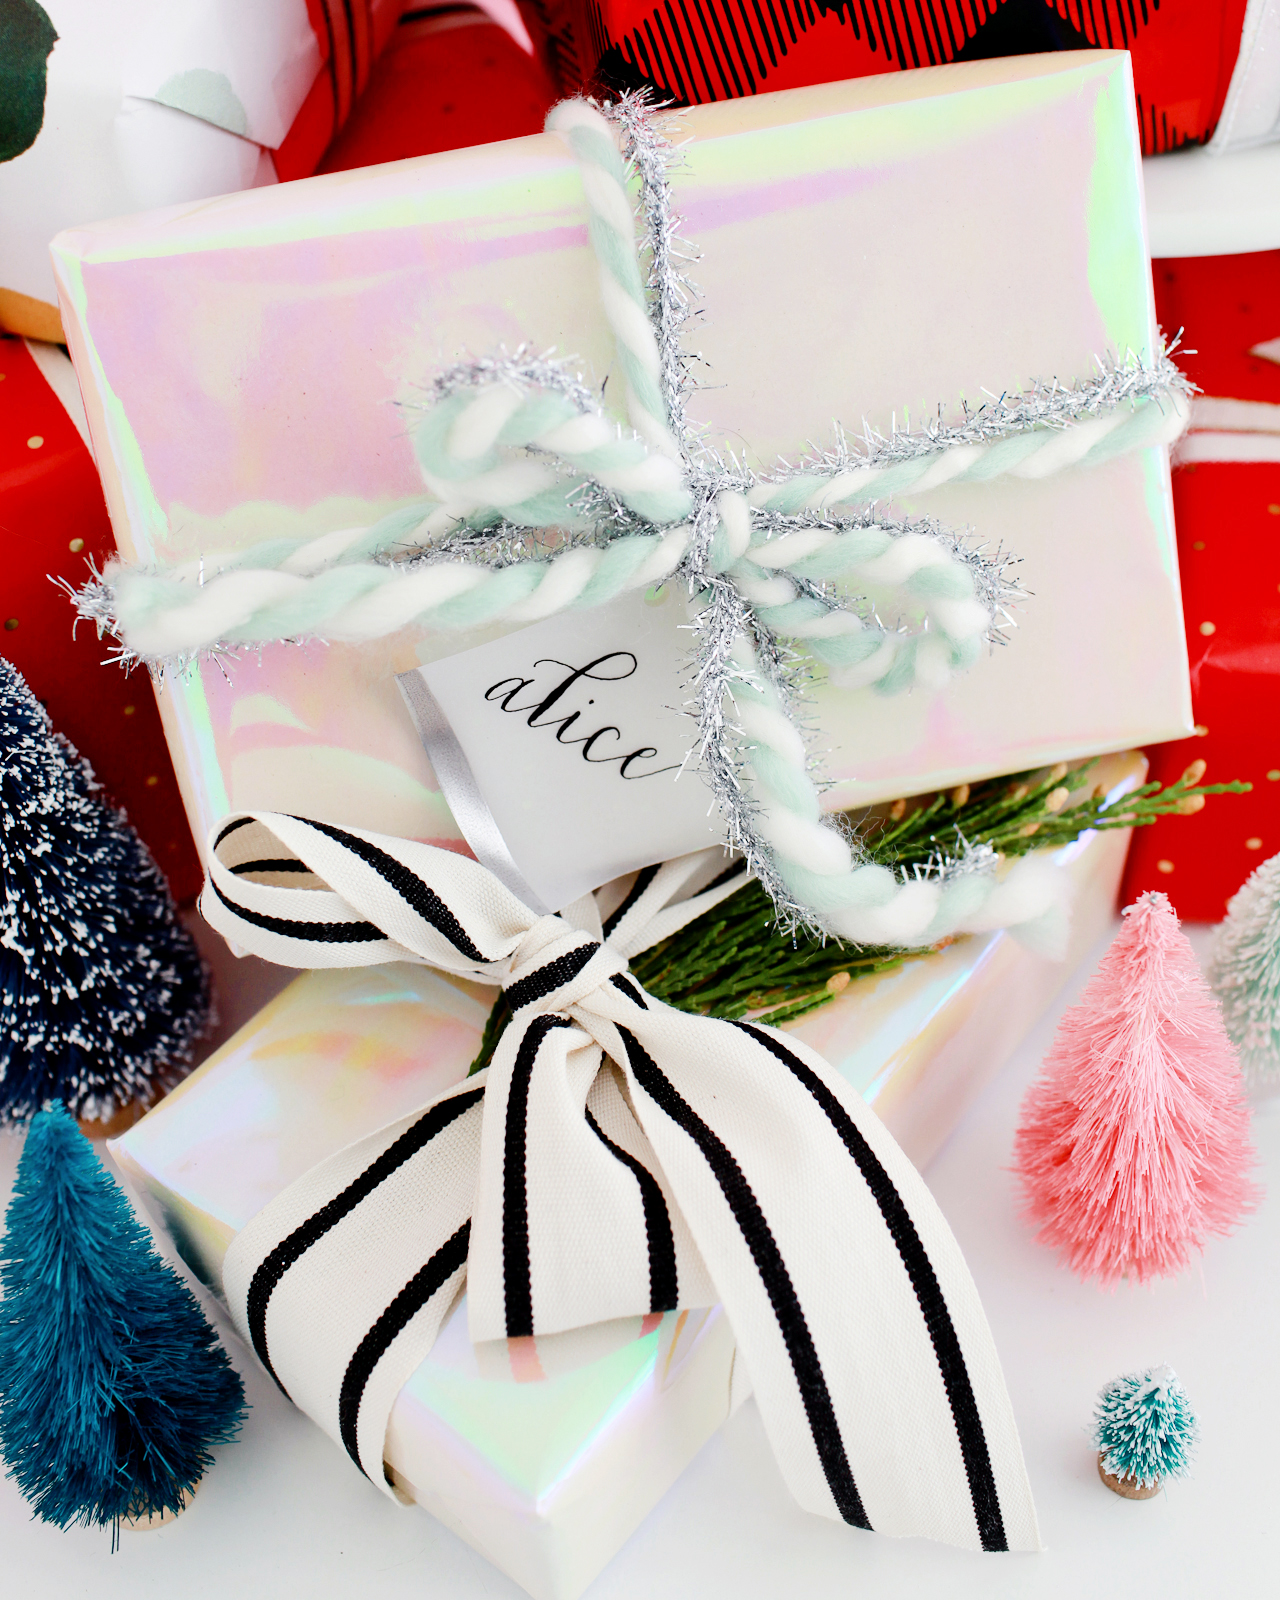
This iridescent white gift wrap is pretty much my favorite thing ever. That shimmer! And I love the way it can look surprisingly traditional or completely modern depending on the trim!

Beautiful Holiday Gift Wrap Pairings

Beautiful Holiday Gift Wrap Pairings

White Iridescent Gift Wrap | Plaid Grosgrain Ribbon | Wood Spool Stripe Ribbon (in Natural/Black) | Silver Tinsel Ribbon | Mint Color Twist Wool Ribbon

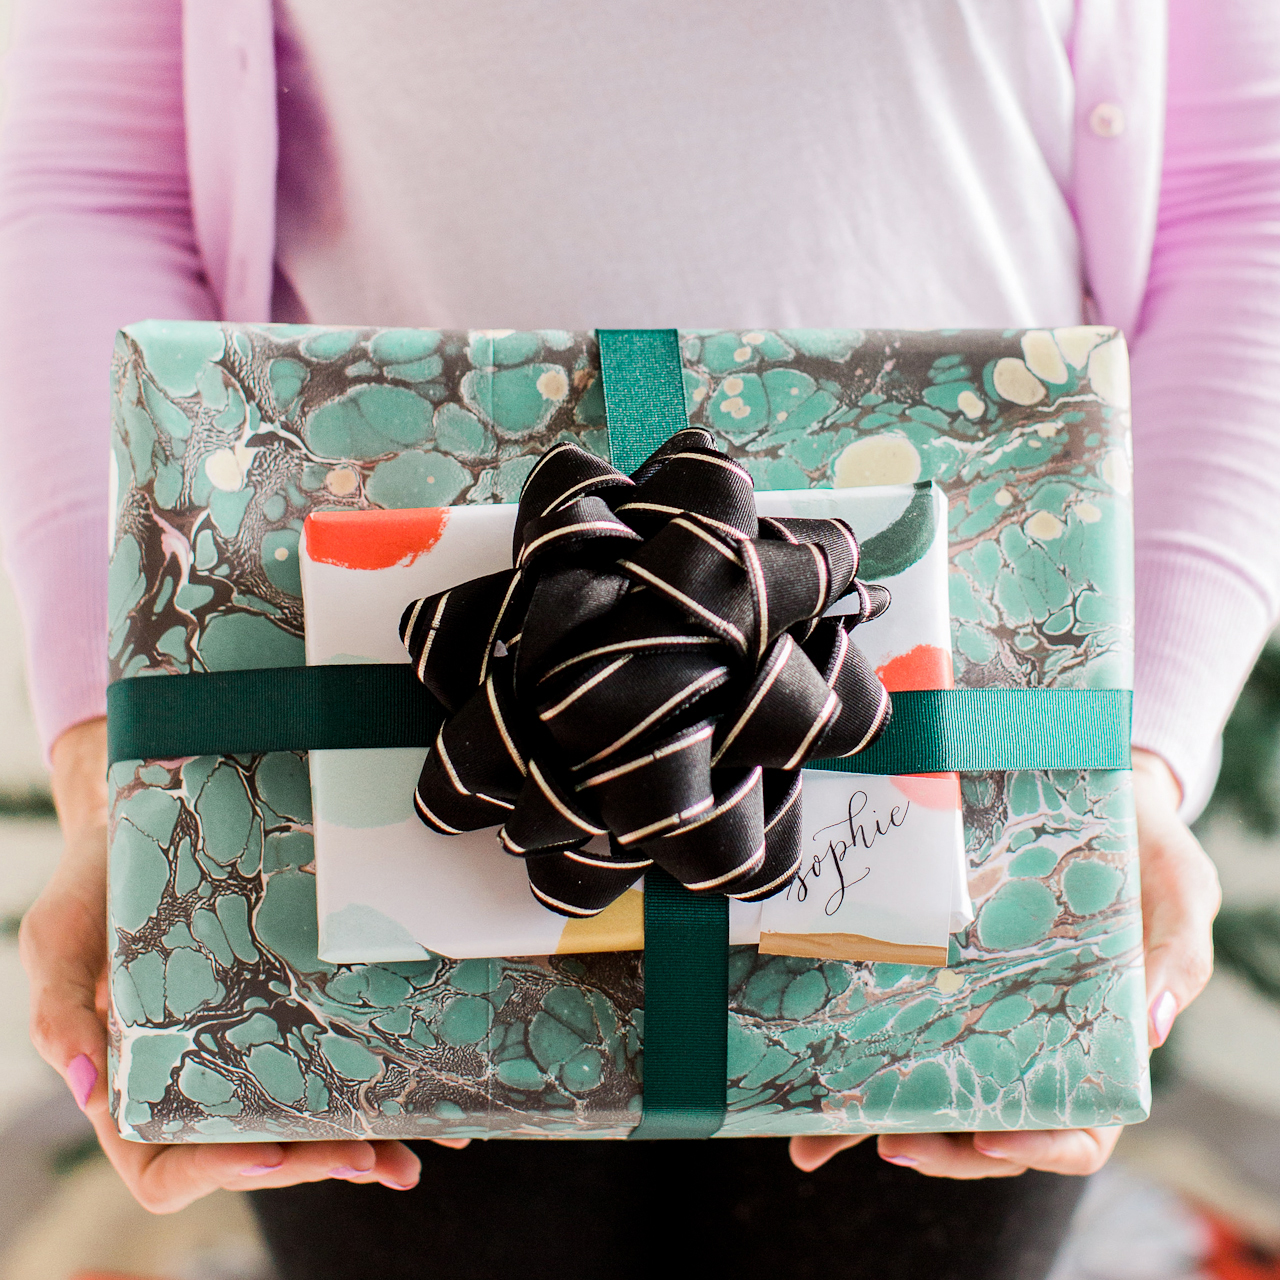
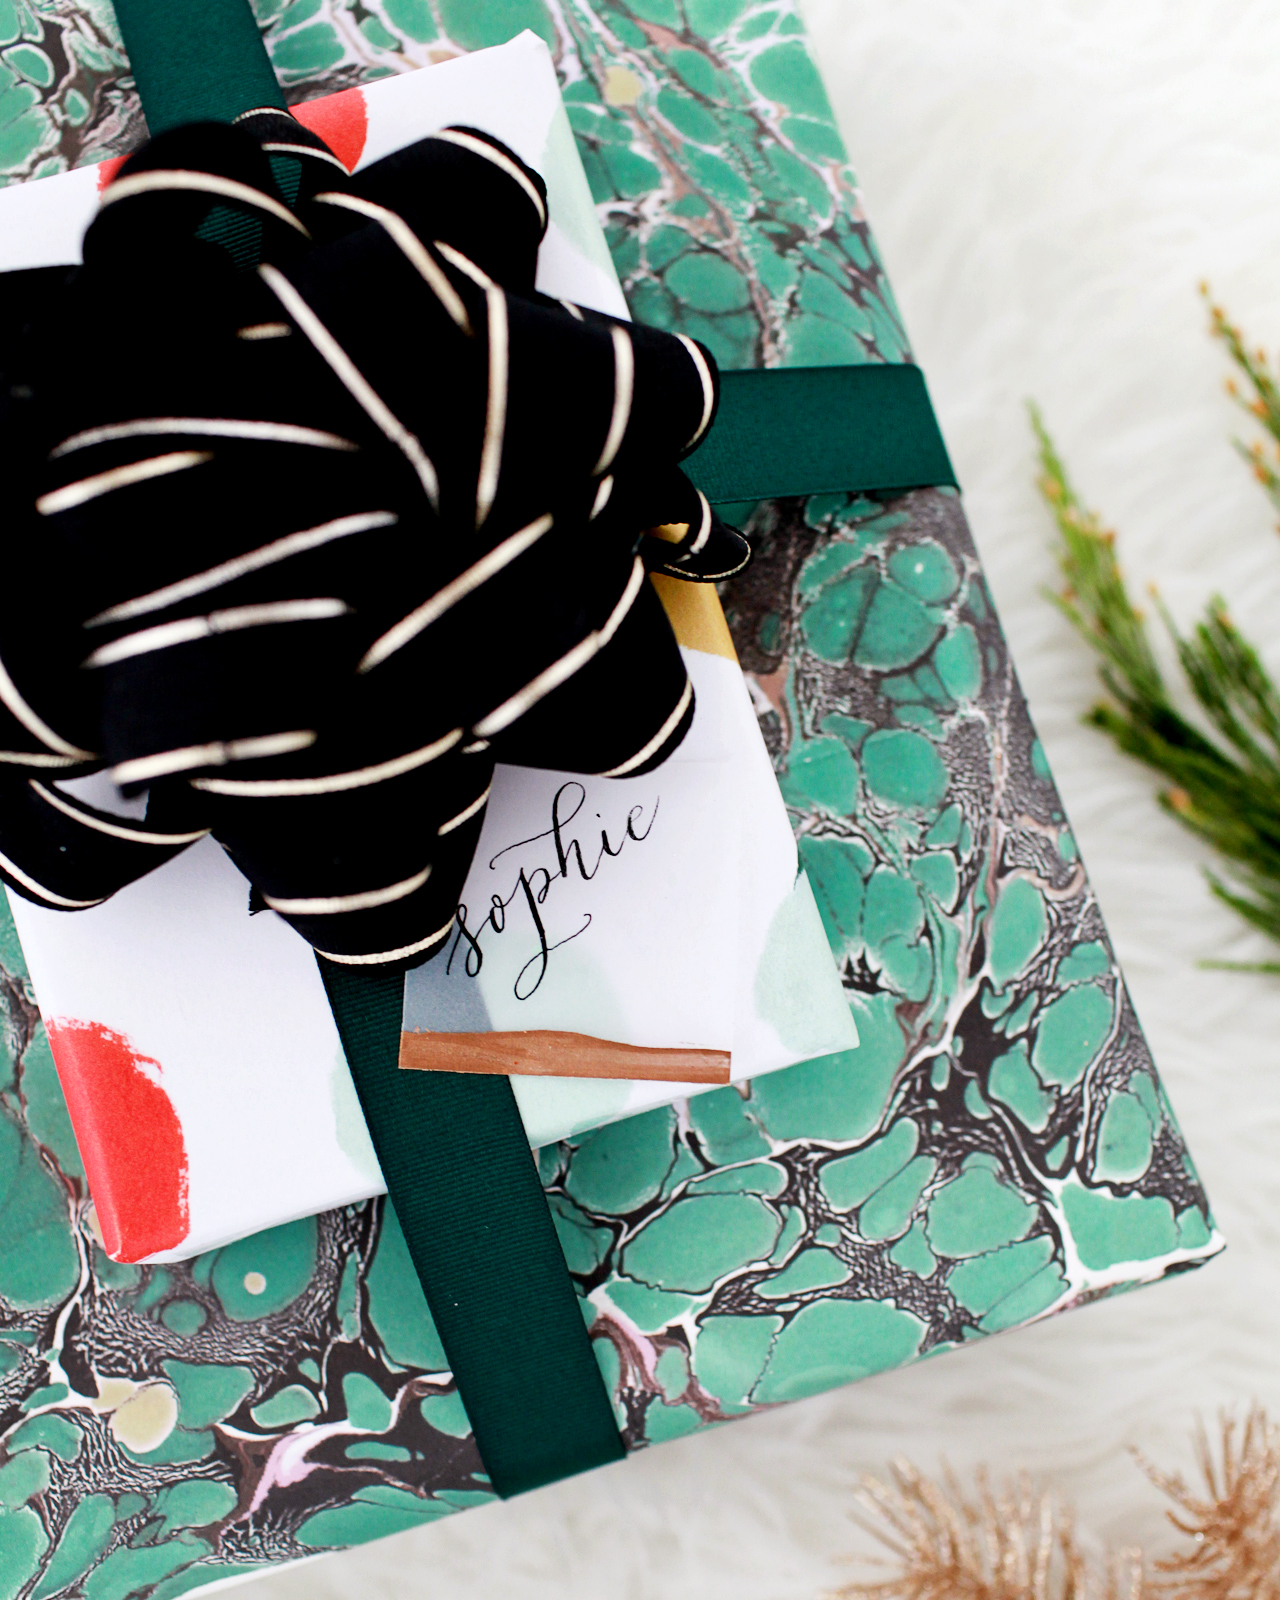
I’m completely obsessed with this green marbled gift wrap. The color is just perfect for the holiday season! This particular design is from Katie Leamon in the UK, but this fair trade handmade paper is also really pretty and can be found at Paper Source if you want it in time for Christmas.

Beautiful Holiday Gift Wrap Pairings

Beautiful Holiday Gift Wrap Pairings

Green Marbled Gift Wrap | Hand Painted Dot Gift Wrap | Green Grosgrain Ribbon | Black and Gold Bow

Beautiful Holiday Gift Wrap Pairings

Beautiful Holiday Gift Wrap Pairings

Beautiful Holiday Gift Wrap Pairings

Beautiful Holiday Gift Wrap Pairings

So that’s what I picked this year! What’s your holiday gift wrap style? Do you go more traditional or modern? Tell me tell me!

Gift Tag Calligraphy: Meant to Be Calligraphy

p.s. DIY gold and copper leaf hexagon gift tags!

Photo Credits: Meghan Marie Photography and Nole Garey for Oh So Beautiful Paper
Pink Floral Unicorn Baby Shower Invitations

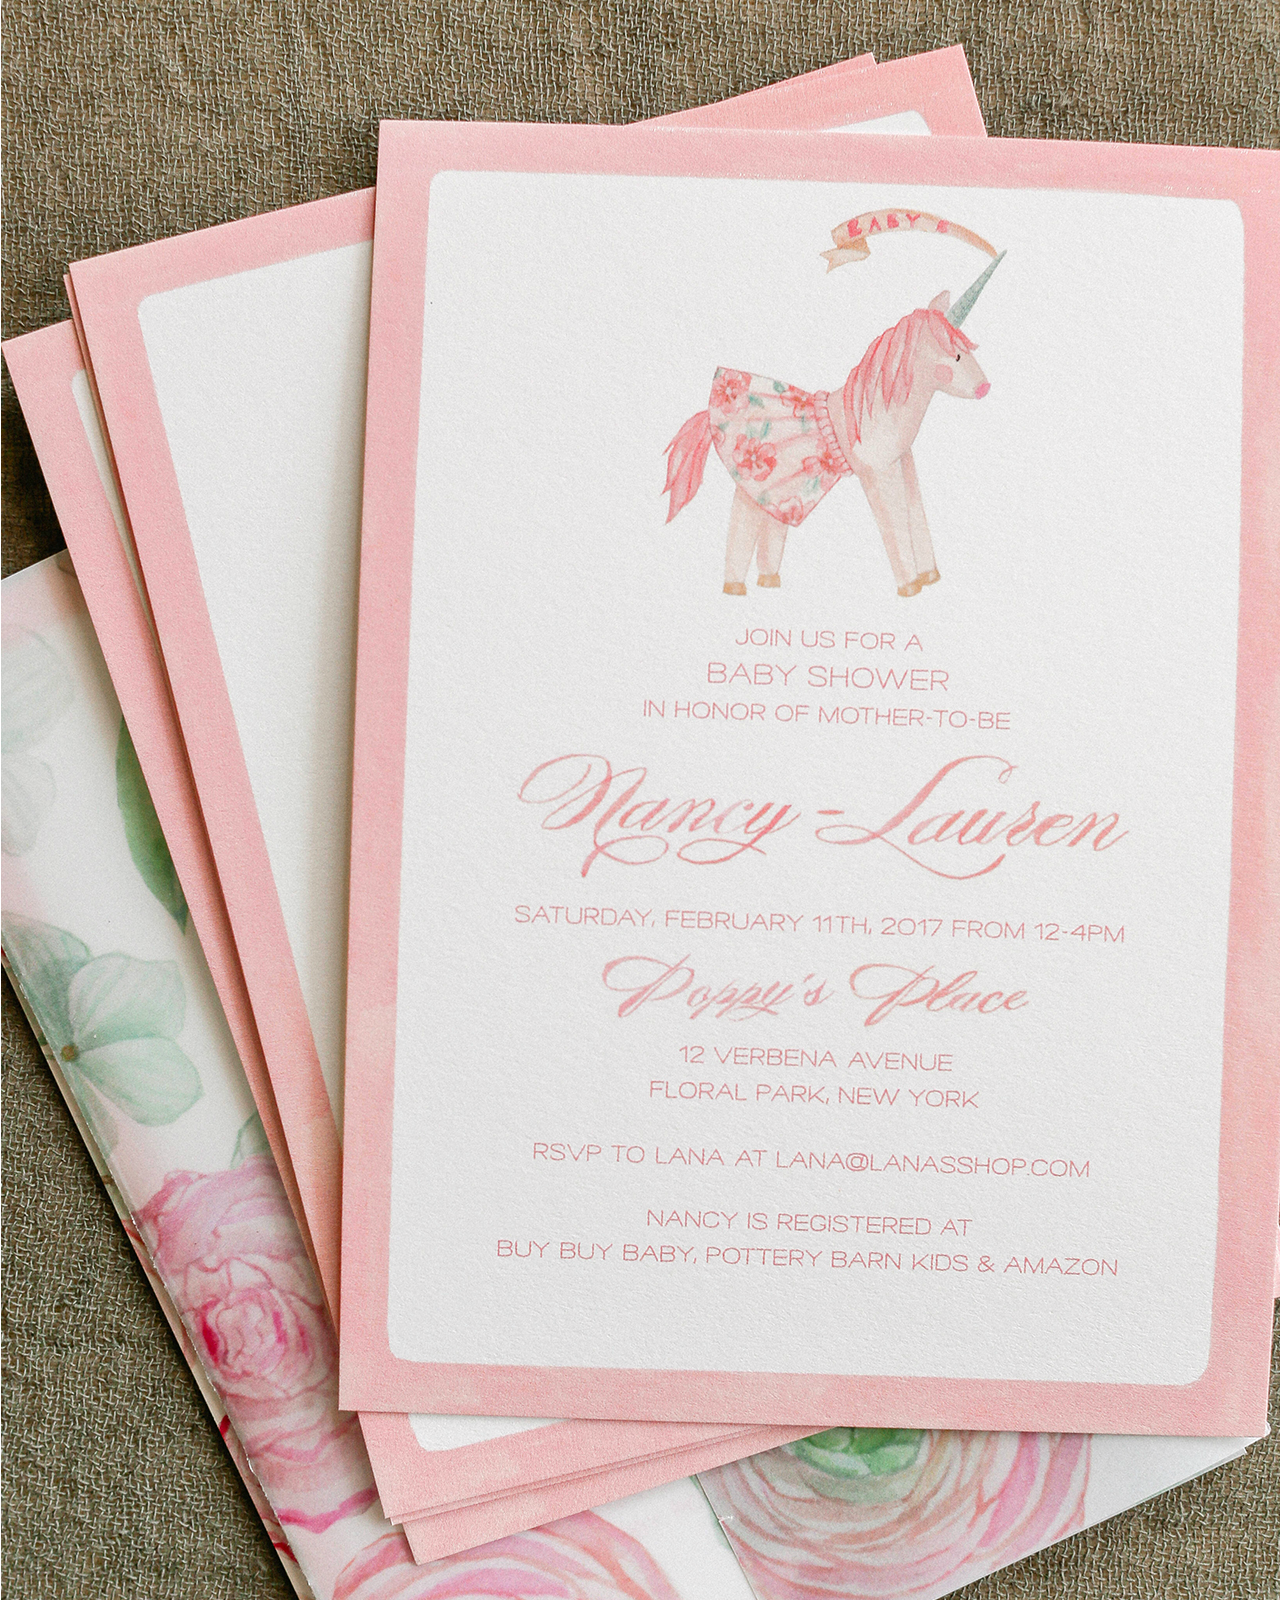
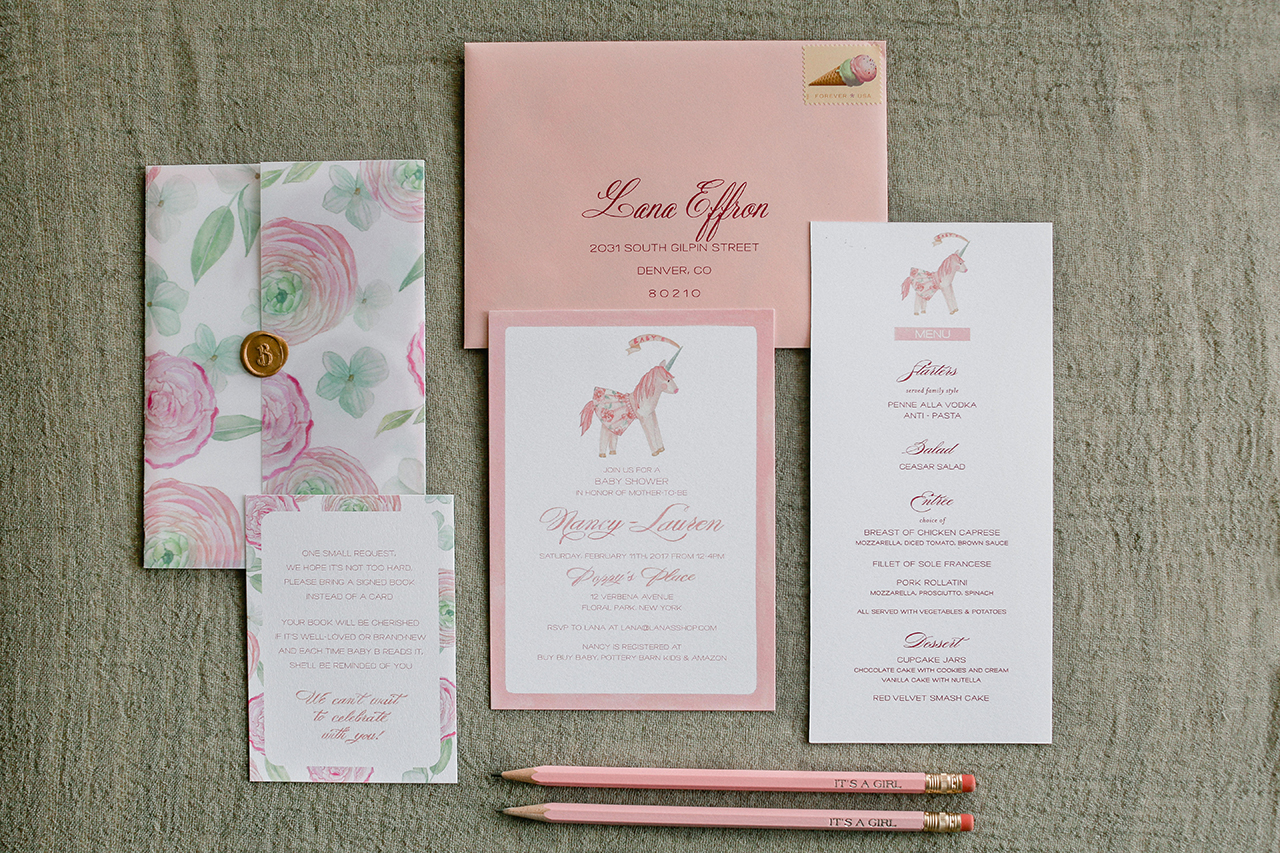
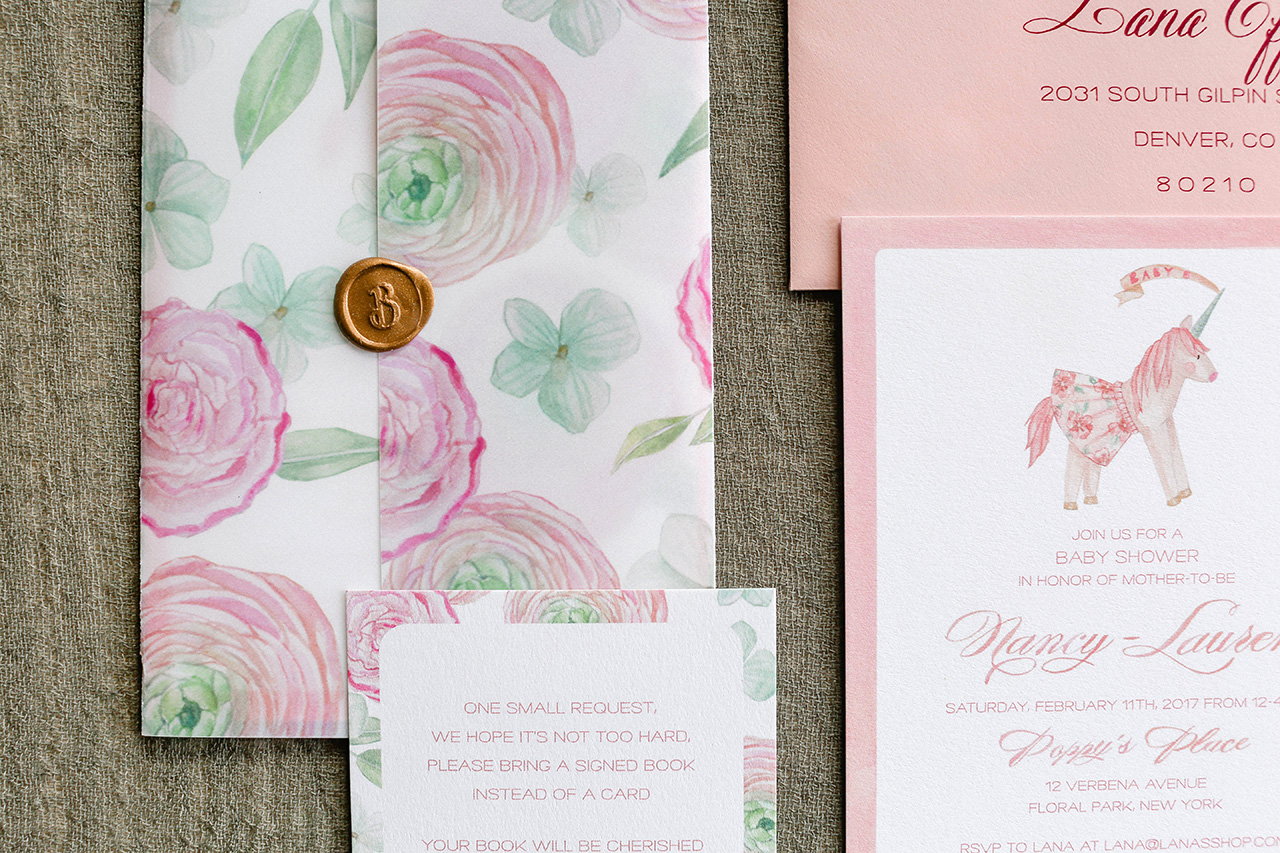
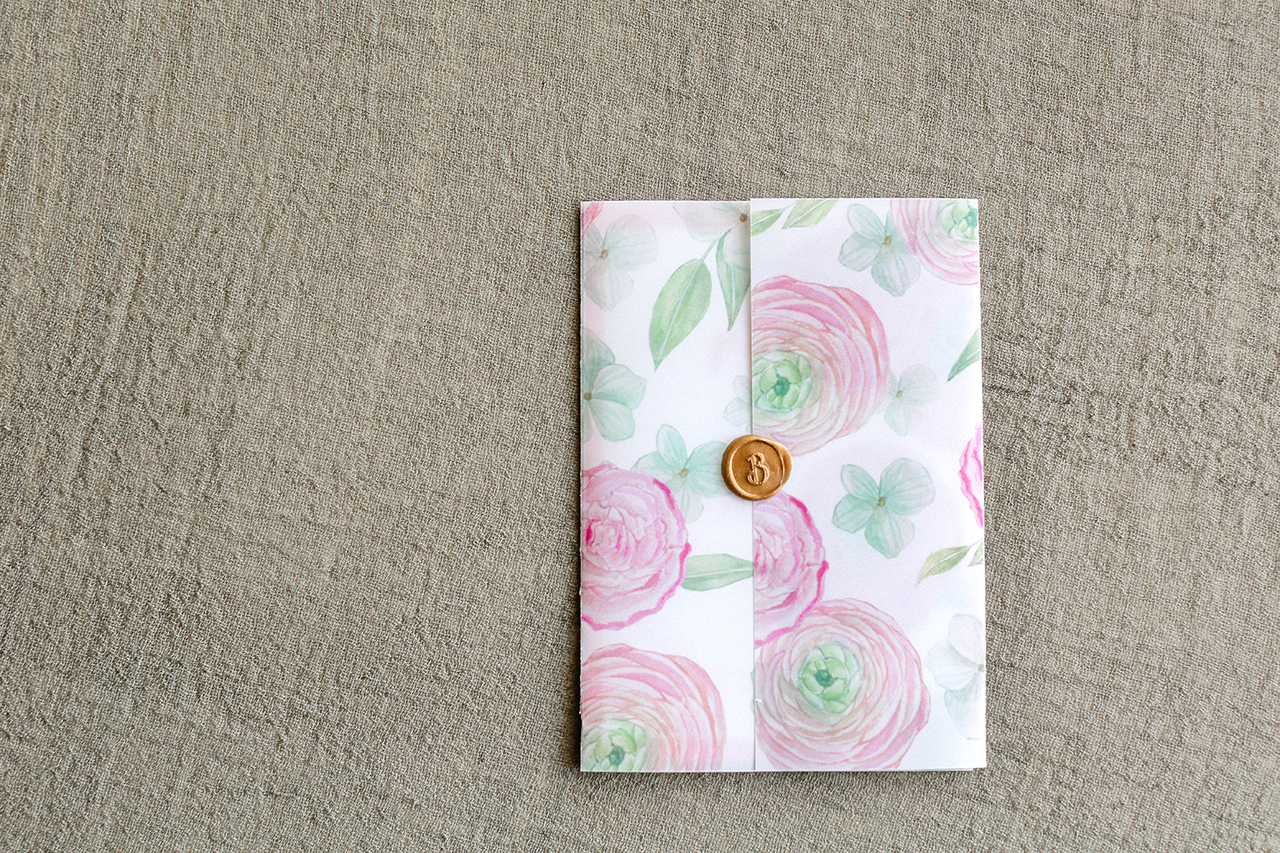
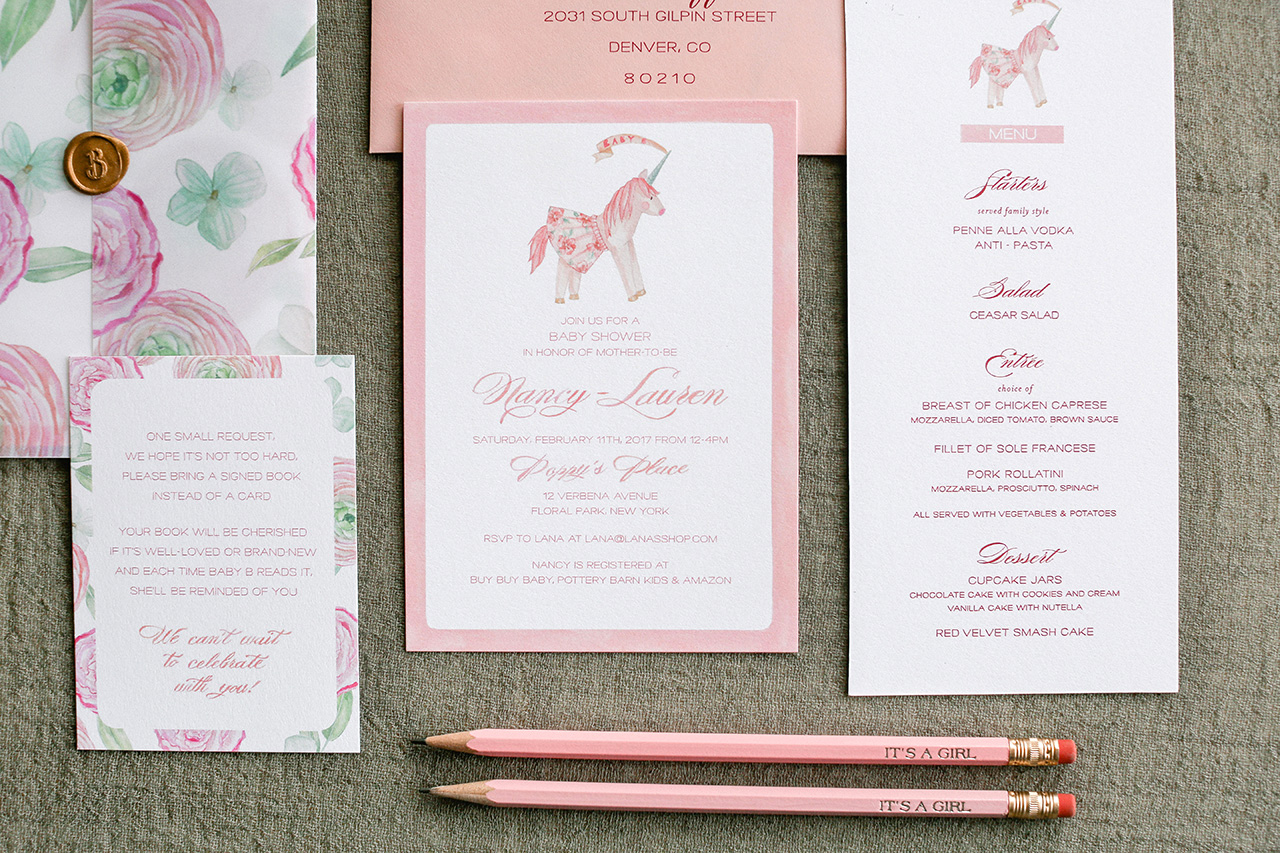
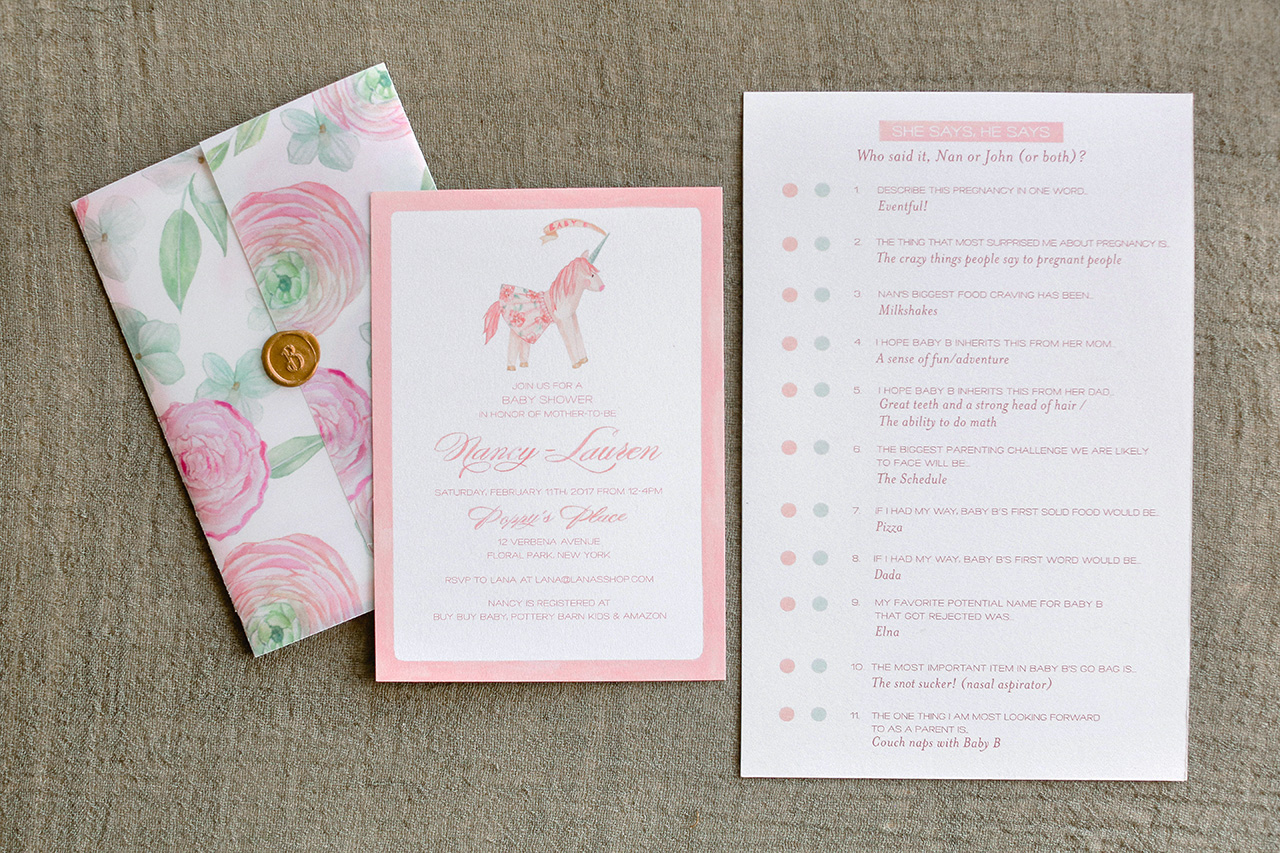
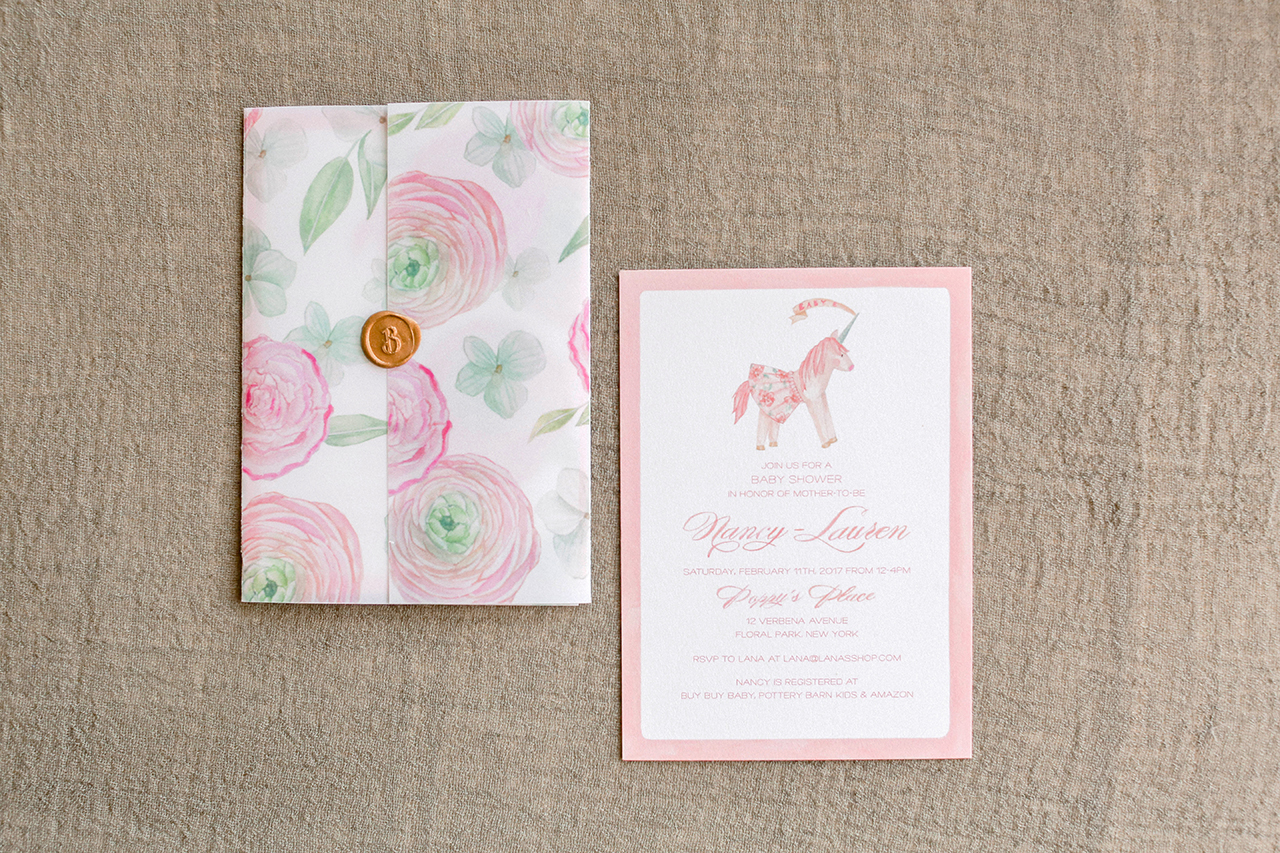
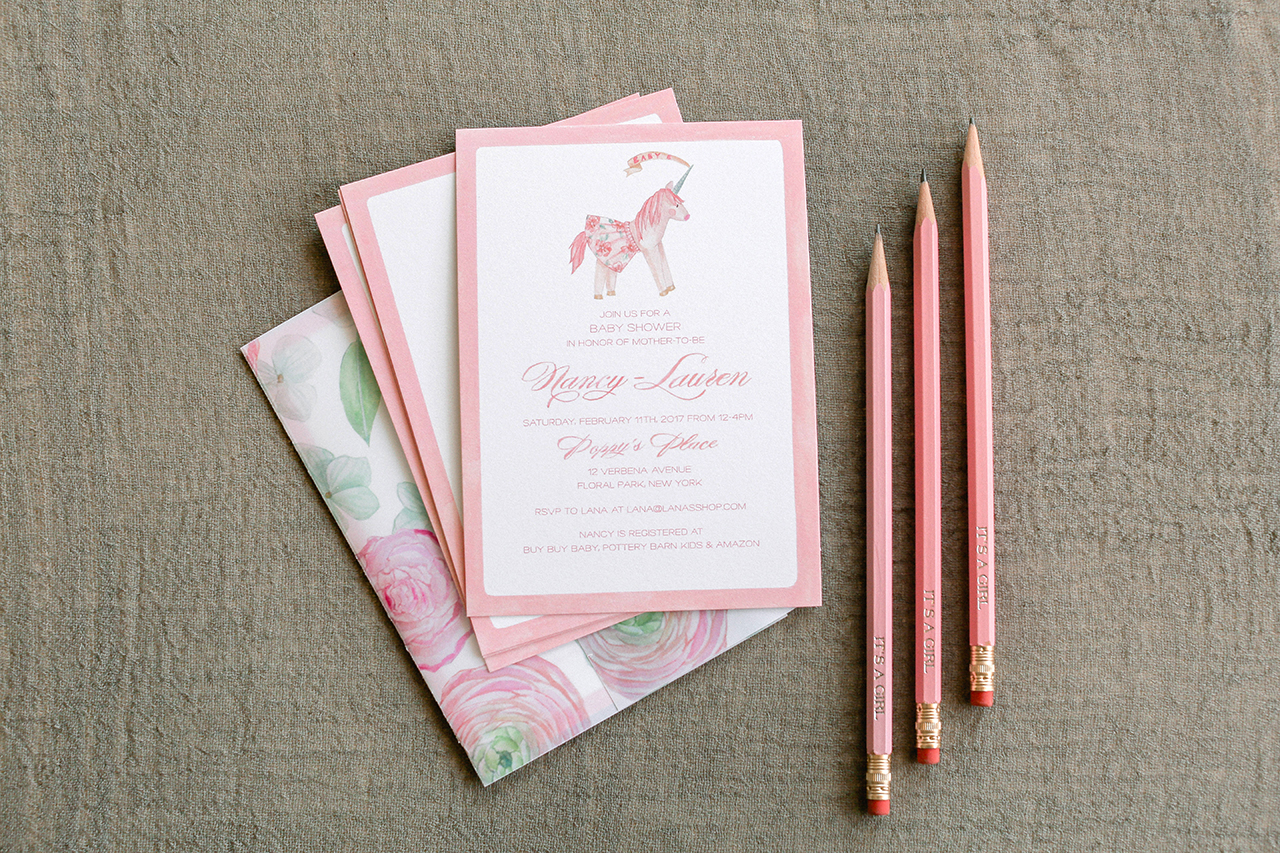
When your best friend is a stationer you can be certain that your baby shower invitations will be simply amazing! All of this is true (and more!) of these adorable pink floral unicorn baby shower invitations designed by Lana’s Shop. The festive skirt wearing unicorn is adorable and a perfect motif for these invitations. Floral printed vellum and copper wax seals are the perfect finishing touch!

Pink Floral Unicorn Baby Shower Invitations by Lana's Shop

Pink Floral Unicorn Baby Shower Invitations by Lana's Shop

From Lana: Nancy and I have been best friends for 25 years, so when it was time to throw her baby shower, I knew I had to go ALL OUT! My BFF is a girly girl at heart, which made it easy to decide on a direction for the party. From the adorable custom illustrated unicorn, to the milkshake stamps, to the wax seals, we definitely went with all things feminine and sweet to welcome Nancy’s baby girl.

Pink Floral Unicorn Baby Shower Invitations by Lana's Shop

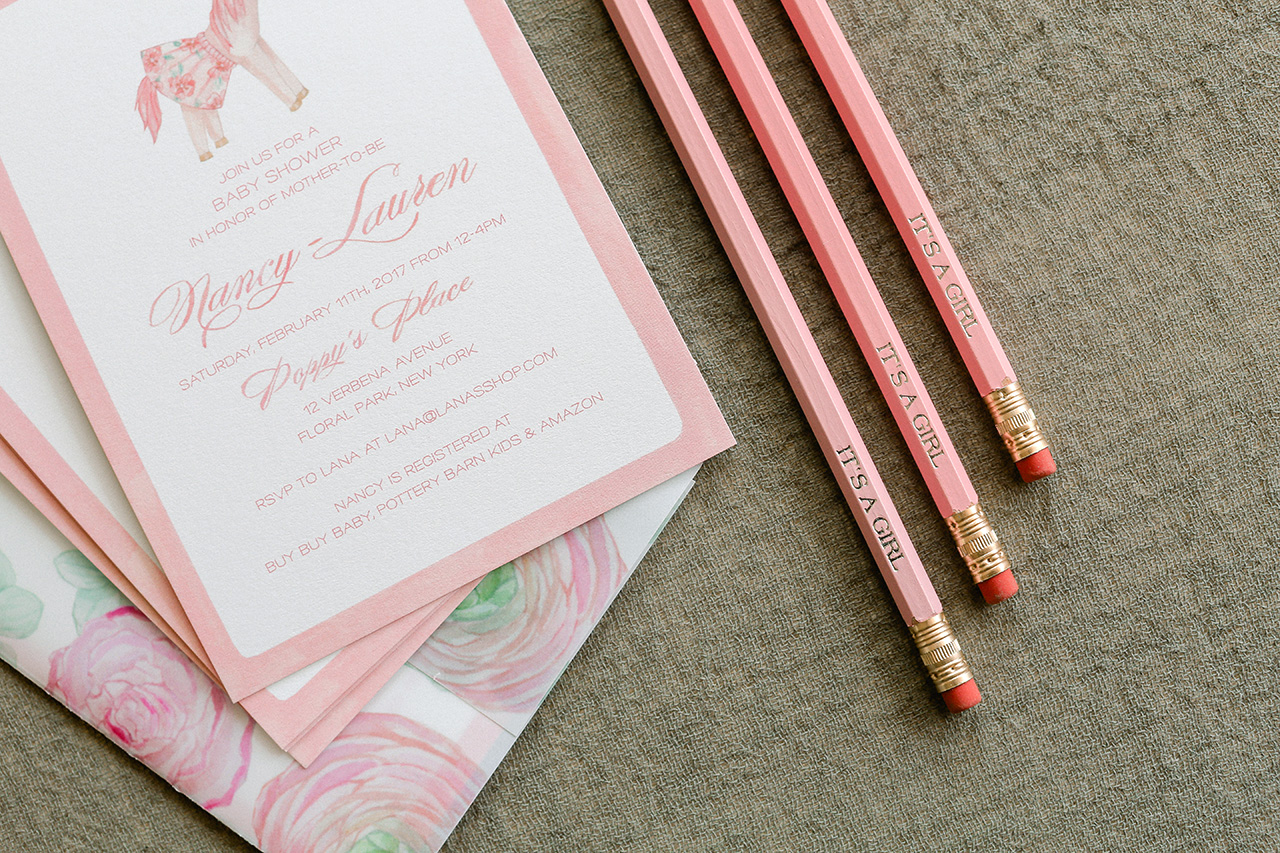
When designing the invitations, I wanted to make sure to strike a balance between cute and sophisticated. Our floral skirt-wearing unicorn gal shared the spotlight with an elegant hand-lettered elegant script for the standout words on the invitation and insert.

Pink Floral Unicorn Baby Shower Invitations by Lana's Shop

Pink Floral Unicorn Baby Shower Invitations by Lana's Shop

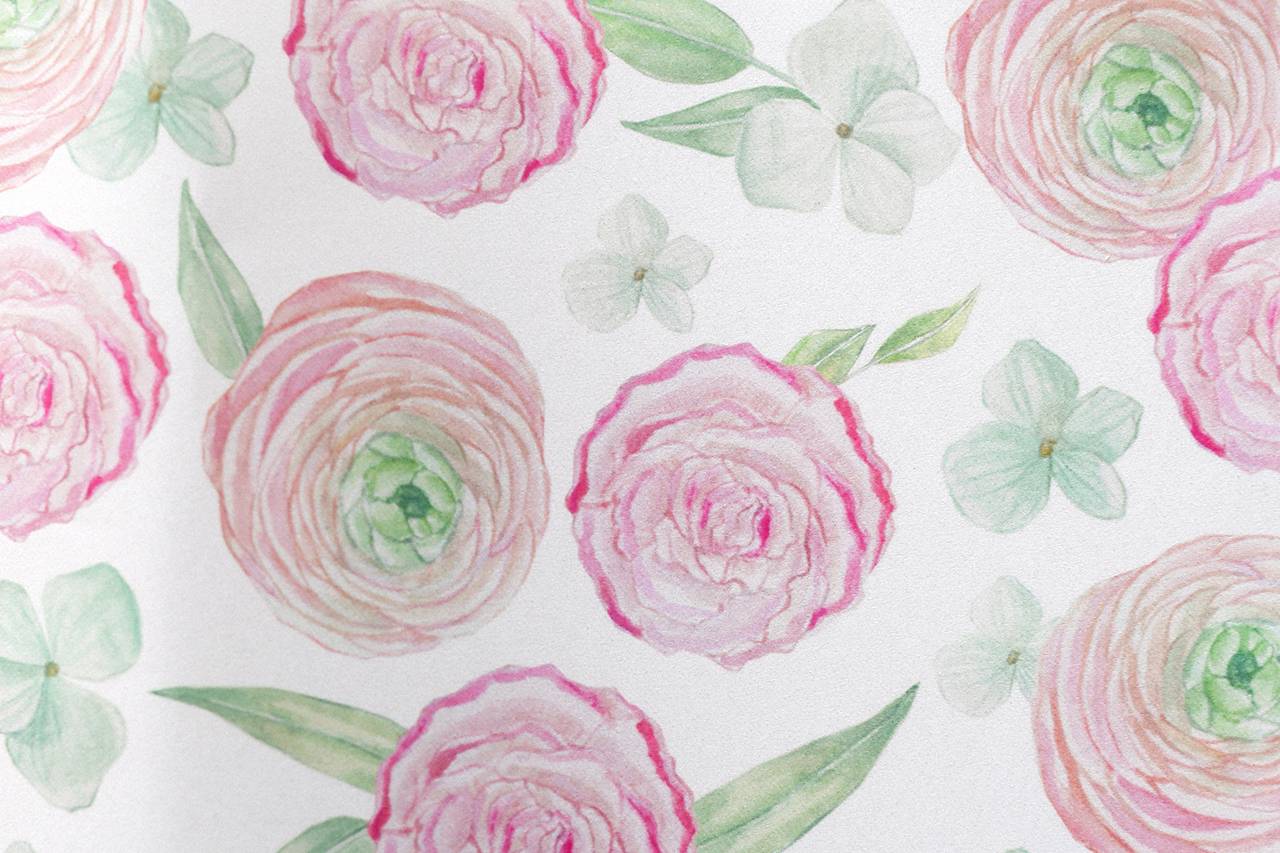
Inspired by Baby B’s nursery wallpaper, the floral pattern I illustrated was featured as a border on the insert card as well as on the luxe vellum wrap around that we sealed with a custom gold wax seal. On the insert, we included a message asking guests to bring a book instead of a card. Even though we obviously love cards, we loved this idea so that Nancy and Baby B could get a whole book collection from their loved ones.

Pink Floral Unicorn Baby Shower Invitations by Lana's Shop

Pink Floral Unicorn Baby Shower Invitations by Lana's Shop

Pink Floral Unicorn Baby Shower Invitations by Lana's Shop

For the day of the shower, we rented floral linens from La Tavola to match our vellum wrap. I also designed coordinating game cards and menus for Nancy’s guests and included a packet of seeds at each person’s seat that read, “Life plants the seed… Love makes it grow. Thank you for celebration Baby B.” To tie everything together, we made custom unicorn straw toppers and bought custom “It’s a girl!” pencils from Etsy in pink, of course!

Pink Floral Unicorn Baby Shower Invitations by Lana's Shop

It’s always such a treat to design paper goodies for friends and this shower was SO much fun to put together! Hope it can bring lots of inspiration to others for their own shower sets.
Pink Floral Unicorn Baby Shower Invitations by Lana's Shop

Thanks Lana!

Design: Lana’s Shop

Lana’s Shop is a member of the Designer Rolodex – you can see more of her beautiful work right here

Photo Credits: Laura Murray Photography

Calligraphy Inspiration: Sarah Ann Design

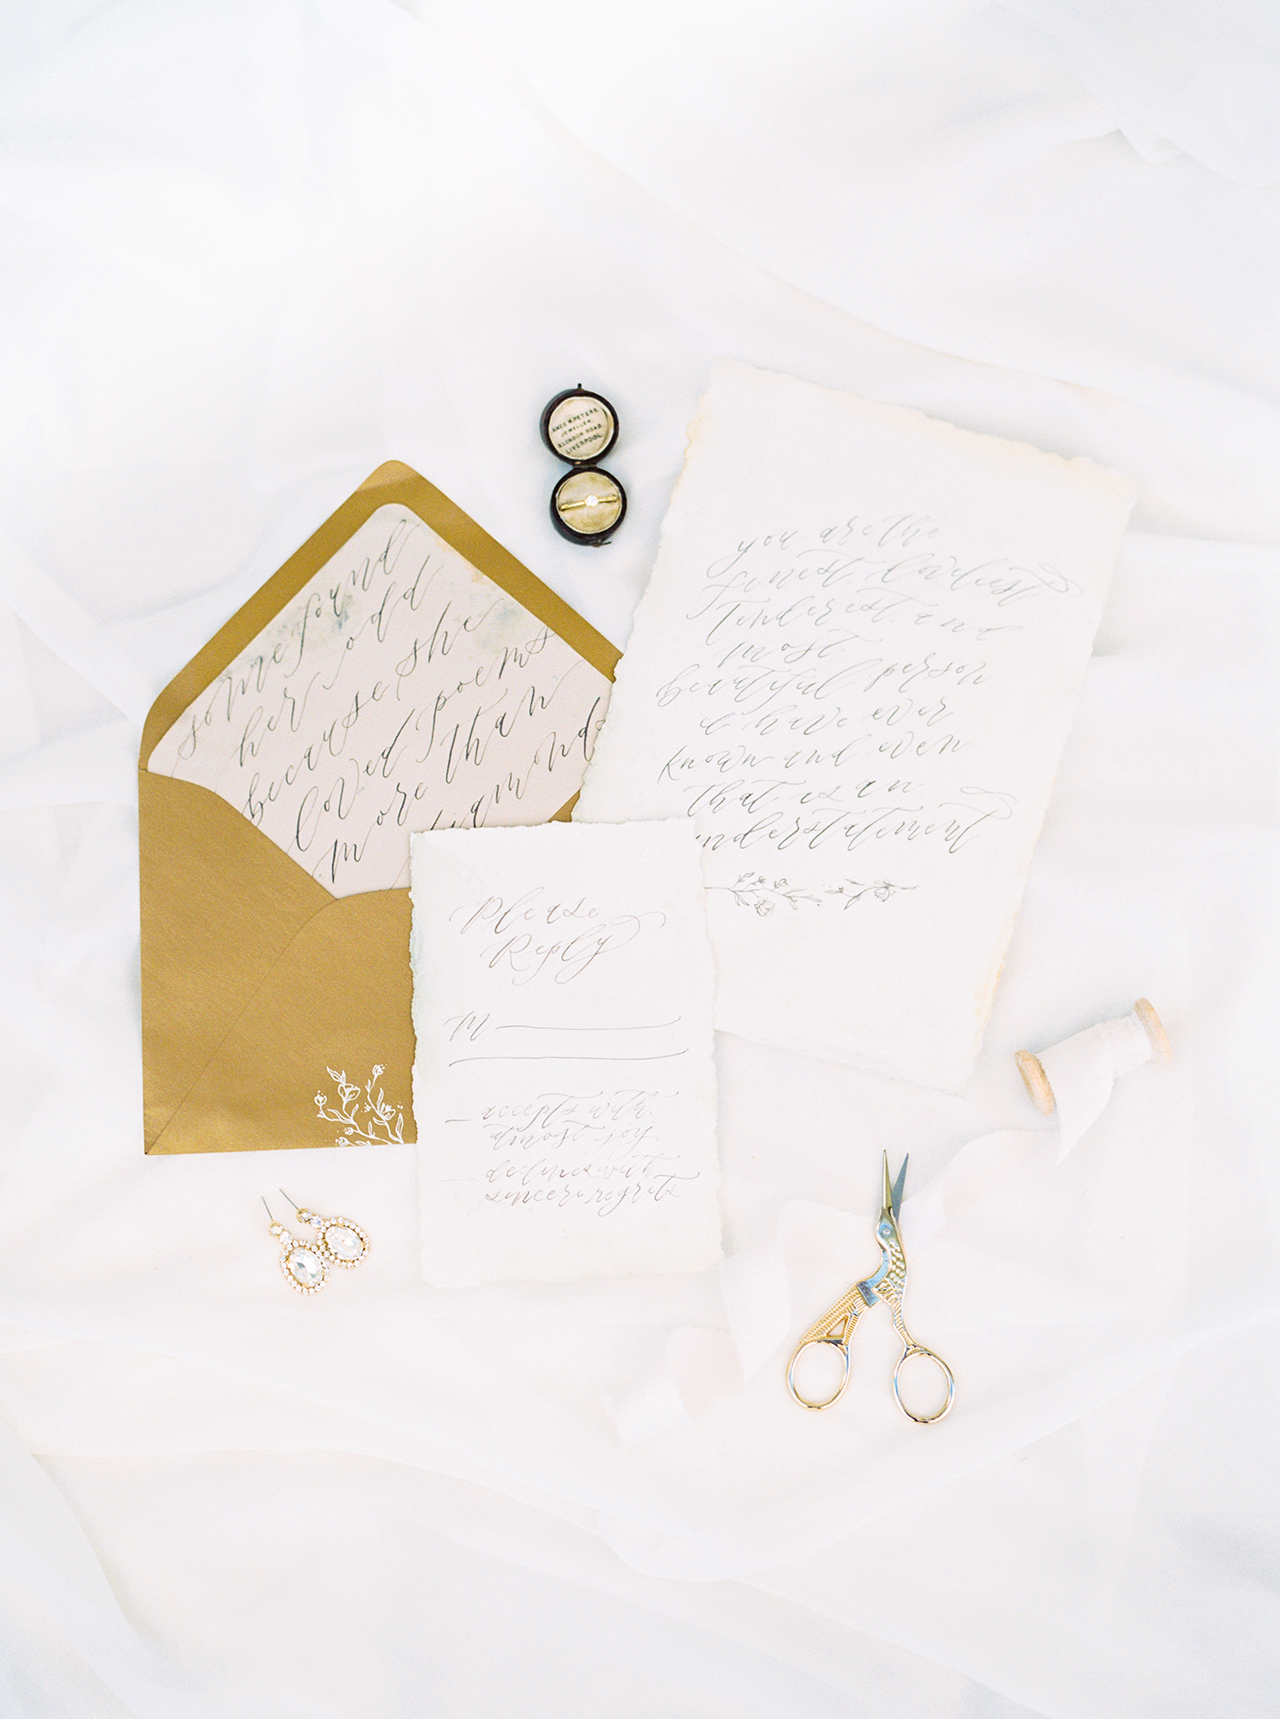
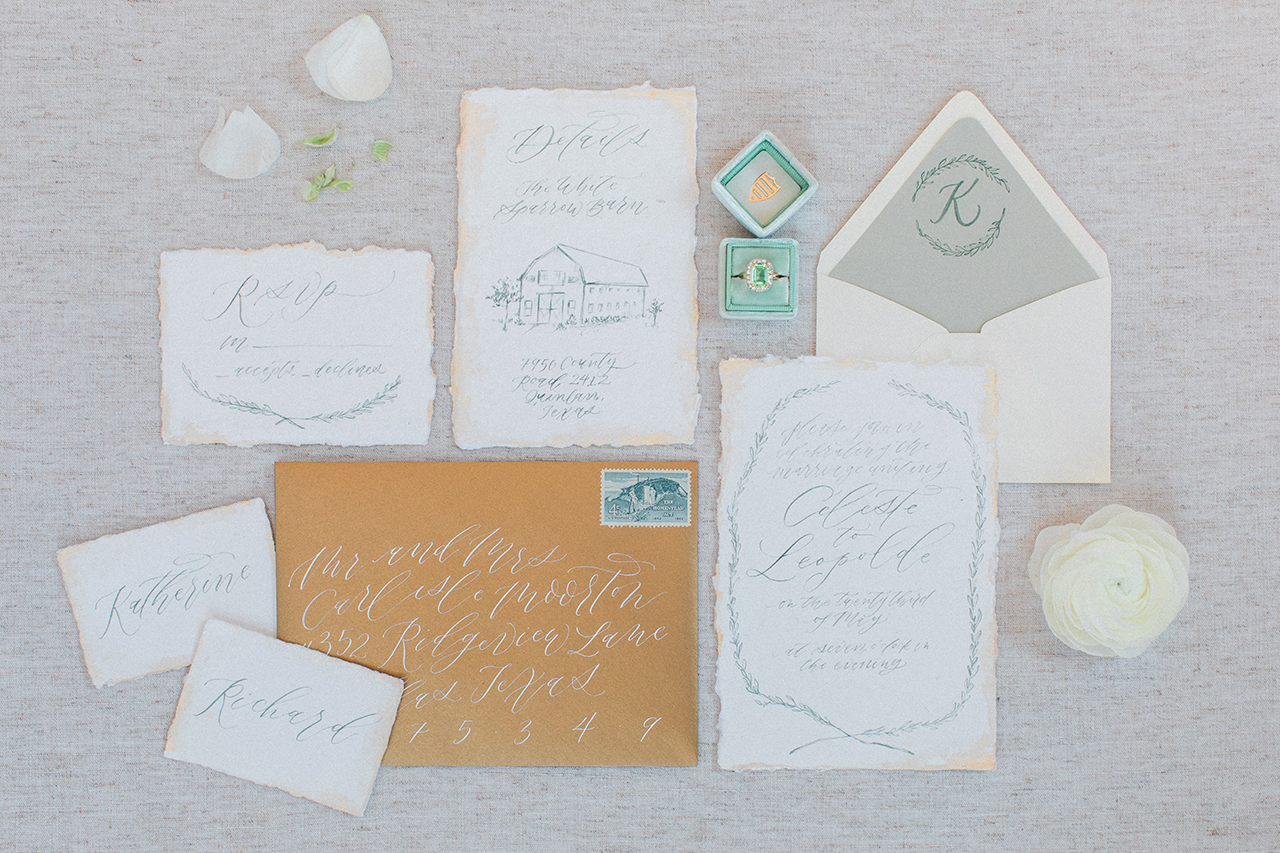
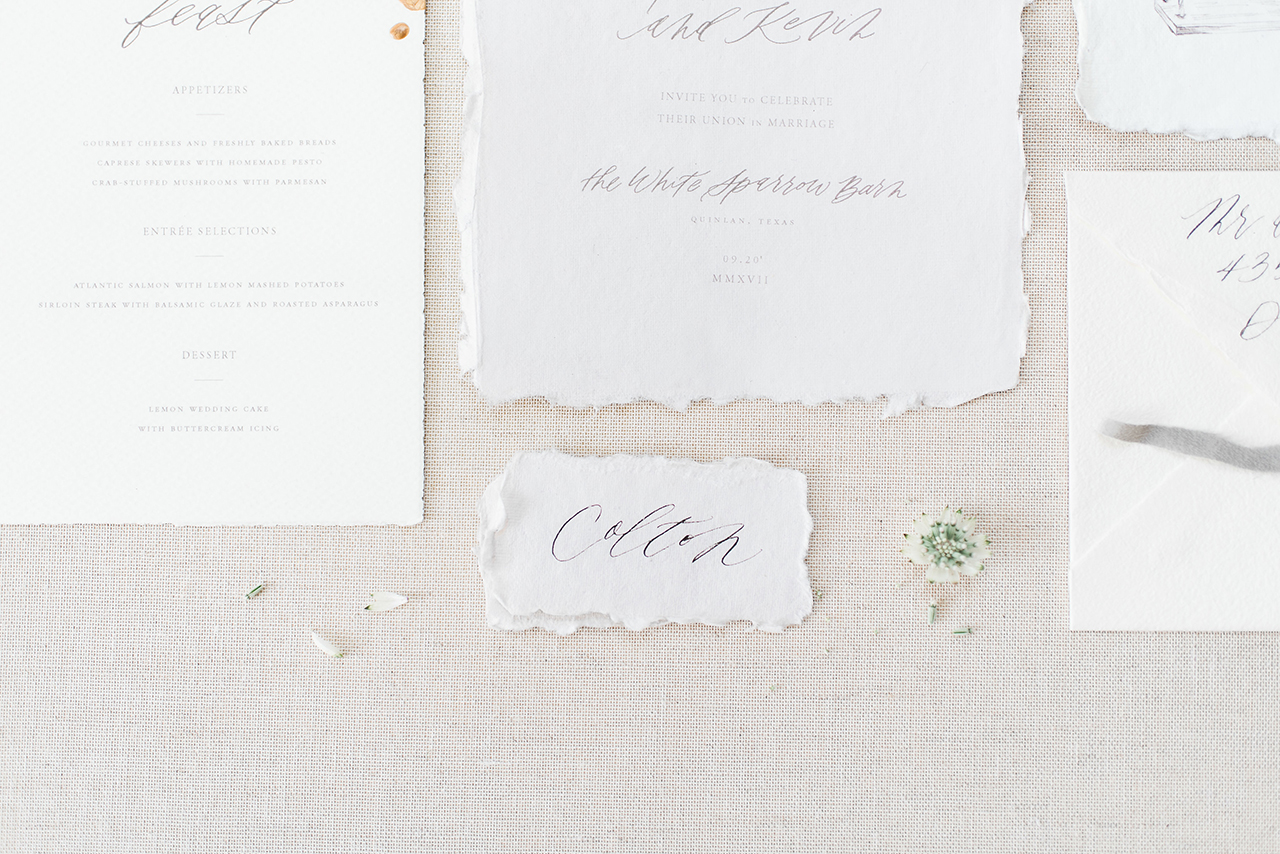
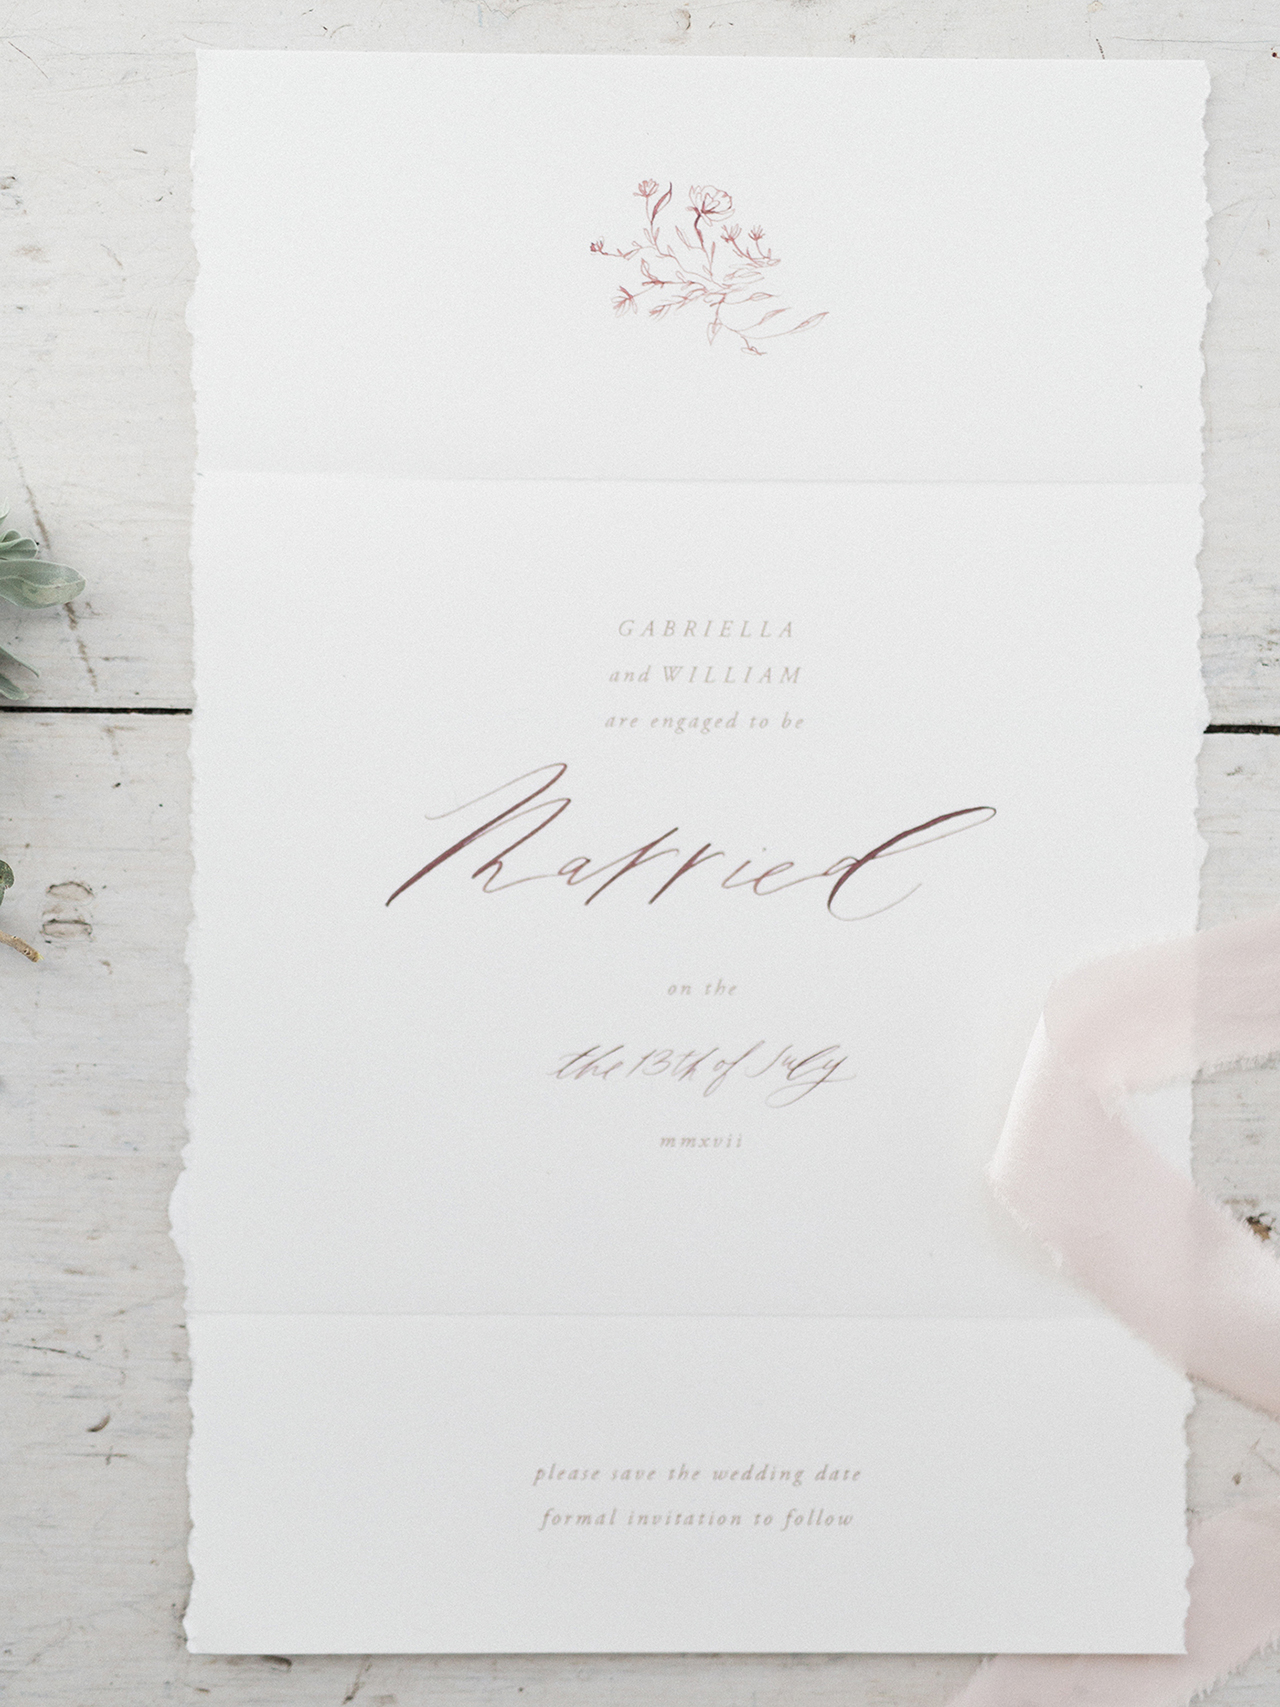
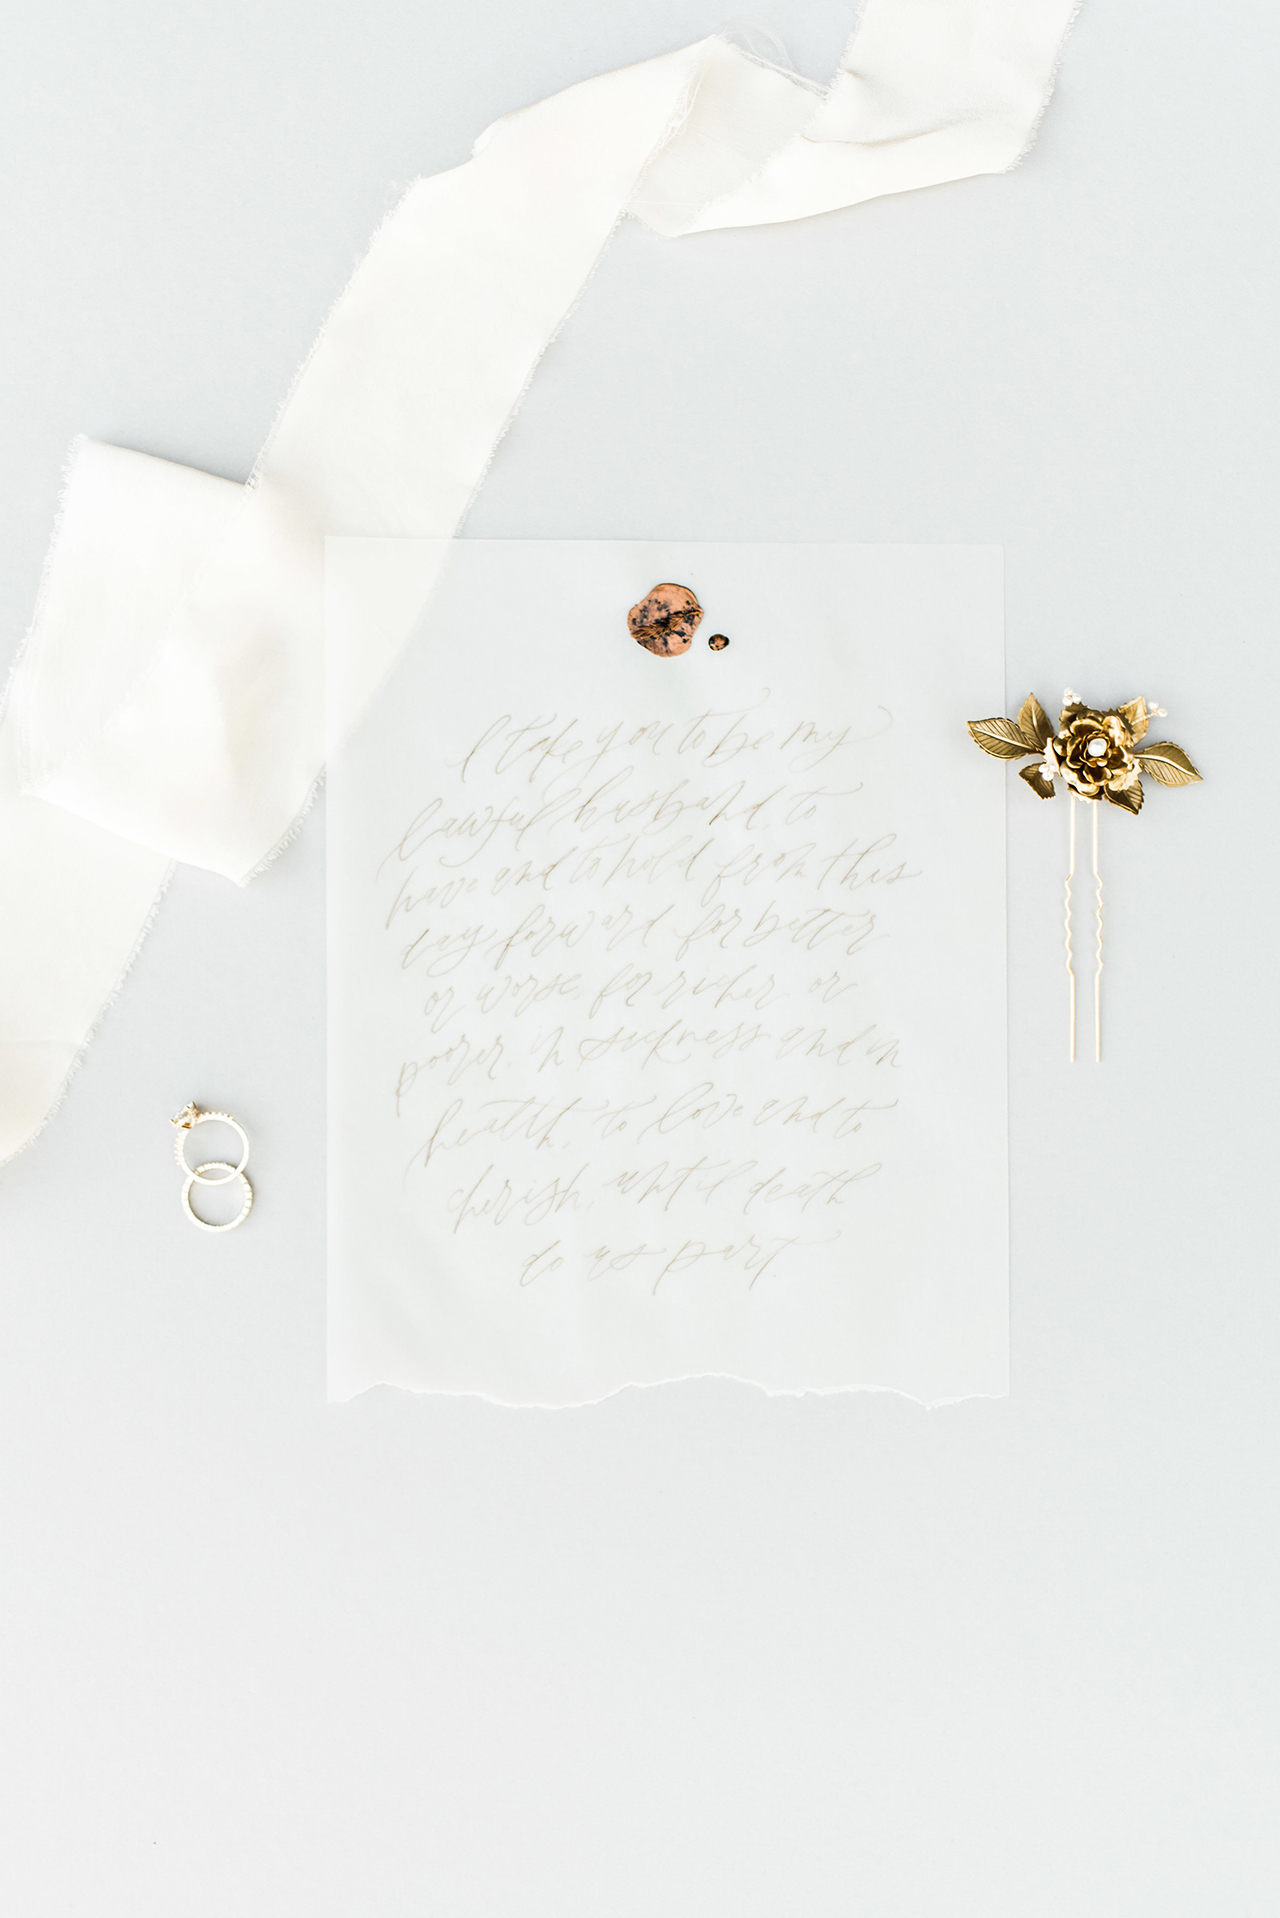
Hello friends! Today feels like a good day to cozy in for a peek at a really beautiful collection of calligraphy. The work you see here is by Sarah Erickson of Sarah Ann Design. She’s sharing some favorite lettering projects and a bit about her work, too. Alrighty, let’s take a look! – Jen

Calligraphy Inspiration: Sarah Ann Design

Calligraphy Inspiration: Sarah Ann Design

Photo Credits: Leah Golter Photography

Sarah is both a designer and calligrapher and shares that she’s had a “long-term love affair” with calligraphy. “Few things speak to my soul like a gorgeous ink flourish, but antique churches certainly come close,” says Sarah. “I love spaces and objects that hold stories.”

Calligraphy Inspiration: Sarah Ann Design

Calligraphy Inspiration: Sarah Ann Design

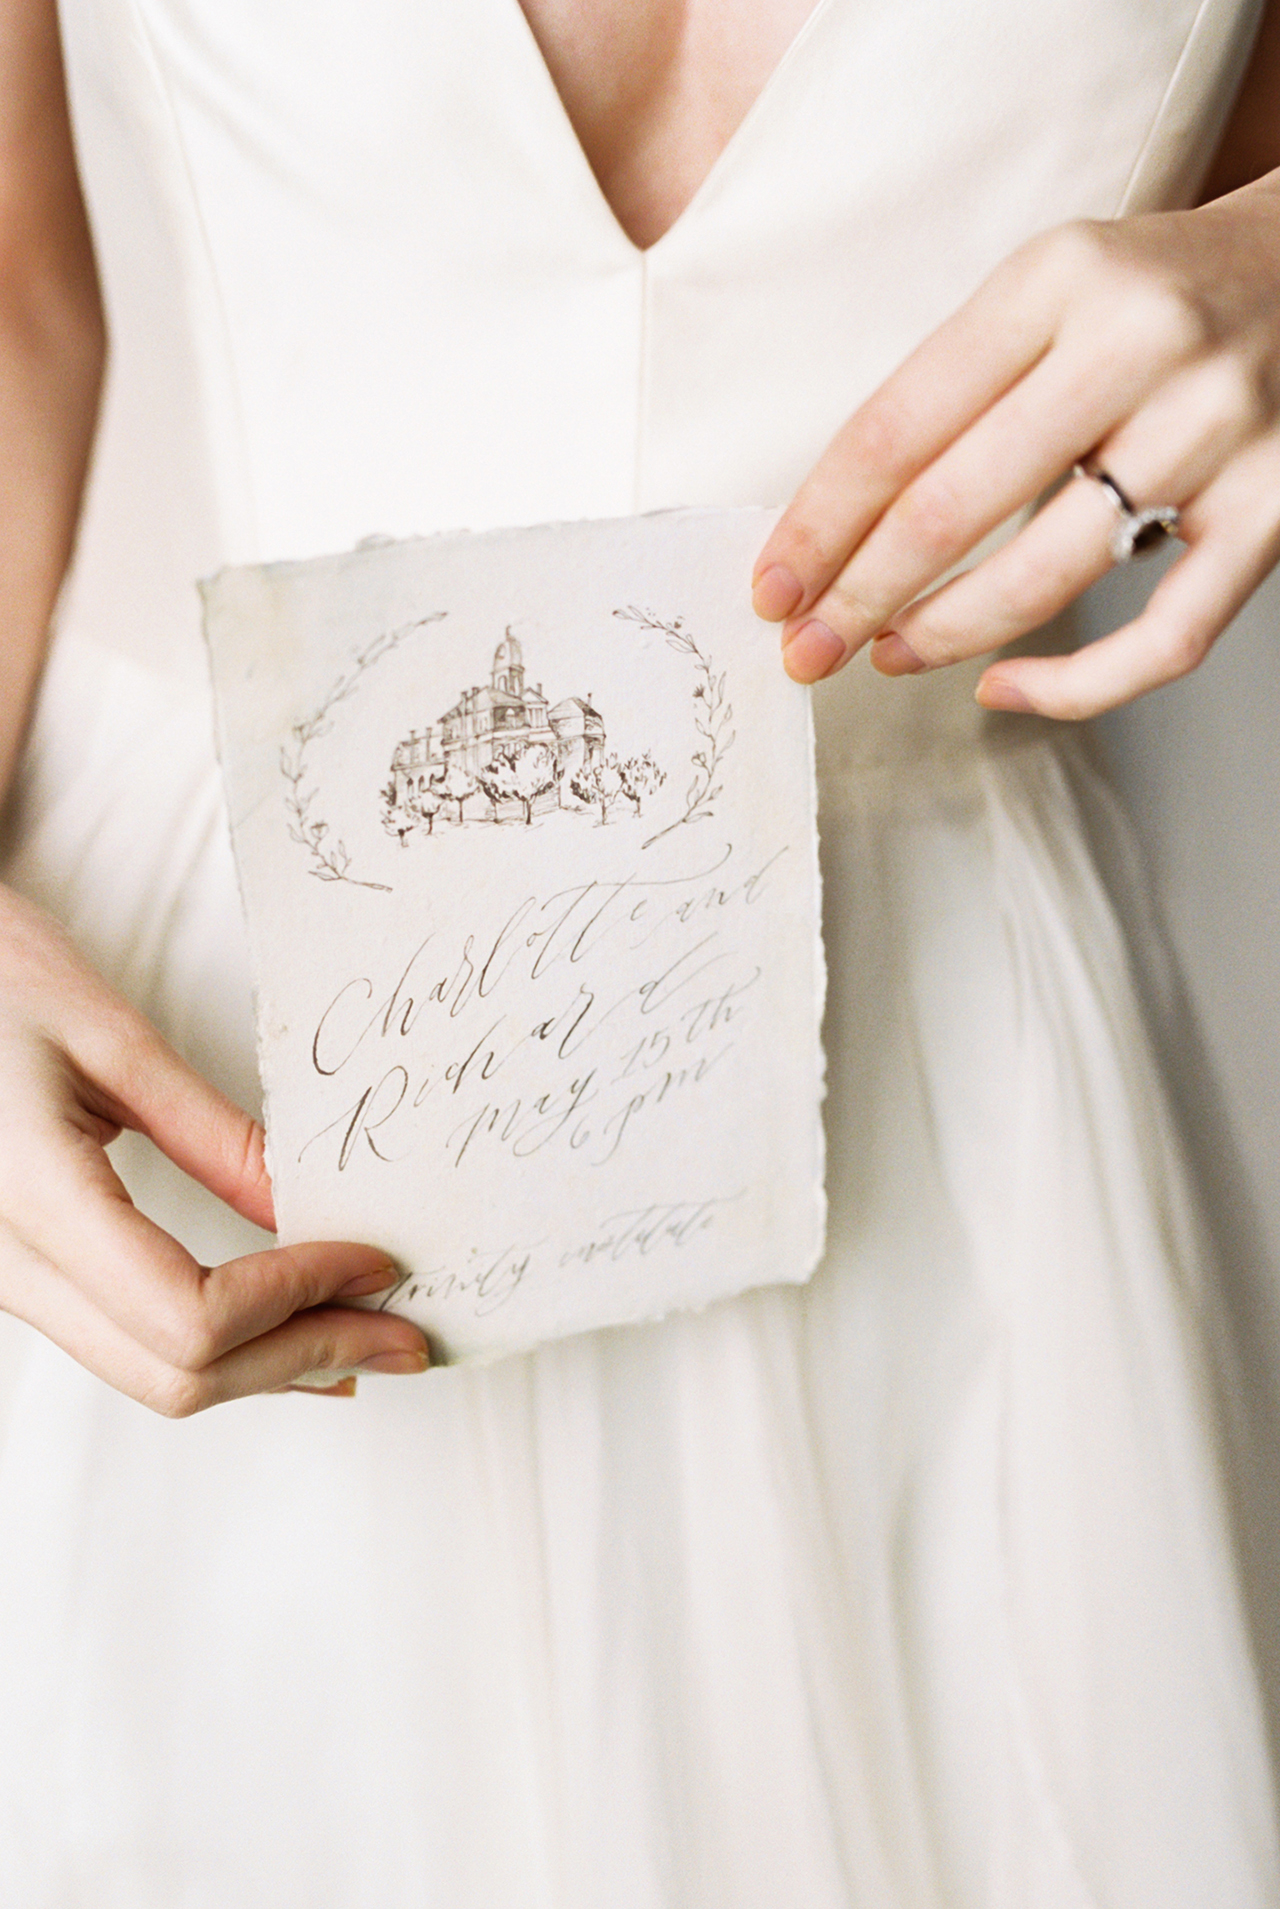
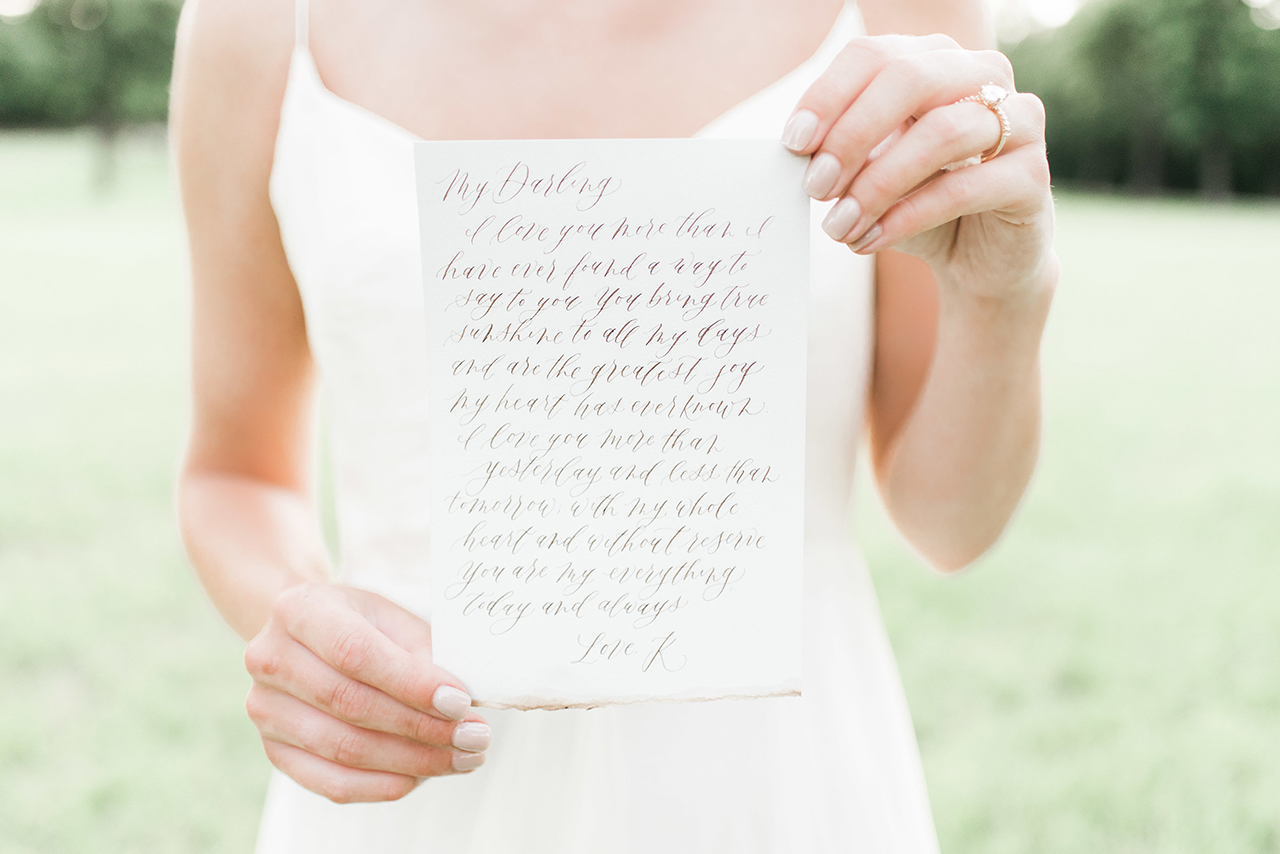
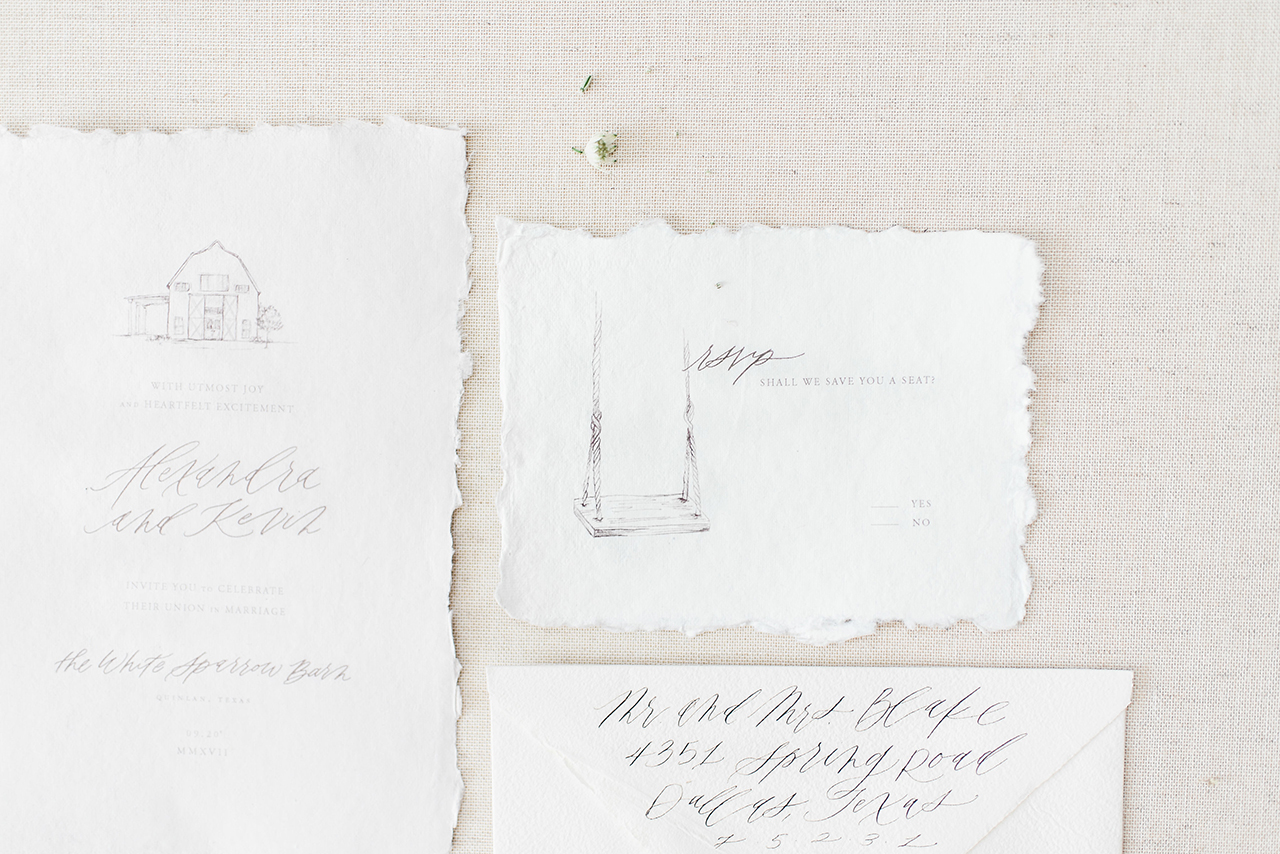
Sarah’s calligraphy design mixes organic detail with a loose lettering style. “I often incorporate delicate botanical illustrations and hand-drawn venue sketches for a custom touch, ensuring an invitation suite is unique to  you alone.”

p.s. The hand-drawn locations in her wedding examples are my favorite!

Calligraphy Inspiration: Sarah Ann Design

Calligraphy Inspiration: Sarah Ann Design

Photo Credits: Le Vie Photography

A typical day in the life for this calligrapher? Sarah shares: “On most days, you can find me nestled in my home office…surrounded by my plants, holding a calligraphy pen, a hot cup of tea forever within reach.”

Calligraphy Inspiration: Sarah Ann Design

“I am forever inspired by the idea of an heirloom..your wedding invitations become a tangible legacy of your distinctive love story — an heirloom to be treasured,” says Sarah.

Calligraphy Inspiration: Sarah Ann Design

Photo Credits: Gray Door Photography

The first element of design is knowing who you’re designing for. Sarah notes: “I design for the romantic couple who doesn’t want to forget a single aspect of their special day — the couple who will treasure every keepsake from their wedding for years to come.”

Calligraphy Inspiration: Sarah Ann Design

Why is it more than just lettering work on paper? Sarah says of wedding calligraphy: “Ultimately, I believe wedding invitations can become cherished keepsakes from your most treasured celebration — reminders of true romance, a lifelong commitment, and vows for eternity.”

A beautiful sentiment — and why I think so many of us are drawn to finding calligraphy that speaks to us, especially for a big event like your wedding. Many thanks to Sarah for sharing a look inside her work! And she’s on Instagram if you want to follow!

All images via Sarah Ann Design except where noted