Friday Happy Hour: Summer Stone Fruit Sangria

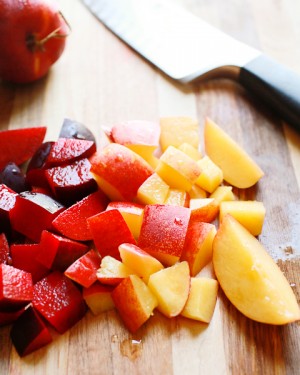
Sangria! It seems like the unofficial drink of summer, doesn’t it? Why don’t I drink more of this? It’s delicious, ridiculously easy to make and improvise, perfect for a summer day, and, best of all, practically demands a party once you’ve stirred up a pitcher. This week, we used some in-season stone fruit – peaches, nectarines, and plums – to make one of many infinite Sangria possibile combinations. – Andrew
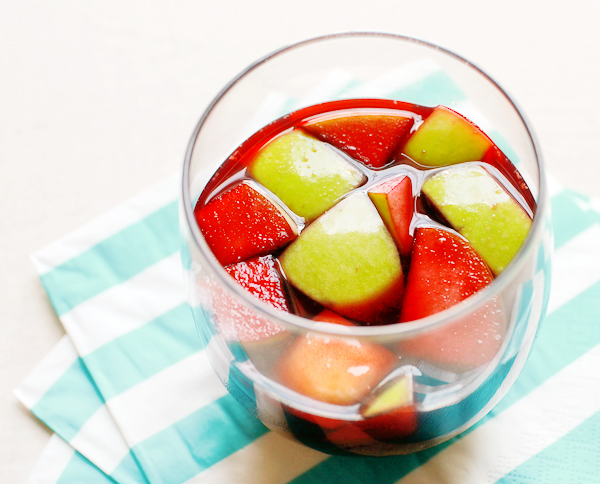
Summer Stone Fruit Sangria Cocktail Recipe by Oh So Beautiful Paper (31)

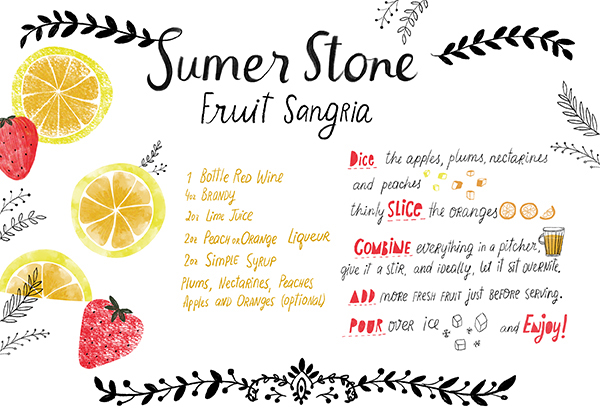
Signature Cocktail Recipe Card: Summer Stone Fruit Sangria, Illustration by Dinara Mirtalipova for Oh So Beautiful Paper

Illustration by Dinara Mirtalipova for Oh So Beautiful Paper

Summer Stone Fruit Sangria

1 Bottle Red Wine
4 oz Brandy
2 oz Lime Juice
2 oz Peach or Orange Liqueur
2 oz Simple Syrup
Plums, Nectarines, Peaches
Apples and Oranges (optional)

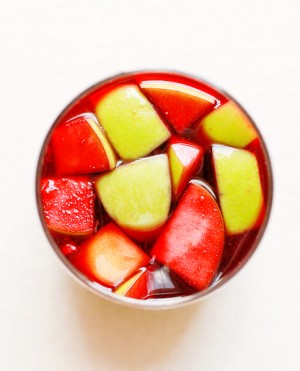
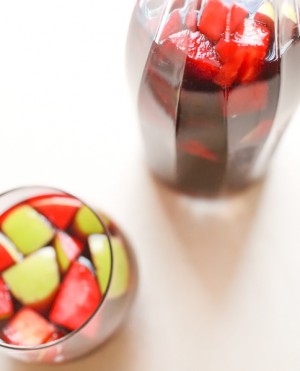
Core the apples, pit the stone fruit, chop them up and slice up the oranges. Combine all of the ingredients in a pitcher, give it a stir, and, ideally, let it sit overnight. Just before you serve it, add more fresh fruit. Pour over ice and enjoy!
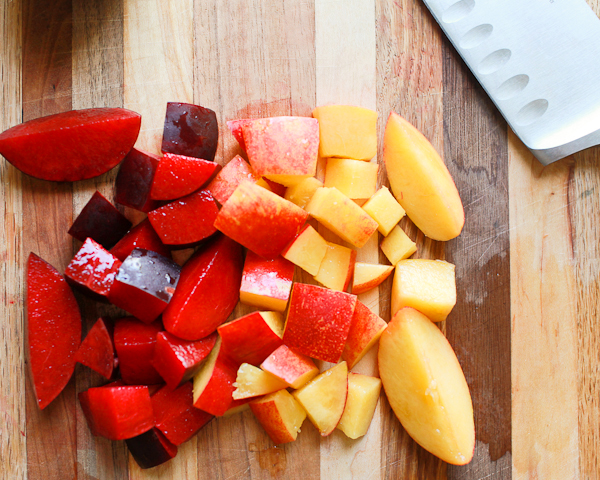
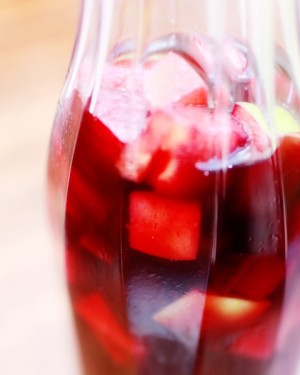
Summer Stone Fruit Sangria Cocktail Recipe by Oh So Beautiful Paper (37)

Summer Stone Fruit Sangria Cocktail Recipe by Oh So Beautiful Paper (55) Summer Stone Fruit Sangria Cocktail Recipe by Oh So Beautiful Paper (41)

This Sangria is light and sweet, with just a bit of citrusy acidity, the fruitiness balanced nicely by the wine’s acidity and a kick from the Brandy. But one of the best parts about Sangria is that there’s really no way to get it wrong. You can use bold, fruity wines and dry, tannin-heavy wines. You can use pretty much any fruit you want, or juice, or fruit puree. You can add cardamom pods and vanilla beans and nutmeg. Or not, if you don’t feel like it. It’s all good.
Summer Stone Fruit Sangria Cocktail Recipe by Oh So Beautiful Paper (10) Summer Stone Fruit Sangria Cocktail Recipe by Oh So Beautiful Paper (22)

Sangria, from the Spanish sangre for blood, was (as far as I can tell) introduced to America at the 1964 World’s Fair. But Sangria’s roots go back much farther, probably to the similarly named Sangaree, a drink that goes back to the 1730s and probably earlier. Back then, Sangaree was a strong wine punch made from sherry or port or Madeira wine with sugar, water, and nutmeg. By the mid-1800s, there were all sorts of Sangarees – gin, brandy, beer – but the drink was losing its popularity and has since faded away. So the Sangria we’re drinking is lighter than the original but is, in a lot of ways, a revival of the original wine punch Sangaree, which is pretty neat.
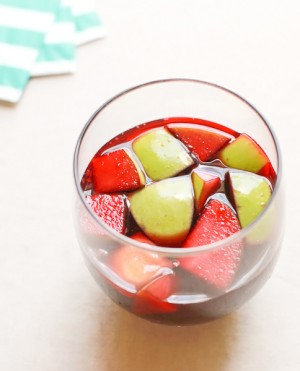
Summer Stone Fruit Sangria Cocktail Recipe by Oh So Beautiful Paper (17) Summer Stone Fruit Sangria Cocktail Recipe by Oh So Beautiful Paper (2)

Other than how delicious it is on a hot day, my favorite aspect of Sangria is how social a drink it is–basically the only punch that most people might make these days and drink together with friends. Once upon a time, that’s how most Americans drank their booze, gathering around and slowly draining a common punch bowl. We stopped doing that back around 1800, when the speed of life outstripped the punch bowl’s languid pace and we started drinking cocktails instead–small, individual, convenient and quick. Now life is even faster than it was in 1800, and most people will never share a genuine punch bowl. Except that’s basically what a pitcher of Sangria is. So enjoy one with some friends this weekend.
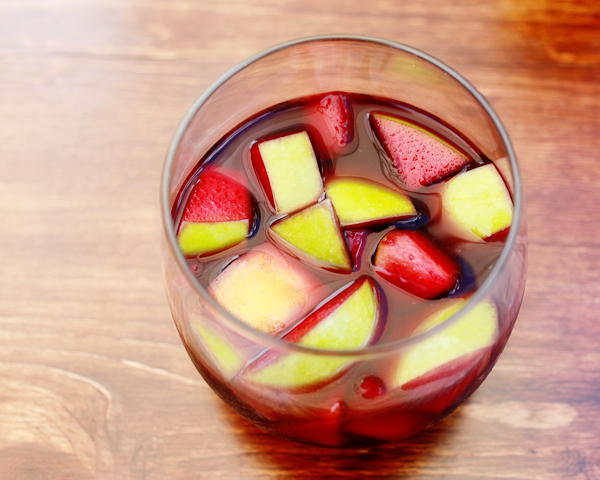
Summer Stone Fruit Sangria Cocktail Recipe by Oh So Beautiful Paper (72)

Photo Credits: Nole Garey for Oh So Beautiful Paper

{happy weekend!}

I’m heading out to spend the long holiday weekend with my family. Sophie’s first fireworks! And I’m looking forward to our annual tradition of visiting George Washington’s Mount Vernon Estate on the Fourth of July. I wish you all a very happy Independence Day! I’ll be popping back in on Friday afternoon with a summer cocktail recipe, so check back for that in a couple of days! In the meantime…

Scout's Honor Co.

Photo Credit: Scout’s Honor Co.

…a few links for your weekend!

This (short) week on Oh So Beautiful Paper:

Happy Fourth of July everyone!

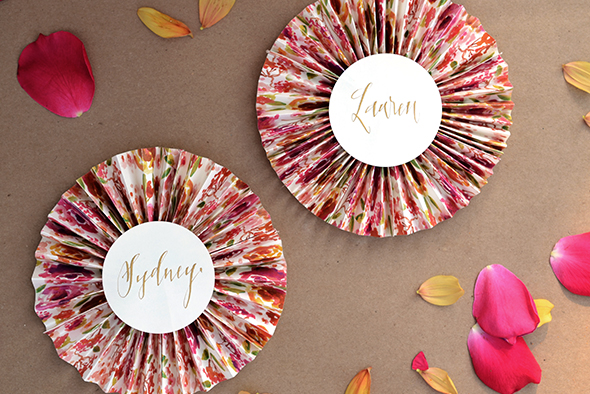
DIY Tutorial: Patterned Paper Place Card Fans

Paper fans are not only festive but also fun and easy to make! Earlier this year, we started seeing this paper folding technique used in many different ways. From pretty photography backdrops to hanging mobiles to ornaments…the uses for these little fans are endless. The best part? You can make them any size you want to fit your specific needs. We’ve made them small in order to use them as place cards, adding a little pizazz to our tabletop decor. – Bailey and Emma of Antiquaria

The paper pattern and colors you use can yield so many different looks, making it easy to customize them to the theme of your event! Plus, the texture of the fan really makes a statement as guests approach the table!

Step One: To make the small fans, you will need to cut a sheet of 8.5″ x 11″ text paper into two equal parts (we used our Lucy Floral Patterned Paper). The final size of each sheet will be 8.5″ x 5.5.” You will need three 8.5″ x 5.5″ sheets per fan.

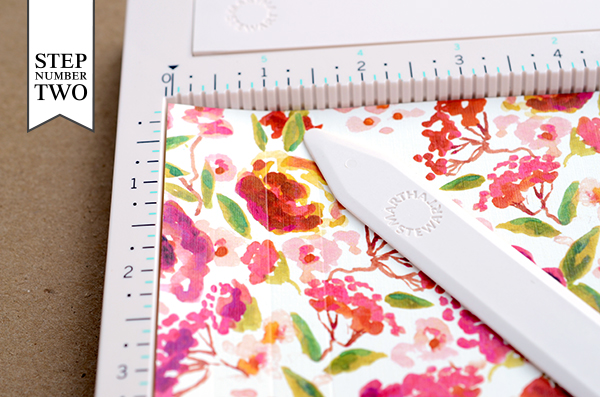
Step Two: Lay the paper on a scoreboard oriented in a landscape fashion. Make score marks every half inch. We love our scoreboard, but if you don’t have one handy that’s fine too! Simply fold the paper every half inch until you get the result in step three.

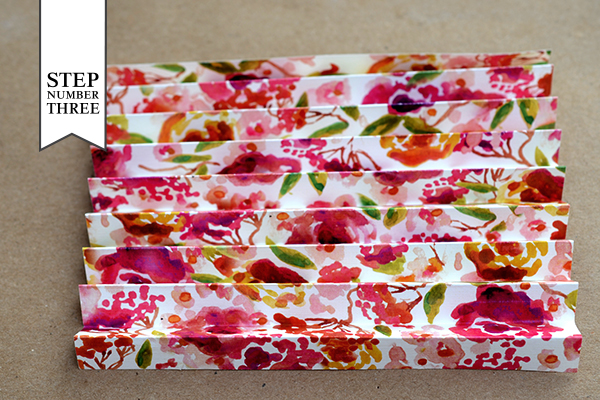
Step Three: Once the paper is scored, fold along the lines, altering directions each time, to get the accordion effect shown.

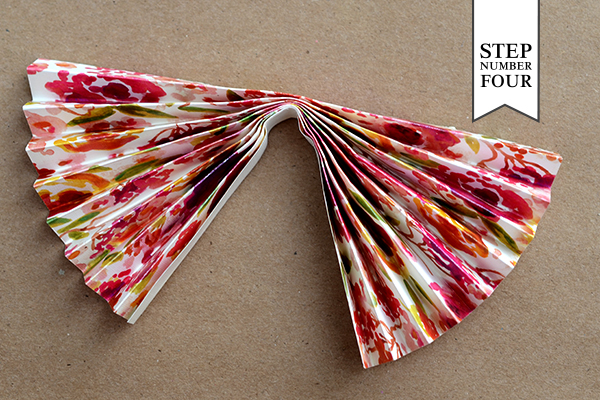
Step Four: Fold the paper in half length-wise and tape the center seam together using a tape gun or double sided tape. Repeat steps 2, 3, and 4 for the other two pieces.

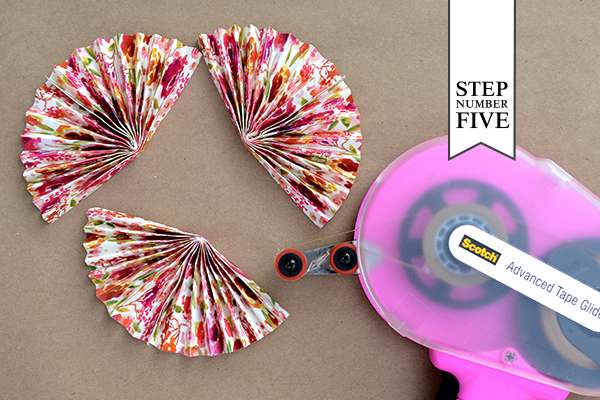
Step Five: Once you have your three fan components, you will tape all of them together to form the final round fan.

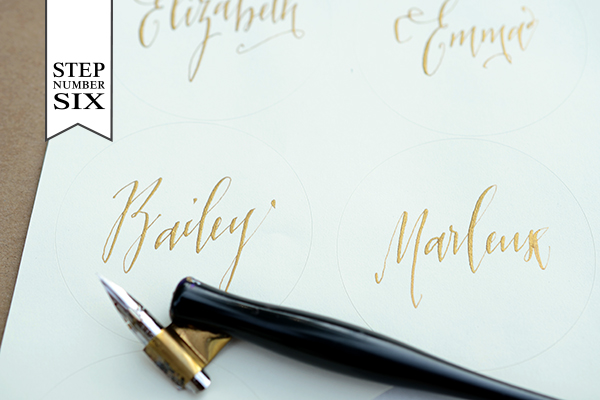
Step Six: To make the place cards, we calligraphed our guests’ names in gold ink on 2.5″ round labels. If you’d prefer, you can use a font to typeset the names and print them on the round labels using the template download found here.

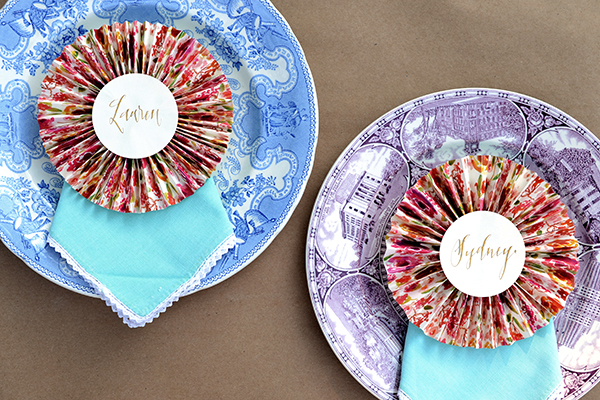
Step Seven: The final detail is to stick the round label onto the center of the little fan that you made. Repeat for each guest and see your table come to life!

Materials

Lucy Patterned Paper in text weight

Self healing mat, ruler, and craft knife

Scoreboard – optional but great to have

Tape Gun or Double Sided Tape

2.5″ Round Labels in Superfine Soft White

Pen and Ink or Home Printer

Photo Credits: Antiquaria

Claire + John’s Woodsy Lodge Wedding Invitations

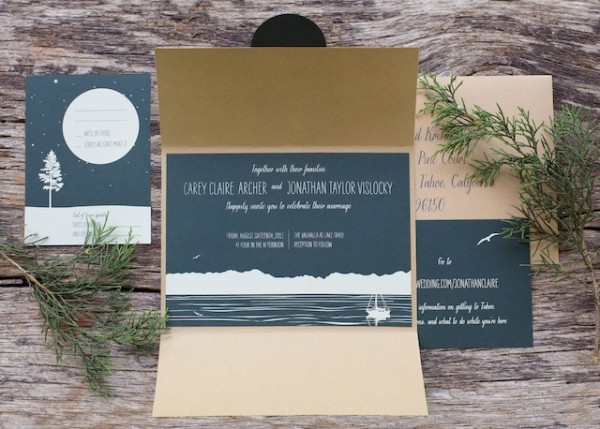
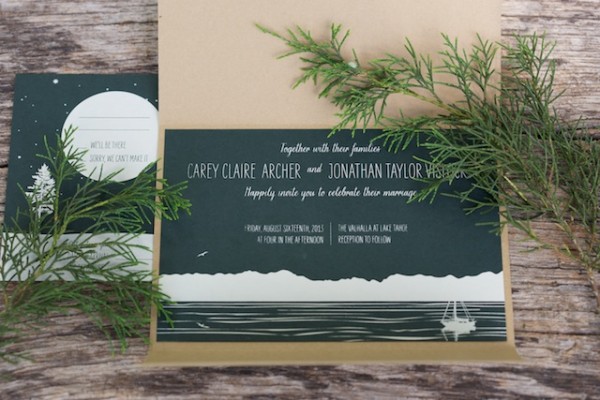
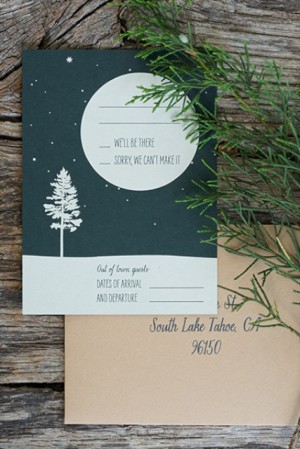
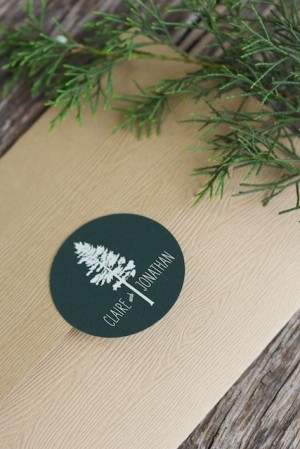
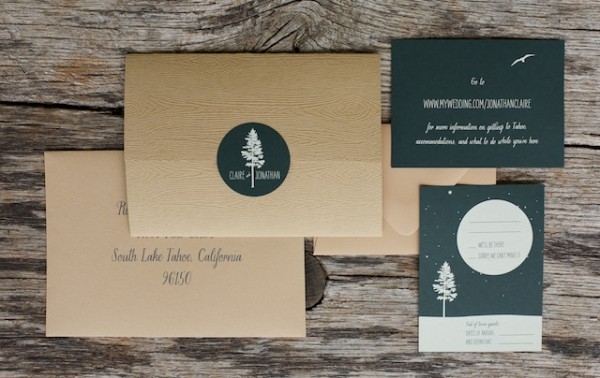
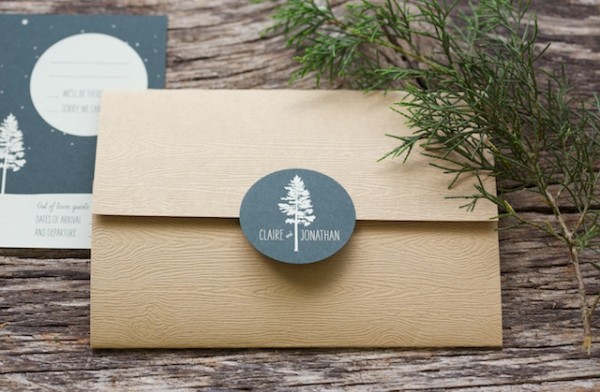
We’re getting ready to take our first big family vacation with Sophie, and it involves mountains and a lake! I’m looking forward to a change in scenery from DC, and these screen printed invitations from Sarah Jane Winter for a wedding in Lake Tahoe are making me even more excited for our trip. Sarah incorporated woodland illustrations and a woodgrain texture paper to highlight the wedding’s natural setting. Pretty!

Woodsy Lodge Wedding Invitations by Sarah Jane Winter via Oh So Beautiful Paper (3)
From Sarah Jane: Claire and Jonathan are tying the knot at a lakefront lodge in Lake Tahoe, California. Being nature lovers, they are incorporating an organic aesthetic throughout all elements of their wedding. Their invitation uses evergreen hues and woodgrain textures to highlight the gorgeous pines native to the area around their wedding venue.

Woodsy Lodge Wedding Invitations by Sarah Jane Winter via Oh So Beautiful Paper (4)

The illustration in the invitation depicts the view of the lake and mountain range from the lodge where the wedding will take place. Whimsical fonts and screen printing set the tone for a carefree and cheerful wedding in the woods.

Woodsy Lodge Wedding Invitations by Sarah Jane Winter via Oh So Beautiful Paper (1) Woodsy Lodge Wedding Invitations by Sarah Jane Winter via Oh So Beautiful Paper (5)

Woodsy Lodge Wedding Invitations by Sarah Jane Winter via Oh So Beautiful Paper (2)

Woodsy Lodge Wedding Invitations by Sarah Jane Winter via Oh So Beautiful Paper (6)

Thanks Sarah Jane!

Check out the Designer Rolodex for more tal­ented wed­ding invi­ta­tion design­ers and the real invi­ta­tions gallery for more wedding invitation ideas!

Photo Credits: Sarah Jane Winter