Happy Weekend!

Happy Friday everyone! It’s officially spring here in DC – the cherry blossoms are blooming, there are buds on my lilacs, peonies are coming up, and green is slowly returning to our bare, brown yard. Yay! Sadly, Sophie came home early yesterday with a fever, so I’m heading out a bit early today to take care of my sweet girl – and hopefully she’ll be feeling well enough to enjoy some of this gorgeous spring weather soon. But in the meantime…

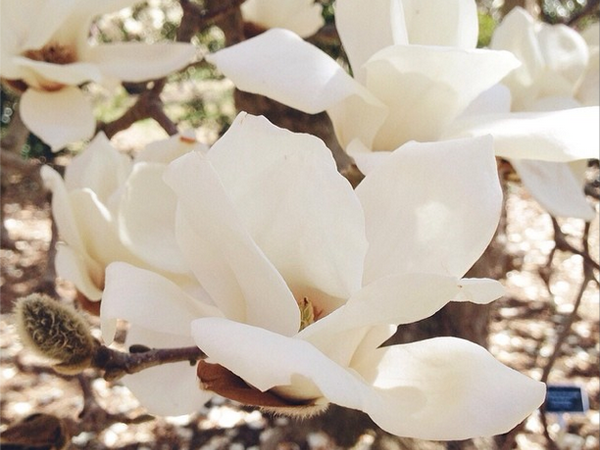
OSBP-Magnolias-Instagram

Photo by me via Instagram

…a few links for your weekend!

This week on Oh So Beautiful Paper:

Check back soon for this week’s cocktail! I hope you all have a wonderful weekend, and I’ll see you back here next week! xoxo

Quick Pick: Evajuliet Family Trees

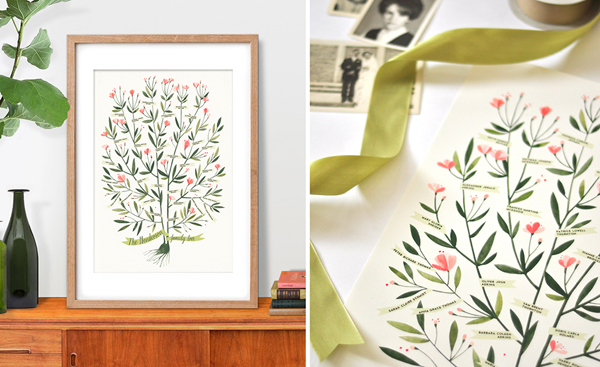
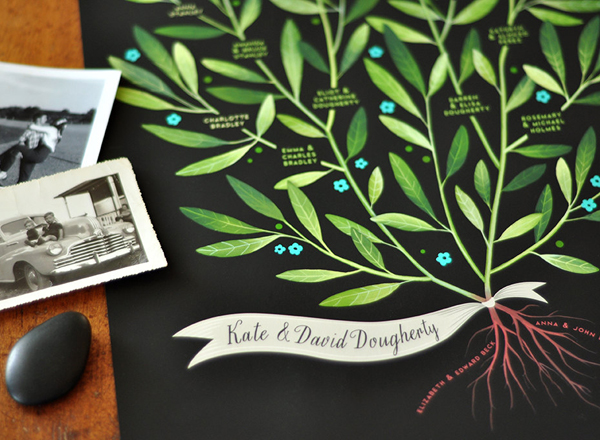
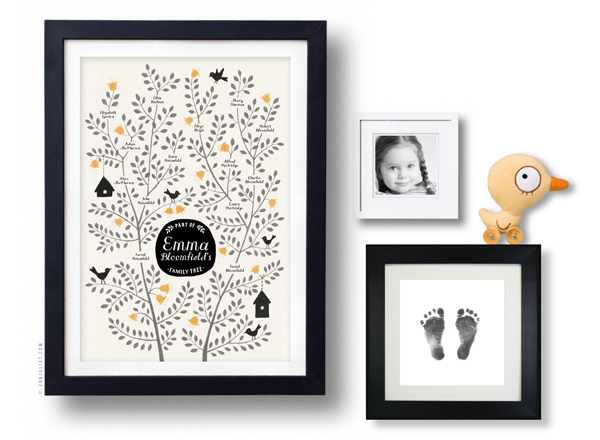
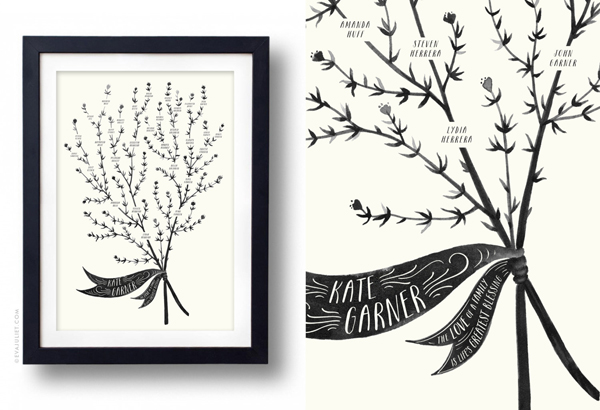
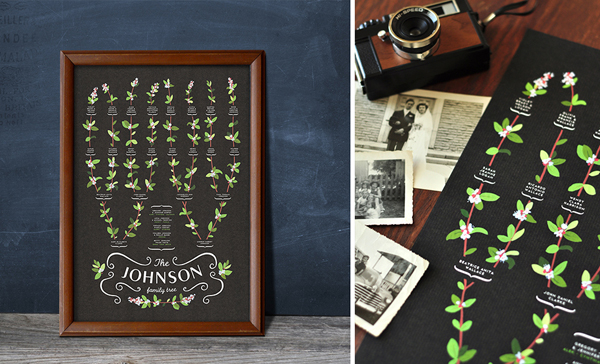
I’m absolutely in love with these illustrated custom family trees from Evajuliet – such a beautiful alternative to traditional family trees and a fantastic gift idea! And just in time for Mother’s Day, Eva is offering a 15% discount on family tree designs with the code “MAMAN” (but only until April 18!)

Custom-Illustrated-Family-Tree-Evajuliet-Azalea

Custom-Illustrated-Family-Tree-Eva-Juliet-Laurel

Custom-Illustrated-Family-Tree-Eva-Juliet2

Custom-Illustrated-Family-Tree-Eva-Juliet-Thyme

Custom-Illustrated-Family-Tree-Evajuliet

More beautiful family trees from Evajuliet right here!

Photo Credits: Evajuliet

Calligraphy Inspiration: Flourish & Whim

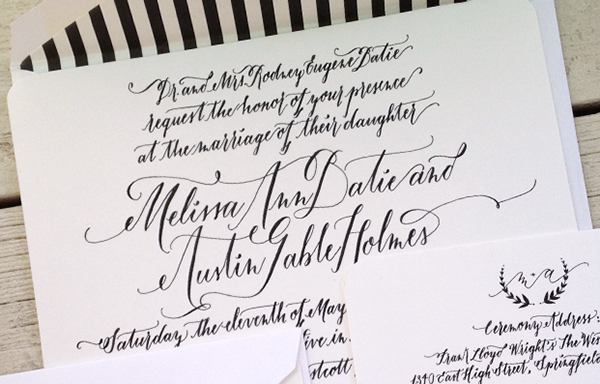
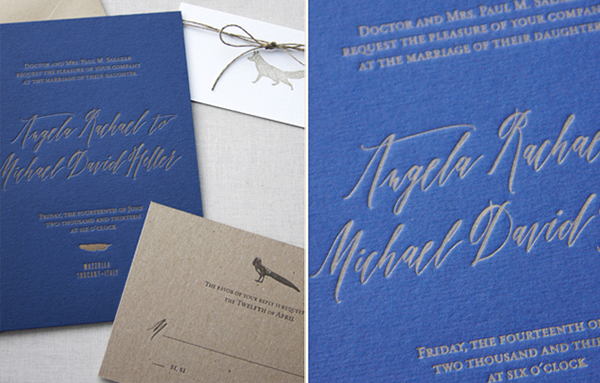
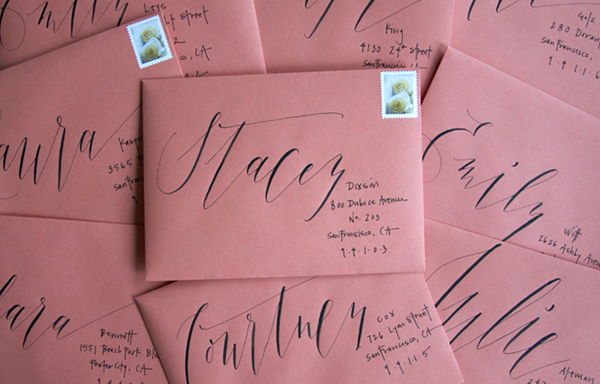
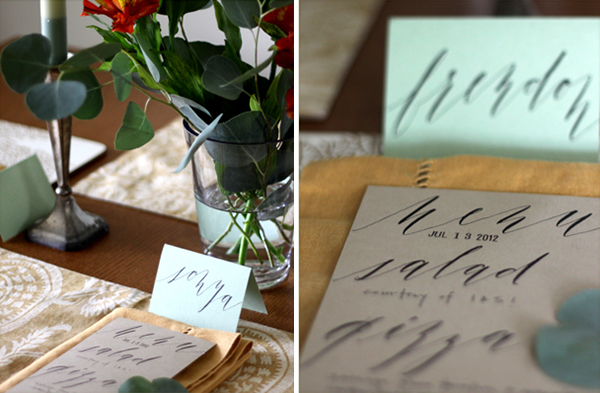
This month’s dose of calligraphy inspiration comes from the talented hand of  Flourish & Whim‘s Julie Manwaring. Some of my favorite calligraphers are also fantastic illustrators; it may be because that illustrative character influences their calligraphic style in a way that’s truly magical. Honestly, you don’t take my word for it; just take a look as her work speaks for itself!  – Julie

Calligraphy Inspiration: Flourish & Whim via Oh So Beautiful Paper

Calligraphy Inspiration: Flourish & Whim via Oh So Beautiful Paper

Calligraphy Inspiration: Flourish & Whim via Oh So Beautiful Paper

A gorgeous collaboration between Julie and Kristine Arellano of Presshaus LA who designed the suite. Calligraphy and letterpress: match made in heaven!

Calligraphy Inspiration: Flourish & Whim via Oh So Beautiful Paper

Calligraphy Inspiration: Flourish & Whim via Oh So Beautiful Paper

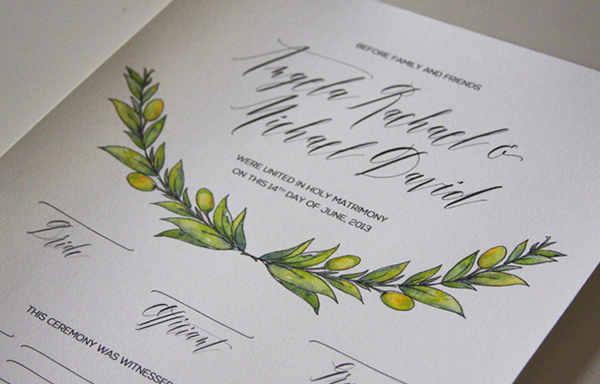
Who wouldn’t want a beautiful wedding keepsake like this wedding certificate? Julie shows off her chops as amazing illustrator with this stunning detail.

Calligraphy Inspiration: Flourish & Whim via Oh So Beautiful Paper

Calligraphy Inspiration: Flourish & Whim via Oh So Beautiful Paper

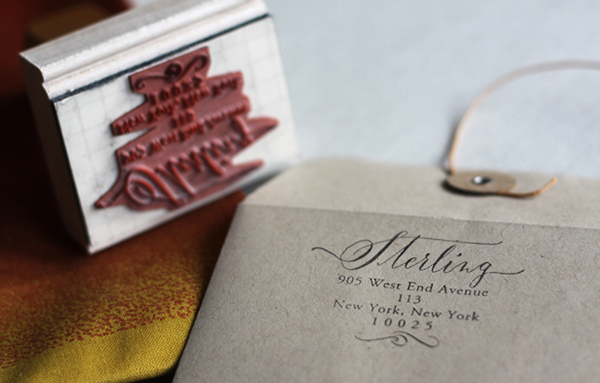
Flourish & Whim also offers beautiful calligraphy stamps. From return addresses to monograms, Julie’s got you covered! For more information, or lovely calligraphy inspiration, head over to her blog!

Photo credits: 1 Paul Ferney for Oh Happy Day; 2 Sara Ewalt of Pinyadayada; 3 – 7 Julie Manwaring of Flourish & Whim

How to Back Invitations with Patterned Paper

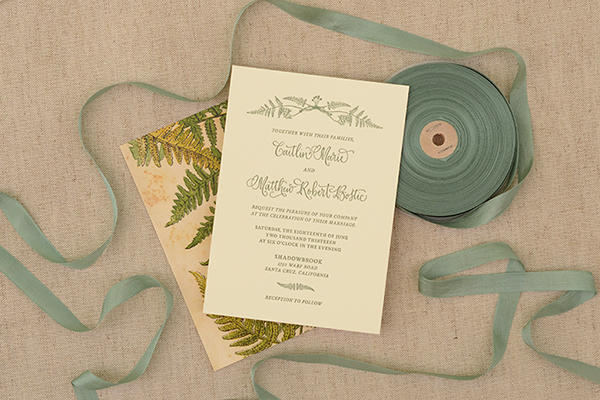
Sometimes it’s good to get back to DIY basics. Patterned invitation backers can break the budget for many couples because there is so much time and labor involved. We always like to encourage people to take matters into their own hands – and today we’ll show you exactly how to do that! Over the years, we’ve experimented with backers of all sorts as well as different methods to DIY-ing them. This simple tutorial yields beautiful results if you’re precise and don’t mind getting your hands a little dirty, so to speak! – Bailey and Emma of Antiquaria
DIY Tutorial: How to Back Invitations with Patterned Paper via Oh So Beautiful Paper

DIY Tutorial: How to Back Invitations with Patterned Paper via Oh So Beautiful Paper

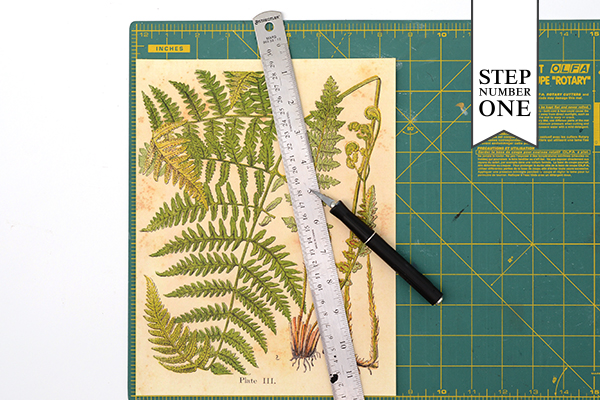
Step One: First you’ll want to decide what paper or material you’d like to use on the back of your invitations. We selected this Botanical Fern Paper in text weight to coordinate with the fern invitation design. Vertical directional patterns like this one mean that you’ll only get one backer out of each 8.5″ x 11″ sheet of text paper. If you’d like to get two backers per sheet, select a non-directional or horizontal pattern. Measure your invitation precisely (very, very precisely), and cut your text paper to that size. Our invitation was 5″ x 7″ so that is the size we cut our paper.
DIY Tutorial: How to Back Invitations with Patterned Paper via Oh So Beautiful Paper

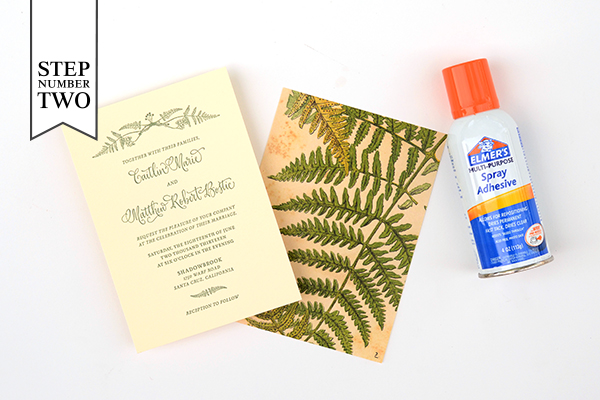
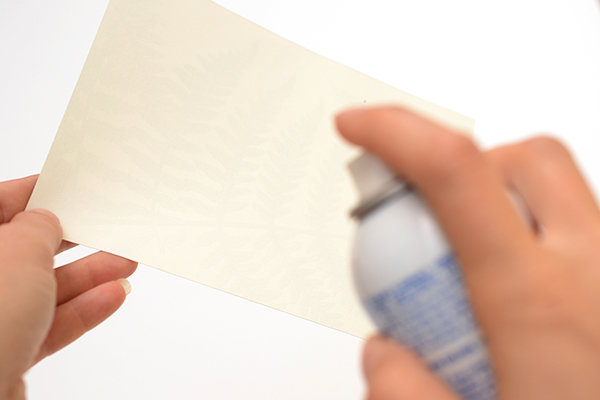
Step Two: Gather all of your materials together. This will be your invitation, pre-cut paper backers, and spray glue. When using spray glue, it is important that you do your project in a ventilated location, preferably outside. Make sure that you have a clean, sturdy table so that you can move immediately to the next step. Hold the patterned paper, back side facing you, and spray with a light coat of spray adhesive (see photo below). When the entire surface is covered, move immediately to Step Three.
DIY Tutorial: How to Back Invitations with Patterned Paper via Oh So Beautiful Paper

DIY Tutorial: How to Back Invitations with Patterned Paper via Oh So Beautiful Paper

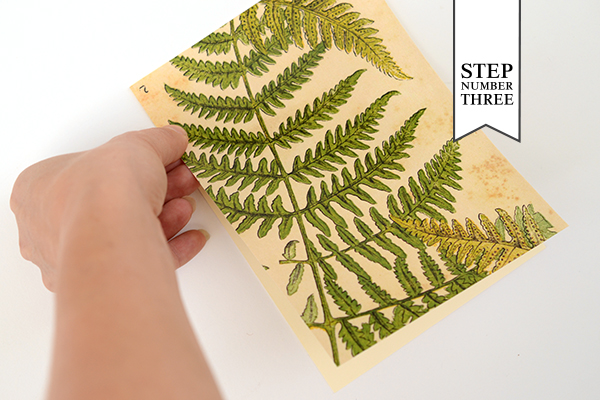
Step Three: On your clean and firm surface, place one invitation face down. Very carefully align the top corners of the backer to the top corners of the invitation. Slowly adhere the paper down the back until you’ve reached the bottom corners. Set aside. The key here is to really get the backer on carefully and straight. It’s just a matter of being precise and having the paper cut correctly to start.

Repeat Step Two and Three until all of your invitations are complete. Then move on to Step Four.
DIY Tutorial: How to Back Invitations with Patterned Paper via Oh So Beautiful Paper

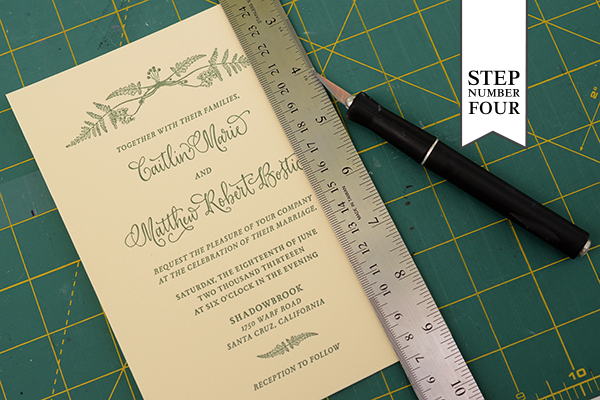
Step Four: Check your invitations and see if there are any paper edges peeking over the edge of the invitation. If there is, carefully trim them off with a ruler and craft knife, being certain not to cut into the invitation itself. Once you’ve checked them all, let them cure. Overnight is best and you can also weigh them down under a heavy book if you’d like. The key is to make certain that they’re really well adhered.
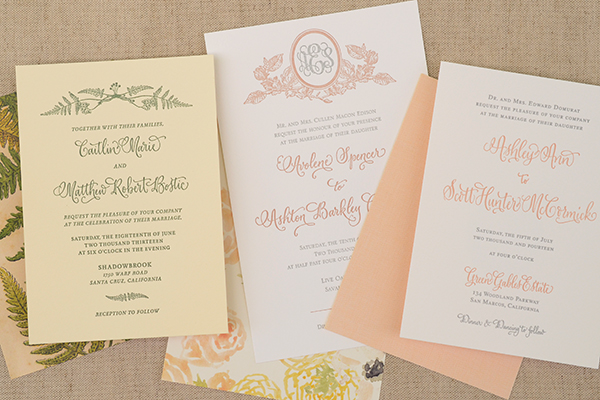
DIY Tutorial: How to Back Invitations with Patterned Paper via Oh So Beautiful Paper

Bookbinding linen, which has a study paper back adhered, is another really beautiful and classic option for backing your invitation (see the blush linen backer in the photo above). There are numerous colors to choose from and it’s just as easy to use as paper! No fraying involved!

Materials

Invitations

Patterned Paper or Book Binding Linen

Spray Adhesive

Ruler and Craft Knife

Anti­quaria is a mem­ber of the Designer Rolodex – you can see more of their beau­ti­ful work right here or visit the real wedding invitations gallery for more wedding invitation ideas!

Photography: Antiquaria for Oh So Beautiful Paper