Happy Friday everyone! I hope you’re somewhere warmer than DC – it’s only the end of January and this is the coldest winter I’ve experienced since moving here more than 10 years ago! We’re supposed to have a couple of nice days this weekend, which I’m looking forward to enjoying before I head up to New York for NYNOW on Monday. Next week: reports from NYNOW! But in the meantime…
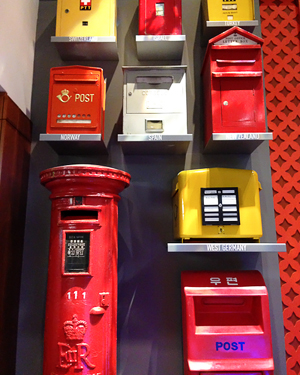
Photo by me via Instagram
…a few links for your weekend!
- A secret garden mini party at Alt Summit
- I’m so so so excited for this new kids craft book!
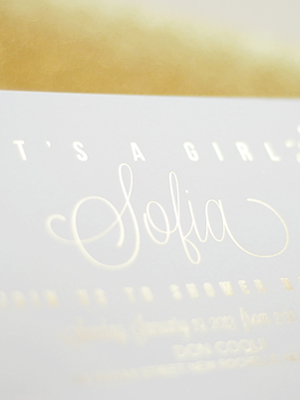
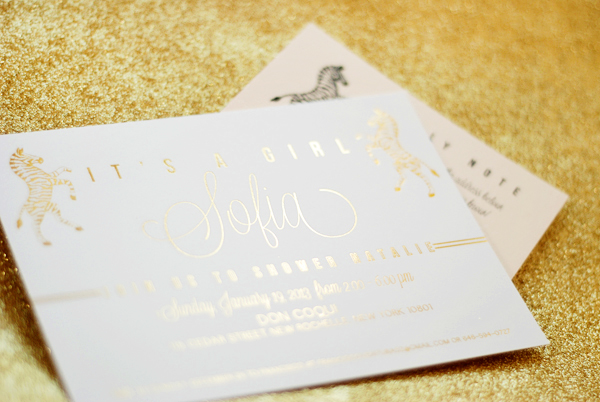
- Adorable baby shower invitations
- This faux caning technique is amazing – I want to try it on a chair I inherited from my grandmother!
- Rooting herbs in winter
- One of my favorite calligraphy fonts has a gorgeous new bold version! You can get 40% off Belluccia Bold with the code “OhsoBeautiful” (but just for a limited time!)
This week on Oh So Beautiful Paper:
- Elegant gold foil wedding invitations for a summer wedding in Vermont
- Stunning invitations for a tropical destination wedding
- DIY Tutorial: modern washi tape save the dates
- More super pretty Valentine’s Day cards
- Completely in love with the Kate Spade office stationery collection
- Romantic shabby chic wedding invitations featuring a pair of Boston terriers
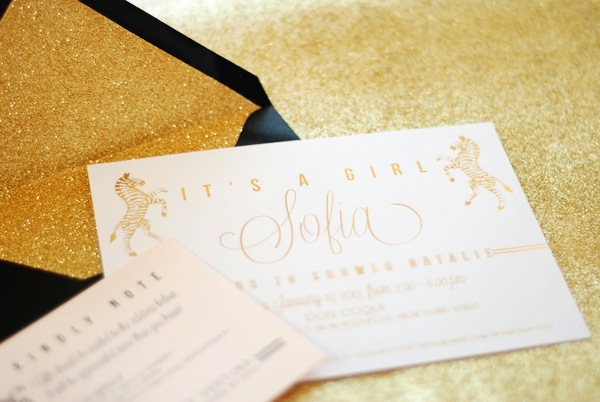
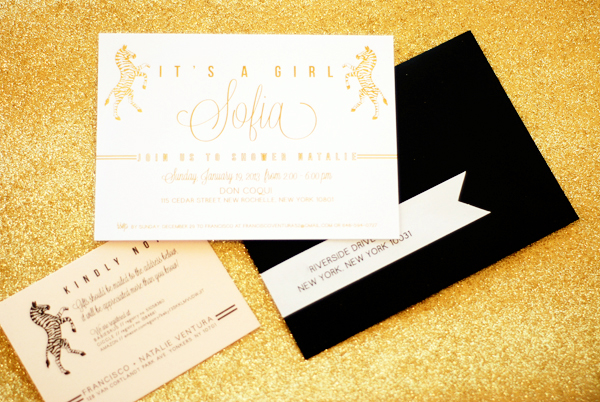
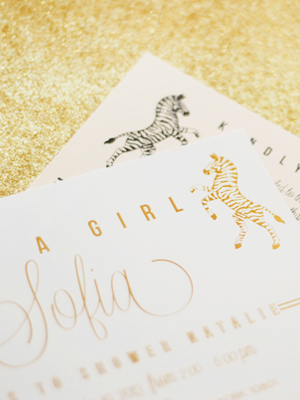
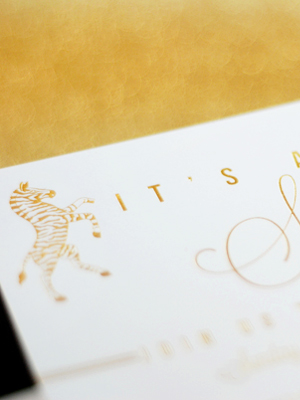
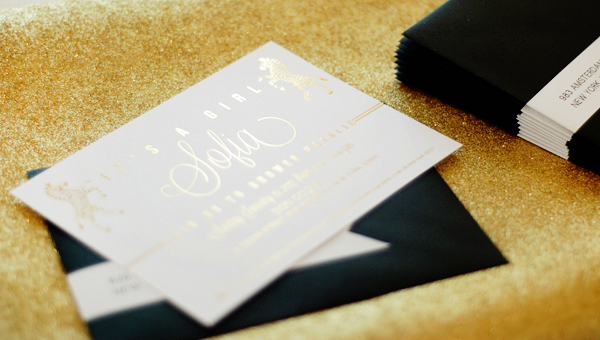
- Gold foil zebra baby shower invitations!
- Well Said Type: Aquus
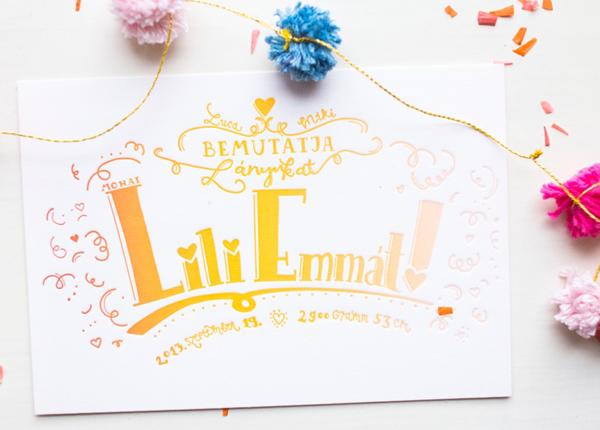
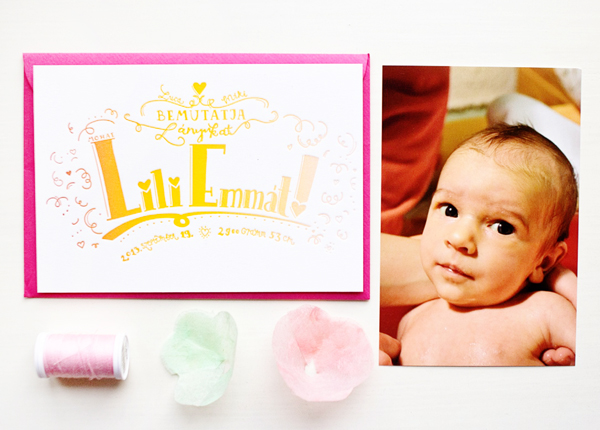
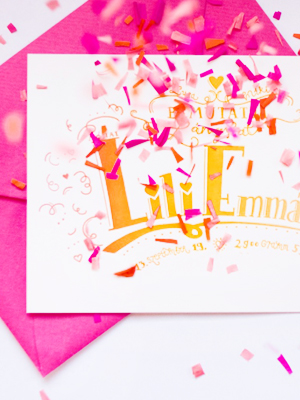
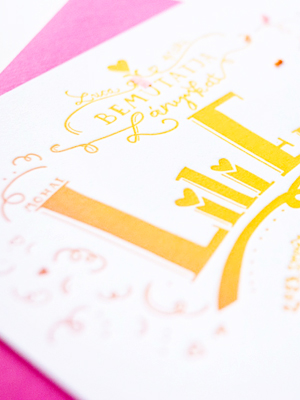
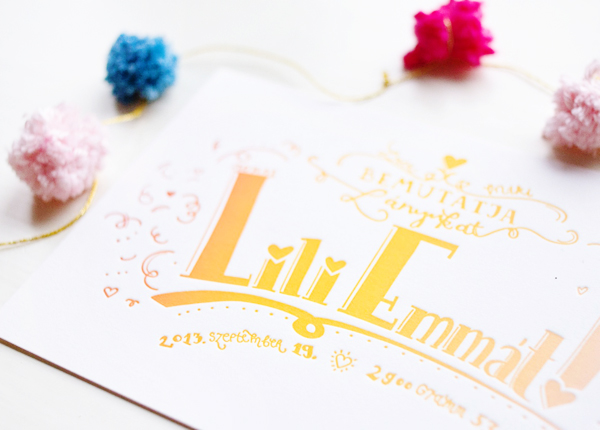
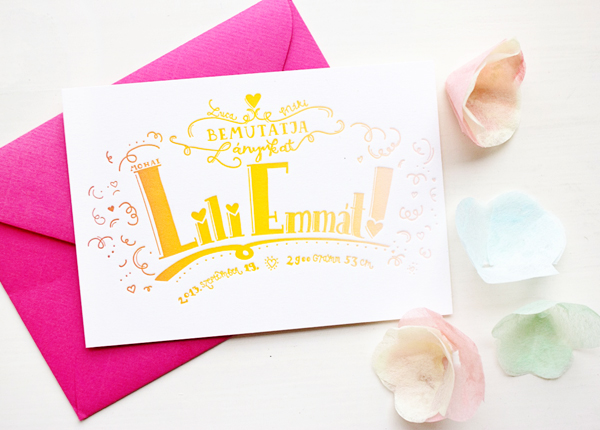
- Lili Emma’s colorful split fountain letterpress birth announcements
- Elegant dinner invitations for a 5-day wedding in New York
- A lovely hand lettered love print
- Woodsy screen printed wood veneer wedding invitations
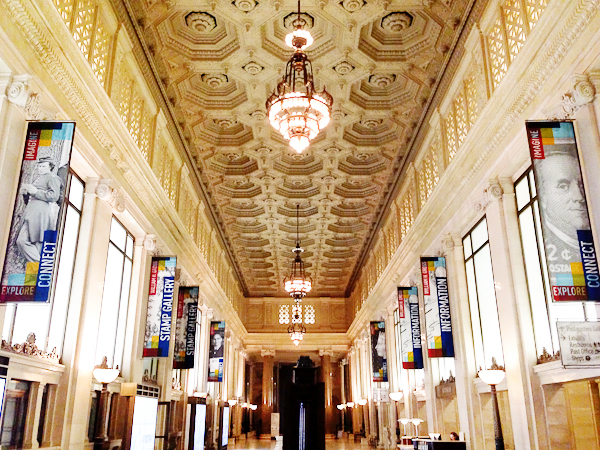
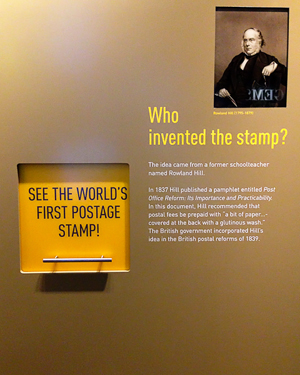
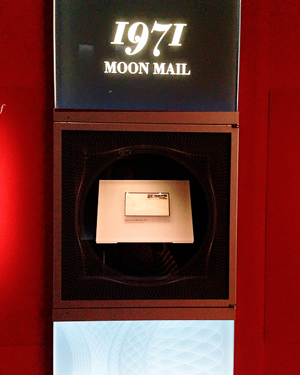
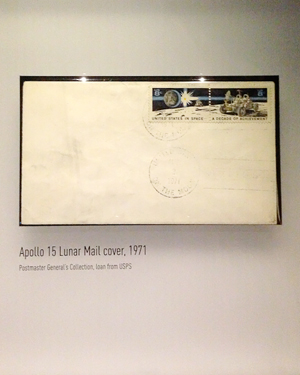
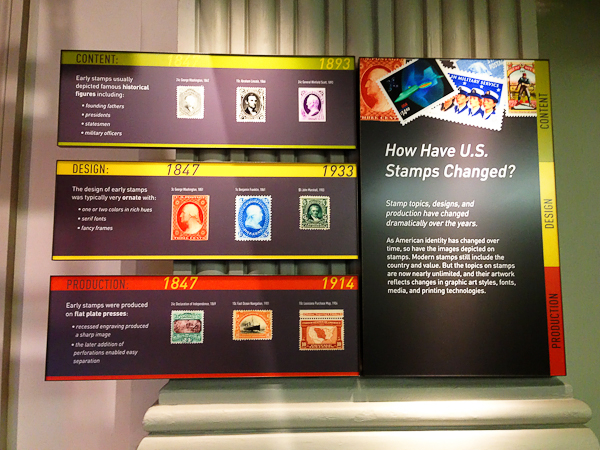
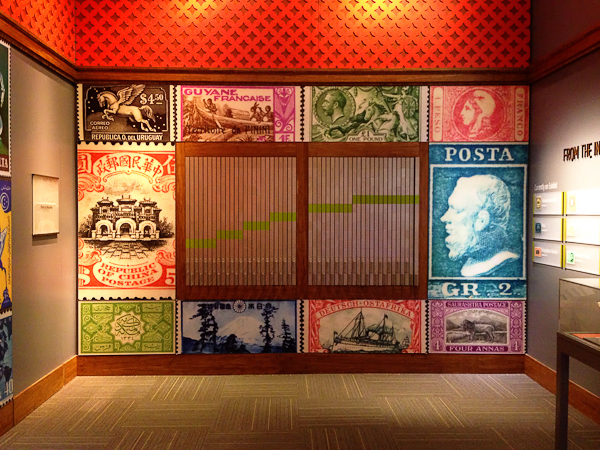
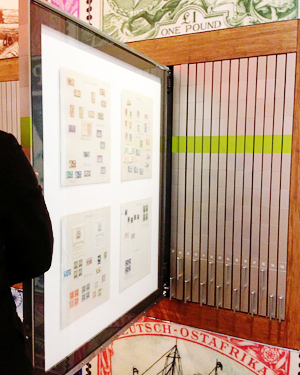
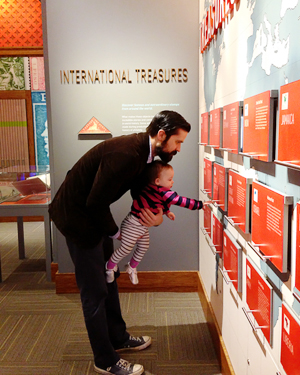
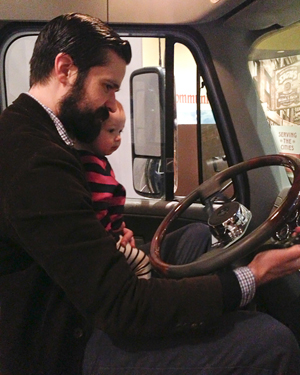
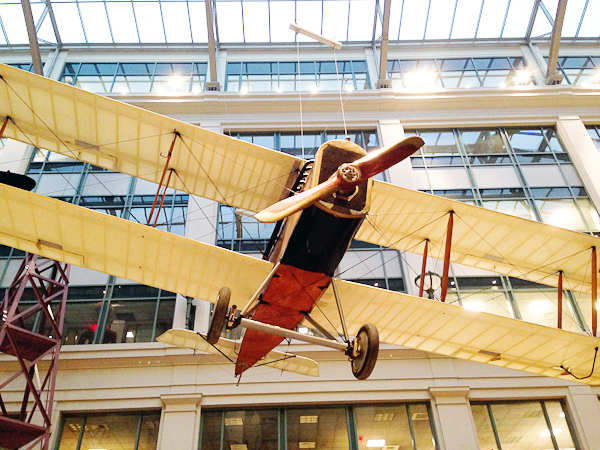
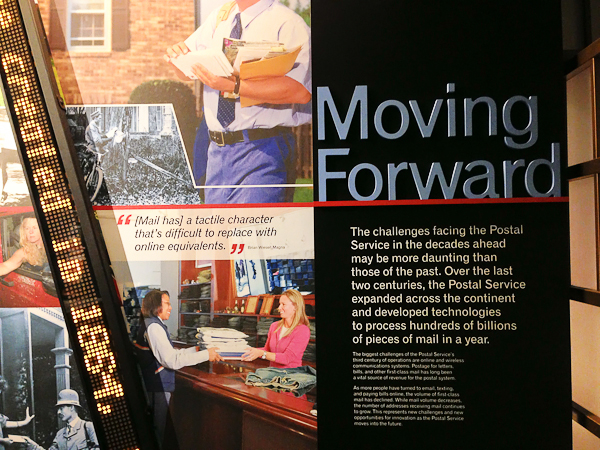
- DC Guide: The National Postal Museum
Check back soon for this week’s cocktail! I hope you all have a wonderful weekend, and I’ll see you back here next week! xoxo