Party Paper: Valentine Crafting Party

Who said making valentines had to just be for kids!? I think throwing a little adult valentine crafting party sounds like the perfect way to spend a chilly February day! Provide cute supplies to turn into valentines… like heart sparklers and stickers, and little tags and cute printables. And don’t forget the sparkly decorations, and pretty pink cocktails too! —Kelly

Party Paper: Valentine Crafting Party

No. 1 Swoon Banner from michiemay, No. 2 Glitter Hearts from Shop Sweet Lulu, No. 3 Heart Gift Tags from Seasprout, No. 4 Heart Sparklers from TOPS Malibu, No. 5 Party Horns from Shop Sweet Lulu, No. 6 Valentine Printables by Oh So Pretty for Sugar & Cloth

{images via their respective sources}

DIY Tutorial: Dip Dye Heart Favor Bags

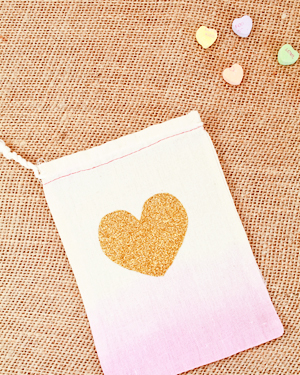
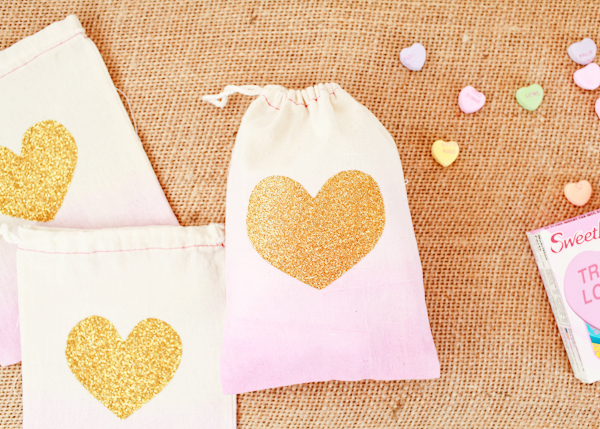
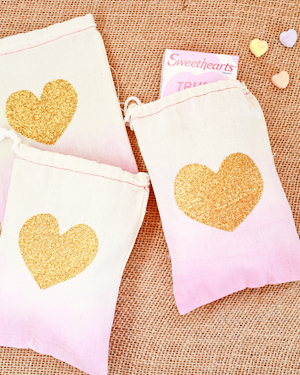
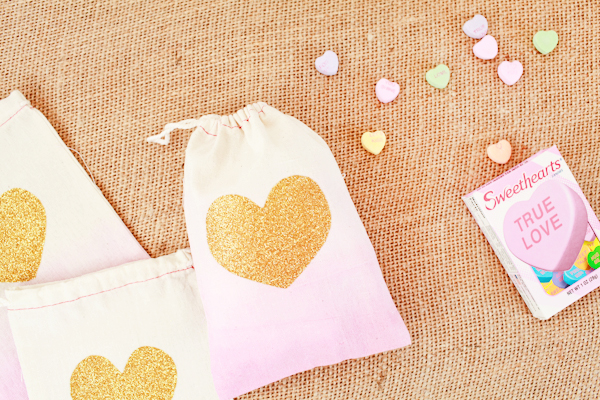
I can’t be trusted in craft stores. When I was out shopping for materials for our New Year’s Eve cocktail party shoot with St-Germain, I came across some gold glitter iron-on transfer sheets and immediately knew I wanted to use them… I just didn’t know how. I’ve also wanted to share one of my favorite (and quick and easy!) ways for dressing up muslin favor bags. Then it hit me: combine the two! So today I’m sharing some adorable dip dye heart bags, perfect for Valentine’s Day treats, weddings, birthday parties, and so much more!
OSBP-DIY-Tutorial-Dip-Dye-Heart-Bags-40

OSBP-DIY-Tutorial-Dip-Dye-Heart-Bags-52OSBP-DIY-Tutorial-Dip-Dye-Heart-Bags-53

Materials

White Muslin Bags (available from Paper Source in small packs or here in bulk)
Fabric Dye
Iron-on Gold Glitter Transfer Sheets
Scissors or Craft Punch
Iron
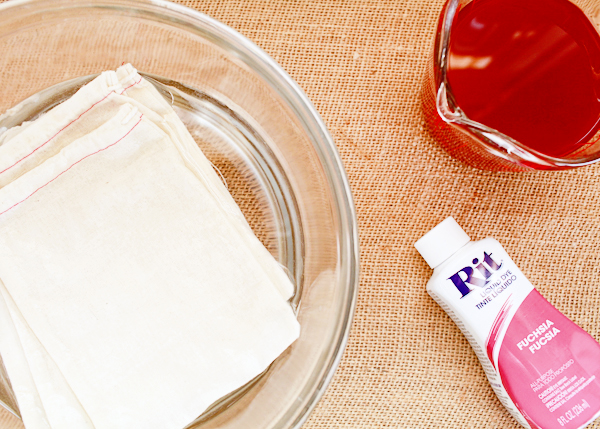
OSBP-DIY-Tutorial-Dip-Dye-Heart-Bags-20

Step 1: Prepare your materials. You’ll want to thoroughly pre-rinse your muslin bags to prepare them for absorbing the dye, and it’s important to make sure you get them completely wet both inside and outside the bag. Don’t skip this step or your bags will come out splotchy! You can pre-wash them in a washing machine, but I usually just run the bags under a faucet or soak them in a large bowl. You’ll also need to prepare your dye bath. I used a measuring cup with two cups of warm water, a teaspoon or so of salt, and eyeballed the amount of dye (maybe three tablespoons). For more saturated color, just use more dye. You can test the color with a piece of scrap fabric or paper towel.
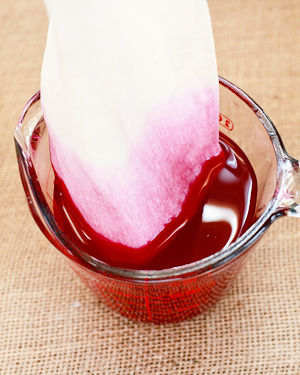
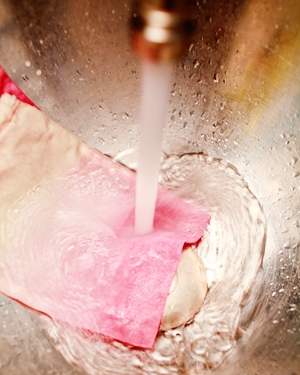
OSBP-DIY-Tutorial-Dip-Dye-Heart-Bags-22OSBP-DIY-Tutorial-Dip-Dye-Heart-Bags-26

Step 2: Dye and rinse. (Note: This entire process should be done next to a sink) Dip a muslin bag into the dye bath very quickly – it really only takes a second to absorb the color! Slowly raise and lower the bag into the dye bath several times to achieve the gradient effect, gradually raising the bag as you go and leaving the bottom in the dye bath for the longest amount of time. The entire dyeing process takes about 30-45 seconds. Once the bottom of the bag looks saturated enough, immediately rinse the bag under cool water to remove any remaining dye. Set aside and repeat this process with your remaining bags.
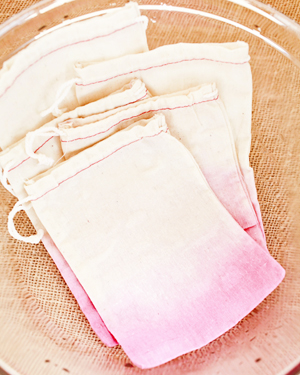
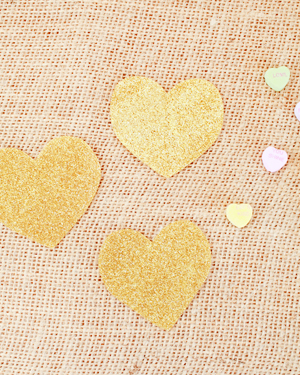
OSBP-DIY-Tutorial-Dip-Dye-Heart-Bags-30OSBP-DIY-Tutorial-Dip-Dye-Heart-Bags-38

Step 3: Dry and cut. Throw all of your muslin bags in the dryer to set the fabric dye. While you’re waiting for everything to dry, cut out your shapes from the iron-on sheets. You can trace a template onto the back of each transfer sheet or use a craft punch. My hearts were approximately 2″ wide and I was able to get 16 hearts from each iron-on transfer sheet.
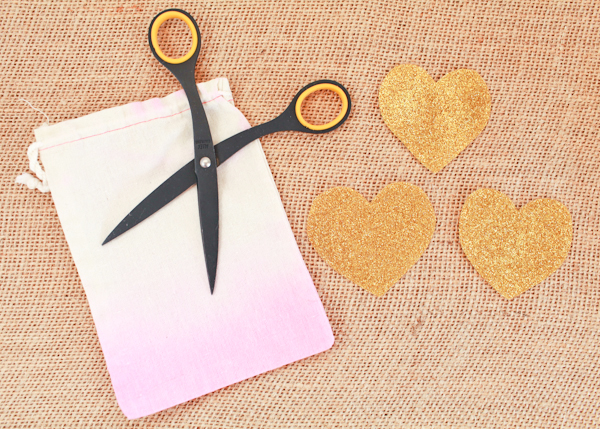
OSBP-DIY-Tutorial-Dip-Dye-Heart-Bags-63

Step 4: Iron. Place a heart on your muslin bag (I aimed for the middle of mine), then place a kitchen towel or pillowcase on top. Using the highest temperature setting, press firmly with your iron for approximately 40 seconds. Repeat for each bag.
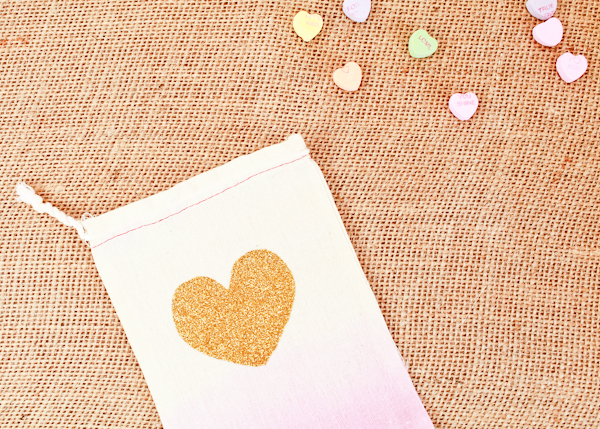
OSBP-DIY-Tutorial-Dip-Dye-Heart-Bags-56

Step 5: Done! Fill with your favorite goodies and hand them out!
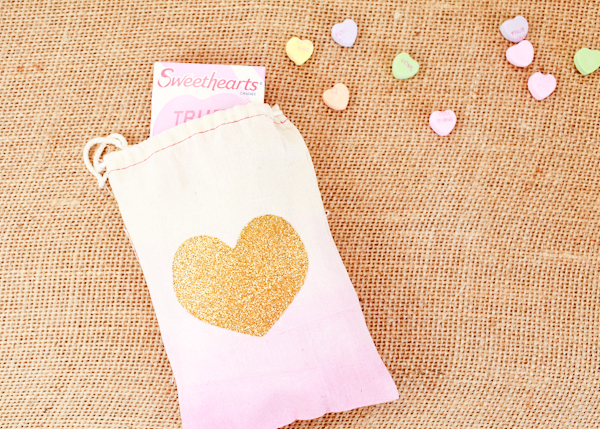
OSBP-DIY-Tutorial-Dip-Dye-Heart-Bags-45

OSBP-DIY-Tutorial-Dip-Dye-Heart-Bags-42

Photo Credits: Nole Garey for Oh So Beautiful Paper

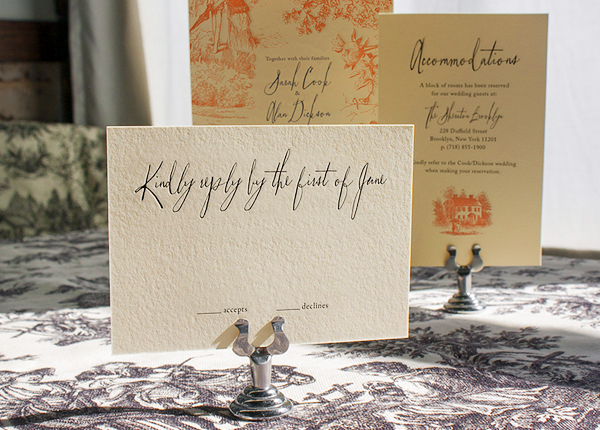
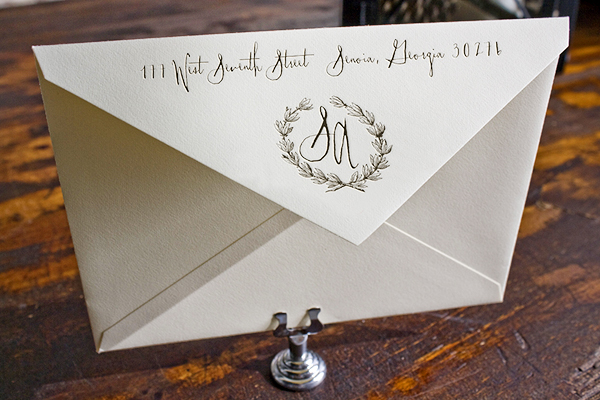
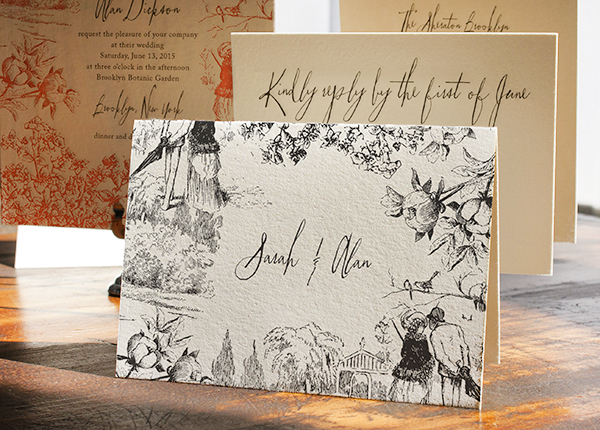
Sarah + Alan’s Modern Toile Wedding Invitations

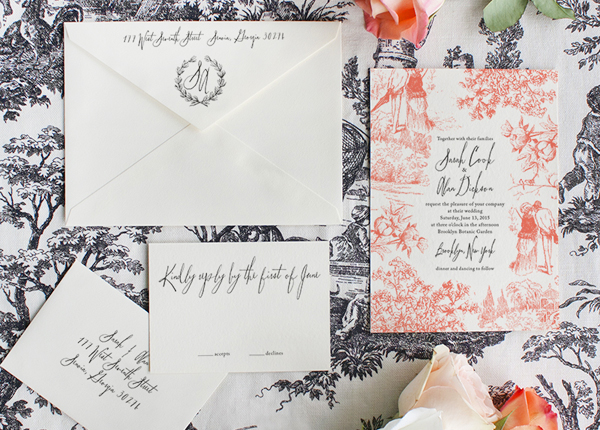
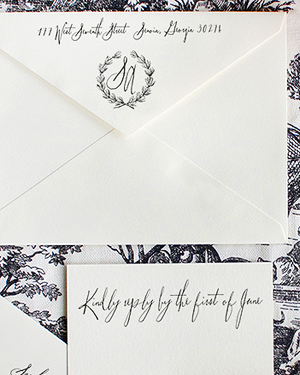
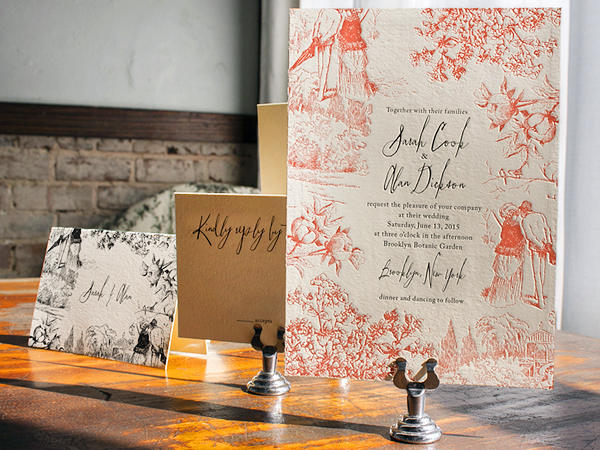
I love toile. Really really love. So I was thrilled when Erin at Lucky Luxe sent over these beautiful wedding invitations with a modern take on classic toile! The custom toile pattern is made from vintage engravings and was inspired by 18th century French toile textiles. Erin paired bright persimmon ink with classic black and white and mixed whimsical lettering with traditional serif text – all with incredibly chic results!

Toile-Pattern-Wedding-Invitations-Lucky-Luxe-Couture-Correspondence

From Erin: To make the toile pattern for the invitation, we pieced together several vintage engravings of beautiful outdoor scenery and florals, and I was tickled to death to find the sweet couple taking a stroll deep in our bag of tricks.

Toile-Pattern-Wedding-Invitations-Lucky-Luxe-Couture-Correspondence2Toile-Pattern-Wedding-Invitations-Lucky-Luxe-Couture-Correspondence3

French toile is typically printed in red, black, or blue, but we wanted to take this toile down a different aesthetic path. By combining it with quirky hand drawn lettering and a small, traditional serif, it just felt right to print in punchy persimmon ink with black text. The bride is a fashion maven and the bold color pairing looks like her wardrobe — another inspiration for the outdoor event.

Toile-Pattern-Wedding-Invitations-Lucky-Luxe-Couture-Correspondence6

Toile-Pattern-Wedding-Invitations-Lucky-Luxe-Couture-Correspondence7

Toile-Pattern-Wedding-Invitations-Lucky-Luxe-Couture-Correspondence4

Toile-Pattern-Wedding-Invitations-Lucky-Luxe-Couture-Correspondence5

Toile-Pattern-Wedding-Invitations-Lucky-Luxe-Couture-Correspondence8

Thanks Erin!

Lucky Luxe is a member of the Designer Rolodex – you can see more of their beautiful work right here or visit the real invi­ta­tions gallery for more wedding invitation ideas!

Photo Credits: Lucky Luxe

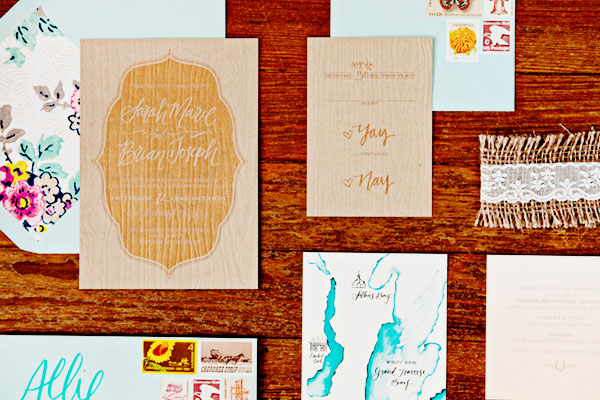
Sarah + Brian’s Western Watercolor Wedding Invitations

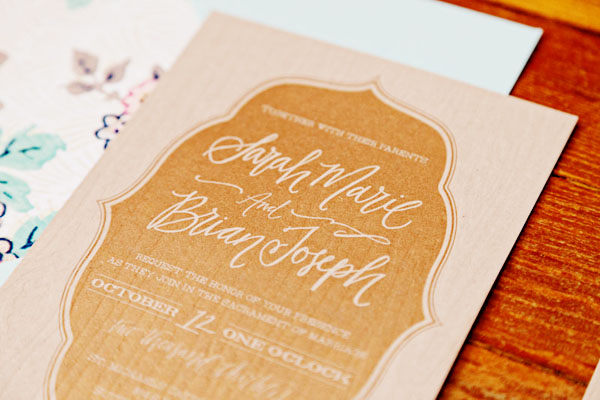
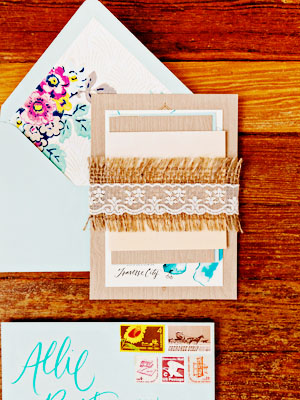
Happy Monday everyone! I’m on my way up to NYC for the Winter NYNOW market (you can follow the show along with me via Instagram!), but I’m excited to start the week with a pair of really gorgeous wedding invitations! First up, a fun invitation suite from AllieRuth Design that mixes a western vibe with romantic details like calligraphy and floral patterns. Such a wonderful combination!

Western-Watercolor-Wedding-Invitations-AllieRuth-Design

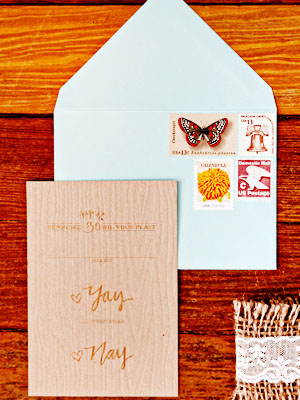
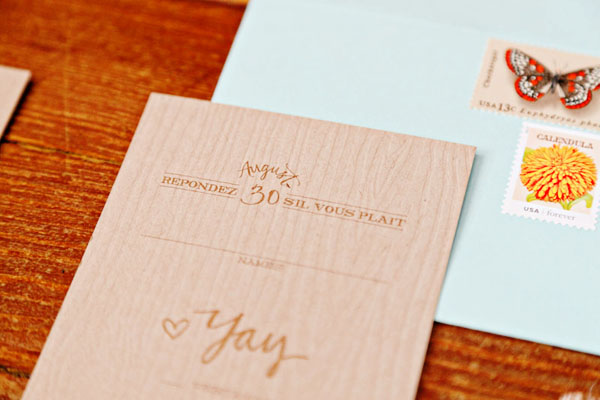
From Allie: We had SO much creating this suite. Sarah and Brian really allowed me to run with their ideas and put something together that stands out among the AllieRuth portfolio. We worked with Mama’s Sauce, our favorite rock star printers, to take on the unique task of letterpress printing a blind impression woodgrain texture and then screen printing in metallic ink.

Western-Watercolor-Wedding-Invitations-AllieRuth-Design3

The reception took place on a beautiful ranch, inside of a horse barn. The couple wanted to incorporate that western vibe in a subtle way, so we mixed a funky retro font with my calligraphy, and brought in soft details with the lace band, watercolors, and floral envelope liner.

Western-Watercolor-Wedding-Invitations-AllieRuth-Design6Western-Watercolor-Wedding-Invitations-AllieRuth-Design5

Western-Watercolor-Wedding-Invitations-AllieRuth-Design2

Thanks Allie!

Design: AllieRuth Design

Letterpress and Screen Printing: Mama’s Sauce

AllieRuth Design is a member of the Designer Rolodex – you can see more of Allie’s beautiful work right here or visit the real invitations gallery for more wedding invitation ideas!

Photo Credits: AllieRuth Design

Friday Happy Hour: Hot Buttered Rum

Since there are so many amazing drinks out there, I don’t like to write about any one cocktail more than once – it takes away opportunities to introduce more. But this weather has been so accursedly cold that I’ll make an exception for the Hot Buttered Rum, which we first wrote about a long while ago but which is so perfect for winter that it deserves another look. – Andrew

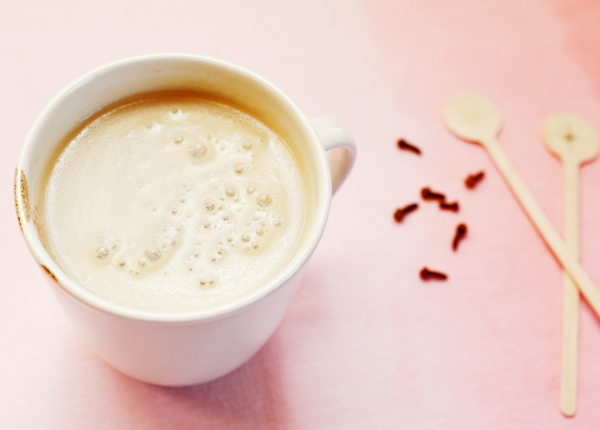
OSBP-Signature-Cocktail-Recipe-Hot-Buttered-Rum-19

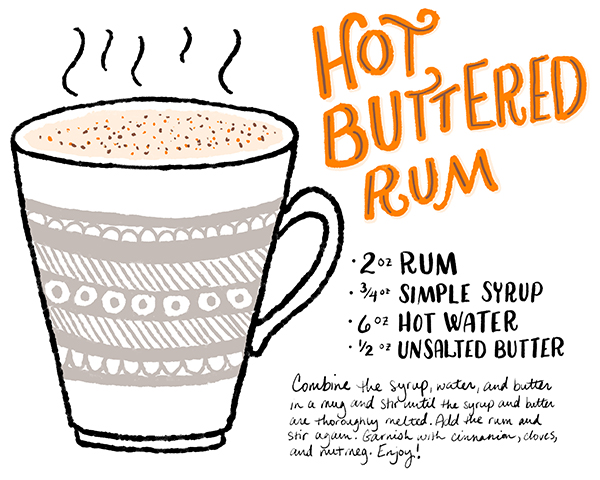
OSBP-Signature-Cocktail-Hot-Buttered-Rum-Recipe-Card-Shauna-Lynn-Illustration

Illustration by Shauna Lynn for Oh So Beautiful Paper
Hot Buttered Rum

2 oz Aged Rum
3/4 oz Simple Syrup
6 oz Hot Water
1/2 oz Unsalted Butter

Combine the syrup, water, and butter in a mug and stir until the syrup and butter are thoroughly melted. Add the rum and stir again. Garnish with cinnamon, cloves, and nutmeg. Enjoy!

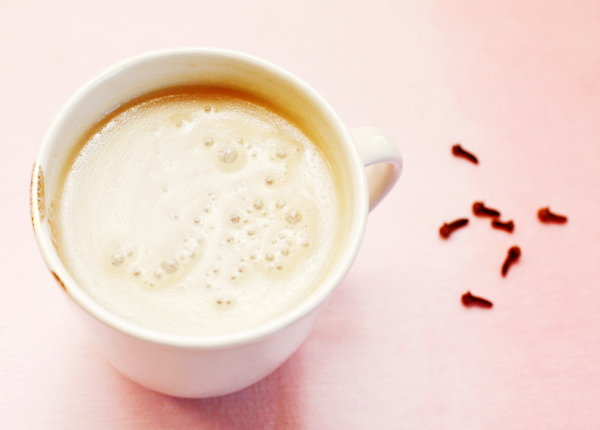
OSBP-Signature-Cocktail-Recipe-Hot-Buttered-Rum-15

Hot buttered rum is basically a rum Hot Toddy – rich, sweet, and so warming – but with the addition of melted butter, which adds to the body of the drink and a silky mouthfeel. I like to use Royal Rose’s Cardamon-Clove Simple Syrup here, to add an additional layer of spicy complexity.

OSBP-Signature-Cocktail-Recipe-Hot-Buttered-Rum-10OSBP-Signature-Cocktail-Recipe-Hot-Buttered-Rum-23

Rum these days has lots of tropical connotations: Tiki drinks and Caribbean rum punches. But for a long time – from the late 1600s to the early 1800s –rum was the spirit of choice in the decidedly non-tropical New England. New Englanders got very good at a couple of things: mixing everything they could find with rum, and making drinks to ward off the chill of New England winters. Including butter, which might seem strange to us now but probably made perfect sense to a society that didn’t have modern cough drops to treat sore throats – and actually could use those extra calories to help stay warm. You’ll have to figure out what to do with those on your own.

OSBP-Signature-Cocktail-Recipe-Hot-Buttered-Rum-20

*Some of those drinks turned out pretty good, like the Stone Fence. Some of those drinks turned out not so good, like the Black Strap – a mix of rum and molasses that is so dreadfully awful that it’s the one classic cocktail that I can’t recommend.

Photo Credits: Nole Garey for Oh So Beautiful Paper