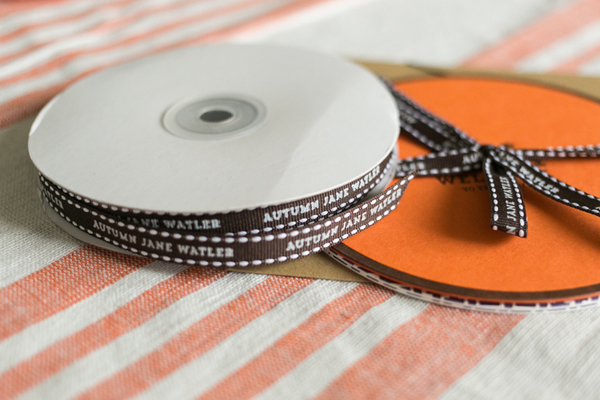
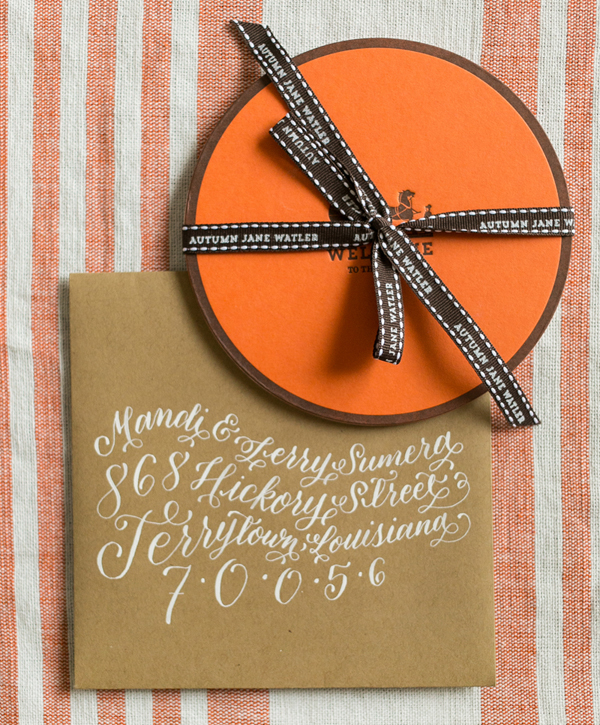
When Melissa from Atheneum Creative was asked to create a birth announcement inspired by the luxury brand Hermès, she was up for the challenge! Melissa drew her inspiration from the brand’s iconic boxes, creating a layered baby announcement tied together with custom ribbon and mailed in kraft paper envelopes to evoke shipping boxes. So cute!
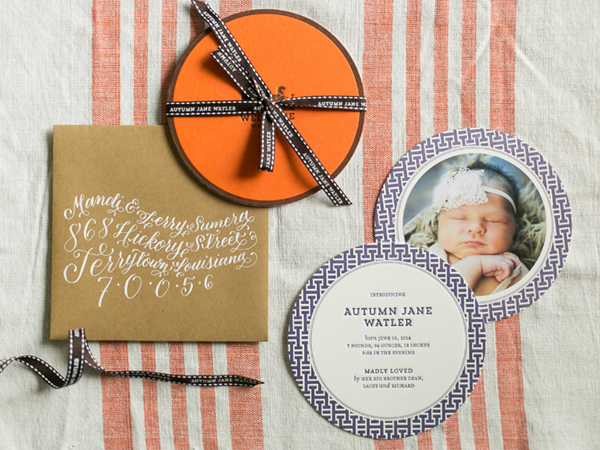
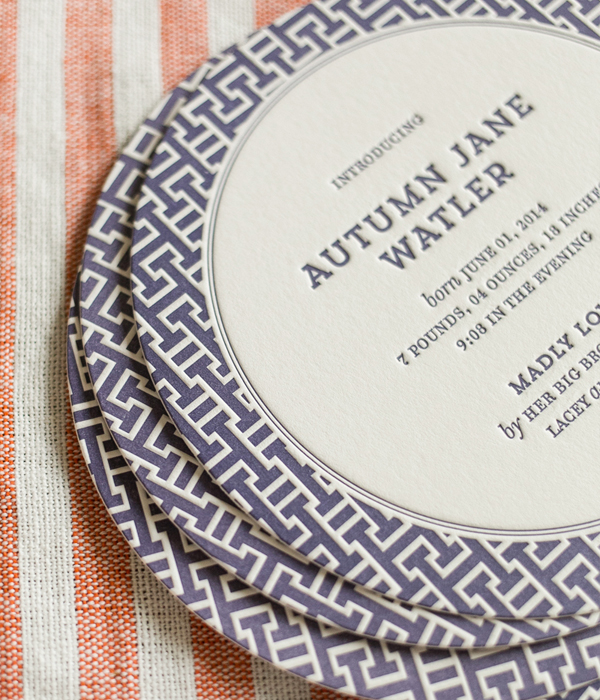
From Melissa: When Autumn’s parents called and asked for Hermès-inspired baby announcements for their daughter we were super excited… I love a new challenge! We based the whole announcement design around the signature Hermès boxes.
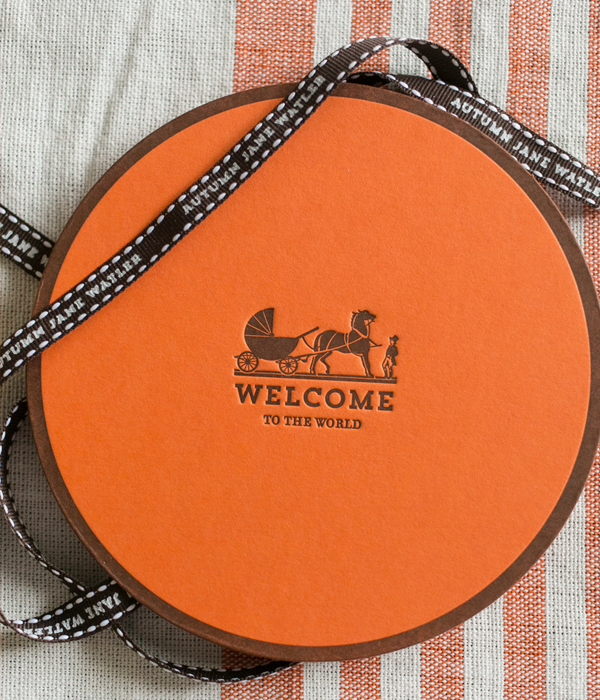
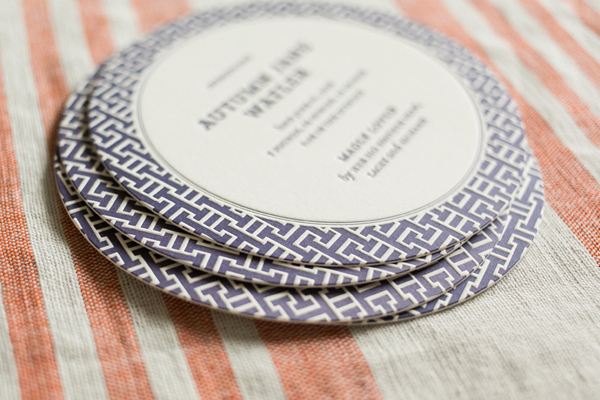
The announcement features three separate pieces. First things first, the logo. We re-imagined the classic Hermès logo to be a baby carriage. This first card in the set represents the top of the signature Hermès box. The second card contains Autumn’s birth details and represents the inside bottom of the signature boxes. Of course we had to squeeze a photo “in the box” (between the two cards) as this little angel is a gift her her parents.
The wrap it all up we created a custom ribbon with the baby’s name. The entire suite was mailed in a kraft paper envelope addressed with a whimsical calligraphy style by Jenna Blazevich.
Thanks Melissa!
Design:Â Atheneum Creative
Calligraphy: Jenna Blazevich
Atheneum Creative is a member of the Designer Rolodex – you can see more of their beautiful work right here!
Photo Credits:Â Chelsea Davis Photography
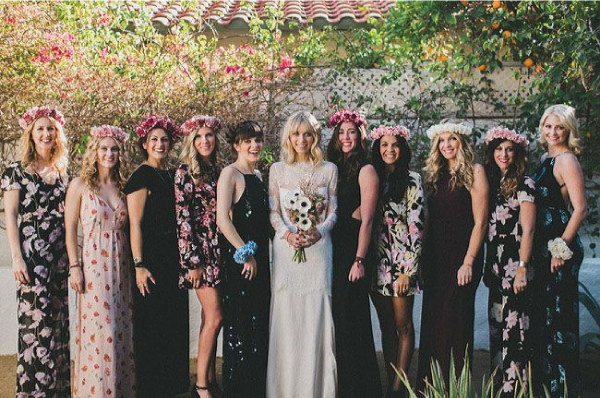

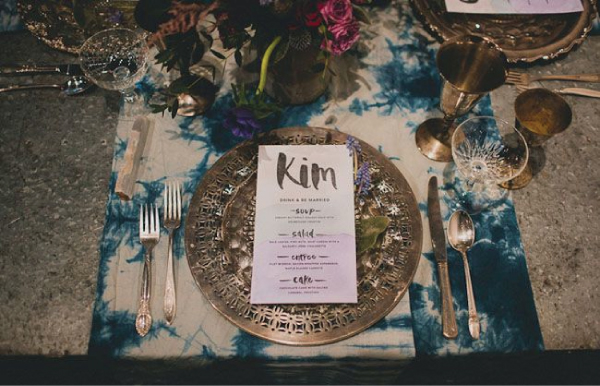 Image by