Best of 2015: DIY

Oh So Beautiful Paper: The Best of 2015 / Calligraphy by Cast Calligraphy

Image by Cast Calligraphy

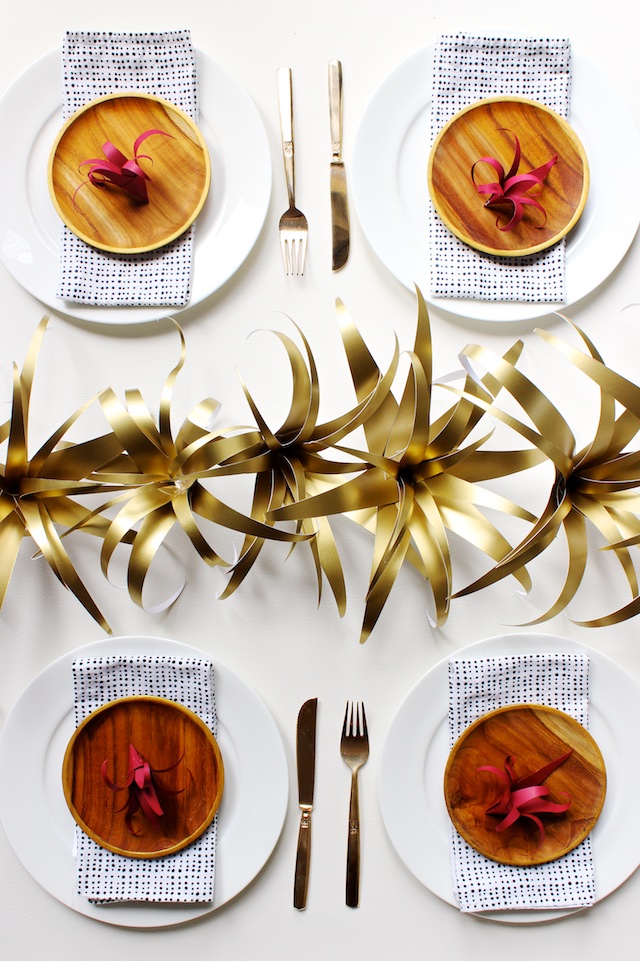
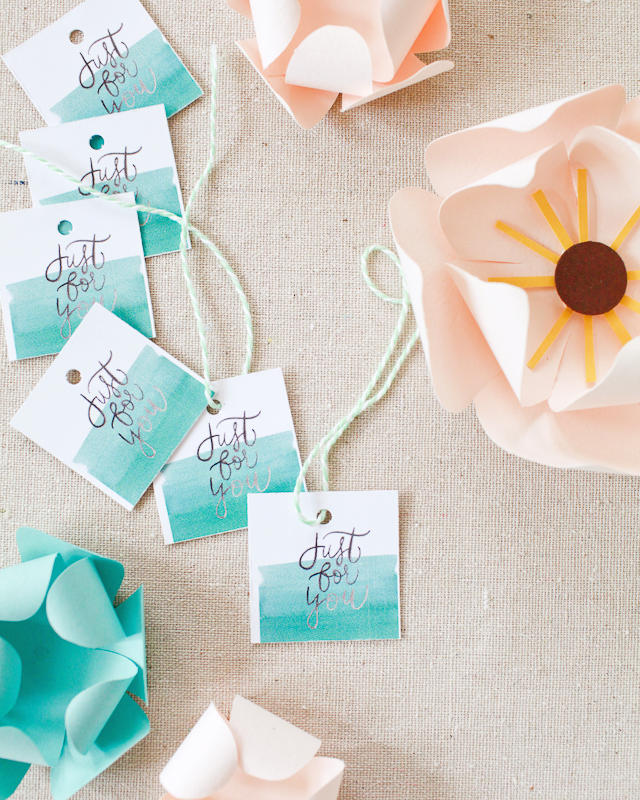
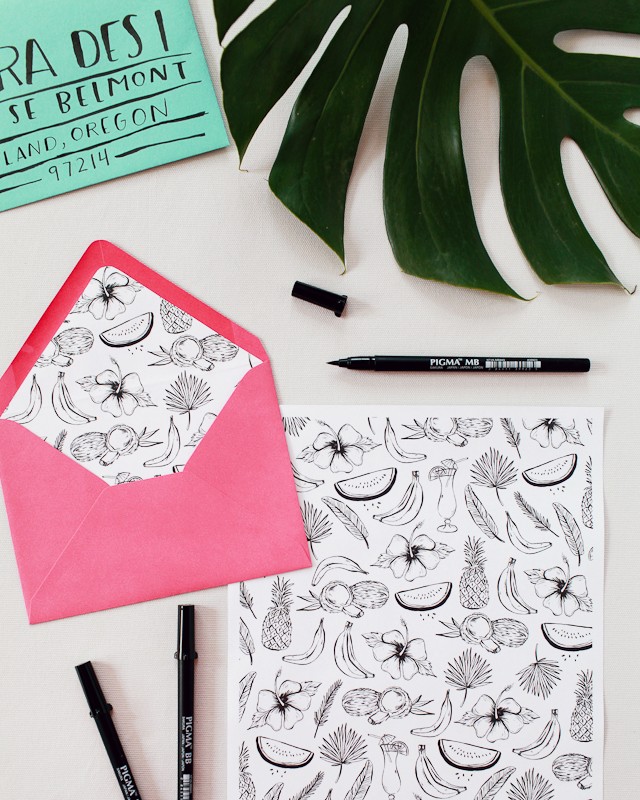
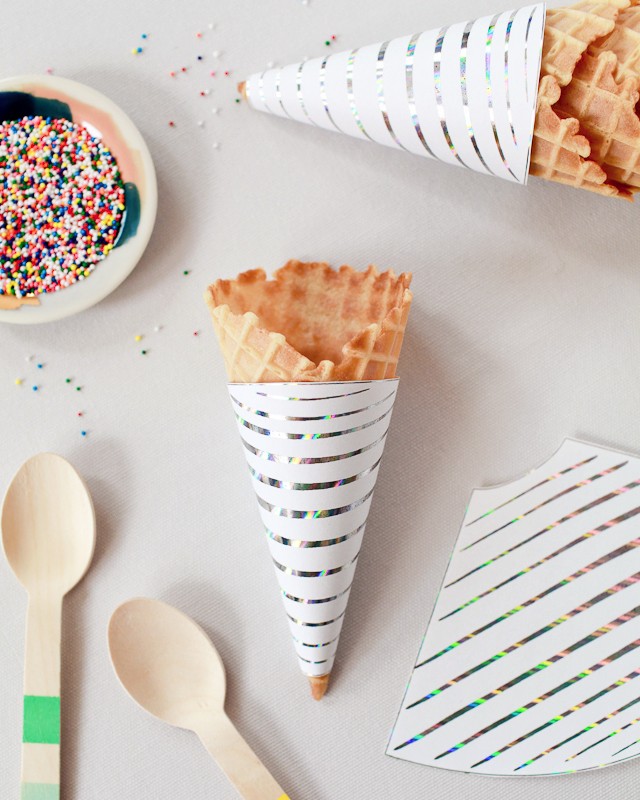
We had SO many fun DIY projects on OSBP this year! Lots of really pretty printables, from tropical envelope liners to calligraphy Halloween favor bags, and some fun DIY foil projects where I tried (and failed) to resist the urge to put hologram foil on everything in sight. There were DIY rubber stamp wedding invitations and save the dates, and way more DIY party and entertaining ideas than in previous years. Also, paper flowers! I’ve been loving Rachael’s crepe paper flower posts and Mandy made some amazing gold paper air plants before heading off on maternity leave last year. We ended the year on a DIY high note with one of my all time favorite projects: DIY gold and copper leaf gift tags! And I’ve got lots of new DIY ideas and projects up my sleeves for 2016 that I can’t wait to share with all of you! But in the meantime, here are a few of my absolute favorite DIY projects from 2015!

DIY Balloon Cocktail Shaker Engagement Party Invitations / A Fabulous Fete for Oh So Beautiful Paper

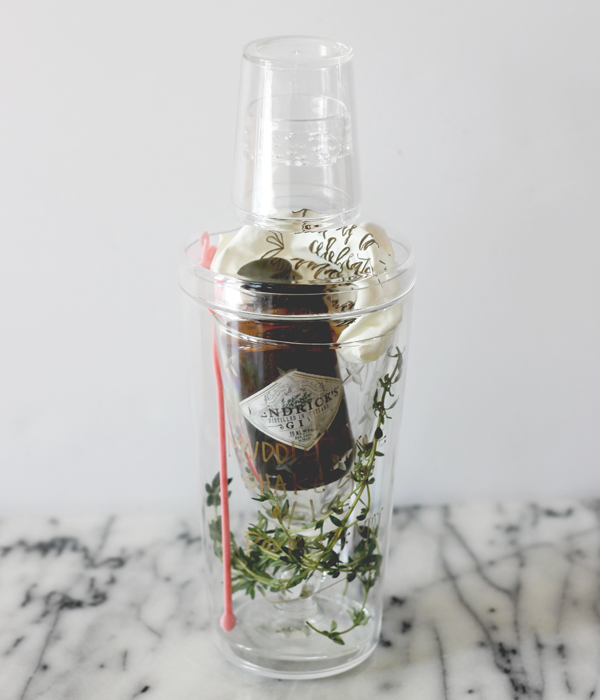
DIY Balloon Engagement Party Invitation in a Cocktail Shaker

DIY Gold Paper Air Plants / Craftcourse Nashville for Oh So Beautiful Paper

DIY Gold Paper Air Plants!

Printable Watercolor Wedding Stationery Details / Bright Room Studio for Oh So Beautiful Paper

Printable Hand Lettered Watercolor Wedding Stationery Details

Printable Tropical Envelope Liners / Swiss Cottage Designs for Oh So Beautiful Paper

Printable Tropical Envelope Liners

DIY Hologram Foil Ice Cream Wrappers / Oh So Beautiful Paper

DIY Hologram Foil Ice Cream Cone Wrappers

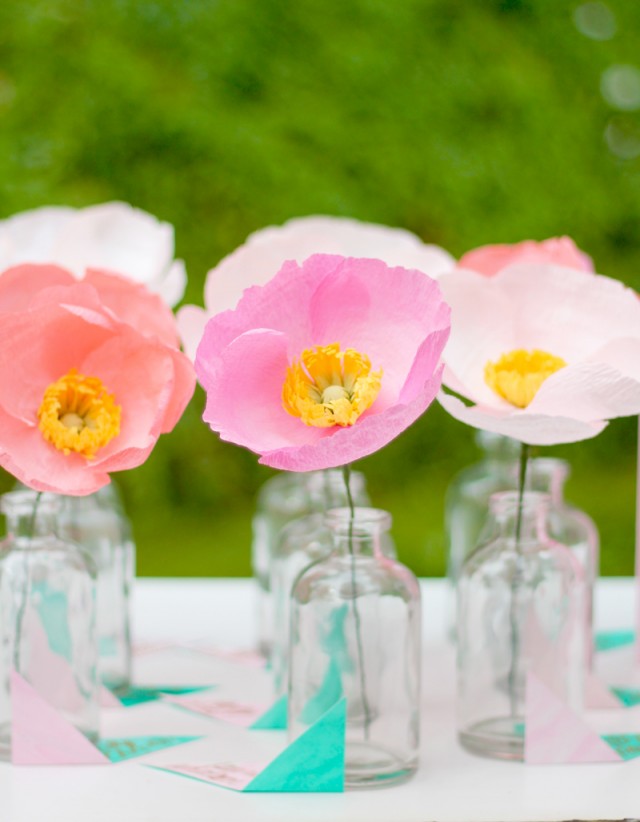
DIY Crepe Paper Poppy Escort Cards / Appetite Paper for Oh So Beautiful Paper

DIY Crepe Paper Poppy Escort Cards

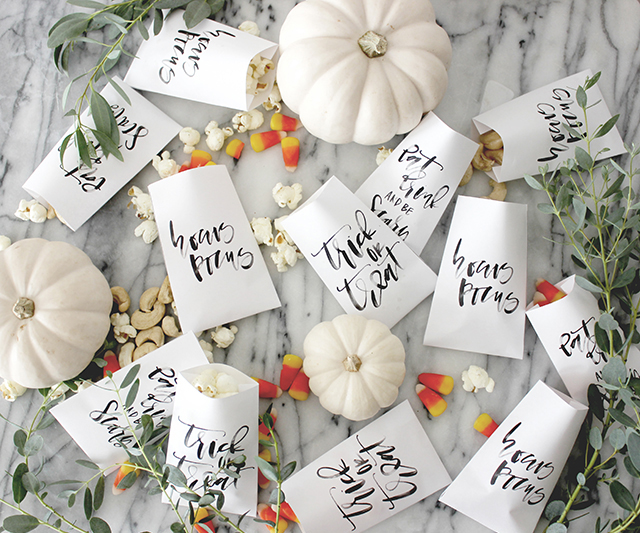
Printable Calligraphy Halloween Favor Bags / A Fabulous Fete for Oh So Beautiful Paper

Printable Calligraphy Halloween Favor Bags

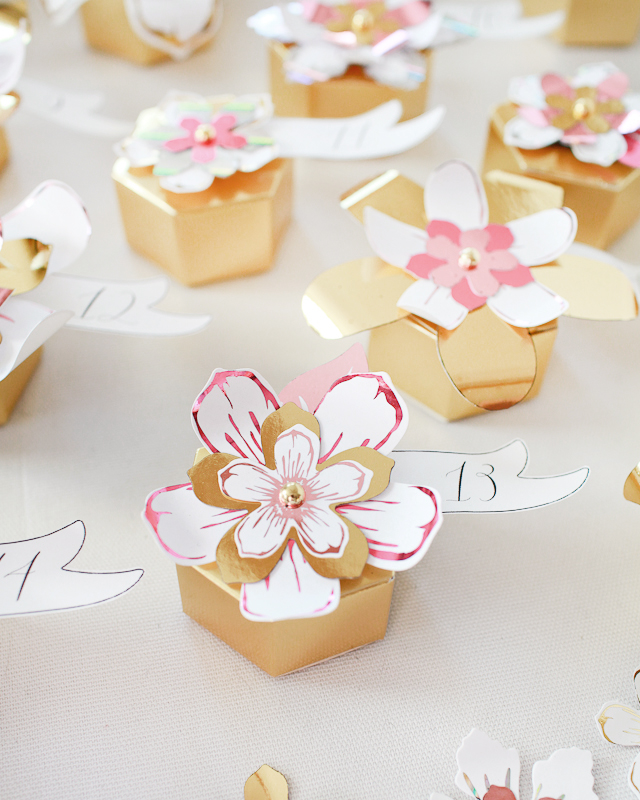
DIY Pink and Gold Foil Advent Calendar / Oh So Beautiful Paper

DIY Pink and Gold Foil Paper Flower Advent Calendar

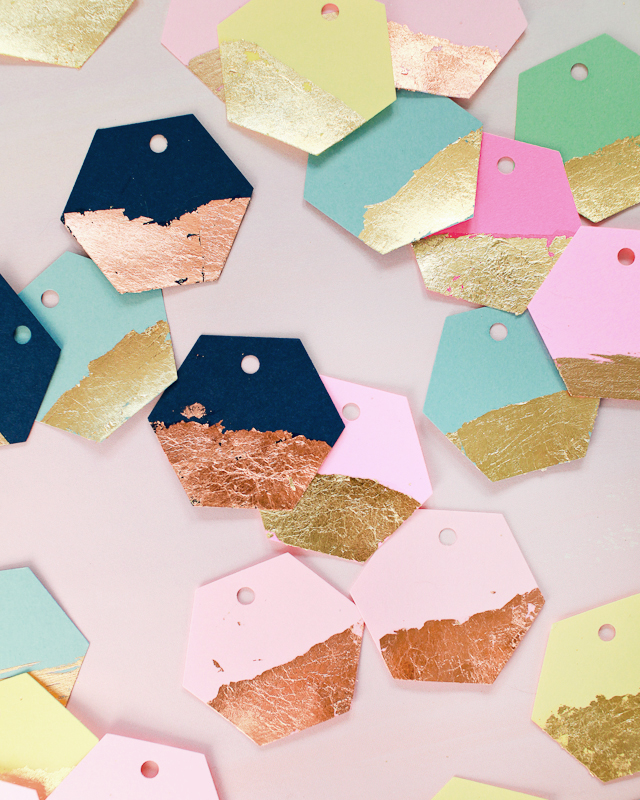
DIY Gold and Copper Leaf Hexagon Gift Tags / Oh So Beautiful Paper

DIY Gold and Copper Leaf Hexagon Gift Tags

Looking for even more DIY ideas and inspiration? Check out all of our past projects in the DIY archives!

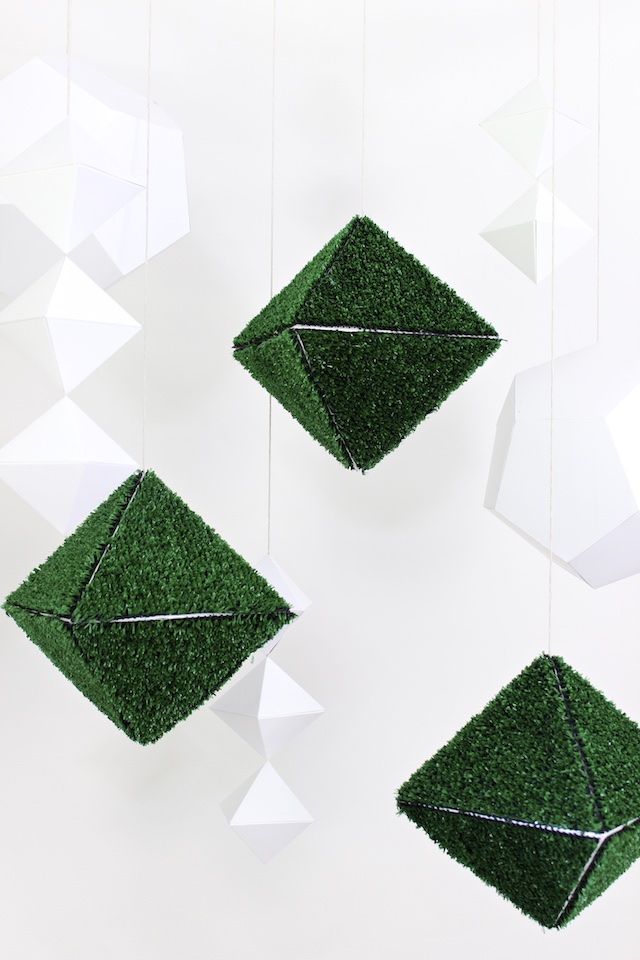
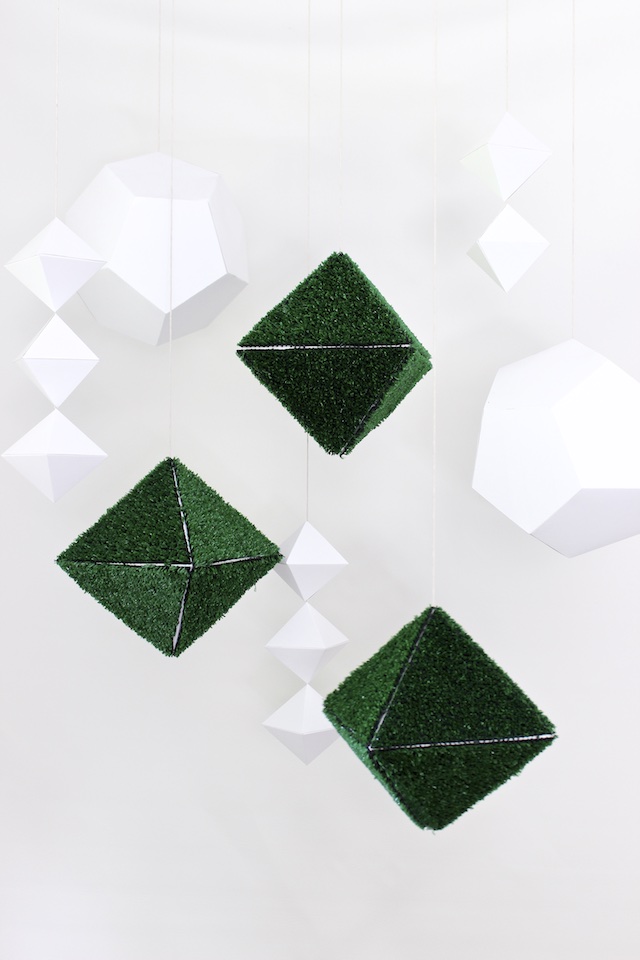
DIY Faux Grass Hanging Gems

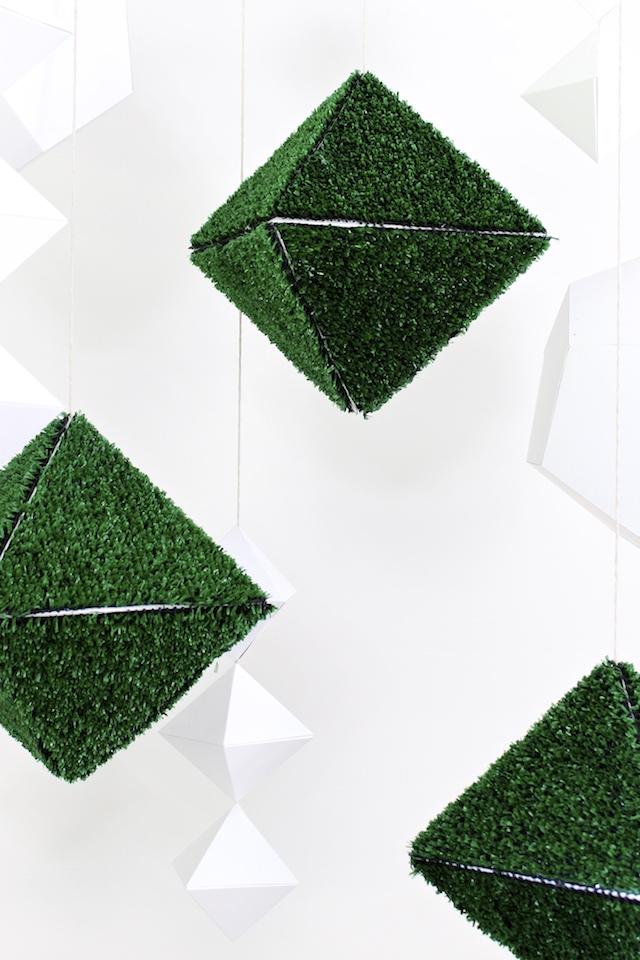
Craftcourse basically made its handmade event decor ‘debut’ with garlands of larger-than-life hanging paper gems for a local maker market here in Nashville last winter. Even though we’ve made all kinds of things since then, they’ve kind of become our signature creation, which we’ve been known to say could be used just about anywhere for any occasion. What space or event couldn’t be made better by some hanging gems?! Although we’ve never formally given away our ginormous paper gem secrets, I’m slipping a little today by showing you how to make some medium-sized hanging diamonds covered in faux grass – a fun summer take on our plain ole gems. Enjoy! –Mandy Pellegrin of Craftcourse

DIY Faux Grass Hanging Gems Party Decorations / Craftcourse for Oh So Beautiful Paper

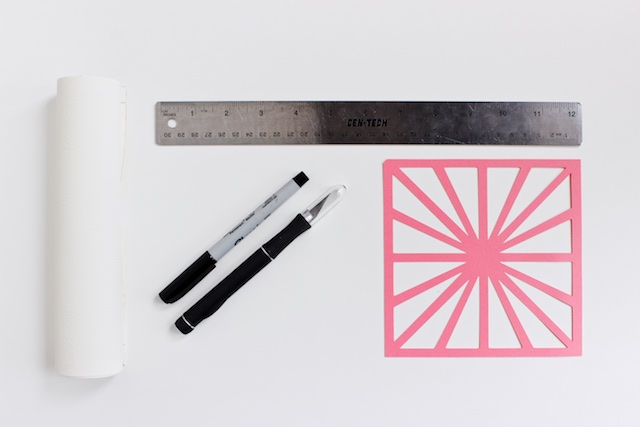
Materials
Template
Poster Board
Pencil
Craft Knife
Metal Ruler
Cutting Surface
Hot Glue and Glue Gun
String
Small Wooden Bead
A Cheap Artificial Grass Rug (like this or this)
Scissors

DIY Faux Grass Hanging Gems Party Decorations / Craftcourse for Oh So Beautiful Paper

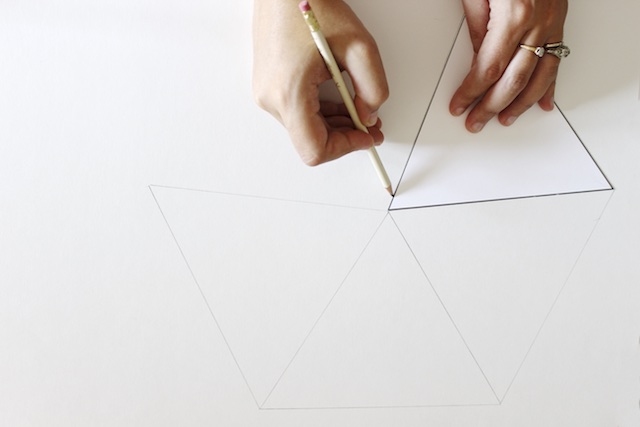
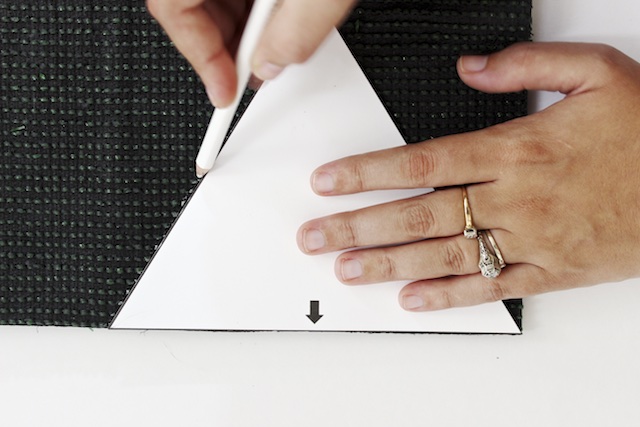
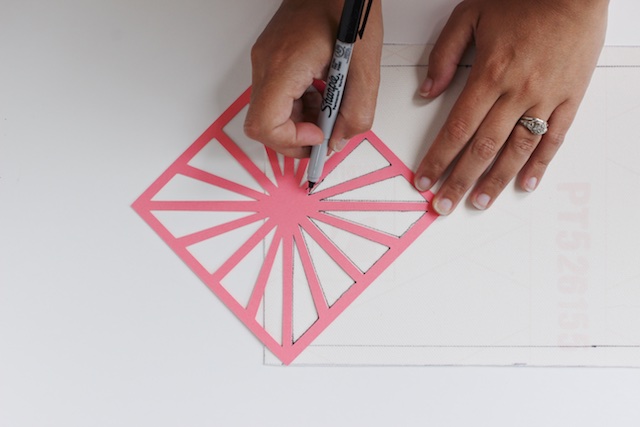
Step One: After you’ve downloaded and cut out the template, trace the template onto poster board. Trace four templates edge-to-edge as shown here and in the template file with the top points (that is, the point opposite the arrow on the template) meeting in the middle. Each diamond-shaped gem will require two of these four-triangle sets. I was able to fit six sets (or enough for three gems) onto two pieces of poster board.

DIY Faux Grass Hanging Gems Party Decorations / Craftcourse for Oh So Beautiful Paper

DIY Faux Grass Hanging Gems Party Decorations / Craftcourse for Oh So Beautiful Paper

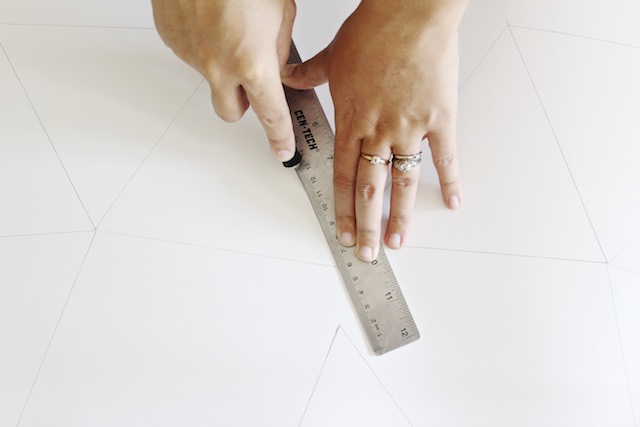
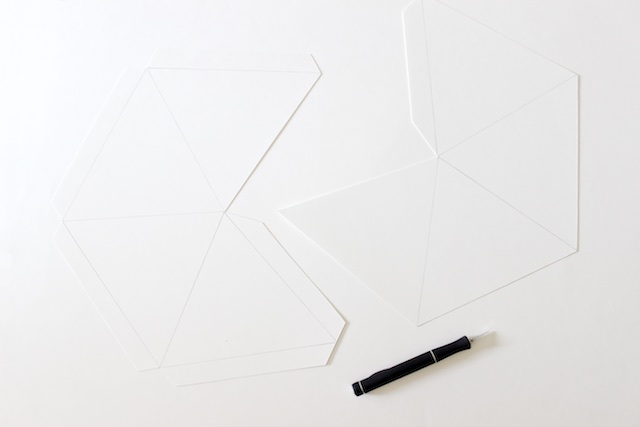
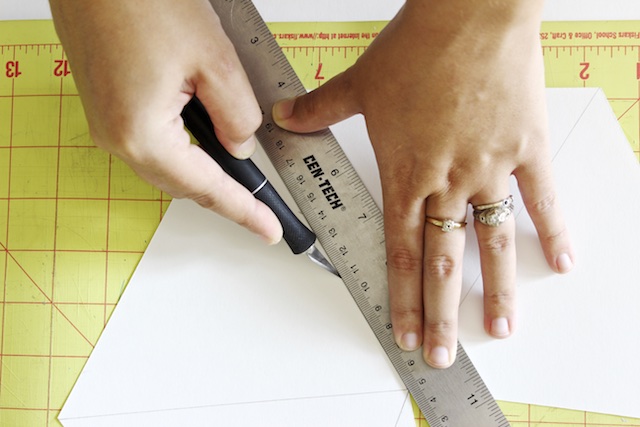
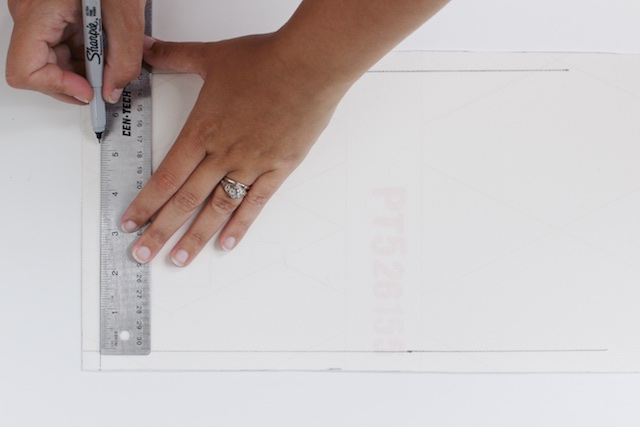
Step Two: Cut out using a craft knife and a metal ruler. When cutting them out, you’ll need to add tabs for assembly. On one of the four-triangle sets, add only one tab along the side of one of the outer triangles as shown here (on the right) and in the template file. On the other set, you’ll need to add tabs both on an outer triangle like for the other set and along the bottom edge (i.e. the edge denoted with a triangle on the template) of each triangle. Again, this is shown here (on the left) and in the template file.

DIY Faux Grass Hanging Gems Party Decorations / Craftcourse for Oh So Beautiful Paper

Step Three: Score all the lines by gently tracing each one with the back-side of the blade of the craft knife. This will give you a nice clean score, but don’t push so hard that you cut through your poster board.

DIY Faux Grass Hanging Gems Party Decorations / Craftcourse for Oh So Beautiful Paper

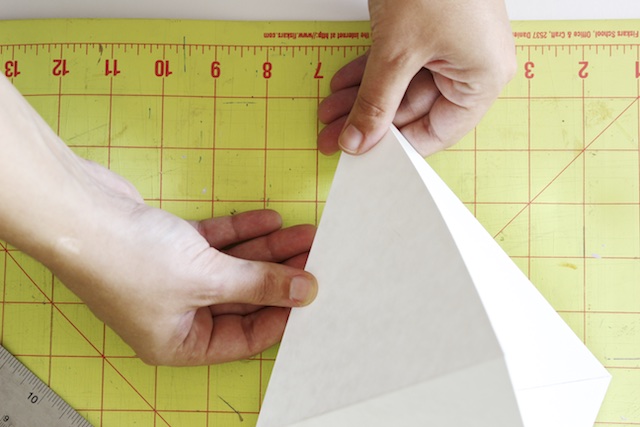
Step Four: Crease each of the scores by folding inward so that your pencil marks will be on the inside of the finished gem.

DIY Faux Grass Hanging Gems Party Decorations / Craftcourse for Oh So Beautiful Paper

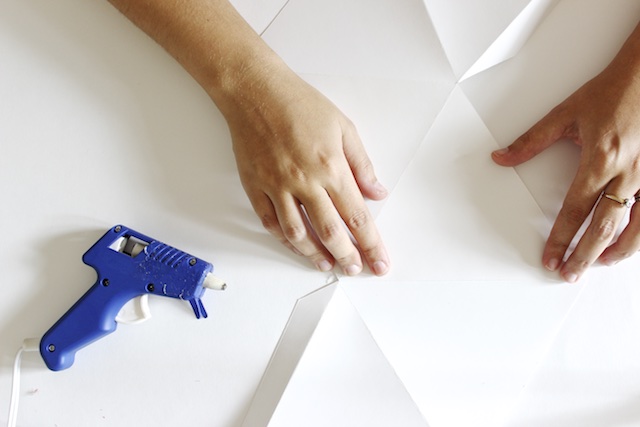
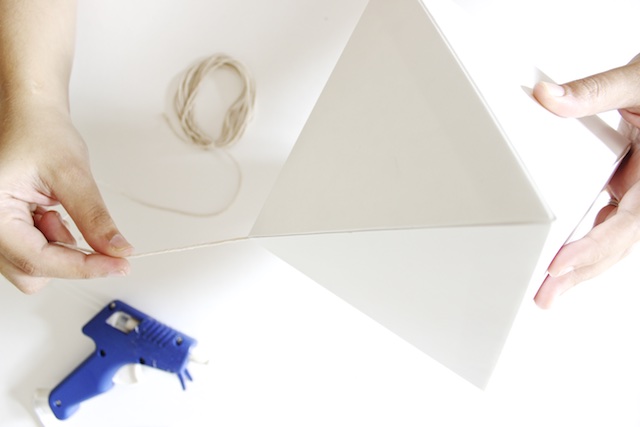
Step Five: Assemble the gem by first hot gluing the four bottom edge tabs of the one piece to the four bottom edges of the other piece.

DIY Faux Grass Hanging Gems Party Decorations / Craftcourse for Oh So Beautiful Paper

DIY Grassy Hanging Geometric Gems by OSBP 9

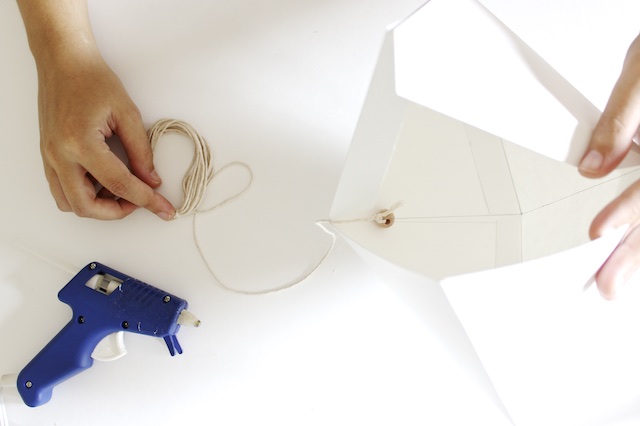
Step Six: Before glueing shut the edge tabs, slip a string with a small wooden bead tied onto the end inside the gem. Apply glue to the tabs, and gently squeeze shut and apply some pressure to the area on top of the tabs to get them to adhere. You now have a plain hanging gem!

DIY Faux Grass Hanging Gems Party Decorations / Craftcourse for Oh So Beautiful Paper

Step Seven: For each hanging gem, trace eight triangle templates onto the back of your artificial grass rug.

DIY Faux Grass Hanging Gems Party Decorations / Craftcourse for Oh So Beautiful Paper

Step Eight: Cut out each of the ‘grass’ triangles.

DIY Faux Grass Hanging Gems Party Decorations / Craftcourse for Oh So Beautiful Paper

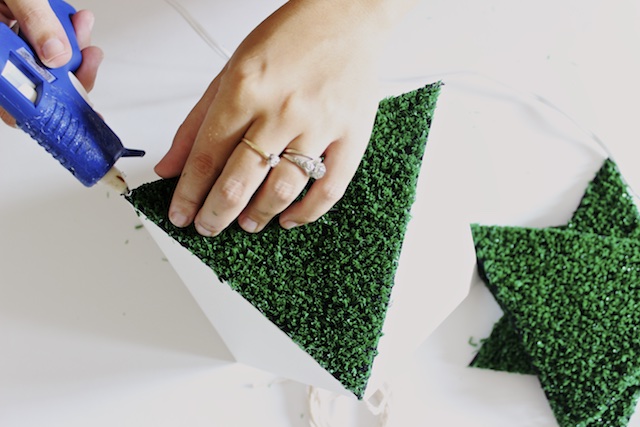
Step Nine: Hot glue the triangles onto the plain finished gem. If you want to cover all of the poster board, make sure you cut your triangles out slightly bigger than the template. A little white peeks through on mine, but I sort of liked how it helped define the geometric shape a bit more.

For a full-on hanging gem installation, combine the ‘grass’ gems with other plain gems. Make a smaller diamond gem by shrinking the template provided, and assemble multiple on a single string. Make larger ones by blowing the template up.

DIY Faux Grass Hanging Gems Party Decorations / Craftcourse for Oh So Beautiful Paper


DIY Faux Grass Hanging Gems Party Decorations / Craftcourse for Oh So Beautiful Paper

Photo Credits: Mandy Pellegrin for Oh So Beautiful Paper

Paper Party 2015!

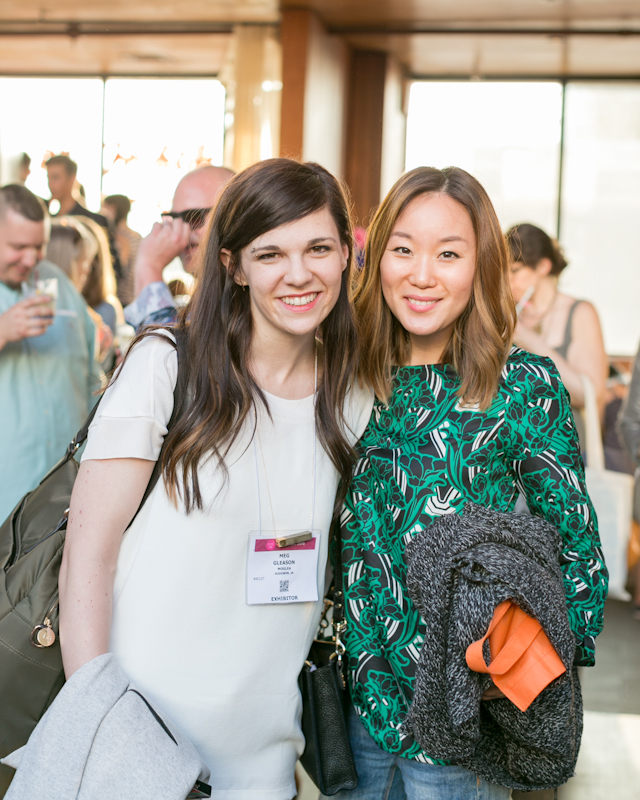
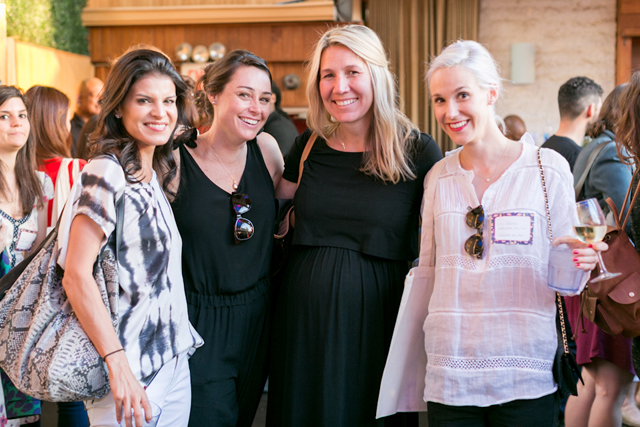
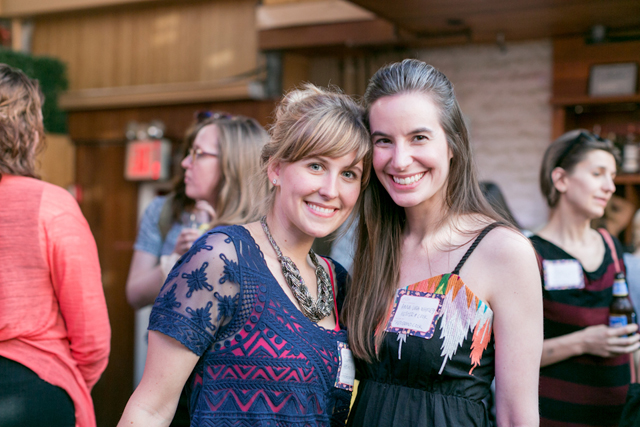
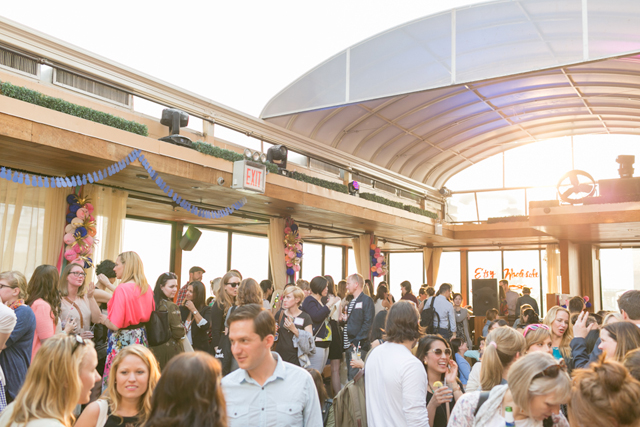
I’m so excited to FINALLY share the photos from this year’s Paper Party during the National Stationery Show! I can’t believe the party was almost two weeks ago already – the whole evening went by so fast! I shared the party invitations designed by Moglea and printed by Bella Figura a couple of weeks ago, and the invitations really helped guide the overall party design. This year’s party had a tropical vibe, with a color palette inspired by the party invitations – shades of pink, dark blue, and gold – and lots of tropical details from foliage to flamingos!
OSBP-Paper-Party-2015-Charlie-Juliet-Photography-73

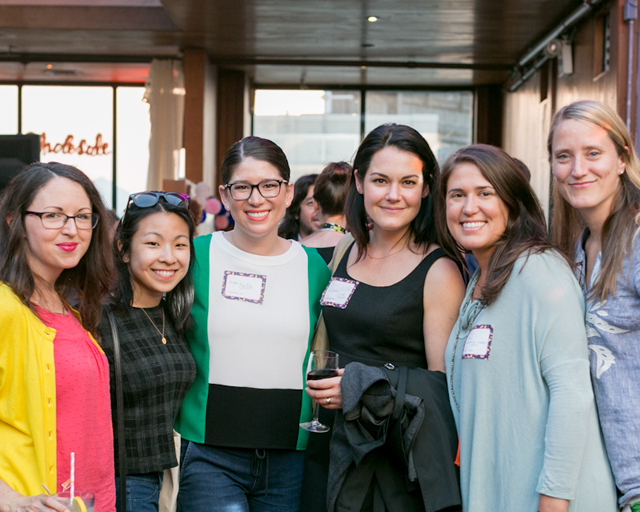
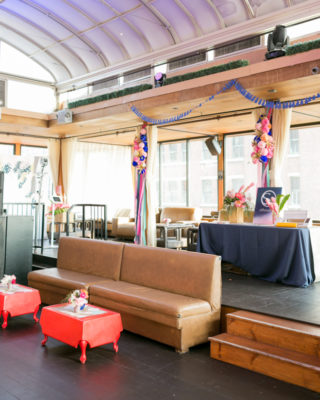
This year’s party was again held at Hudson Terrace – but this time in their rooftop terrace! My talented friend (and professional event planner) Janice from Bellwether Events helped me plan the party and kept the entire evening running smoothly and Mandy (one of our resident DIY mavens) helped with a lot of the party décor. We also partnered with an incredible team of sponsors and creative companies to bring the party to life, including The National Stationery Show, Minted, Etsy Wholesale, Silhouette America, Smock, Simply Framed, Rifle Paper Co., Hester & Cook Design Group, Legion Paper, Postable, Mailchimp, May Designs, Flower Muse, StationeryHQ, Foryourparty.com, and Swiss Cottage Designs.
OSBP-Paper-Party-2015-Charlie-Juliet-Photography-148OSBP-Paper-Party-2015-Charlie-Juliet-Photography-76

OSBP-Paper-Party-2015-Charlie-Juliet-Photography-109OSBP-Paper-Party-2015-Charlie-Juliet-Photography-80

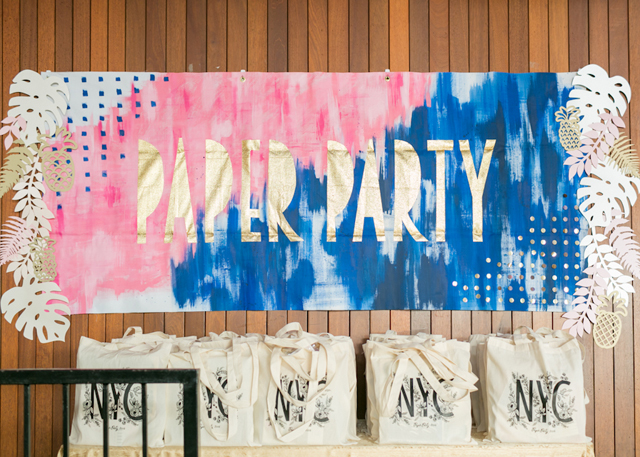
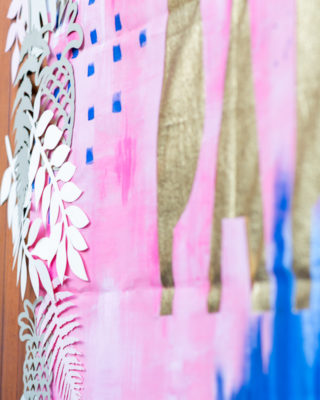
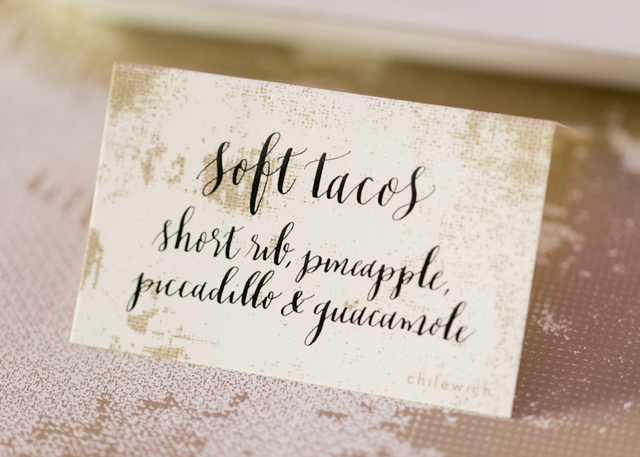
Mandy made the most amazing sign for the Paper Party this year! She hand painted some white canvas fabric in our party colors then cut out the letters and backed them with gold fabric! We accented with lasercut tropical paper foliage and pineapples from Alexis Mattox Design. Our tables featured gorgeous table runners and placemats from the new Chilewich + Hester & Cook collaboration (so pretty!) and table confetti from Minted! Michele from Meant to Be Calligraphy also lettered our menu selections on Chilewich + Hester & Cook place cards.
OSBP-Paper-Party-2015-Charlie-Juliet-Photography-102

OSBP-Paper-Party-2015-Charlie-Juliet-Photography-1

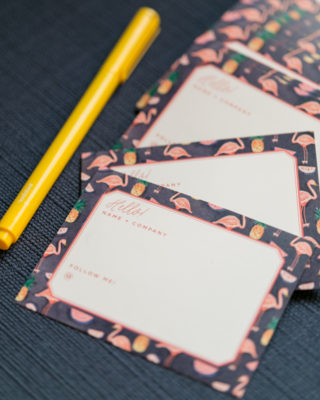
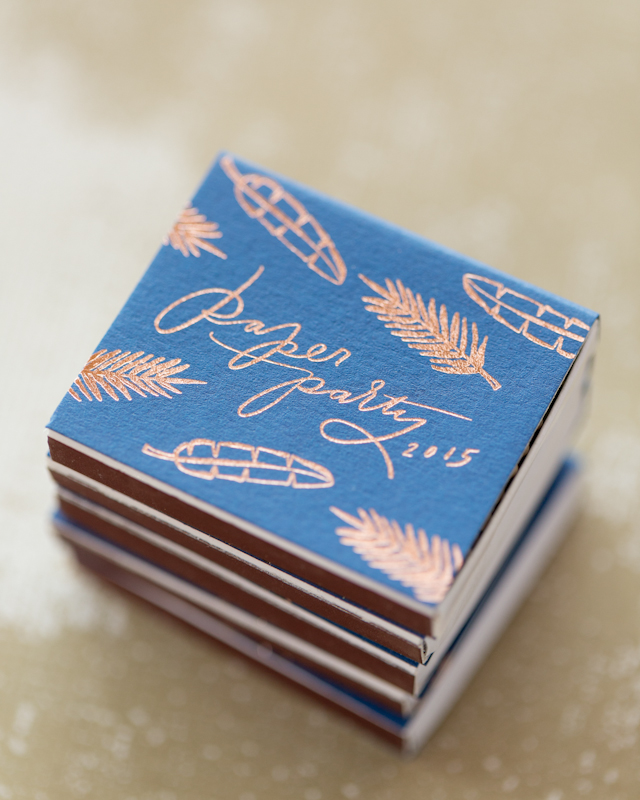
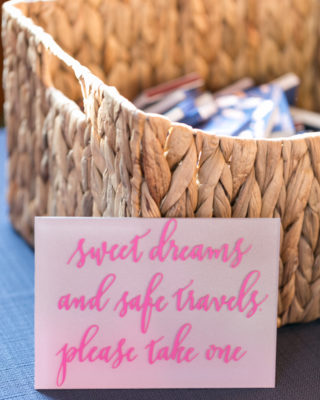
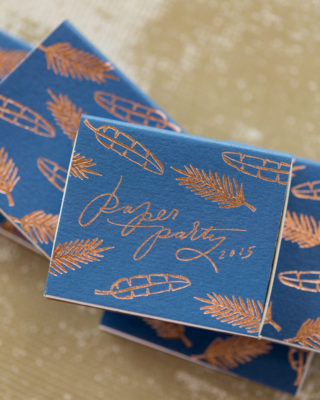
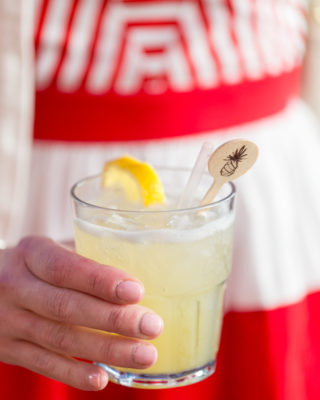
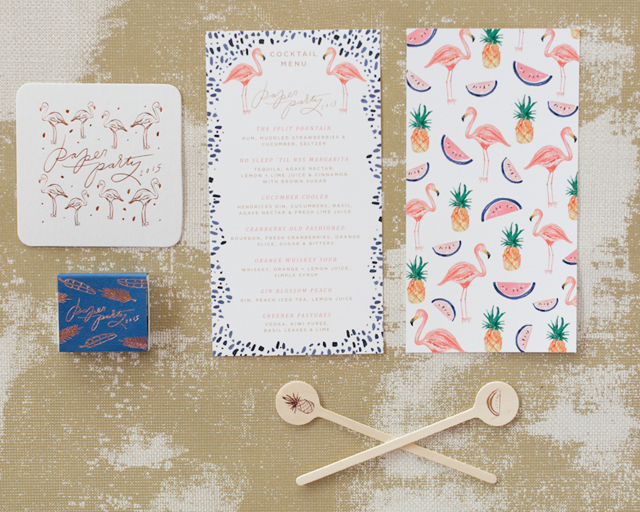
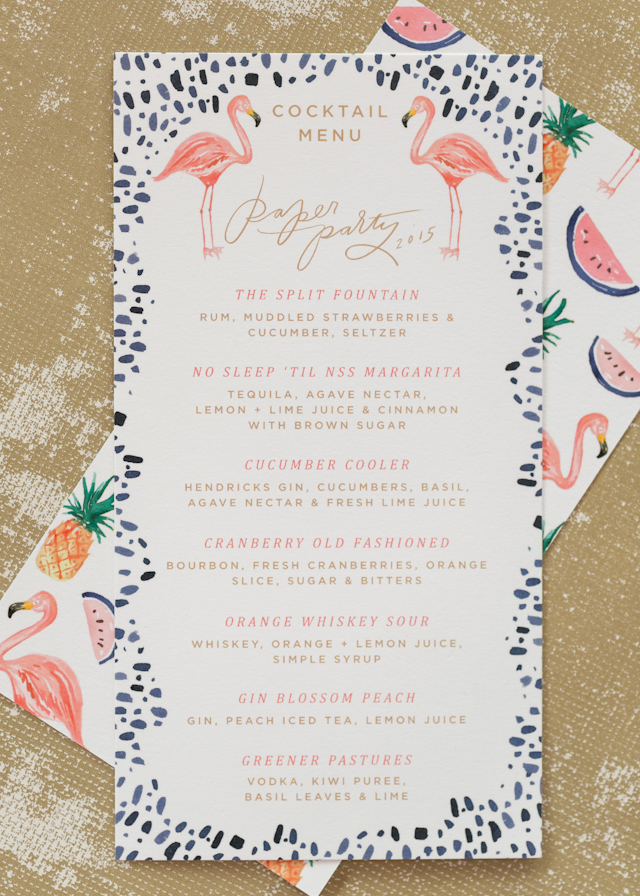
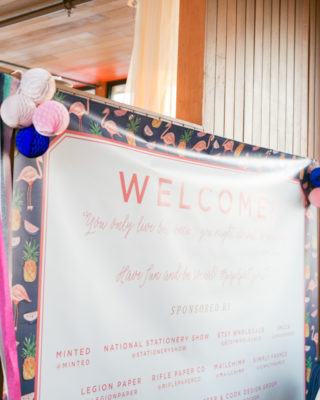
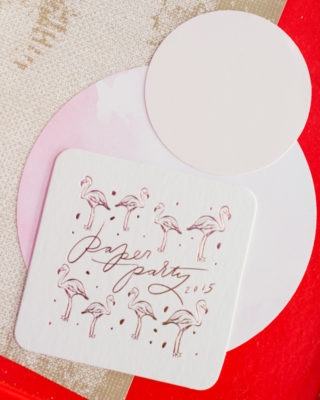
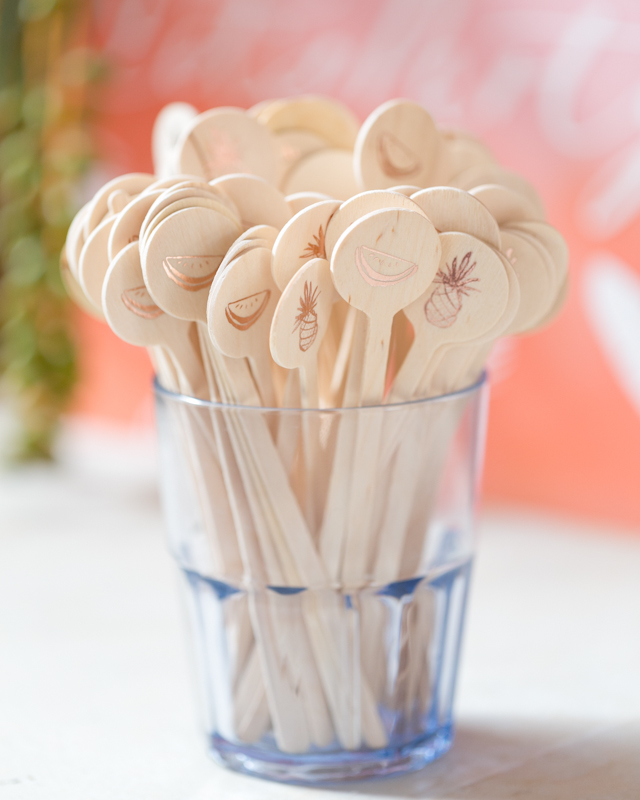
Courtney from Swiss Cottage Designs offered to help out with some of the day-of stationery pieces – didn’t she do the most amazing job?? Courtney designed a fun tropical-inspired cocktail menu, name tags, cocktail stir sticks, coasters, matchboxes, and a giant welcome sign! For Your Party printed the coasters, matchboxes, and stir sticks in rose gold foil.
OSBP-Paper-Party-2015-Charlie-Juliet-Photography-7

OSBP-Paper-Party-2015-Charlie-Juliet-Photography-154OSBP-Paper-Party-2015-Charlie-Juliet-Photography-43

OSBP-Paper-Party-2015-Charlie-Juliet-Photography-6

OSBP-Paper-Party-2015-Charlie-Juliet-Photography-45OSBP-Paper-Party-2015-Charlie-Juliet-Photography-5

OSBP-Paper-Party-2015-Charlie-Juliet-Photography-49

Coasters, stir sticks, and matchboxes from For Your Party!
OSBP-Paper-Party-2015-Charlie-Juliet-Photography-70OSBP-Paper-Party-2015-Charlie-Juliet-Photography-74

OSBP-Paper-Party-2015-Charlie-Juliet-Photography-12OSBP-Paper-Party-2015-Charlie-Juliet-Photography-14

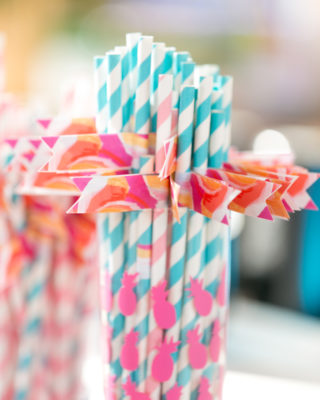
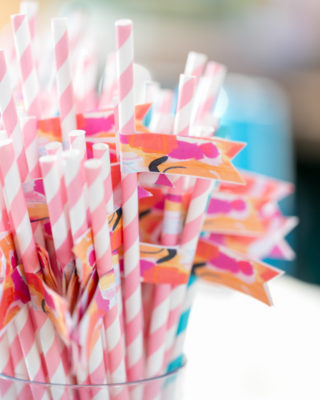
Stripey party straws and drink flags from Minted!
OSBP-Paper-Party-2015-Charlie-Juliet-Photography-42OSBP-Paper-Party-2015-Charlie-Juliet-Photography-166

OSBP-Paper-Party-2015-Charlie-Juliet-Photography-171

OSBP-Paper-Party-2015-Charlie-Juliet-Photography-51

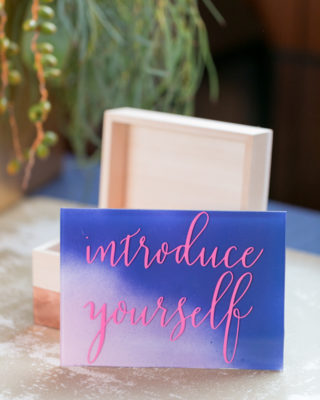
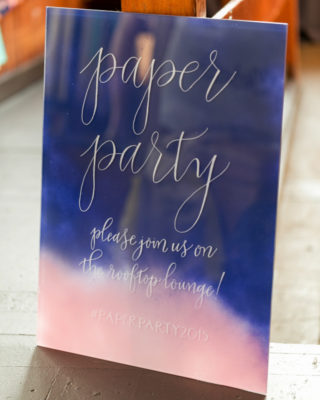
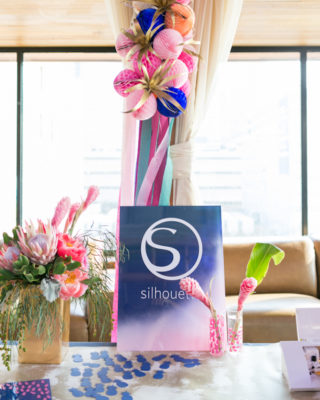
I had a blast making signs for the party! I used my favorite DIY technique for making spray painted acrylic signs – but instead of a paint pen I used my Silhouette CAMEO to cut out vinyl decals! Michele from Meant to Be Calligraphy and Jenna from Mon Voir kindly provided lettering, which I cut out in white and hot pink vinyl. The signs ranged in size from 5″ x 7″ to 18″ x 24″ and were seriously so easy to make!
OSBP-Paper-Party-2015-Charlie-Juliet-Photography-62

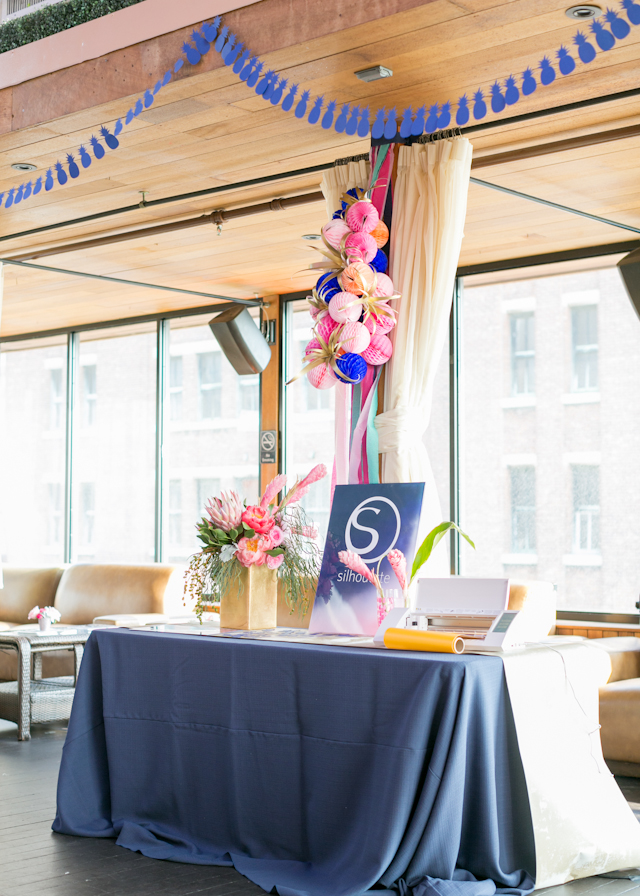
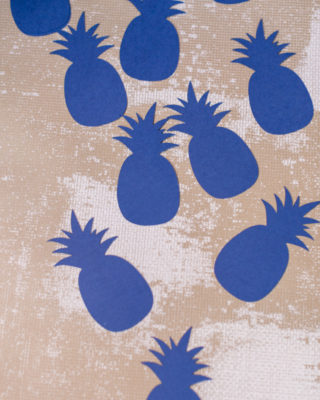
We also had a table with a demo of the Silhouettte CAMEO for party guests – we cut pineapples out of yellow and navy vinyl to wear as stickers around the party. They were such a hit! Mandy made a pineapple garland from navy card stock (so cute).
OSBP-Paper-Party-2015-Charlie-Juliet-Photography-64OSBP-Paper-Party-2015-Charlie-Juliet-Photography-179

OSBP-Paper-Party-2015-Charlie-Juliet-Photography-9

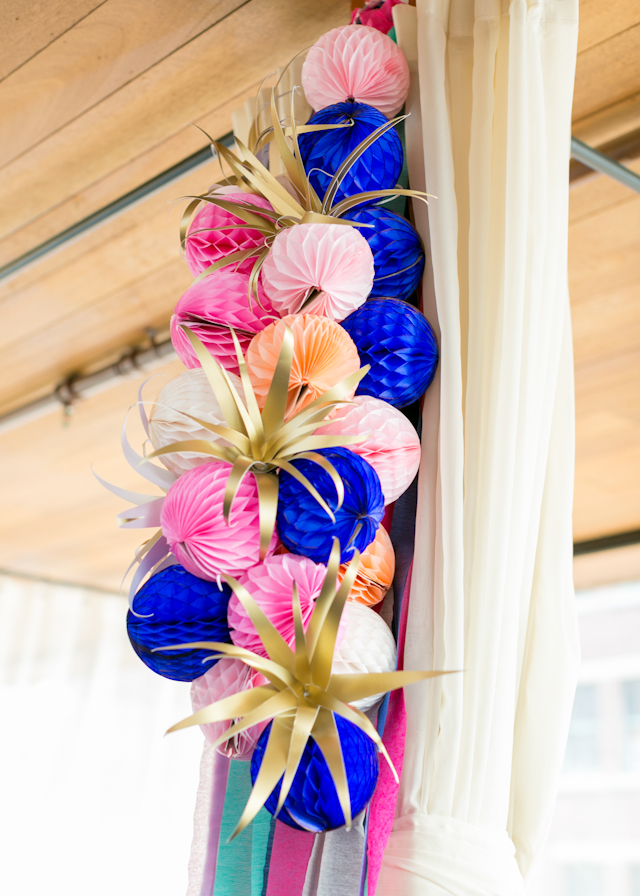
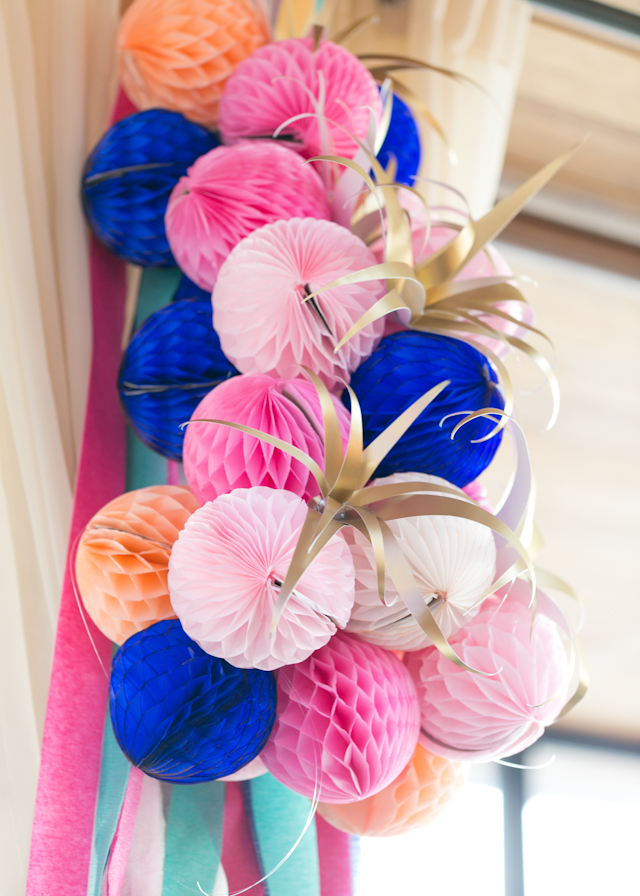
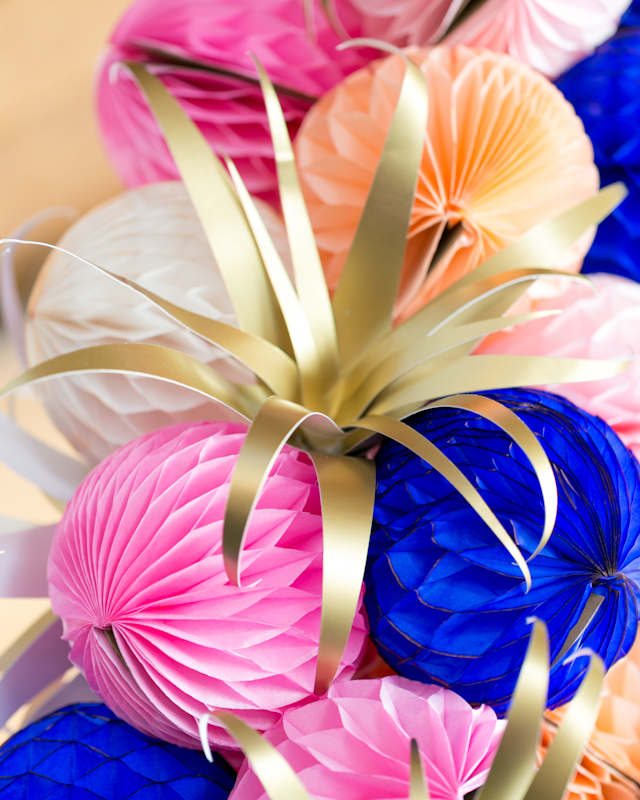
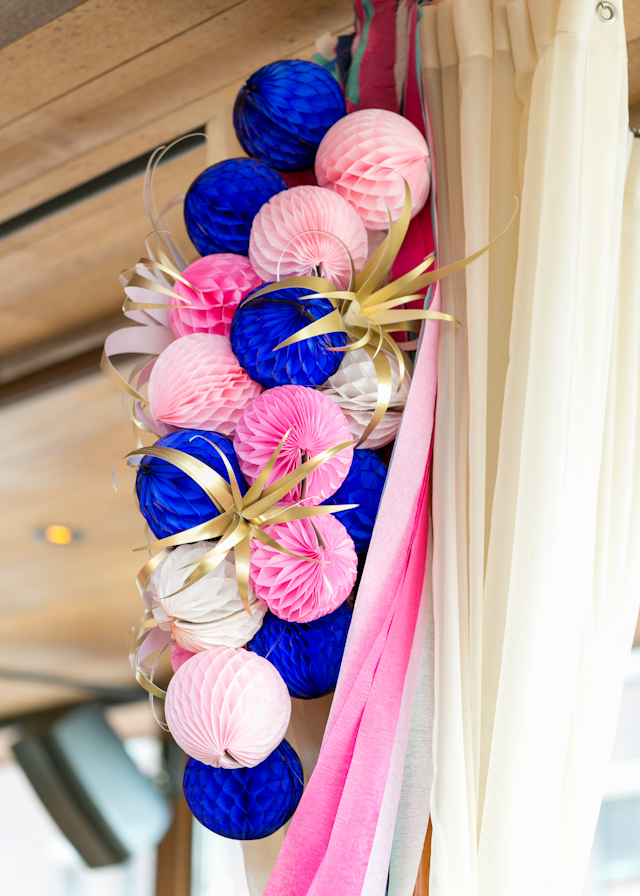
These cascading honeycombs probably made the biggest visual impact and were one of my favorite decorations at the party! We mixed 5″ honeycombs with crepe paper streamers and Mandy‘s DIY air plants. We had 4 or 5 of these cascades around the party. I love how they turned out!
OSBP-Paper-Party-2015-Charlie-Juliet-Photography-10

OSBP-Paper-Party-2015-Charlie-Juliet-Photography-83

OSBP-Paper-Party-2015-Charlie-Juliet-Photography-140

OSBP-Paper-Party-2015-Charlie-Juliet-Photography-90OSBP-Paper-Party-2015-Charlie-Juliet-Photography-40

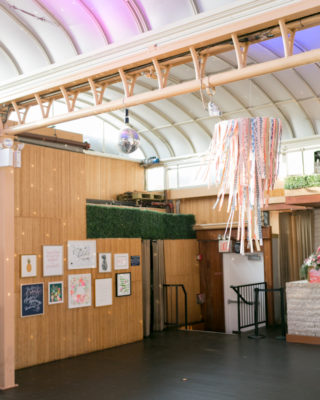
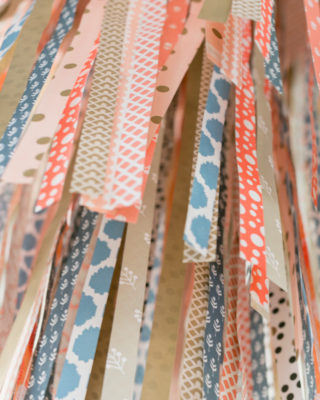
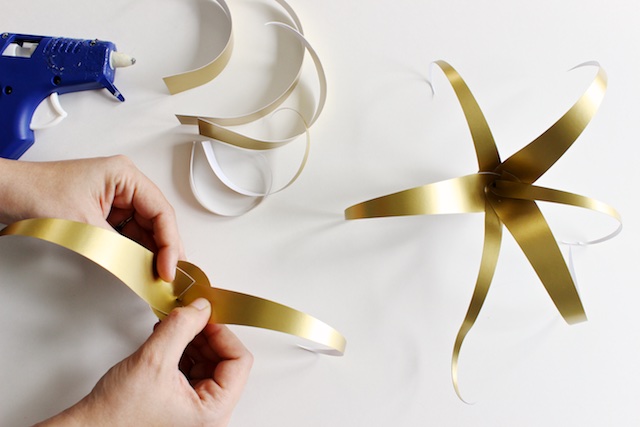
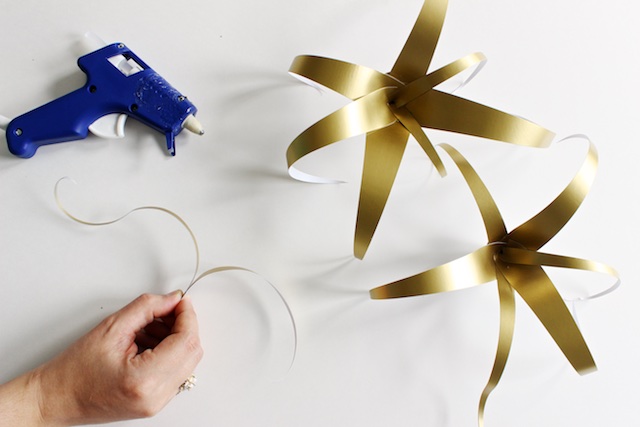
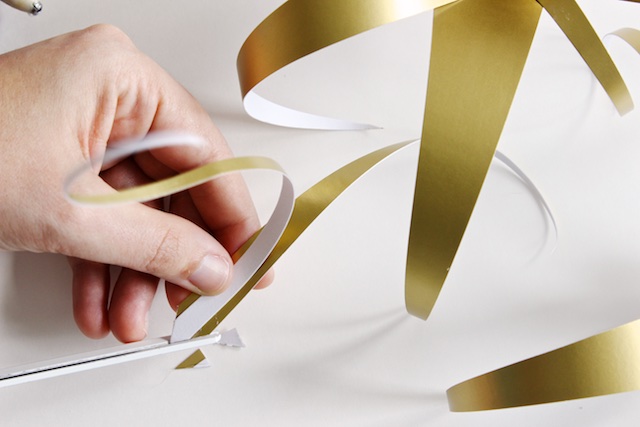
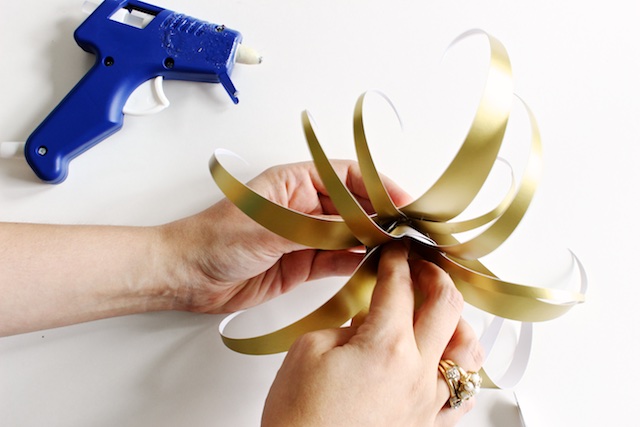
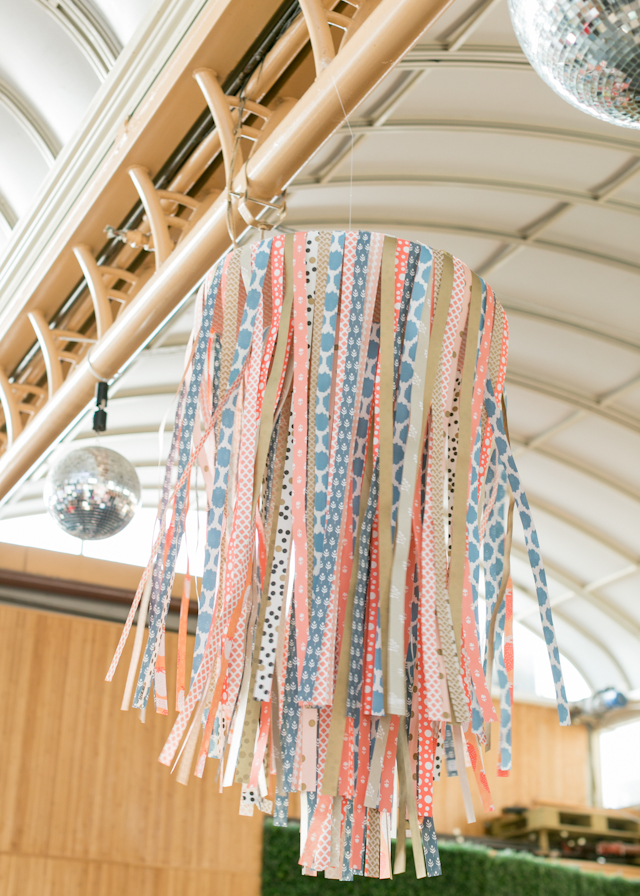
The team from Smock made a couple of these “chandeliers” using strips of their gift wrap! They looked so beautiful blowing in the breeze.
OSBP-Paper-Party-2015-Charlie-Juliet-Photography-41

OSBP-Paper-Party-2015-Charlie-Juliet-Photography-26

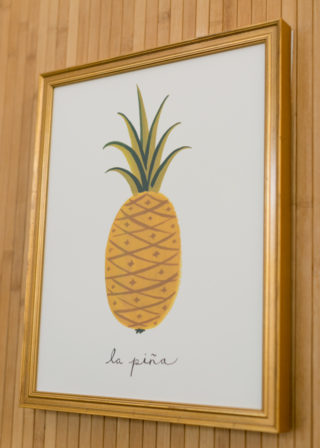
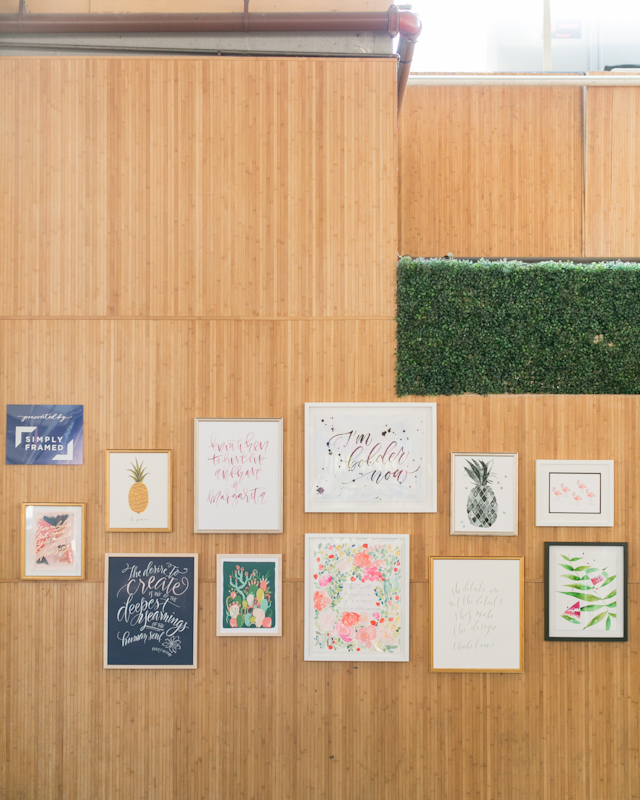
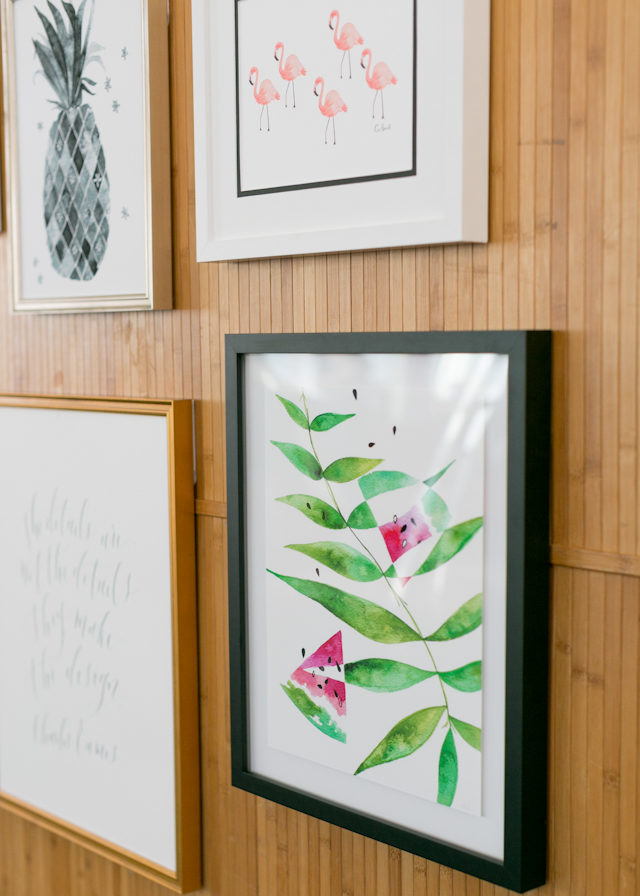
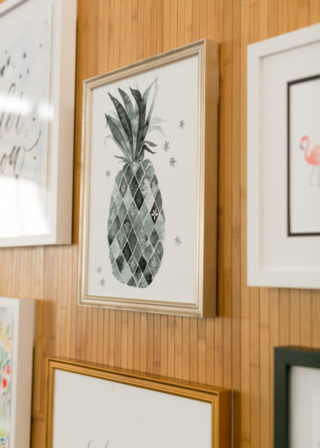
This gallery wall in collaboration with Simply Framed was hands down my favorite element of the party! We mixed original calligraphy artwork from some of my favorite calligraphers with tropical-inspired illustrations, and I looooooove how it all came together! The prints all look amazing together and Simply Framed did a wonderful job matching each print to its perfect frame. Stay tuned for a little something special involving these prints tomorrow!

Artwork sources top row from left: Moglea, Idlewild Co., A Fabulous Fete, Ashley Buzzy Calligraphy and Letterpress, Meera Lee Patel, Rifle Paper Co.

Bottom row from left: Fleur de Letters, Idlewild Co., Mon Voir, Blue Eye Brown Eye Calligraphy, Meera Lee Patel
OSBP-Paper-Party-2015-Charlie-Juliet-Photography-29

OSBP-Paper-Party-2015-Charlie-Juliet-Photography-28OSBP-Paper-Party-2015-Charlie-Juliet-Photography-32

OSBP-Paper-Party-2015-Charlie-Juliet-Photography-18

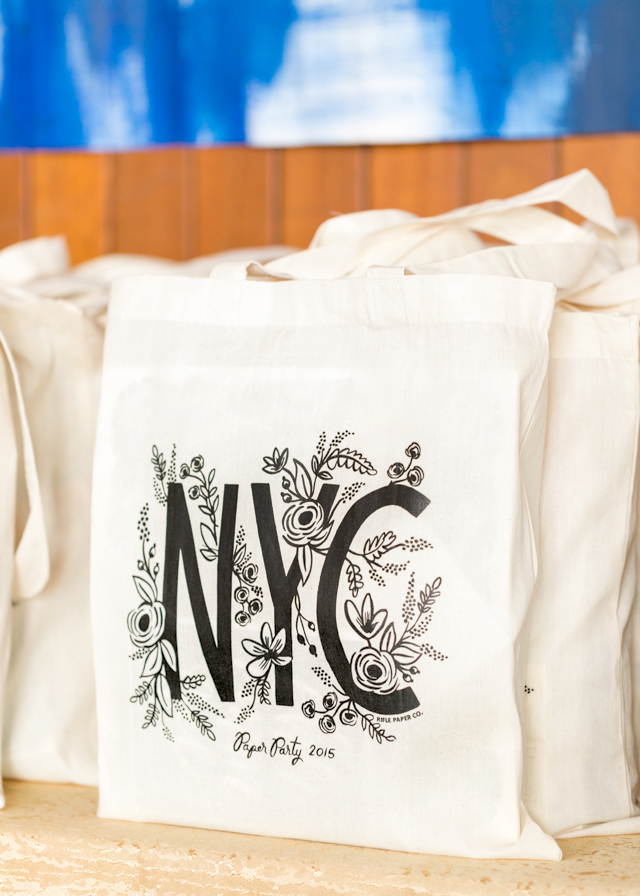
For this year’s party gift bags we partnered with the amazing Rifle Paper Co.! The bags feature a gorgeous custom Rifle design created just for the party – and don’t worry, I set some bags aside for a few lucky readers! Stay tuned for more details soon!
OSBP-Paper-Party-2015-Charlie-Juliet-Photography-91

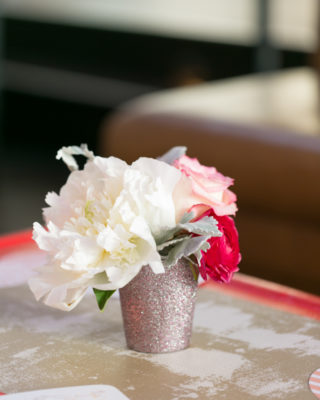
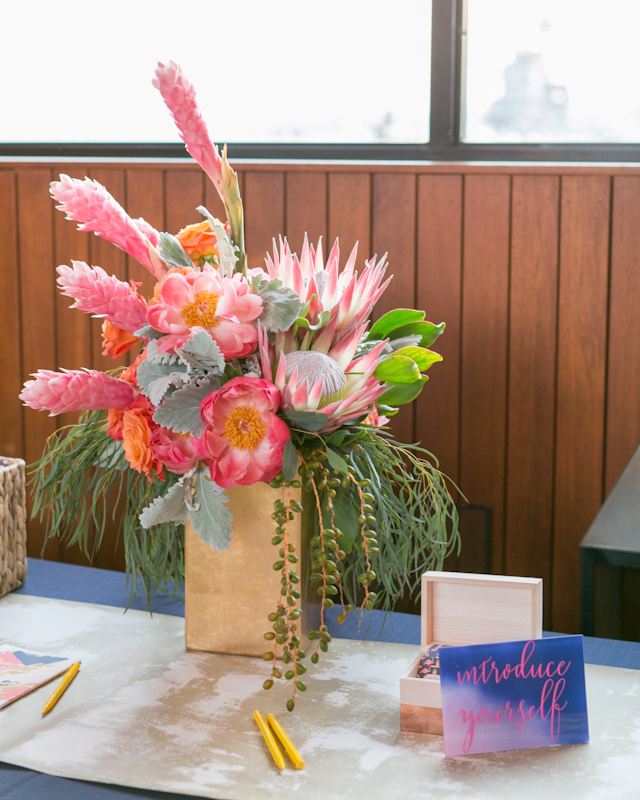
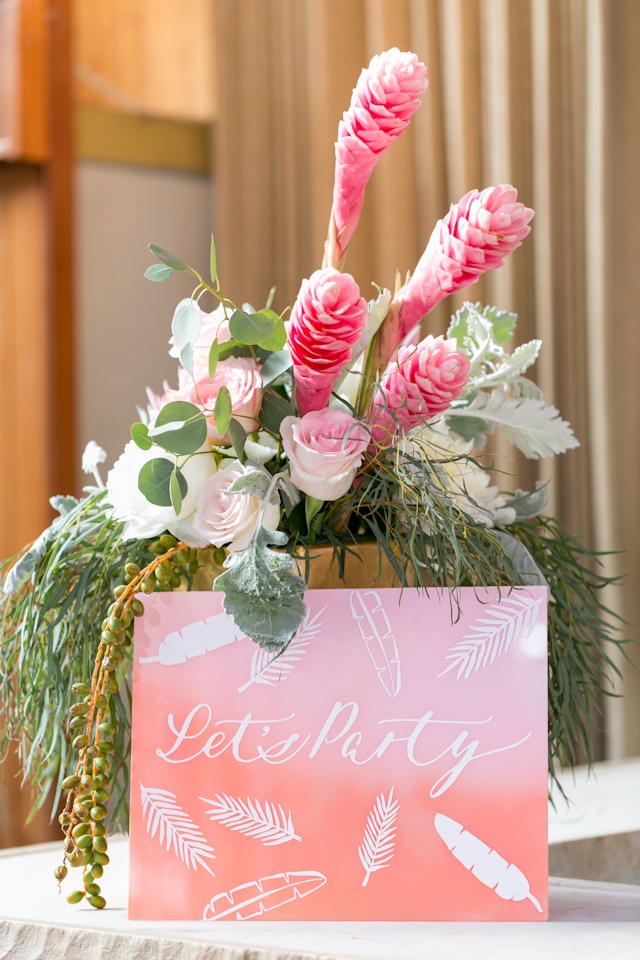
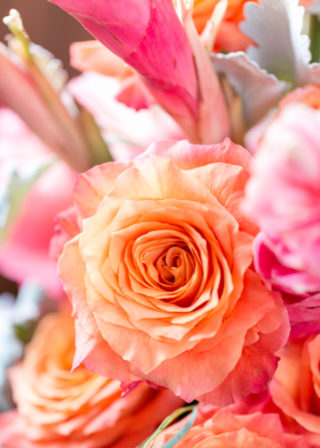
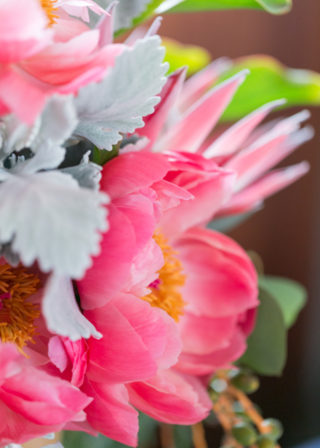
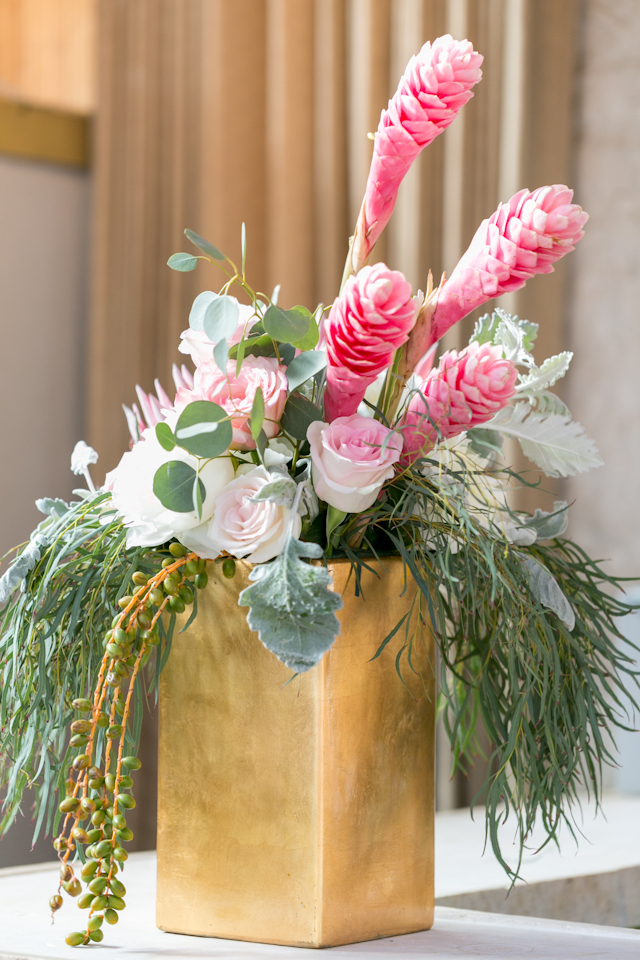
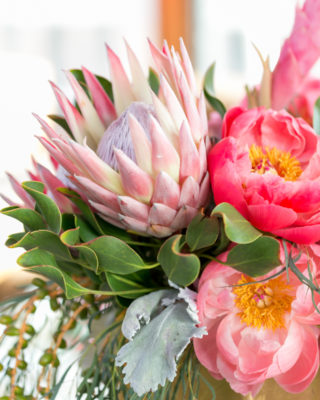
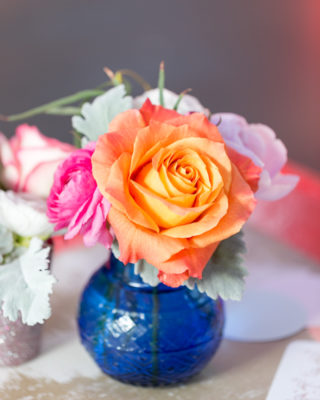
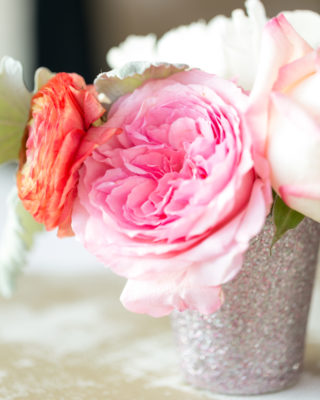
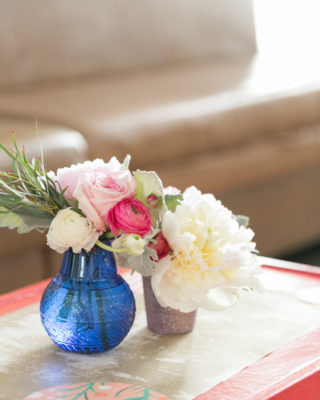
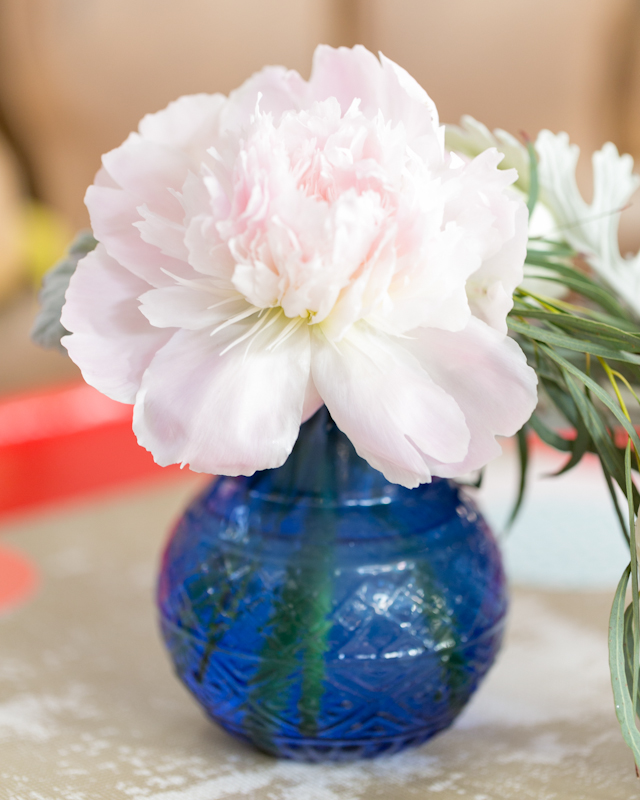
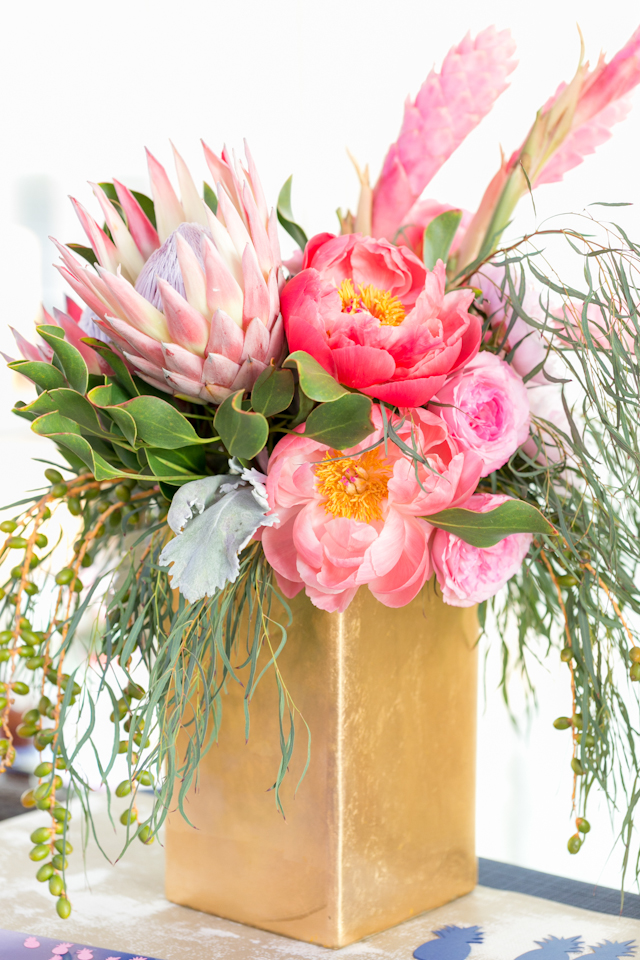
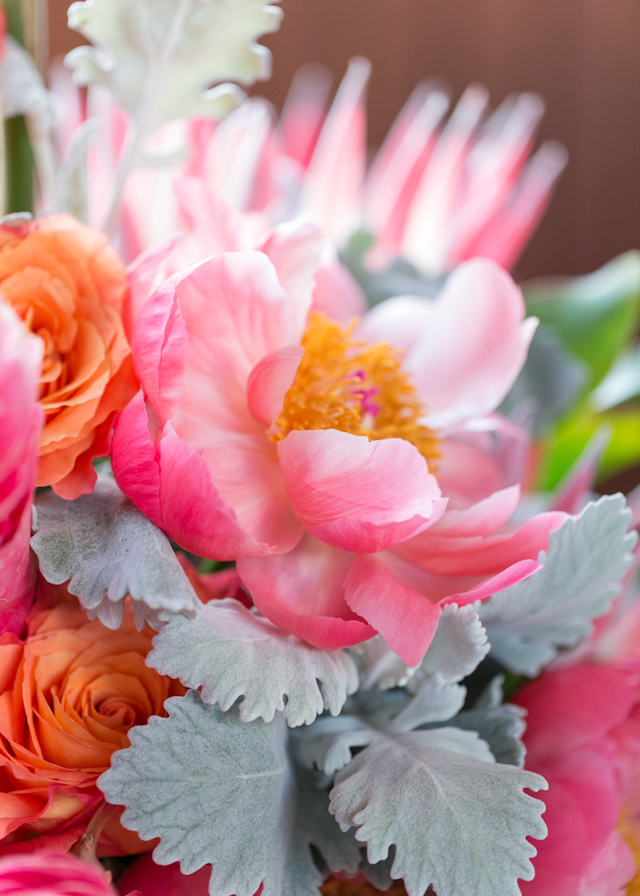
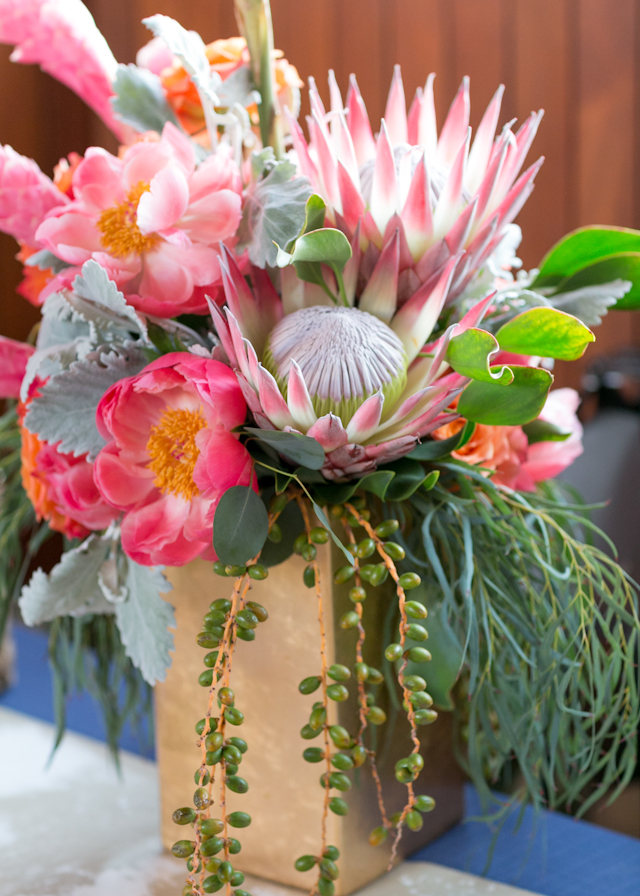
Can we talk about the AMAZING floral arrangements for a few minutes? Dawn from Soirée Floral absolutely killed it! We combined gorgeous peonies, garden roses, ranunculus, and greens from Flower Muse with a few tropical flowers like king protea and pink ginger flowers. We mixed a few large arrangements with smaller cocktail-size arrangements that guests could take home at the end of the evening. I’m still dreaming about these amazing blooms!
OSBP-Paper-Party-2015-Charlie-Juliet-Photography-163

OSBP-Paper-Party-2015-Charlie-Juliet-Photography-157

OSBP-Paper-Party-2015-Charlie-Juliet-Photography-165OSBP-Paper-Party-2015-Charlie-Juliet-Photography-164

OSBP-Paper-Party-2015-Charlie-Juliet-Photography-52

OSBP-Paper-Party-2015-Charlie-Juliet-Photography-60OSBP-Paper-Party-2015-Charlie-Juliet-Photography-94

OSBP-Paper-Party-2015-Charlie-Juliet-Photography-100OSBP-Paper-Party-2015-Charlie-Juliet-Photography-24

OSBP-Paper-Party-2015-Charlie-Juliet-Photography-19

OSBP-Paper-Party-2015-Charlie-Juliet-Photography-151

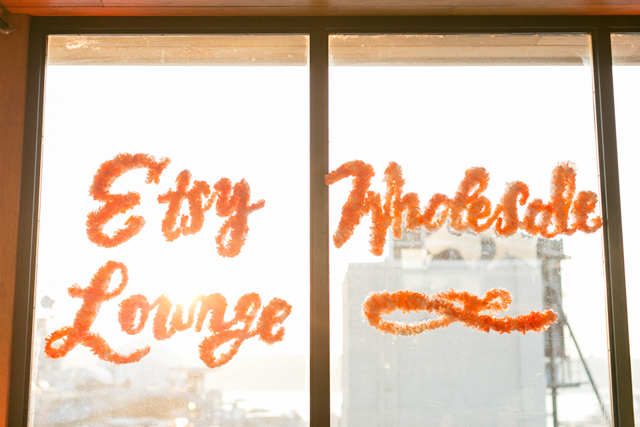
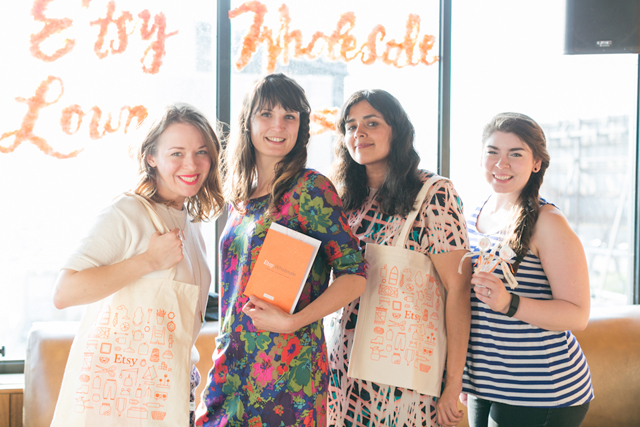
Yay for Etsy Wholesale! This was the second year that we’ve had an Etsy Wholesale lounge and I love that it’s becoming a little tradition at the party!
OSBP-Paper-Party-2015-Charlie-Juliet-Photography-103

OSBP-Paper-Party-2015-Charlie-Juliet-Photography-130

OSBP-Paper-Party-2015-Charlie-Juliet-Photography-127

OSBP-Paper-Party-2015-Charlie-Juliet-Photography-108

OSBP-Paper-Party-2015-Charlie-Juliet-Photography-111

OSBP-Paper-Party-2015-Charlie-Juliet-Photography-113

OSBP-Paper-Party-2015-Charlie-Juliet-Photography-145

OSBP-Paper-Party-2015-Charlie-Juliet-Photography-153

OSBP-Paper-Party-2015-Charlie-Juliet-Photography-175

OSBP-Paper-Party-2015-Charlie-Juliet-Photography-176

OSBP-Paper-Party-2015-Charlie-Juliet-Photography-186

OSBP-Paper-Party-2015-Charlie-Juliet-Photography-198

OSBP-Paper-Party-2015-Charlie-Juliet-Photography-57

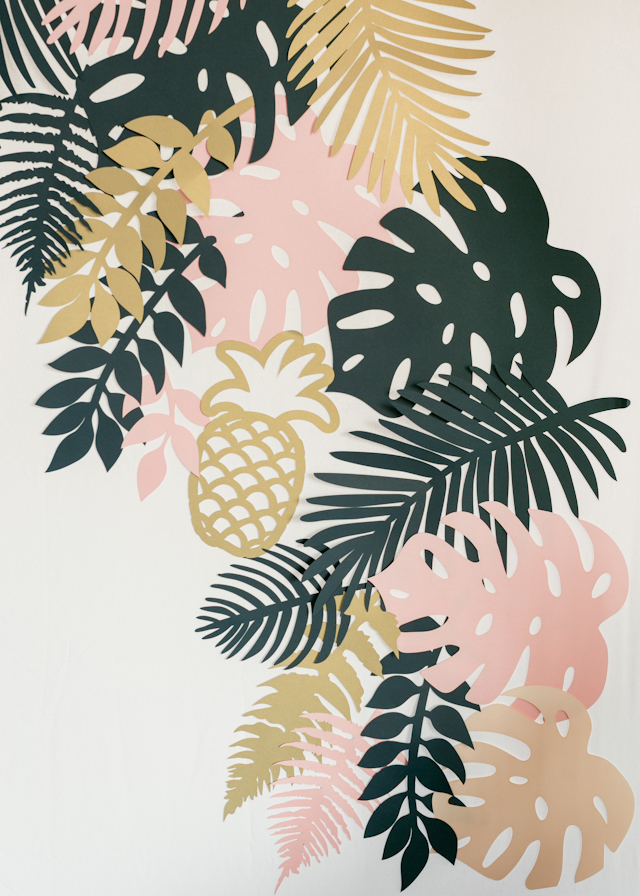
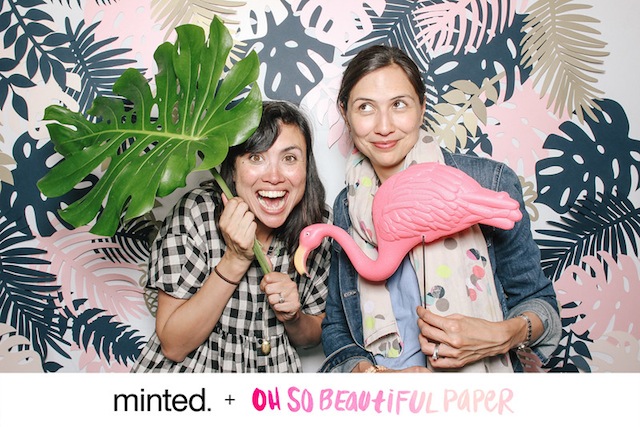
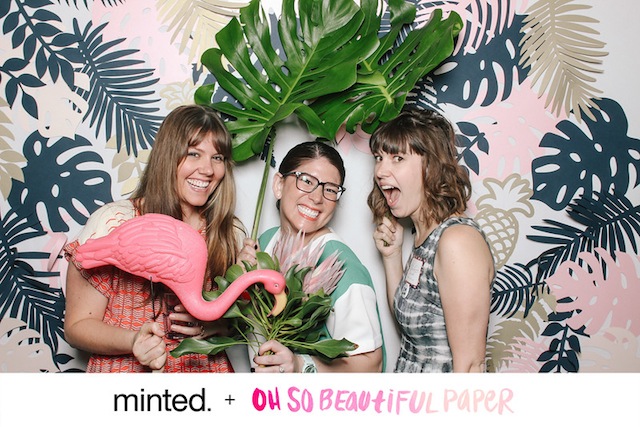
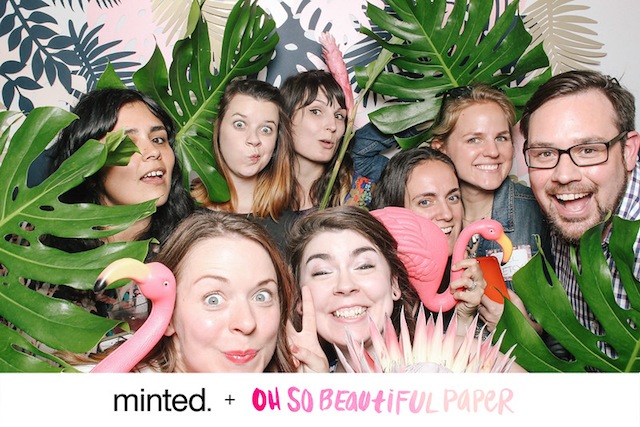
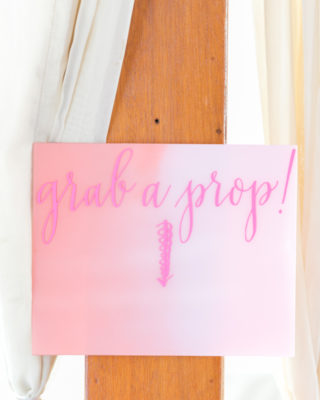
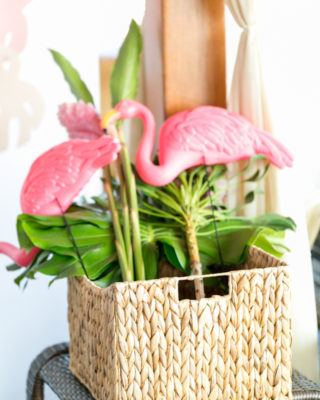
Our Smilebooth backdrop featured more lasercut tropical paper foliage from Alexis Mattox Design: palm fronds, philodendron leaves, and even a few pineapples! We also had some plastic flamingos for props, along with real philodendron leaves, protea, and ginger flowers. So. Much. Fun!
OSBP-Paper-Party-2015-Charlie-Juliet-Photography-55OSBP-Paper-Party-2015-Charlie-Juliet-Photography-56

Paper-Party-2015-Smilebooth-Hello!Lucky

Paper-Party-2015-Smilebooth-MaeMae-Antiquaria

Paper-Party-2015-Smilebooth-Etsy-Wholesale

Paper-Party-2015-Smilebooth-Printermen

Paper-Party-2015-Smilebooth-OSBP

You can find the full photo gallery from Paper Party 2015 right here – and the Smilebooth photos right here!

Finally, a HUGE thank you to the wonderful sponsors and people who made the evening possible:

  • Infinite thanks to Janice and Mandy for all of their invaluable help over the past few months and throughout the evening – and Carrie, Kristina (and husband!) and our small army of friends who helped stuff gift bags or with set up before the party. We couldn’t have done it without you!

And of course a big thanks to Charlie Juliet Photography for the gorgeous photos and Hudson Terrace for having us! See you all next year!

Party Sources

Event Coordination: Bellwether Events

Floral Arrangements: Soirée Floral

Flowers: Flower Muse

Gallery Wall: Simply Framed

Day-of Calligraphy: Meant to Be Calligraphy

Day-of Stationery: Swiss Cottage Designs

Coasters, Stir Sticks, and Matchboxes: For Your Party

Table Confetti, Stripey Straws + Drink Flags: Minted

Tropical paper foliage for Smilebooth backdrop: Alexis Mattox Design

Table Runner, Placemats, and Place Cards: Hester & Cook Design Group

Venue: Hudson Terrace

Photo Credits: Charlie Juliet Photography
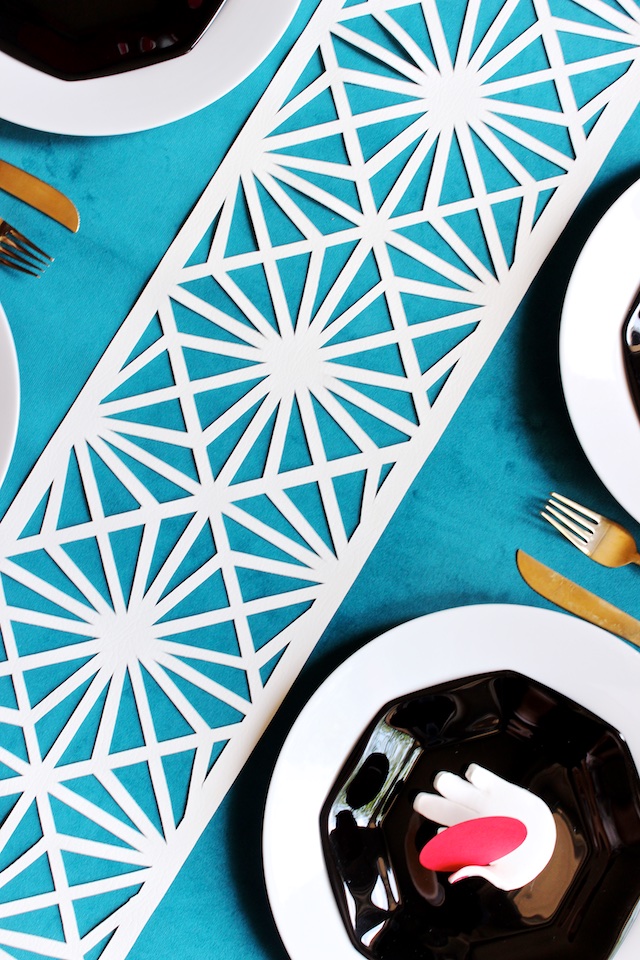
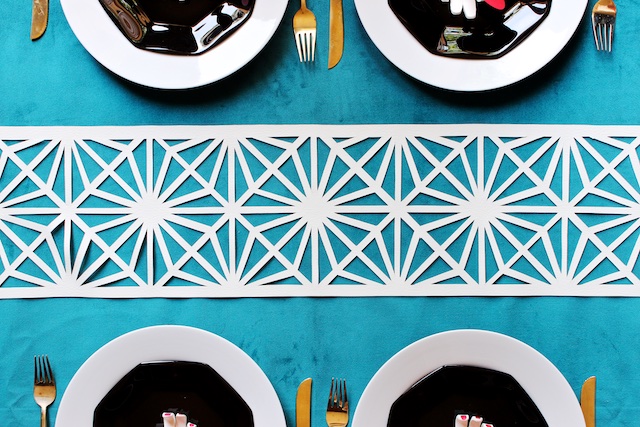
DIY Midcentury Modern Table Runner
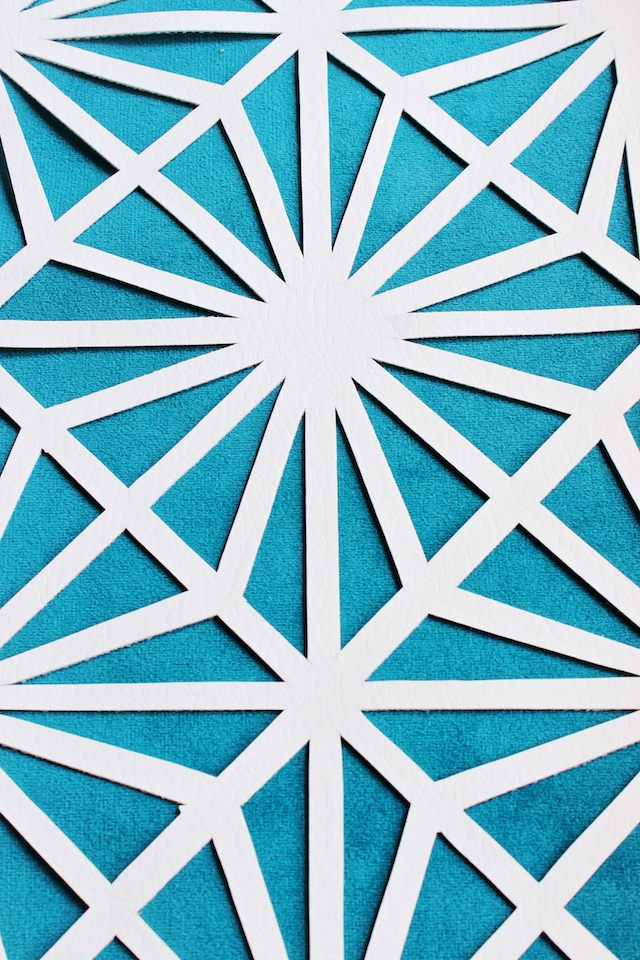
This project was inspired by photo I recently saw online of a partition in a restaurant decked out in midcentury modern decor. I couldn’t get it off my mind, and so I decided to translate it to a hand-cut runner to bring a little Palm Springs vibe to your tabletop. It’s the perfect project for vinyl or leather. While I usually begin by describing my tutorials as “easy,” I’m going to give it to you straight – this one isn’t the easiest or the fastest. While the skill level is by no means advanced, this one is a bit tedious and time consuming, but it’s oh so worth it!  – Mandy Pellegrin of Craftcourse
DIY Midcentury Modern Table Runner by Mandy Pellegrin for Oh So Beautiful Paper

DIY Midcentury Modern Table Runner by Mandy Pellegrin for Oh So Beautiful Paper

Materials
Vinyl cut to 8″ wide by desired length
Template
Pen/Marker
Metal Ruler
Craft Knife

DIY Midcentury Modern Table Runner by Mandy Pellegrin for Oh So Beautiful Paper

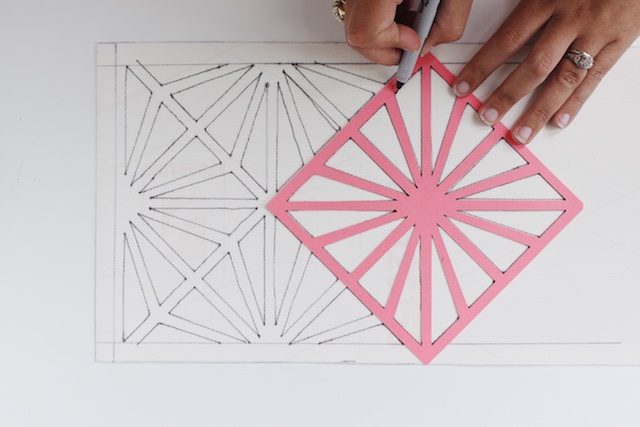
Step One: Begin by marking a 1/2″ border all the way around the back of the vinyl. This will act as the perimeter for all of your cuts.

DIY Midcentury Modern Table Runner by Mandy Pellegrin for Oh So Beautiful Paper

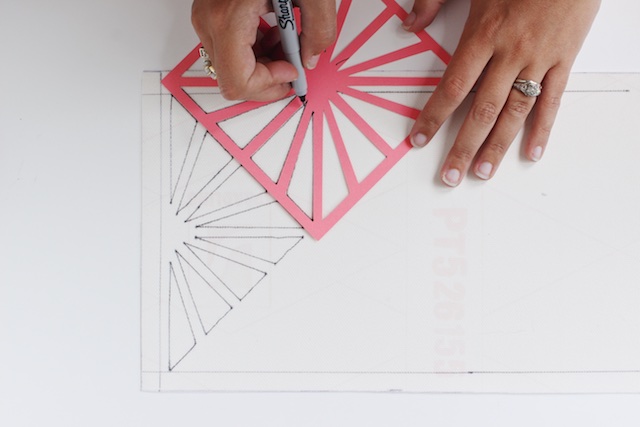
Step Two: First, ensure that your prepared template is as tall as the strip of vinyl is wide (i.e. 8″). Align the center line of the template with one of the shorter borders, and trace.

DIY Midcentury Modern Table Runner by Mandy Pellegrin for Oh So Beautiful Paper

DIY Midcentury Modern Table Runner by Mandy Pellegrin for Oh So Beautiful Paper

DIY Midcentury Modern Table Runner by Mandy Pellegrin for Oh So Beautiful Paper

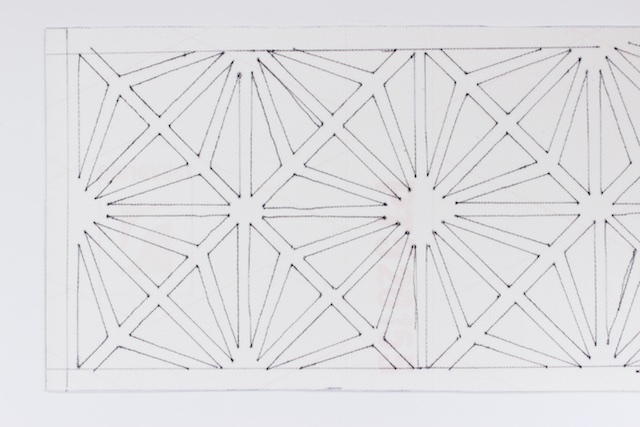
Step Three: Tile the templates and trace until you’ve filled up the entire runner, making sure that all the lines align appropriately.

DIY Midcentury Modern Table Runner by Mandy Pellegrin for Oh So Beautiful Paper

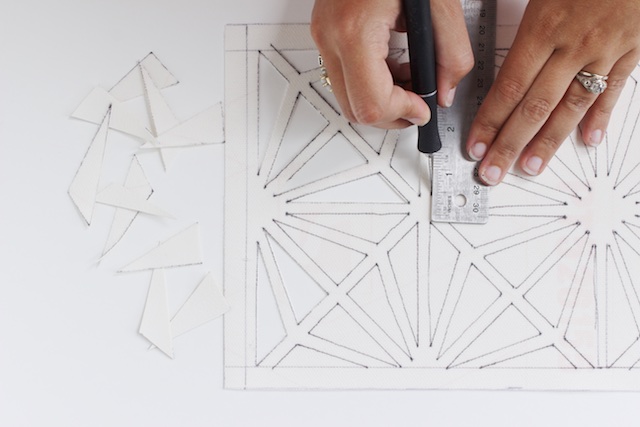
Step Four: Use the metal ruler and craft knife to carefully cut out the pattern. In total, it took me about 45 minutes to cut out an entire 3′ runner.

DIY Midcentury Modern Table Runner by Mandy Pellegrin for Oh So Beautiful Paper


DIY Midcentury Modern Table Runner by Mandy Pellegrin for Oh So Beautiful Paper

DIY Midcentury Modern Table Runner by Mandy Pellegrin for Oh So Beautiful Paper

Photo Credits: Mandy Pellegrin for Oh So Beautiful Paper

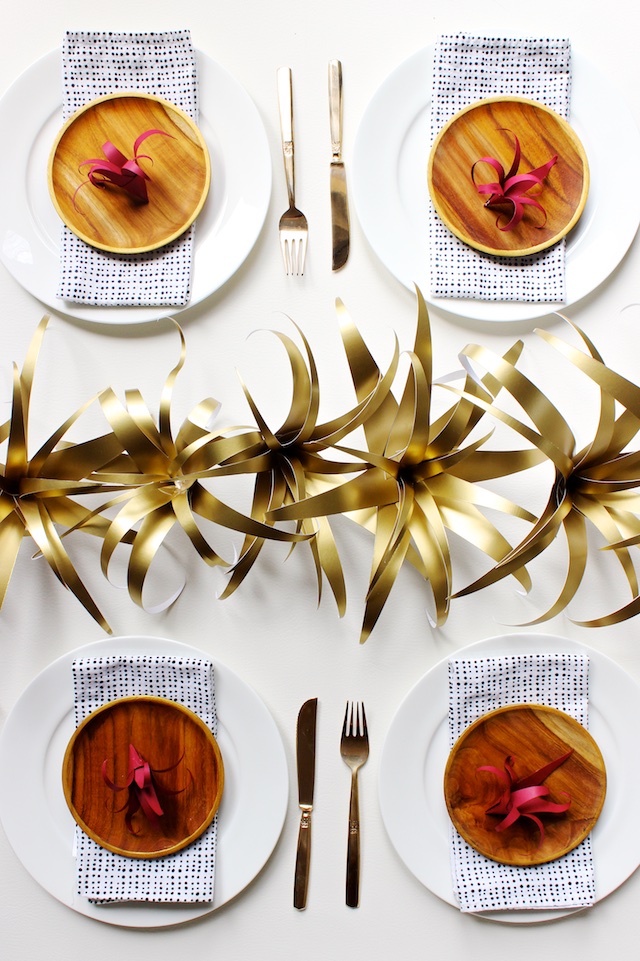
DIY Gold Paper Air Plants

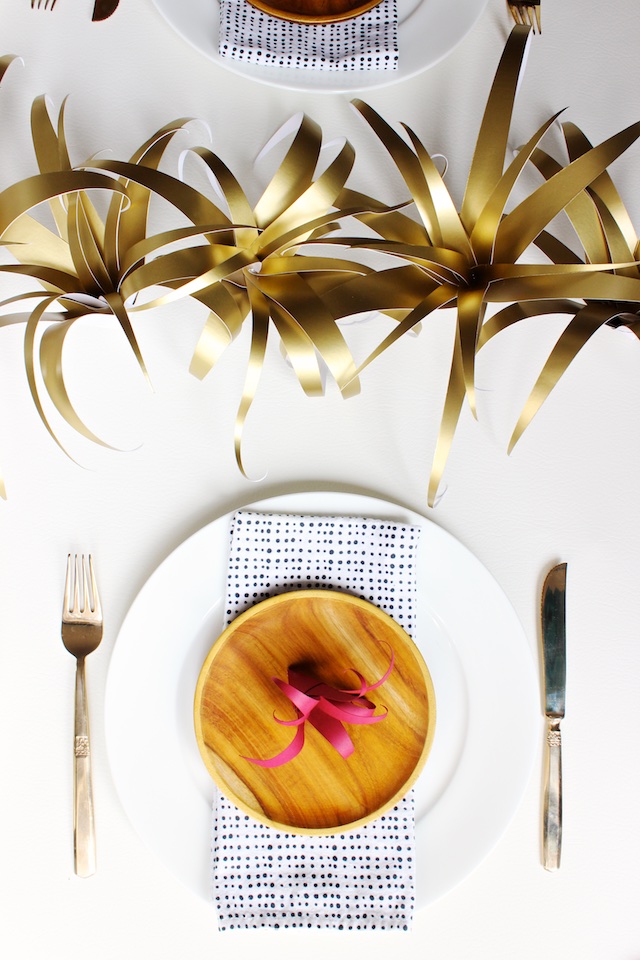
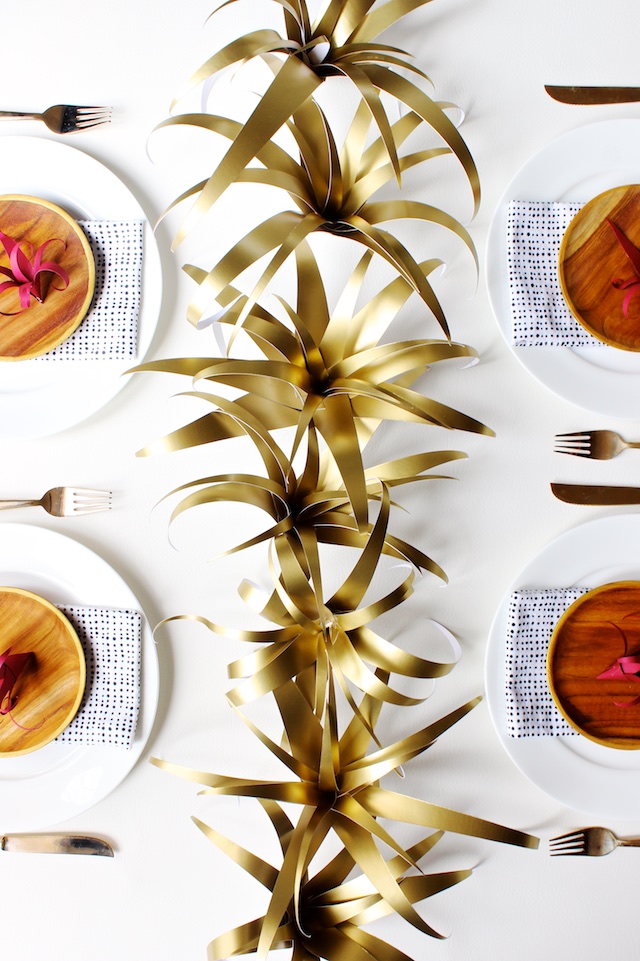
I’ve been on a bit of a paper creation binge lately – trying to dream up what kinds of things I can bring to life in paper form. My latest creation: paper air plants. Sure, air plants are already the lowest maintenance of all flora, but I couldn’t resist super-sizing their interesting contours and – oh yes – making them GOLD! Today, I’m sharing how to make a medium sized paper air plant about 8″ in diameter. Make lots and lots to create a table runner, or downsize them a bit for a creative plate adornment. I can only imagine all the uses you could come up with for these beauties! – Mandy Pellegrin of Craftcourse

DIY Gold Paper Air Plants

DIY Gold Paper Air Plants by Mandy Pellegrin for Oh So Beautiful Paper

DIY Gold Paper Air Plants

DIY Gold Paper Air Plants by Mandy Pellegrin for Oh So Beautiful Paper

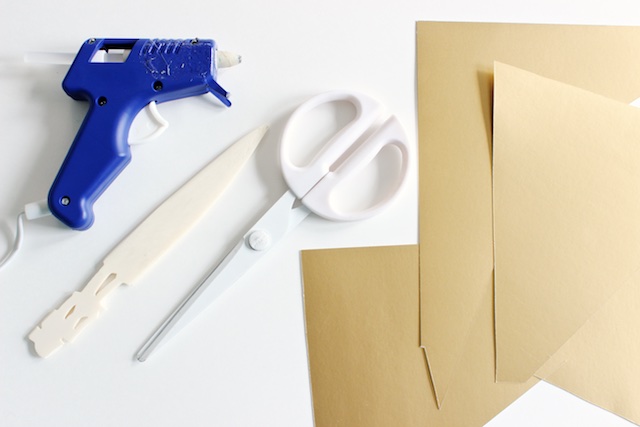
Materials

  • Gold Card Stock
  • Scissors
  • Bone Folder
  • Hot Glue Gun

DIY Gold Paper Air Plants by Mandy Pellegrin for Oh So Beautiful Paper

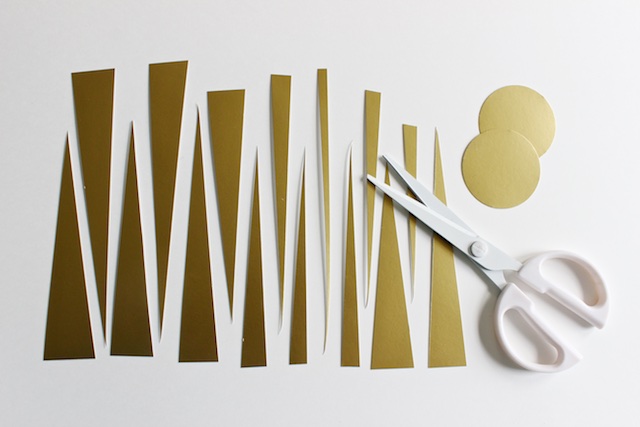
Step One: Cut out about 15 triangles in various widths ranging from 1/4″ – 1″ and heights ranging from 4 – 6″ to create the air plant’s leaves. Also cut (or punch) out two circles about 2″ in diameter.

DIY Gold Paper Air Plants by Mandy Pellegrin for Oh So Beautiful Paper

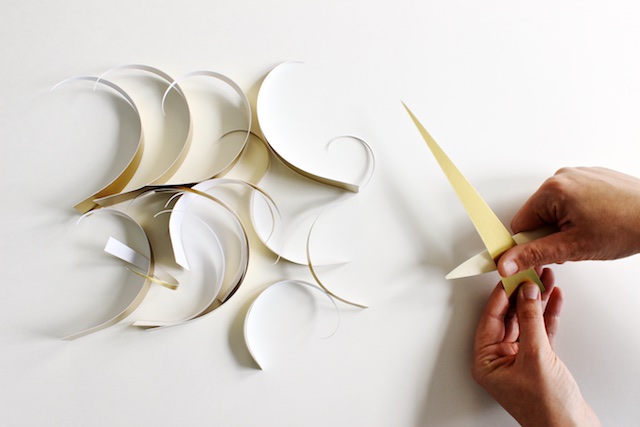
Step Two: Use a bone folder to gently curl each of the leaves as you would curl ribbon. Vary the curliness. Create an S-curl on a few  by curling the entire leaf in one direction from the back and then curling just the end of the leaf in the other direction from the front.

DIY Gold Paper Air Plants by Mandy Pellegrin for Oh So Beautiful Paper

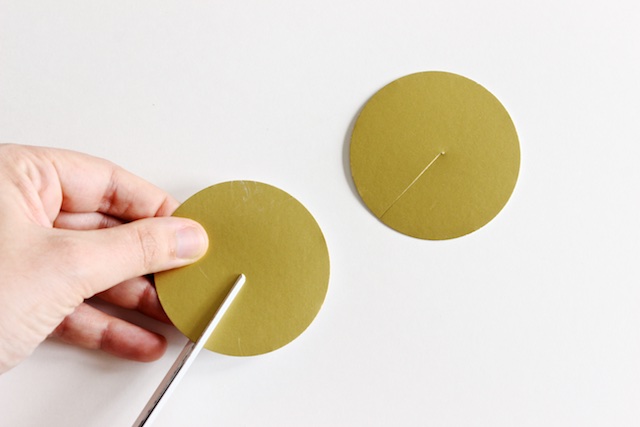
Step Three: Cut a slit half way across the diameter of each of the circles.

DIY Gold Paper Air Plants by Mandy Pellegrin for Oh So Beautiful Paper

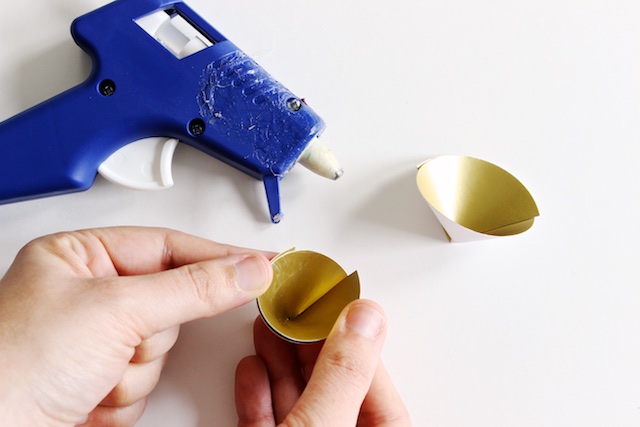
Step Four: Overlap the cut edges of each circle to create two cones, and glue into place. Make one of the cones a bit more angled than the other.

DIY Gold Paper Air Plants by Mandy Pellegrin for Oh So Beautiful Paper

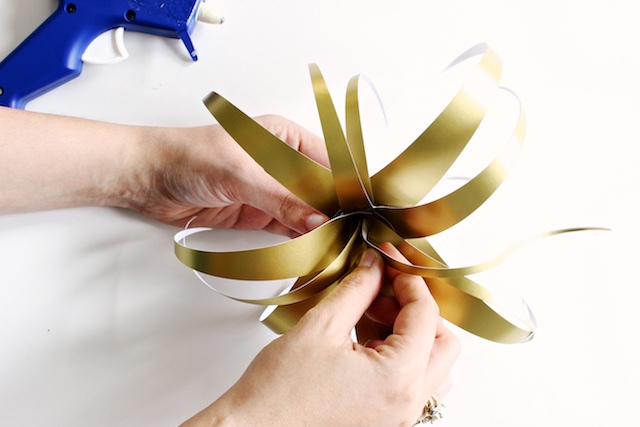
Step Five: Glue 6 or 7 leaves into each of the cones by placing glue onto the back side of the bottom edge and sliding into the cone.

DIY Gold Paper Air Plants by Mandy Pellegrin for Oh So Beautiful Paper

Step Six: Reserve two of the skinnier leaves for the center, and glue them together at the bottom.

DIY Gold Paper Air Plants by Mandy Pellegrin for Oh So Beautiful Paper

Step Seven: Cut the bottom of the center two leaves into a point.

DIY Gold Paper Air Plants by Mandy Pellegrin for Oh So Beautiful Paper

Step Eight: Dispense a large dollop of hot glue in the bottom of the less steep cone, and then affix the steeper of the two cones inside. Hold it in place a moment while the glue sets.

DIY Gold Paper Air Plants by Mandy Pellegrin for Oh So Beautiful Paper

Step Nine: Dispense another small bead of glue into the steeper cone, and affix the pointed end of the center two leaves, holding in place while the glue sets.

Enjoy!

DIY Gold Paper Air Plants

DIY Gold Paper Air Plants

DIY Gold Paper Air Plants by Mandy Pellegrin for Oh So Beautiful Paper

DIY Gold Paper Air Plants by Mandy Pellegrin for Oh So Beautiful Paper

Photo Credits: Mandy Pellegrin for Oh So Beautiful Paper