Elegant Pink Peony 50th Birthday Party Invitations

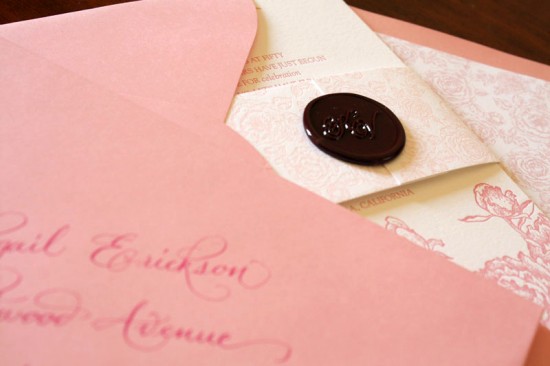
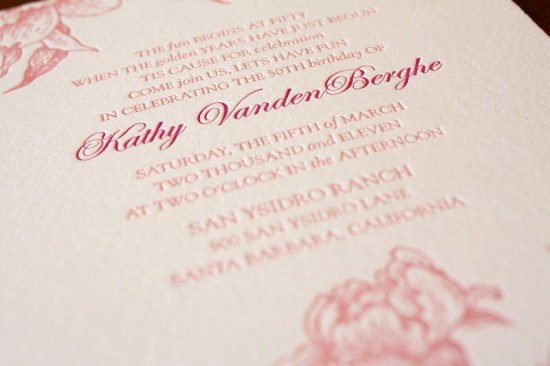
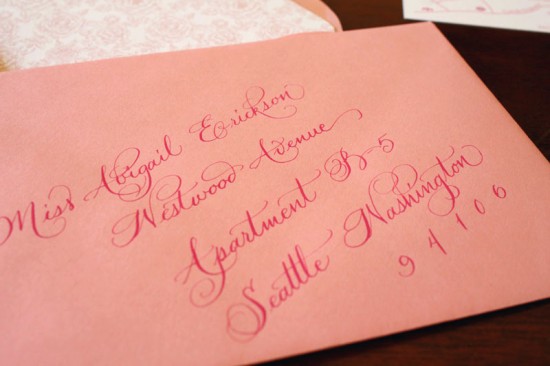
I absolutely love peonies; I get positively giddy when the gorgeous blooms start to make their appearance each spring.  Heidi from Zenadia Design created these invitations for a 50th birthday party, and the client also loves peonies and wanted to incorporate them into the invitation for her party!  Heidi combined pink peonies with beautiful calligraphy from The Left Handed Calligrapher and wax seals to create the perfect invitation for an elegant birthday party.

Zenadia-Pink-Peony-Letterpress-Invitations

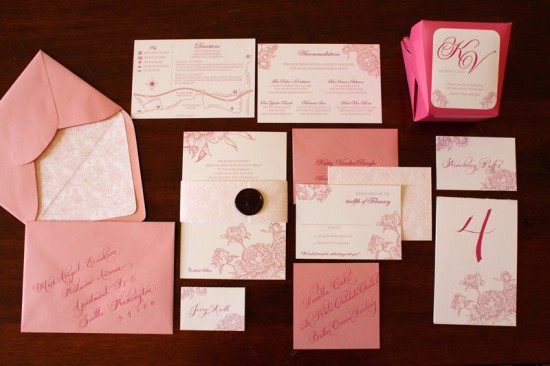
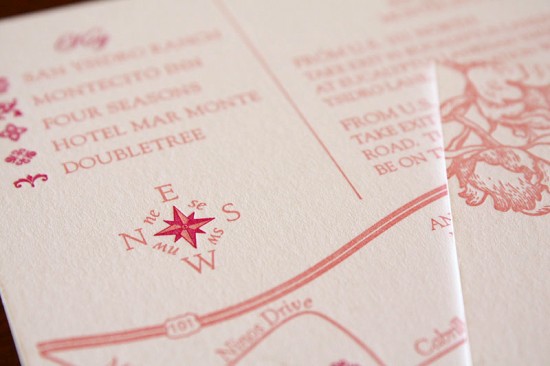
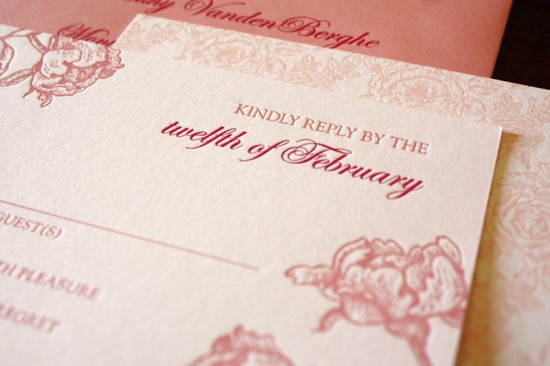
From Heidi: This invitation was designed for a 50th birthday party.  Kathy, the birthday girl, loves peonies and pink and wanted to incorporate them into her celebration.  She also loved the look of letterpress and wax seals.  We designed an invitation for her with two color letterpress, a custom wax seal, and beautiful calligraphy from The Left Handed Calligrapher.  Also in the suite were table numbers, favor boxes, escort cards, menus, and cupcake and candy bar signs.

Zenadia-Pink-Peony-Letterpress-Invitations

Zenadia-Pink-Peony-Letterpress-Invitations

Zenadia-Pink-Peony-Letterpress-Invitations

Zenadia-Pink-Peony-Letterpress-Invitations

Zenadia-Pink-Peony-Letterpress-Invitations

So pretty!  Thanks Heidi!

Photo Credits: Zenadia Design


{happy weekend!}

As I mentioned earlier, we’re in the middle of an incredible heatwave here in DC (and apparently half of the country).  When my husband calls home each night from overseas, we definitely spend a good amount of time complaining about the heat in our respective locations – which makes most of our conversations pretty boring, actually.  He comes home soon; we’re in the final stretch and just counting down the last few days.  It feels so good to know that this will all be behind us very soon.  Next week is shaping up to be a flurry of activity as I try to wrap up a few loose ends, thankfully most of it indoors.  But in the meantime…

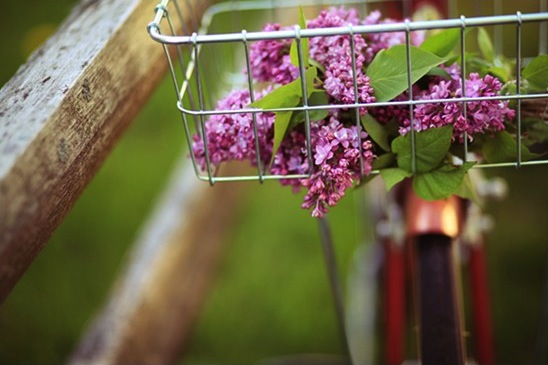
Alicia-Block-Lilacs

…a few links for your weekend!

This week on Oh So Beautiful Paper:

That’s it for me this week!  I hope you all have a wonderful weekend, and I’ll see you back here on Monday! xoxo

Photo Credits: Alicia Block

DIY Embossed Custom Stationery

It’s the ladies of Anti­quaria, back with another fab­u­lous and cre­ative DIY project for you all!  This week they show us how to use rubber stamps to create beautiful custom stationery!

How on Earth can you achieve the high end look of engraving on a shoestring budget??  Answer: Embossing!

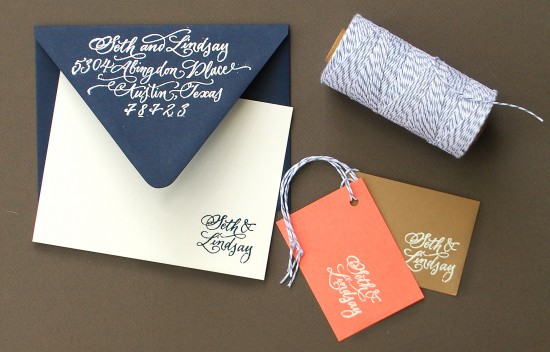
When we first launched our rubber stamp collection, we tried everything we could think of to achieve a legible white ink on dark (or kraft) paper and we quickly found out that regular inks don’t do a very good job.  We were thrilled when one of our clever customers used this technique on the cover of her wedding programs, embossing white on navy paper.  From there we started experimenting and found it looked awesome on all sorts of colorful paper!
Rubber Stamp Embossed Custom Stationery

Rubber Stamp Embossed Custom Stationery

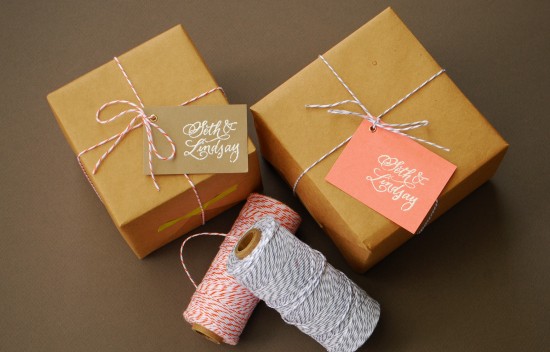
You can use this embossing technique on lots of different projects, such as these fabulous and simple gift tags.  We also used it to create a set of custom stationery, perfect for thank you notes!!  For the gift tags, we used our Calligraphy Names Stamp.
Rubber Stamp Embossed Custom Stationery

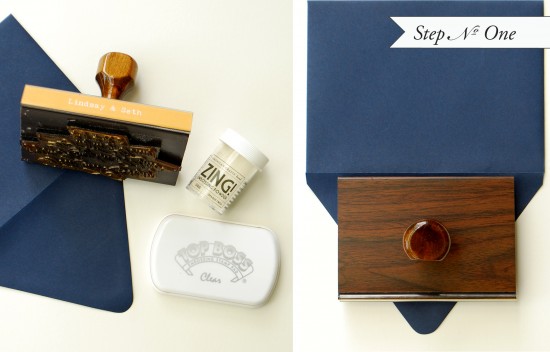
Step One: Get your supplies ready.  Unscrew the top to the embossing powder and uncover the stamp pad.  Make sure your envelope is set on a (really) hard surface, with a piece of scrap paper set underneath (to catch excess powder).  Using the embossing (clear) stamp pad, ink the stamp thoroughly.  Center the stamp and press down with even pressure.  We used our Calligraphy Return Address Stamp on this envelope.
Rubber Stamp Embossed Custom Stationery

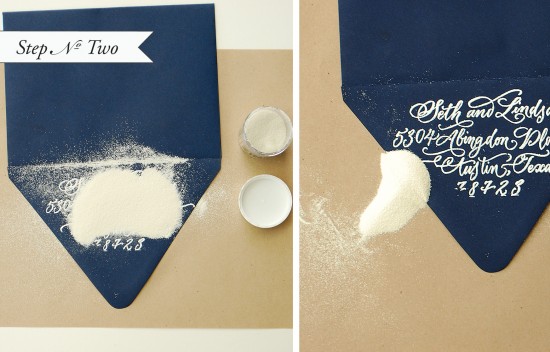
Step Two: Immediately following stamping the image, pour on a healthy amount of embossing powder.  Shift powder around a bit to ensure your image is completely covered.  When you are satisfied, pour the excess onto the piece of paper underneath and lightly tap off any excess (not too hard or the powder will loose hold of the sticky ink).  Pour the powder back into the jar.

Rubber Stamp Embossed Custom Stationery

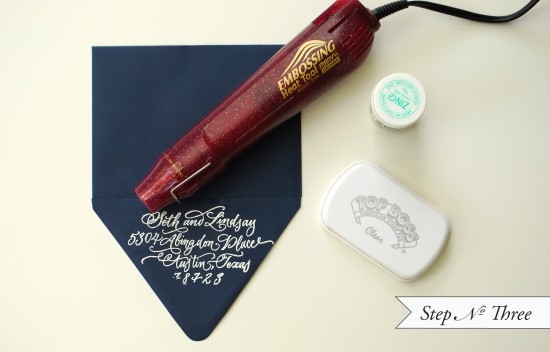
Step Three:  Using your embossing heat tool, heat image (holding the gun 3-5 inches from the surface) until the powder has melted into a solid, approximately 30 seconds.  Let cool.

*Be careful not to burn yourself on this very hot tool.  Also, if you hold the embossing heat tool too close to the paper, it could scorch or warp.


Materials:

Rubber Stamps: We used Calligraphy Names Stamp and Calligraphy Return Address to create the personal stationery and gift tags.

Clear Embossing Stamp Pad

Embossing Powders

Embossing Heat Tool

A2 Envelopes in Navy

Assorted Paper

For Gift Tags:

Small hole punch

Bakers twine

Photo Credits: Antiquaria

Amy + Blake’s Classic Black and White Letterpress Wedding Invitations

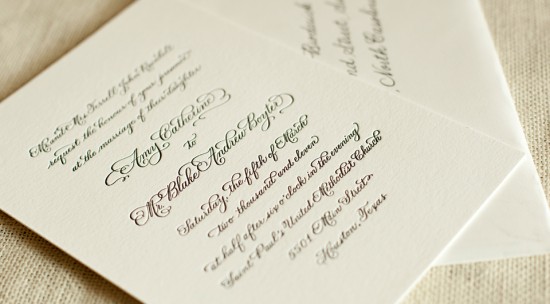
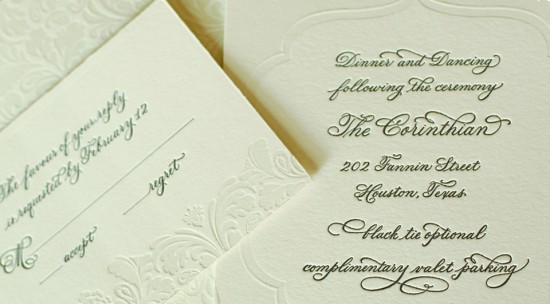
Some things just never go out of style – and elegant calligraphy wedding invitations are first and foremost on my list.  Melissa and Amy from Atheneum Creative sent over these beautiful black and white calligraphy invitations that they designed for Amy’s own wedding, along with some of the corresponding day of wedding stationery.  They partnered with PenDance for the gorgeous calligraphy and Sideshow Press for the letterpress printing – the entire suite is just lovely!

Classic-Black-White-Letterpress-Wedding-Invitation-Calligraphy

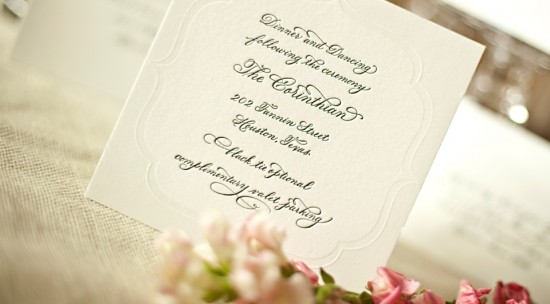
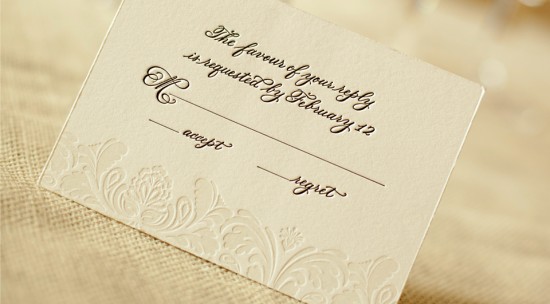
From Melissa and Amy: The invitation design was inspired by the texture and ornate details of the architecture inside the reception venue, the Corinthian.  We wanted something elegant and traditional.  Each piece in the set was uniquely designed using only black ink and texture.  The full bleed, blind press detail was a perfect complement to Crane’s cotton Lettra paper.  The script is beautiful hand calligraphy from PenDance, rendered even more stunning with letterpress printing by Sideshow Press.  The beauty of this design was all in the details.

Classic-Black-White-Letterpress-Wedding-Invitation

Classic-Black-White-Letterpress-Wedding-Invitation-RSVP

Classic-Black-White-Letterpress-Wedding-Invitation-Suite

Classic-GoldBlack-White-Wedding-Ceremony-Program

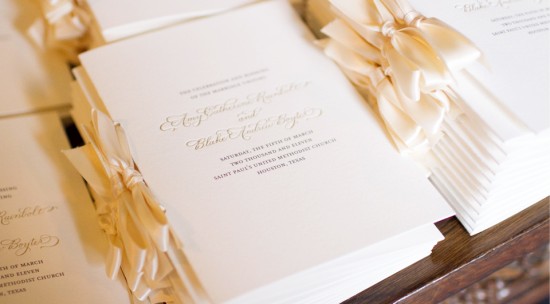
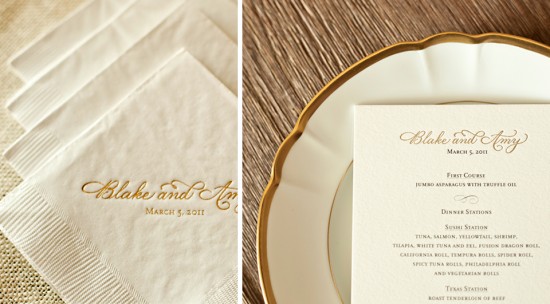
We wanted the ceremony program to be simple and beautiful.  The intent was to not overdo the design or distract from the church or ceremony.  The names on the cover were printed with a gold foil stamp which was inspired by the gold details throughout the church.  The design of the menu came together after picking out the china for the dinner.  I used a gold foil stamp to pick up the gold rimmed china.

Classic-Gold-White-Letterpress-Wedding-Menu-Napkins

Thanks Melissa and Amy!

Design: Atheneum Creative

Calligraphy: PenDance

Letterpress Printing: Sideshow Press

Photo Credits: J. Cogliandro Photography and Chelsea Davis Photography

{happy weekend!}

Happy Friday everyone!  Do you all have fun plans for the weekend?  Most of my friends are out of town this weekend, so it’s shaping up to be a rather boring weekend for me.  But that’s totally fine by me; I’m looking forward to catching up on some sleep and getting some things done around the house.  No matter what, I’m sure my weekend will involve many listens to this Belle & Sebastian song; I was kind of on the fence about the most recent album, but I can’t get this song out of my head!  But in the meantime…

Didn’t See It Coming / Belle & Sebastian

…a few links for your weekend!

This week on Oh So Beautiful Paper:

That’s it for me this week!  I hope you all have a wonderful weekend, and I’ll see you all back here on Monday! xoxo