DIY Painted Lips Guestbook

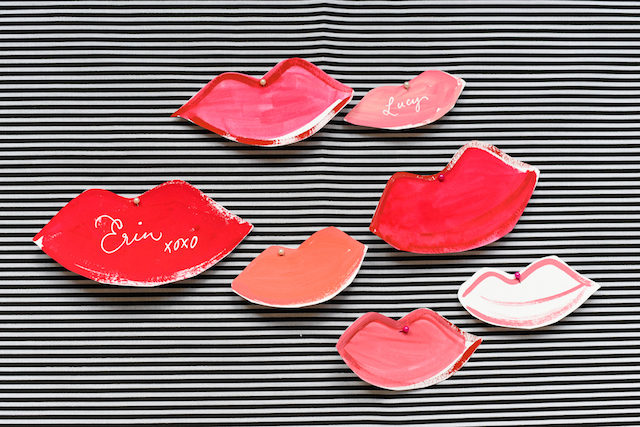
From catwalk fashion to lifestyle design, the luscious red lips motif is popping up everywhere this season! I am absolutely in love with this motif as it’s a perfect mix of girly-ness and style, and adds a whimsical touch to your celebration. This DIY painted lips guestbook wall requires under 10 tools (things you probably already have at home) and is honestly one of the simplest, most do-able projects I’ve ever created. For this tutorial, my partner-in-crime and genius stylist friend Laura styled up the wall with a black and white striped fabric for a striking pop art look. Try a blush velvet for a softer, more romantic touch or rose gold sequins for a bit of glam! All that remains after your party is to collect your box of kisses, ready to read through or be placed into a scrapbook alongside photos from your party! – Erin from BerinMade Paper Goods
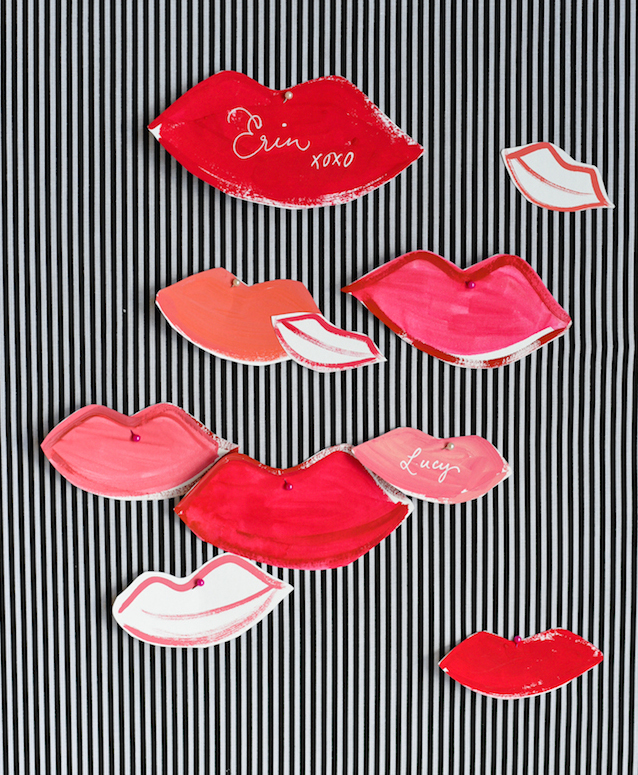
DIY Painted Lips Guestbook Wall / BerinMade for Oh So Beautiful Paper

DIY Painted Lips Guestbook Wall / BerinMade for Oh So Beautiful Paper

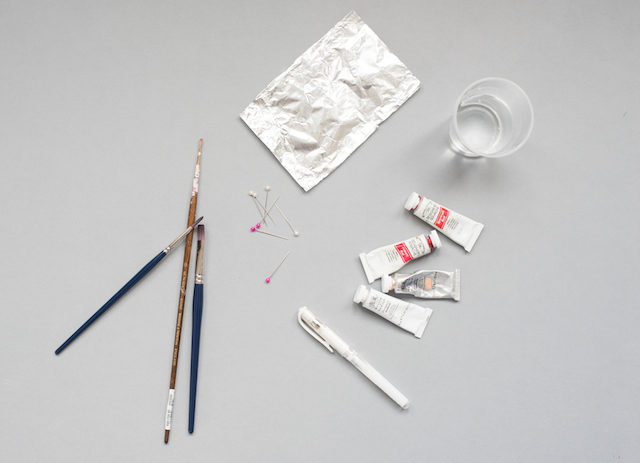
Supplies

Thin and flat paint brushes

Gouache or acrylic paint (and water to dilute the paint)

White watercolor paper or card stock

Scissors

Fabric

Round head pins

Double sided tape

Foam board

DIY Painted Lips Guestbook Wall / BerinMade for Oh So Beautiful Paper

DIY Painted Lips Guestbook Wall / BerinMade for Oh So Beautiful Paper

To make the painted lips guestbook:

Step 1. To make the fabric backdrop, apply double sided tape around the front edges of a piece of foam board in your desired size. Iron your fabric, and wrap the front of the board, smoothing the fabric over the double sided tape to create a smooth surface. Secure the fabric on the back of the foam board with pearl head pins and cut away any excess.

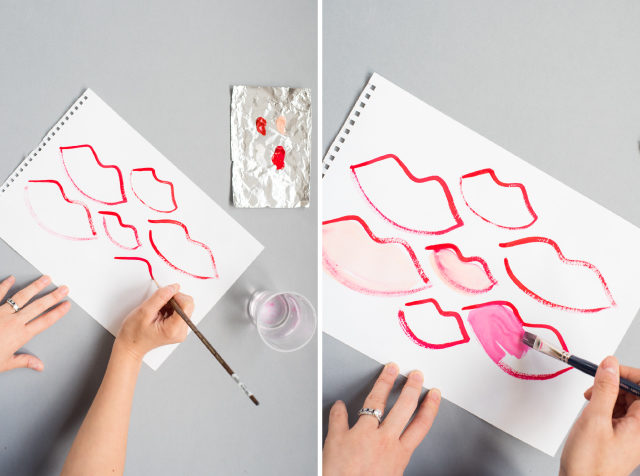
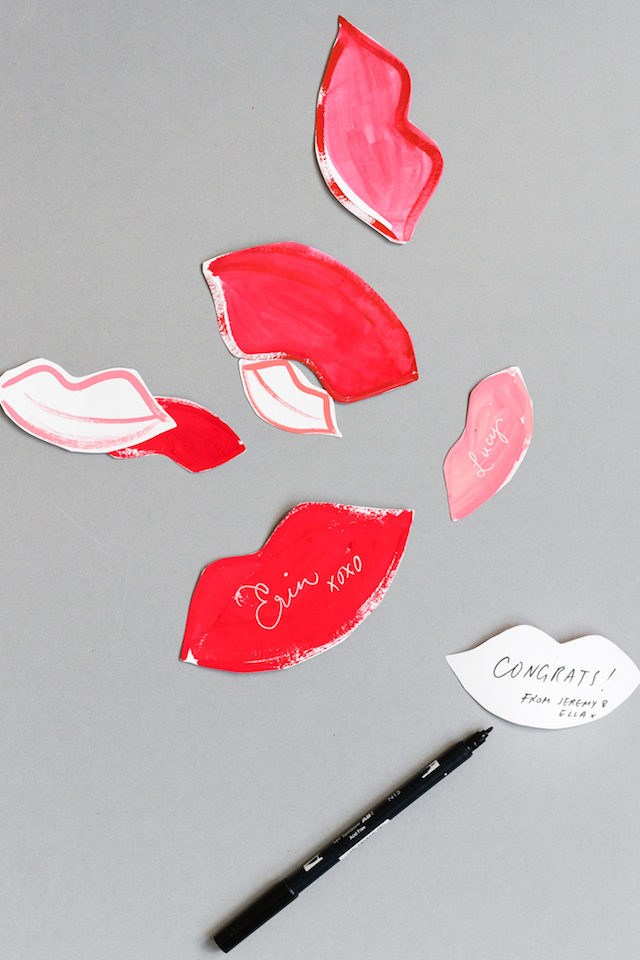
Step 2. Paint the outline of the lips with a thin round brush with undiluted gouache or acrylic paint to achieve a dry brushed look. Try out different shapes and sizes, and have fun! Imperfection is the key to the look.

Step 3. Once the outlines have dried, use a flat brush and diluted paint to brush over the shape. For this pop-art look, I deliberately brushed outside the lines in some places and left white spaces, to mimic that imperfect screen printed look. Let dry again.

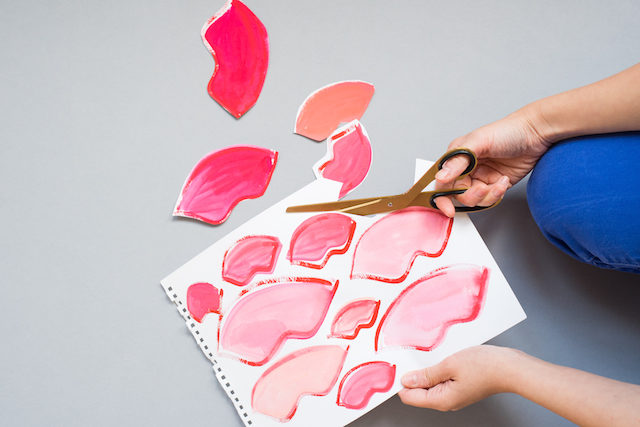
Step 4. Cut out the lips! Gather on a little dish or wooden box with pens for your guests to use, along with some extra pins so guests can pin their lips to the backdrop.
DIY Painted Lips Guestbook Wall / BerinMade for Oh So Beautiful Paper

DIY Painted Lips Guestbook Wall / BerinMade for Oh So Beautiful Paper

Photo Credits: Jeremy Tan / Styling by Laura Burkitt

The Art of the Envelope

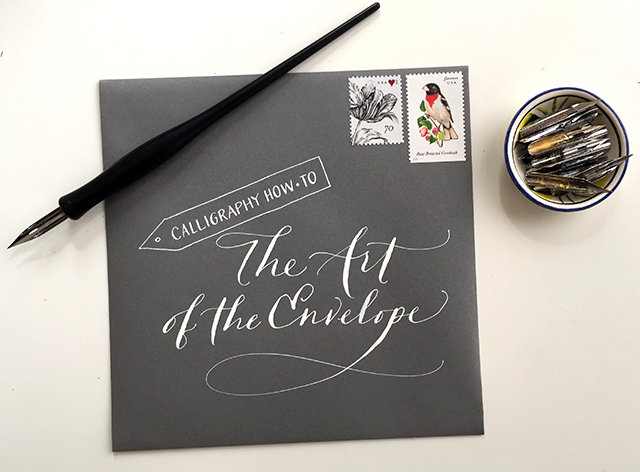
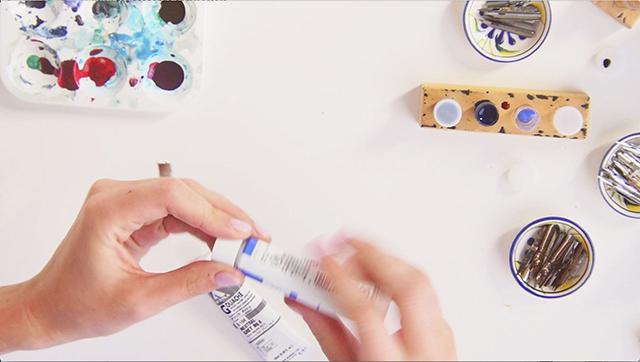
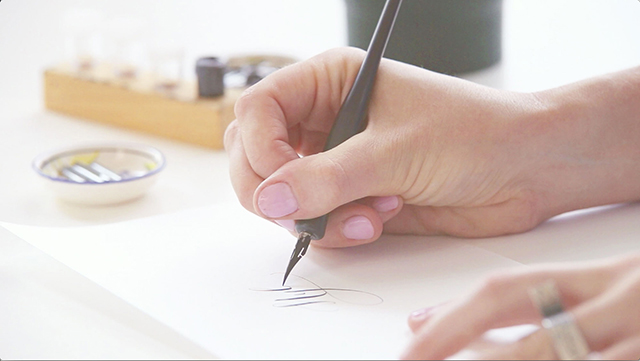
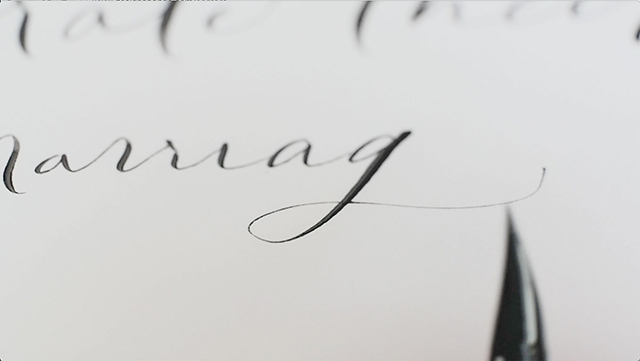
If you’ve been reading OSBP for any period of time, you know that I absolutely LOVE beautiful calligraphy. Place cards, menus, seating charts – I go crazy for calligraphy in any form. And there is absolutely nothing better than receiving a beautifully calligraphed envelope in the mail! If you’ve ever wanted to improve your envelope addressing skills, my friend Bryn Chernoff of Paperfinger just launched a brand new calligraphy class with Skillshare called The Art of the Envelope – and she’s offering OSBP readers free enrollment (for a very limited time) to celebrate the launch of the course!

The Art of the Envelope Calligraphy Class by Paperfinger for Skillshare / Oh So Beautiful Paper

The Art of the Envelope is a warm, welcoming, and visually rich class, perfect for early-level and intermediate calligraphers as well as those looking to expand their professional lettering work. The online format allows you to watch and take the class at your own pace, while still participating in an active community and getting feedback from Bryn along the way.

The Art of the Envelope Calligraphy Class by Paperfinger for Skillshare / Oh So Beautiful Paper

The Art of the Envelope Calligraphy Class by Paperfinger for Skillshare / Oh So Beautiful Paper

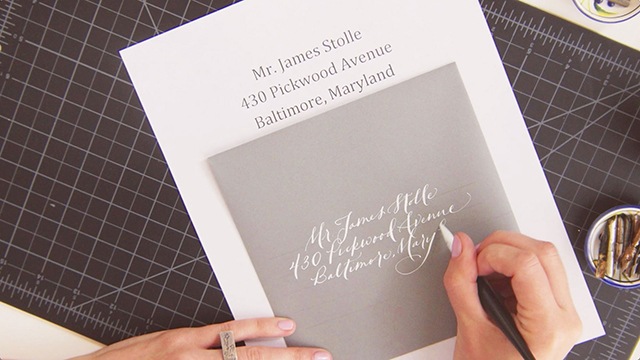
The Art of the Envelope class builds on Bryn’s more introductory classes (which are really great for getting started with calligraphy and can also be found at Skillshare). Bryn’s class covers an essential range of topics, including how to select papers, mixing inks, accomplishing the perfect envelope layout, professional tricks of the trade, and much more. Plus, the class includes a number of exclusive downloadable resources, and all students are encouraged to share their work for feedback and to show off their skills.

The Art of the Envelope Calligraphy Class by Paperfinger for Skillshare / Oh So Beautiful Paper

The Art of the Envelope Calligraphy Class by Paperfinger for Skillshare / Oh So Beautiful Paper

The Art of the Envelope Calligraphy Class by Paperfinger for Skillshare / Oh So Beautiful Paper

The class is only available on Skillshare — and, for a limited time, all OSBP readers can join this class for free! You can enroll in The Art of the Envelope right here – or sign up for a free trial with Skillshare right here!

Photo Credits: Bryn Chernoff of Paperfinger

Halloween First Birthday Costume Party Invitations

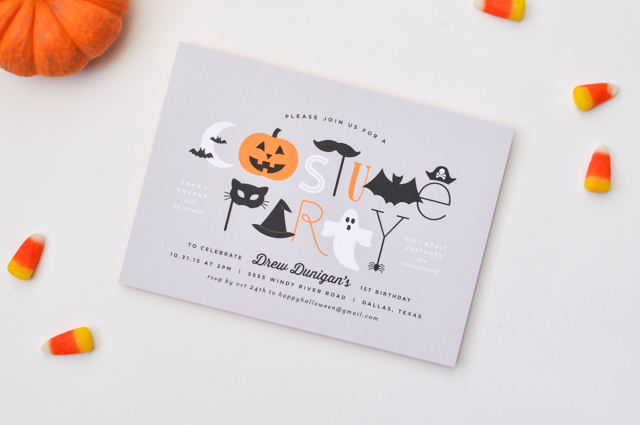
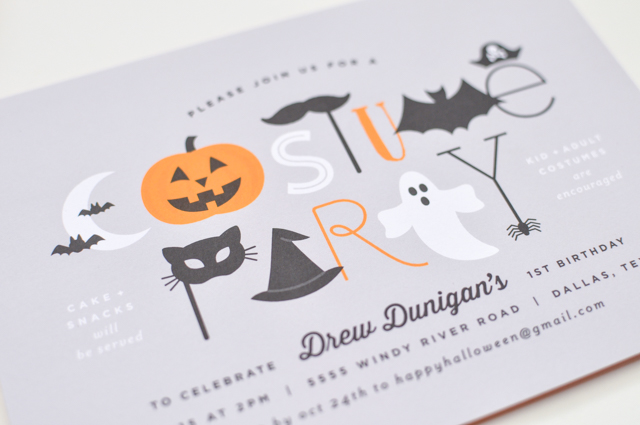
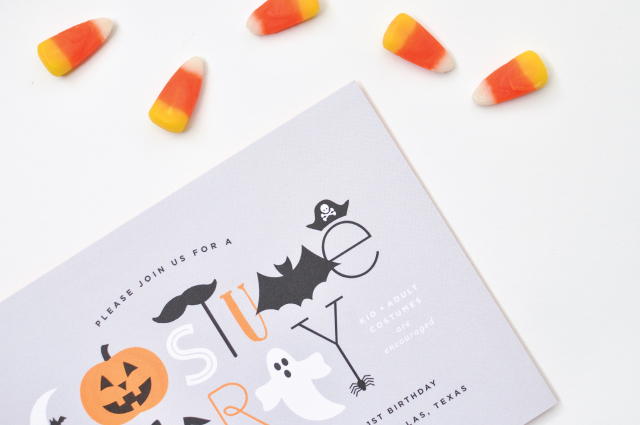
Okay, this might be the most adorable thing I’ve ever seen: a first birthday COSTUME party on Halloween! Such a fun way to celebrate a first birthday this time of year! Designer Lauren Chism designed the fun invitations to appeal to both kids and adults – mission accomplished!

Halloween First Birthday Costume Party Invitations by Lauren Chism Fine Papers / Oh So Beautiful Paper

From Lauren: I love designing for my friends. From their weddings to baby showers, to birth announcements and birthday parties, it’s such an honor to get to design for such special celebrations. So when my friend Kristen, whose colorful baby shower invitations I designed last year, asked me to design her daughter Drew’s first birthday invitations, I was so excited. However, when she said it was a birthday COSTUME party on Halloween, I was downright giddy.

Halloween First Birthday Costume Party Invitations by Lauren Chism Fine Papers / Oh So Beautiful Paper

I haven’t done many Halloween designs, so I started to brainstorm ideas with Kristen’s requests in mind: a design for kids AND adults, not scary, and FUN. I started with classic Halloween motifs and costumes and just started playing with things. I didn’t start with a concept in mind and I love when it comes together in such an organic way. At the end I snuck in a pirate hat (because Kristen wore one to my Derby party) as the finishing touch. I love how they turned out and most importantly, Kristen did too!

Halloween First Birthday Costume Party Invitations by Lauren Chism Fine Papers / Oh So Beautiful Paper

Thanks Lauren!

Design: Lauren Chism Fine Papers

Lauren Chism Fine Papers is a member of the Designer Rolodex – you can check out more of Lauren’s beautiful work right here!

Photo Credits: Lauren Chism

Cobalt Calligraphy Wedding Invitations

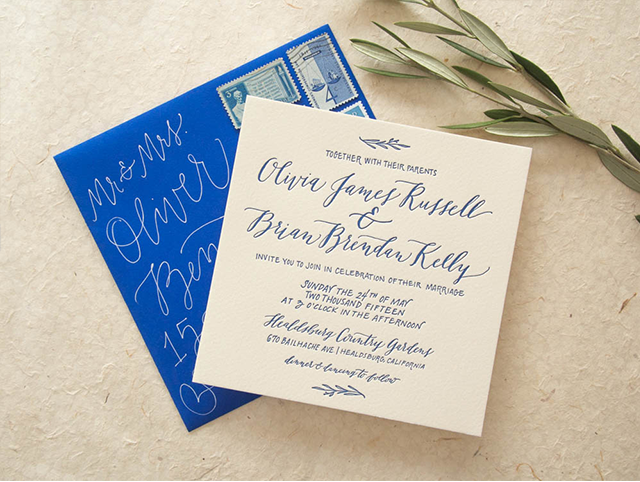
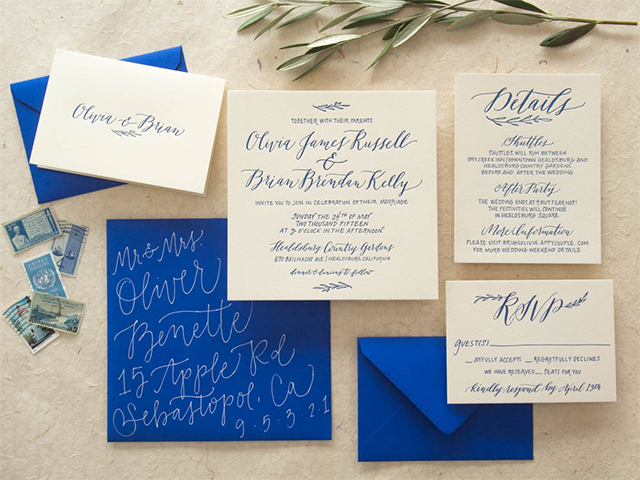
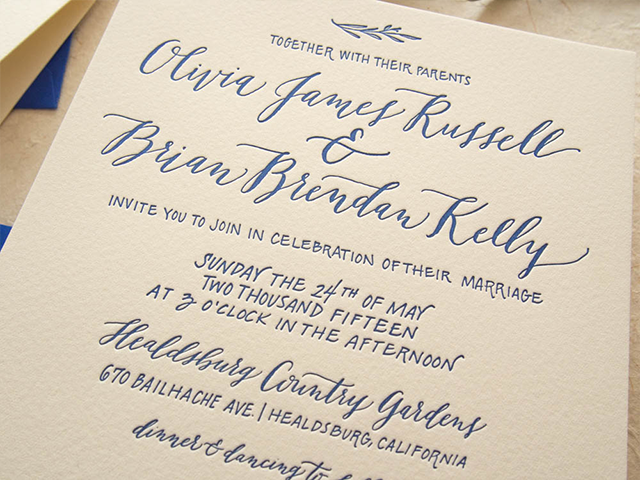
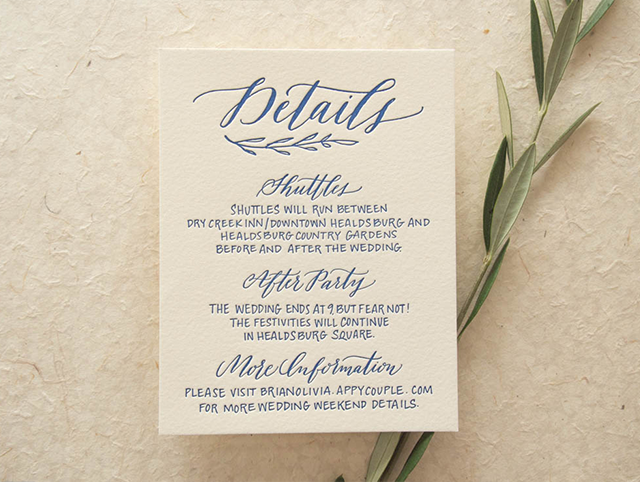
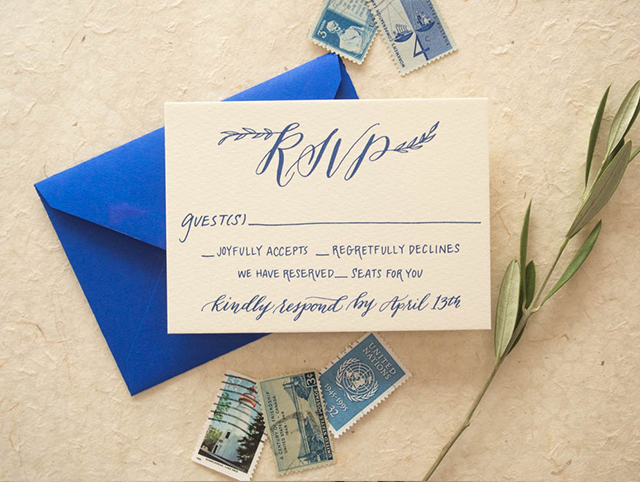
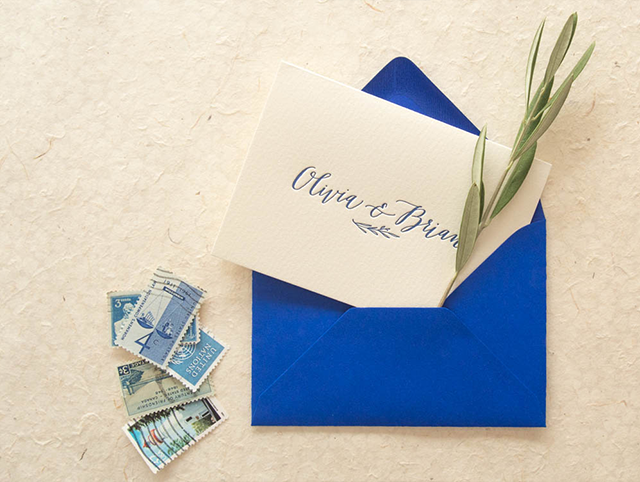
Sometimes all you need is just one really spectacular color combined with gorgeous calligraphy and hand lettering! For these beautiful wedding invitations, Kim from Bright Room Studio combined elegant calligraphy and casual hand lettering with the most amazing cobalt blue ink! And those cobalt blue envelopes?? Total perfection!

Cobalt Calligraphy Wedding Invitations by Bright Room Studio / Oh So Beautiful Paper

From Kim: Olivia and Brian’s wedding invitation suite was all about simple elegance. But for me, that doesn’t mean boring or traditional. We combined sophisticated calligraphy with casual hand lettering to make the invitation feel special, but not overly formal.

Cobalt Calligraphy Wedding Invitations by Bright Room Studio / Oh So Beautiful Paper

The olive branch details throughout added a rustic touch, especially when added in unexpected places like the calligraphy on the RSVP card. I then had my amazing printer, Mercurio Brothers, letterpress print the whole suite in a spectacular cobalt blue color, which really brought the lettering to life! The matching cobalt blue envelope made the whole suite really pop. I love how playful the design feels, while also being very elegant.

Cobalt Calligraphy Wedding Invitations by Bright Room Studio / Oh So Beautiful Paper

Cobalt Calligraphy Wedding Invitations by Bright Room Studio / Oh So Beautiful Paper

Cobalt Calligraphy Wedding Invitations by Bright Room Studio / Oh So Beautiful Paper

Cobalt Calligraphy Wedding Invitations by Bright Room Studio / Oh So Beautiful Paper

Thanks Kim!

Design: Bright Room Studio

Invitation Letterpress Printing: Mercurio Brothers

Bright Room Studio is a member of the Designer Rolodex  – you can see more of Kim’s beautiful work right here or visit the real invi­ta­tions gallery for more wedding invitation ideas!

Photo Credits: Bright Room Studio

A Rum Stone Fence

One of my all-time favorite apple cocktails is the Stone Fence, a classic that we featured over three (!!) years ago. It’s a pretty straightforward mix of rye and apple cider that very probably played an important role in (drunk) American history, giving Ethan Allen and the Green Mountain Boys the liquid courage to storm Fort Ticonderoga in 1775. Did I mention I was a history major in college? Anyway. It’s a solid drink but it lacks a certain flourish, so here’s a slightly updated version. – Andrew

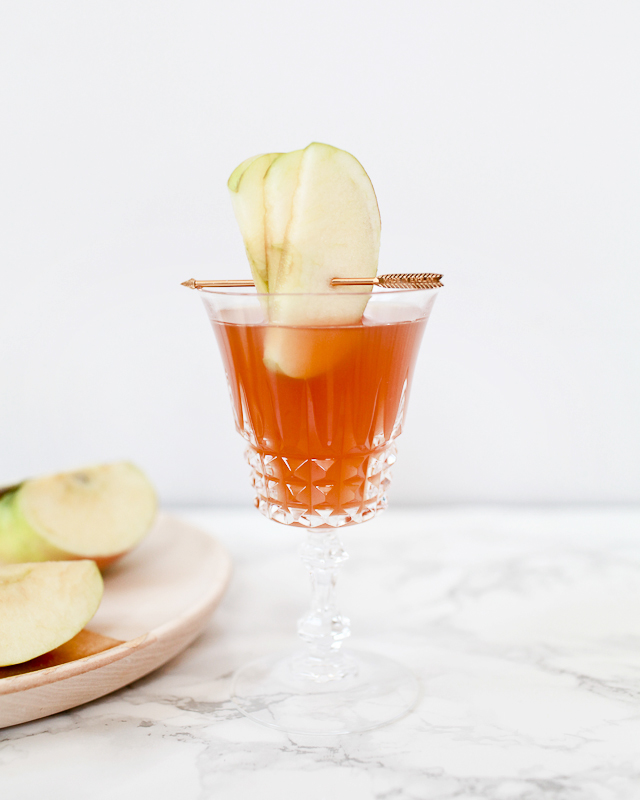
Rum Stone Fence Cocktail Recipe with Apple Cider / Liquorary for Oh So Beautiful Paper

Rum Stone Fence

1 oz Dark Rum
1/2 oz Jamaican Rum
1 oz Apple Cider
1/2 oz Lemon Juice
1/2 Cinnamon Bark Syrup
2 dashes Angostura Bitters

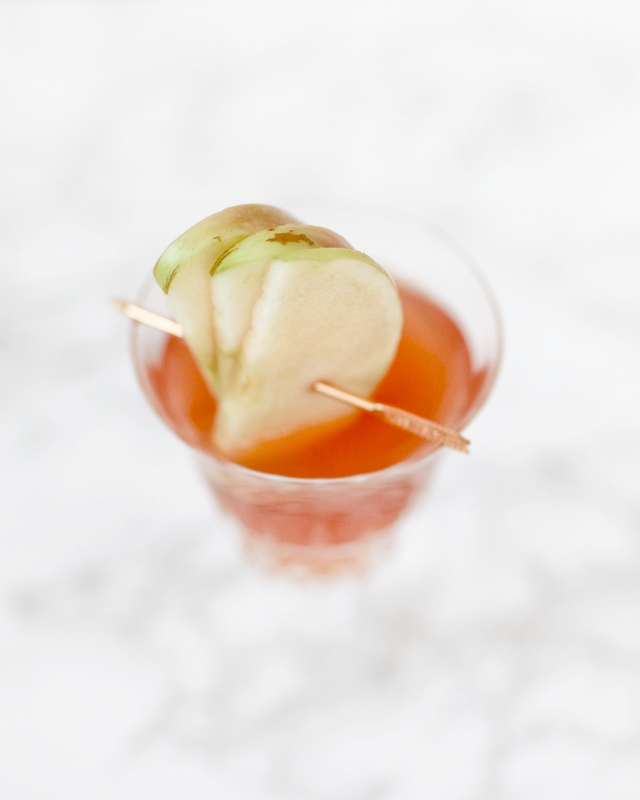
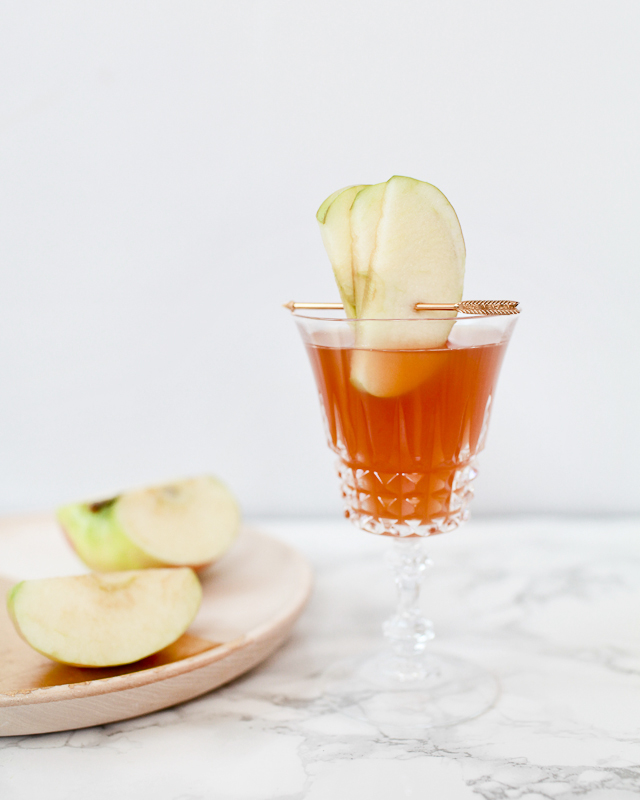
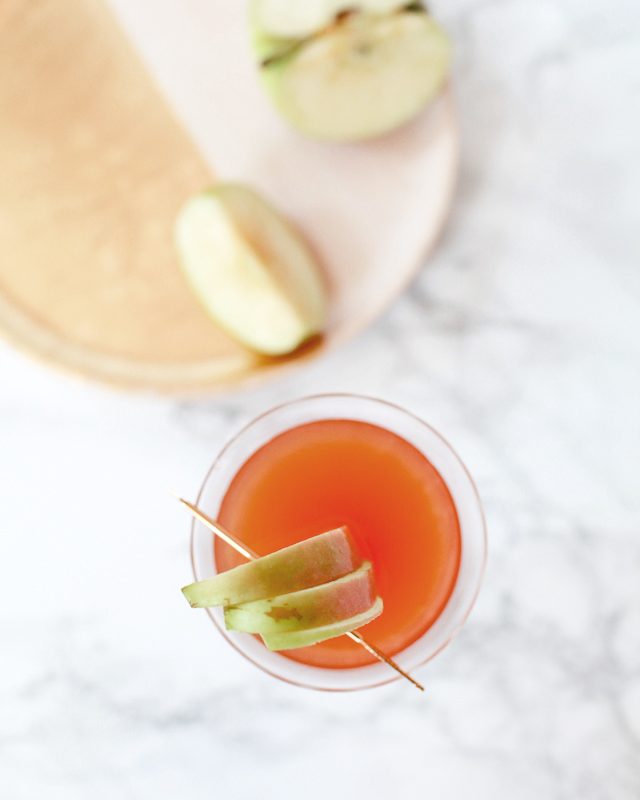
Combine all your ingredients in a shaker filled two-thirds with ice. Shake well and strain into a chilled coupe or cocktail glass. Garnish with an apple fan and enjoy!

Rum Stone Fence Cocktail Recipe with Apple Cider / Liquorary for Oh So Beautiful Paper

The substitution of rum for whiskey – which is totally in keeping with this drink’s history, since New England was once a great center of rum distilling – and introduction of the cinnamon syrup and bitters turns this drink into something like a hybrid of the original’s rustic feel and a modern Tiki drink. A fun, apple-rich Sour cocktail.

Rum Stone Fence Cocktail Recipe with Apple Cider / Liquorary for Oh So Beautiful Paper

The apple fan is a beautiful and easy-to-make garnish for a lot of drinks. Thinly cut three or four slices of apple, then pierce them on a diagonal with a toothpick or cocktail pick. Balance the cocktail pick on the rim of the glass; it helps to pierce the apple slices about halfway up to help balance the garnish.

Rum Stone Fence Cocktail Recipe with Apple Cider / Liquorary for Oh So Beautiful Paper

(Don’t forget to follow us on Instagram, where we’ve been posting our experiments before they make their way onto this column! Instagram has become probably the best resource out there for anyone interested in learning more about cocktails; we found the recipe that inspired this post on the feed of @fredericyarm, a bartender in Boston.)

Glassware by Liquorary

Photo Credits: Nole Garey for Oh So Beautiful Paper