DIY Tutorial: Handmade Patterned Notebooks

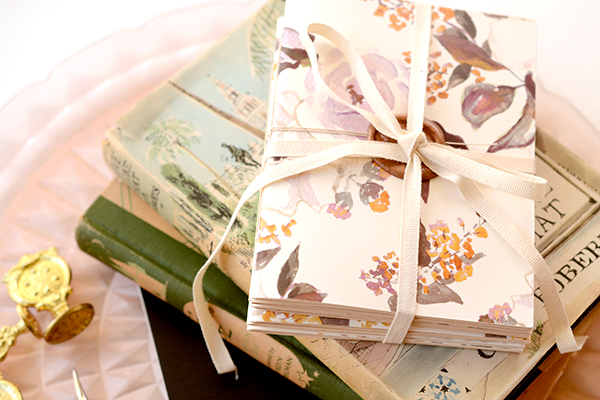
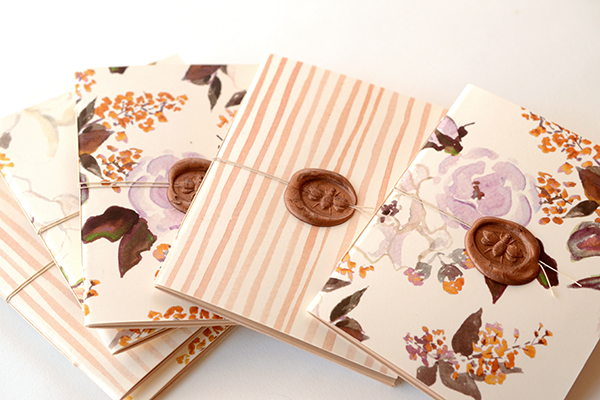
A handmade gift (or wedding favor) is always such a special way to show someone how much you care. With the holiday season in full swing, we’ve been brainstorming what handmade gifts to make this year for family and friends (an Antiquaria tradition!). This year, one gift that will be under the tree of all of our loved ones are a set of these patterned journals. They’re small enough to be carried around in a handbag which is ideal so that they’ll always be there to capture a great idea or quick thought. – Bailey and Emma of Antiquaria
DIY Tutorial: Pattern Notebook Gifts or Wedding Favors by Antiquaria for Oh So Beautiful Paper

We will be bundling them into sets of three but any quantity would be lovely! Six would be so luxurious for a friend who loves to write or sketch! While the process of making these journals has quite a few steps, they are fast and easy…we promise. You can easily knock out making them for all of your loved ones in a day if you work in an assembly line process!
DIY Tutorial: Pattern Notebook Gifts or Wedding Favors by Antiquaria for Oh So Beautiful Paper

Step 1: First, you will need to cut your cover sheets (we used our “Annabelle Violet” Floral Patterned Paper) and your text interior sheets (we used 4 sheets) to size. For ease, we just cut the 8.5″x11″ into 2 pieces (final measurement 8.5″x5.5″) using a metal ruler, craft knife and self healing mat. This way, there is not any paper waste! This also makes a wonderfully small pocket notebook size.
DIY Tutorial: Pattern Notebook Gifts or Wedding Favors by Antiquaria for Oh So Beautiful Paper

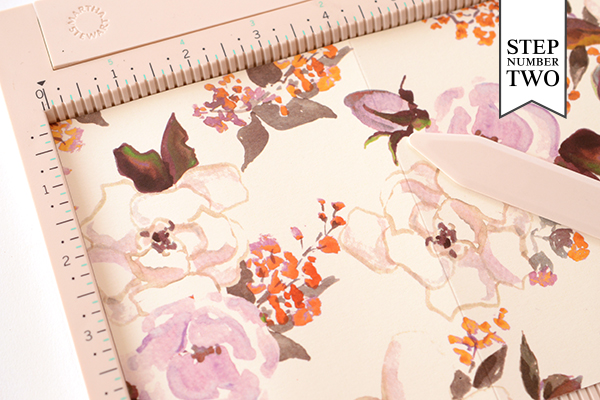
Step 2: Next, you’ll fold both the cover and interior pages in half. In order to make a clean fold on our cover paper we scored it down the center (at the 4.25″ mark). The interior sheets (8 in total) we just folded in half and used a bone folder to make the fold crisp.
DIY Tutorial: Pattern Notebook Gifts or Wedding Favors by Antiquaria for Oh So Beautiful Paper

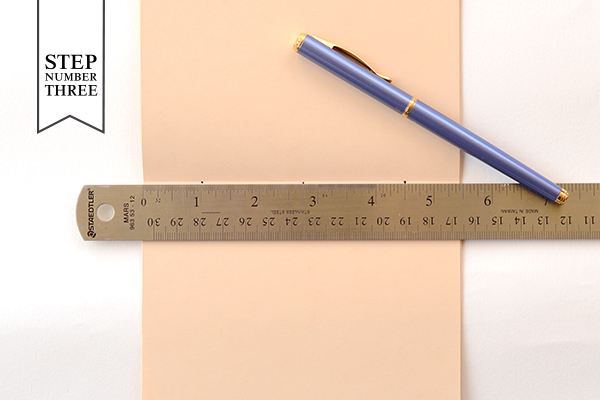
Step 3: We will be stitching these notebooks together, so we’ve got make holes to thread our needle through. Position your ruler over the center fold in the text paper stack. Make marks at 1 inch, 2.75 inches and 4.5inches. We’ve used a dark pen here so that you can see the dots…but feel free to use a pencil or whatever you have on hand.
DIY Tutorial: Pattern Notebook Gifts or Wedding Favors by Antiquaria for Oh So Beautiful Paper

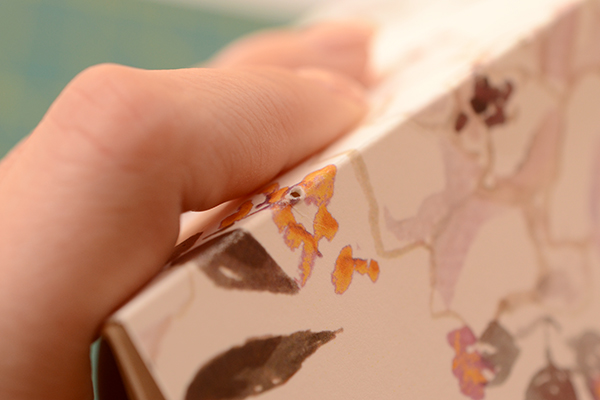
Step 4: After you’ve marked your holes, you will need to punch through them with an awl. Stack your cover and interior pages together before making clean puncher marks though ALL of the sheets. This doesn’t take much force. If it helps, you can use binder clips to hold the pages and cover together and keep it straight.
DIY Tutorial: Pattern Notebook Gifts or Wedding Favors by Antiquaria for Oh So Beautiful Paper

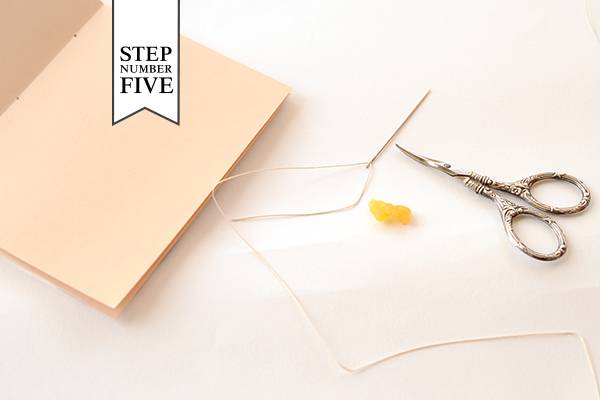
Step 5: Now you’re ready to sew! This step contains many sub-steps that go quickly once you get the hang of it. Thread your needle with bookbinding thread. We used approx. 18 inches for each book because it’s better to cut off extra than to come up short! If you’re having a hard time threading your needle, you can run a little beeswax on the tip to make it stiff and easier to thread through.
DIY Tutorial: Pattern Notebook Gifts or Wedding Favors by Antiquaria for Oh So Beautiful Paper

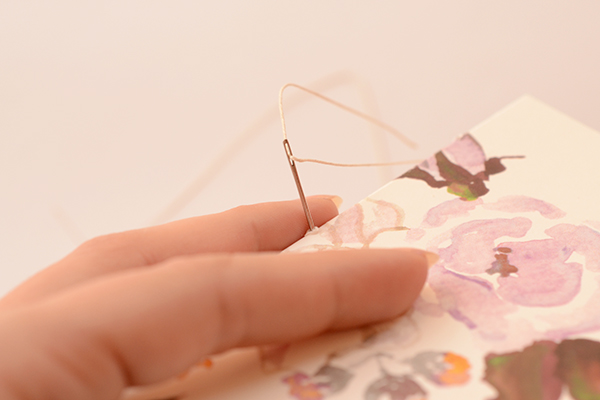
Step 5a: Thread your needle through the center hole on the outside of your journal as shown above. Pull through, leaving a tail that is approximately 6 inches long.
DIY Tutorial: Pattern Notebook Gifts or Wedding Favors by Antiquaria for Oh So Beautiful Paper

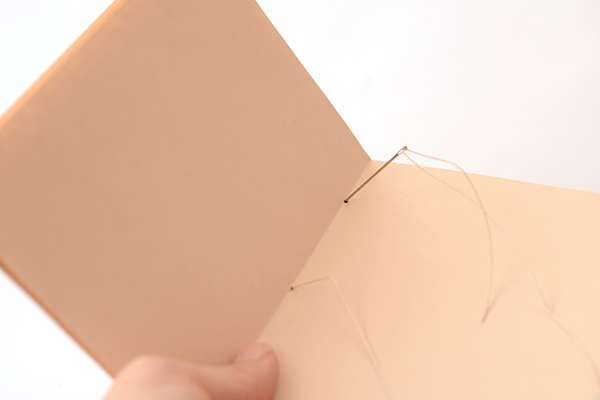
Step 5b: Now sew through the top hole in the inside of the journal as shown above. Make sure you still have your 6″ tail on the outside and you don’t pull it through!
DIY Tutorial: Pattern Notebook Gifts or Wedding Favors by Antiquaria for Oh So Beautiful Paper

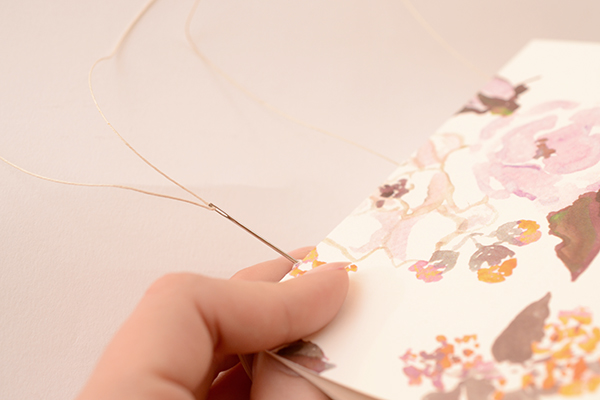
Step 5c: Next, you’ll bring your needle down and sew through the bottom hole on the outside of your journal.
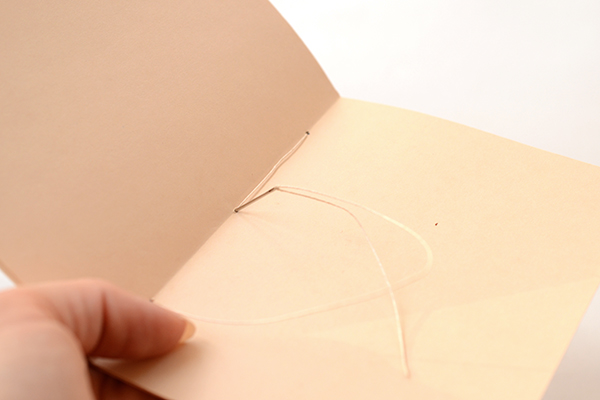
DIY Tutorial: Pattern Notebook Gifts or Wedding Favors by Antiquaria for Oh So Beautiful Paper

Step 5d: Now, you’ll sew through the center hole once more, ending up on the outside cover.
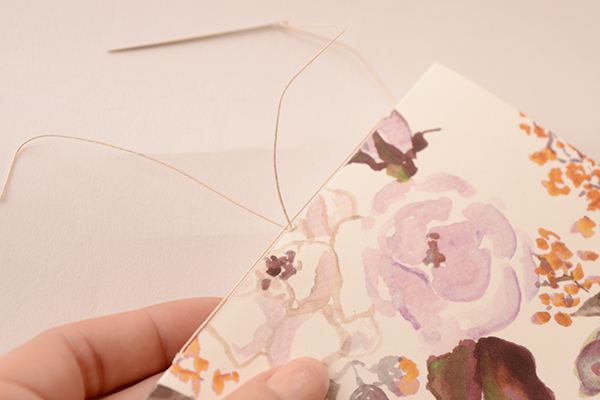
DIY Tutorial: Pattern Notebook Gifts or Wedding Favors by Antiquaria for Oh So Beautiful Paper

Step 5e: Once you’ve pulled your thread through the center a second time, you can take your needle off of the thread. Make sure that there is one thread end on either side of the spine thread (the one that’s down the center).
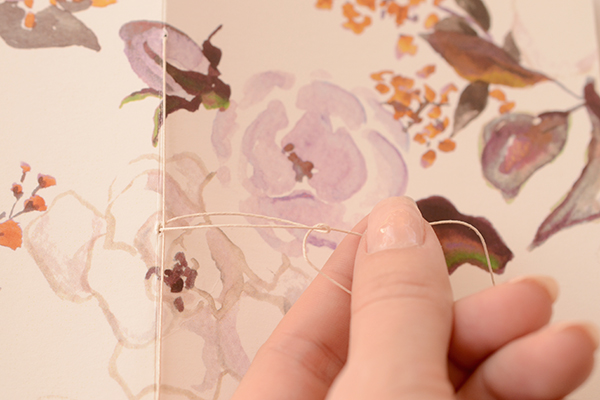
DIY Tutorial: Pattern Notebook Gifts or Wedding Favors by Antiquaria for Oh So Beautiful Paper

Step 5f: Pull your thread taught (not too hard or you’ll rip the paper) making sure that there is no slack on the outside or inside of the journal. Loop one thread under the other into a knot to tie off the binding.
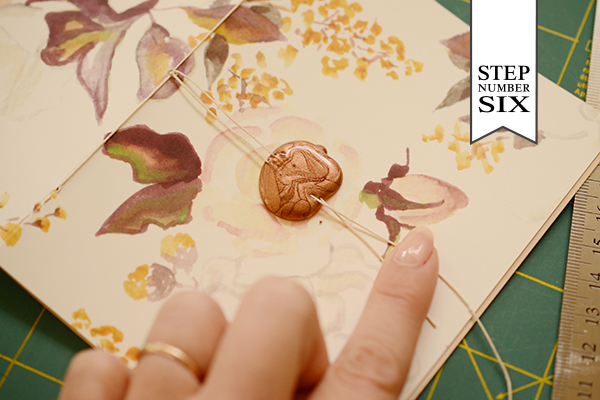
DIY Tutorial: Pattern Notebook Gifts or Wedding Favors by Antiquaria for Oh So Beautiful Paper

Step 6: Now we decorate! Instead of having loose string on the binding or tying it into a bow, we decided to secure it with sealing wax! Pull your two binding threads across the center front of the journal. Drip hot wax (we use a wax formulated for a glue gun-for ease) in the center over the threads (see above). Using your wax seal of choice, press it into the hot wax until it cools and releases (see below). Trim off and make the thread ends even, if desired.

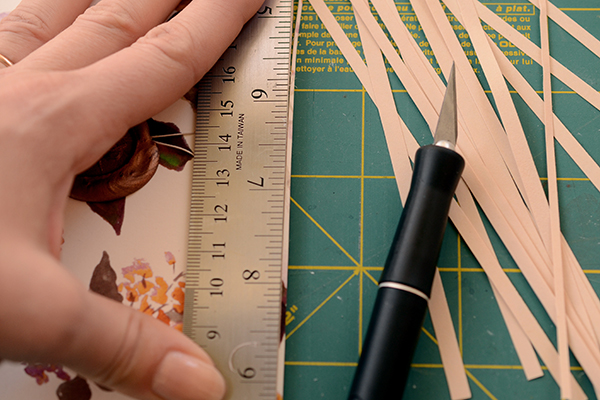
Step 7: We’re not going to lie… this may be the trickiest step out of the whole process! Once the journal is finished and  folded, you’ll need to make the edges of the book even so that they’re crisp and clean, like the journals that you buy in a store. The trick to this is using a REALLY sharp, new blade on your craft knife. If you’re making a lot of these journals, you may need to change your blade more than once!

Line up your ruler with the edge of your front cover. Make sure that all of your pages and the back cover are flat and pressed down (we kinda lean on the whole journal and ruler at the same time so that it doesn’t shift). Now, start trimming off the excess. It will take a few passes but will eventually be a clean, straight edge!
DIY Tutorial: Pattern Notebook Gifts or Wedding Favors by Antiquaria for Oh So Beautiful Paper

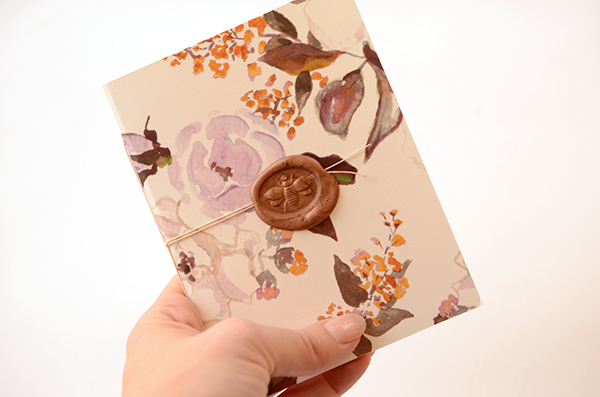
Et voila! Now your journal is finished and ready to give! We guarantee that your loved ones will cherish these little pretties for years to come. They may even ask for them year after year.
DIY Tutorial: Pattern Notebook Gifts or Wedding Favors by Antiquaria for Oh So Beautiful Paper

Materials

“Annabelle”  Patterned Paper, in Cover

“Annabelle Violet”  Patterned Paper, in Cover

“Watercolor Stripe” Coral Patterned Paper, in Cover

Text Paper for interior pages

Metal Ruler, Self Healing Mat and Craft Knife

Bone Folder

Scoreboard

Awl

Bookbinding Thread

Needle

Wax Seal

Sealing Wax and Glue Gun

Scissors

Beeswax (optional)

Photos: Antiquaria for Oh So Beautiful Paper

DIY Tutorial: Cheeky New Year’s Eve Party Favors + Printable Tags

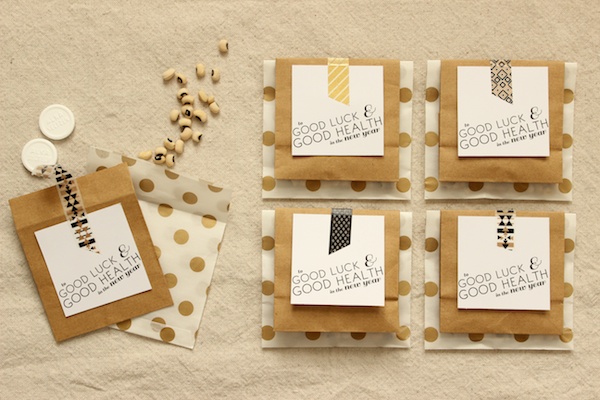
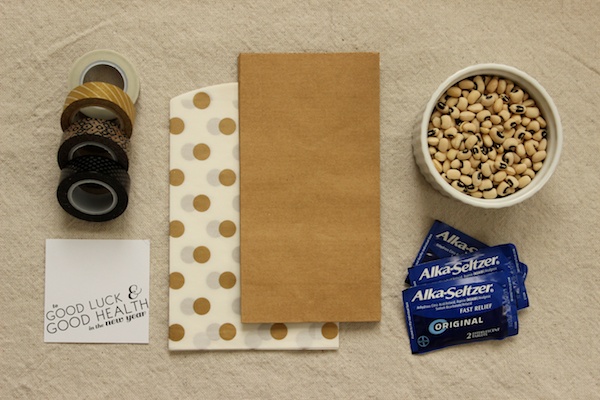
Growing up, my grandmother always made me eat at least one spoonful of black-eyed peas every New Year’s Day for good luck in the new year – a tradition with origins in the history of the South. This childhood experience – along with my battle-tested belief that Alka-Seltzer is just about the best remedy that modern medicine has to offer for over-indulgence – inspire these cheeky little favors for your New Year’s Eve fete. Cleverly wish your guests good luck with a handful of black-eyed peas and good health (at least the morning after) with a couple of Alka-Seltzer!  – Mandy of Fabric Paper Glue

DIY New Years Eve Favors OSBP 1

DIY New Years Eve Favors OSBP 2

Materials
Treat Bags in Two Sizes
Scissors
Black-Eyed Peas
Alka-Seltzer
Free Printable Favor Tags printed on cardstock
Washi Tapes

DIY New Years Eve Favors OSBP 3

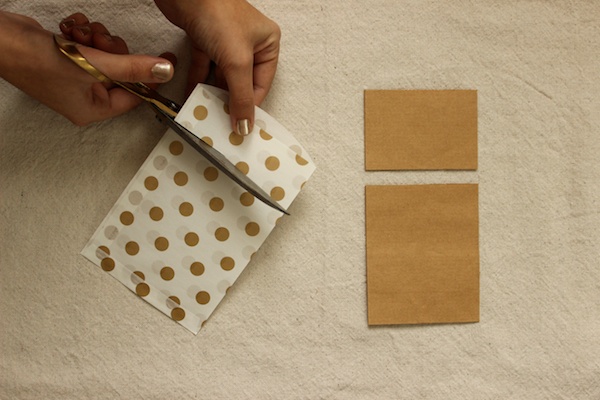
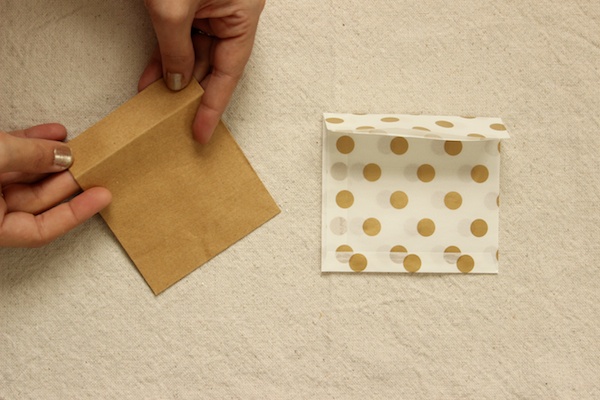
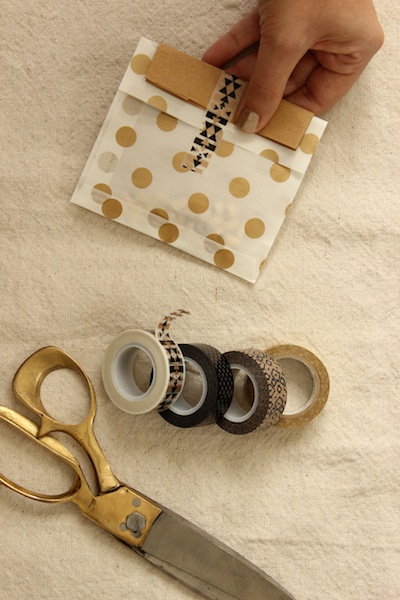
Step One: Depending on the size of your treat bags, you may want to trim a few inches off the top of each bag.

DIY New Years Eve Favors OSBP 4

Step Two: Pre-fold the tops of the larger treat bags over about 1″, and the smaller about 3/4″ inches.

DIY New Years Eve Favors OSBP 5

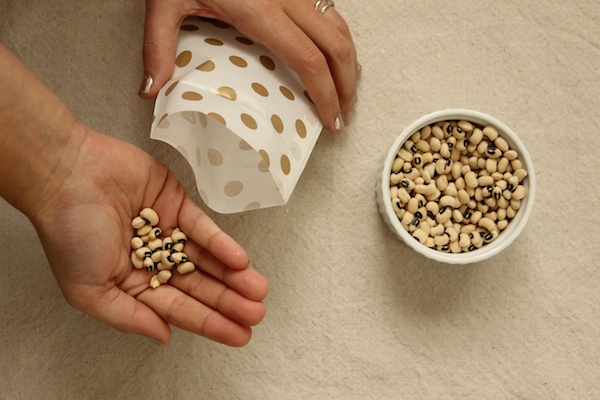
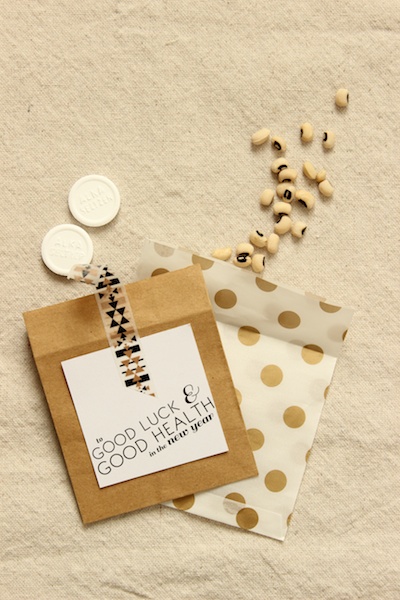
Step Three: Fill each larger treat bag with a small handful of black-eyed peas.

DIY New Years Eve Favors OSBP 6

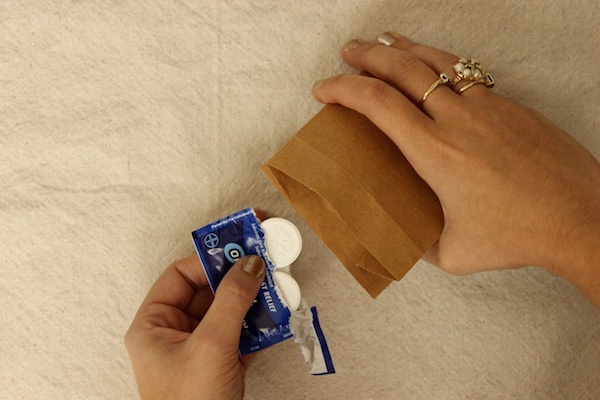
Step Four: Pop a couple of Alka-Seltzer into each of the smaller bags.

DIY New Years Eve Favors OSBP 7DIY New Years Eve Favors OSBP 8

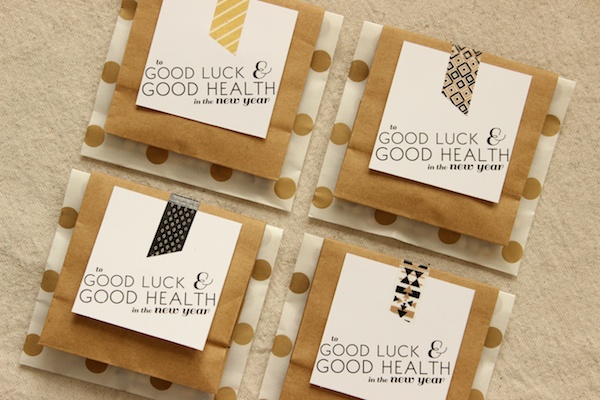
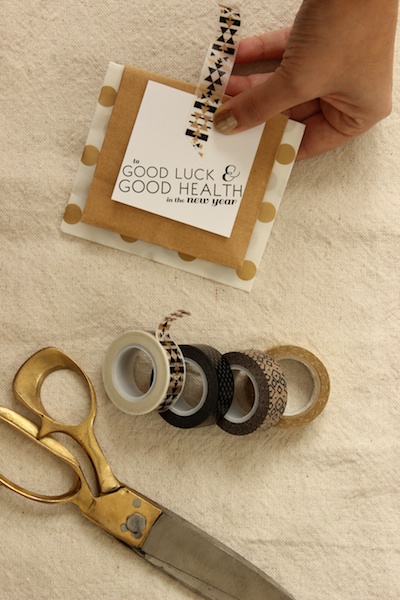
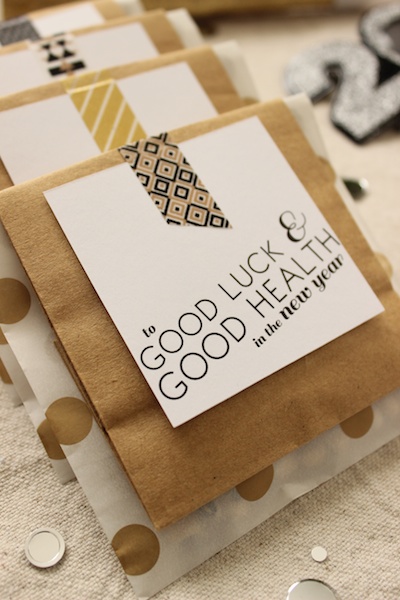
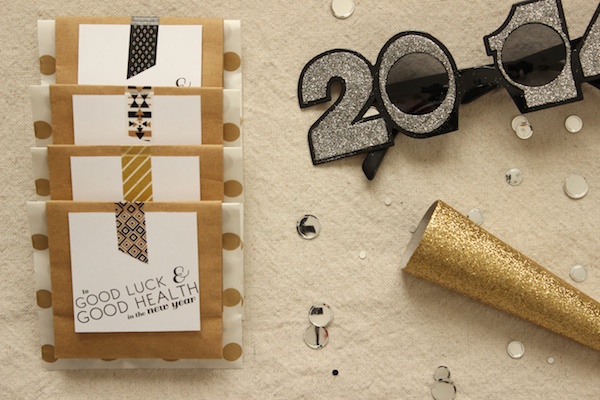
Step Five: Stack the smaller bag on top of the larger bag, and use strips of washi tape to affix the favor tags to the front and close the flaps on the back.

DIY New Years Eve Favors OSBP 9DIY New Years Eve Favors OSBP 12

DIY New Years Eve Favors OSBP 11

DIY New Years Eve Favors OSBP 10

Enjoy!

For personal use only. Artwork created by Mandy Pellegrin for Oh So Beautiful Paper

Photo Credits: Mandy Pellegrin for Oh So Beautiful Paper

A New Year’s Eve Cocktail Dinner Party with St-Germain

Only a couple more weeks left in 2013! I always look forward to New Year’s Eve – both as an opportunity to celebrate with friends and as a chance to welcome change with open arms. Ever since I read The Night Circus earlier this year (so good!), I’ve been intrigued by the idea of formal midnight dinner parties. Invite a few close friends, give them an excuse to dress up in their best party clothes (something I don’t get to do nearly often enough), and have a wonderful evening full of great food and cocktails. And what better occasion for a midnight dinner than New Year’s Eve? So we’ve teamed up with our friends at St-Germain, Karson Butler Events, and Meant to Be Calligraphy to offer some inspiration for those of you planning some New Year’s Eve festivities: a cocktail dinner party!

OSBP-St-Germain-New-Years-Eve-Cocktail-Party-Ideas-Title1

OSBP-St-Germain-New-Years-Eve-Cocktail-Party-Ideas-Recipes-300

OSBP-St-Germain-New-Years-Eve-Cocktail-Party-Ideas-Recipes-297

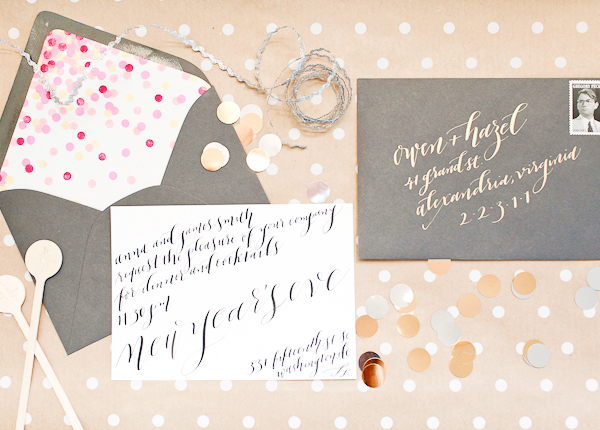
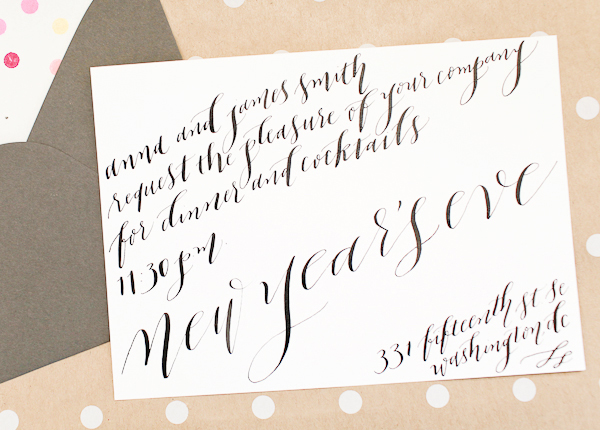
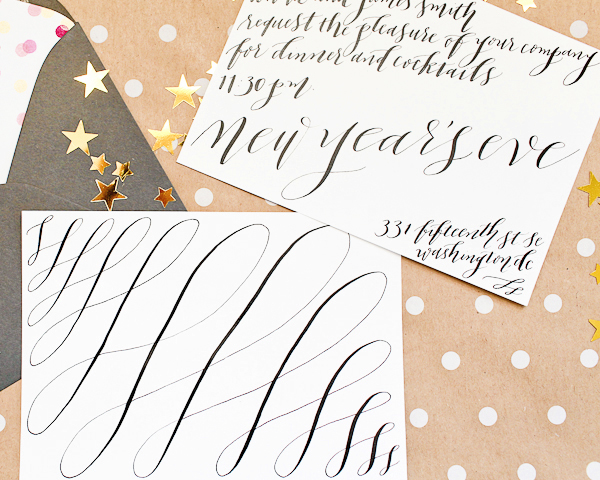
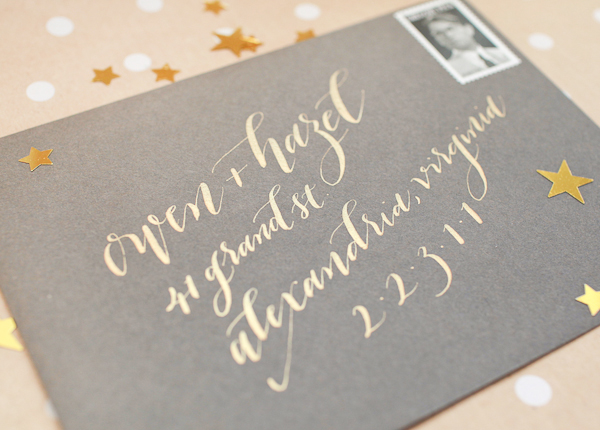
As always, let’s start with the invitations! Because we were aiming for something a bit more formal this time around, I decided to go with calligraphy from start to finish. Michele from Meant to Be Calligraphy created a stunning invitation in classic black ink on white paper and a calligraphy flourish on the back. We paired the invitations with slate gray envelopes (with a colorful DIY envelope liner) addressed in shimmery gold ink.

OSBP-St-Germain-New-Years-Eve-Cocktail-Party-Ideas-Recipes-337

OSBP-St-Germain-New-Years-Eve-Cocktail-Party-Ideas-Recipes-321

OSBP-St-Germain-New-Years-Eve-Cocktail-Party-Ideas-Recipes-208

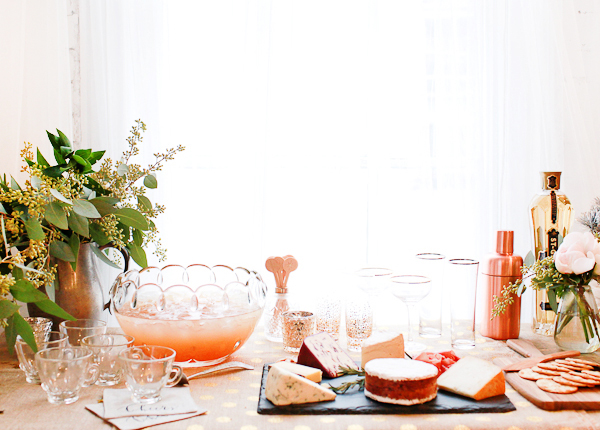
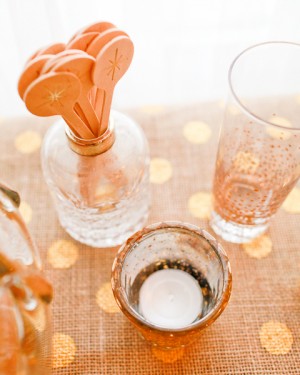
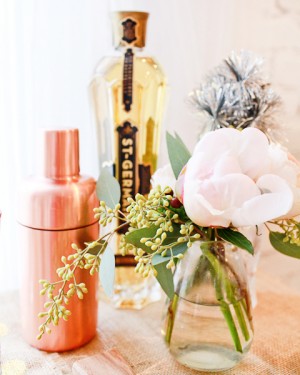
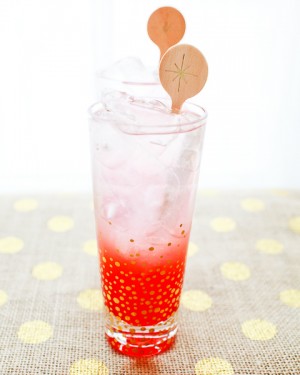
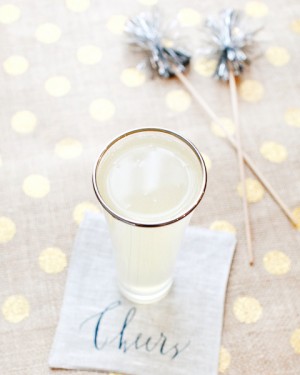
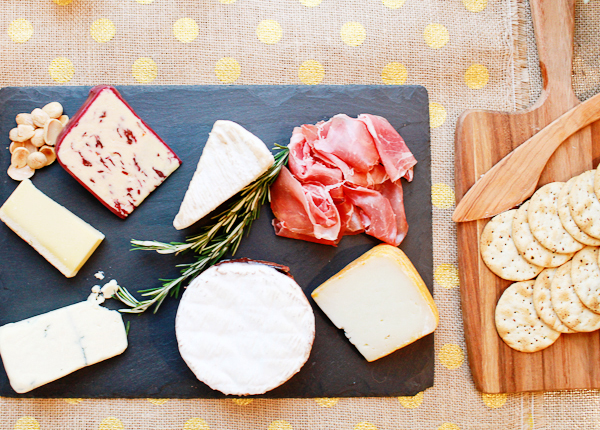
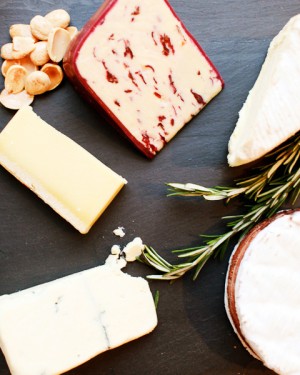
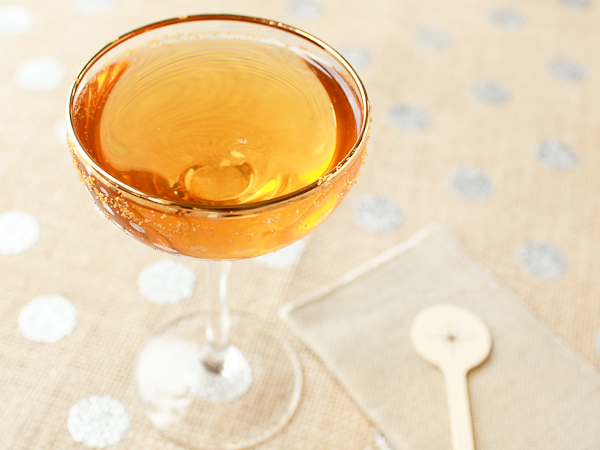
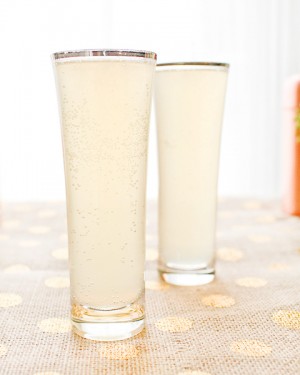
We set up a side table as a makeshift bar to welcome guests with cocktails and appetizers – a little something to keep everyone happy through the countdown to midnight! We’ll be sharing the recipes a little bit later, but our menu included a cheese plate (a party requirement, yes?), a punch, a classic cocktail recipe, a champagne cocktail, and a mocktail for any designated drivers.

OSBP-St-Germain-New-Years-Eve-Cocktail-Party-Ideas-Recipes-237OSBP-St-Germain-New-Years-Eve-Cocktail-Party-Ideas-Recipes-218

OSBP-St-Germain-New-Years-Eve-Cocktail-Party-Ideas-Recipes-21OSBP-St-Germain-New-Years-Eve-Cocktail-Party-Ideas-Recipes-63

OSBP-St-Germain-New-Years-Eve-Cocktail-Party-Ideas-Recipes-230

Slate from Brooklyn Slate Company / Wood serving board from Target

OSBP-St-Germain-New-Years-Eve-Cocktail-Party-Ideas-Recipes-243OSBP-St-Germain-New-Years-Eve-Cocktail-Party-Ideas-Recipes-219

OSBP-St-Germain-New-Years-Eve-Cocktail-Party-Ideas-Recipes-460

OSBP-St-Germain-New-Years-Eve-Cocktail-Party-Ideas-Recipes-53OSBP-St-Germain-New-Years-Eve-Cocktail-Party-Ideas-Recipes-85

OSBP-St-Germain-New-Years-Eve-Cocktail-Party-Ideas-Recipes-236

OSBP-St-Germain-New-Years-Eve-Cocktail-Party-Ideas-Recipes-211OSBP-St-Germain-New-Years-Eve-Cocktail-Party-Ideas-Recipes-289

Vintage punch bowl set and ladle / Coasters from Linea Carta

OSBP-St-Germain-New-Years-Eve-Cocktail-Party-Ideas-Recipes-238

OSBP-St-Germain-New-Years-Eve-Cocktail-Party-Ideas-Recipes-260

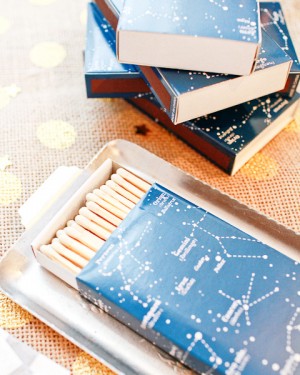
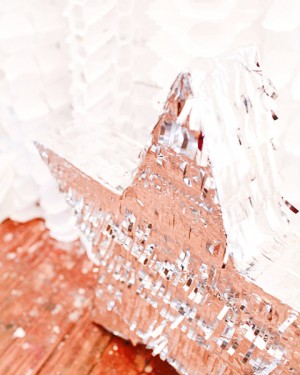
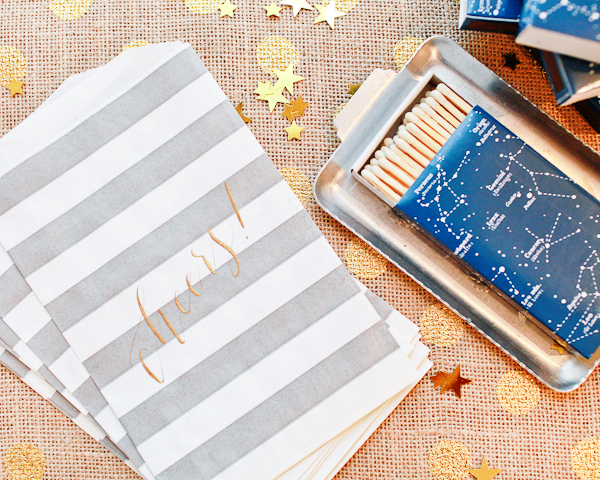
I’ve been obsessed with these constellation matchboxes for the longest time – they seemed like the perfect favors for a New Year’s Eve party! We paired them with gray and white striped favor bags from Shop Sweet Lulu with Michele’s calligraphy in gold ink.

OSBP-St-Germain-New-Years-Eve-Cocktail-Party-Ideas-Recipes-265OSBP-St-Germain-New-Years-Eve-Cocktail-Party-Ideas-Recipes-280

OSBP-St-Germain-New-Years-Eve-Cocktail-Party-Ideas-Recipes-222

OSBP-St-Germain-New-Years-Eve-Cocktail-Party-Ideas-Recipes-449

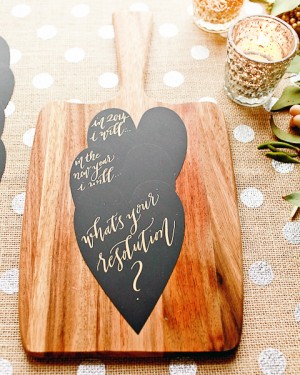
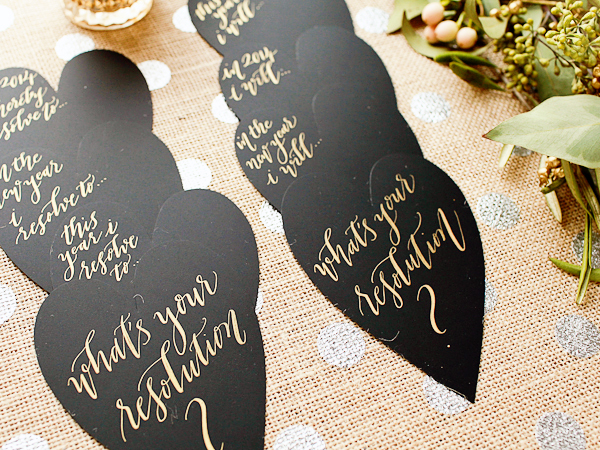
I found these heart shaped cards at Paper Source a while back (sadly no longer available in black), but wasn’t quite sure what to do with them. Michele came up with the brilliant idea of giving them to guests to inspire resolutions for the new year and conversations with fellow guests. Michele wrote out phrases on each card, again in gold ink – they’re now pretty much my favorite thing ever!

OSBP-St-Germain-New-Years-Eve-Cocktail-Party-Ideas-Recipes-442OSBP-St-Germain-New-Years-Eve-Cocktail-Party-Ideas-Recipes-428

OSBP-St-Germain-New-Years-Eve-Cocktail-Party-Ideas-Recipes-120

OSBP-St-Germain-New-Years-Eve-Cocktail-Party-Ideas-Recipes-130OSBP-St-Germain-New-Years-Eve-Cocktail-Party-Ideas-Recipes-135

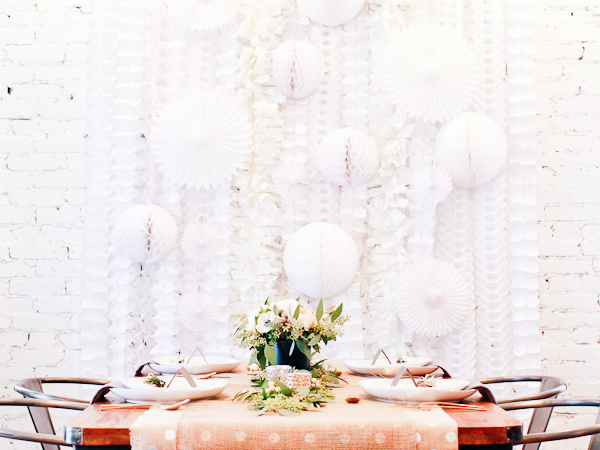
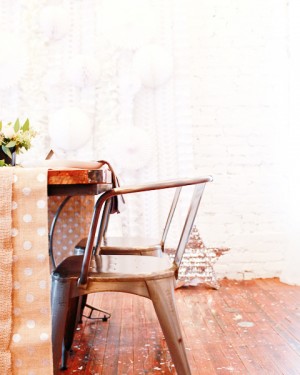
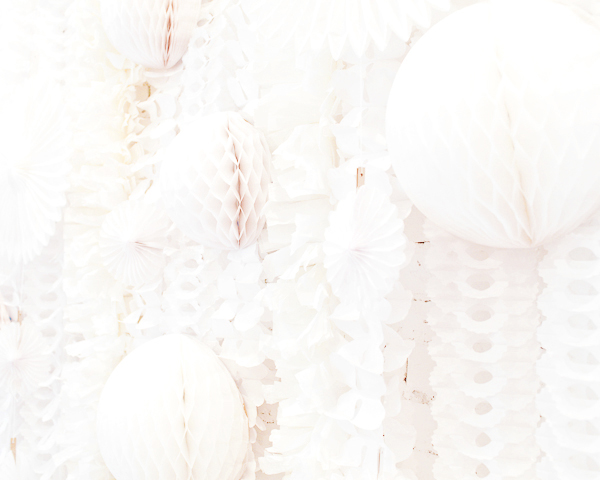
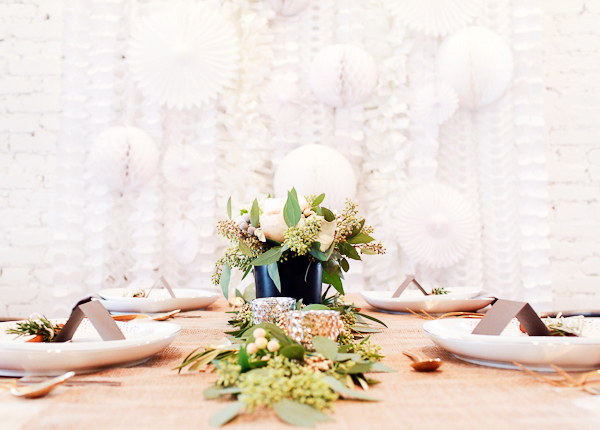
After midnight, time for dinner! Amber and Emily from Karson Butler Events created a backdrop of white streamers and a mixture of tissue paper fans and honeycombs in various sizes for a really beautiful layered texture. It’s so pretty against the white brick wall!

OSBP-St-Germain-New-Years-Eve-Cocktail-Party-Ideas-Recipes-138

OSBP-St-Germain-New-Years-Eve-Cocktail-Party-Ideas-Recipes-192

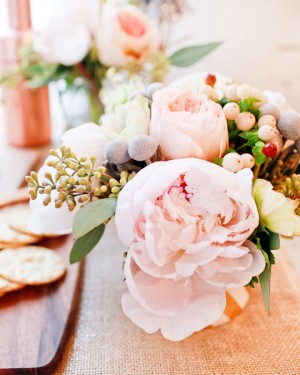
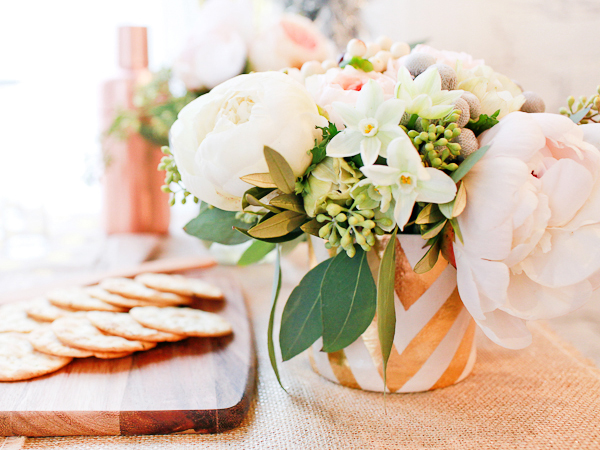
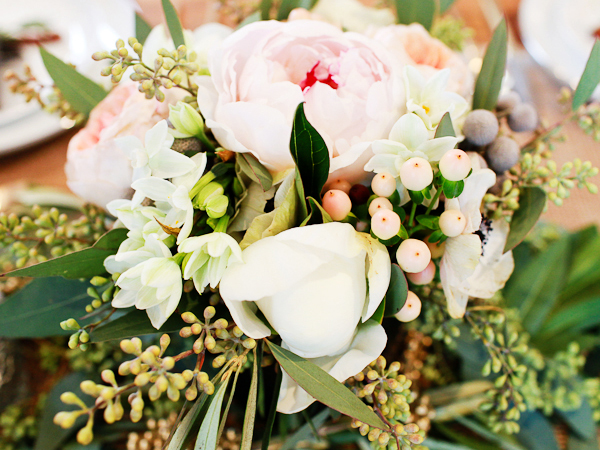
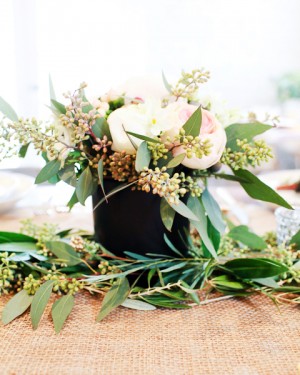
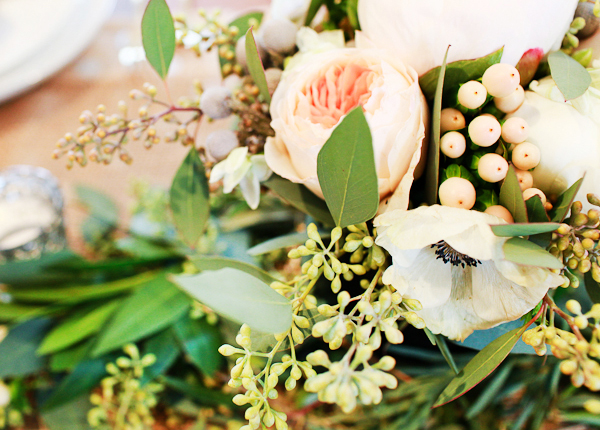
I had so much fun with the floral arrangements! I created a single centerpiece for the dinner table with peonies, garden roses, black and white anemones, paperwhites, silver brunia, white hypericum berries, and seeded eucalyptus. Smaller arrangements with the same flowers were sprinkled around the bar, along with a large bunch of seeded eucalyptus and bay leaves in an antique metal pitcher.

OSBP-St-Germain-New-Years-Eve-Cocktail-Party-Ideas-Recipes-180

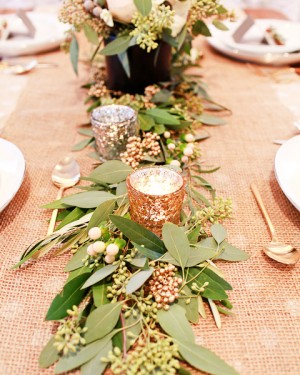
I also did a simple swag of greenery down the center of the dinner table using small clippings of seeded eucalyptus, bay leaves, olive leaves, hypericum berries, and gold spray painted pepper berries (for a bit of extra sparkle) – all tucked around the centerpiece floral arrangement and small mercury glass votives. No floral wire necessary! We also created a table runner using layers of burlap – a plain loose weave burlap over silver polka dot burlap from Joann Fabrics.

OSBP-St-Germain-New-Years-Eve-Cocktail-Party-Ideas-Recipes-181OSBP-St-Germain-New-Years-Eve-Cocktail-Party-Ideas-Recipes-245

OSBP-St-Germain-New-Years-Eve-Cocktail-Party-Ideas-Recipes-202

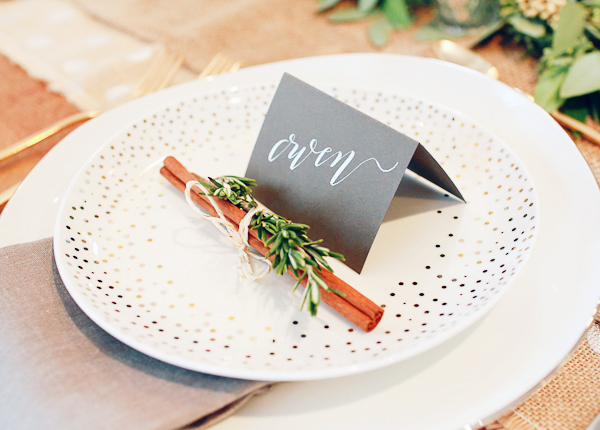
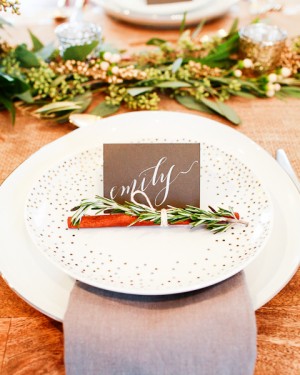
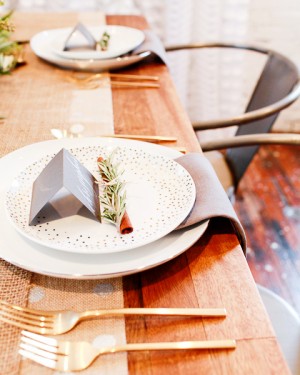
Our place settings included place cards with Michele’s calligraphy in silver ink on slate gray paper, metallic rimmed plates with gray linen napkins, and gold flatware.

OSBP-St-Germain-New-Years-Eve-Cocktail-Party-Ideas-Recipes-163OSBP-St-Germain-New-Years-Eve-Cocktail-Party-Ideas-Recipes-189

OSBP-St-Germain-New-Years-Eve-Cocktail-Party-Ideas-Recipes-171

Full cocktail and mocktail recipes are coming up in just a bit!

Styling: Oh So Beautiful Paper and Karson Butler Events

Invitations and Calligraphy: Meant to Be Calligraphy

Floral Design: Oh So Beautiful Paper

Location: Karson Butler Events Design Studio

Photo Credits: Nole Garey for Oh So Beautiful Paper

Happy Weekend!

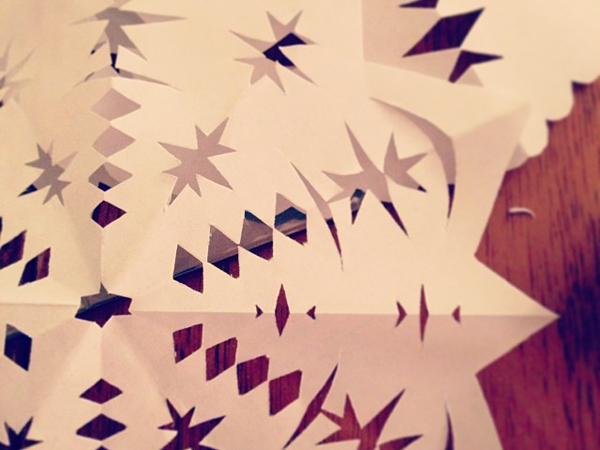
Happy Friday everyone! It’s always busy the first week back after a holiday weekend, and this week was no exception! I’m busy preparing for a big project this weekend, which I’m excited to share with all of you soon! Andy and I also went over to meet the most adorable two-week old baby – who also happens to be the most chill newborn in the universe. I’m still trying to wrap my head around the fact that Sophie was ever that small! Amazing. Anyway, I’m heading off to prep for our big weekend project! But in the meantime…

OSBP-Paper-Snowflakes

Photo by me via Instagram

…a few links for your weekend!

This week on Oh So Beautiful Paper:

Check back soon for this week’s cocktail! I hope you all have a wonderful weekend, and I’ll see you back here next week! xoxo

DIY Tutorial: Gift Wrapped Wine Box Favors

With the holidays right around the corner, we’ve definitely got gift wrapping on the brain! This tutorial is great because not only would this make a great hostess gift but it would also be a fabulous favor idea for a party or wedding. The steps are super simple, so it’s easy to make one box – or one hundred! â€“ Bailey and Emma of Antiquaria

DIY Tutorial: Gift Wrapped Wine Box Favors by Antiquaria for Oh So Beautiful Paper
DIY Tutorial: Gift Wrapped Wine Box Favors by Antiquaria for Oh So Beautiful Paper
DIY Tutorial: Gift Wrapped Wine Box Favors by Antiquaria for Oh So Beautiful Paper
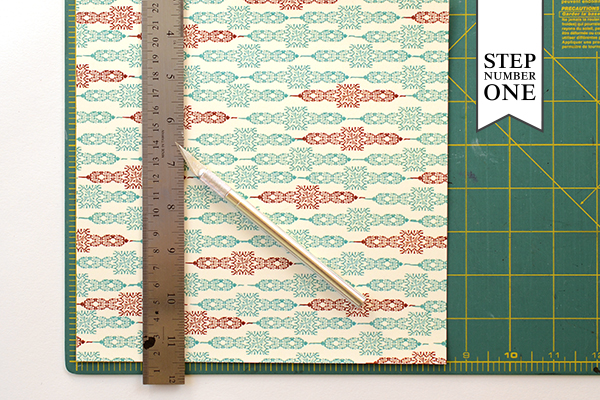
Step One: Start by creating the little hang tag for the outside of the box. To do this, cut your card stock (we used our Old West Patterned Paper) into rectangles measuring 2.5″ x 5″ with a craft knife and ruler on a self healing mat.

DIY Tutorial: Gift Wrapped Wine Box Favors by Antiquaria for Oh So Beautiful Paper
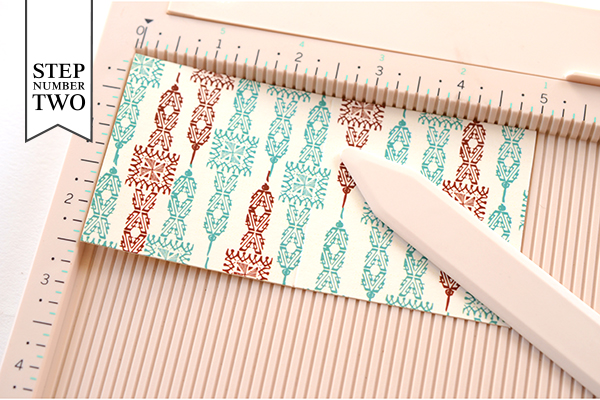
Step Two: Next, you’ll score the card so that it will fold nicely. On a scoreboard, run your tool at the 2.5 inch mark to make the score. Don’t fold the card yet!

DIY Tutorial: Gift Wrapped Wine Box Favors by Antiquaria for Oh So Beautiful Paper
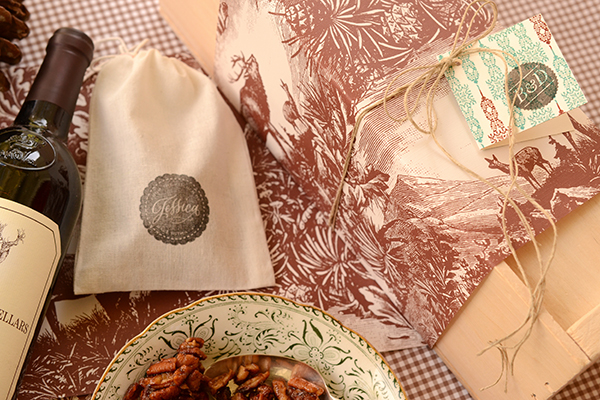
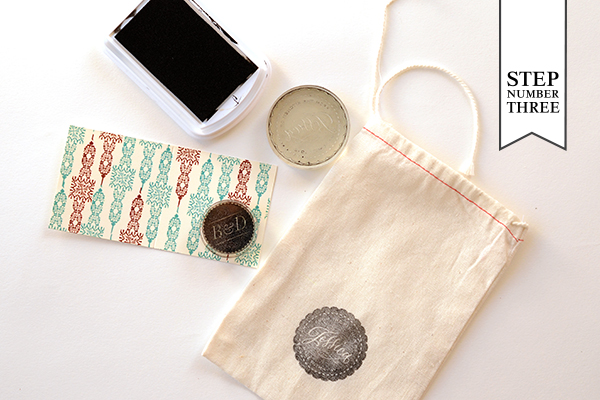
Step Three: Now you’ll get to stamping! Stamp your monogram (we used our Seal Monogram) on the tag in the lower lefthand corner. You’ll also want to stamp your muslin bag with your monogram, or if the goodies are homemade, a kitchen seal stamp works perfectly! With the stamps that are mostly black, like ones shown, you’ll want to take extra care that they are inked really well (see picture below). If they aren’t, your image will be too light to be legible. We’d suggest starting the project with a brand new stamp pad. You can watch our step-by-step video tutorial about the stamp printing process here.

DIY Tutorial: Gift Wrapped Wine Box Favors by Antiquaria for Oh So Beautiful Paper
DIY Tutorial: Gift Wrapped Wine Box Favors by Antiquaria for Oh So Beautiful Paper
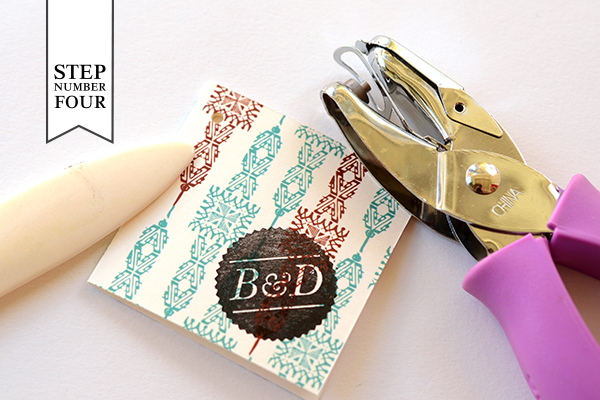
Step Four: Once your ink is dry, it’s time to fold your little card! Use a bone folder to get a crisp, clean fold. Then, punch a hole in the top left corner for the string to go through.

DIY Tutorial: Gift Wrapped Wine Box Favors by Antiquaria for Oh So Beautiful Paper
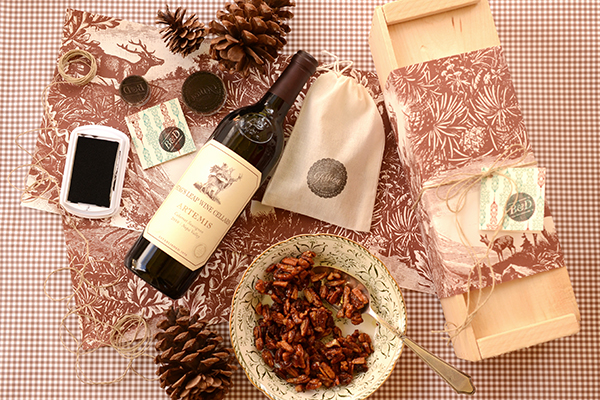
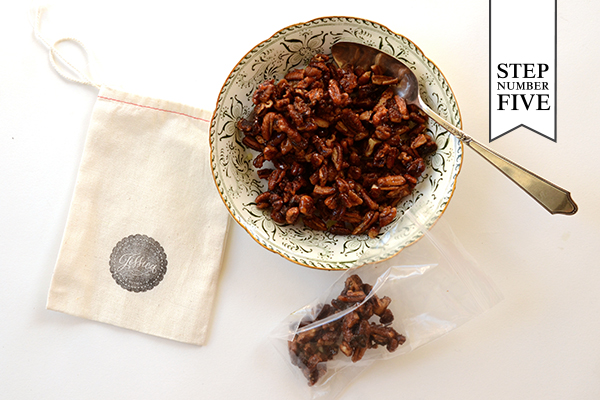
Step Five: Homemade treats make the holidays truly special. We decided to make a batch of these yummy spiced nuts (we used pecans) from a Martha Stewart recipe. Once the nuts are cooled, scoop them into clear food safe bags and insert them into your stamped muslin treat bag! Draw the string and tie the bag closed.

DIY Tutorial: Gift Wrapped Wine Box Favors by Antiquaria for Oh So Beautiful Paper
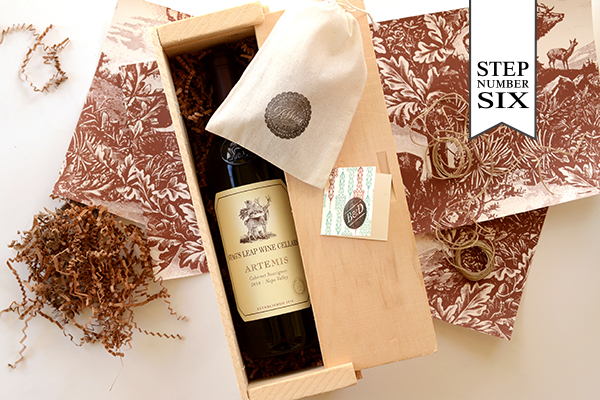
Step Six: Now it all comes together! Gather all of your wrapping materials together and get started. For the large box “belly band” we used a sheet of wrapping paper cut into thirds. To pad the wine bottle in its box, we used kraft crinkle packed snuggly around the bottle. Lay your treat bag on top of the wine bottle and fill up around everything with more crinkle. Now slide the box closed!

DIY Tutorial: Gift Wrapped Wine Box Favors by Antiquaria for Oh So Beautiful Paper
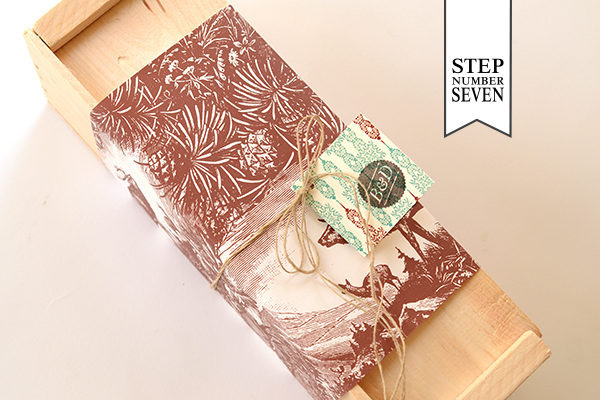
Step Seven: Once everything is secure in the closed box, wrap your decorative paper around the box and secure on the back with double sided tape. Tie around the middle with hemp twine, threading your stamped monogram tag before tying a bow. The gift is now ready and your friend and loved ones will be as thrilled with the gorgeous presentation as the yummy gifts themselves!

Materials

Old West Patterned Paper in Turquoise Card Stock
Seal Monogram Stamp

Kitchen Seal Stamp, No.2

Muslin Bags

Stamp Pad (we recommend a brand new one, this one can be heat set and made permanent on fabric)

Self Healing Mat, Craft knife and Metal Ruler
Score Board

Hole Punch

Wooden Wine Box

Food Safe Plastic Bags

Decorative Gift Wrap (you can have this pre-cut for you before having it shipped)
Hemp Twine

Kraft Crinkle

Phototgraphy: Antiquaria for Oh So Beautiful Paper