Seasonal Stationery: 2017 Calendars

As we get ready to wrap up the year, I wanted to share at least one round up of beautiful 2017 calendars! I’m not really one for new year’s resolutions, but I always look forward to the optimism of a new year. The promise of a fresh start. A new calendar on the wall and a new date in the top corner. And I don’t know about all of you, but I’m looking forward to waving goodbye to 2016 and welcoming 2017. So let’s get some fresh new calendars on those walls! I’m sharing twelve of my favorites below, but if you’re looking for even more calendar options, you can find 100+ more 2017 calendars in the Market List here!

2017 Calendar Round Up

1. If you’re like me and occasionally forget to turn the page of your monthly calendar, try this tear-away wildflower calendar from Hartland Brooklyn – which you can repurpose as an art print at the end of the year!

2. This amazing 2017 Collaborative Calendar features artwork and words from 14 mothers (and some of my favorite artists), including Liz Libre of Linda & Harriett, Erin Jang of The Indigo Bunting, Meg Gleason of Moglea, Lena Corwin, and Samantha Hahn. All proceeds from the calendar will benefit Room to Grow, an organization dedicated to enriching the lives of babies born into poverty, throughout their first three years of development.

3. I will always say yes to pie. This year’s calendar from Wild Ink Press features twelve illustrations of our favorite pie recipes!

4. I’m absolutely obsessed with this botanical calendar by Esther Clark. Each month features Esther’s calligraphy and beautiful seasonal botanical illustrations, including my beloved hellebores, anemones, peonies, clematis, and more!

5. Beautiful (and colorful!) abstract art prints plus plenty of space to keep track of appointments in this wall calendar from Fine Day Press

6. It really just doesn’t get more classic than this: black text on white paper and gold borders in this desk calendar from Sugar Paper

7. Rifle Paper Co. always produces an amazing selection of calendars – this constellation calendar is my favorite this year!

8. Idlewild Co.’s Ladies of Literature wall calendar features 12 hand painted portraits of notable literary ladies, including Jane Austen, Emily Dickinson, Maya Angelou, Emily Bronte, J.K. Rowling, and Laura Ingalls Wilder.

9. A year of flowers sounds just about right to me, especially when paired with beautiful photographs by Whimsy and Spice.

10. Need a little extra motivation in your day? Try this copper foil Positivity Calendar from Fox & Fallow!

11. Loving this year’s travel-inspired calendar collaboration between Good on Paper and Jennifer Young Studio. Each page features a beautiful photograph inspired by Jennifer’s travels across the United States, with two months per page and space at the bottom for notes.  

12. With gold foil and a solid brass base, this desk calendar from Blushing Confetti is the perfect way to dress up your office!

p.s. 100+ more 2017 calendars in the Market List right here and twelve awesome 2017 planners and agendas here!

DIY Metallic and Iridescent Star Table Confetti

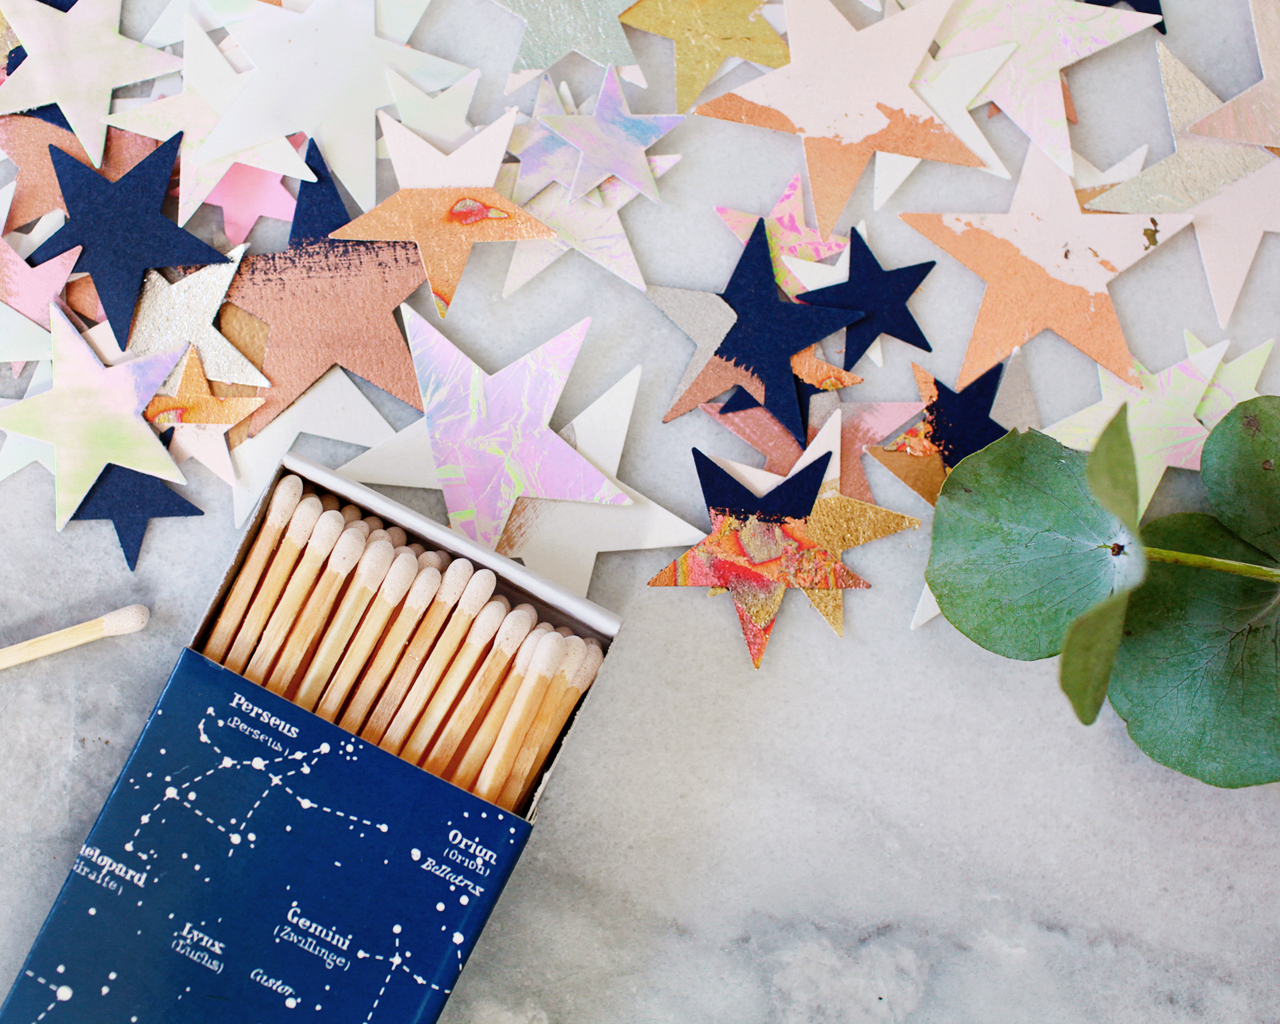
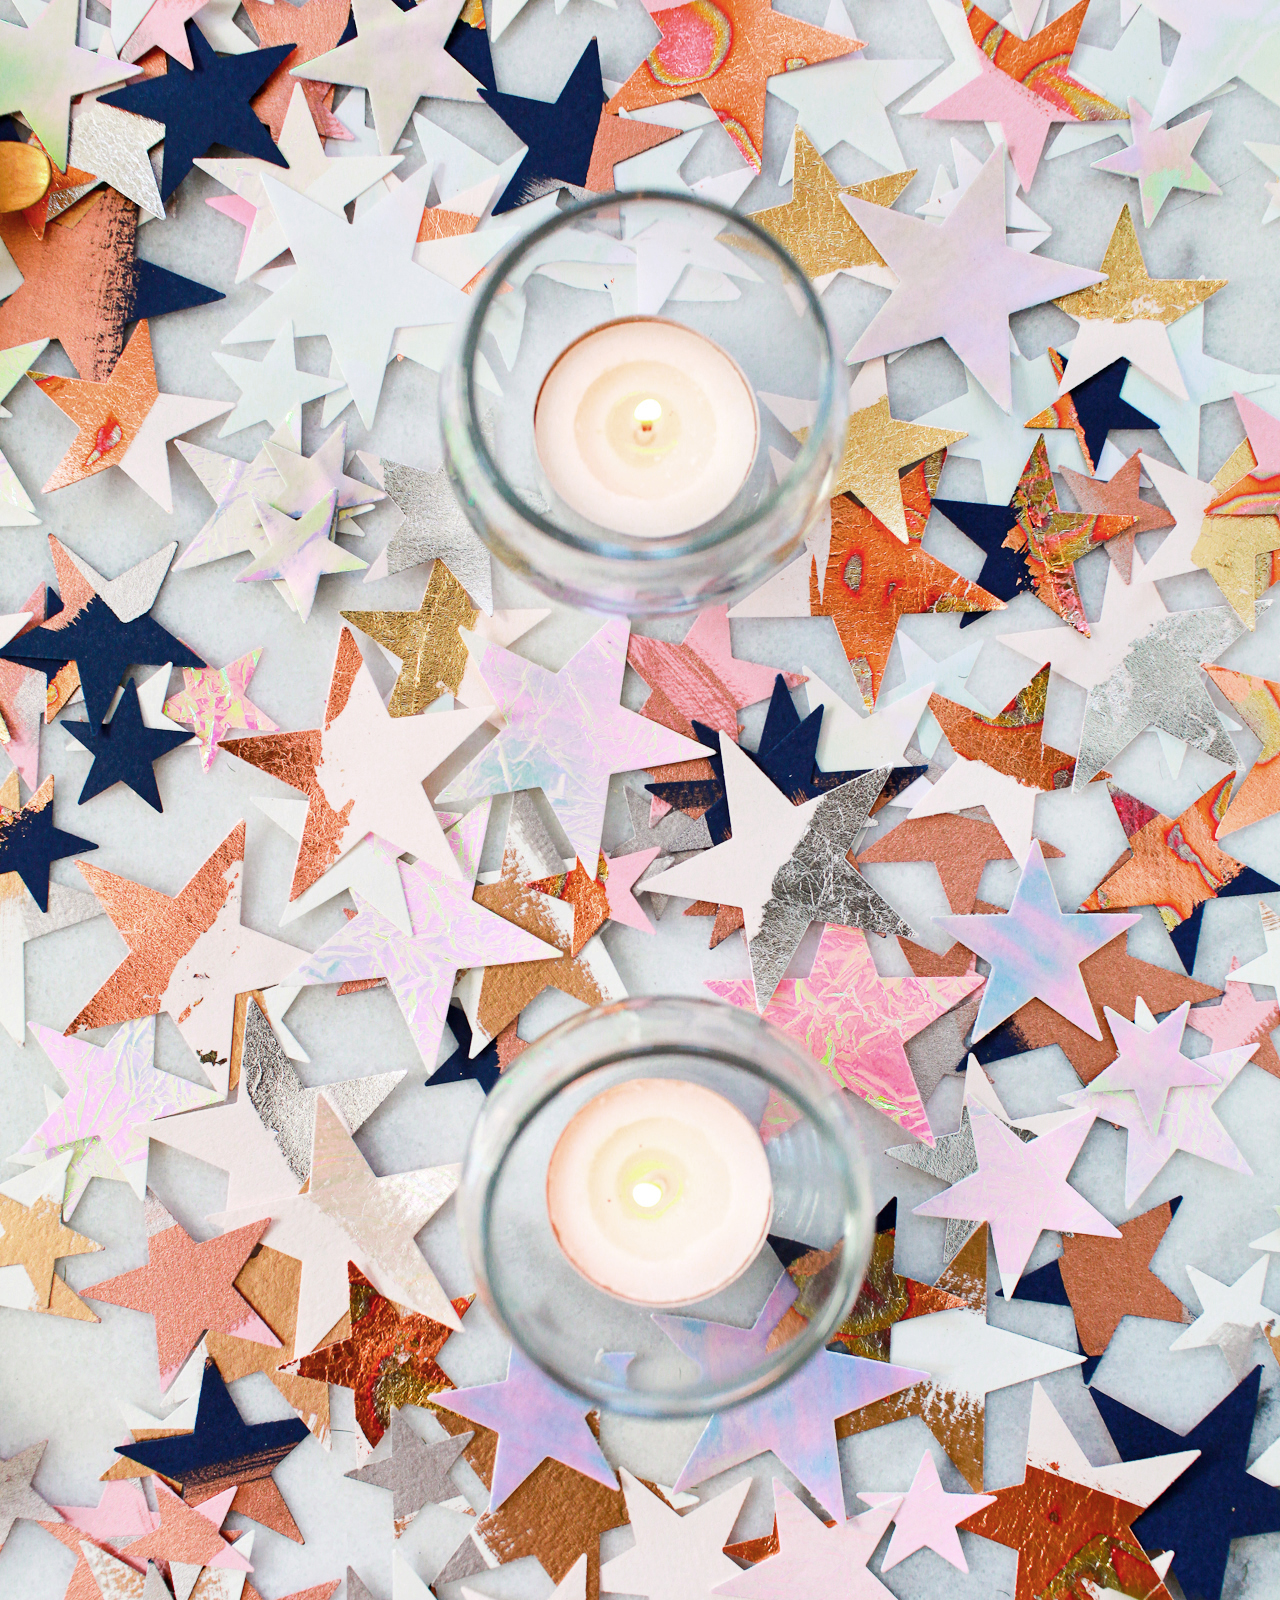
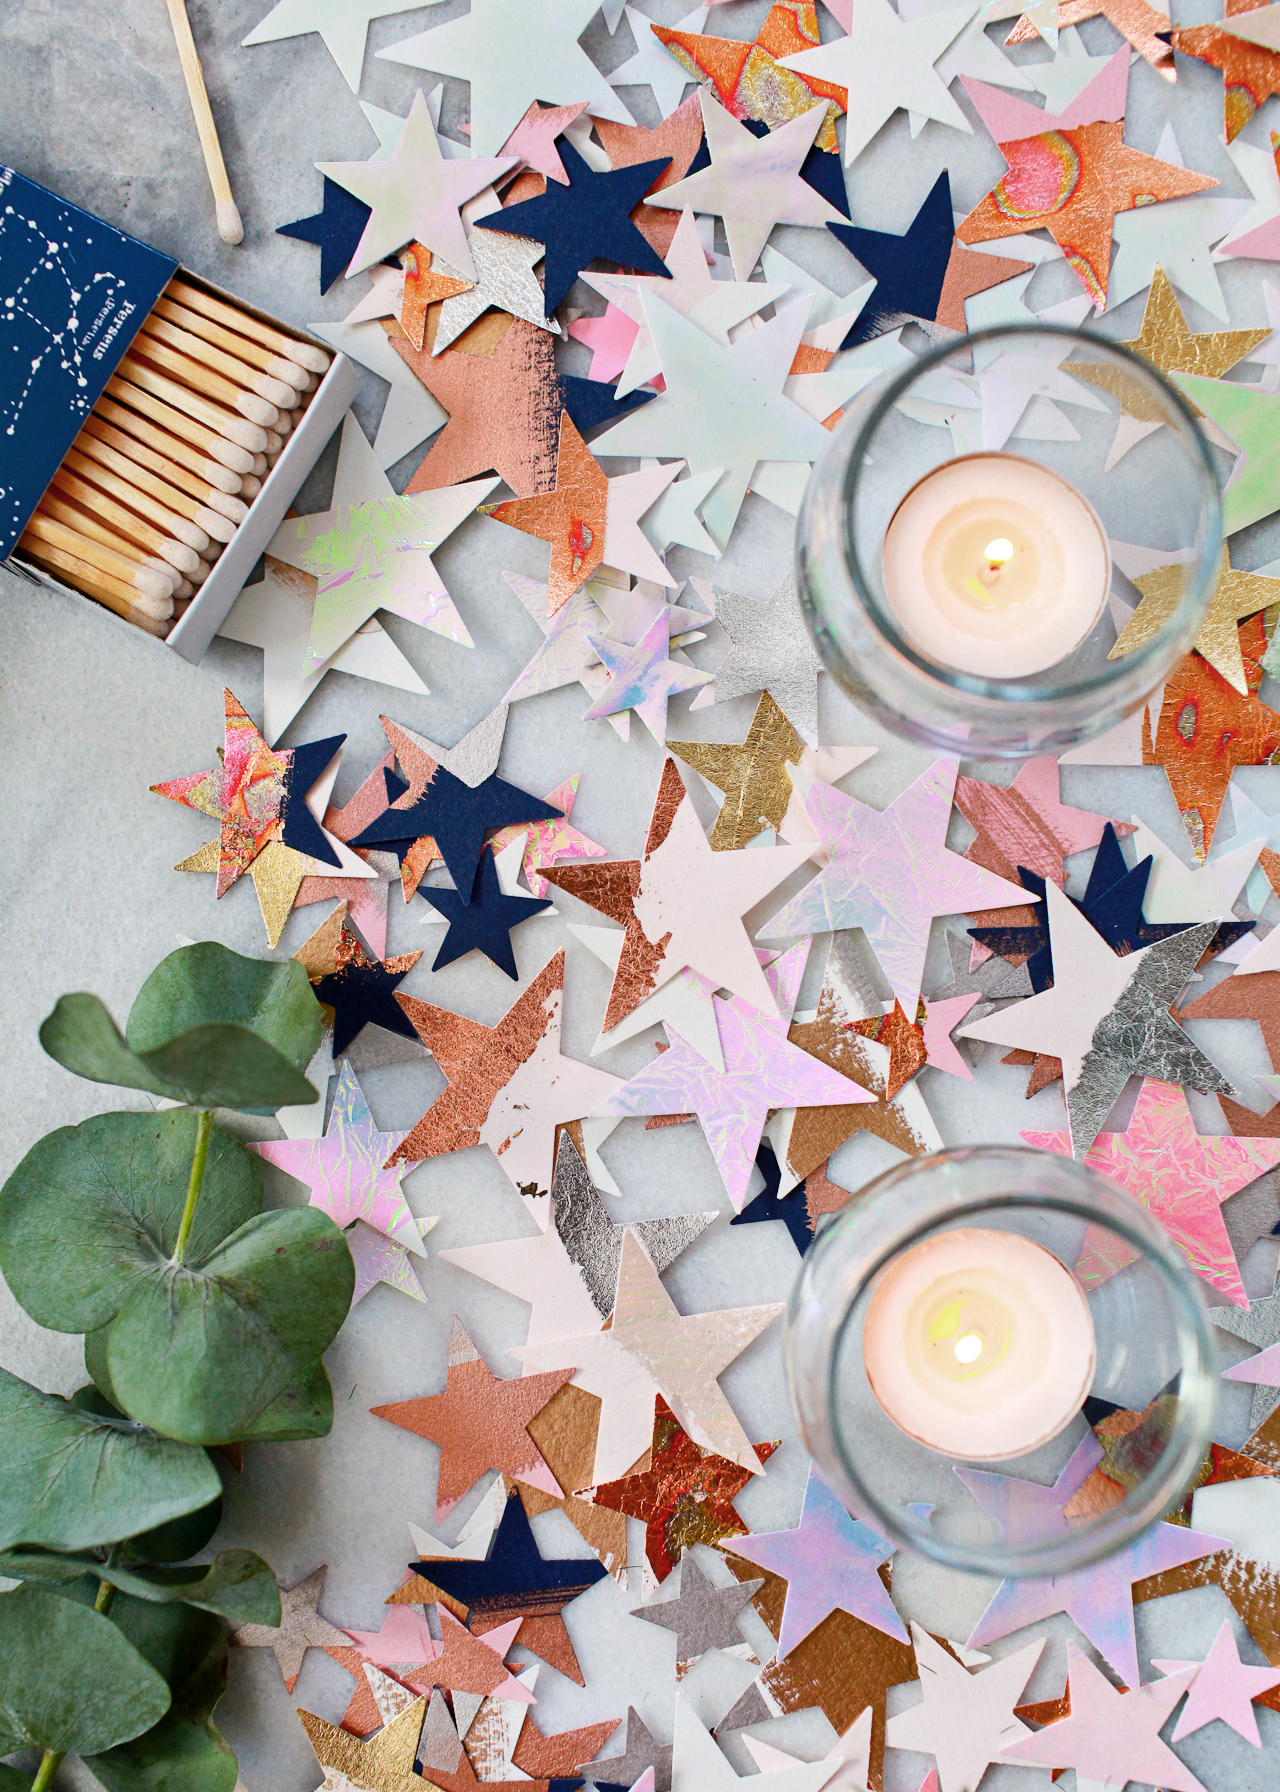
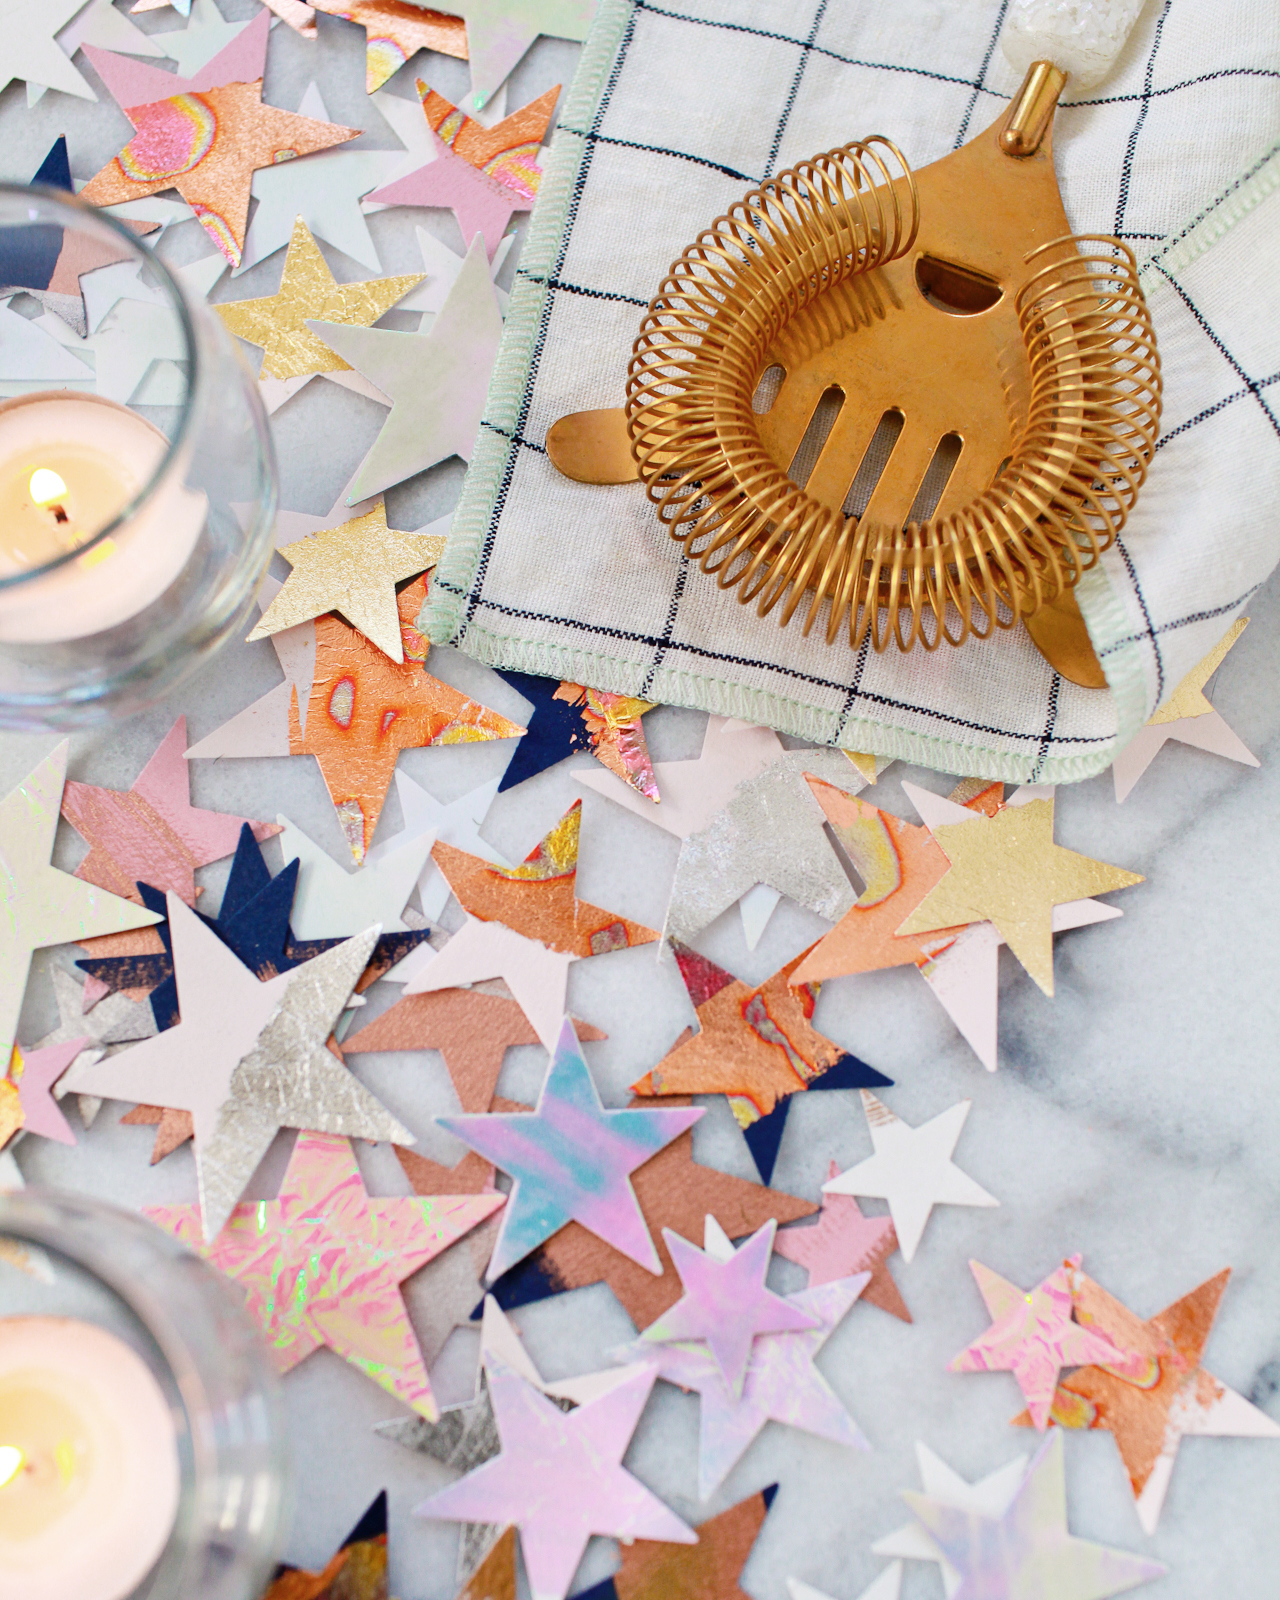
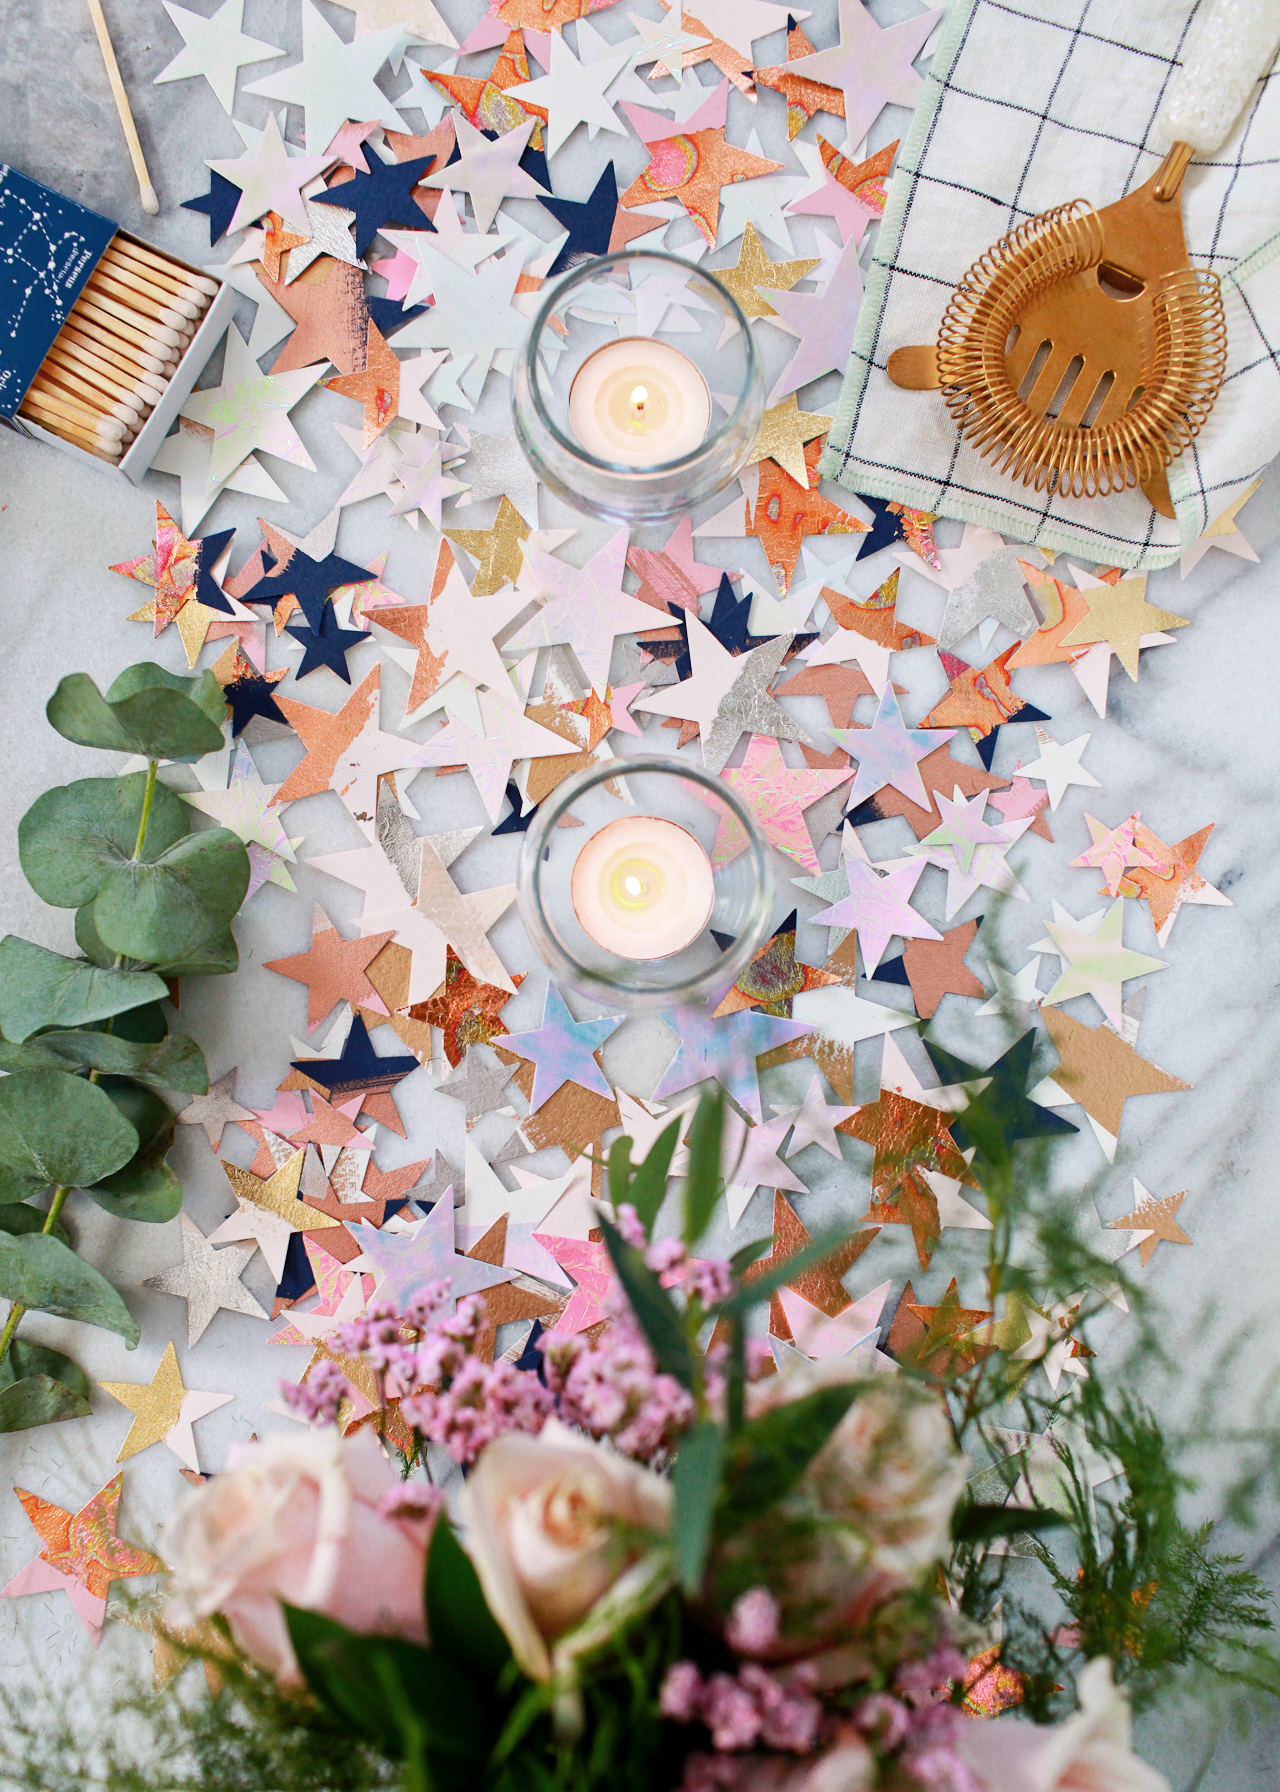
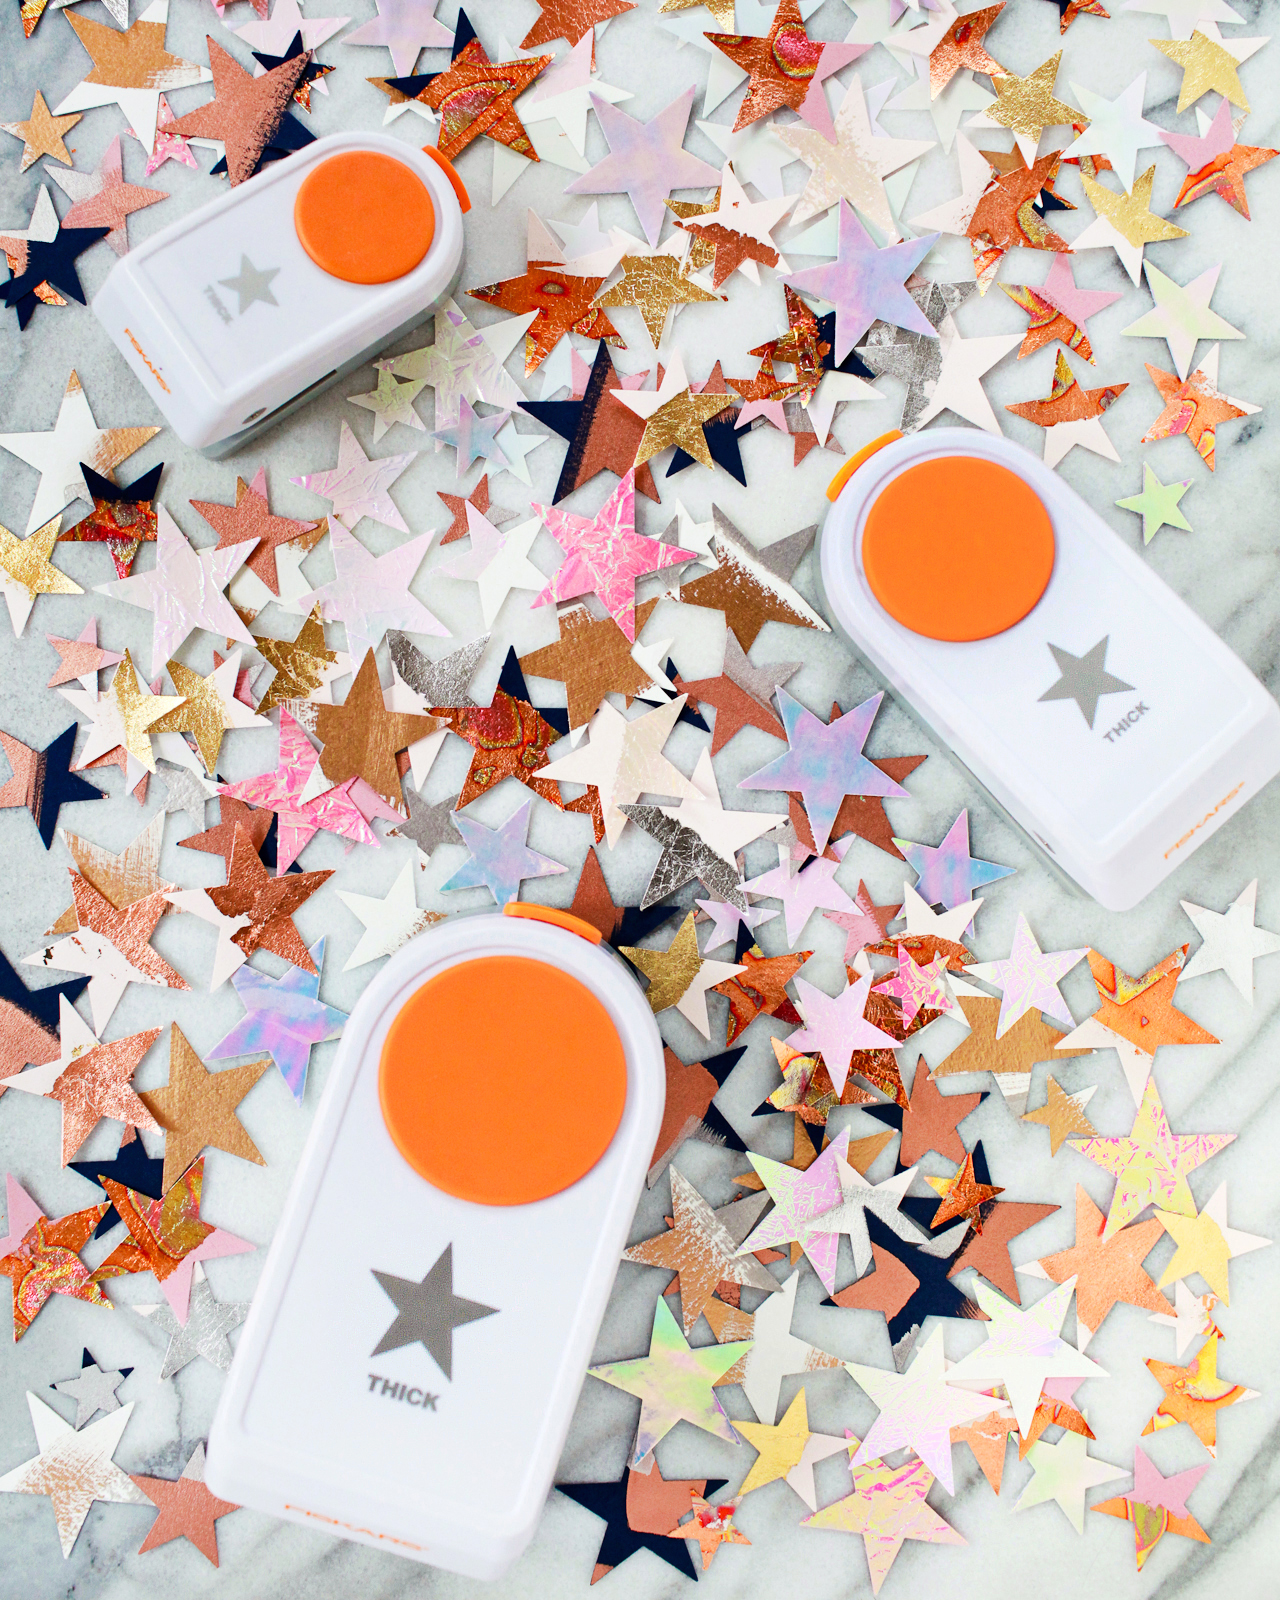
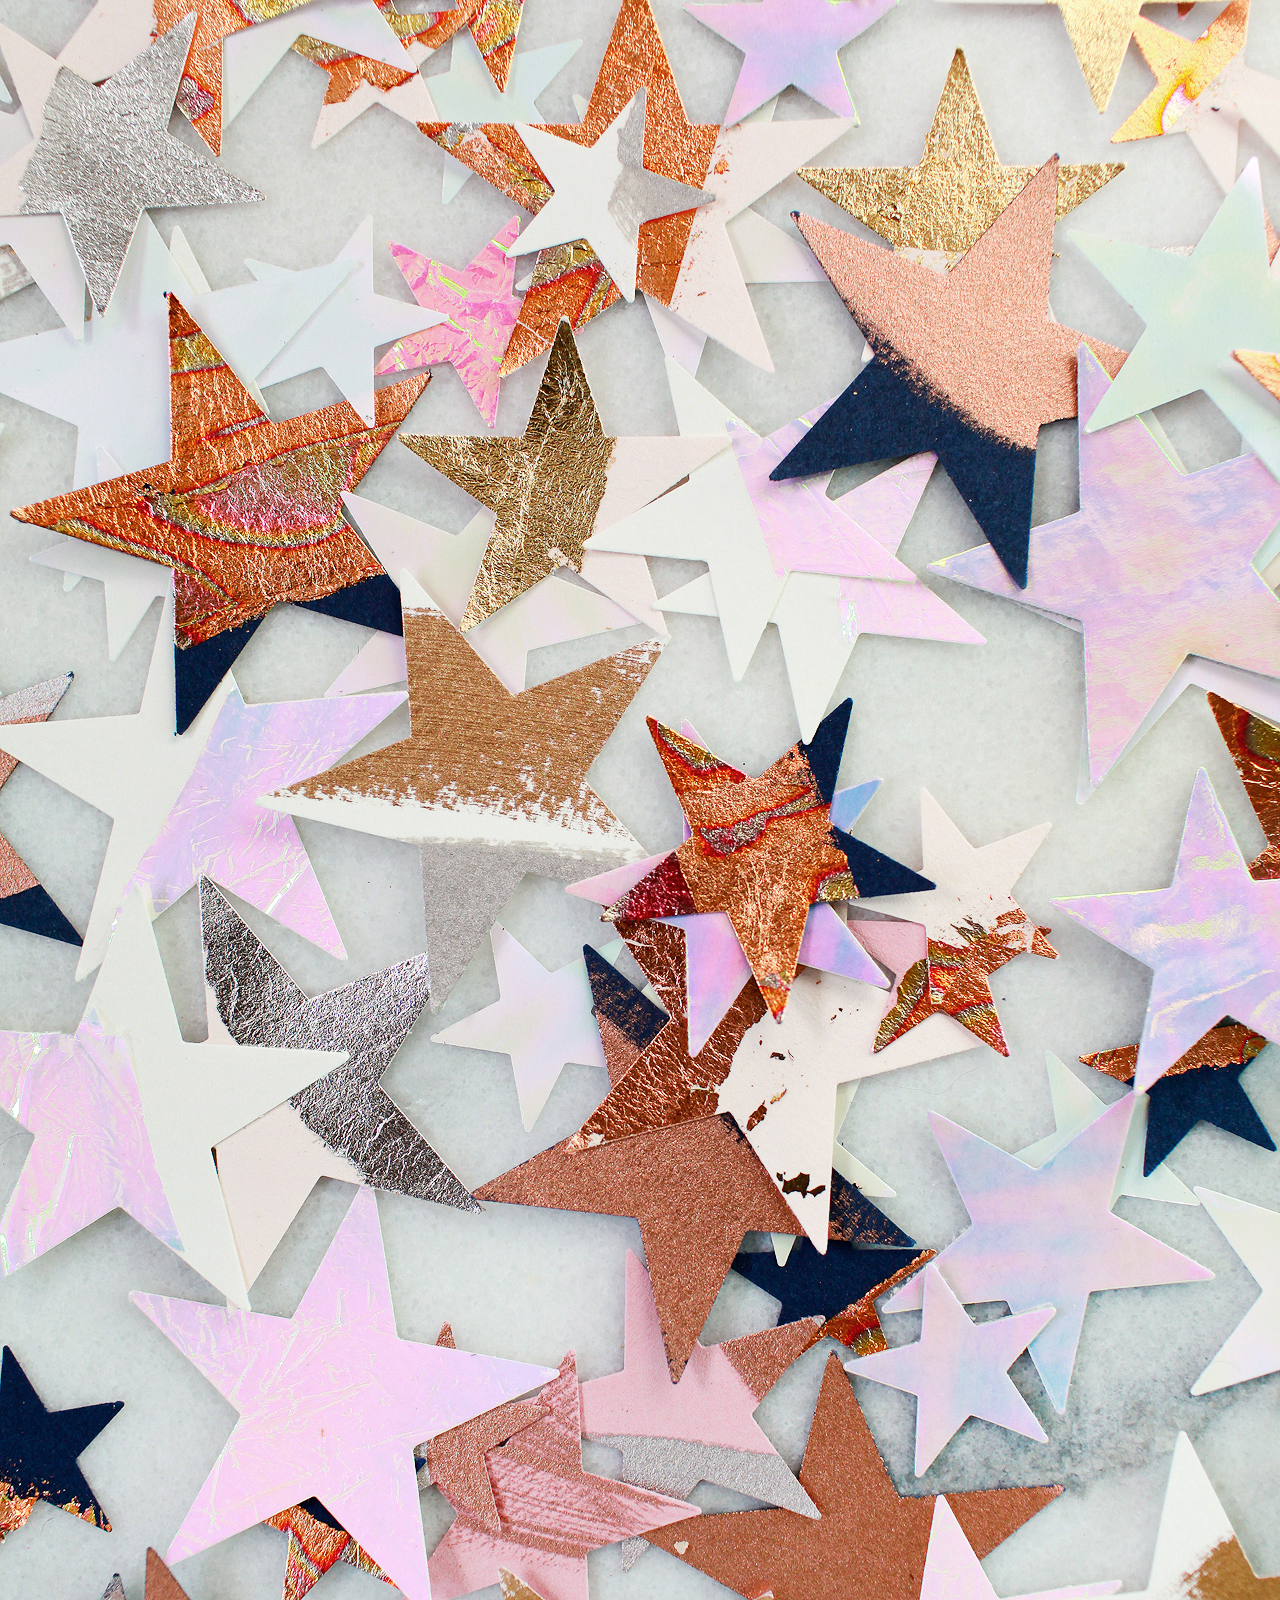
All I really want during the holidays is a whole lot of sparkle. Metallics, glitter, iridescent – I’ll take it all! So when Fiskars asked me what I’d do with their Star Thick Materials Shape Punches, I knew it had to involve plenty of sparkle and shine. Stars also happen to be the perfect way to dress up a Christmas or New Year’s Eve table. So I combined some colorful paper with lots of shimmery materials to make some DIY metallic and iridescent star table confetti! Use them as an informal table runner or to decorate a bar or buffet!
DIY Metallic and Iridescent Star Table Confetti

DIY Metallic and Iridescent Star Table Confetti

DIY Metallic and Iridescent Star Table Confetti

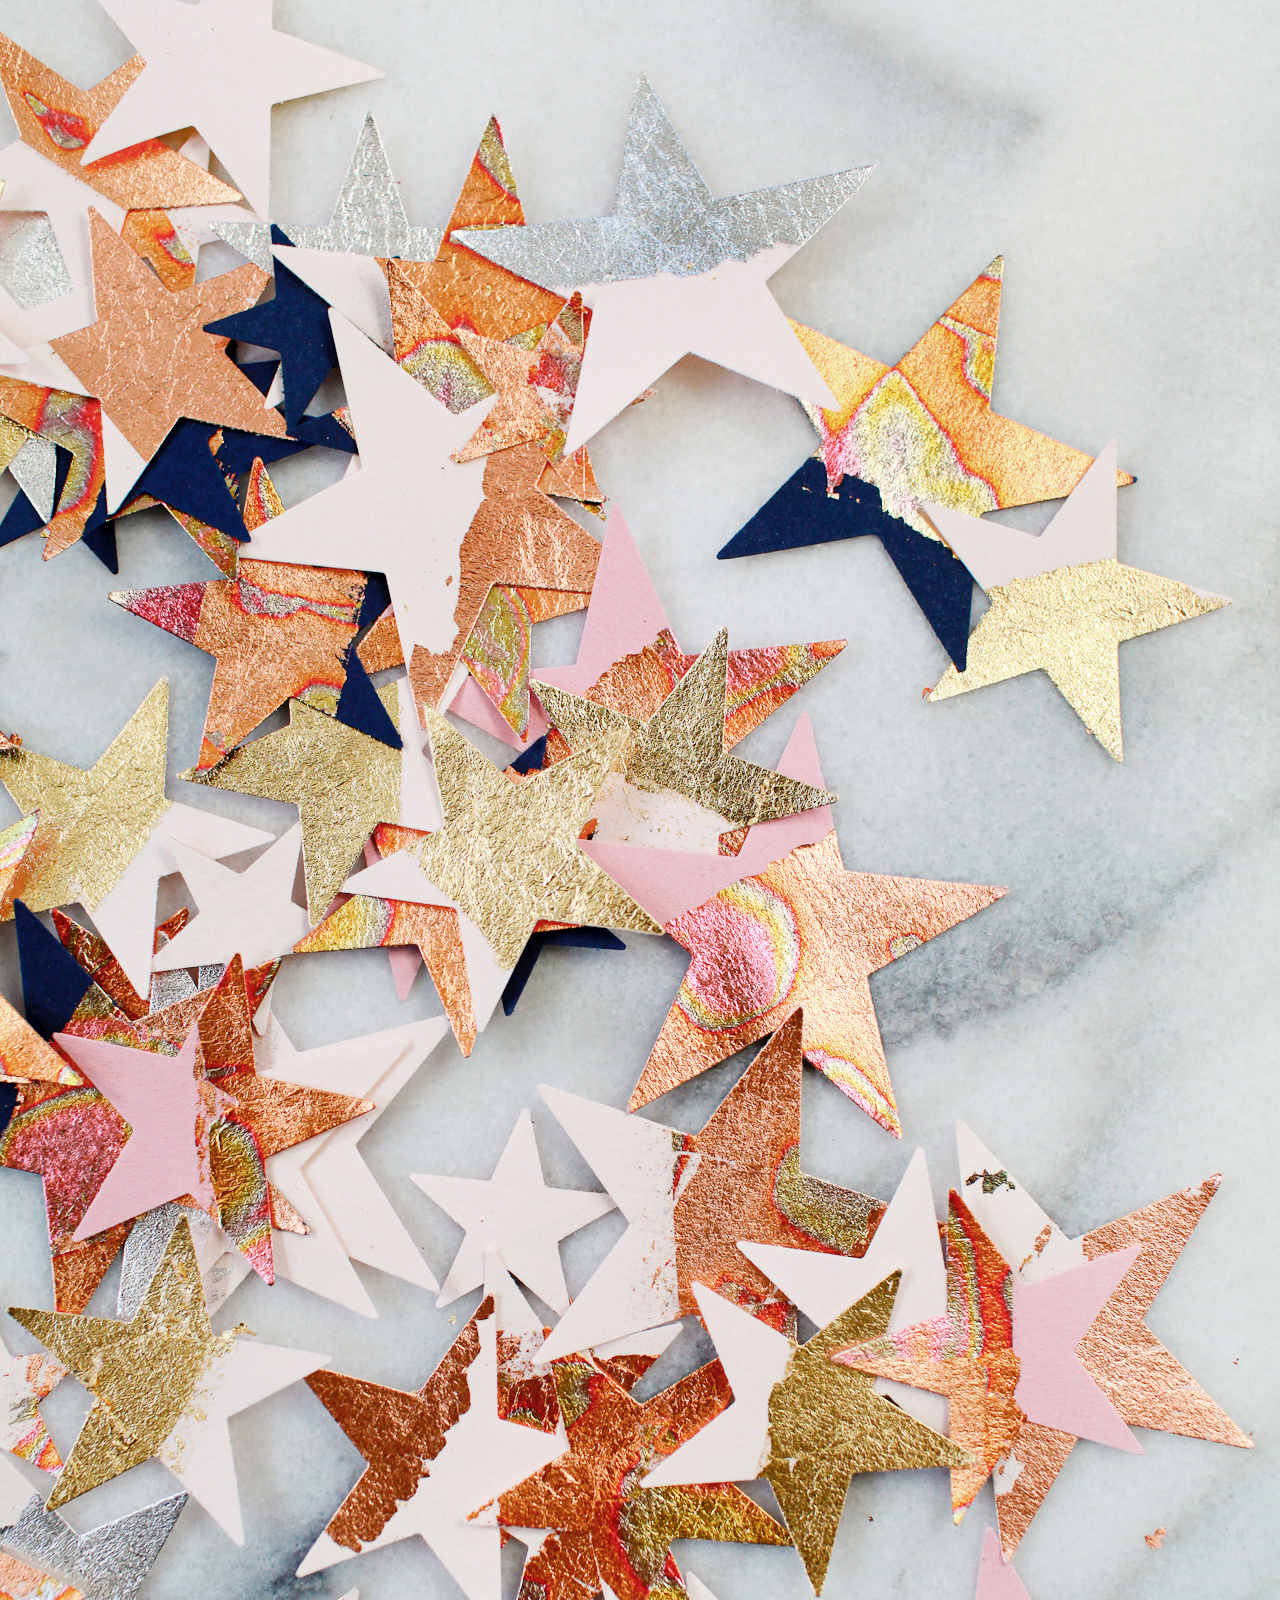
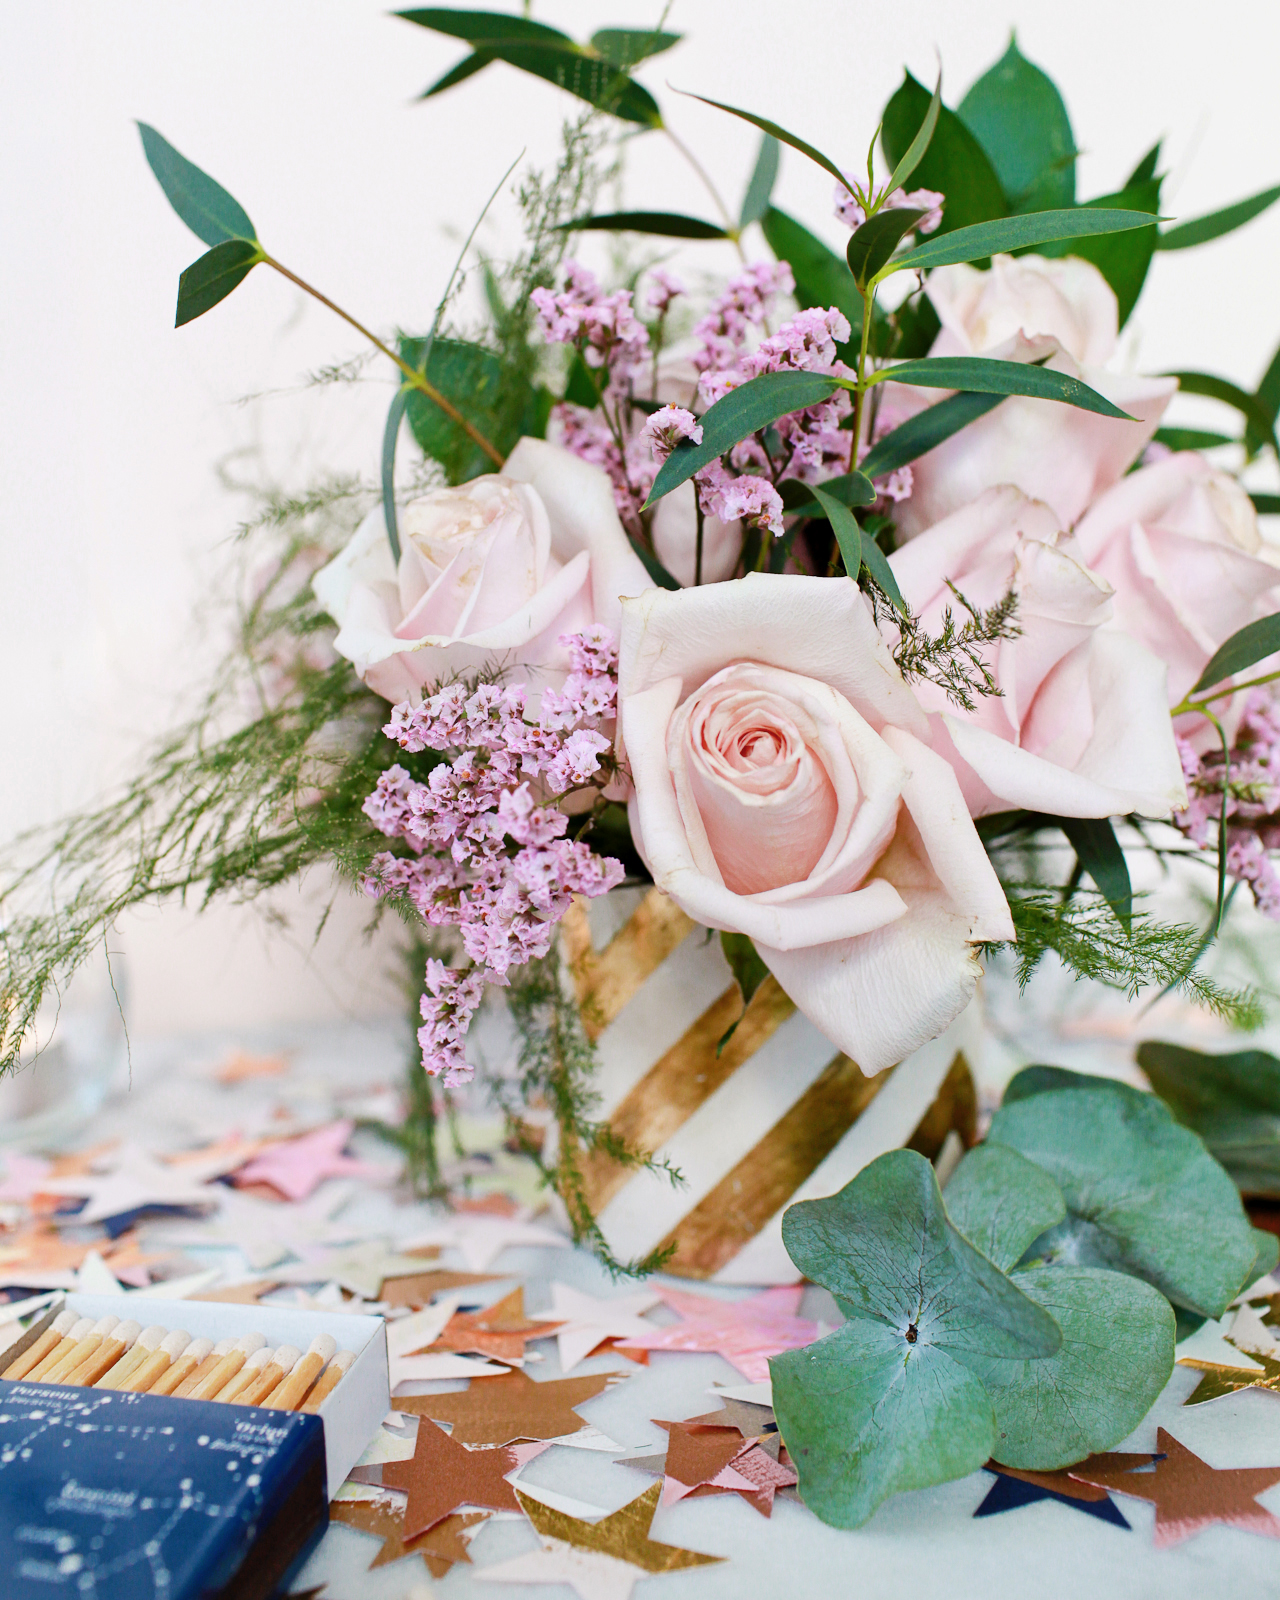
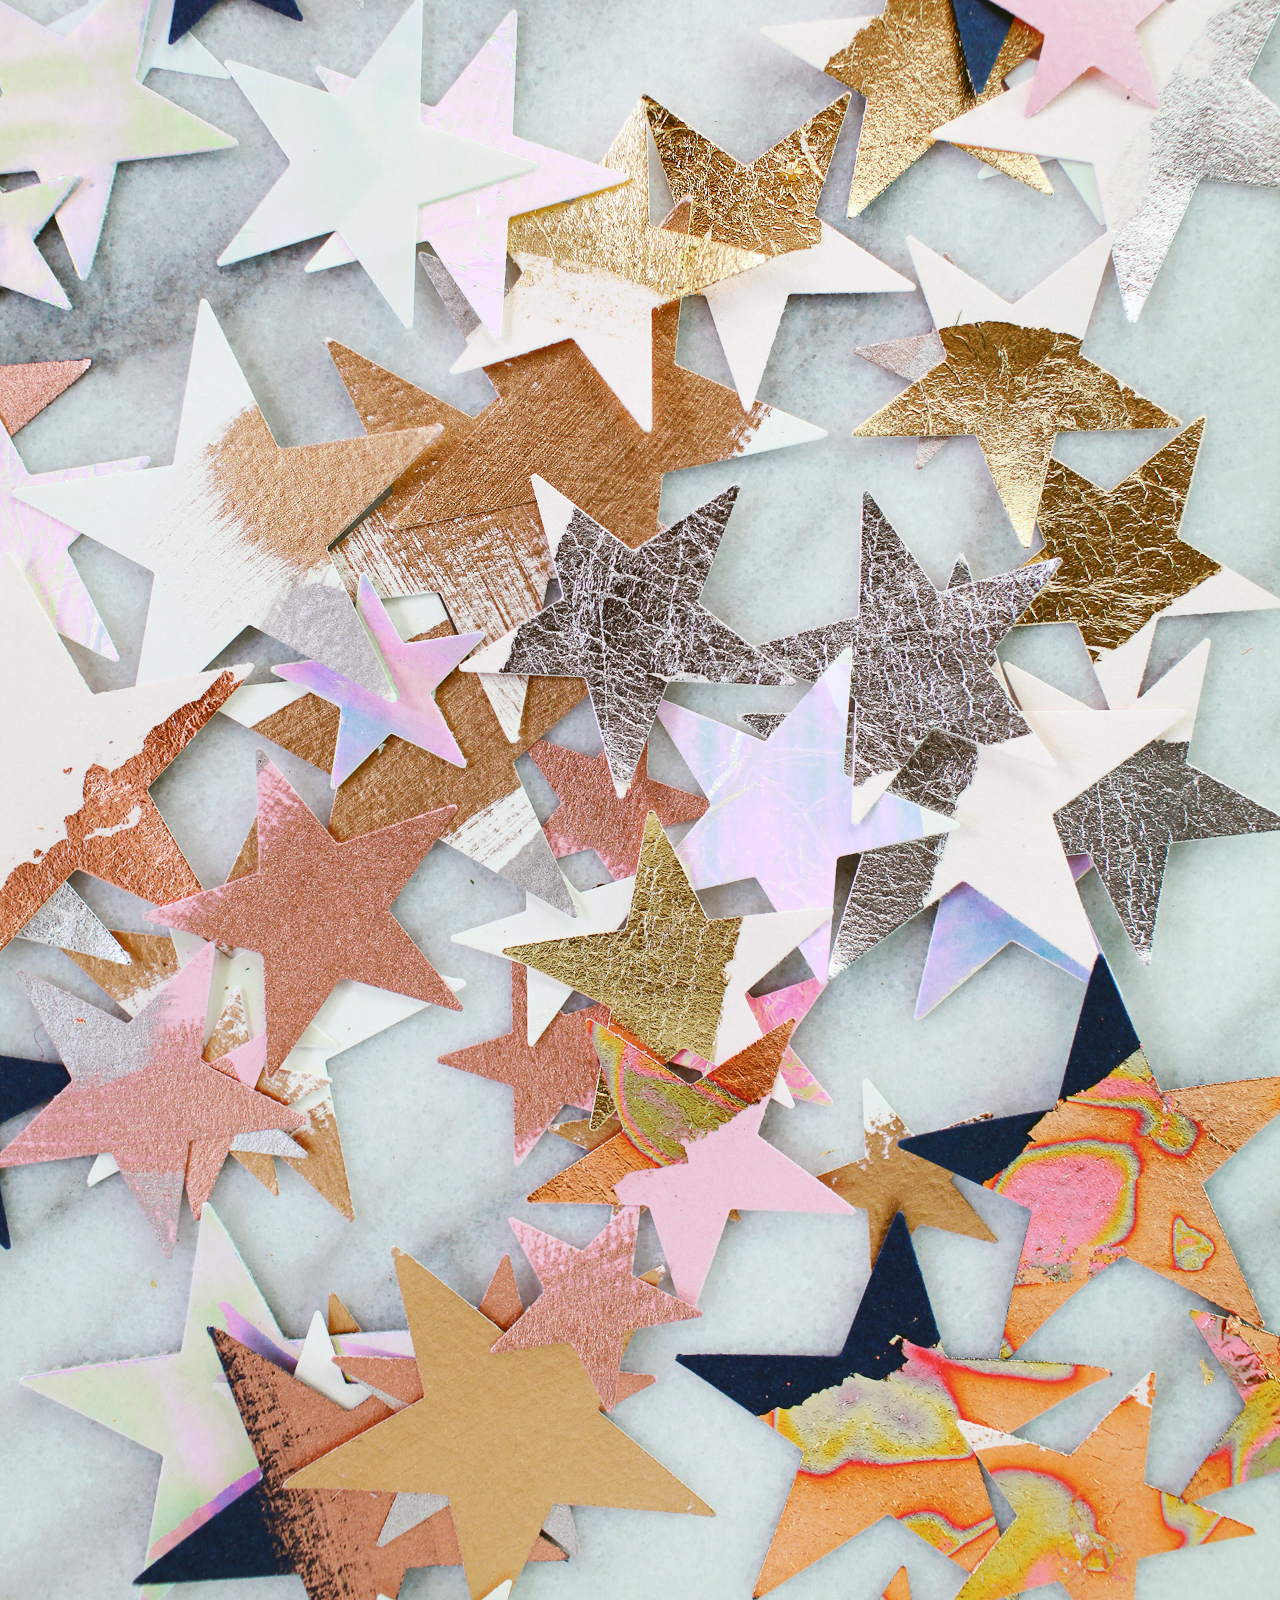
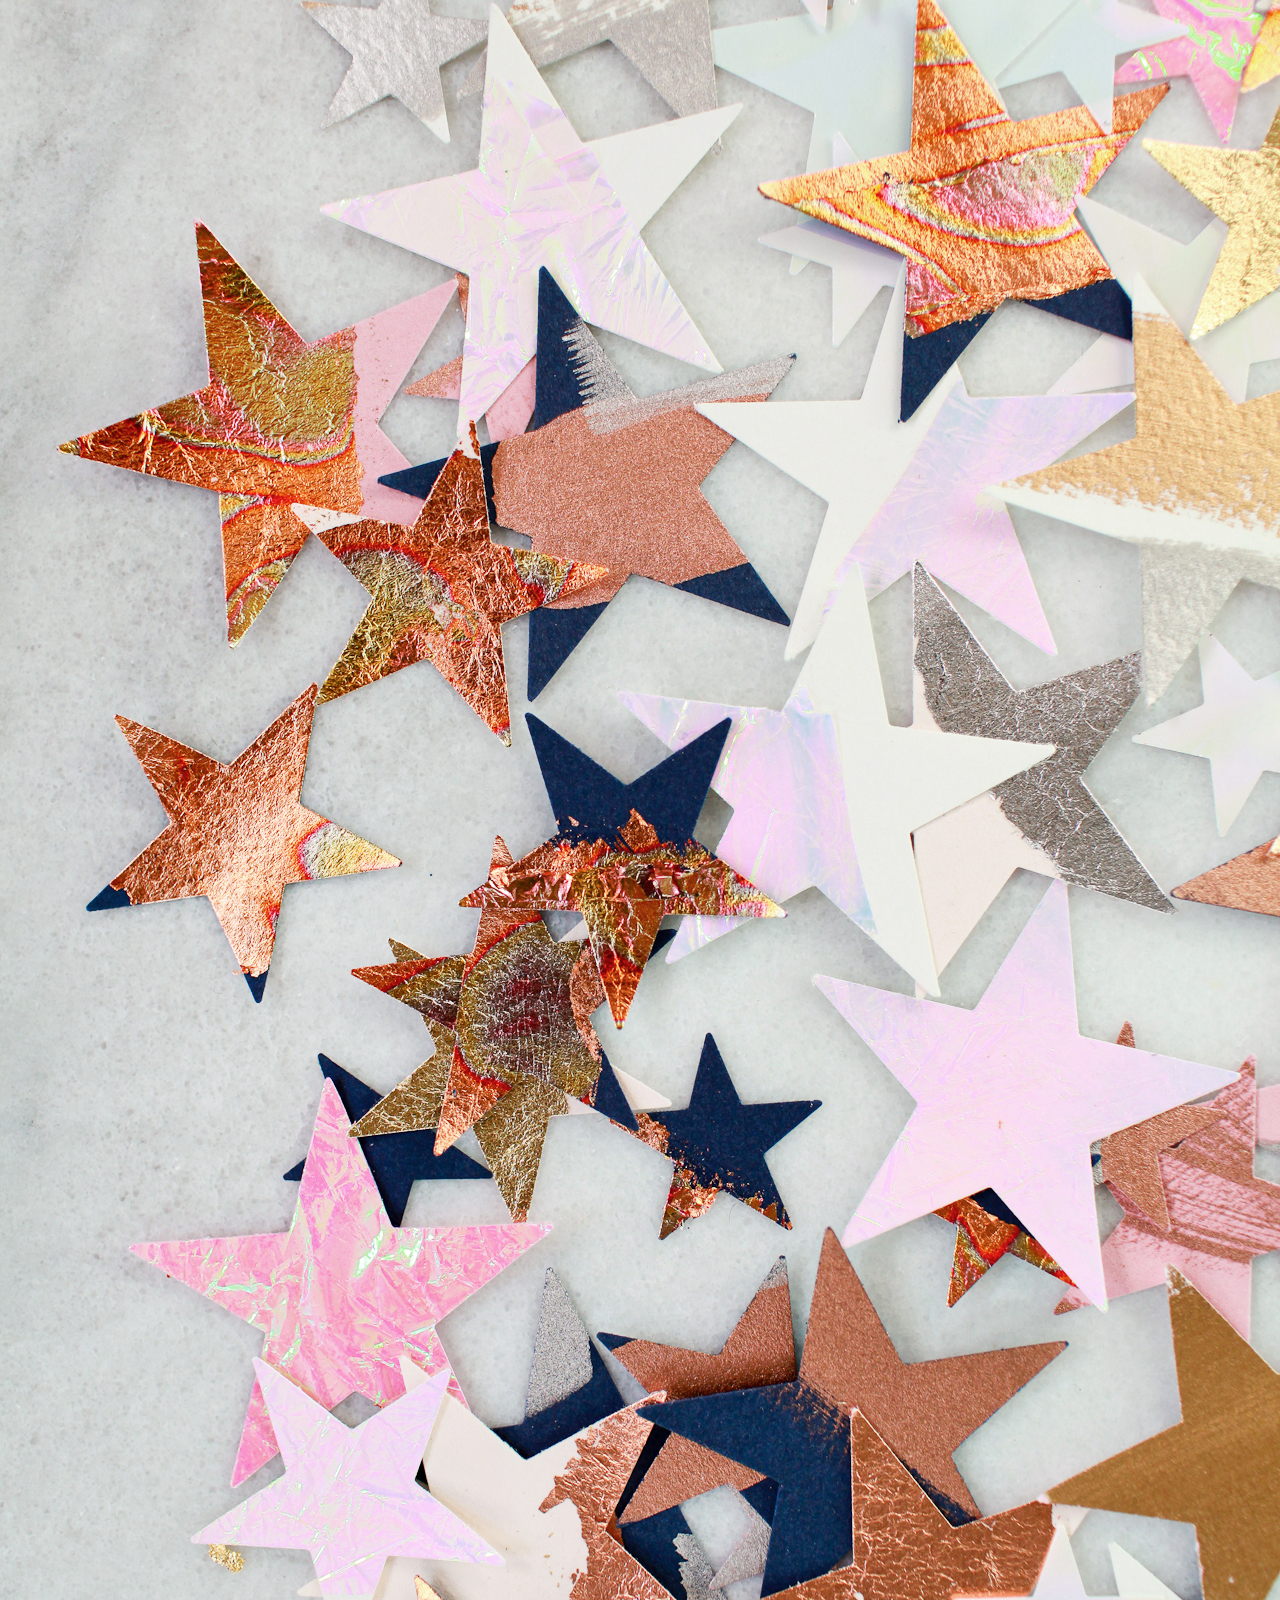
Stars are one of my favorite shapes all year long, but especially when it comes to the holidays. They echo the clear and crisp winter night skies, evoke the twinkling lights on Christmas trees, and add a sense of warmth during the cold winter months. The star punches come in three sizes – small (1″), medium (1.5″), and large (2″) – and create the most beautiful effect when scattered over a table together. And these punches from Fiskars are perfect for working with all of my favorite crafting materials, like cardboard, card stock, canvas, corkboard, and more! I went with a non-traditional color palette of white, pale pink, rose pink, and navy blue card stock mixed with metallics, but you could even make a bunch of stars in different shades of the same color for an ombré effect – or do a rainbow table runner made of dozens of stars in every color! Gah, the possibilities!
DIY Metallic and Iridescent Star Table Confetti

DIY Metallic and Iridescent Star Table Confetti

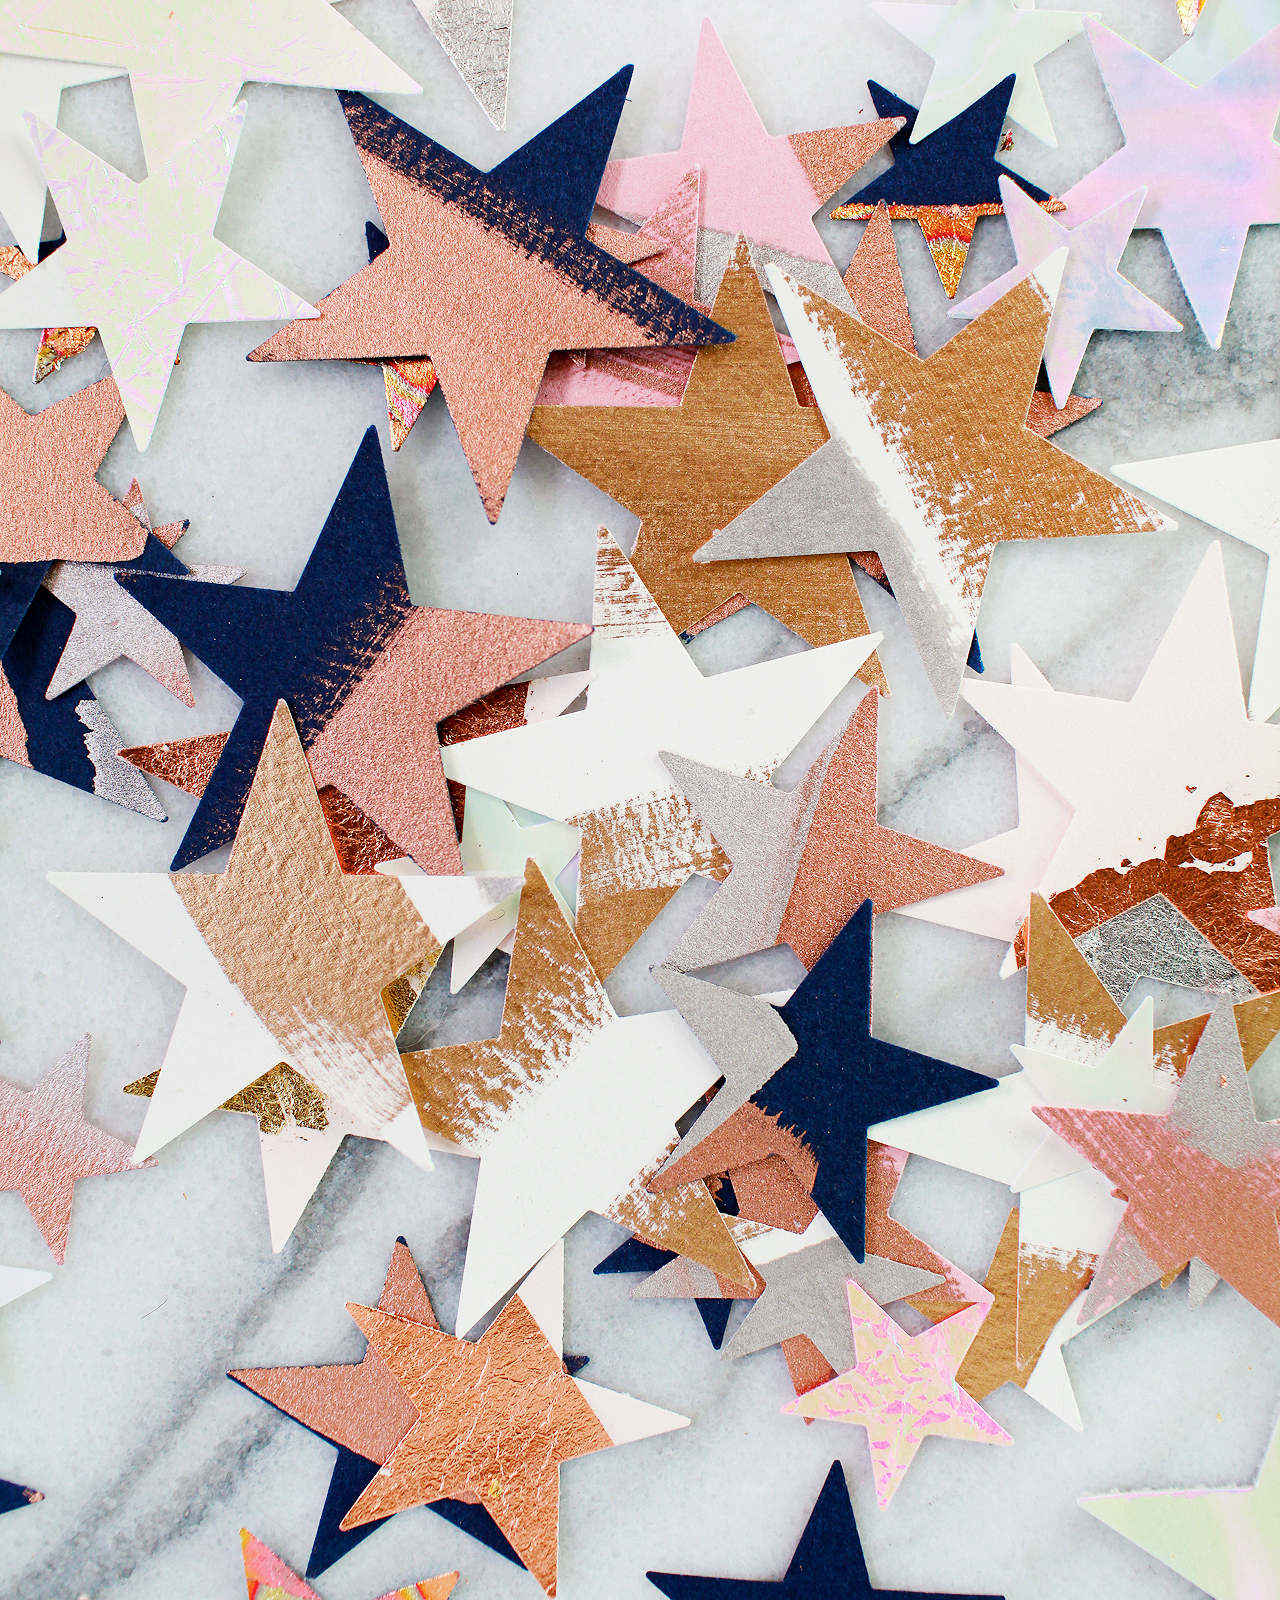
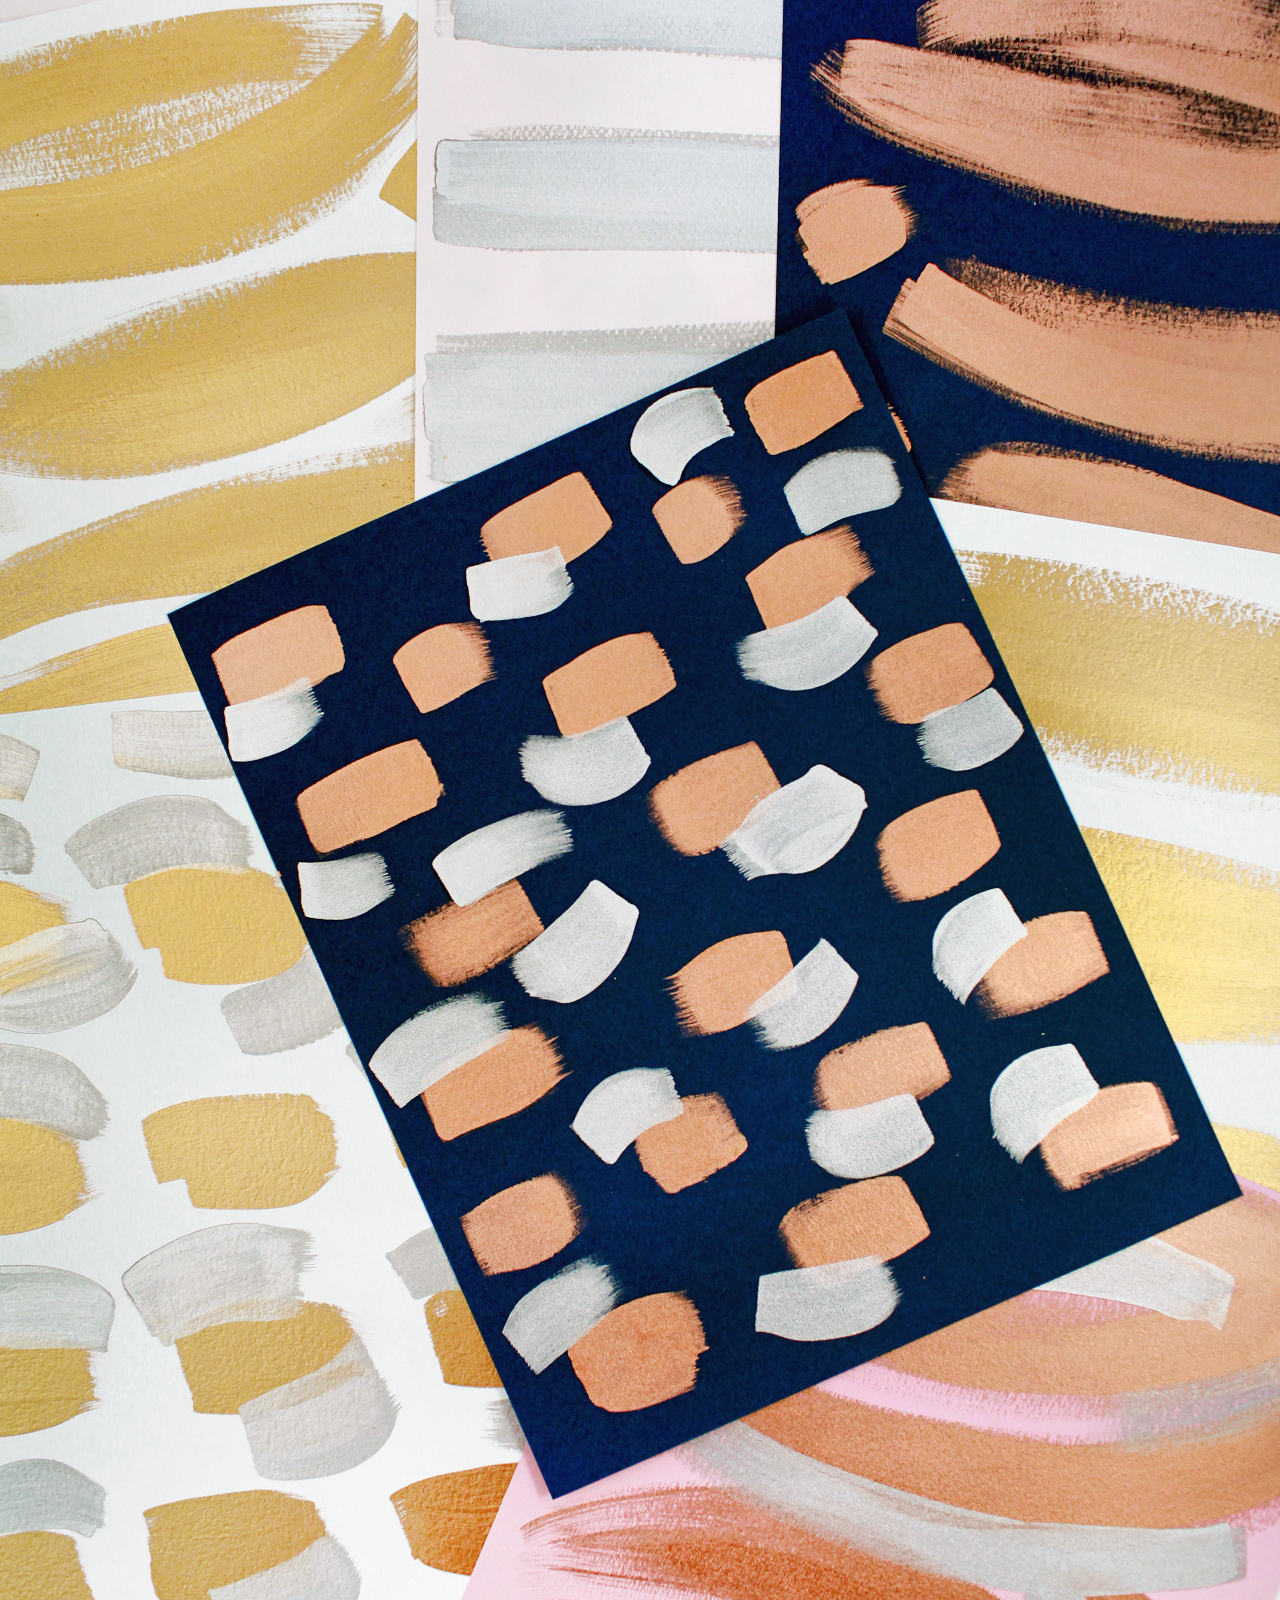
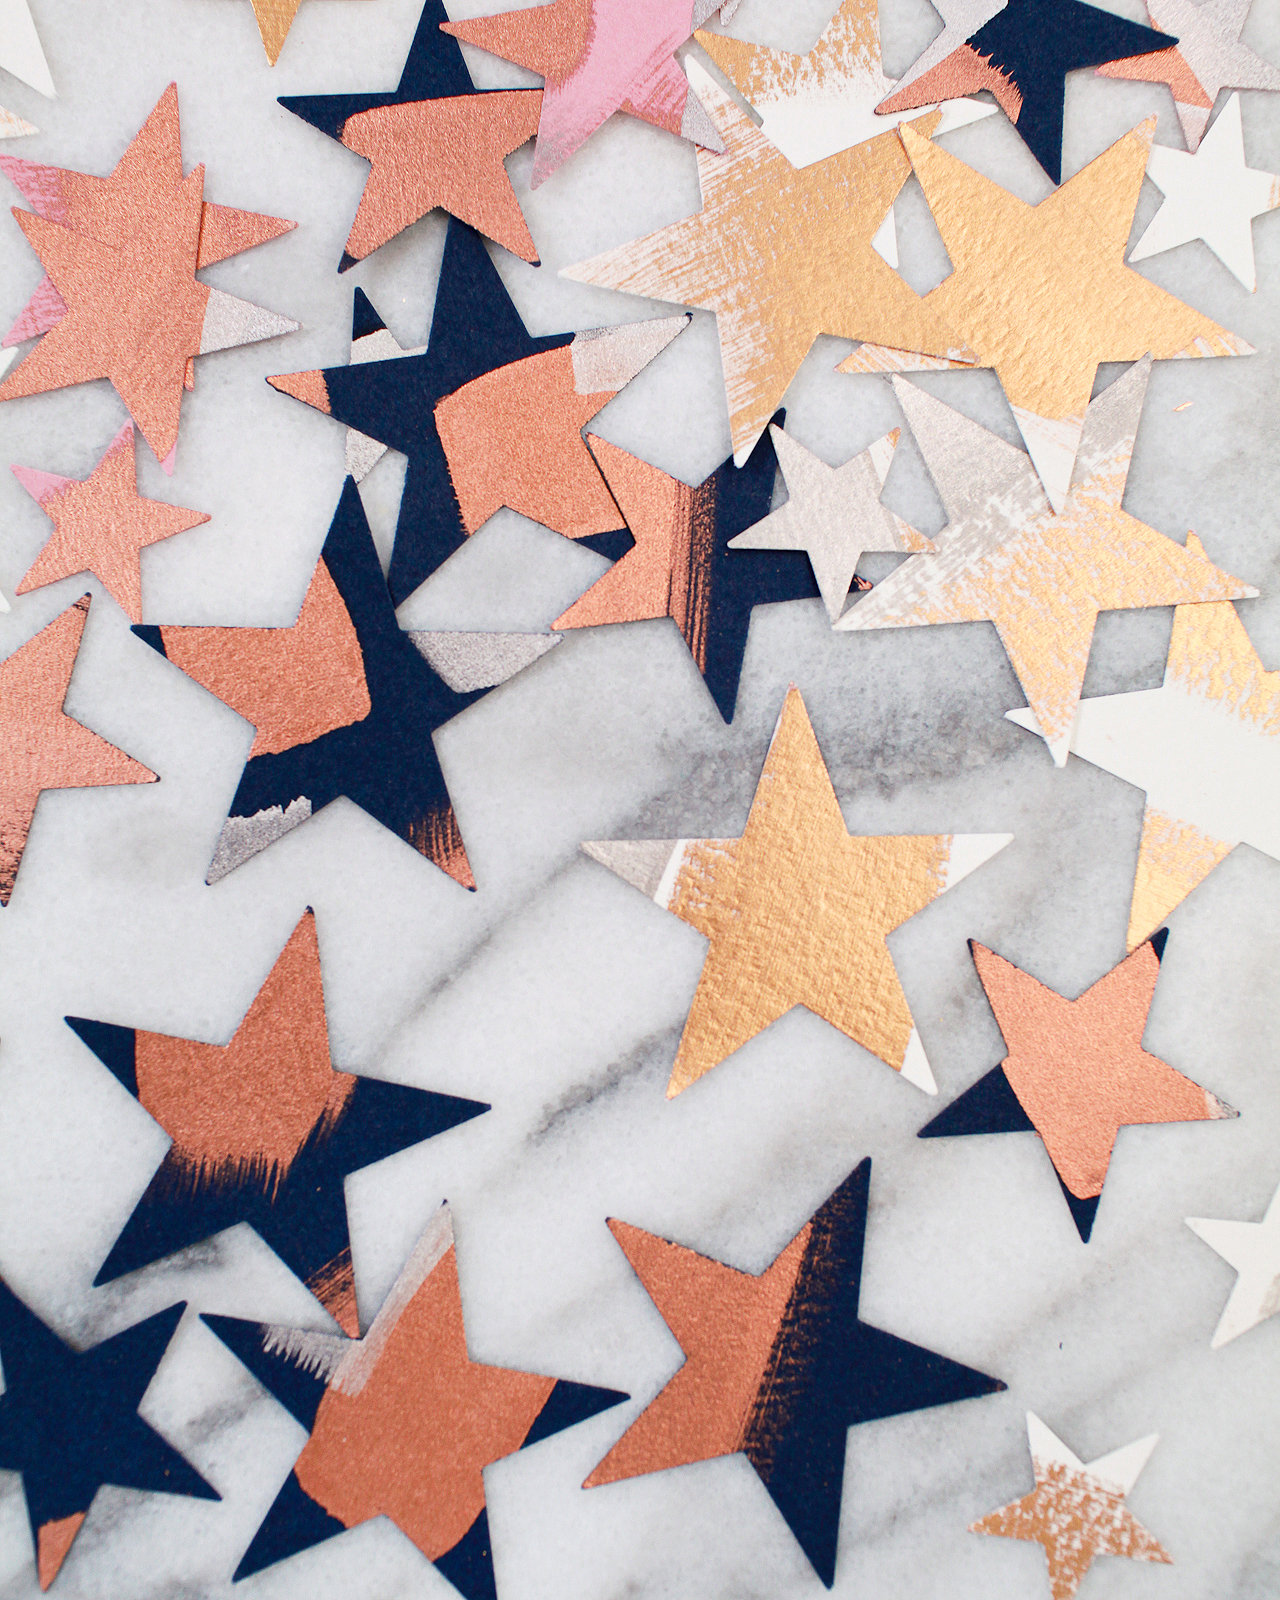
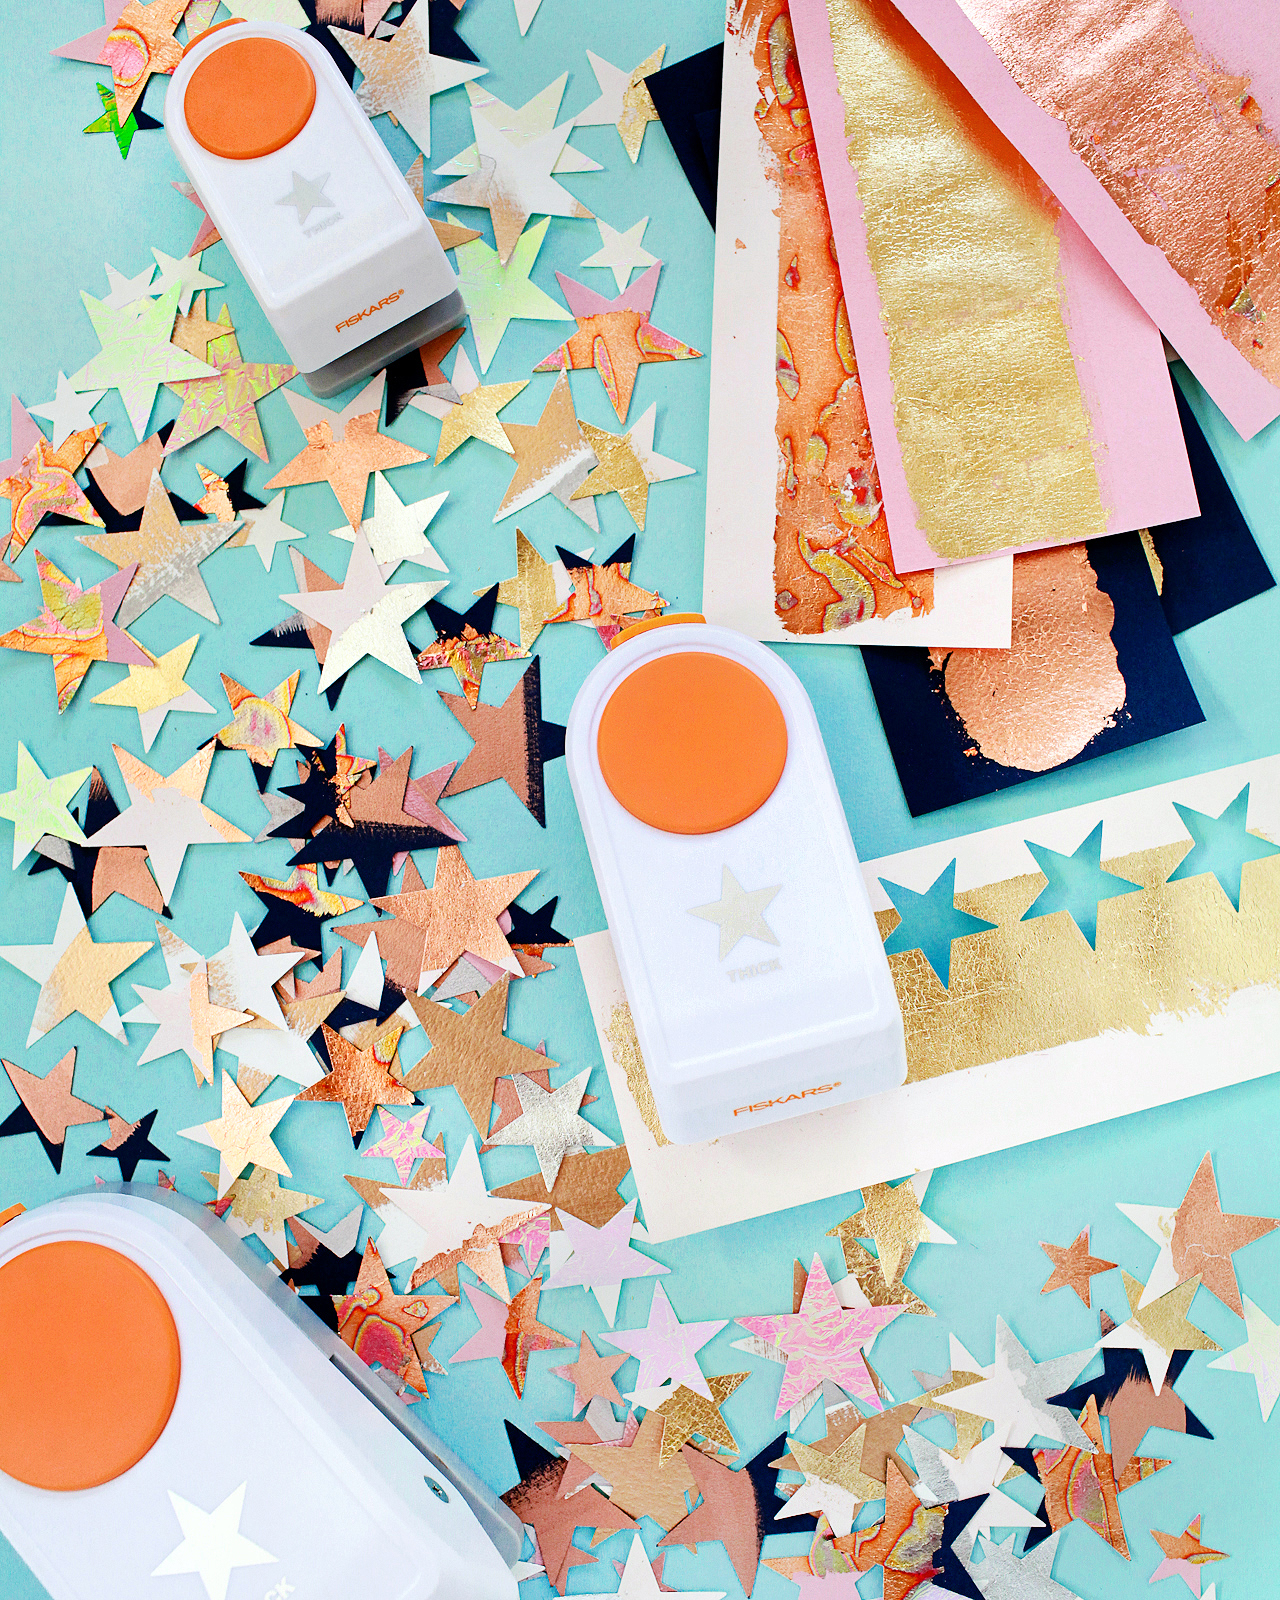
Did you notice the beautiful rainbow gold leaf above? It’s variegated red gold leaf and it’s ridiculously beautiful. It actually looks a bit more like copper leaf, which is just fine by me, and looks amazing against the pale pink and deep navy paper. In addition to the variegated leaf, I used traditional gold, silver, and copper leaf, along with the same metallics in liquid leaf form. For the liquid leaf, I wanted to experiment with punching the stars out of an abstract brushstroke pattern with all three metallics: gold, silver, and copper. Mixed metals for the win!
DIY Metallic and Iridescent Star Table Confetti

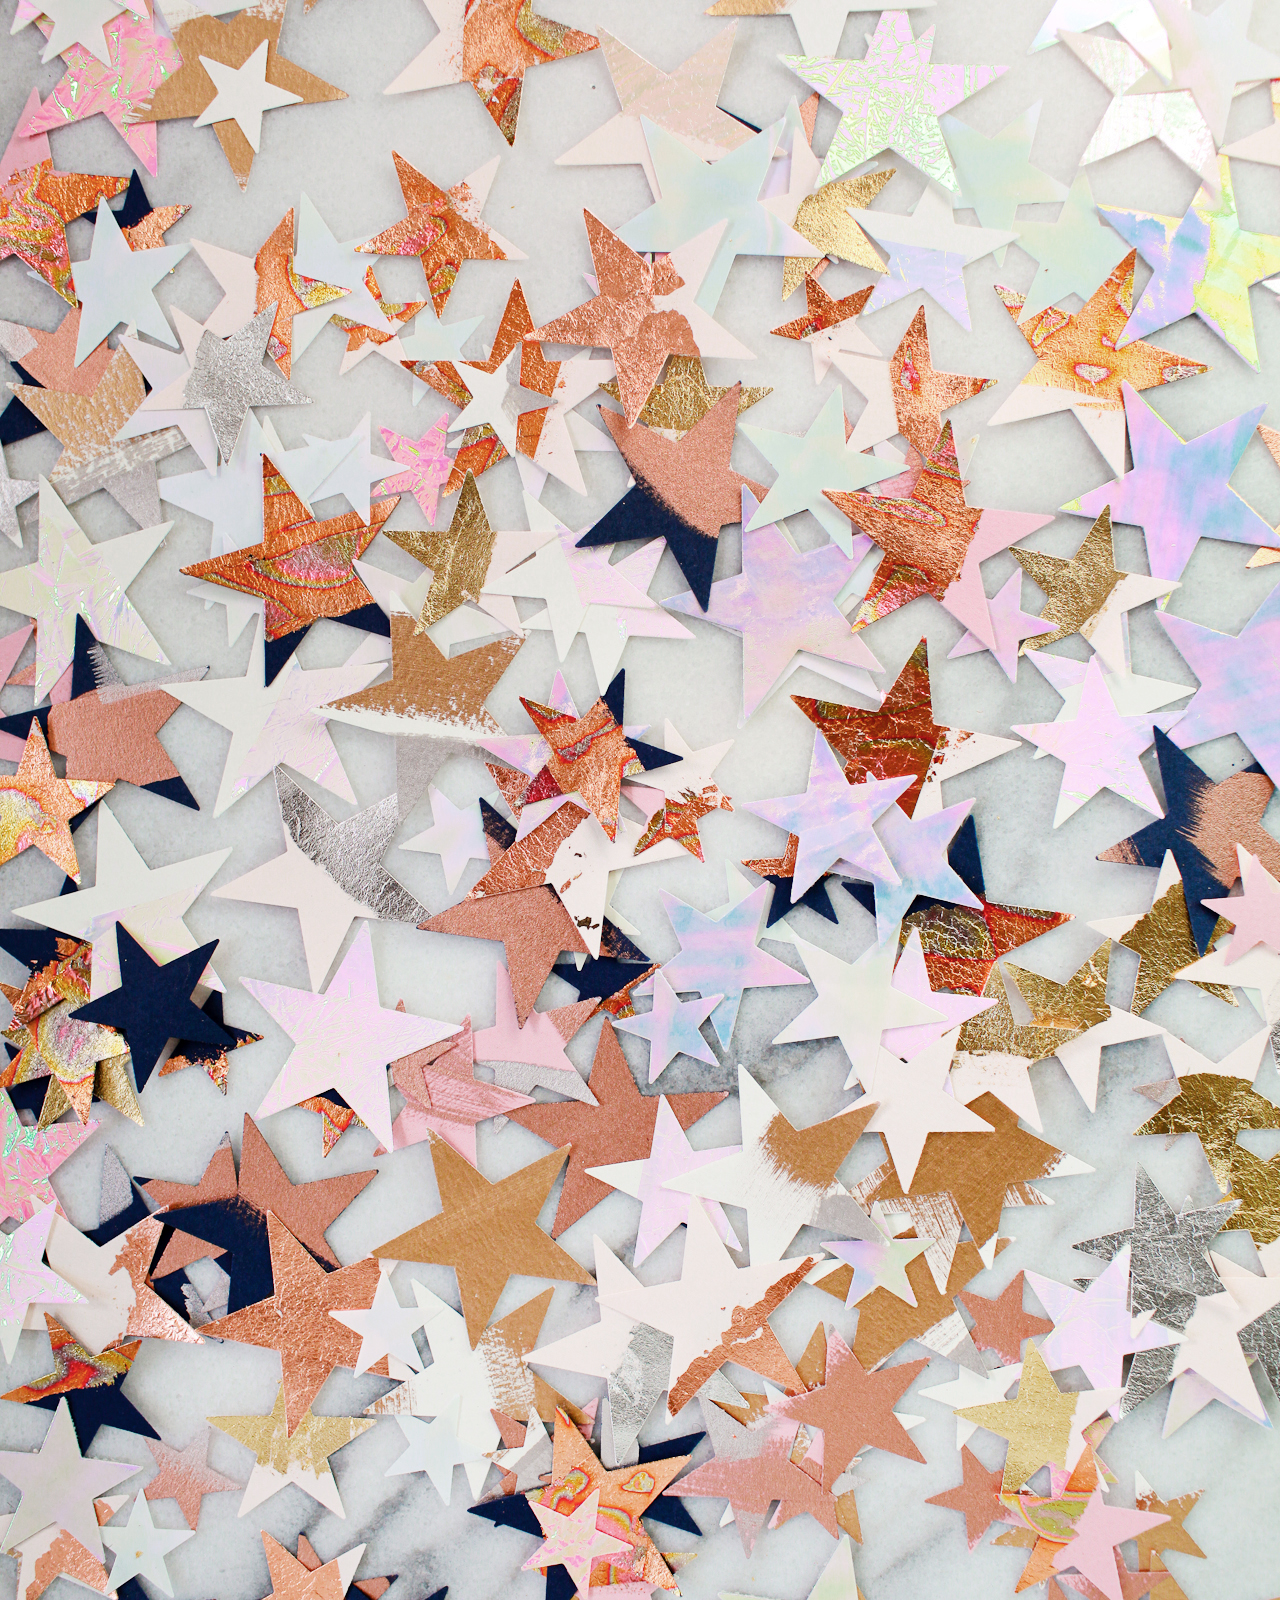
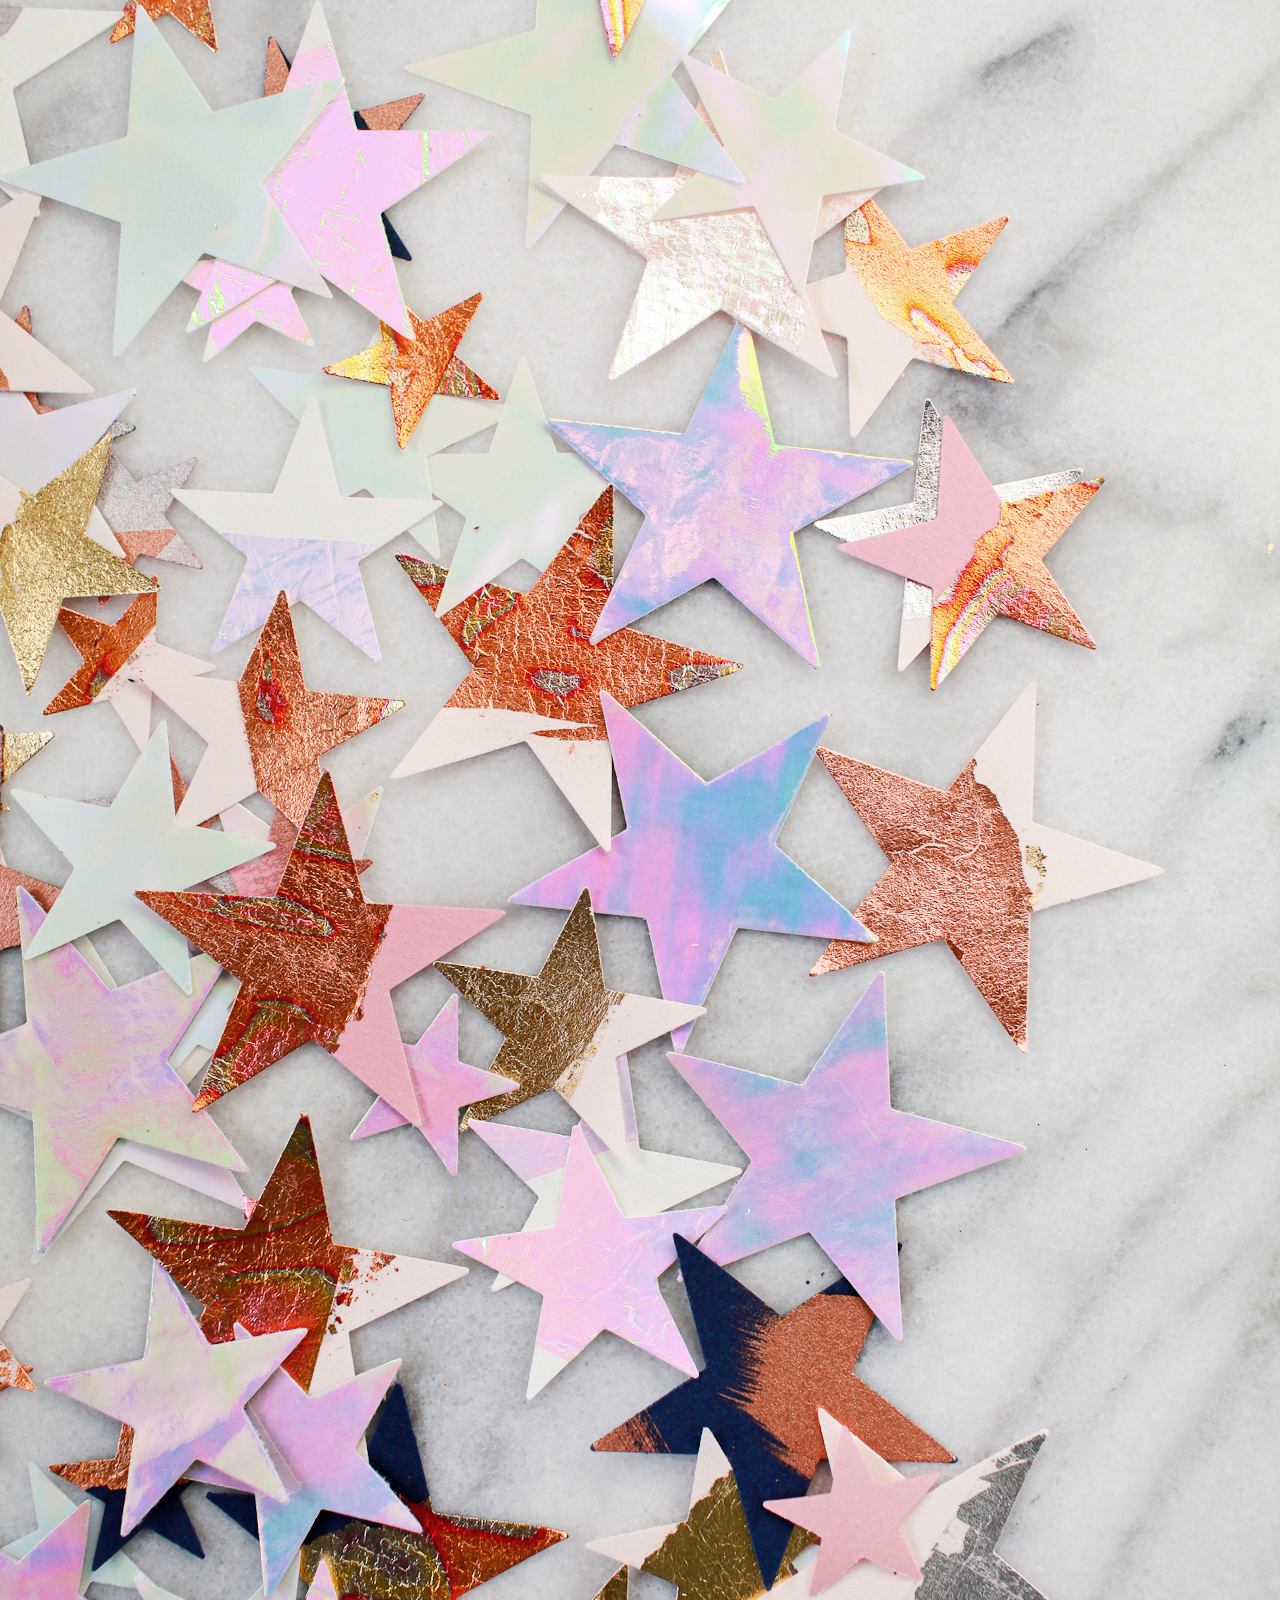
And of course I couldn’t resist adding in some iridescent stars made by layering iridescent cellophane over card stock. I also punched a few star shapes out of this iridescent white mylar, which looks way more shiny and iridescent in real life than it does in the photos! I may have gone slightly overboard with the number of materials in this project – I just couldn’t help myself! The good news is that you can definitely simplify the materials and still get the same gorgeous result! A table covered entirely in iridescent white stars would be gorgeous for New Year’s Eve, or just use easy-to-apply liquid gilding if time is a concern! When it comes to metallic sparkle, you really can’t go wrong.
DIY Metallic and Iridescent Star Table Confetti

Don’t they look so gorgeous all mixed up together? Let’s make some stars!
DIY Metallic and Iridescent Star Table Confetti

DIY Metallic and Iridescent Star Table Confetti

Supplies

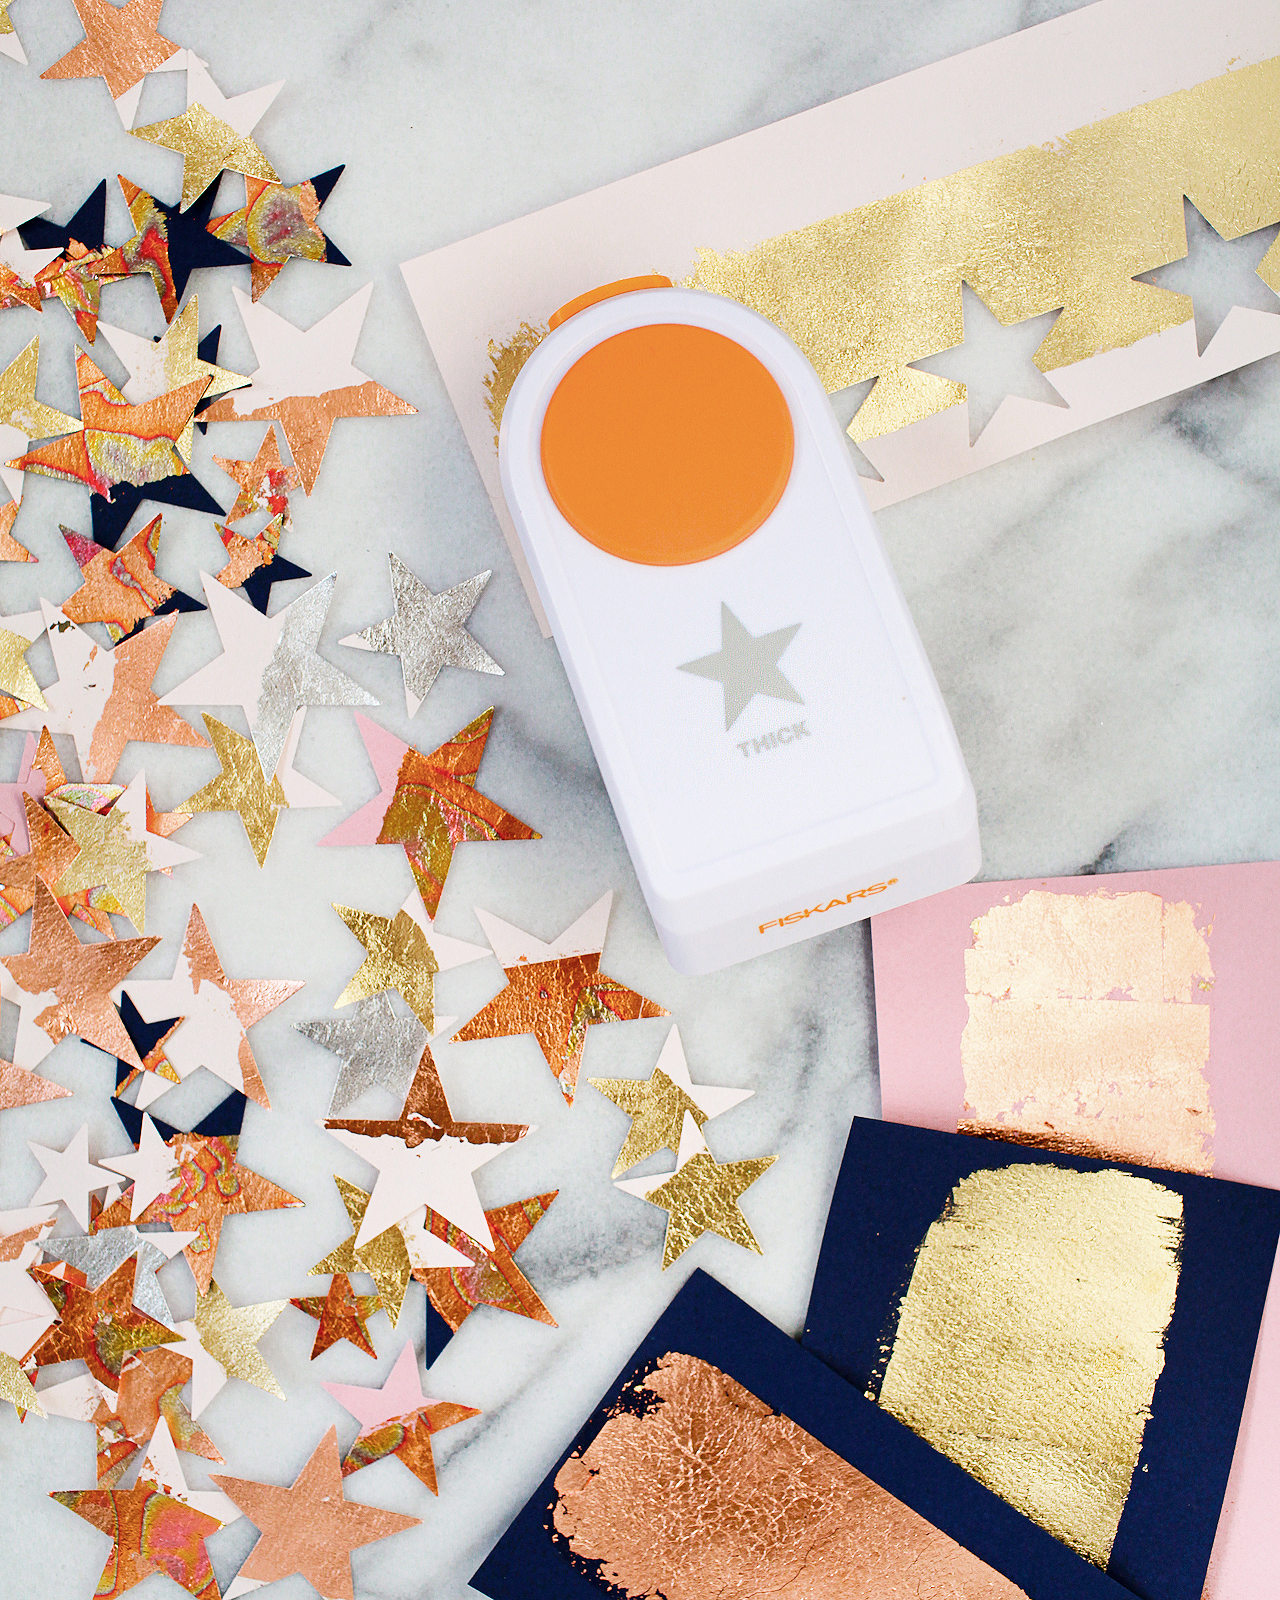
Fiskars Thick Materials Star Punch in small (1″), medium (1.5″), and large (2″)

Fiskars Original Orange-handled Scissors

Card stock in your desired color palette (I used white, pale pink, rose pink, and dark navy blue)

Metallic leaf in gold, variegated red gold, silver, and copper

Liquid metallic leaf in gold, silver, and copper

1″ paint brushes

Iridescent cellophane (from your local party or craft store)

Iridescent white mylar

Metallic leaf adhesive

PVA Glue
DIY Metallic and Iridescent Star Table Confetti

DIY Metallic and Iridescent Star Table Confetti

For the metallic leaf star table confetti:

Apply 2″ strips of metallic leaf across a letter-sized sheet of card stock, following package instructions to apply the gold and copper leaf and leaving approximately 1-2 inches of space between each strip of metallic leaf. The application of metallic leaf usually involves applying a thin layer of gilding adhesive with a paint brush, allowing it to dry until clear and tacky, applying a small sheet of metallic leaf, then brushing off the excess metallic leaf with a clean paint brush.

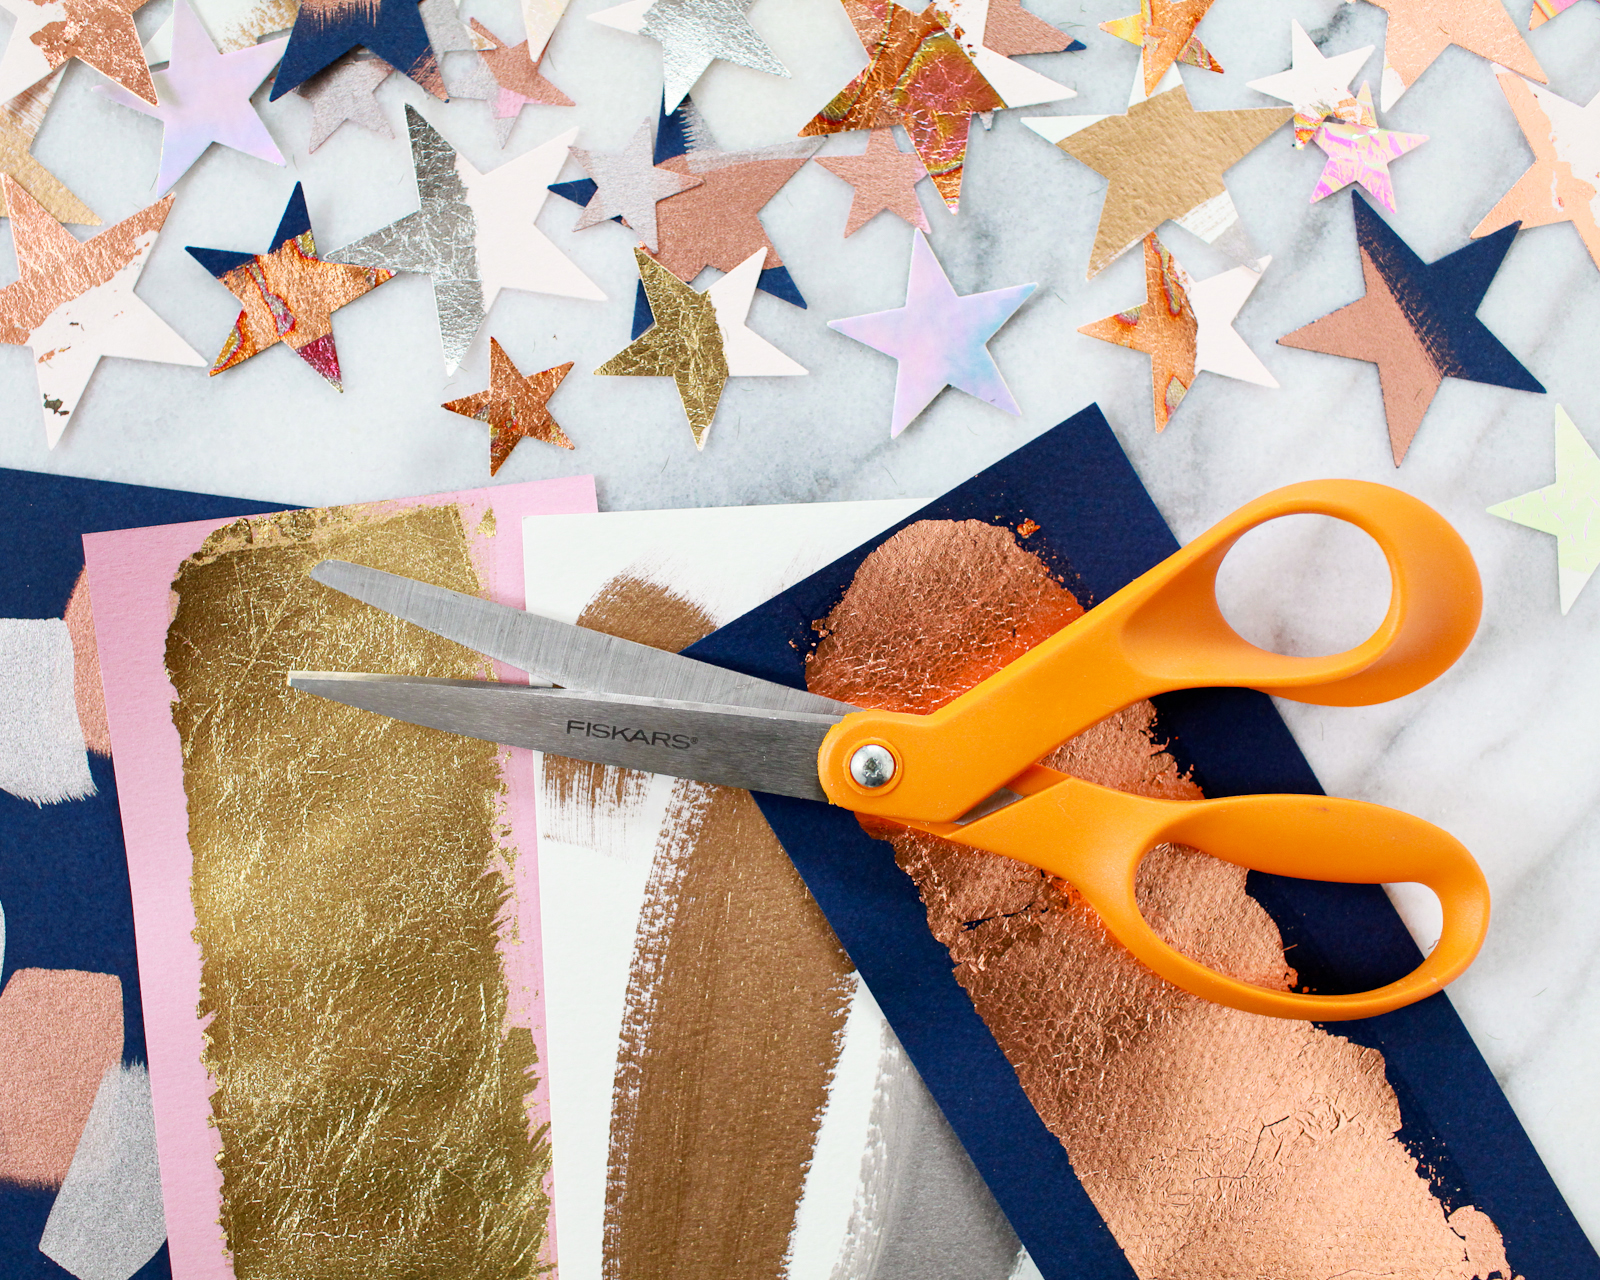
I also used my Fiskars Original Orange-handled Scissors to carefully cut the sheets of metallic leaf down to size before applying them to the paper to minimize waste and get the maximum coverage from each individual sheet of metallic leaf. Each 2″ metallic strip used about half a sheet of metallic leaf. I wanted an abstract painterly pattern, so I freehanded the adhesive application, but you can use washi tape to tape off straight lines if you want a cleaner look.

The Fiskars Original Orange-handled Scissors are my all-time favorite scissors to use for crafting! They’re known for their quality and precision and I’ve been using them as long as I can remember. Can you believe that these iconic scissors are celebrating their 50th Anniversary next year!?
DIY Metallic and Iridescent Star Table Confetti

DIY Metallic and Iridescent Star Table Confetti

For the liquid metallic gilding star table confetti:

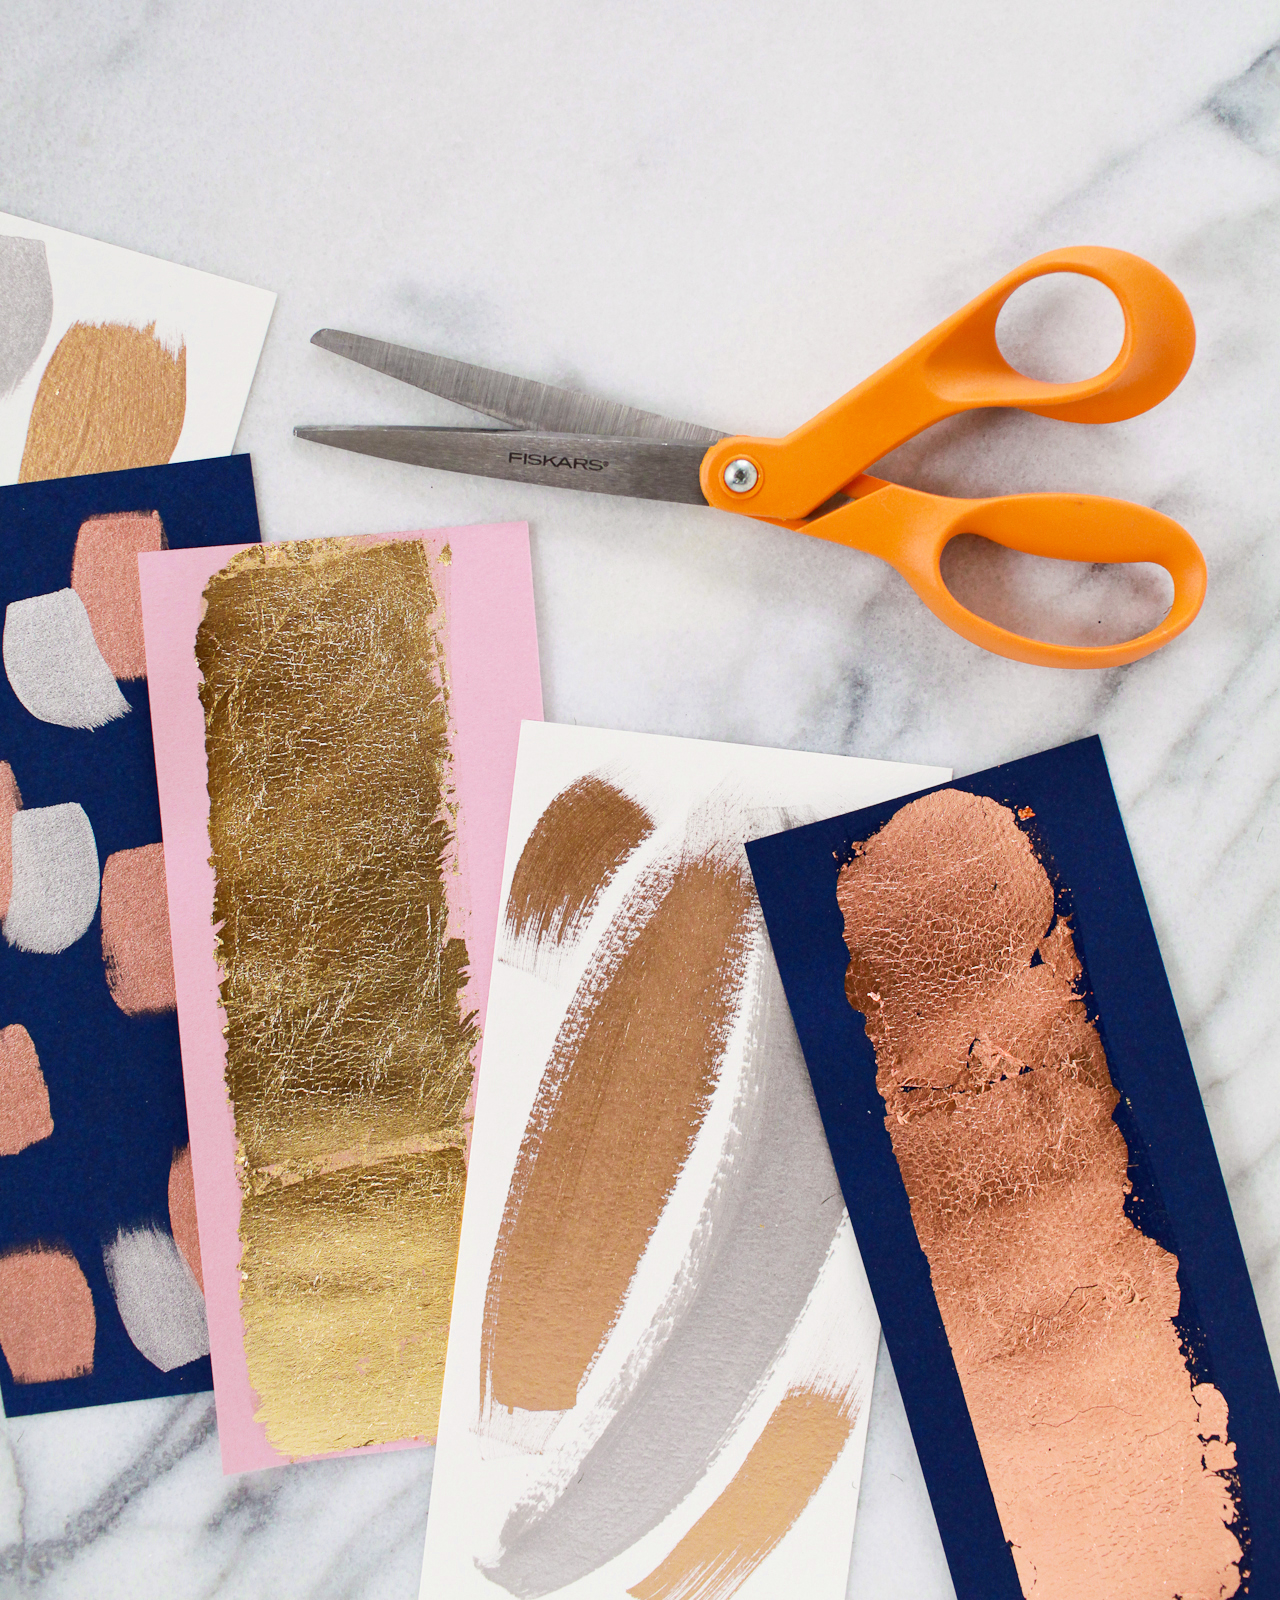
Using 1″ paint brushes, apply the liquid gilding across a sheet of card stock in an abstract pattern. I did a mix of long brush strokes on a few sheets of paper, and shorter brush strokes on other sheets of paper. I also layered short brushstrokes of silver liquid gilding over gold and copper gilding for additional dimension. The whole thing is meant to be abstract and painterly, so just have fun with whatever pattern you choose!
DIY Metallic and Iridescent Star Table Confetti

DIY Metallic and Iridescent Star Table Confetti

For the iridescent star table confetti:

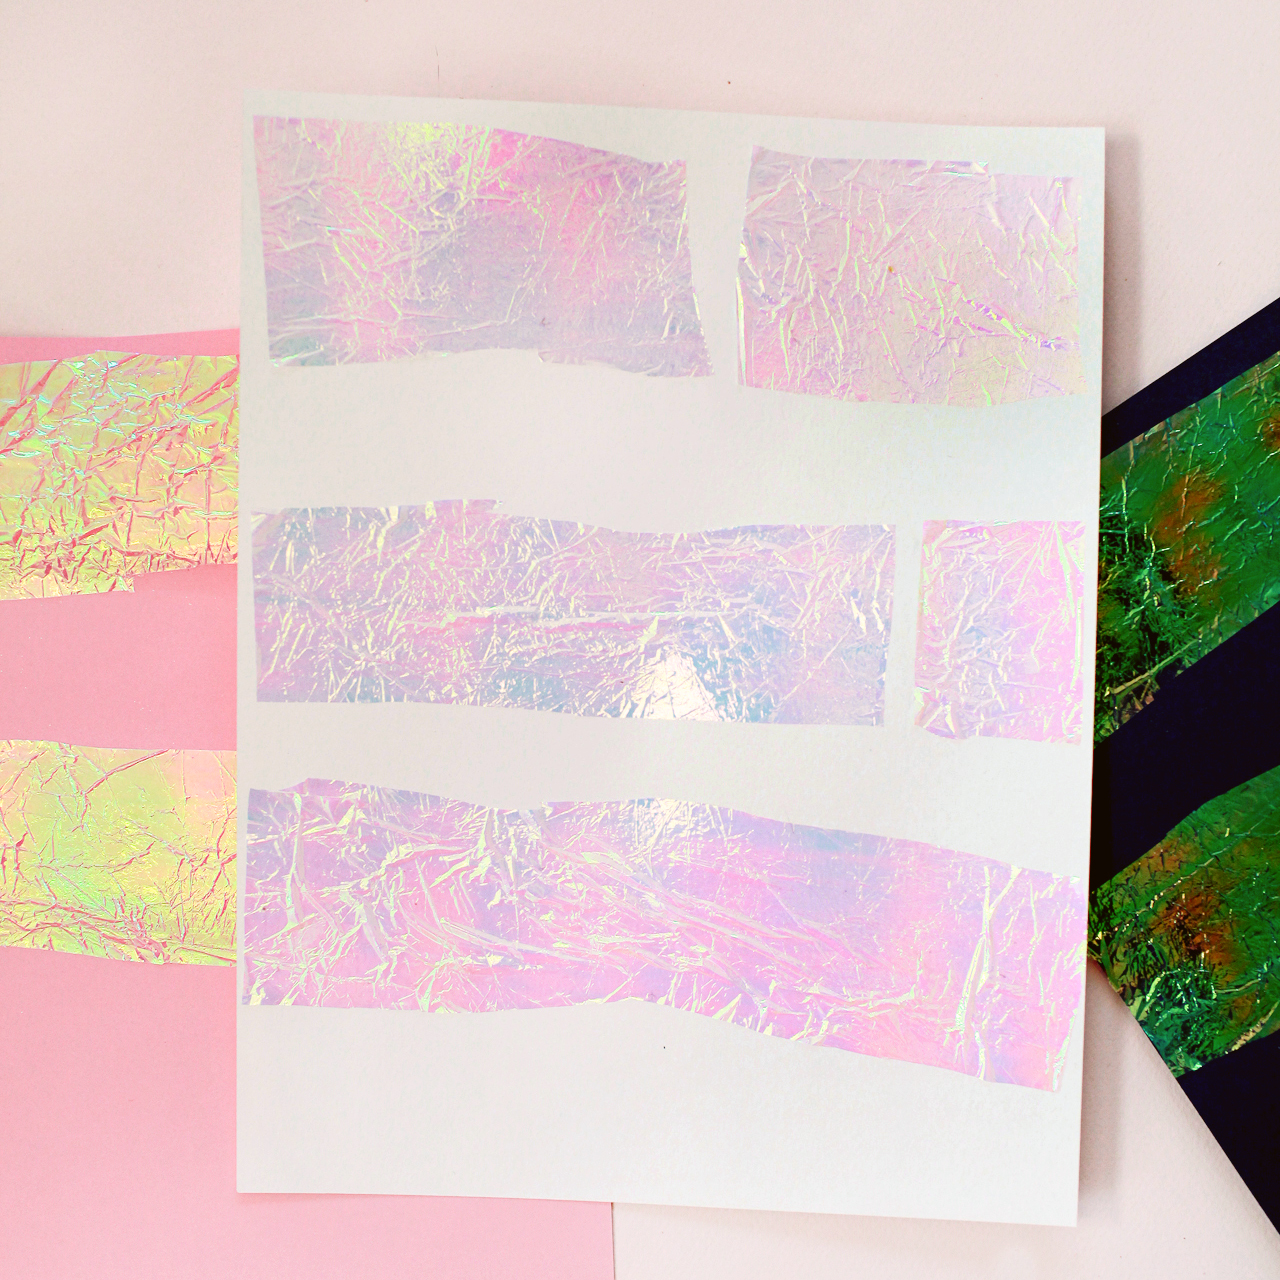
Use Fiskars Original Orange-handled Scissors to cut 2″ strips of iridescent cellophane. Apply a thin layer of PVA glue to one side of the iridescent cellophane and apply the cellophane to a sheet of card stock. Allow the glue to dry completely.
DIY Metallic and Iridescent Star Table Confetti

To make the star shapes:

Step 1. Using a paper trimmer or Fiskars Original Orange-handled Scissors, cut each letter sized sheet of card stock into thirds, so that each section of paper measures approximately 3.6″ x 8.5″. I used the ProCision Rotary Bypass Trimmer to cut up to three sheets of card stock down at once, which definitely helped save time!

Step 2. Use the Star Thick Materials Shape Punches to punch out star shapes from the paper. I made sure to place the paper punch so that some of the resulting star shapes would be approximately half metallic or iridescent, and half uncovered card stock. You’ll often have enough room between the large star size to make a few small stars from the same piece of paper.

Step 3. Sprinkle the stars down the center of your table, or around any pitchers or punch bowls on your bar. Add in a few flowers and some votive candles – and have a great party!
DIY Metallic and Iridescent Star Table Confetti

DIY Metallic and Iridescent Star Table Confetti

DIY Metallic and Iridescent Star Table Confetti

DIY Metallic and Iridescent Star Table Confetti

DIY Metallic and Iridescent Star Table Confetti

These metallic and iridescent star shapes are the perfect way to decorate your holiday table, don’t you think? And such an easy way to add some celebratory sparkle to your holiday or New Year’s Eve party!

This post was created in partnership with Fiskars. All content and opinions are my own. Thank you for supporting the sponsors that make Oh So Beautiful Paper possible!

For more information on Fiskars crafting products, check out their website or follow Fiskars on Facebook, Twitter, Instagram, and Pinterest!

Benjamin Franklin’s Clarified Milk Punch

Milk Punch? Yes: milk punch. Back in the good old days – the 1700s – drinkers loved mixing their booze with their milk. There’s probably something in Leviticus about not doing that, but they did it anyway. We still have a few holdovers from those days, like eggnog. (Real eggnog, with brandy and rum.) Thick and rich and creamy, we usually save those for the holidays. But there’s a whole other way of making milk punch that sounds super gross and takes days to make and is super messy but is so, so worth it. Clarified milk punch is crystal clear, intensely flavorful, and silky smooth. So read below to learn how to make Benjamin Franklin’s very own clarified milk punch recipe at home. –Andrew

Clarified Milk Punch Recipe

Benjamin Franklin’s Clarified Milk Punch Recipe

Makes 40 Servings

3 cups Brandy
3 cups Aged Rum
2 cups Lemon Juice
4 cups Filtered Water
1 1/2 cups Sugar
3 cups Whole Milk
11 Lemons
1 Whole Nutmeg
1 Cinnamon Stick
1 Star Anise Pod

Day One: thinly peel the lemons with a sharp paring knife or vegetable peeler, taking care to avoid the bitter white pith. Combine the peels with the brandy and rum in a jar and let it sit for 24 hours. Juice the lemons (and run the rinds through the garbage disposal; they’ll make it smell nice). You’ll have more than you need for the punch, so save the rest for other cocktails.

Day Two: strain the peels out of the brandy and rum. (Citrus peels will turn spirits very bitter if they infuse for too long.) Add the lemon juice and sugar to the brandy and rum and stir until the sugar is dissolved. Grate the nutmeg and break up the cinnamon stick and star anise into the mix. Then, bring the milk to a boil in a big pot. As soon as it is boiling, add the spirits and lemon juice mixture. Stir a bit to melt any remaining sugar. Turn off the heat and watch the milk curdle into a big, gross mess. Let it sit, covered, for at least two hours.

Then, using lots of cheese cloth (or, as in Ben’s original recipe, a Jelly-bag, whatever that was), strain the milk solids out of the punch. Working in small batches, run the punch through the cheesecloth, which will clog up quickly. Change out the cheesecloth frequently, taking time to squeeze out as much liquid as you can from each batch.

What’s left will still be pretty cloudy, so you can handle the next step a couple of ways: you can let it sit overnight so the solids settle to the bottom and then carefully decant the punch into another container, or you can do what we did: strain everything painstakingly through a coffee filter. We used our Chemex coffee maker. It takes forever, but what comes out will be crystal clear and you won’t lose any liquid in the dregs.

Clarified Milk Punch Recipe

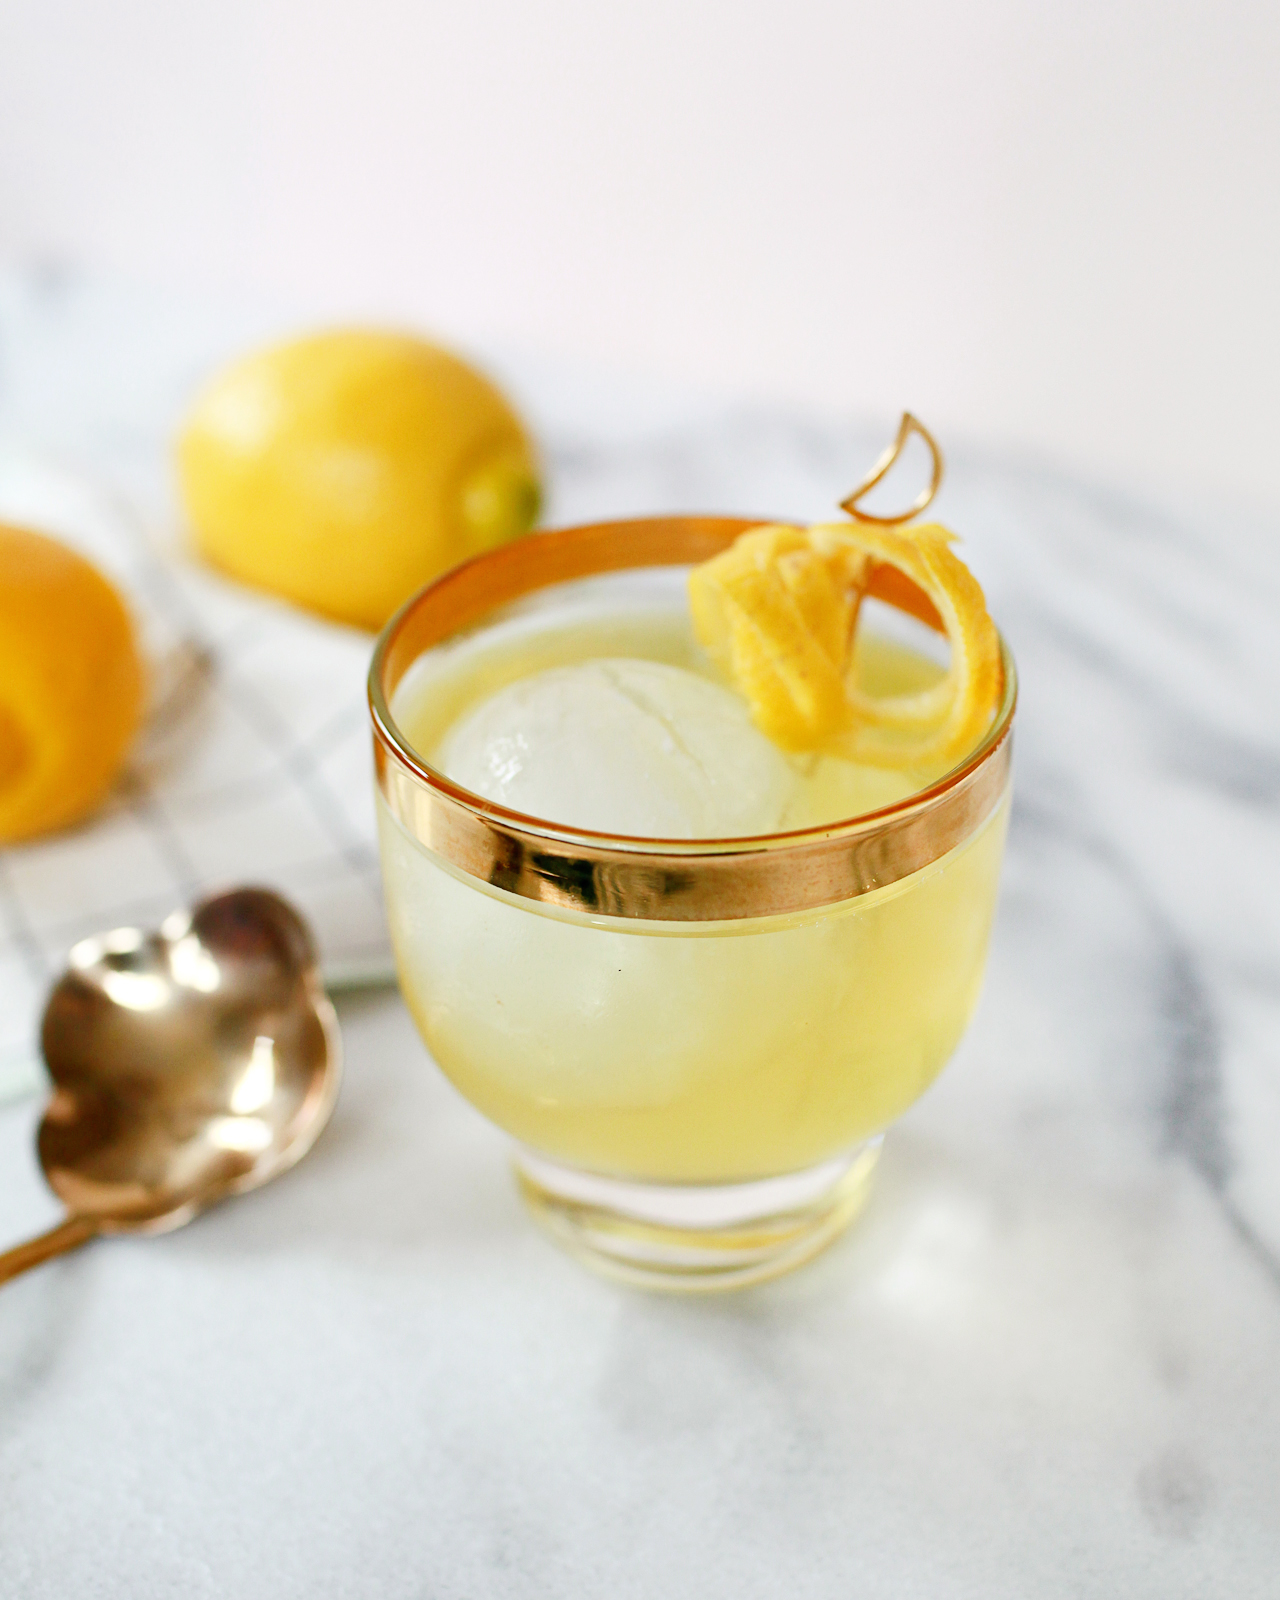
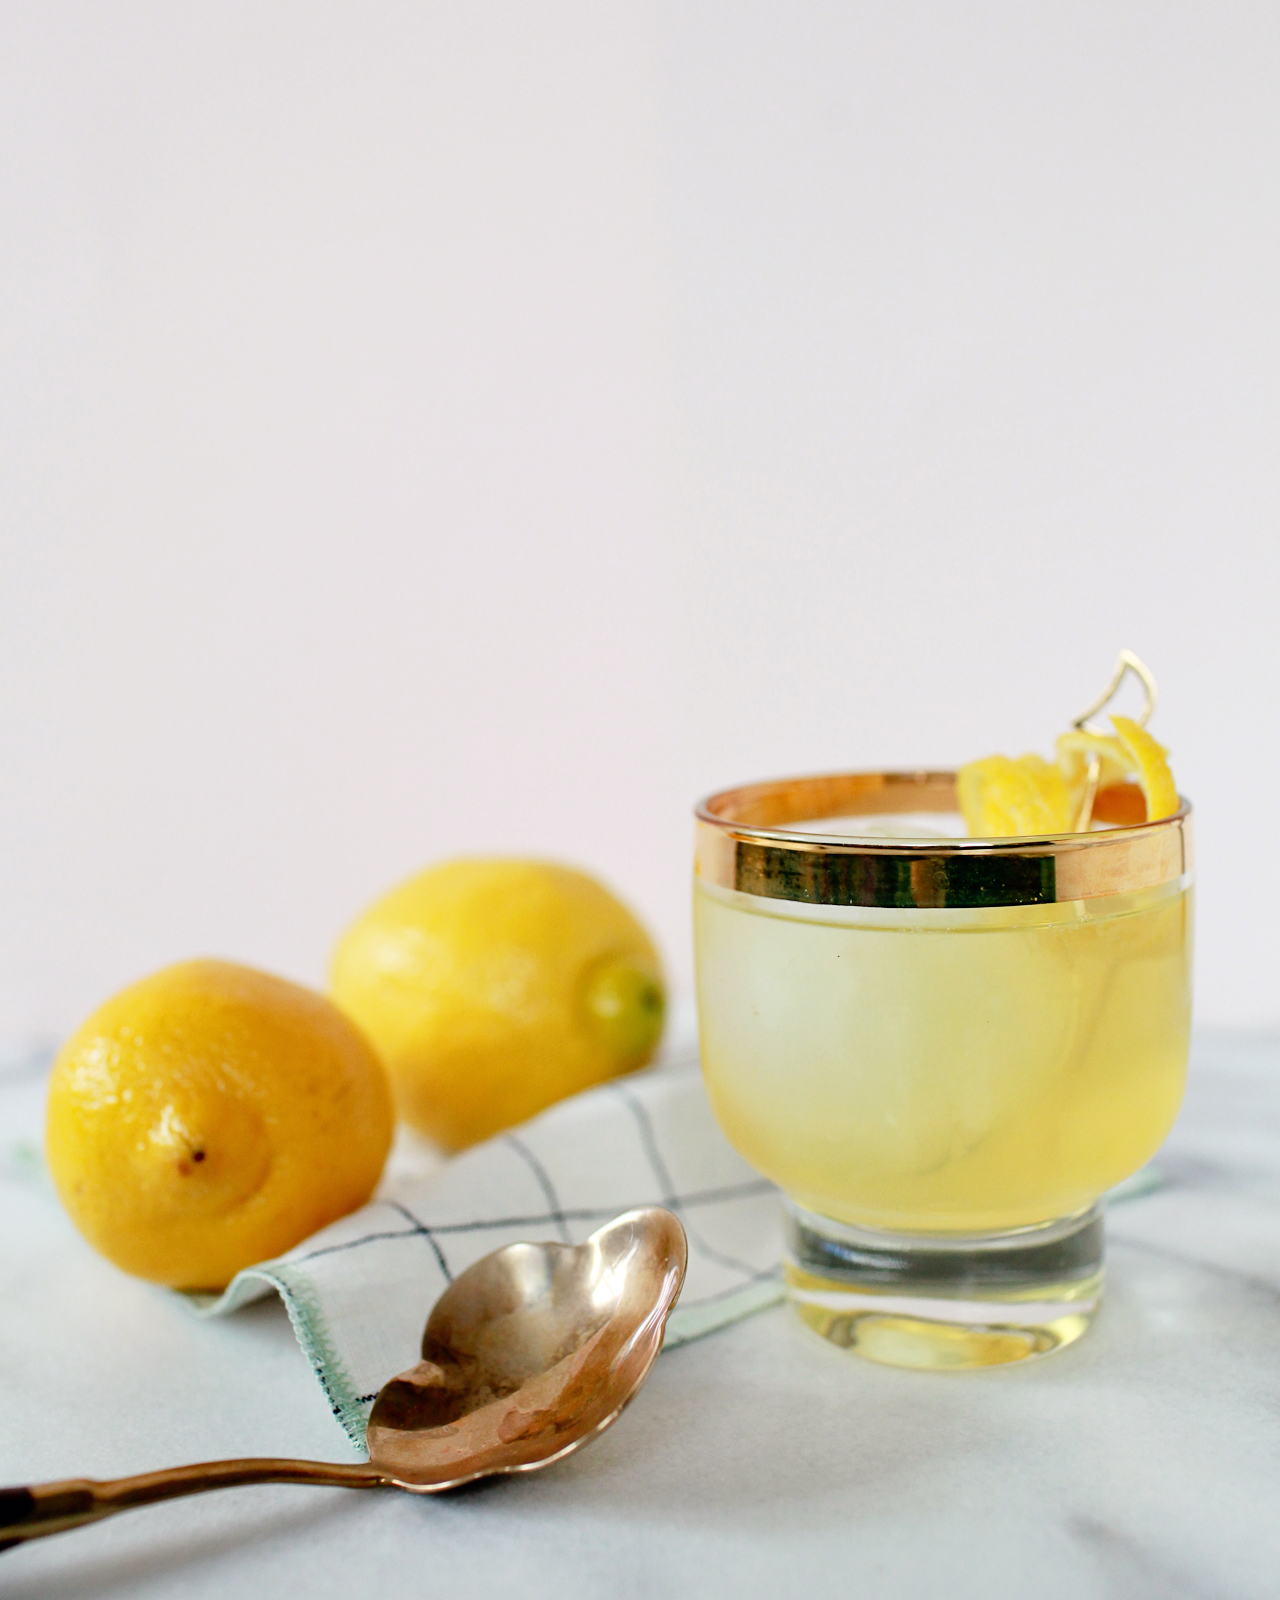
Got all that? If you’ve made it this far, and survived the curdling, then you’ll be left with a crystal clear, amber-hued liquid of sublime flavor and texture. Clarified milk punch is dark and smooth, with layers of citrus and hints of spice. It’s also silky and smooth in a way that no other drink is. By letting the lemons’ acidity curdle the milk solids, you’re really just using the whey – sugar, in the form of lactose; proteins; and almost no fat. The result is an unctuousness that’s surprising the first time you try it.

Clarified Milk Punch Recipe

This is definitely an old drink. Even people who have enjoyed classic cocktails before will probably be surprised by clarified milk punch. And not just its texture: this punch almost seems like a showcase for citrus, with all the lemon juice and lemon oil in there, and exotic (at the time) spices. Which makes sense: in the 1700s, citrus was a fairly rare treat. And spending two or three days making a single punch will definitely remind you of how different life was back then, when people actually had time to make and enjoy a bowl of punch like this. So it’s odd. Delicious, but odd.

Clarified Milk Punch Recipe

Some logistics. This recipe makes about a gallon, so be prepared with a large bowl and some thirsty mouths to help you drink this down. (And this is a short version of Ben Franklin’s original, which made about four gallons and used 44 lemons (!!). Serve it over ice; if you’re serving from a bowl, put the biggest block of ice you can fit into the bowl. No need for a garnish, since it has all that spice and lemon oil in it, but it won’t hurt if you want to make it pretty. And because it’s clarified, it will keep in the fridge, so keep some swing bottles handy to save any leftovers.

(Don’t forget to follow us on Instagram!)

Glassware by Liquorary

Photo Credits: Nole Garey for Oh So Beautiful Paper

The World of Illustration: Salini Perera Illustration

Hello everyone! The countdown to Christmas is upon us. I was in the mood for finding some Christmas goodness in the illustration world, and I was also poking around the world of female illustrators. Something about Christmas and the female spirit hits home for me. I feel like my mom was the gatekeeper of Christmas for me when I was a child, and now as a mom myself, I love creating rituals and traditions (and crafting!) with my kids. When I started scouting around the world of female illustrators, I stumbled on the work of Salini Perera, a woman who draws in a mix of mediums and even has an illustrated Christmas book with the 12 Days of Christmas. Let’s go take a peek! Jen

The World of Illustration / Salini Perera Illustration

The World of Illustration / Salini Perera Illustration

The World of Illustration / Salini Perera Illustration

I personally have a soft spot for any whimsical, illustrated depiction of the 12 Days of Christmas. A few years back, I bought a set of ornaments from the Land of Nod featuring the 12 Days of Christmas, and they’re still some of my favorite ornaments for the tree. I love Salini’s version of a partridge in a pear tree.

The World of Illustration / Salini Perera Illustration

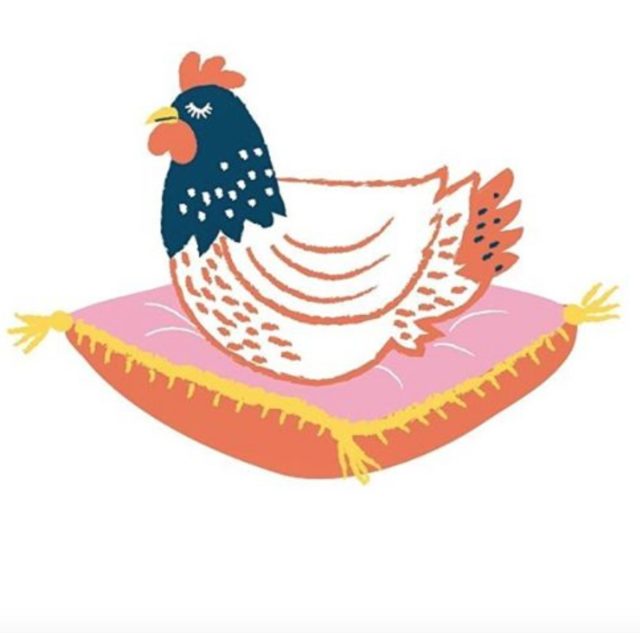
What a pitch-perfect color palette for these illustrated three french hens.

The World of Illustration / Salini Perera Illustration

The World of Illustration / Salini Perera Illustration

She’s inspired by folk art, vintage children’s books, and you do get a sense of nostalgia looking through some of her work — yet her illustrations still feel modern.

The World of Illustration / Salini Perera Illustration

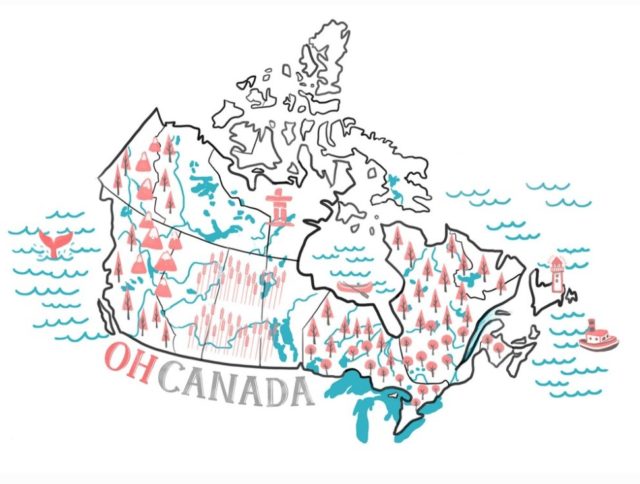
Here’s a whimsical, modern map of Canada, where Salini now calls home. I like her use of color for the map — it’s more spare so that all the details don’t get lost.

The World of Illustration / Salini Perera Illustration

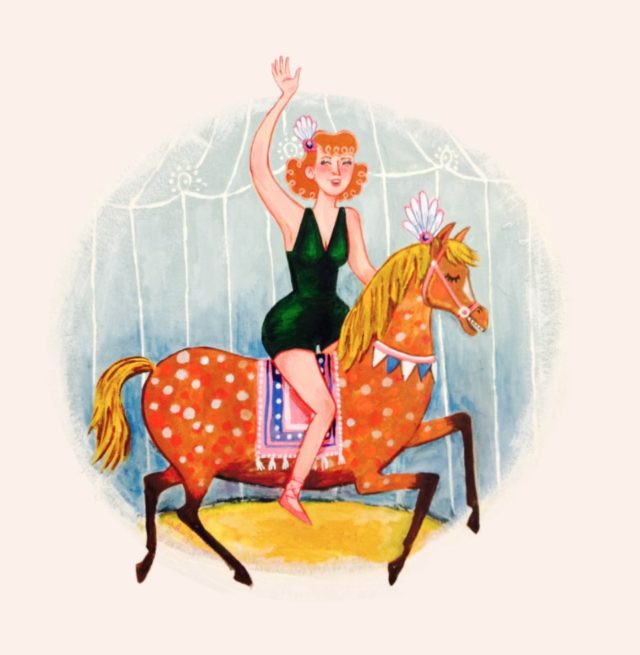
Besides how awesome this fun girl-on-a-horse illustration is, I think it’s totally awesome that Salini draws women with real bodies. Growing up, I honestly don’t think I saw an illustrated woman with hips.

The World of Illustration / Salini Perera Illustration

Here’s hoping your countdown to Christmas is filled with many good things. Thanks for following along this look into illustrator Salini Perera’s work!

Photo Credits: Salini Perera Illustration and Salini Perera on Instagram