Happy Friday everyone! Â I’m still trying to figure out how the week went by so quickly, but I’m glad to be back home in DC after spending a few days in New York and New Jersey. Â Right now I’m looking forward to a night out with friends this evening followed by a lazy weekend. Â But in the meantime…

…a few links for your weekend!
- Love this behind-the-scenes peek into a wedding invitation design studio
- A beautiful DIY escort card display…
- …and I can’t wait to try out this awesome DIY pinata project from Jordan
- I usually don’t care about celebrity weddings, but this one was so pretty!
- A fabulous bridesmaid gift from one of my favorite artists
This week on Oh So Beautiful Paper:
- Christine + Ian’s stunning DIY laser cut pop-up wedding invitations
- A week at the New York International Gift Fair: Part 1, Part 2, Part 3, Part 4
- Beautiful autumn wheat + calligraphy wedding invitations
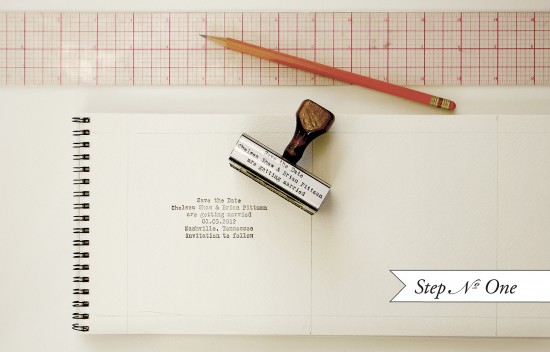
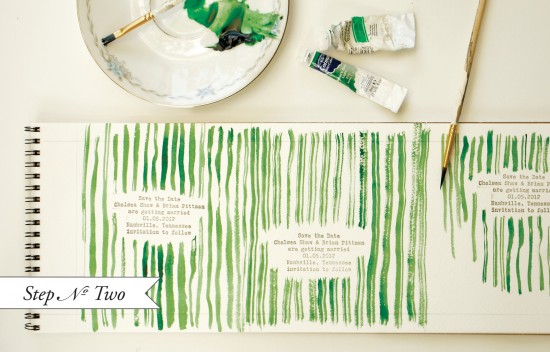
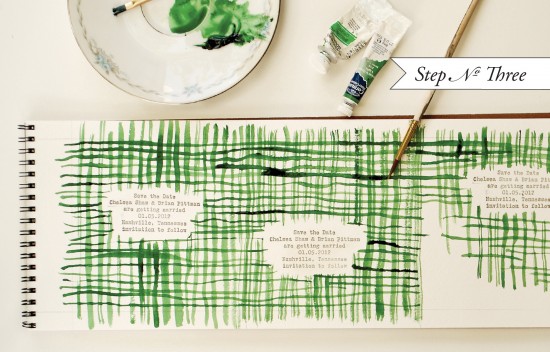
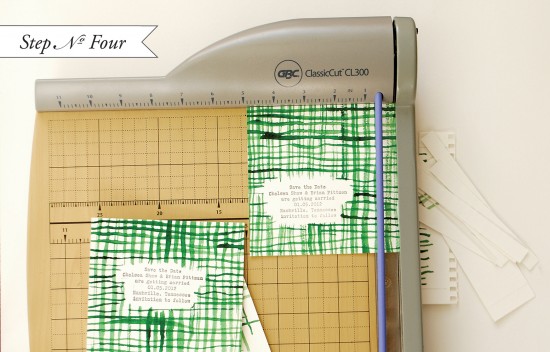
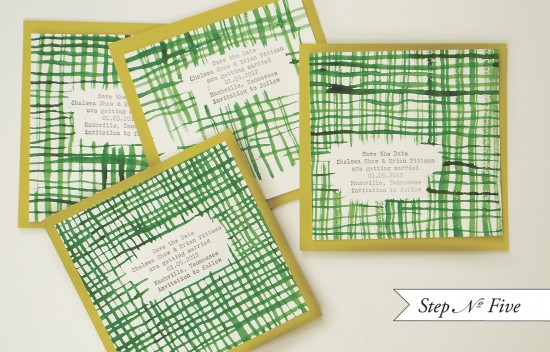
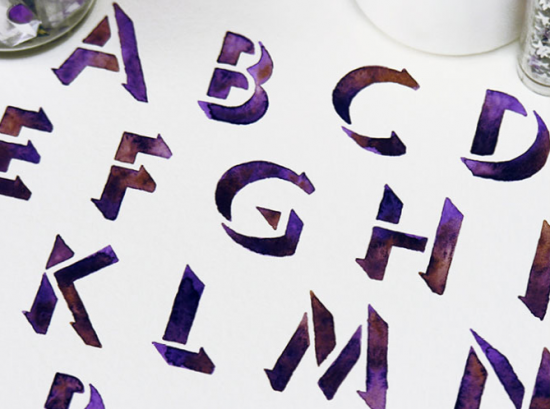
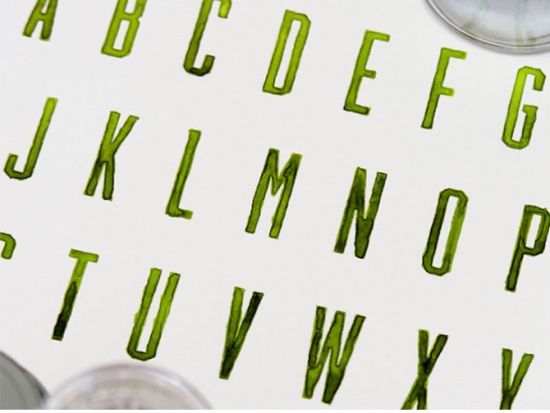
- DIY Tutorial: Crosshatch watercolor save the dates
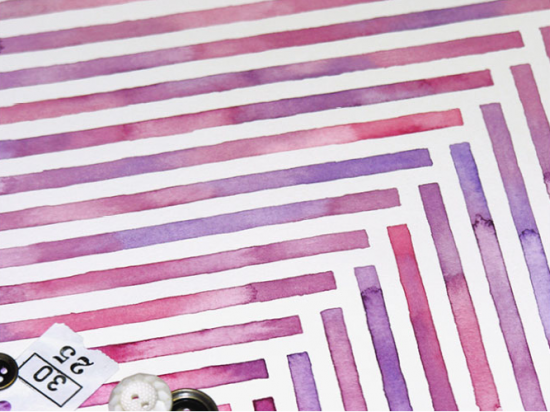
- Modern striped birthday party invitations
- Nautical black + white wedding invitations
And a big thanks to Jan from Poppytalk for asking me to stop by today with a recap from the Gift Fair!  That does it for me this week – I hope you all have a wonderful weekend, and I’ll see you back here on Monday! xoxo
Photo Credit: Beth Retro via Design is Mine