Monochromatic Illustrated Botanical Wedding Invitations

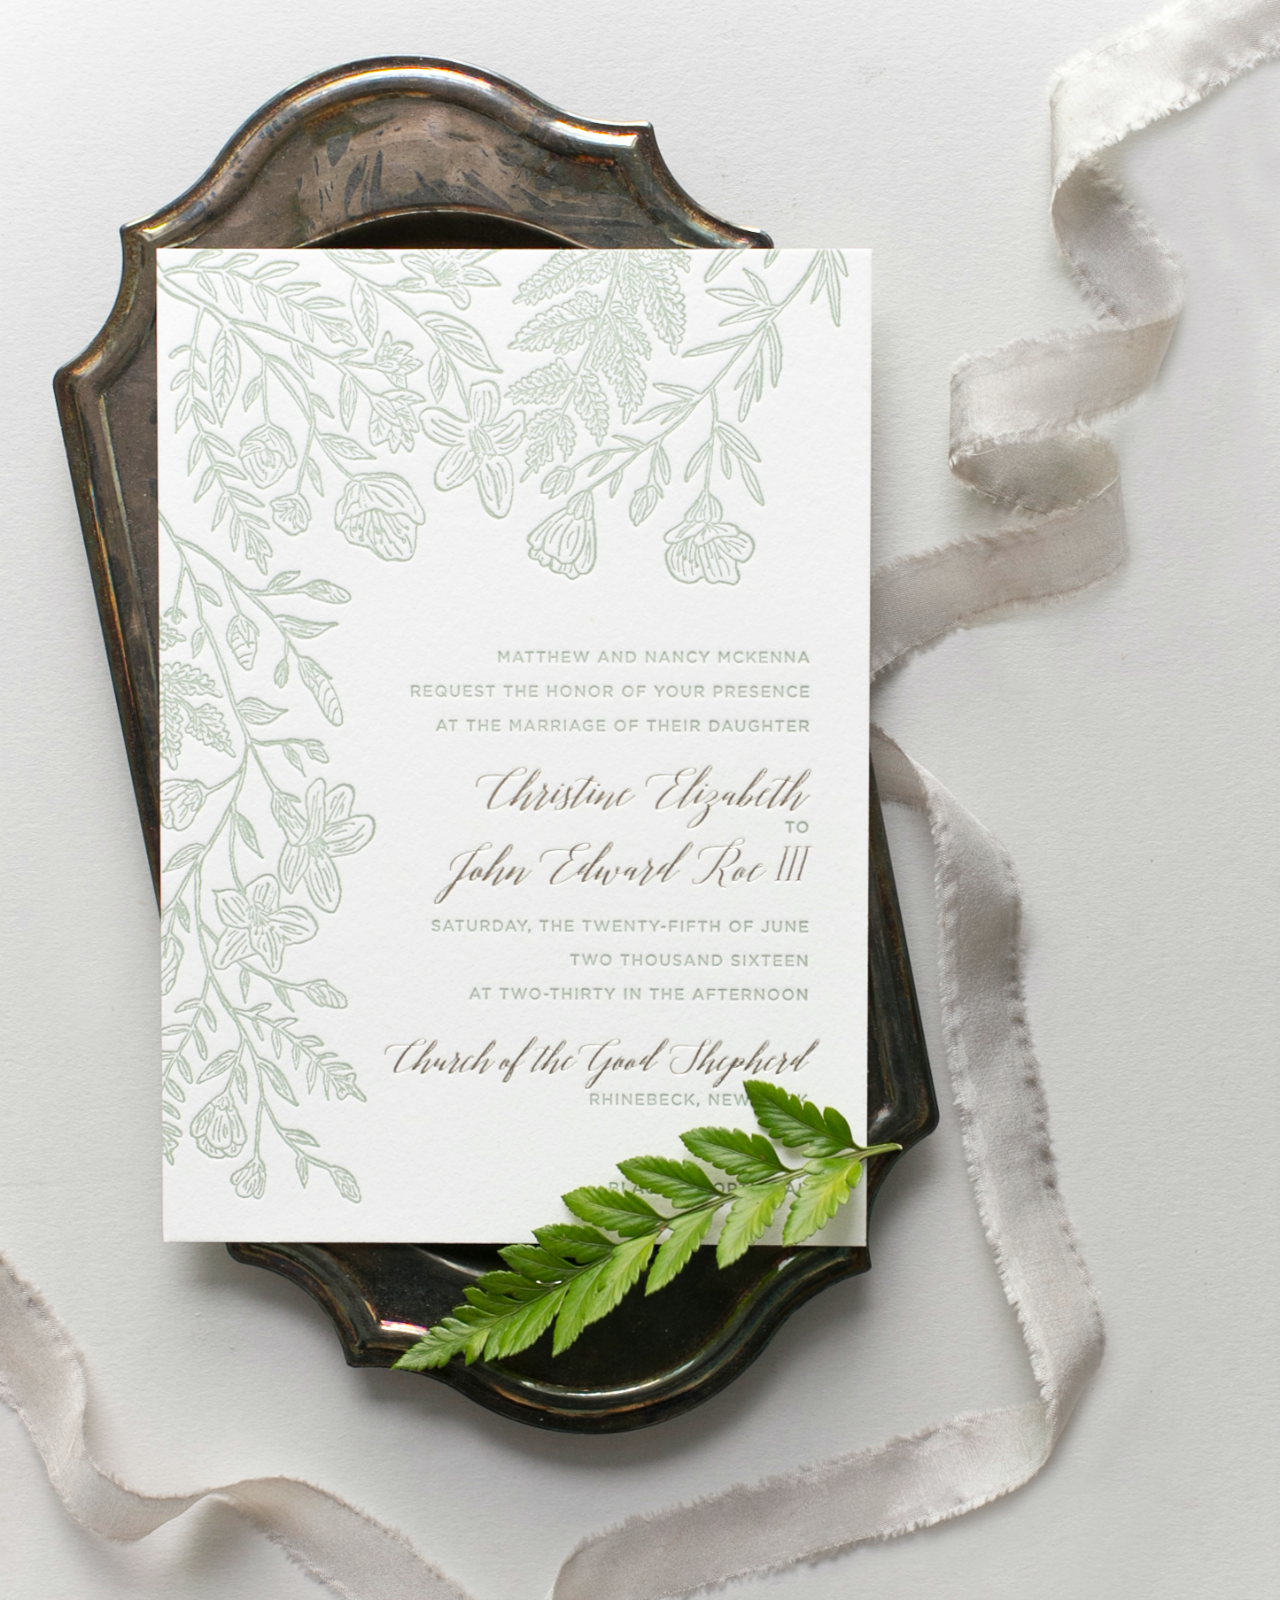
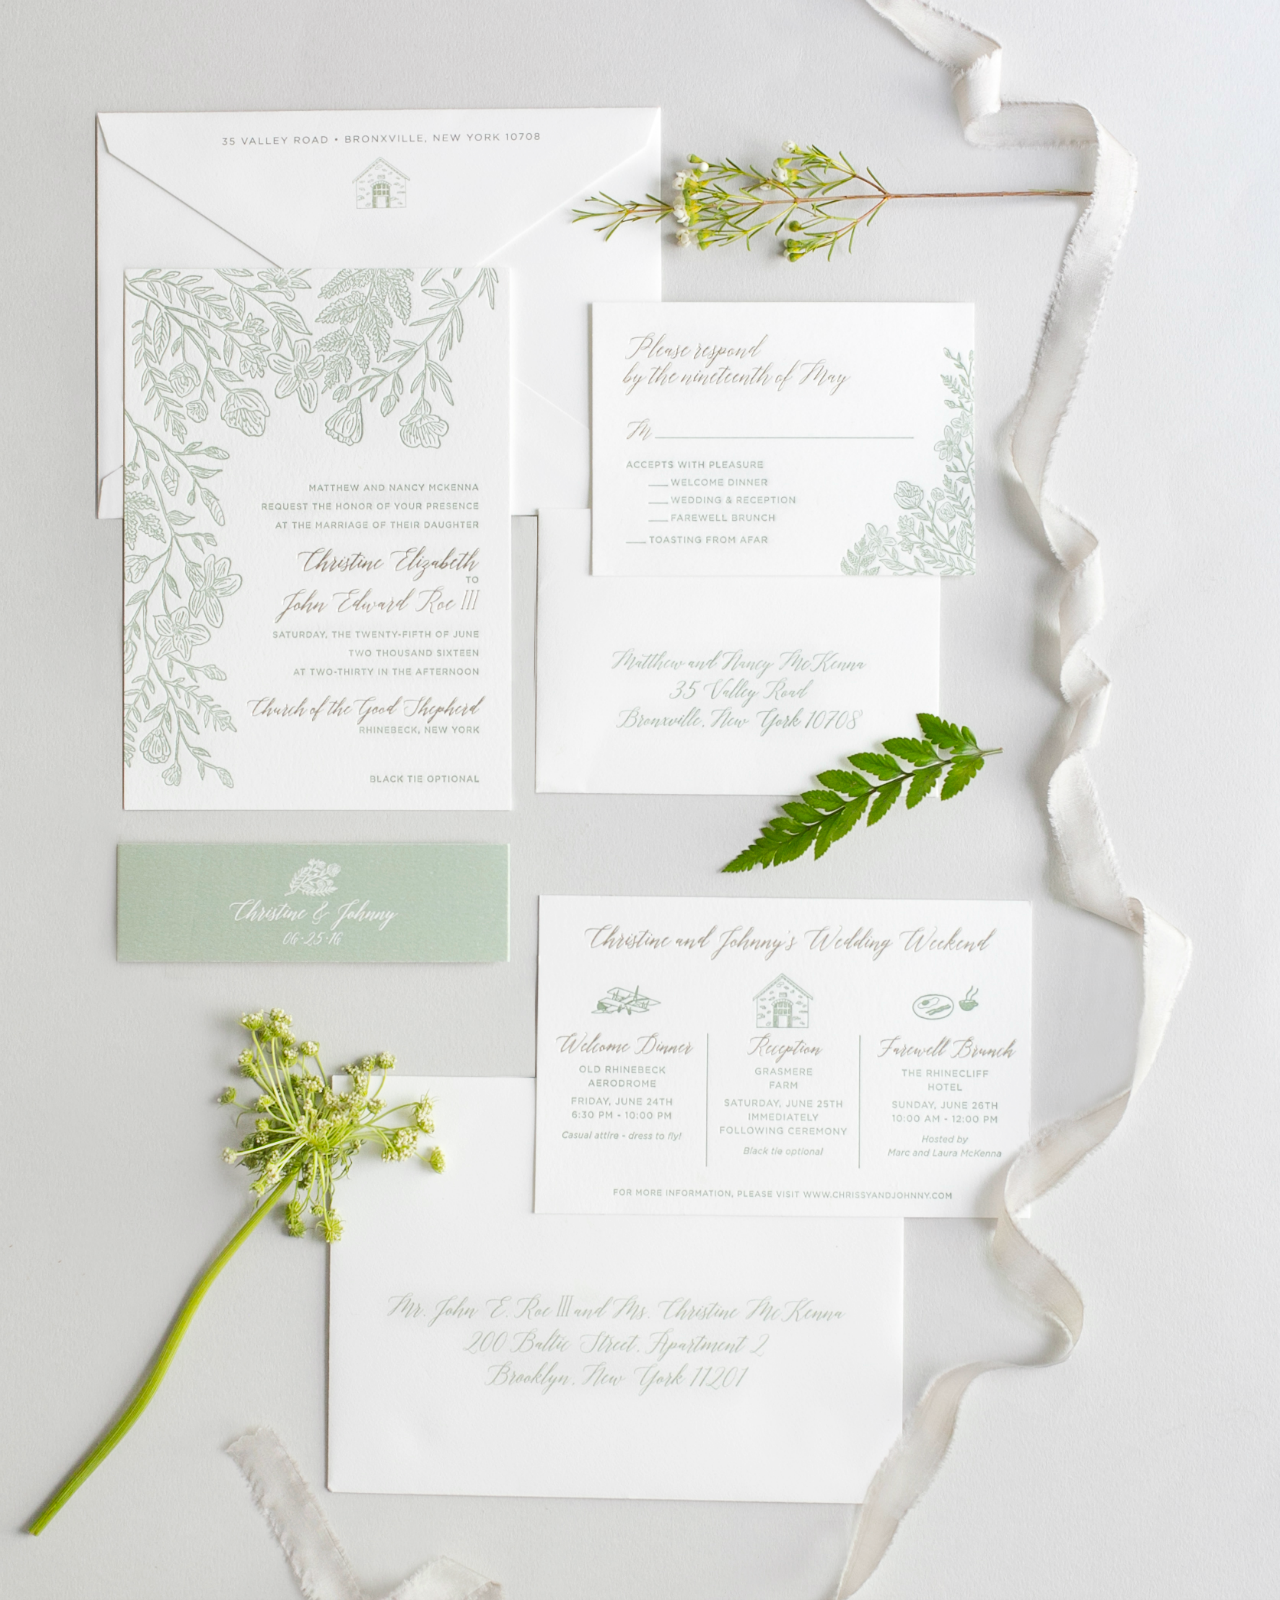
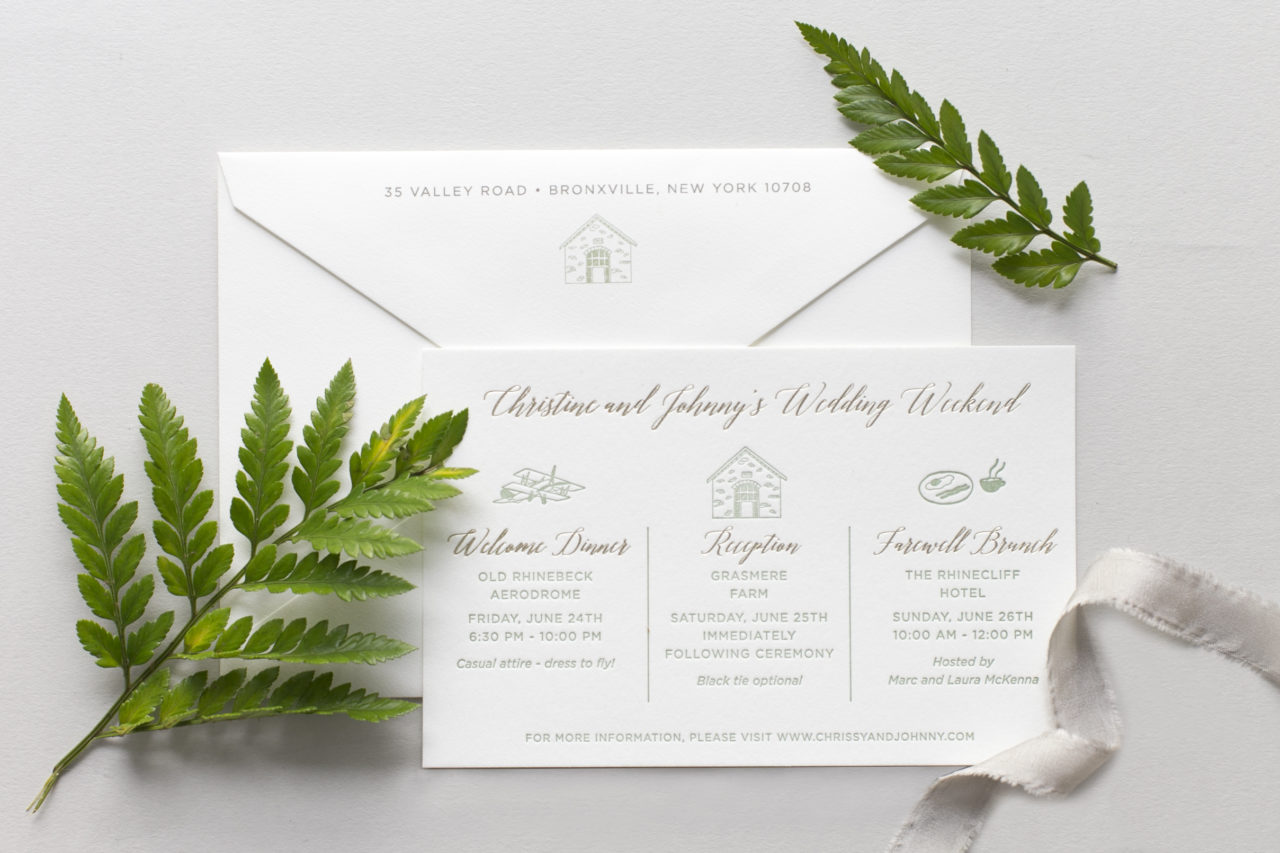
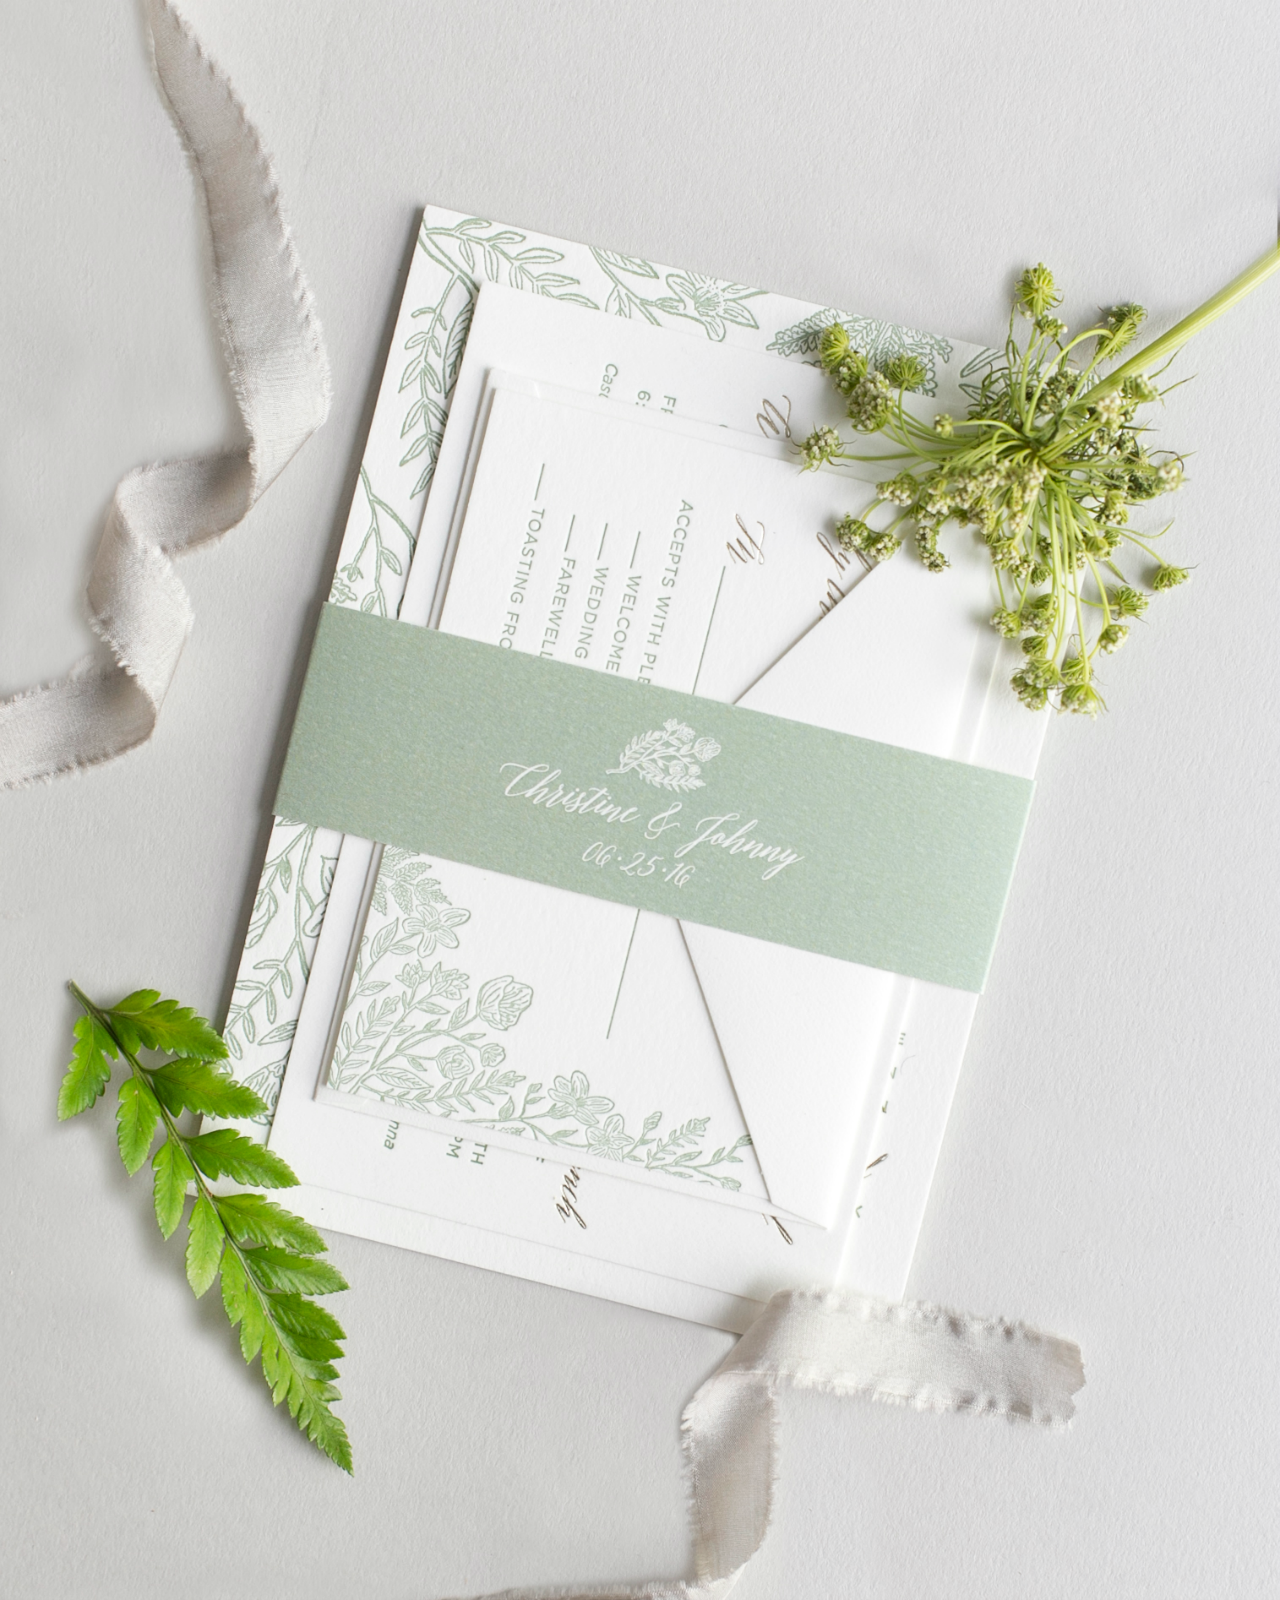
These beautiful monochromatic illustrated botanical wedding invitations from the ladies of Fourteen-Forty are the perfect balance of elegant and understated. Inspired by the Hudson Valley wedding venue, the invitations feature a subtle sage green paired with pearly gold foil. With fern and flower botanical illustrations woven throughout the suite, these wedding invitations are full of traditional beauty with elegant natural touches!

Monochromatic Illustrated Botanical Wedding Invitations by Fourteen Forty

From Rachel of Fourteen-Forty: Christine and John’s wedding invitations were inspired by their love for nature and their wedding venue. The wedding took place at Grasmere Farm in Rhinebeck, New York. We drew our inspiration from the simple elegance of the venue and its natural surroundings. We couldn’t resist drawing an illustration of the beautiful reception hall on the farm, which ended up as a recurring motif throughout the invitation suite. We played up the outdoor venue by adding in botanical illustrations. We incorporated ferns and flowers, which grew from the corners of the main invitation and RSVP card.

Monochromatic Illustrated Botanical Wedding Invitations by Fourteen Forty

Monochromatic Illustrated Botanical Wedding Invitations by Fourteen Forty

During our first design meeting it became evident that letterpress printing with some gold foil elements was the way to go. Once we decided on a lovely shade of sage green for the letterpress printing, a light and pearly gold foil seemed like the perfect complement to the very soft color palette.

Monochromatic Illustrated Botanical Wedding Invitations by Fourteen Forty

We always look for ways to add an extra something special to wedding invitation suites, whether it is a wax seal, a map, calligraphy, or in this case, a belly band. It literally tied all the pieces together into one neat package and added a nice strong band of color to the suite. We love how the sage green belly band served as a wonderful finishing touch to this elegant wedding invitation suite.

Monochromatic Illustrated Botanical Wedding Invitations by Fourteen Forty

Thanks Tricia and Rachel!

Invitations and Styling: Fourteen-Forty

Check out the Designer Rolodex for more tal­ented wed­ding invi­ta­tion design­ers and the real invi­ta­tions gallery for more wedding invitation ideas!

Photo Credits: Fourteen-Forty

A Wheat Beer Americano

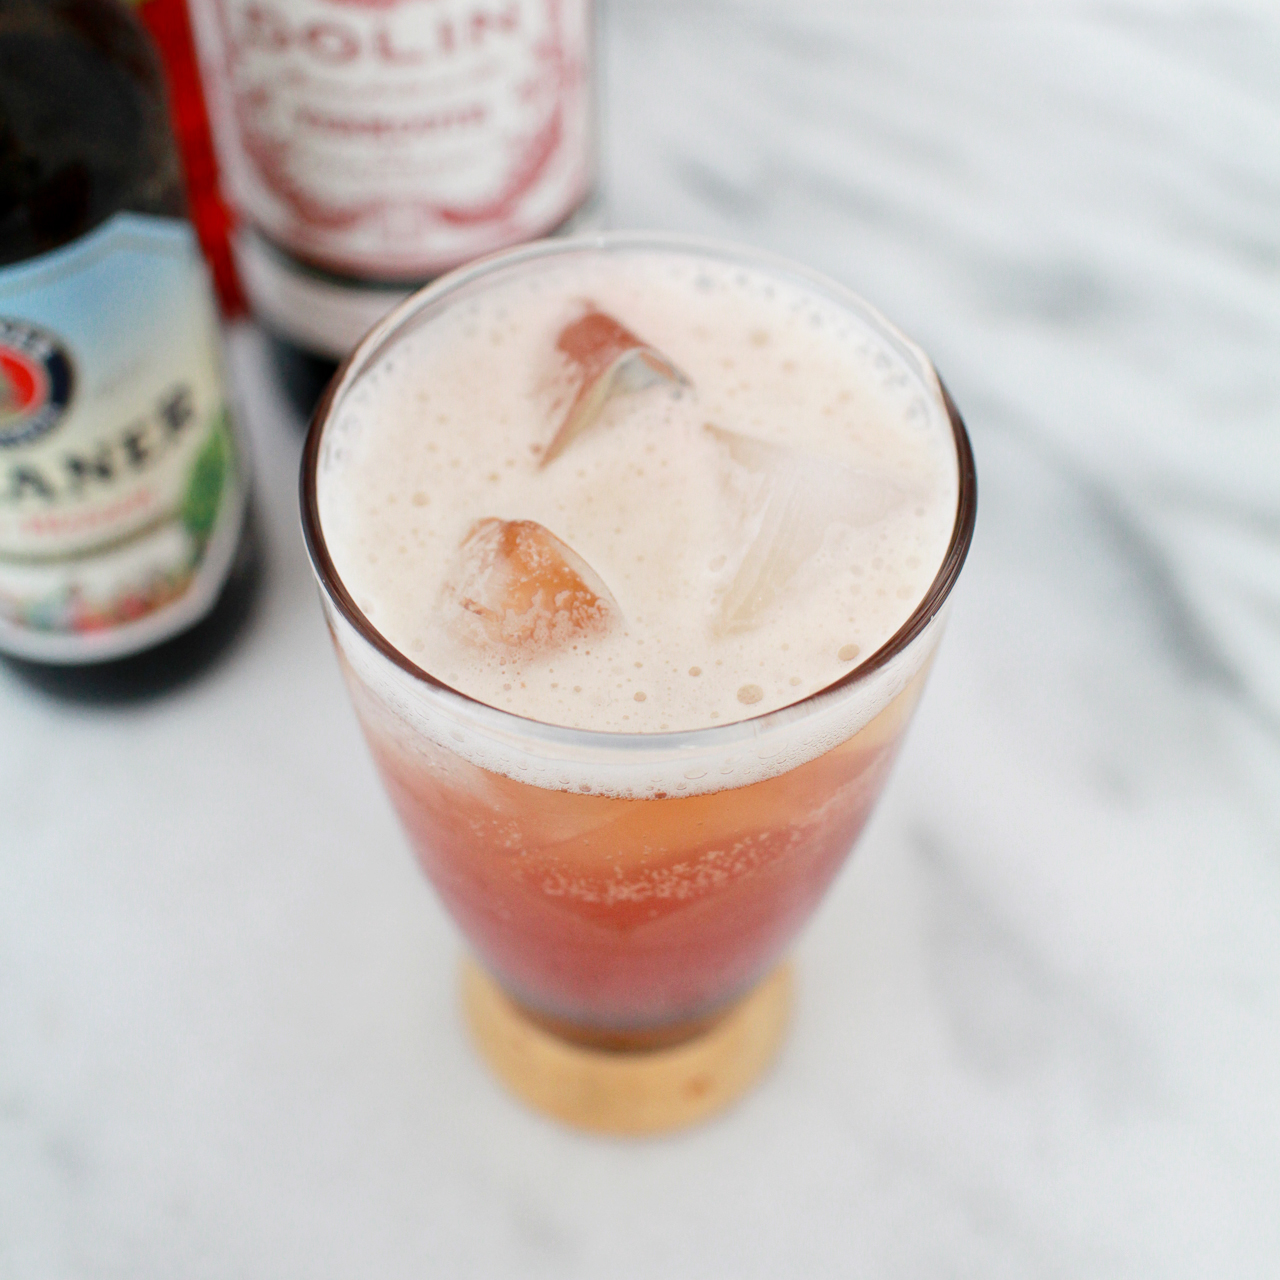
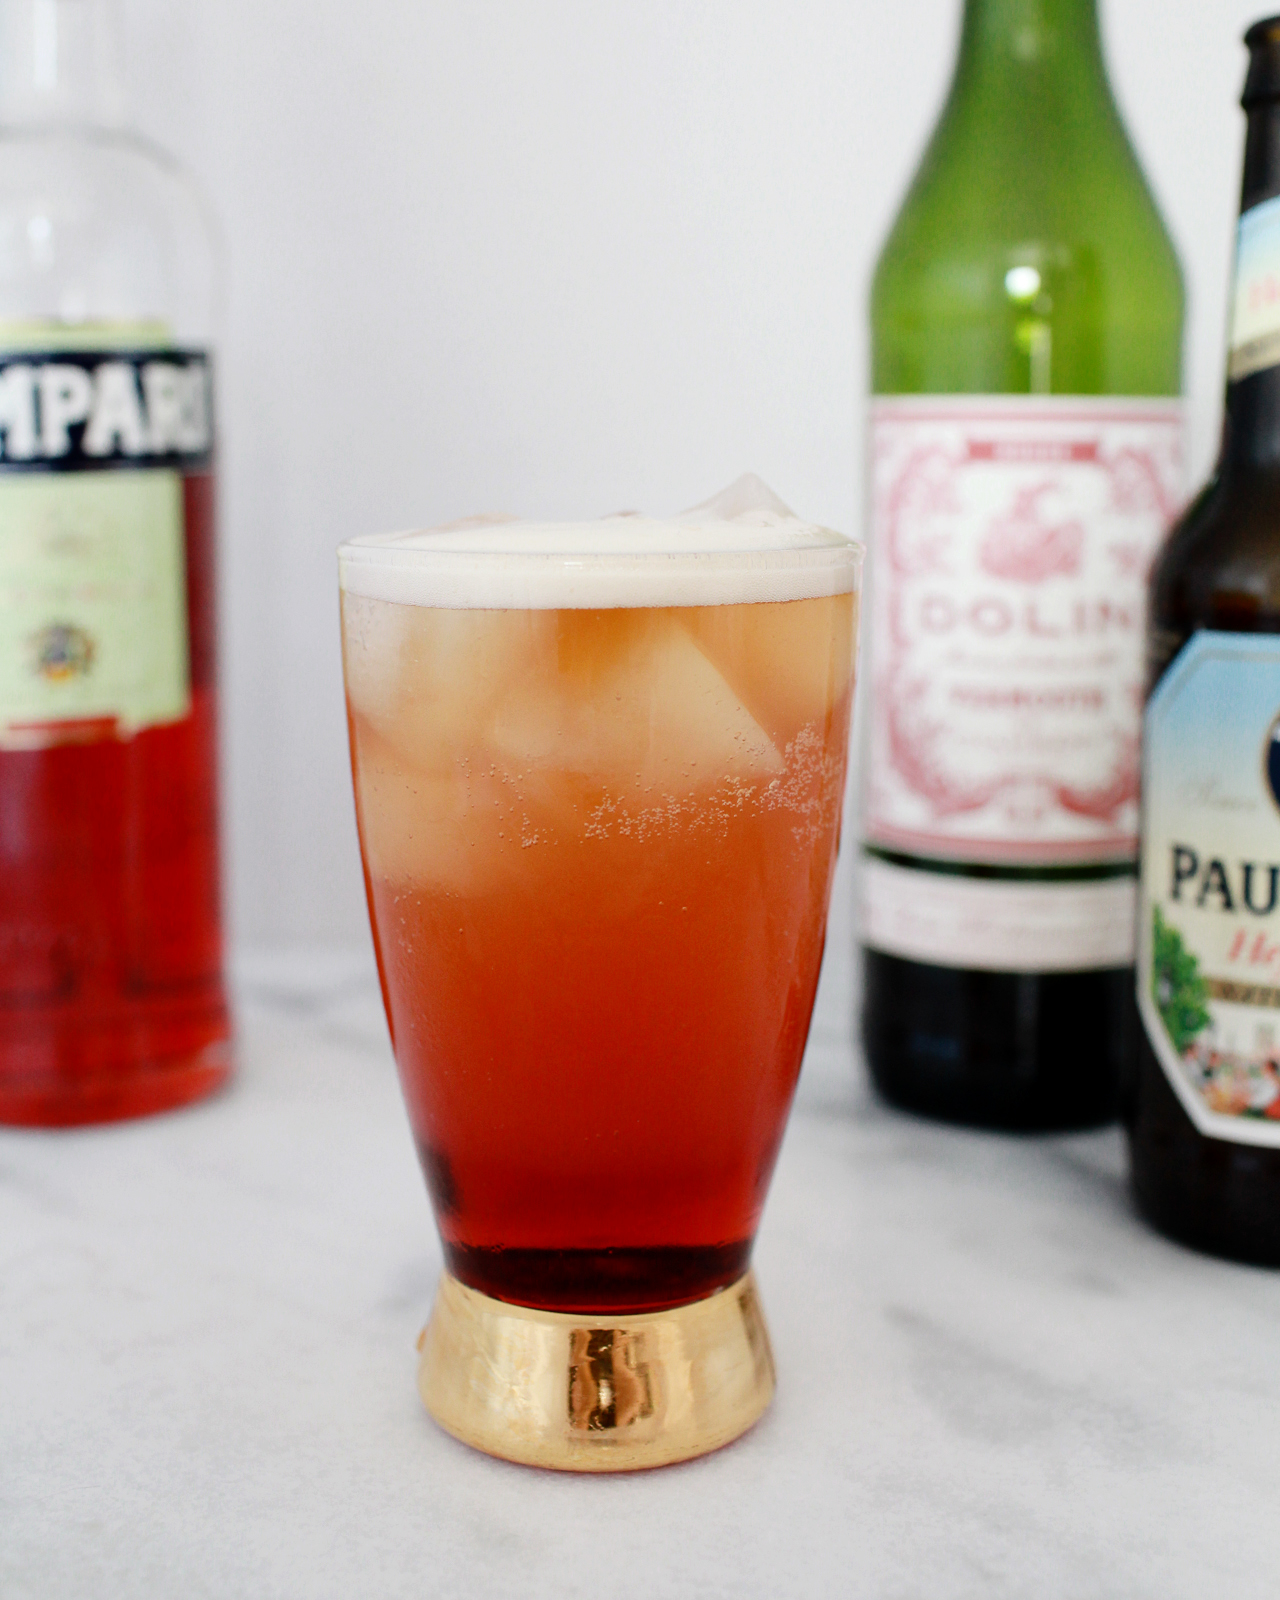
Beer can do a lot of things to a cocktail. It can add effervescence, bitterness, or body. You can add it to a flat drink to fizz it up, or substitute the beer in for another ingredient to give it some extra oomph. That’s what we did with this week’s beer cocktail: we took the classic Italian aperitif drink, the Americano, and jazzed it up a bit with some German wheat beer. –Andrew

Beer Cocktail Recipes / A Wheat Beer Americano by Liquorary for Oh So Beautiful Paper

Wheat Beer Americano

1 oz Campari
1 oz Sweet Vermouth
Hefeweizen

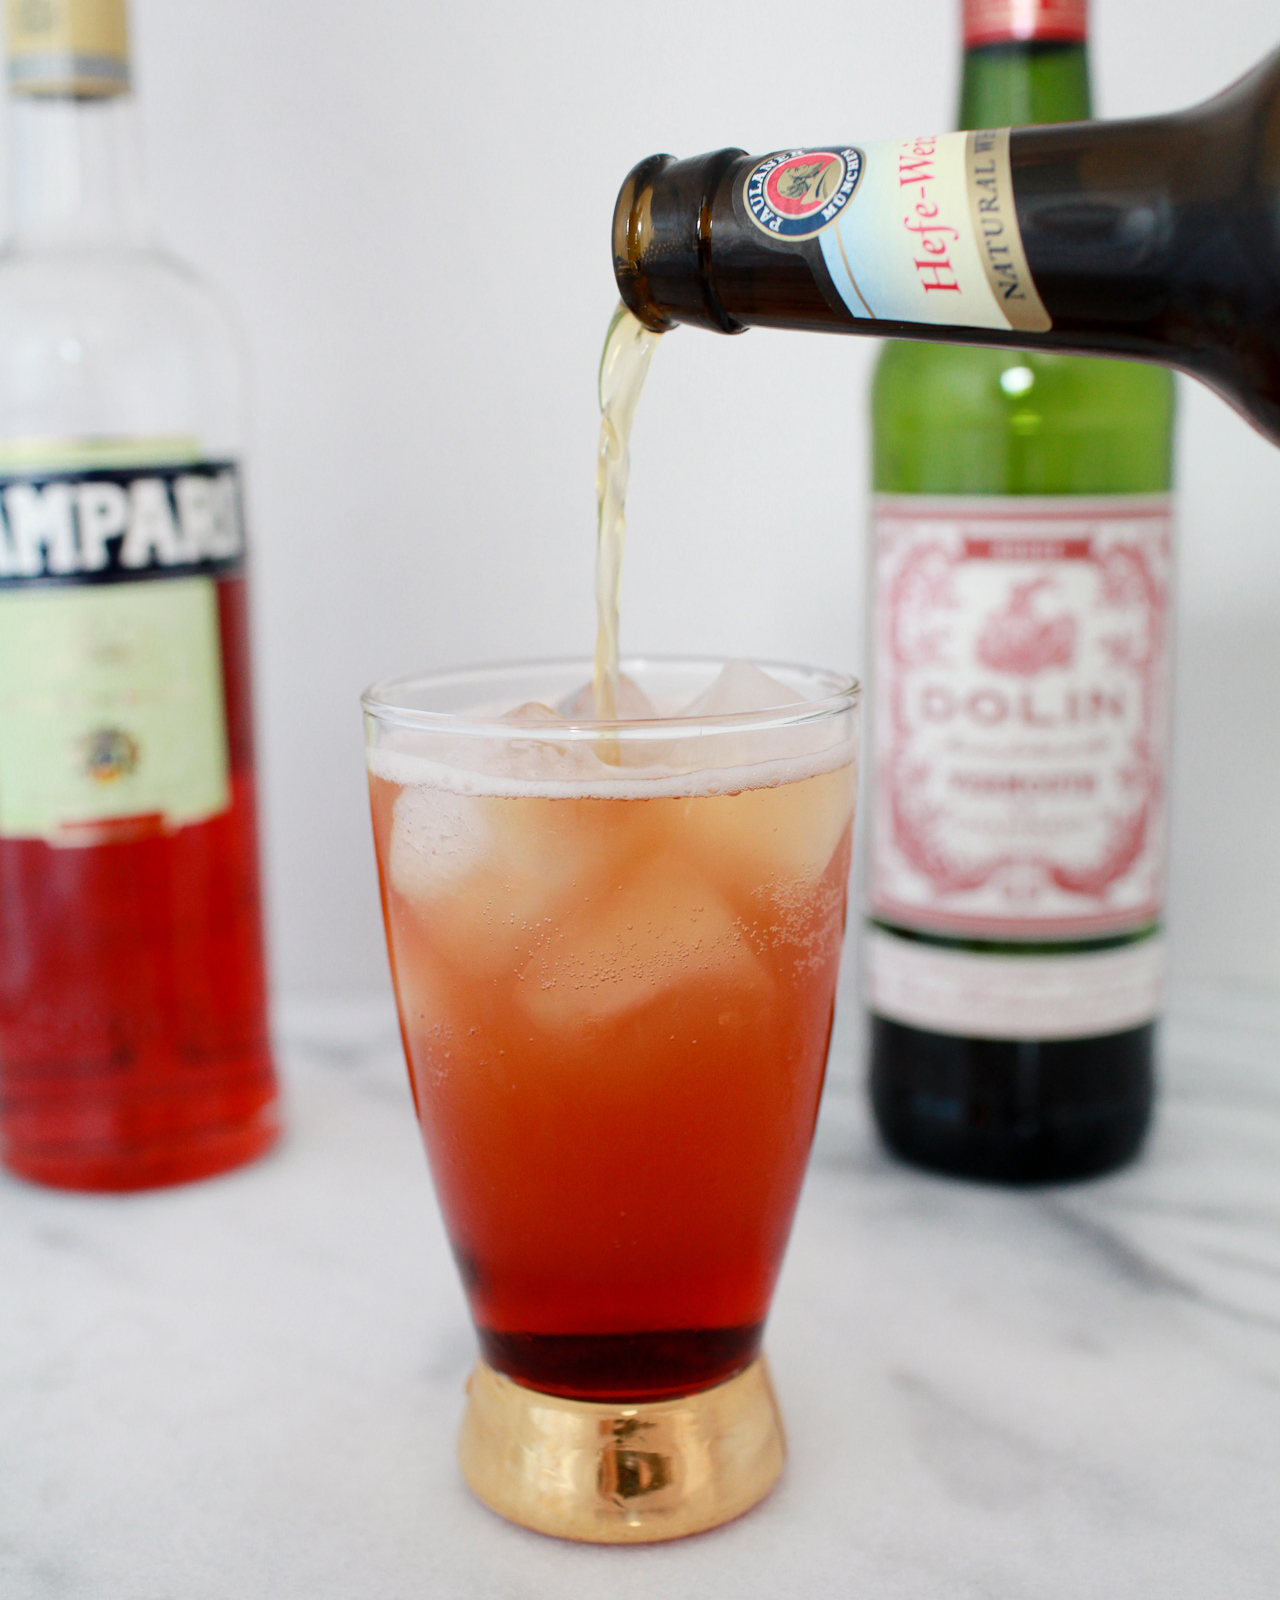
Add the Campari and vermouth to a highball glass filled with ice, then top with the wheat beer. Give it a stir and enjoy!

Beer Cocktail Recipes / A Wheat Beer Americano by Liquorary for Oh So Beautiful Paper

The Americano – which we’ve featured here before – is a straightforward drink, matching bitter Campari and herbaceous vermouth and mellowing out those intense flavors with some soda water. It’s a wonderful, and wonderfully Italian, low-proof cocktail, the sort of thing you’d sip while sitting in a piazza in Trastevere while watching the beautiful people stroll by.

Beer Cocktail Recipes / A Wheat Beer Americano by Liquorary for Oh So Beautiful Paper

But sometimes you want to play with the classics, and substituting a German wheat beer for the soda water adds an extra layer of fruity, spicy flavor, along with a chewy mouthfeel that you don’t get with the original.

Beer Cocktail Recipes / A Wheat Beer Americano by Liquorary for Oh So Beautiful Paper

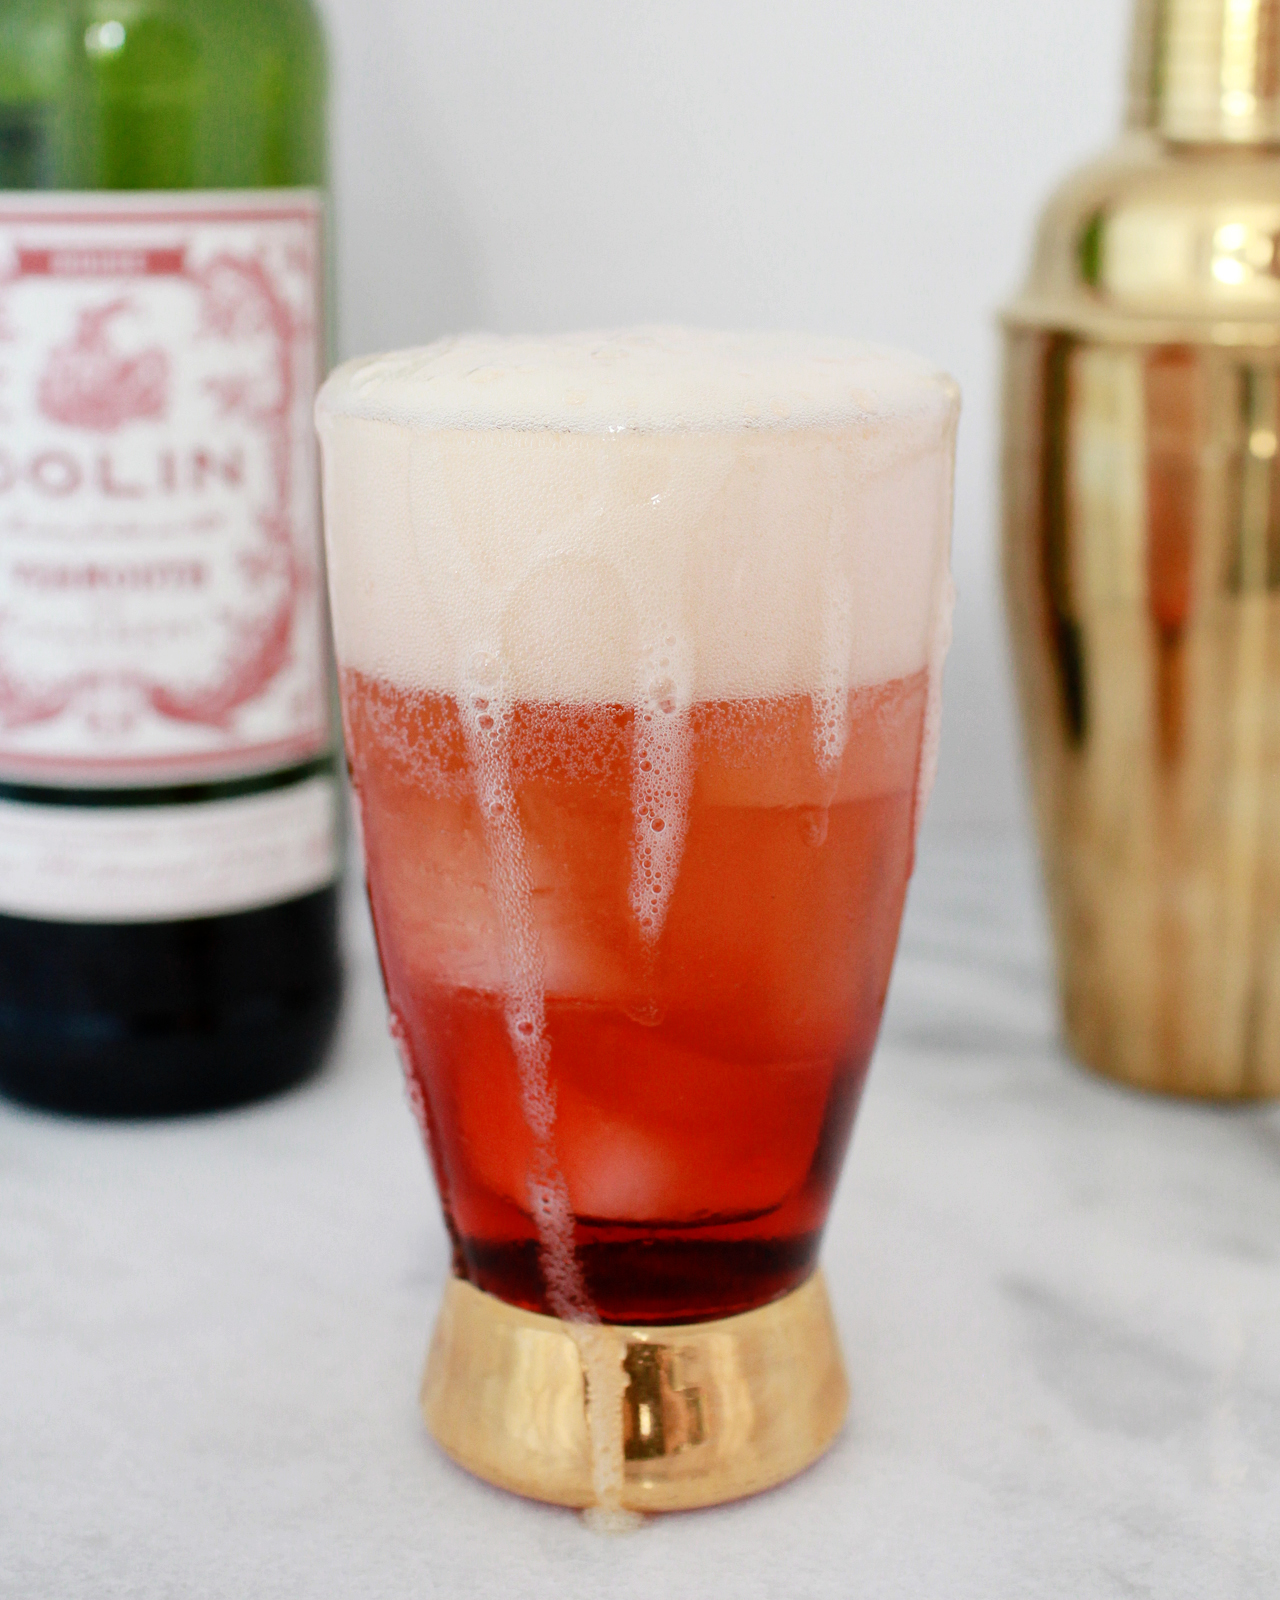
We went with a Bavarian Hefeweizen here, one of my all-time favorites, Paulaner. Since the Campari is so bitter and the Americano so herbaceous, we didn’t want to go with a hoppier beer, like an IPA, which could overwhelm this drink with bitterness. Instead, the wheat beer adds fruity notes, especially banana, and lots of spice like cloves. It comes across as sweet in contrast with the rest of the drink. I like to give drinks like this only a gentle stir, incorporating but still leaving all the flavors a little layered. So as you drink this down, it starts out fruity and mellow, and then gets progressively darker and more intense towards the bottom.

(Don’t forget to follow us on Instagram!)

Glassware by Liquorary

Photo Credits: Nole Garey for Oh So Beautiful Paper

Happy Weekend!

Yay Friday! Do you all have fun pre-Halloween plans this weekend? Our neighborhood is hosting a big Halloween block party for all the kids in the area tonight, but official trick or treating is always on Halloween proper in DC, so we’ll have to wait until Monday for that. But in the meantime…

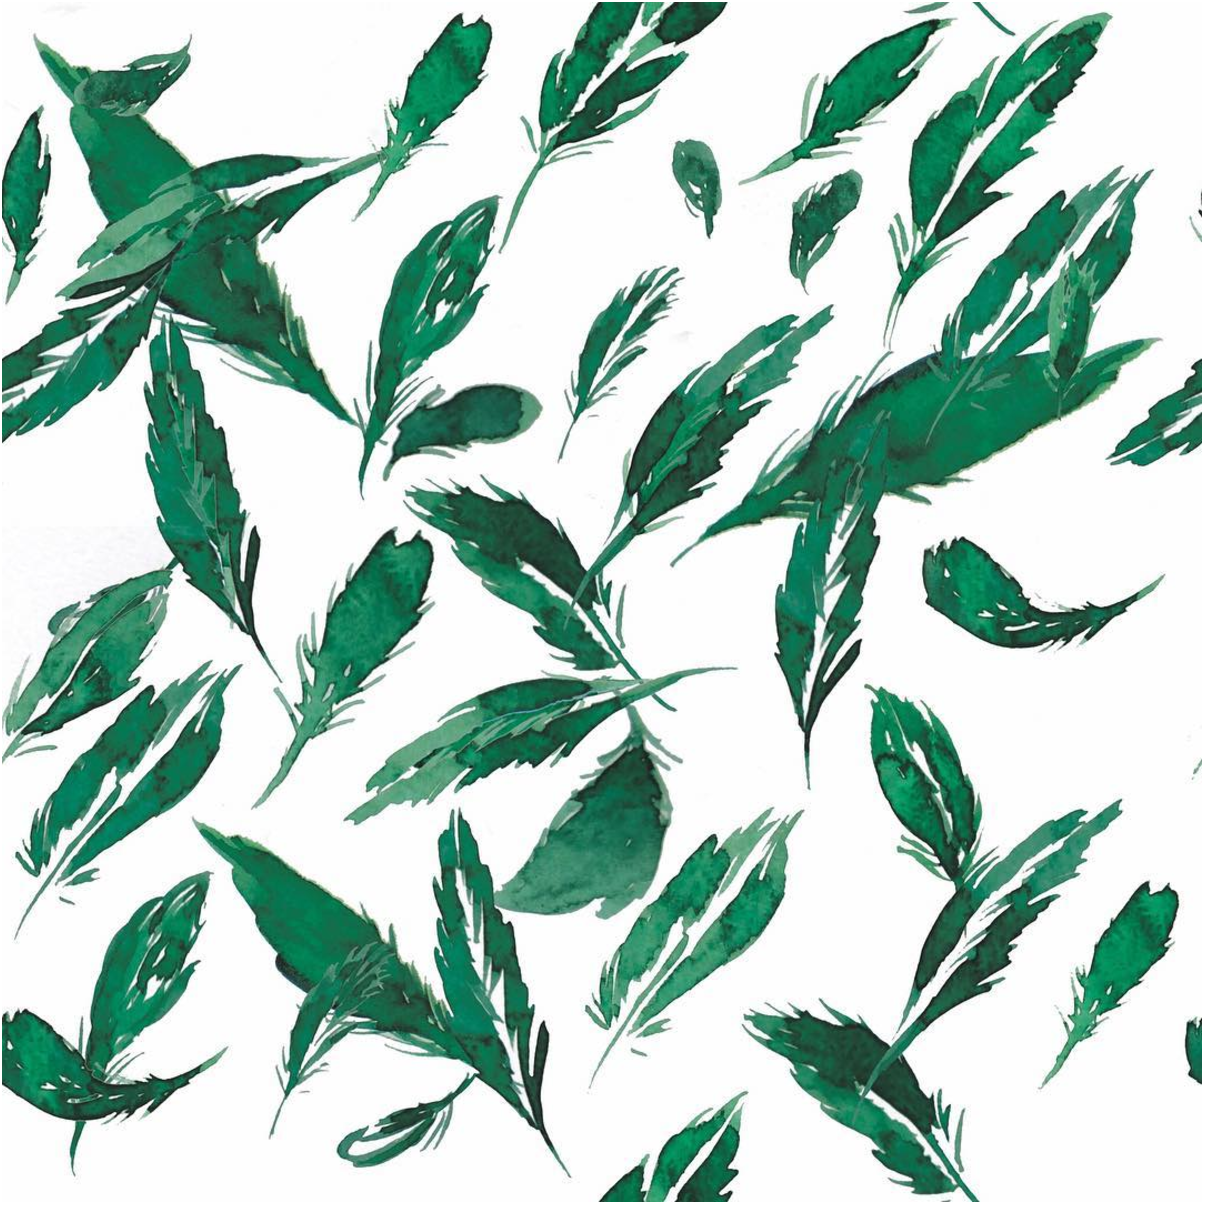
Green Feather Envelope Liner Pattern by RSVP Paper Co via Instagram

Illustration by RSVP Paper Co. via Instagram

…a few links for your weekend!

This week on Oh So Beautiful Paper:

That’s it for us this week! Check back a bit later for a cocktail recipe (yay!) and I’ll see you back here next week! xoxo

Printable Halloween Treat Bags

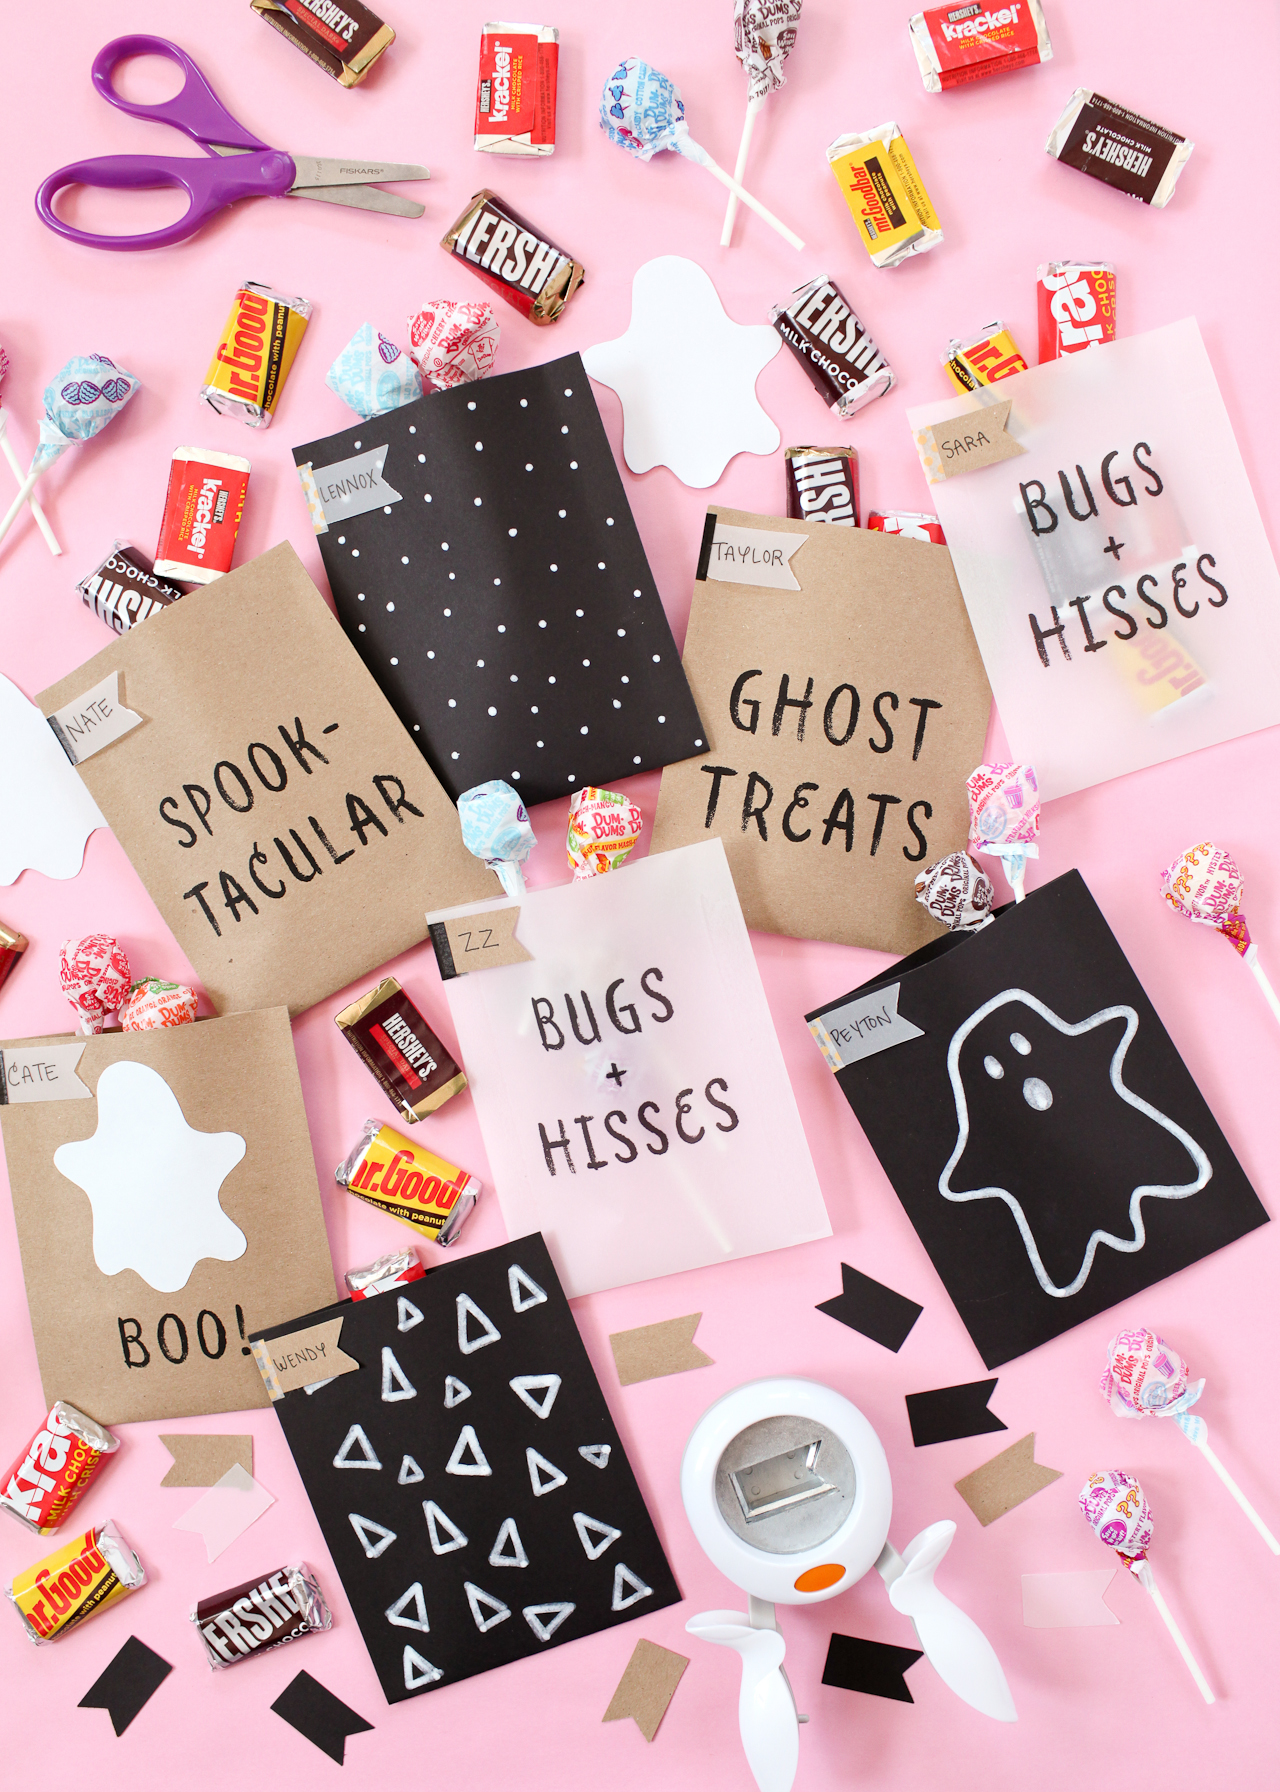
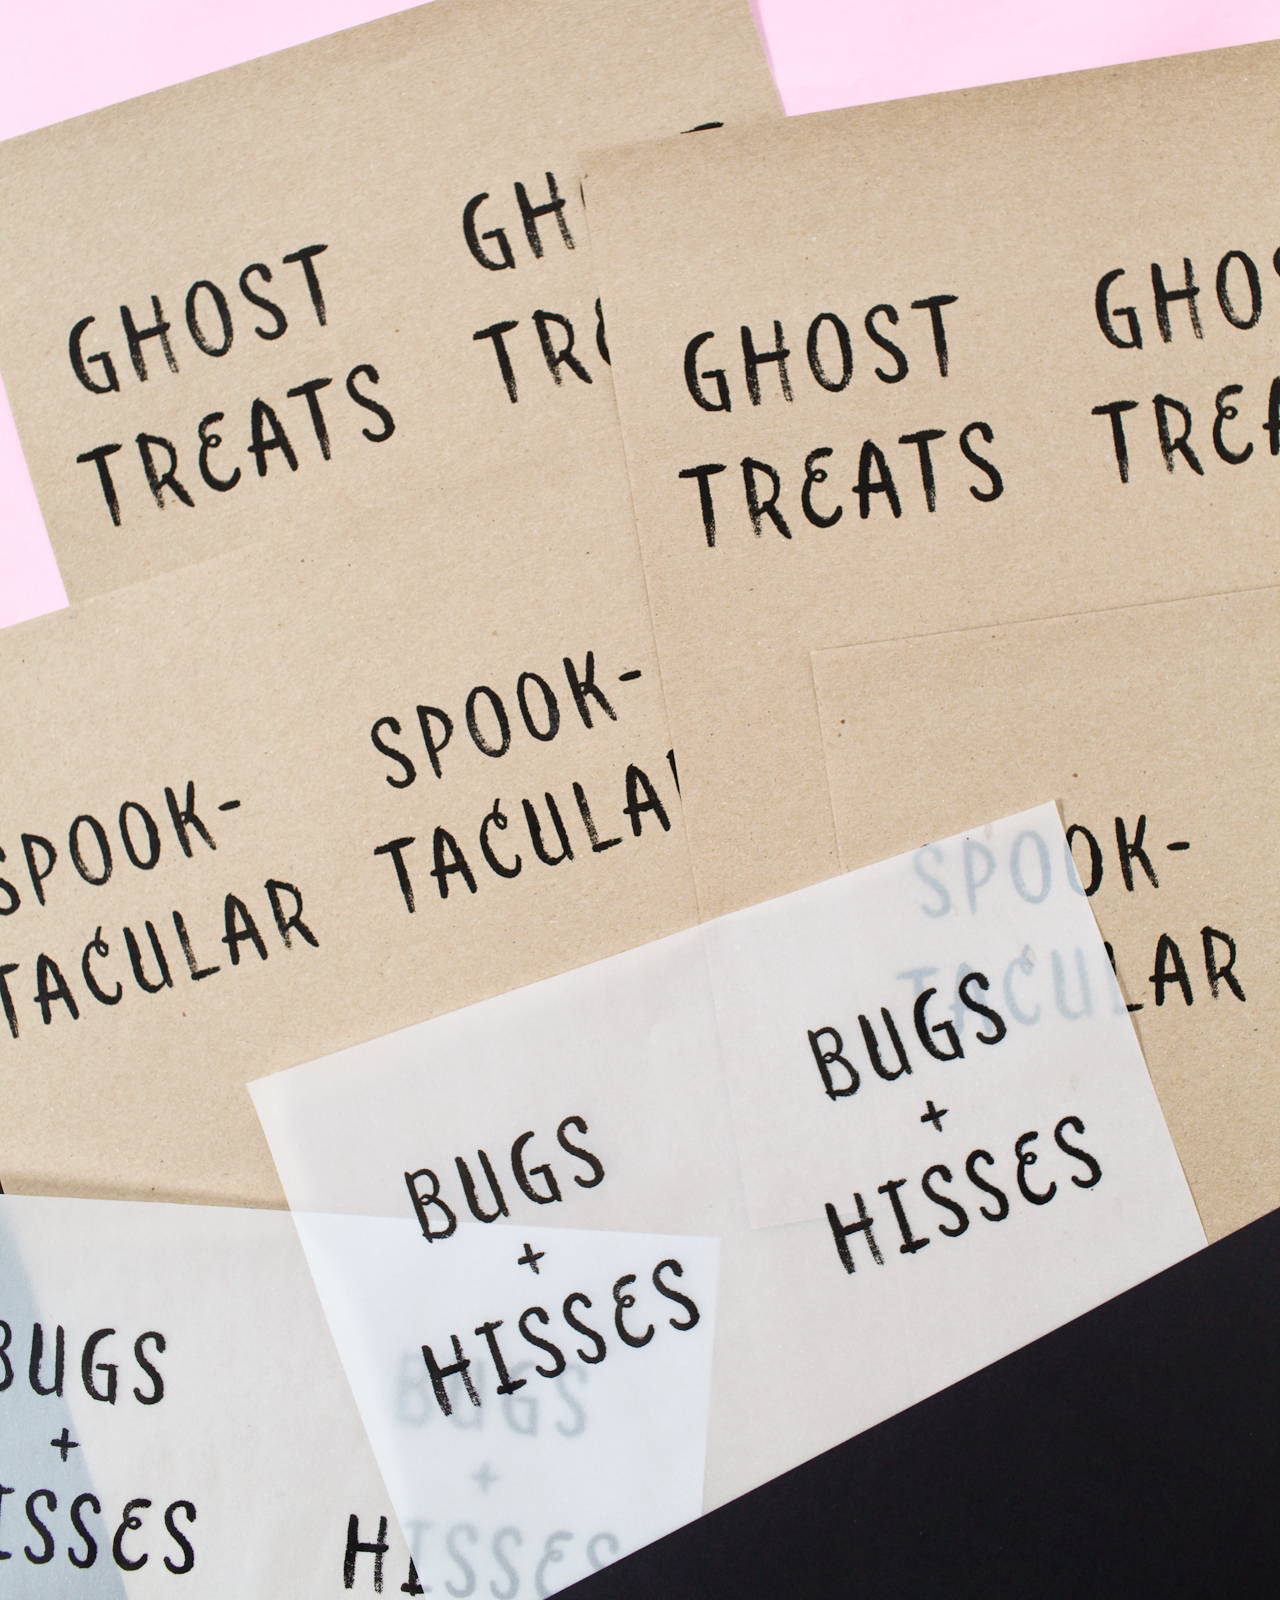
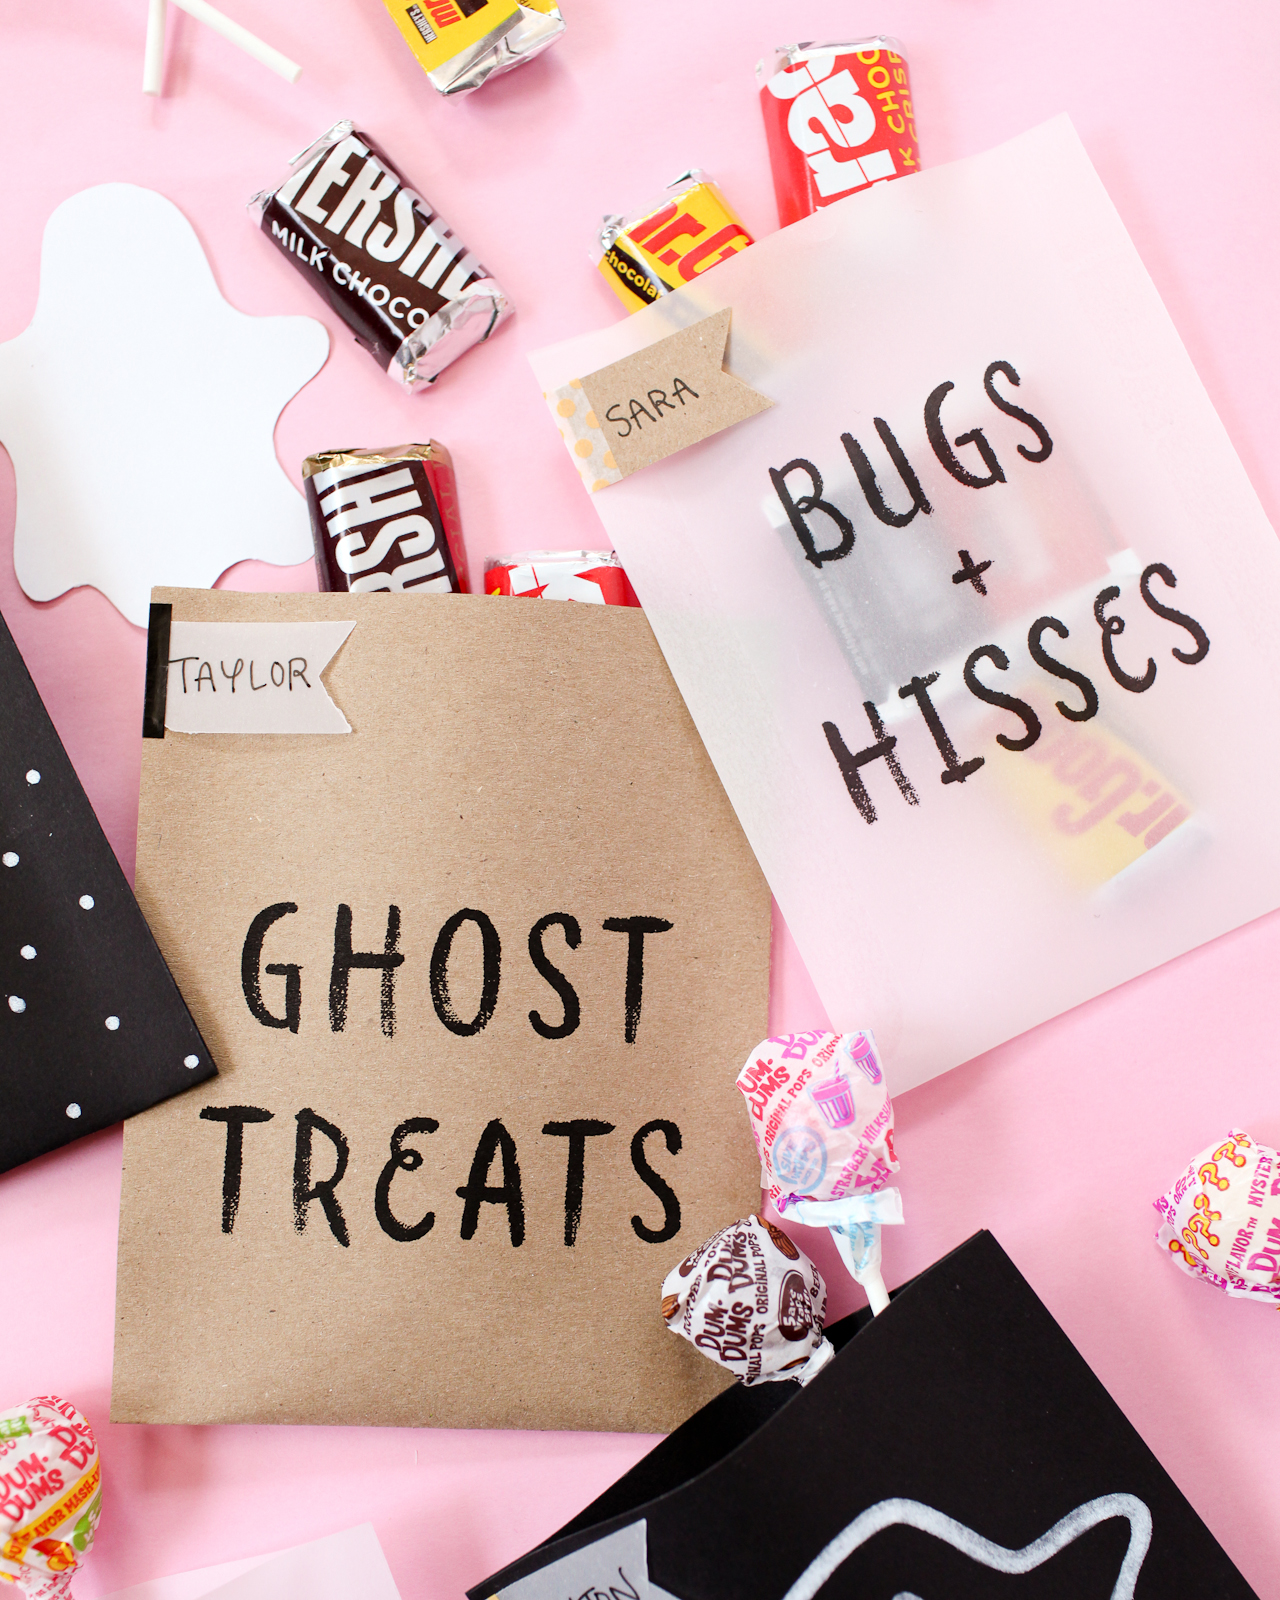
Happy (almost) Halloween! Are any of you hosting costume parties this weekend? For those of you who might have little costumed guests in attendance, I thought I’d share one more project from our Halloween collaboration with Fiskars: printable Halloween treat bags! I made the bags using a combination of vellum, kraft paper, and black paper and filled them with some of my favorite treats. You could even fill the bags with snacks to enjoy during the party, like popcorn or pretzels!

DIY Printable Halloween Treat Bags

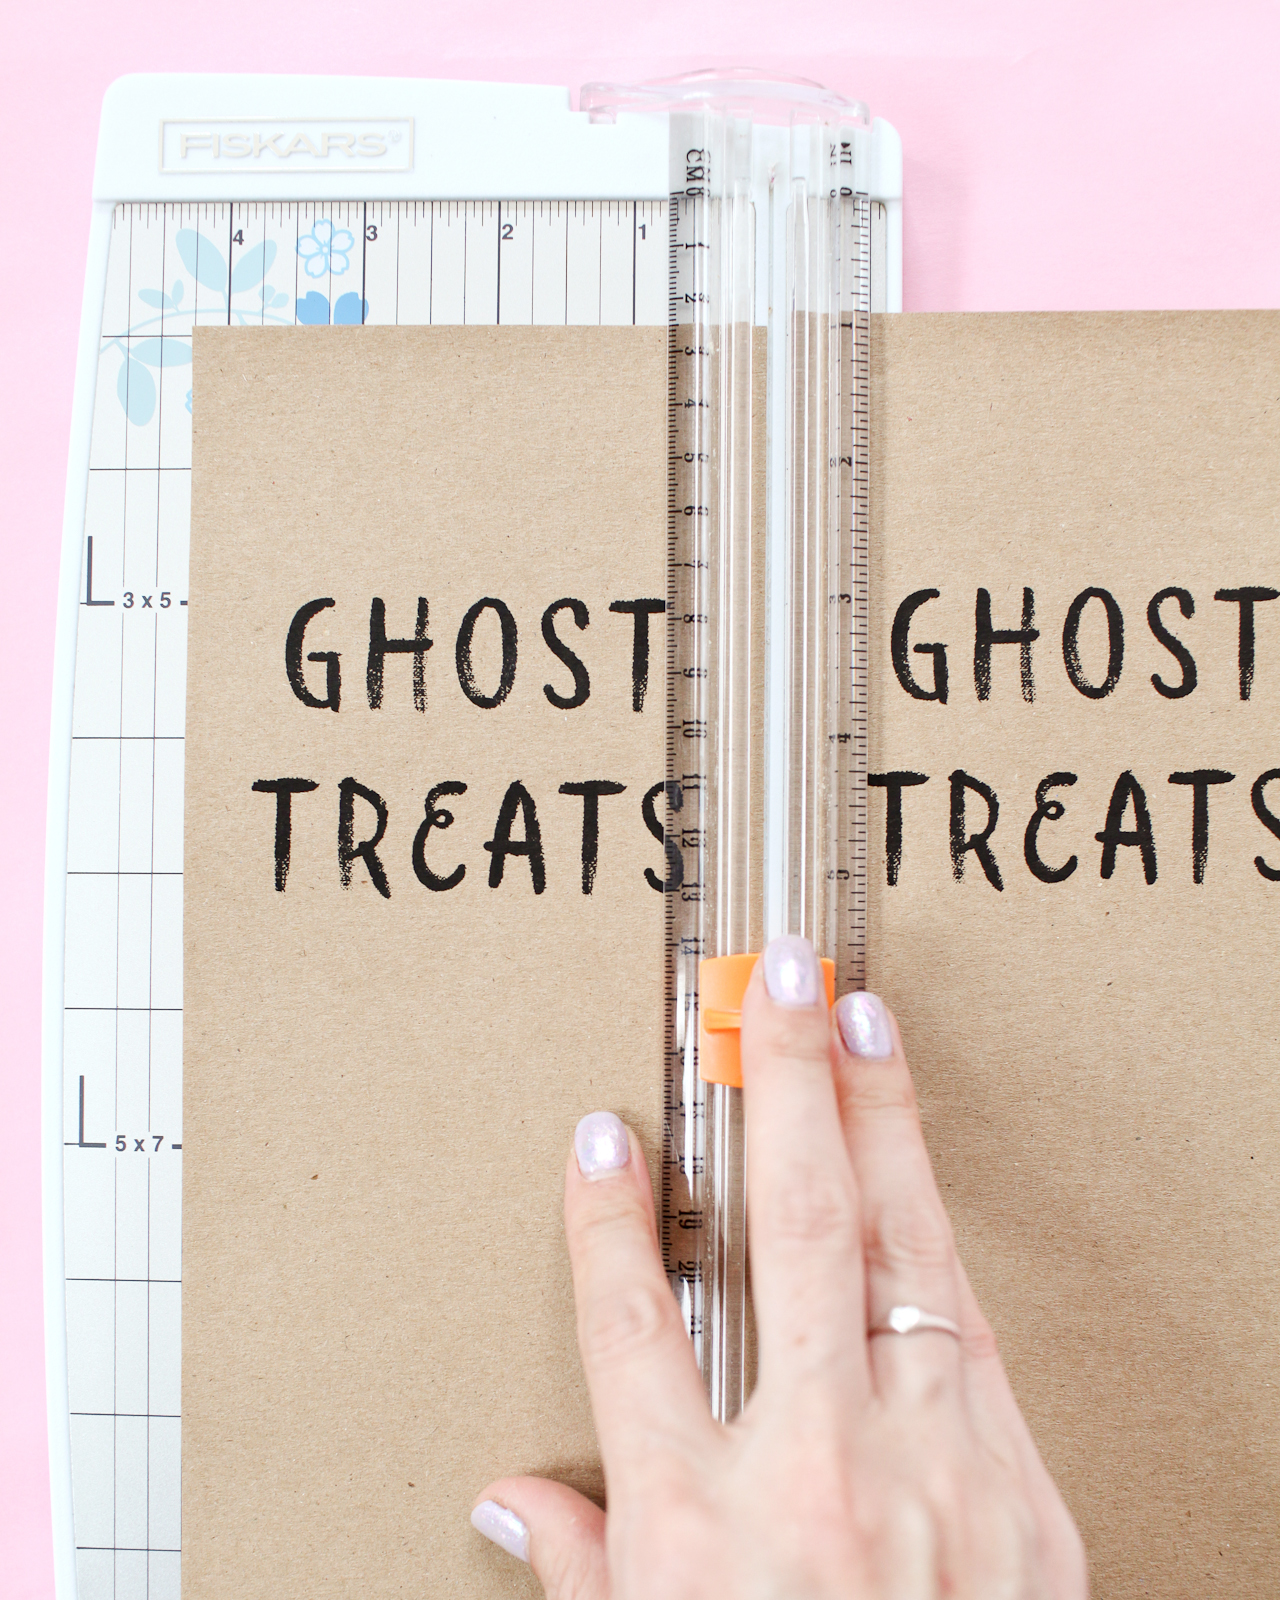
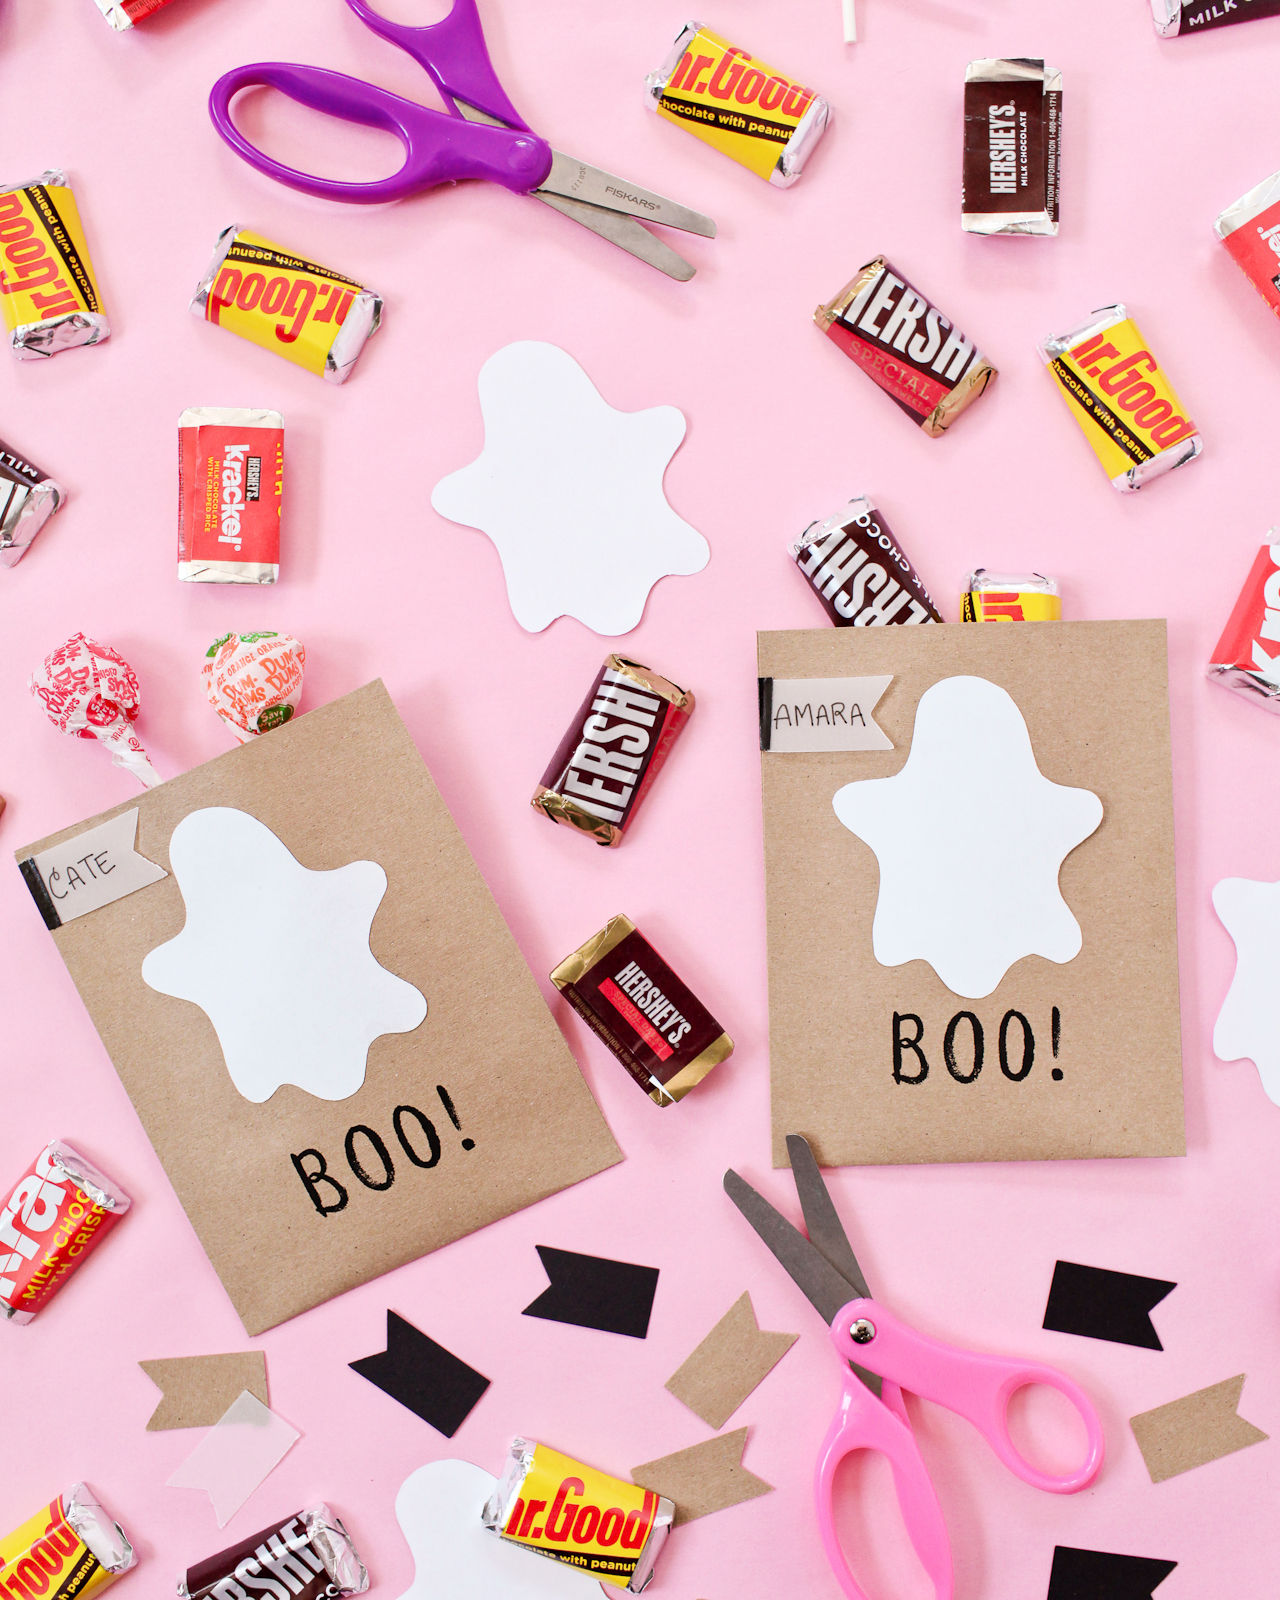
The favor bags feature five of my favorite Halloween puns and phrases along with a few hand drawn patterns using white Pen-touch paint markers on the black treat bags. The bags themselves are so easy to make – just print the designs on a sheet of letter size paper, then cut in half, fold, and tape shut with double sided tape. I even cut little ghosts from white printer paper and used a glue stick to apply them to the treat bags. You can find all five printable designs plus the ghost template for download over on Fiskars right here!

DIY Printable Halloween Treat Bags

DIY Printable Halloween Treat Bags

I love the idea of a black and white Halloween color palette, but since the printable designs feature only black text you can print them on ANY color paper using your home printer. Traditional Halloween orange? No problem. Non-traditional pastels? Definitely! Or go with all vellum for a ghost-like vibe!

DIY Printable Halloween Treat Bags

DIY Printable Halloween Treat Bags

Bugs + hisses! Ghost treats! Spook-tacular! So fun for Halloween costume party guests of all ages. Check out the full post and grab all the printable files over on the Fiskars website right here!

p.s. Printable black and white calligraphy Halloween treat bags

This post was created in partnership with Fiskars. All content and opinions are my own. Thank you for supporting the sponsors that make Oh So Beautiful Paper possible!

DIY Iridescent Pumpkins

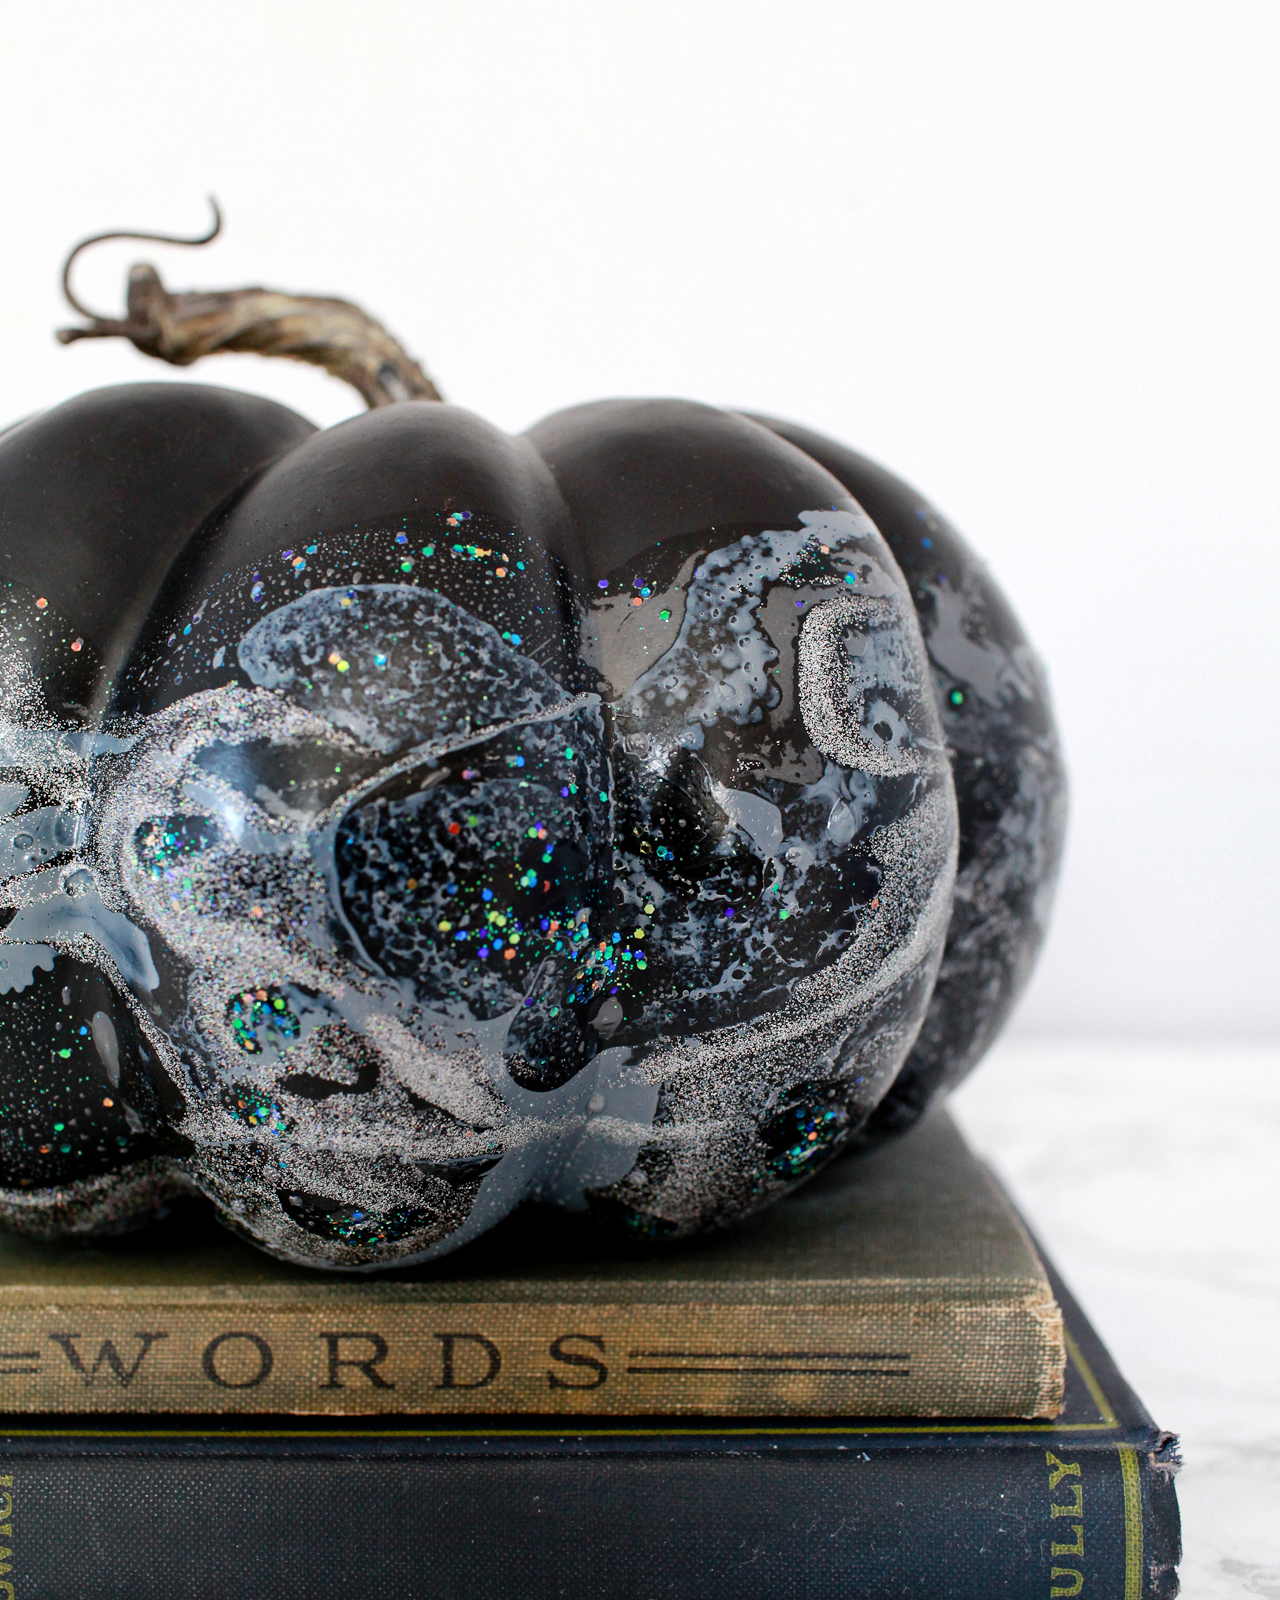
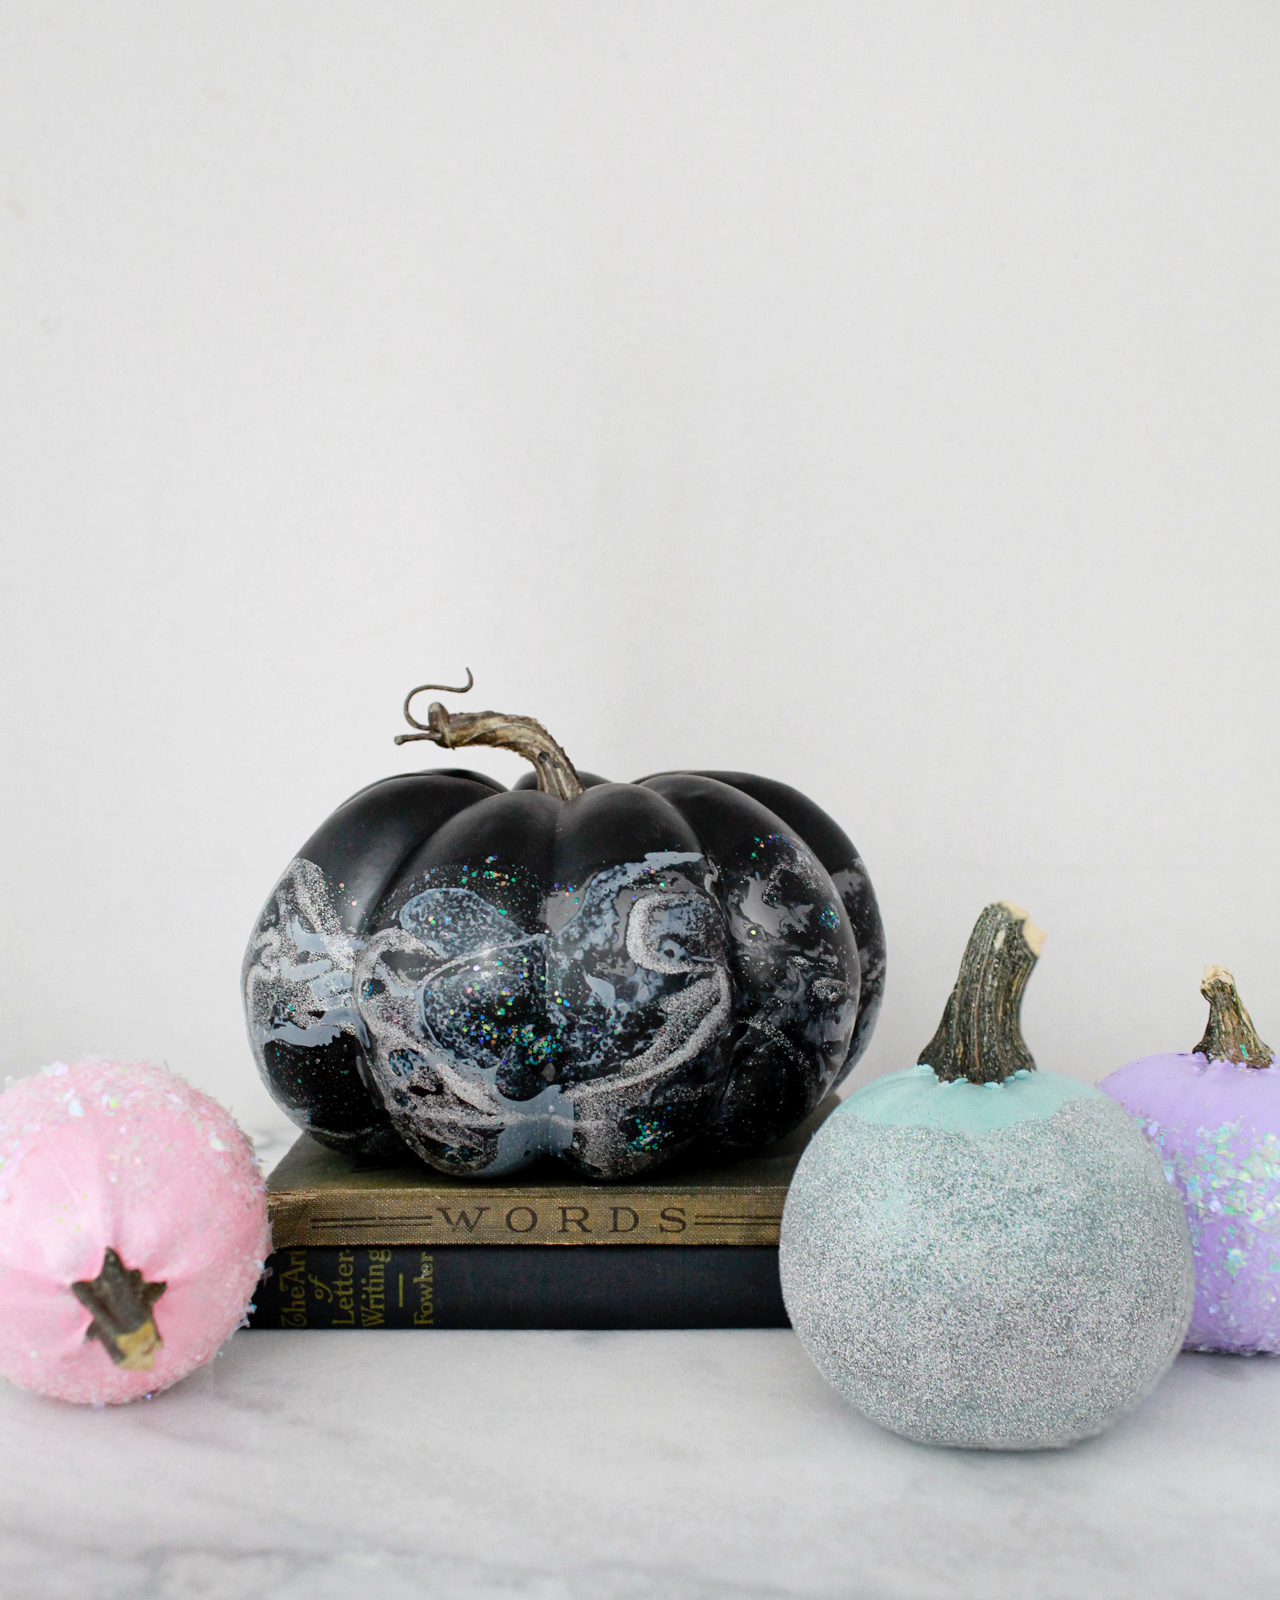
Anyone else doing the last minute pumpkin thing? Okay, good! As you may have noticed, I’m a wee bit obsessed with the whole iridescent and hologram thing happening these days, so I wanted to see if it would be possible to apply my favorite trend to our Halloween pumpkins! I tried a few different methods – including marbling and dipping the pumpkins in glitter – on both craft pumpkins and real mini pumpkins to create these fun DIY iridescent pumpkins, and I thought I’d share the results with all of you!
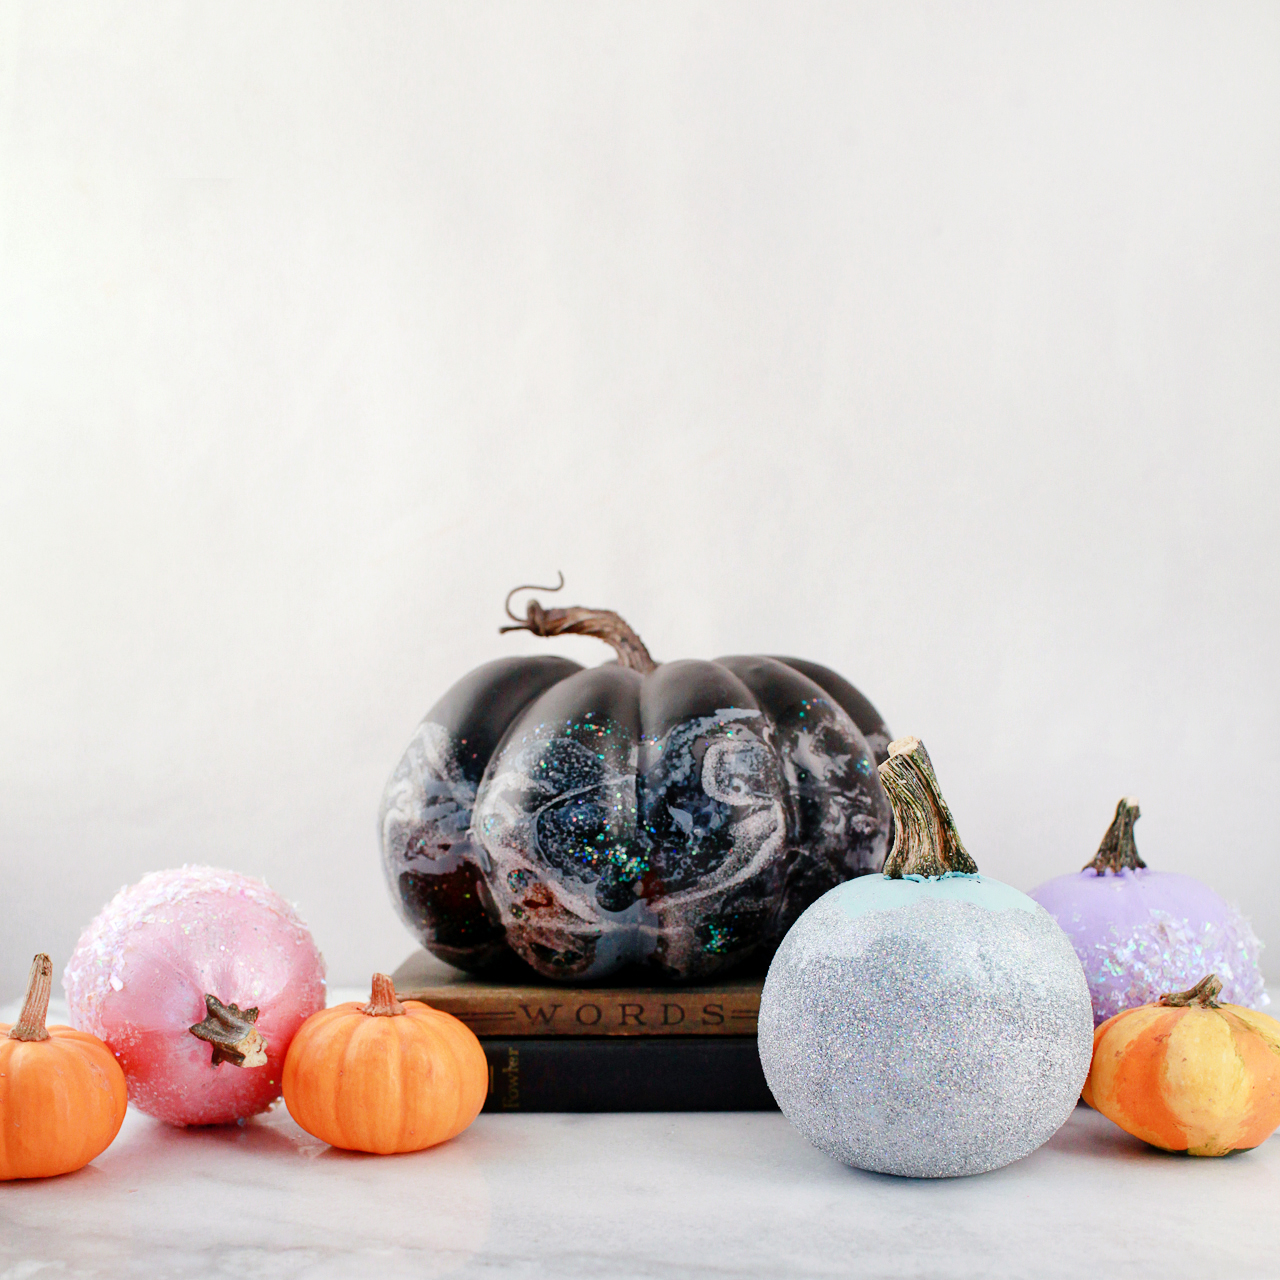
DIY Iridescent Pumpkins for Halloween!

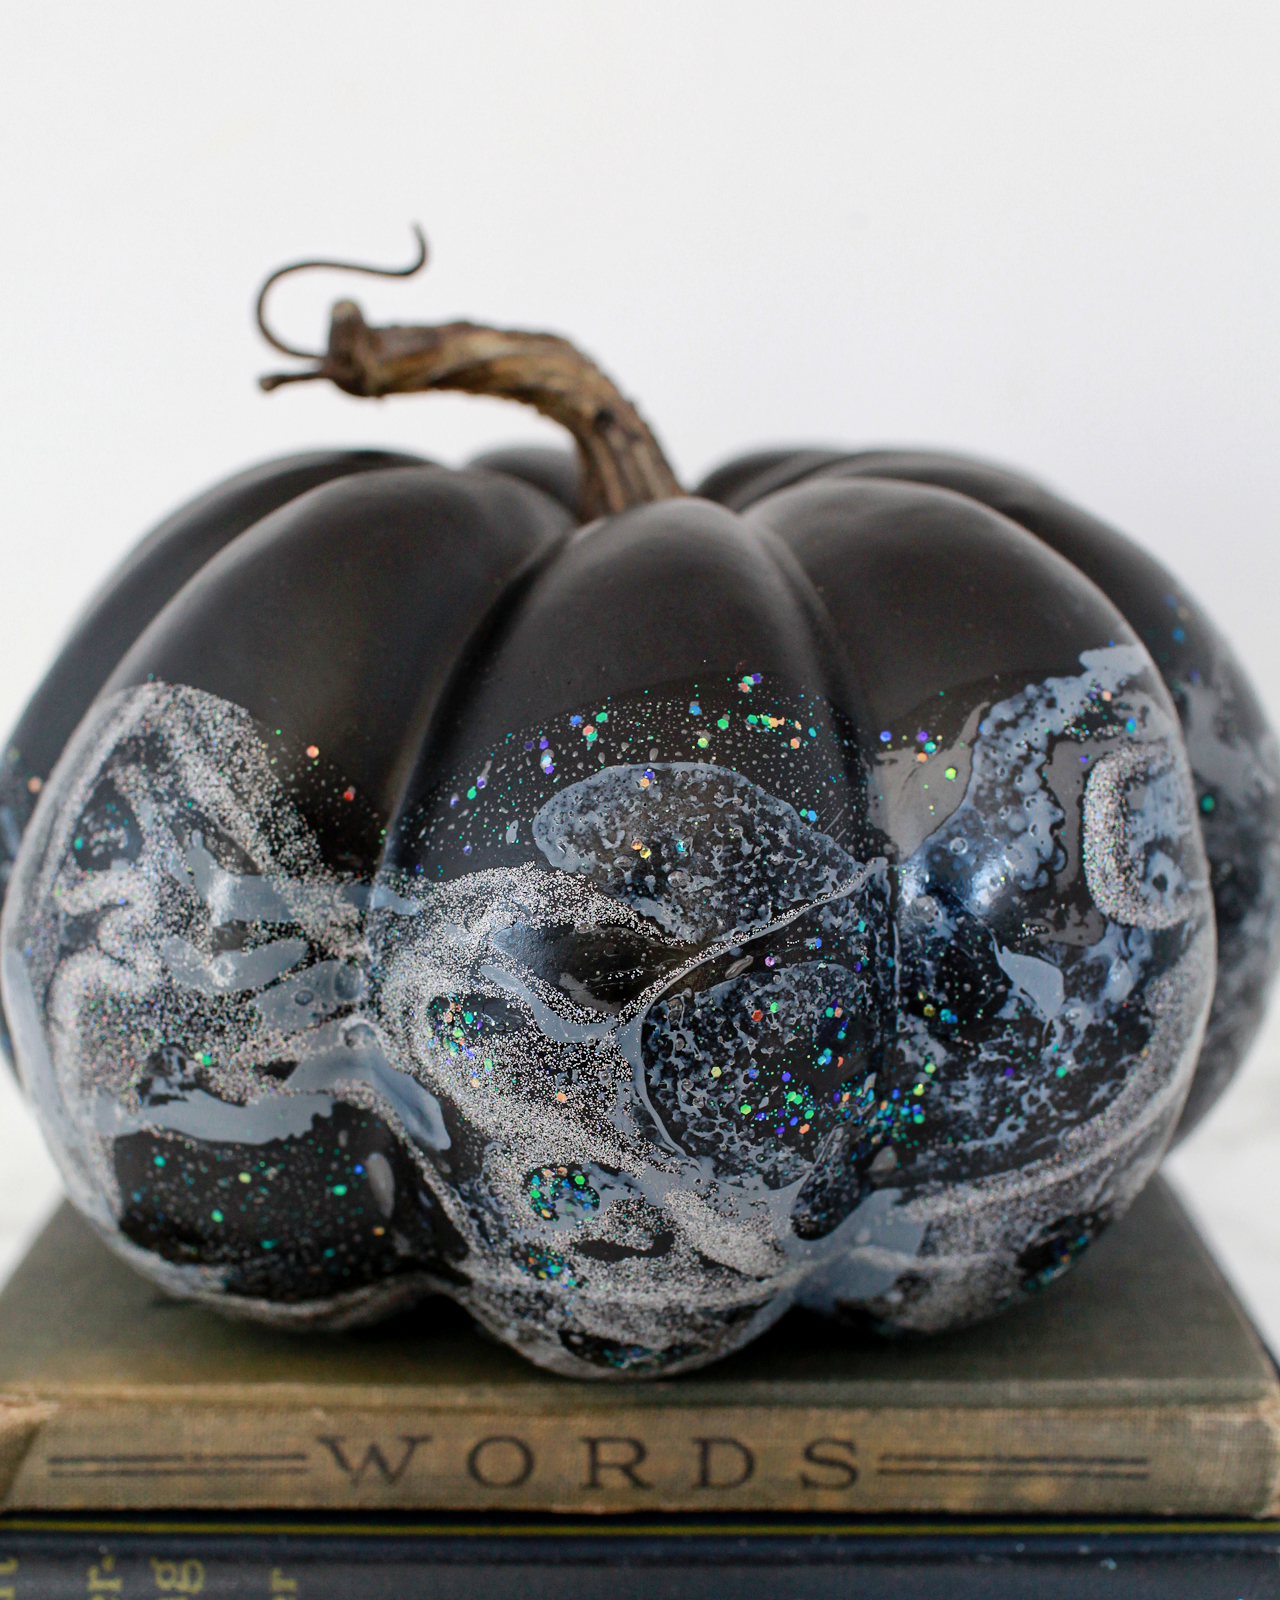
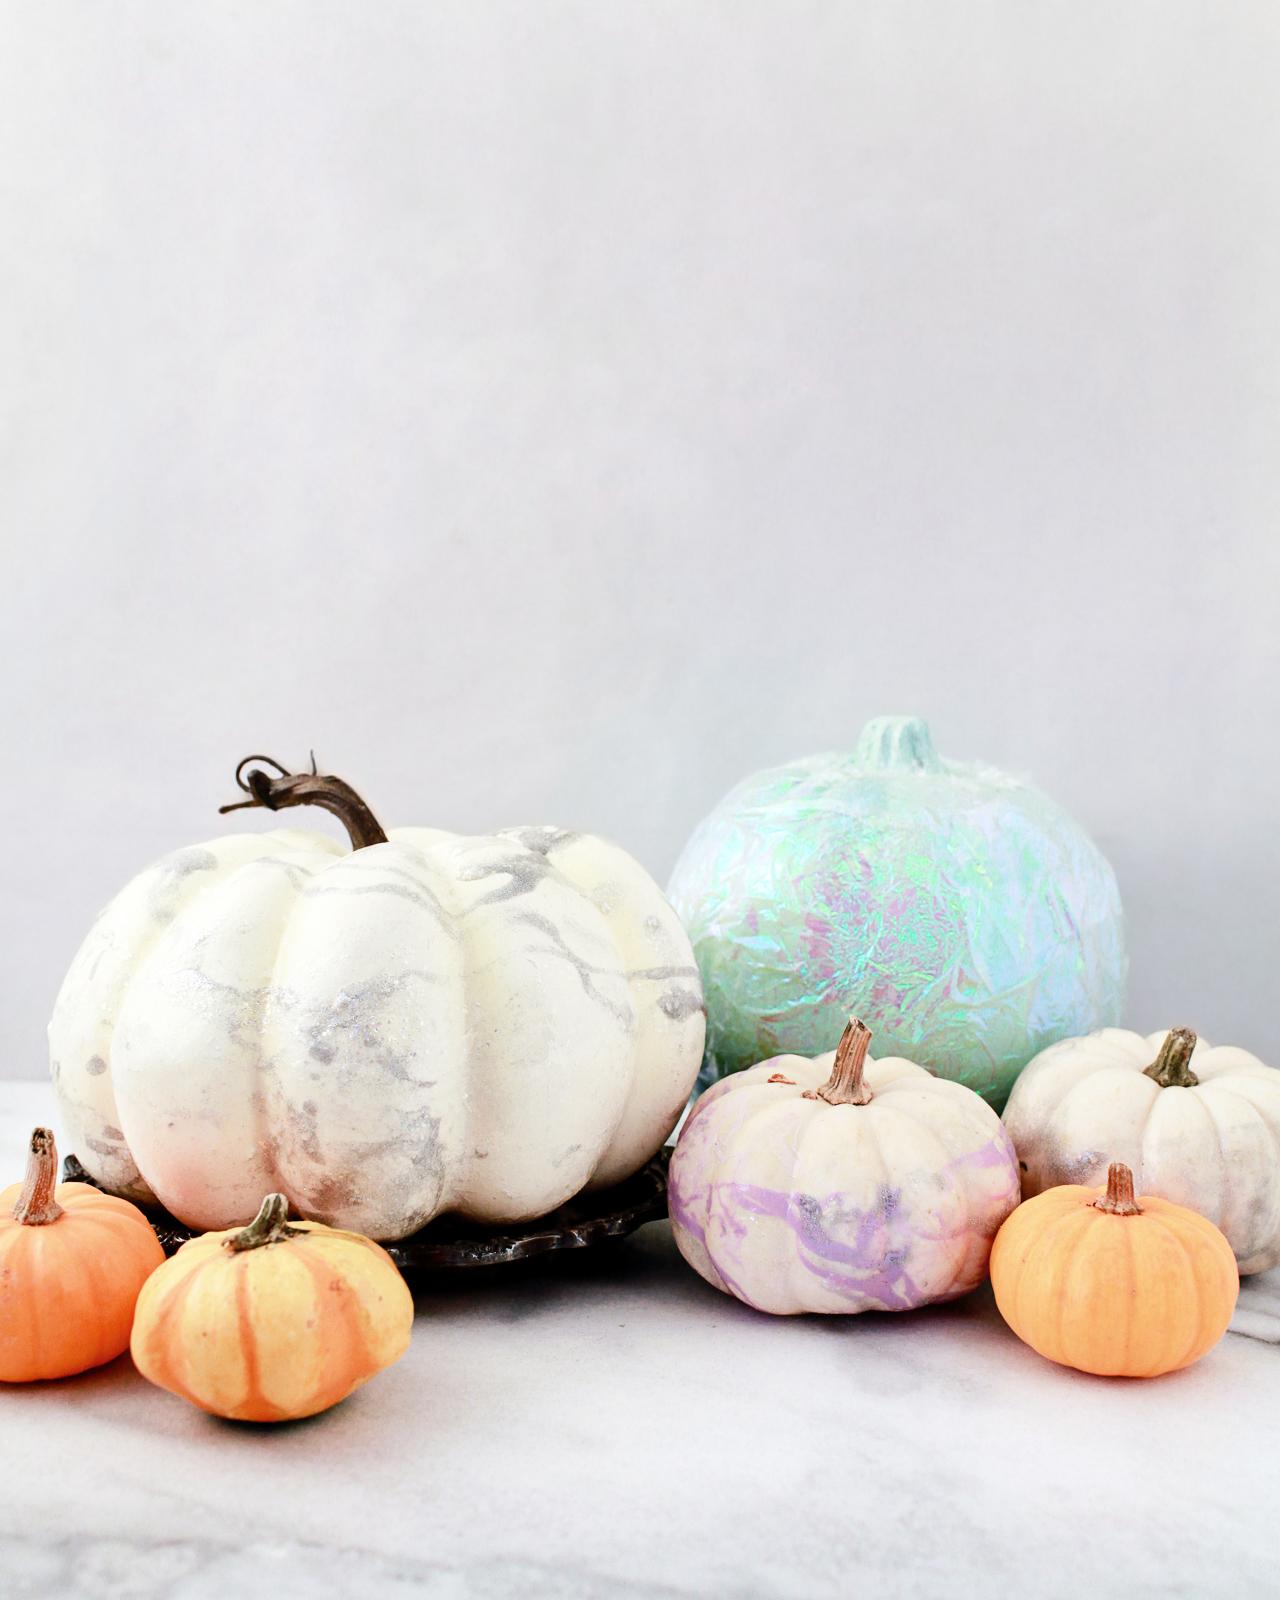
The two main methods that I used to make the pumpkins are nail polish marbling and dipping the pumpkins in iridescent confetti and hologram glitter. I’m including a supply list below with links, but you should be able to find all the materials for these pumpkins locally! For the nail polish marbled pumpkins, you can find all the materials at your local drugstore (I went to CVS) and supermarket. For the confetti and glitter dipped pumpkins, you can find the materials at pretty much any local craft store or party store (mine all came from my local Michael’s). I also made a pastel iridescent pumpkin covered a pumpkin in a layer of iridescent cellophane, but it was a pretty time intensive process so I only ended up making one of them. My favorite is the black marbled pumpkin – the iridescent and hologram nail polish looks like a galaxy!
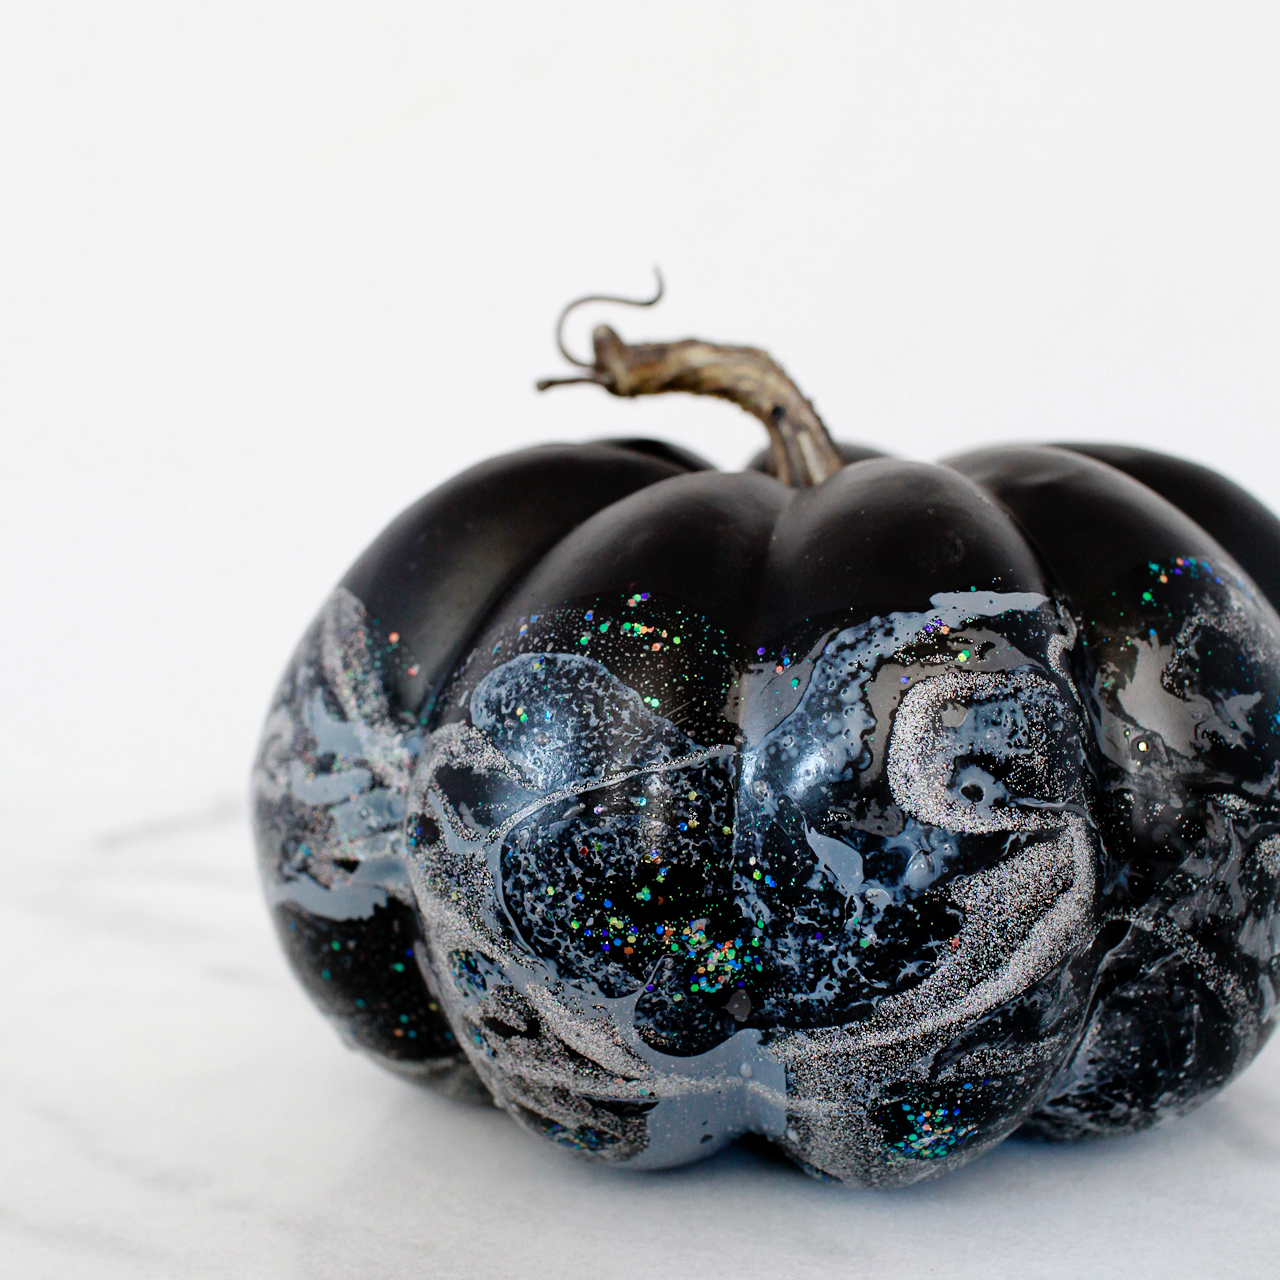
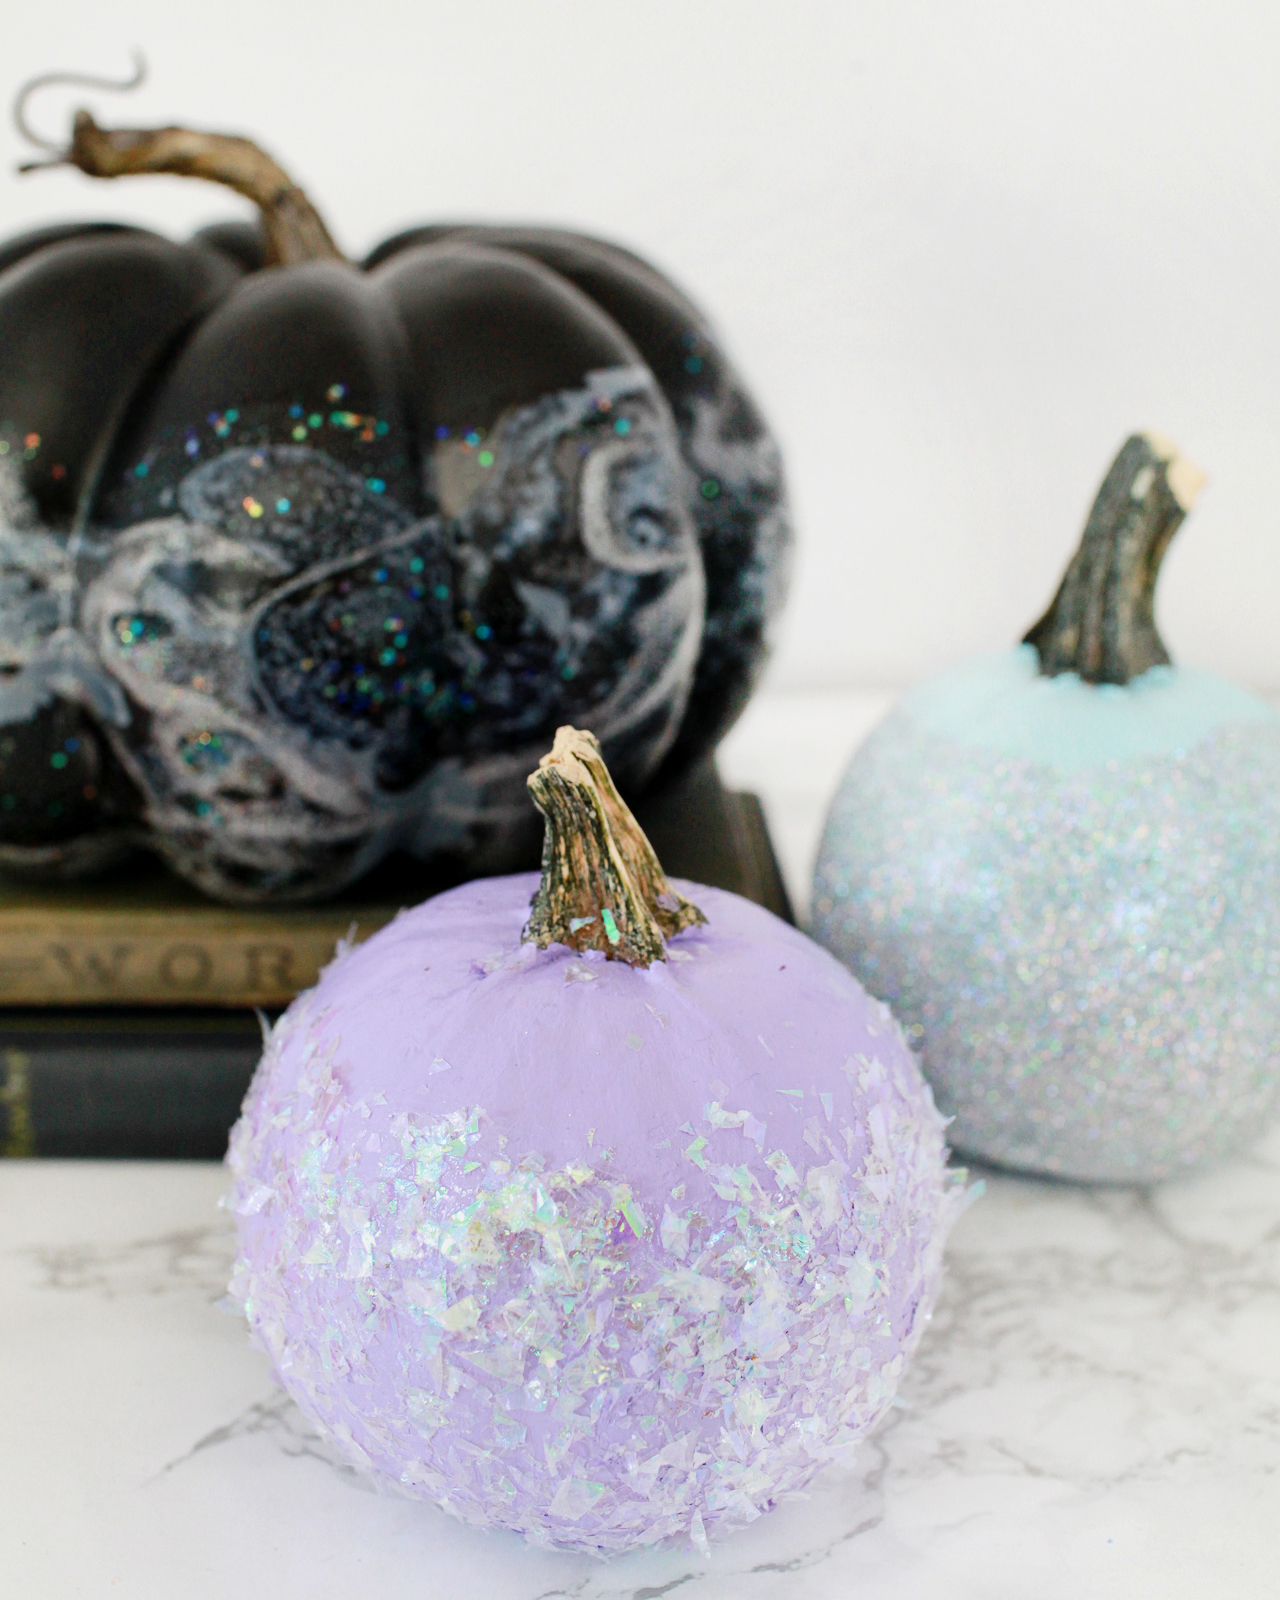
DIY Iridescent Pumpkins for Halloween!

DIY Iridescent Pumpkins for Halloween!

Supplies

DIY Iridescent Pumpkins for Halloween!

If you haven’t tried nail polish marbling, it’s super easy – but very stinky! I recommend either marbling outside or opening up a bunch of windows to air out the nail polish fumes. To make the iridescent marbled pumpkins, fill a disposable roasting pan with lukewarm water. The water needs to be deep enough to cover the entire pumpkin (or at least the portion that you want to marble). Drizzle nail polish over the water in curvy circular patterns, starting with any solid colors and working towards the clear glitter polish. For the larger pumpkins I used about half a bottle of nail polish each, but for the smaller pumpkins just a few drops of polish is enough. As you add more nail polish, the new drops will make the previous nail polish disperse across the surface of the water, creating beautiful marbled patterns. Holding the pumpkin by the stem, dip the pumpkin in the water and spin it around a bit. Remove the pumpkin from the water and set on wax paper to dry.
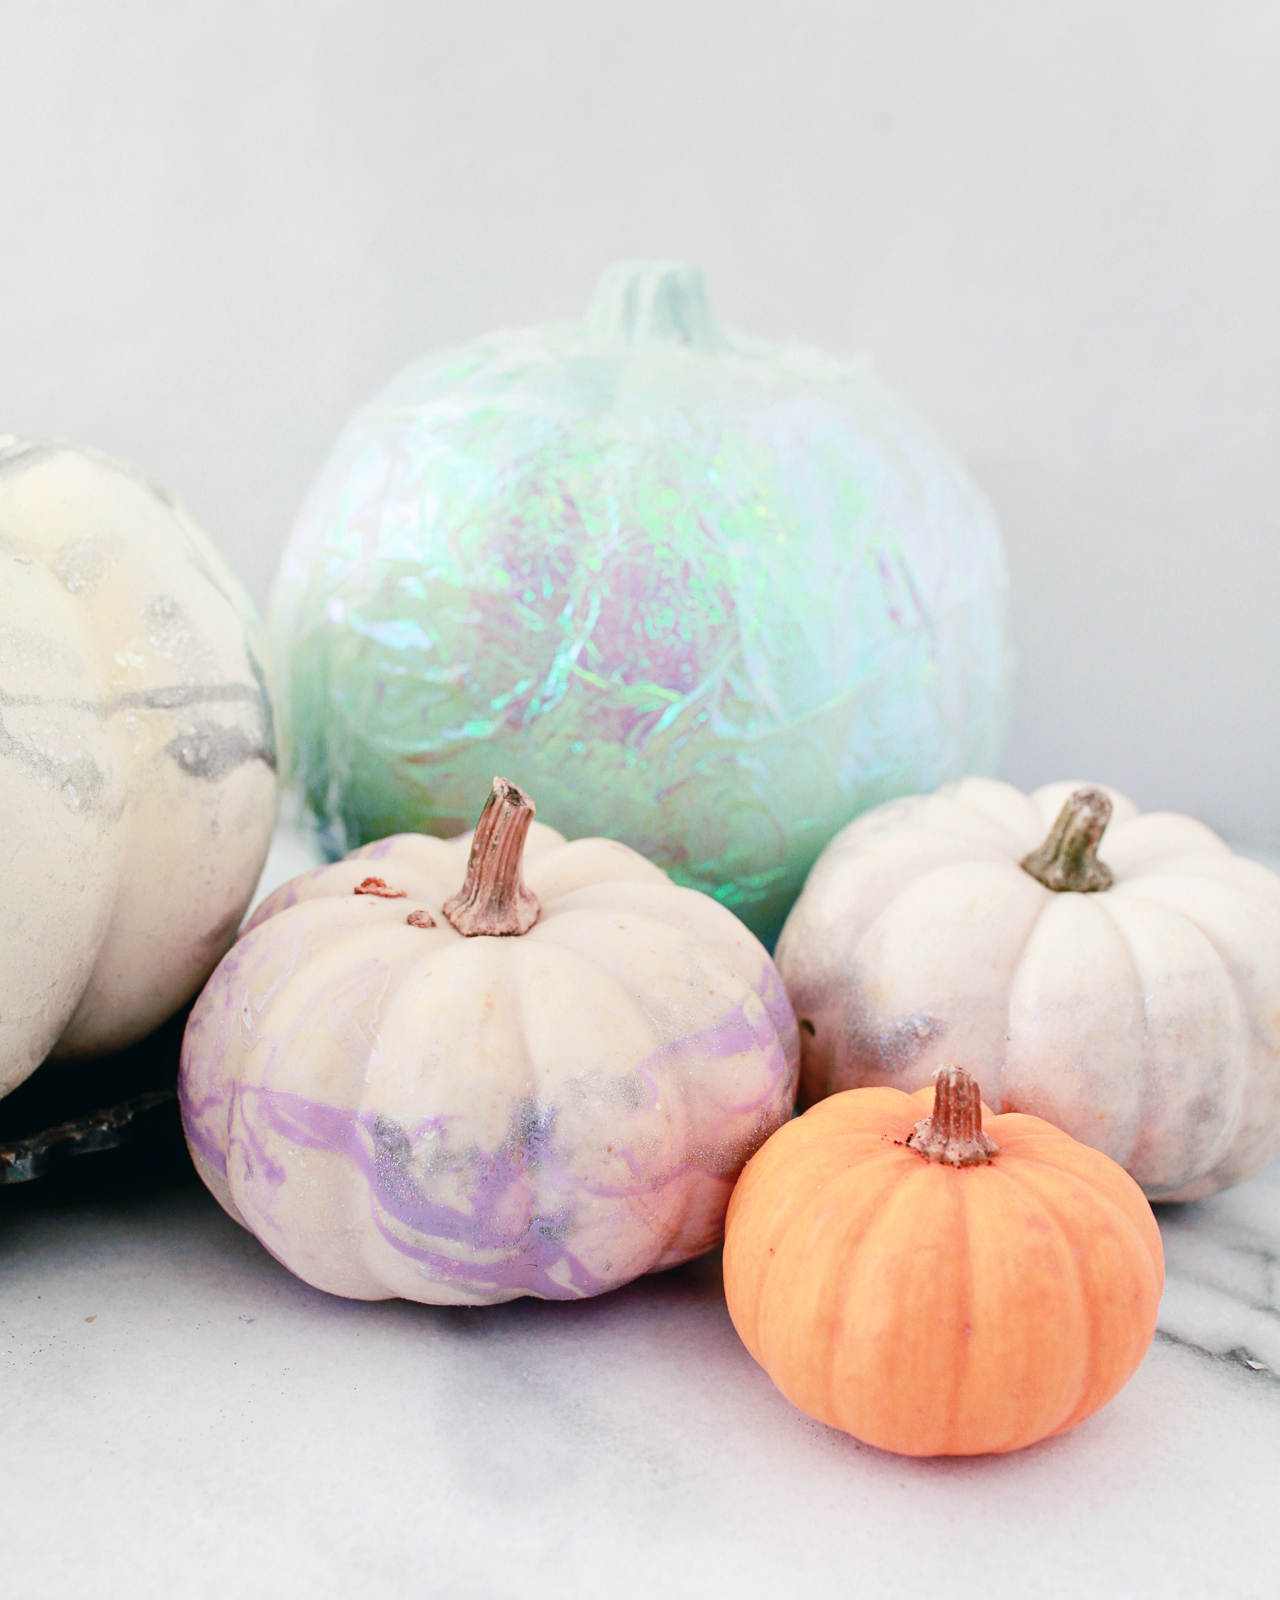
DIY Iridescent Pumpkins for Halloween!

I was only able to marble one pumpkin per marble bath, so I tried out a bunch of nail polish combinations on both black and white pumpkins. My absolute favorite combined solid gray, silver glitter, hologram glitter, and iridescent glitter nail polish (all found at my local CVS) on a black craft pumpkin. The hologram and iridescent glitter is pretty subtle on the white pumpkins, so I tried adding a pastel lavender nail polish to the mix, but I think darker colors would have worked better on the white pumpkins – maybe even black or oxblood mixed with the iridescent and hologram glitter polish??
DIY Iridescent Pumpkins for Halloween!

DIY Iridescent Pumpkins for Halloween!

To make the pastel iridescent pumpkin, paint a pumpkin with pastel craft paint or spray paint and let it dry completely. Cut squares of iridescent cellophane that are approximately the same height as your pumpkin – mine were about 6″ square. Apply a layer of quick drying tacky glue to the pumpkin and spread it out with a paintbrush, then quickly press a square of iridescent cellophane to the pumpkin. Continue working around the entire pumpkin until all sides are covered.
DIY Iridescent Pumpkins for Halloween!

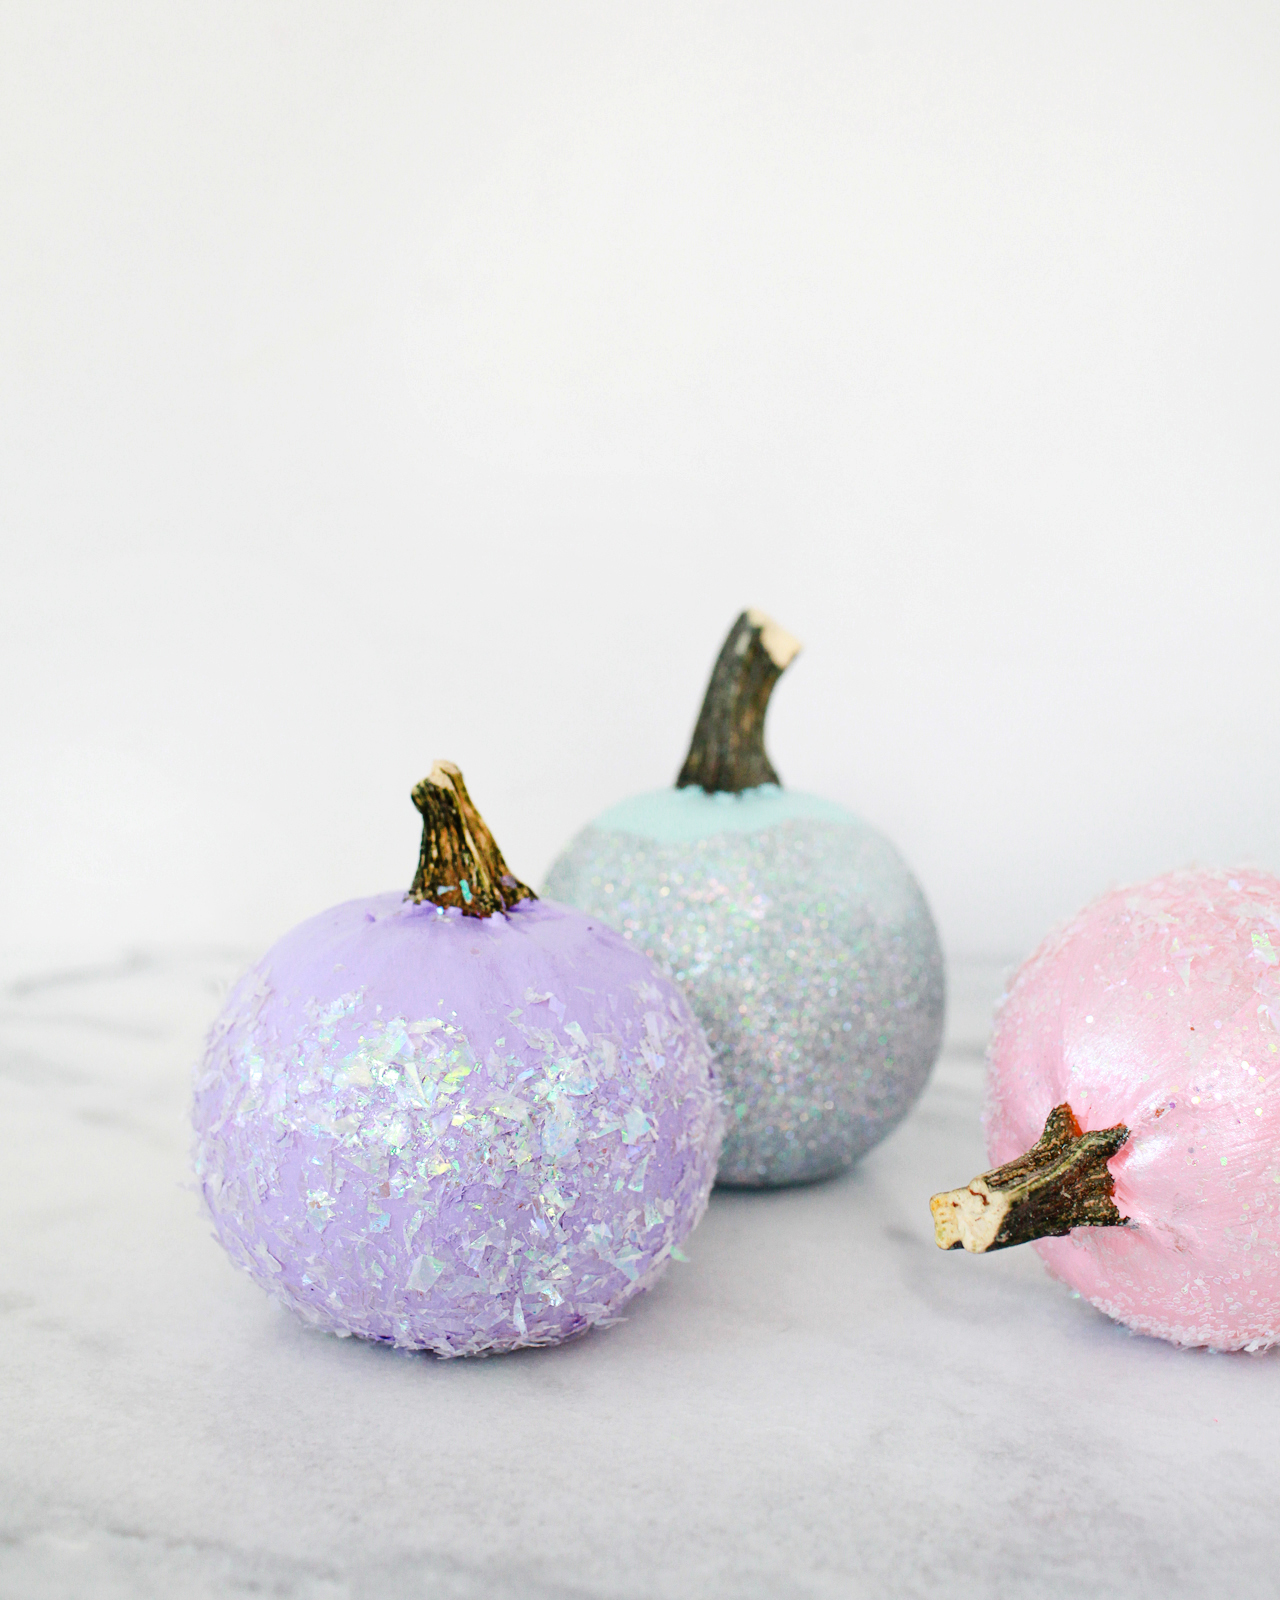
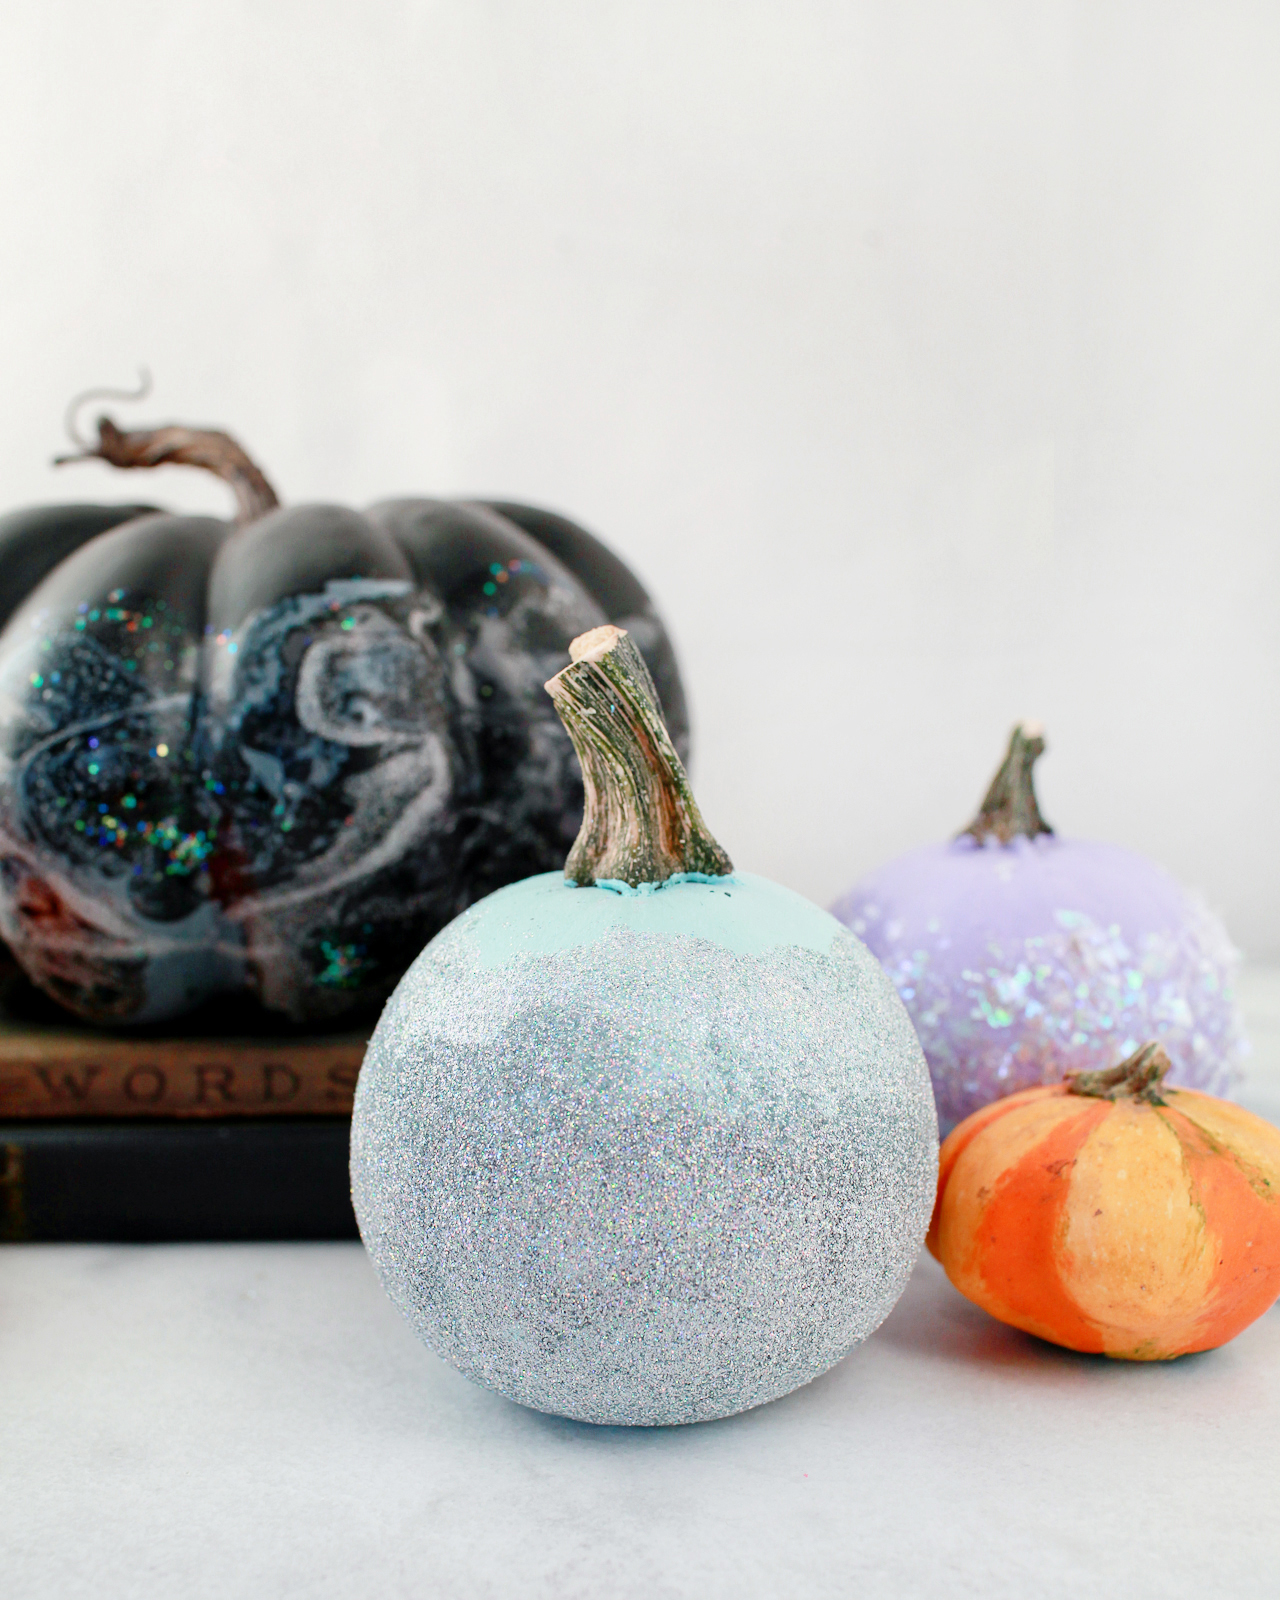
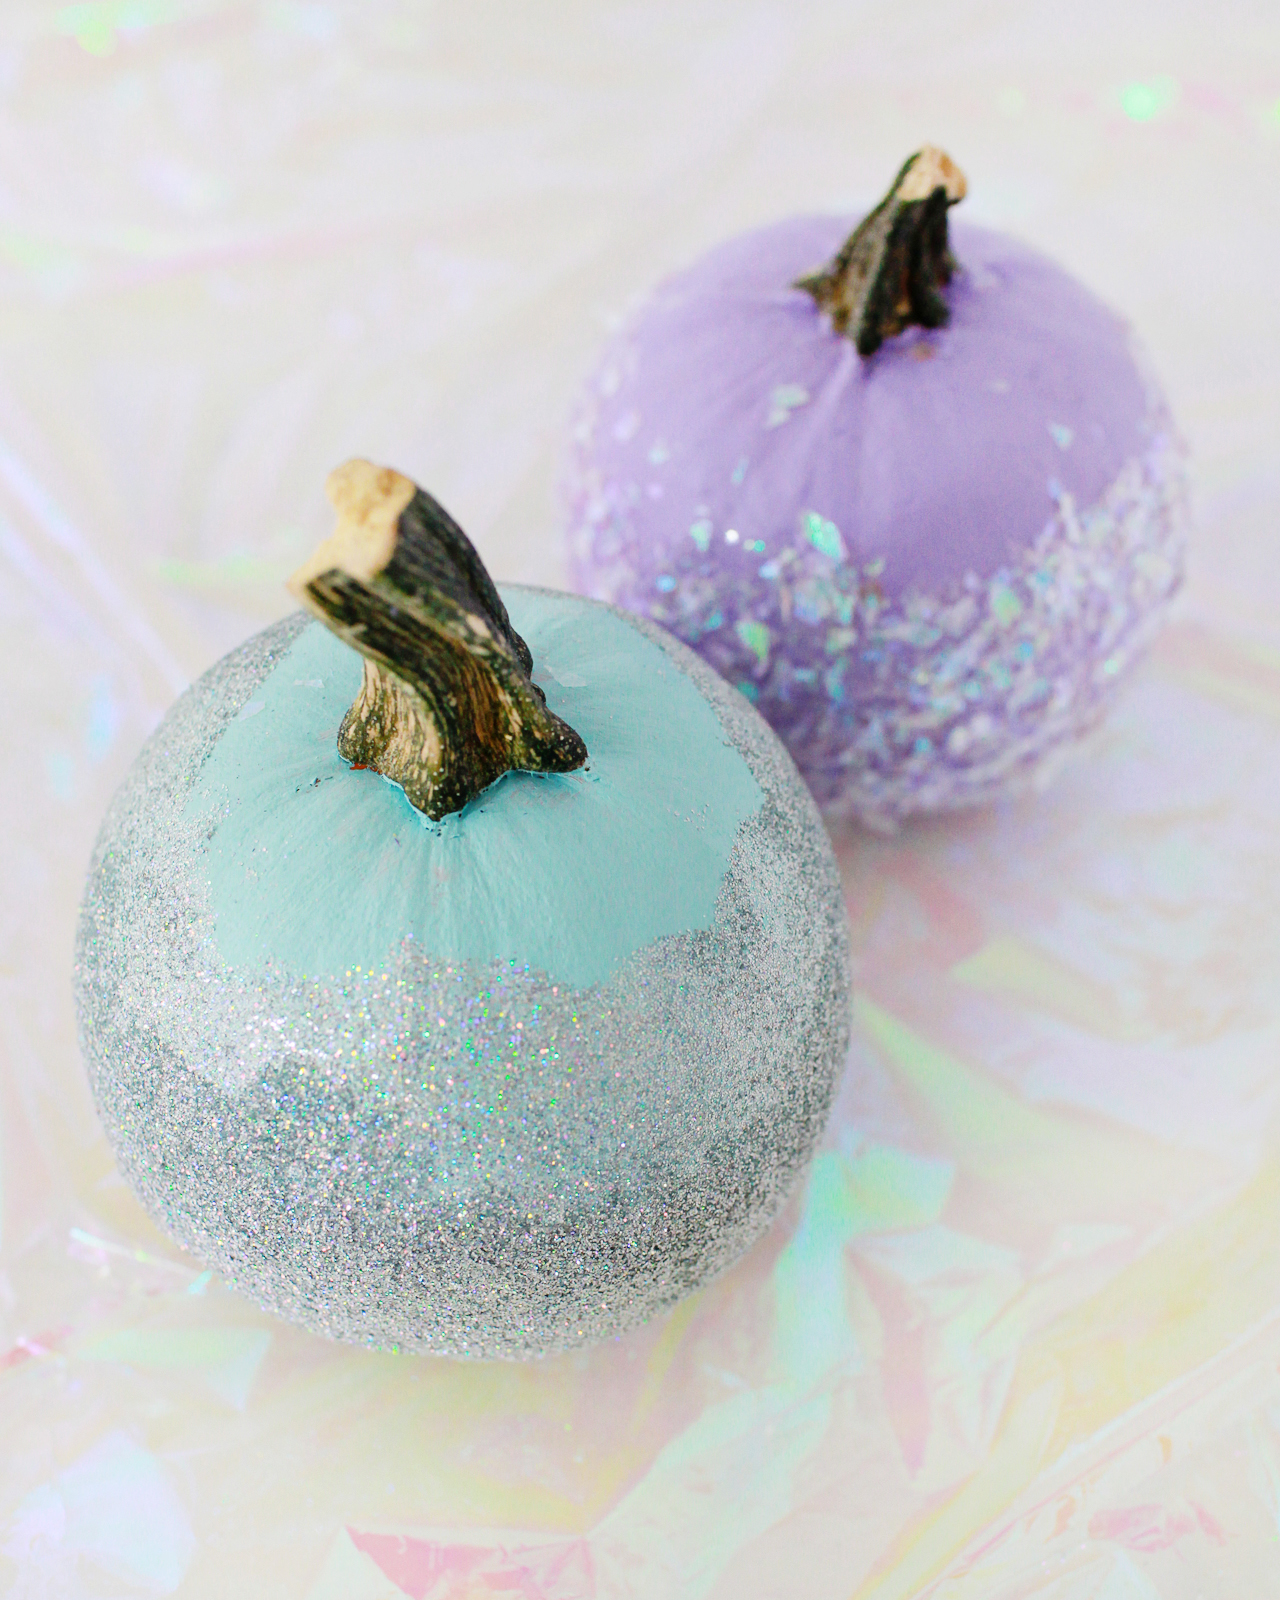
To make the glitter and confetti dipped pumpkins, you can start by painting your pumpkins with craft paint in your chosen color palette – or use white mini pumpkins or black craft pumpkins! I painted a few orange mini pumpkins in a pastel color palette of pink, mint green, and lavender. Use a paintbrush to apply a layer of mod podge or school glue on the lower 2/3 of your pumpkin. For the iridescent confetti pumpkins, hold a pumpkin by the stem over a bowl filled with confetti. Grab small handfuls of confetti and press it on the pumpkin until all sides are covered with confetti. For the hologram glitter pumpkins, I found it was easiest to fill a bowl with the glitter, then hold the pumpkin by the stem and dip the pumpkin into the glitter. Slowly turn the pumpkin until all sides are covered with glitter, then set aside to dry. Once the pumpkins are dry, you can tap them to shake off any excess glitter. If you like, you can take the pumpkins outside and spray them with a clear varnish to seal the rest of the glitter.
DIY Iridescent Pumpkins for Halloween!

DIY Iridescent Pumpkins for Halloween!

DIY Iridescent Pumpkins for Halloween!

p.s. These DIY iridescent favor bags could be easily repurposed as Halloween party treat bags!

Photos by Nole Garey for Oh So Beautiful Paper