So apparently my brain works best on a really tight deadline. Here’s my brain: a week to go until Christmas? Great! Here are five DIY christmas ornament ideas! So for those of you looking for some fun non-traditional DIY ornament ideas, I’ve got a couple of ideas to share with you this week! First up, DIY hologram foil ornaments! You might remember these DIY hologram Easter eggs that I made last Spring, and I couldn’t resist making a set of Christmas ornaments from these amazing iridescent and hologram nail foils!

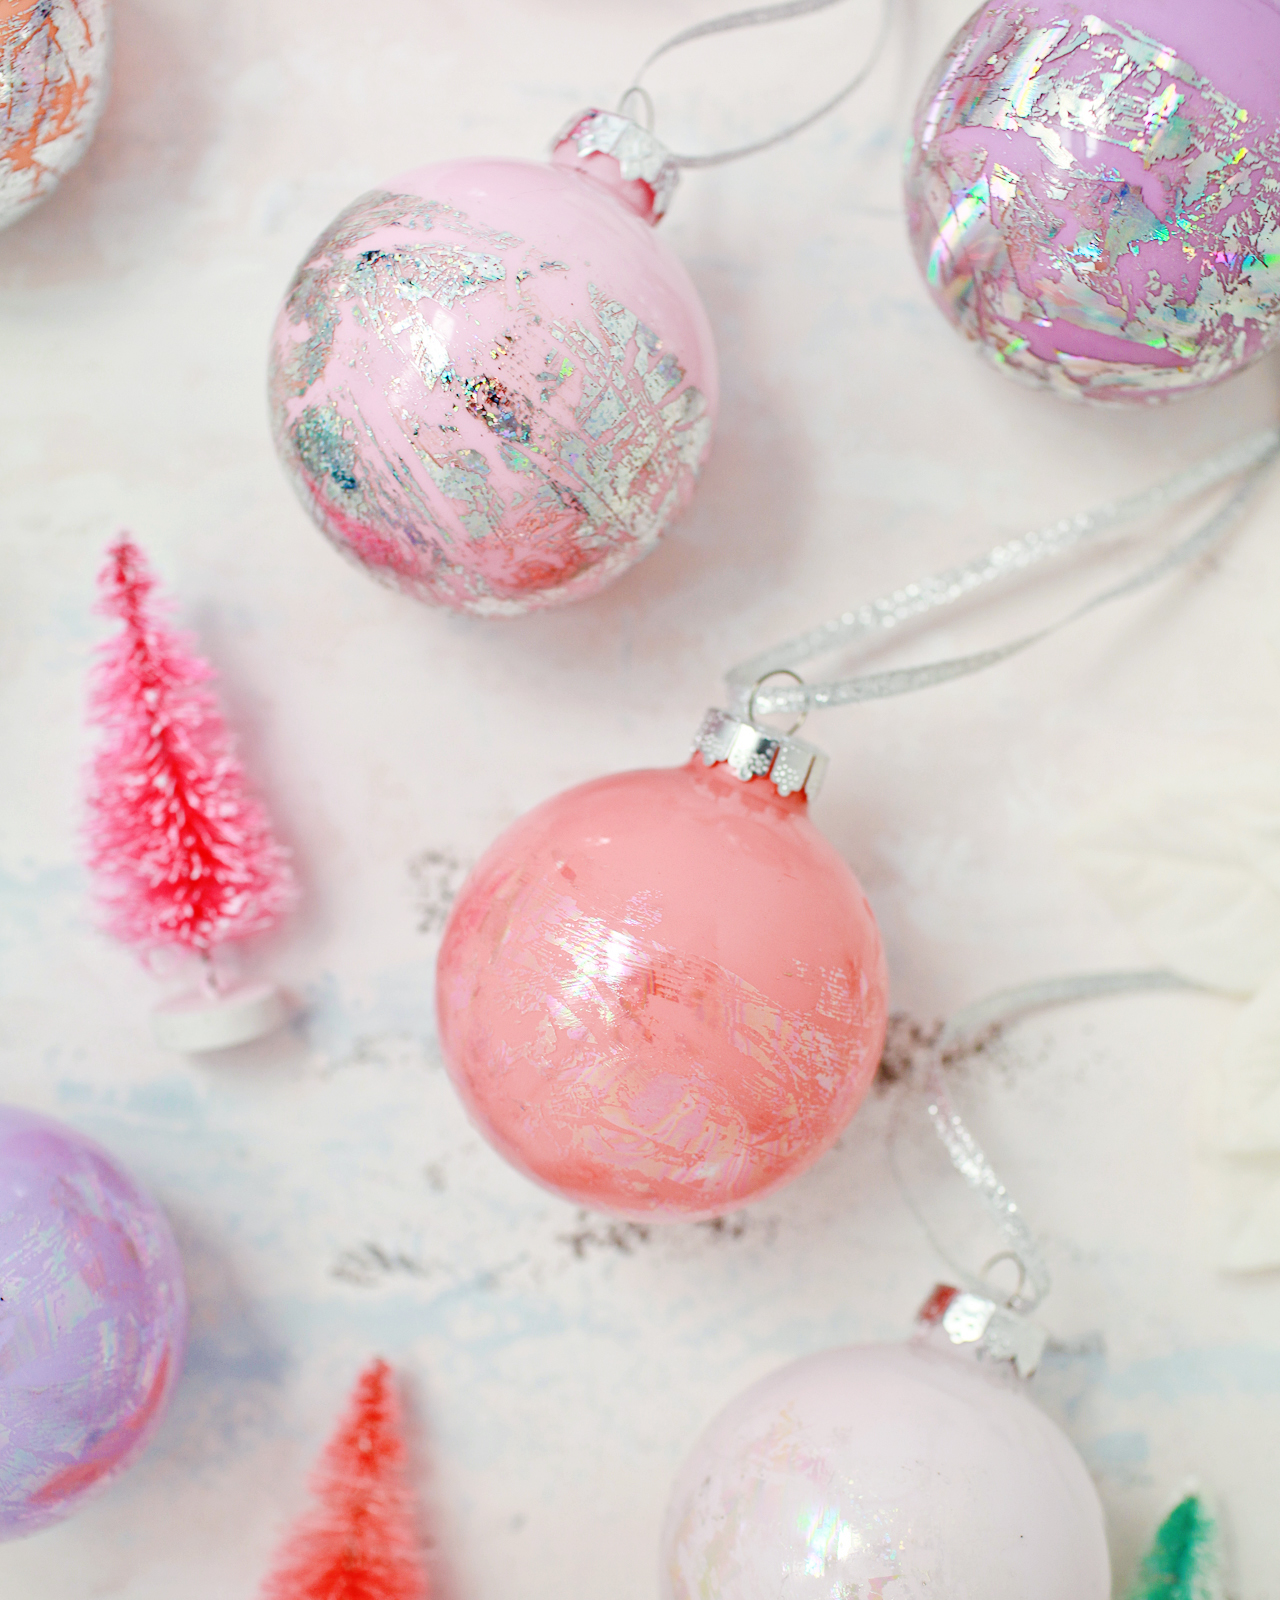
I know pastels are on the non-traditional side for Christmas, but I just couldn’t resist! I used clear glass ornaments and filled them in with a few colors of craft paint that I had on hand, but you could definitely pick more traditional colors. Or use existing solid color ornaments – either glass or plastic. The hologram nail foils stick to pretty much anything!


The silver hologram foil really stands out, while the clear iridescent foil makes for a more subtle shimmer – but both are just totally gorgeous in person. That lavender and iridescent opal swirl is such a dreamy combination!


Supplies
Plastic or glass ornaments
Nail foil in your choice of color – I used Silver Spectrum, Silver Dots, Opal Glitter, and Opal Swirl. I bought all my nail foils here, but you can also find some fun colors and patterns on Amazon.
Thin ribbon
Craft paint in assorted colors (optional)

To make the DIY hologram foil ornaments:
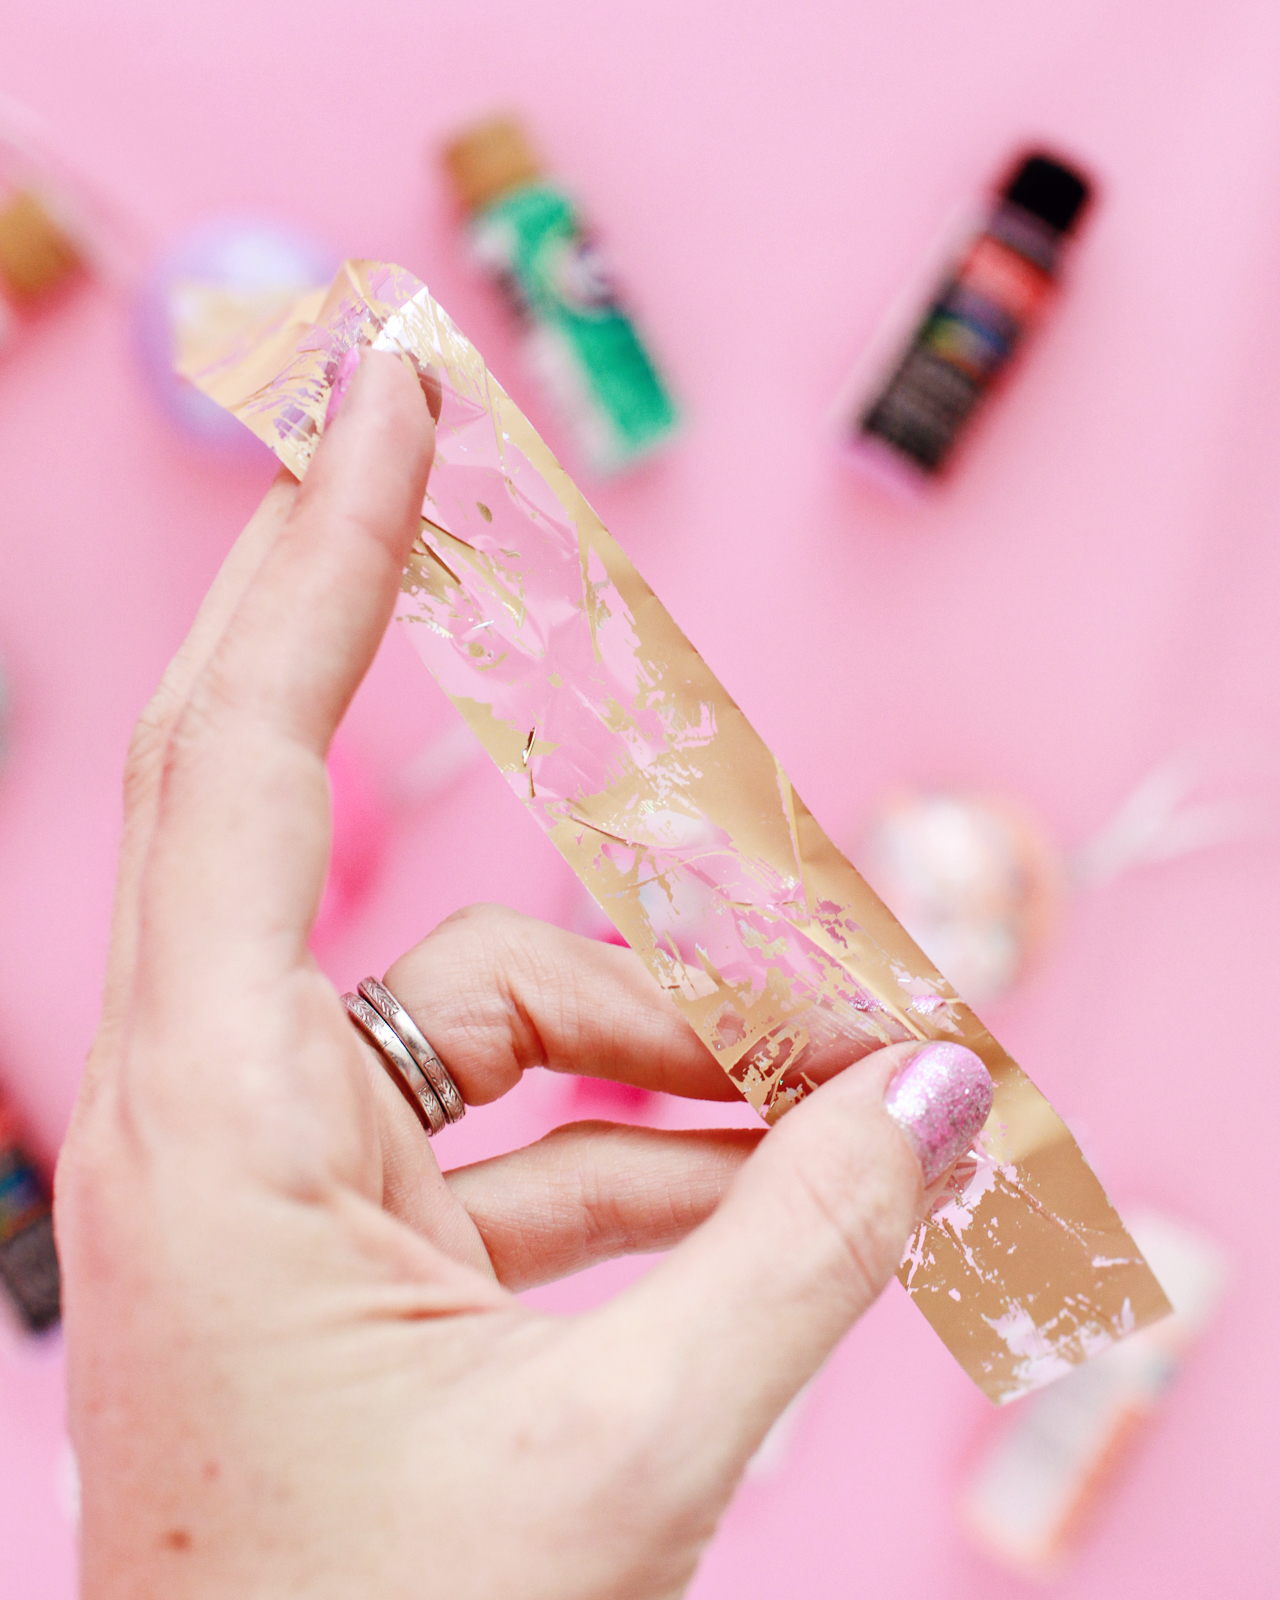
Step 1. Start by cutting several lengths of nail foil in your chosen colors. I usually needed one 5-inch piece to wrap around the middle of the ornament, then a few 3-inch pieces to fill in the rest of the ornament. The foiling process moves pretty quickly, so it’s helpful to have a bunch of pre-cut pieces ready to apply ahead of time.
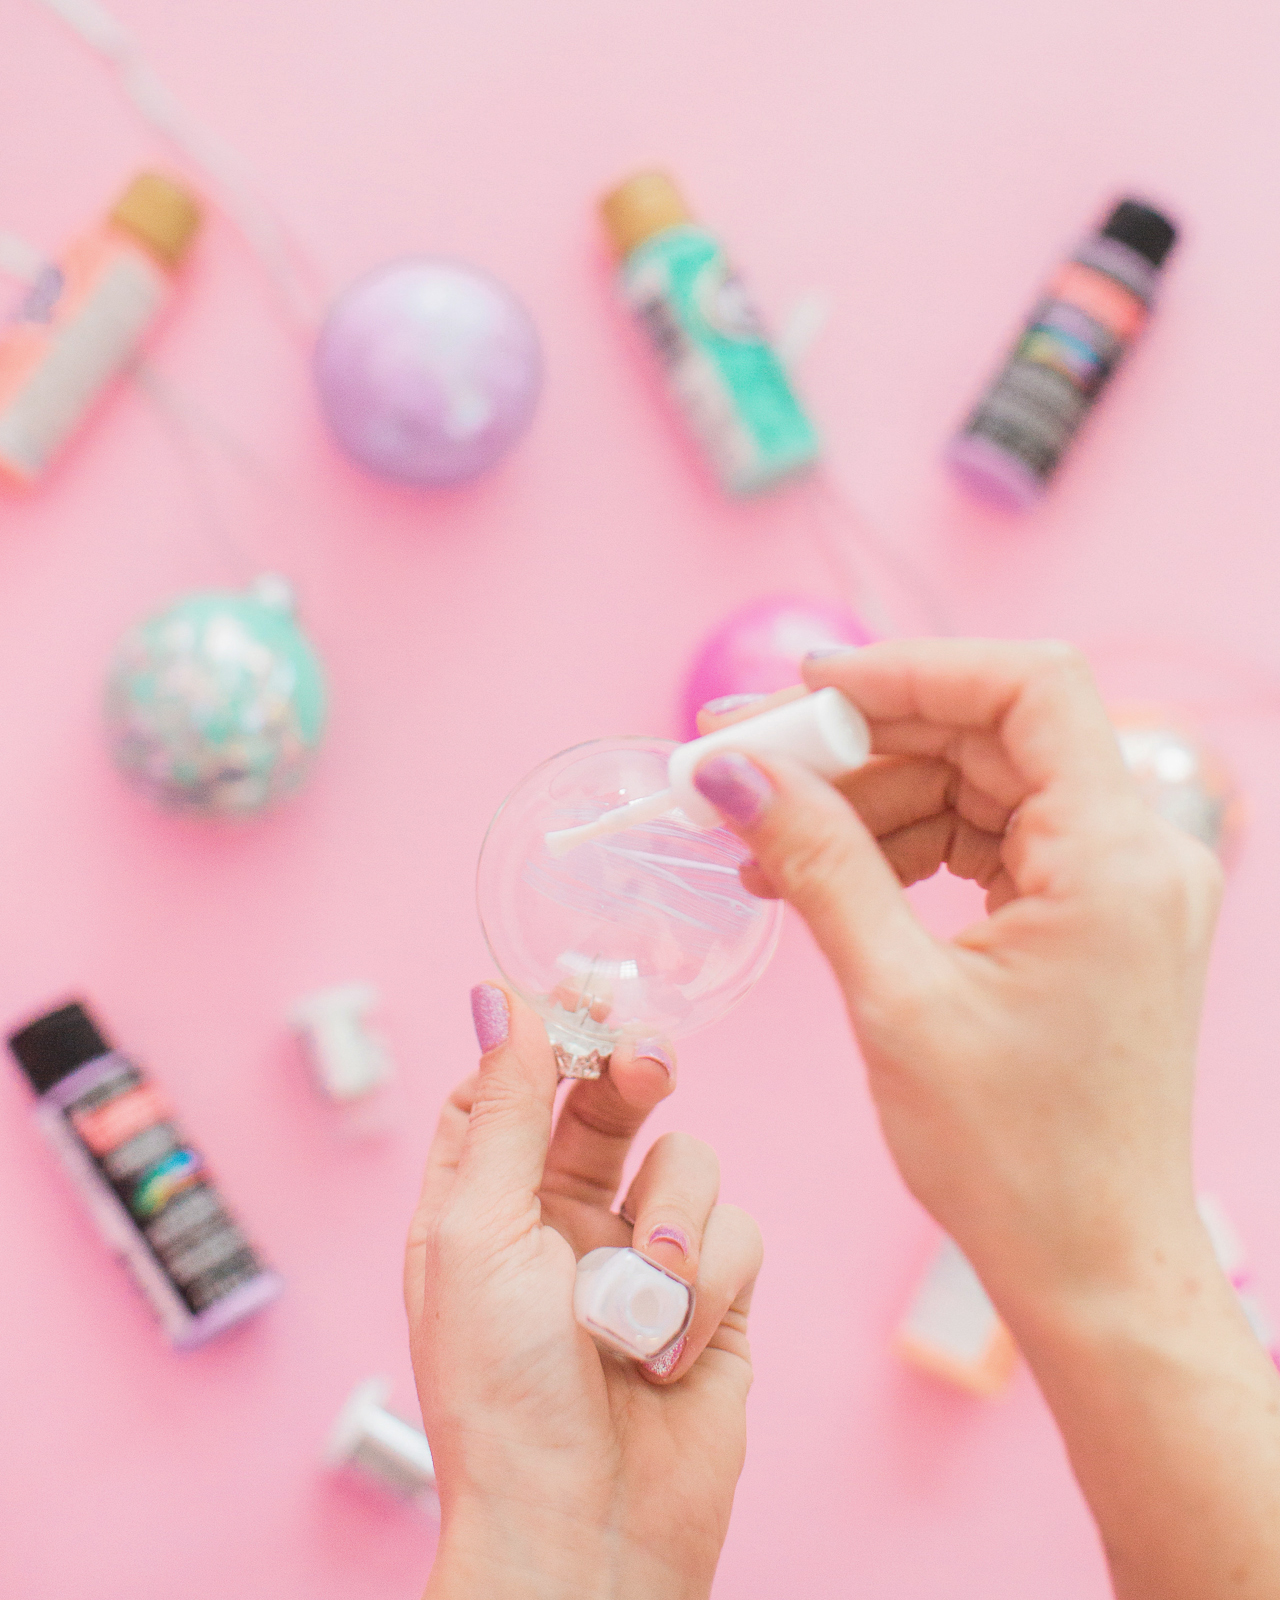
Step 2. Apply the nail foil transfer adhesive to the bottom half of your ornament. Allow the adhesive to dry until it becomes clear and tacky (usually 2-3 minutes).
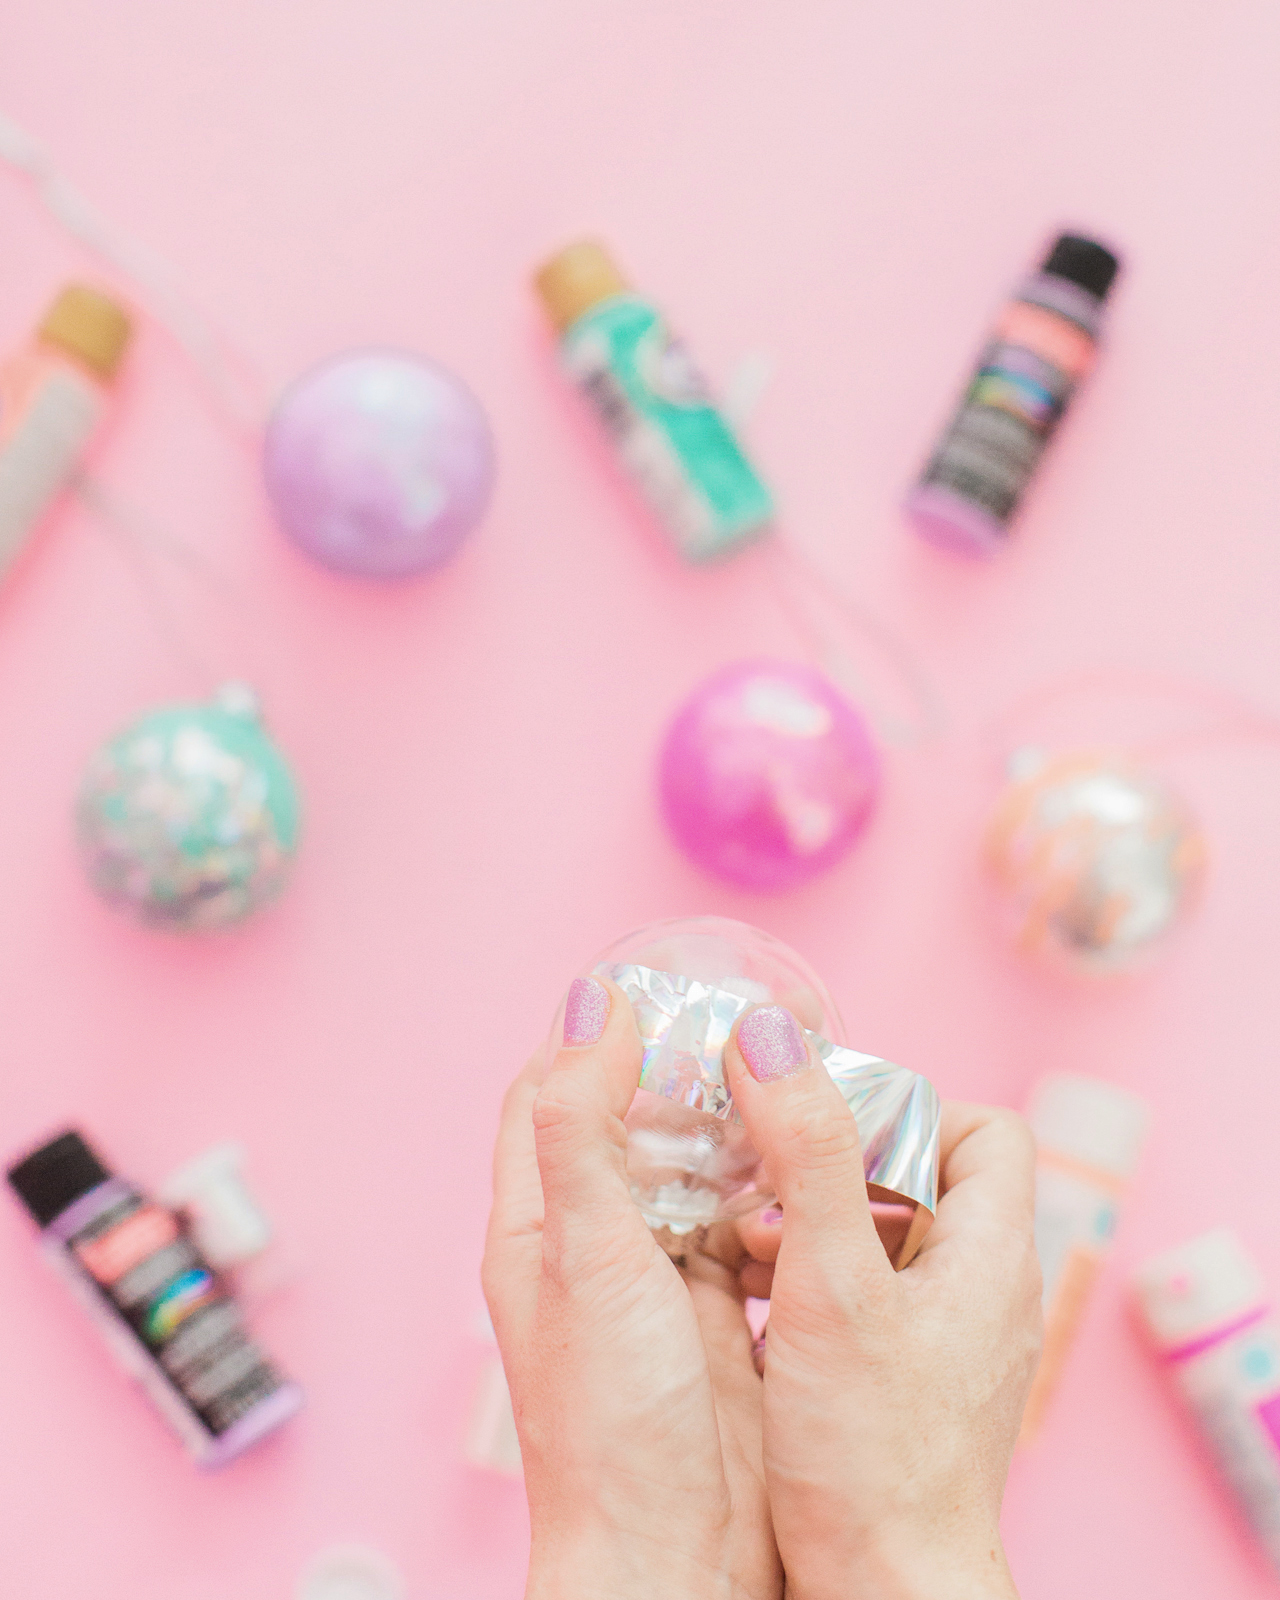
Step 3. Once the adhesive is clear, apply the hologram foil to the ornament, pressing the foil down over the adhesive and smoothing it down with your fingers. Smooth the foil down for 10-20 seconds, then remove the foil. Continue applying the nail foils over all parts of the ornament where you applied the adhesive until you’re satisfied with the amount of coverage.
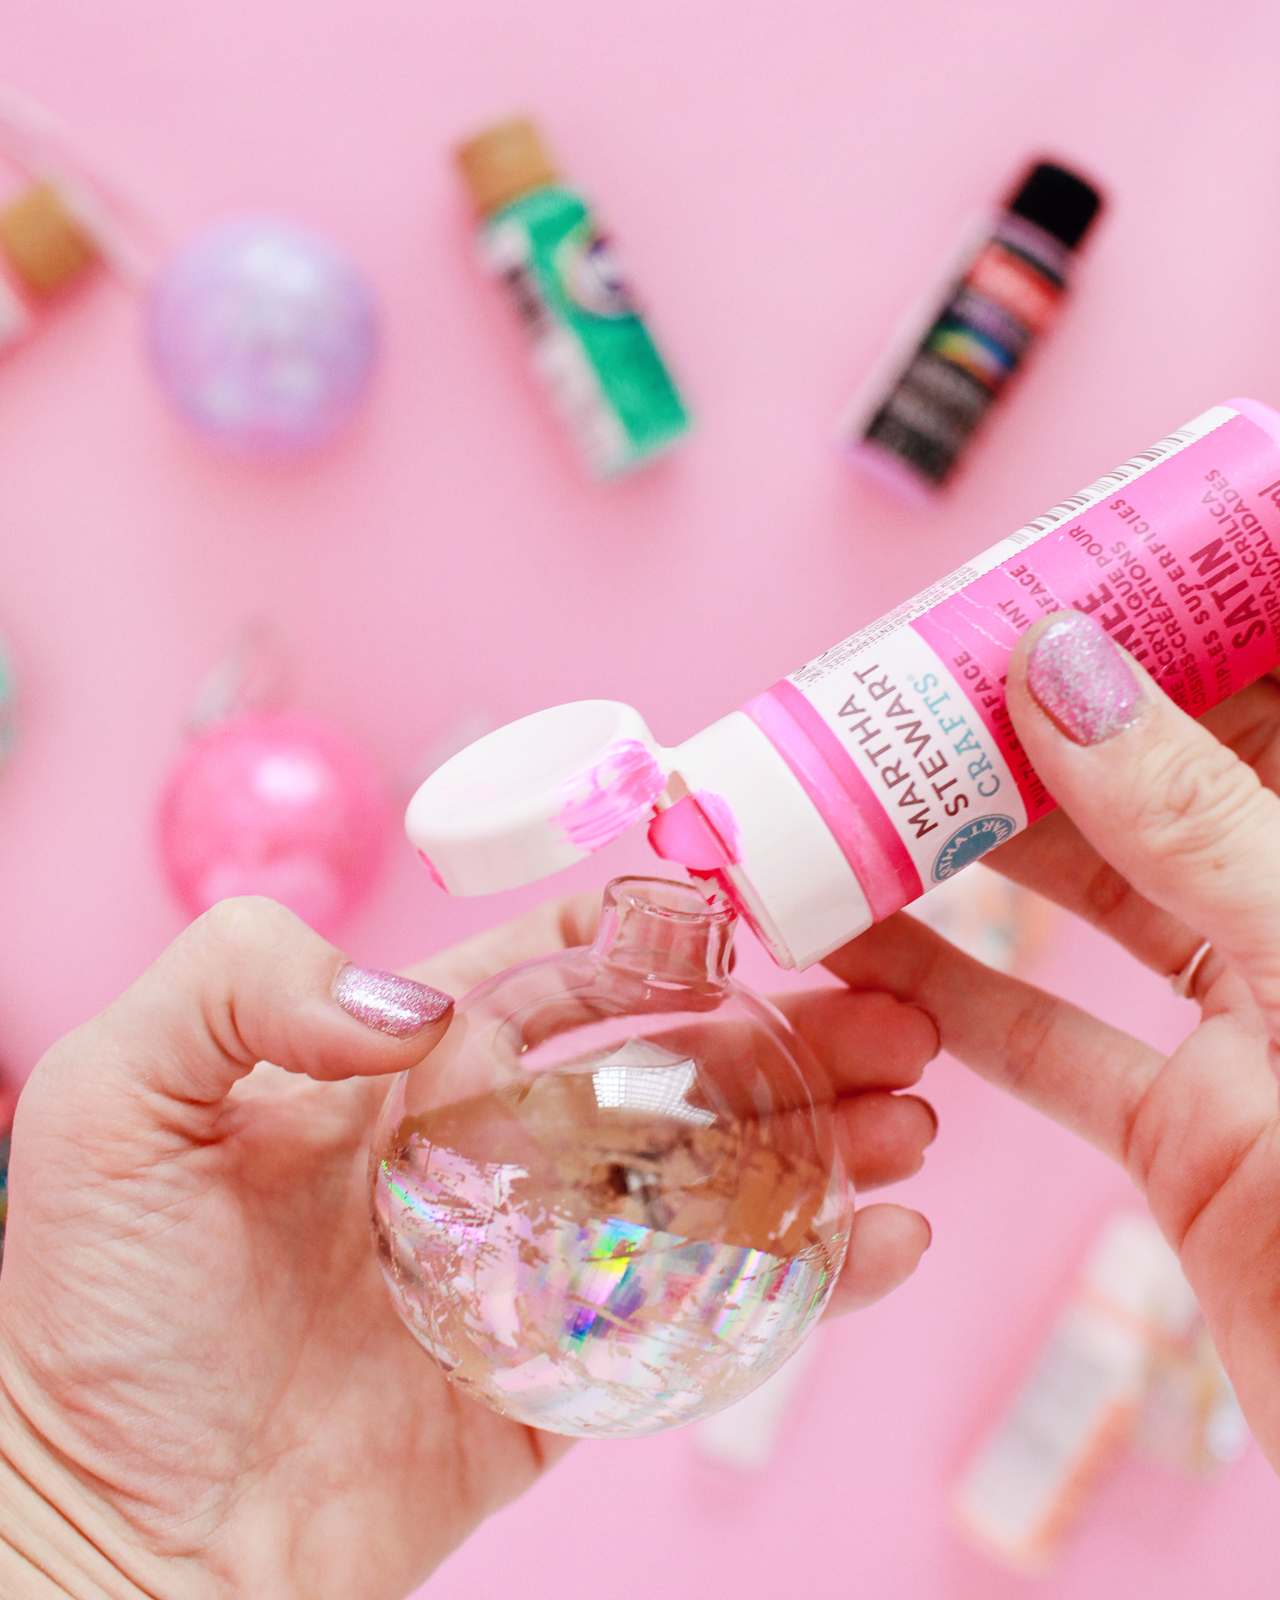
Step 4. If using clear glass ornaments, remove the top of each ornament, then fill the ornaments with craft paint in your chosen colors. With your finger (and maybe a paper towel) over the open end, shake the ornament until the paint covers the entire inside of the ornament. Allow the paint to dry completely (ideally overnight), then replace the ornament top. If using solid color ornaments, you can skip this step entirely!
Step 5. Cut a length of thin ribbon and string it through the ornament – and it’s ready to hang!
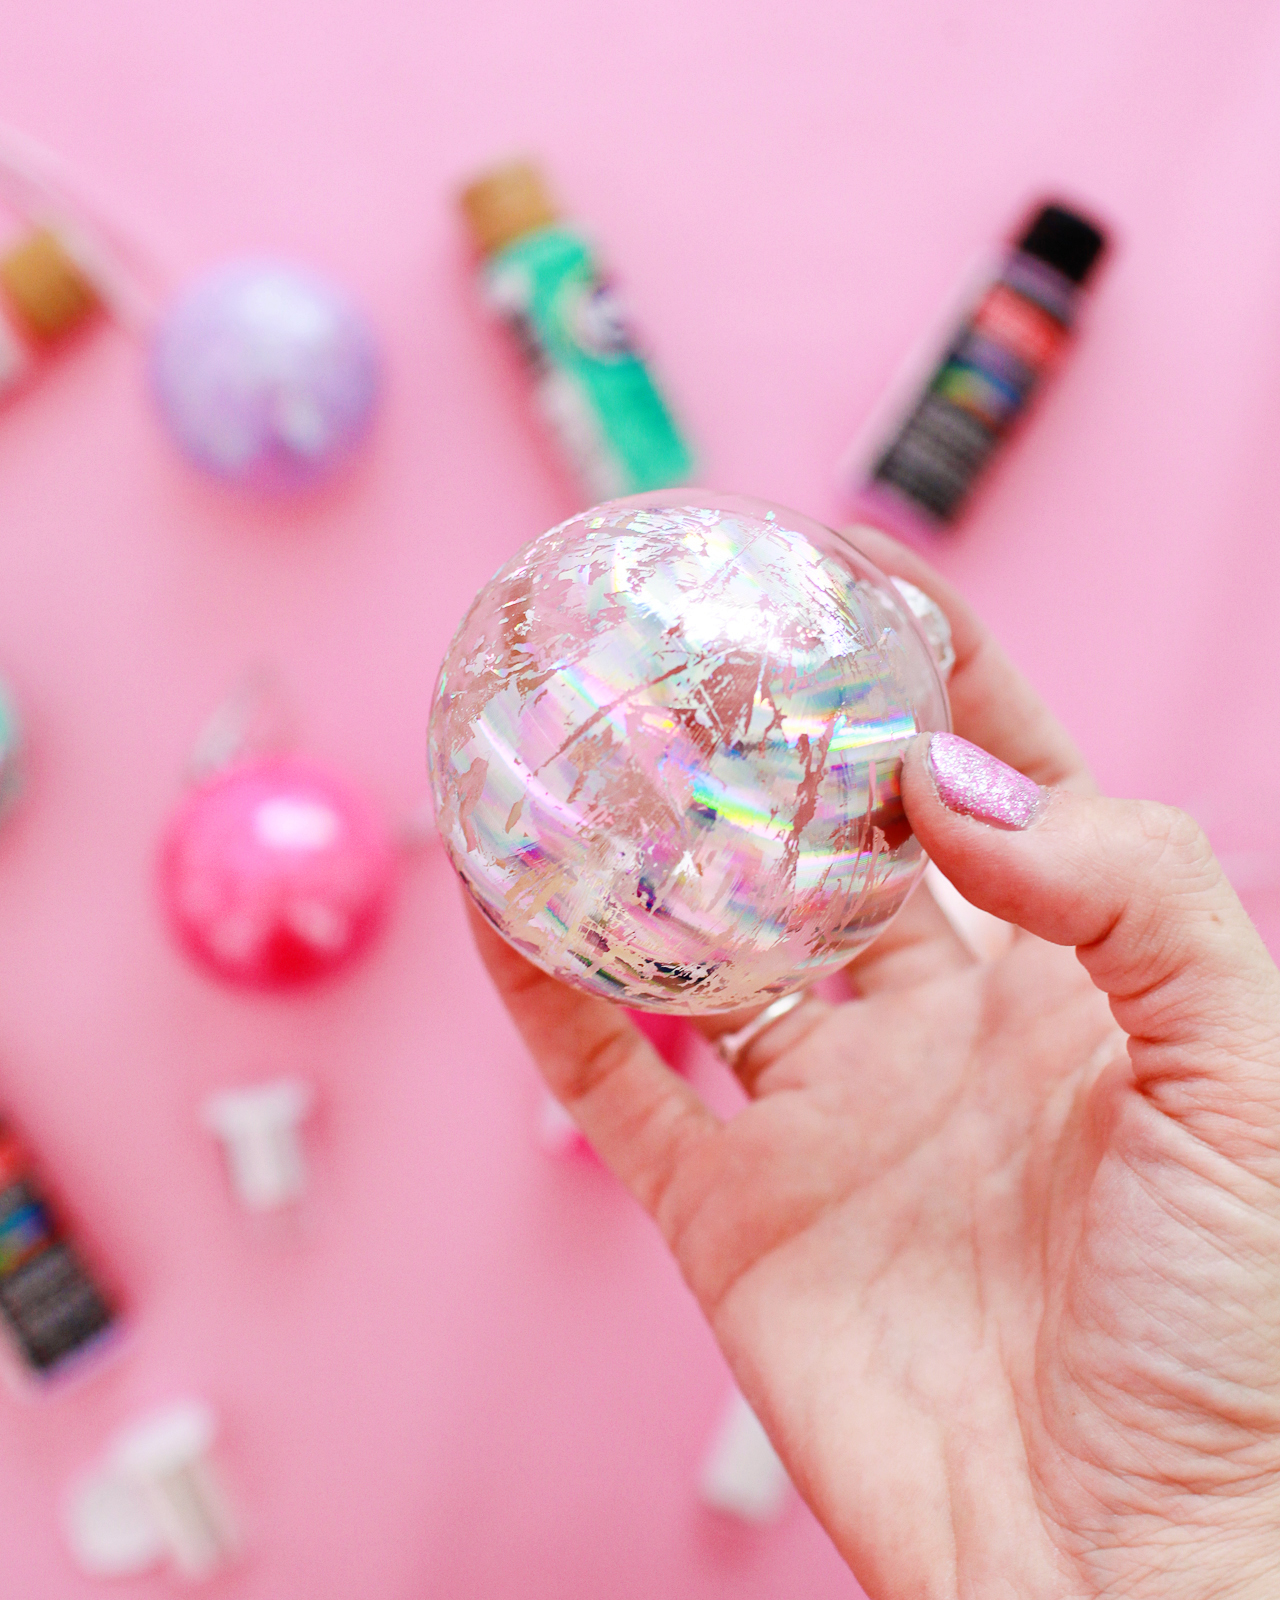
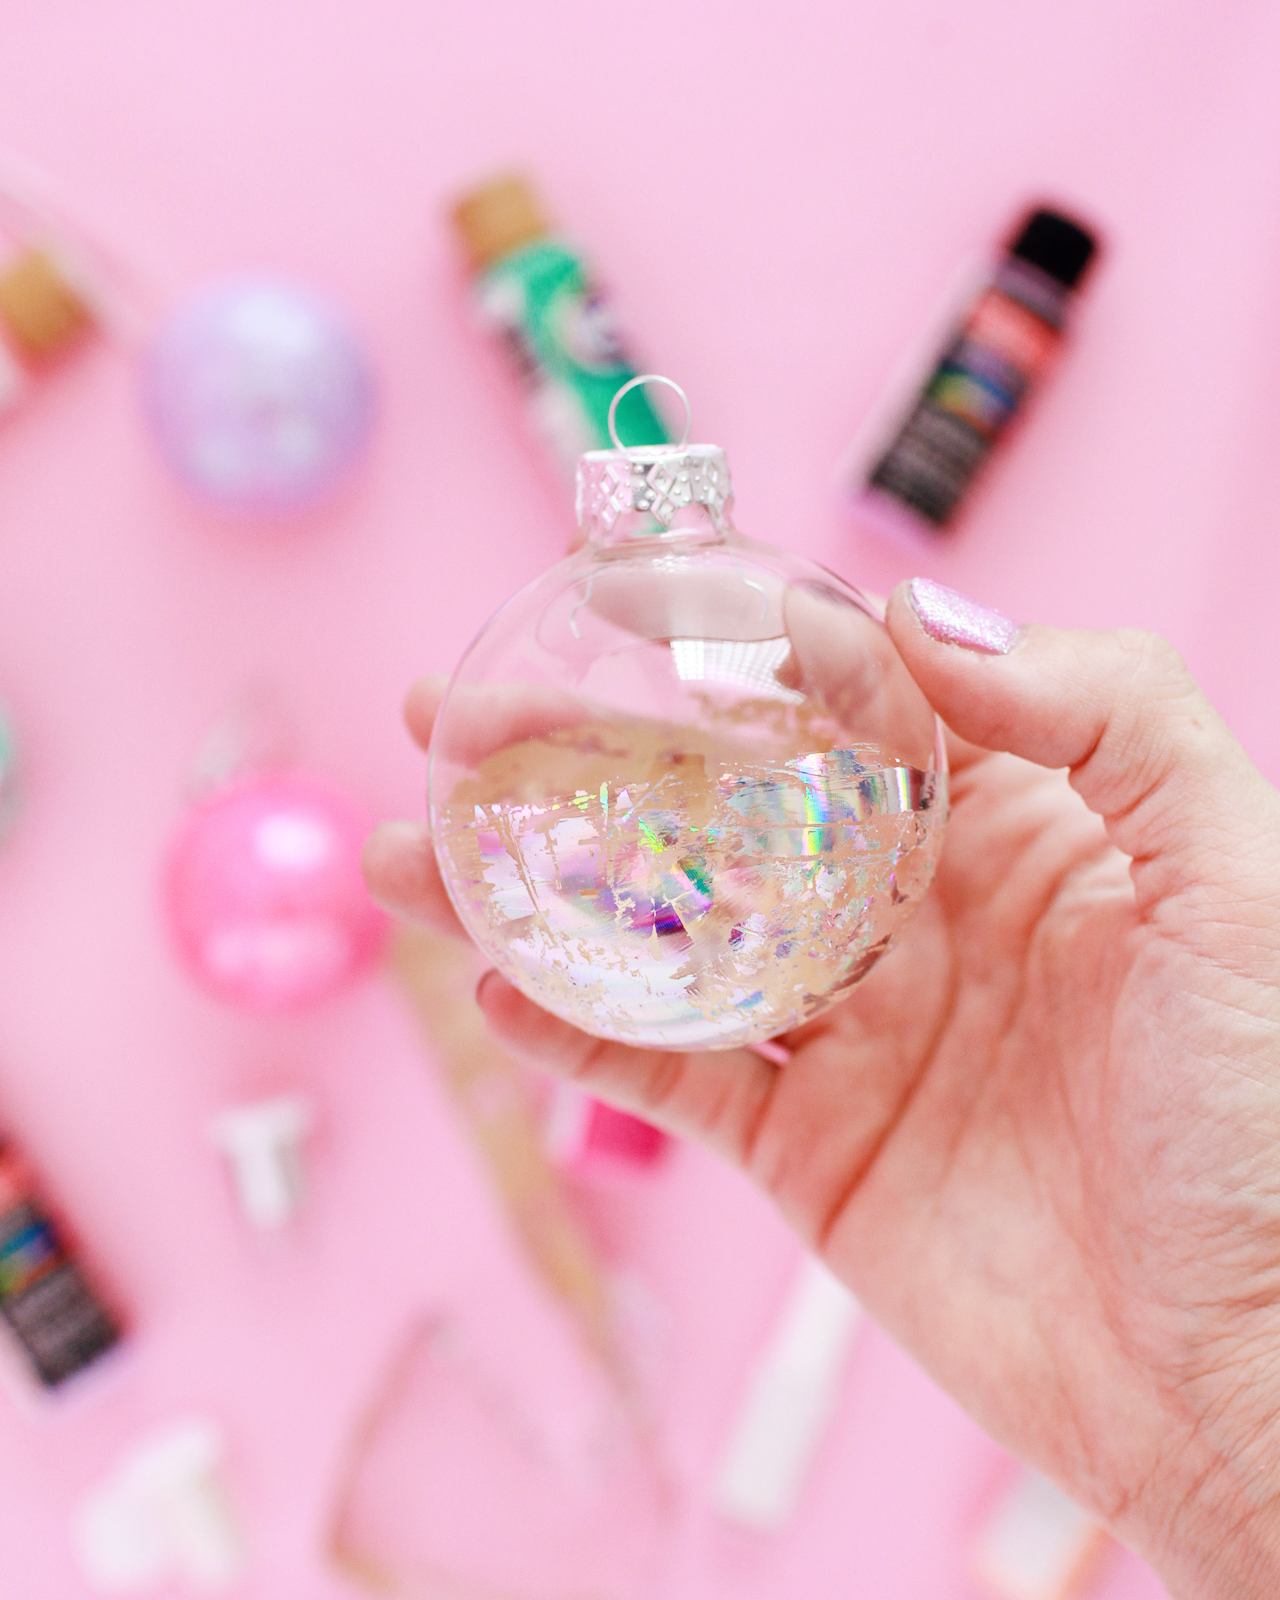
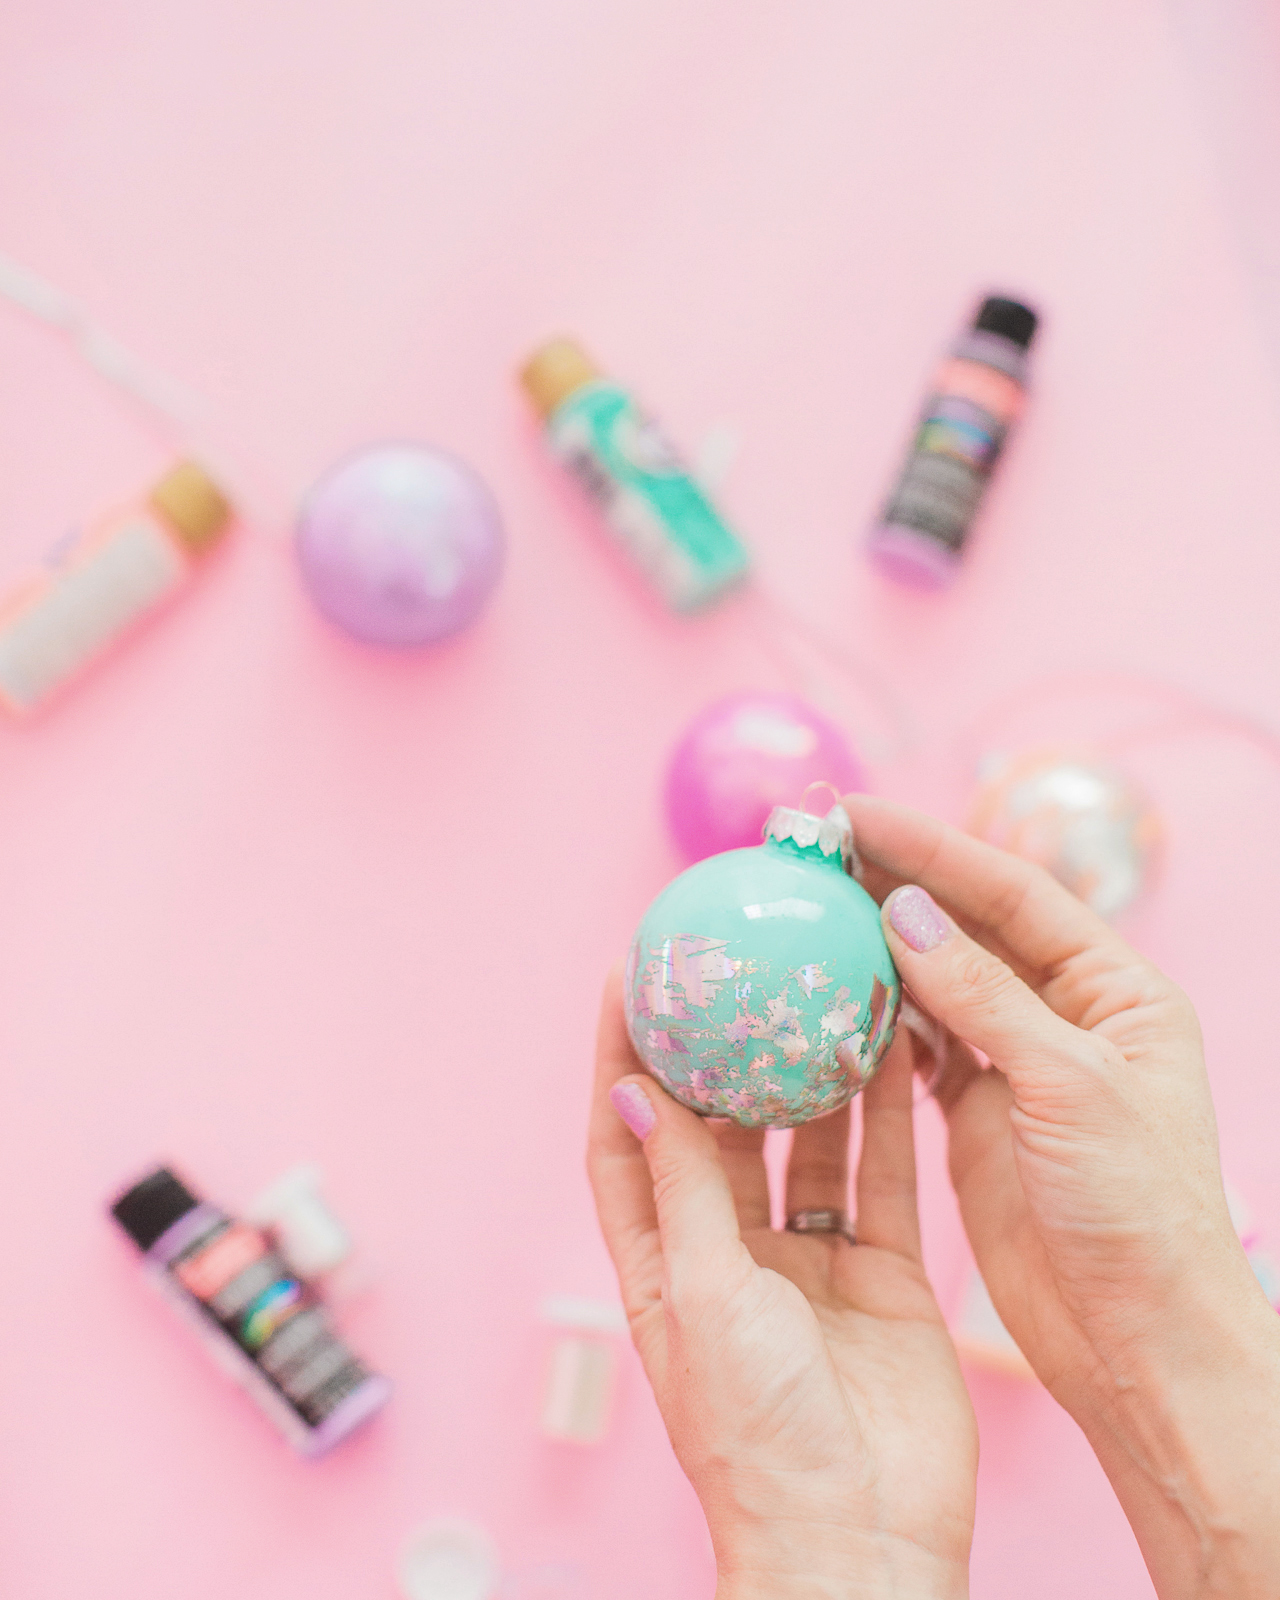
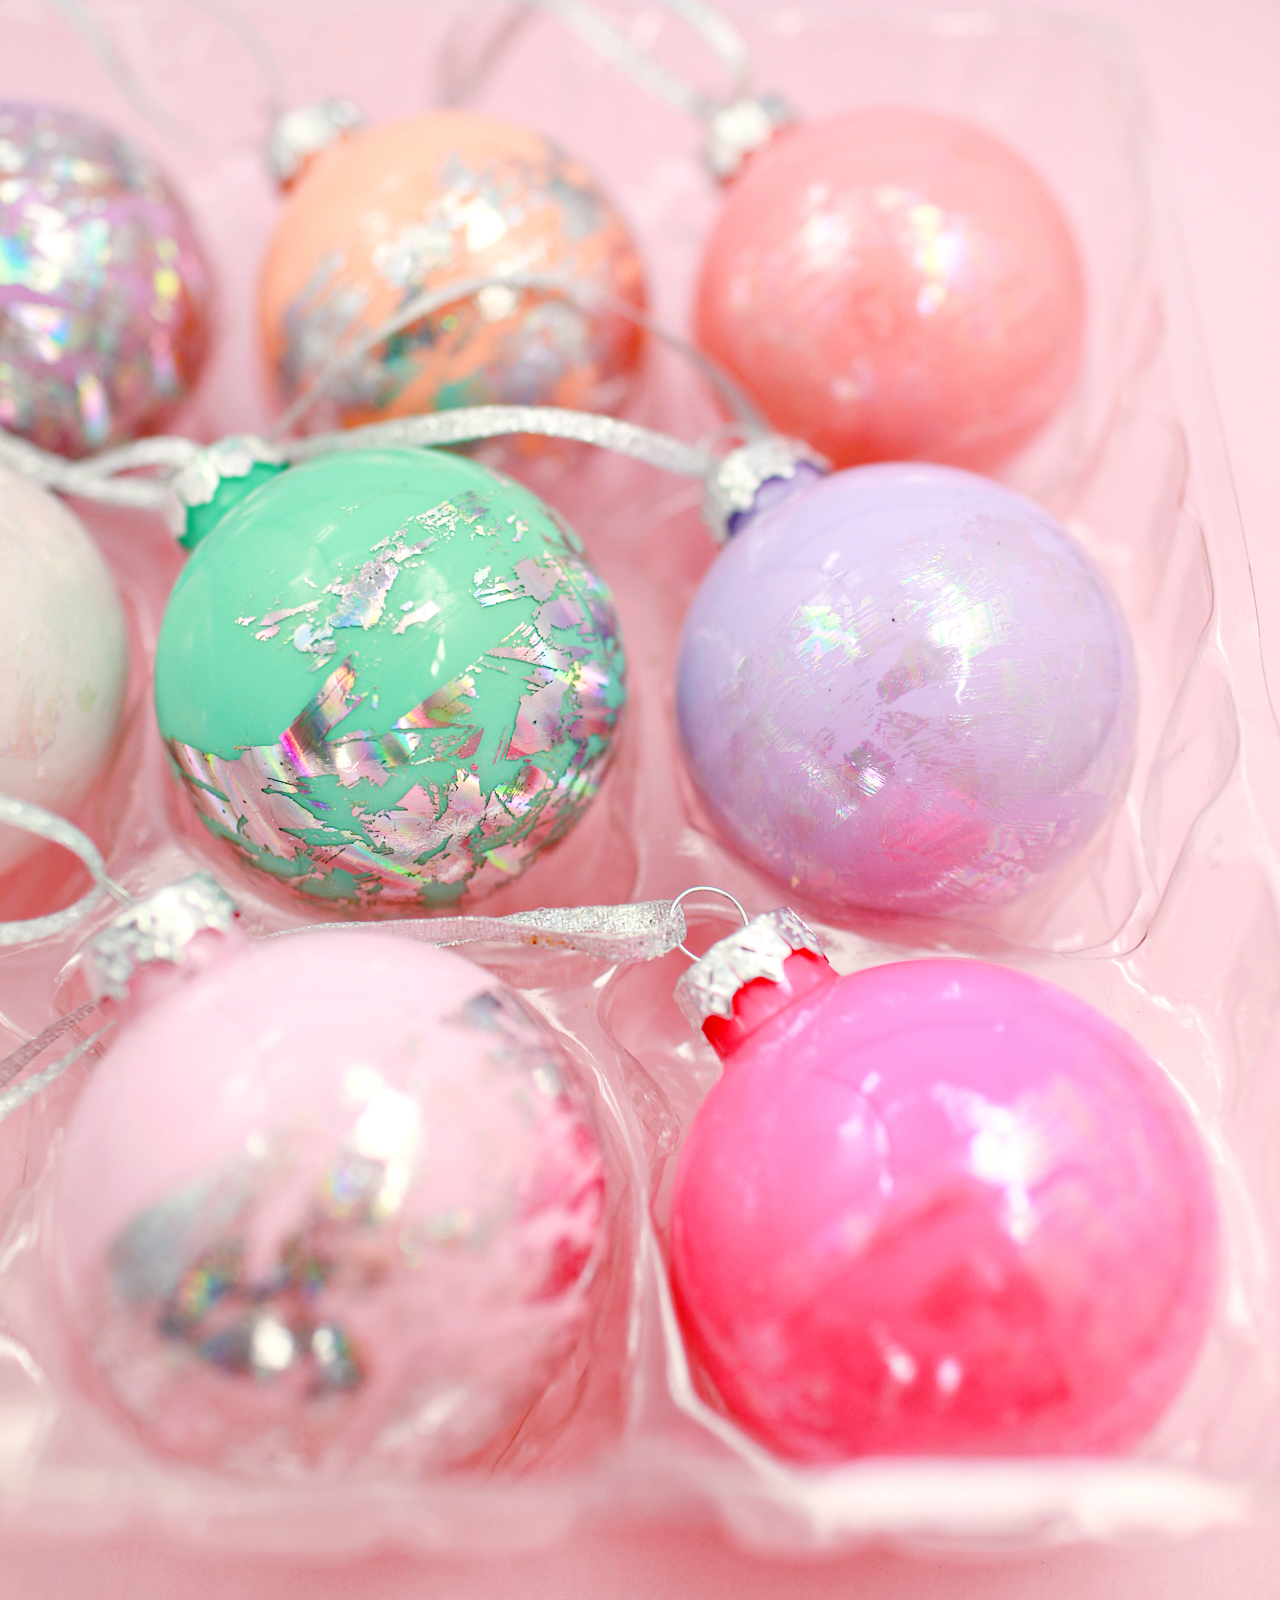
So much hologram and iridescent sparkle! Gah, I just love these ornaments SO much – and my girls are absolutely crazy about them! I think it also helped that I used their favorite colors to fill the inside of the glass ornaments. I’m loving all the pastel prettiness of these ornaments, but I also want to give this a try on some darker tones like navy blue and green!




What do YOU think?? Will you be making DIY hologram foil ornaments this year? If you do, I hope you’ll share a photo on Instagram with the hashtag #madewithosbp – I want to see your craftiness in action!
p.s. DIY hologram foil Easter eggs and my favorite holiday gift wrap pairings
Photo Credits: Meghan Marie Photography and Nole Garey for Oh So Beautiful Paper
