A Mezcal Mai Tai

Have I mentioned that I love Tiki drinks? I really do. And while most of the classics rely heavily on rum, there’s no reason a Tiki drink has to use rum. We decided this week to take Tiki’s playfulness to heart and stick to the spirit, though not the letter, of a classic Tiki recipe – a Mezcal Mai Tai that features earthy agave spirits in place of the traditional rum. – Andrew

Mezcal Mai Tai Cocktail Recipe / Liquorary for Oh So Beautiful Paper

Mezcal Mai Tai

1 oz Silver Mezcal
1 oz Reposado Tequila

3/4 oz Lime Juice
1/2 oz Pineapple Juice
1/2 oz Orgeat
1/2 oz Orange Curacao
1/4 oz Passion Fruit Syrup
2 dashes Angostura Bitters

Combine all the ingredients in a shaker filled two-thirds with ice and shake gently. Strain into a tumbler filled with fresh crushed ice and garnish with a mint bouquet. Enjoy!

Mezcal Mai Tai Cocktail Recipe / Liquorary for Oh So Beautiful Paper

Replacing rum with Mezcal and Tequila definitely makes for a very different Mai Tai than usual, with a strong smokiness and a vegetal earthiness running through the drink. But, it’s still recognizable as a Mai Tai, with layers of citrus and fruity, nutty sweetness. This is the perfect sort of drink for introducing a skeptic to Mezcal; you can’t miss the smokiness of this Mexican agave spirit, but it’s mellowed by all that citrus and fruit.

Mezcal Mai Tai Cocktail Recipe / Liquorary for Oh So Beautiful Paper

We made another couple of changes to the classic recipe by adding both pineapple juice and passion fruit syrup. Pineapple is a beautiful match to another smokey spirit, Scotch whisky, so we wanted to see if it works as well with Mezcal. And it does! Mezcal and Tequila also have a citrusy sweetness under all that earthiness, and we found that a bit of puckeringly sweet-tart passion fruit syrup helps make this drink feel more cohesive and more like a classic Tiki drink.

Next week: we’ll play around with a Mexican staple, another of our favorite agave drinks, the Paloma!

(Don’t forget to follow us on Instagram, where we’ve been posting our experiments before they make their way onto this column!)

Glassware by Liquorary

Photo Credits: Nole Garey for Oh So Beautiful Paper

Blackberry Tequila Smash

For April, Nole made a special request to spend some time with agave spirits – Tequila and Mezcal and the like. I can’t say no to a request like that! Agave spirits are earthy and vegetal, but can also be fresh, bright, and fruity. Perfect for spring! And maybe some fun cocktails to consider for your Cinco de Mayo plans. We’re starting today with a play on the Margarita with blackberries and a citrusy Italian amaro that plays around with Tequlia’s versatile flavors: a Blackberry Tequila Smash. – Andrew

Blackberry Tequila Smash Cocktail Recipe / Liquorary for Oh So Beautiful Paper

Blackberry Tequila Smash

2 oz Reposado Tequila
1 oz Lime
1/2 oz Orange Curacao
1/2 oz Aperol
1/2 oz Agave Syrup
4-5 Ripe Blackberries

Combine all the ingredients in a cocktail shaker and muddle the blackberries to a pulp. Add ice and shake well. Double-strain through a fine-meshed sieve or a tea strainer into a chilled cocktail glass. Garnish with a few more fresh blackberries and enjoy!

Blackberry Tequila Smash Cocktail Recipe / Liquorary for Oh So Beautiful Paper

Fresh and bright, this drink plays up the fruity, citrusy notes that lay behind the Tequila’s up-front vegetal agave notes. The sweet, tart blackberries are balanced out by the gently bitter flavors of the Aperol, a mild, orange flavored Italian bitter liqueur. A fun, fruity spin on the standard Margarita that we’ll be drinking here all April long.

Blackberry Tequila Smash Cocktail Recipe / Liquorary for Oh So Beautiful Paper

(Don’t forget to follow us on Instagram, where we’ve been posting our experiments before they make their way onto this column!)

Glassware by Liquorary

Photo Credits: Nole Garey for Oh So Beautiful Paper

How to Make Marbled Paper – plus new Marbled Notebooks and Calendars from May Designs!

Making marbled paper is something that I’ve always wanted to try, but, thanks to the extensive supply list and unfamiliar ingredients, I’ve been too scared to even attempt. But today we’re in luck! Heather, Creative Director at May Designs, is here to demystify paper marbling and walk us through the entire process. The team at May Designs basically spent an entire day playing around with marbled paper patterns, with some seriously stunning results. We’ll start with Heather’s detailed tutorial (thanks Heather!!) for how to make marbled paper, followed by some photos of the GORGEOUS new May Designs collection inspired by their marbling experiments!

May Designs Marbled Notebooks / Oh So Beautiful Paper

Supplies

100% cotton paper

Alum

Methocel

Spray bottle

Measuring spoons

Whisk

Dish soap

Large shallow tray

Bucket or large bowl (must have a capacity greater than one gallon)

Acrylic paint

Small cups

Coffee straws

Clothesline + clothespins

How to Make Marbled Paper / May Designs via Oh So Beautiful Paper

How to make marbled paper:

Step 1. First, prep your paper. Fill a spray bottle with warm water. Add 2 tablespoons of alum and mix well. Let the mixture cool and spray a thin layer onto your cotton paper. Lay flat to dry! Make sure to mark the side that you sprayed because it can be hard to tell once it’s dried.

Step 2. Next, prepare the water bath. In a bucket, mix 4 tablespoons of Methocel with 1 gallon warm, distilled water, and one tablespoon of ammonia. Mix with a whisk. Find a shallow tray that is just a little larger than your paper. We found the perfect shallow tray to use for our water bath at a restaurant supply store (these trays from Amazon will also work!). Pour water mixture into shallow dish and let sit until all bubbles are gone! This can take a while, sometimes an hour or so.

Step 3. You’ll also need to add a dispersant to your water bath. To mix a dispersant, fill a cup with ½ cup water and a few drops of dish soap and mix.

Step 4. Gather up your favorite colors of acrylic paints and squeeze them into cups. Add water to each color until you have the consistency of whole milk. Add one drop of dispersant/dish soap mixture to each color of paint. (A coffee straw works well for this!)

Step 5. Next, add diluted paint to the water bath. This is the fun part! Using coffee straws begin to drop paint onto the surface of the water bath. Keep dropping paint onto the water bath until it is pretty well covered with color.

Step 6. Time to Marble! Take a clean straw and begin to drag it across the top of the water bath to create designs. You can also use the dispersant mixture you made to move the paint around, but only use a small drop to start. A little goes a LONG way.

Step 7. Once you have a design that you like, take your prepped paper and gently lay it face down on the top of the bath. (Make sure you are placing the paper, prepped side down). Pat it down to make sure there are no air bubbles and then pull the paper up out of the bath starting with one corner and peeling it all the way up.

Step 8. Rinse paper with water. Don’t be afraid to get in there and clean the paper off with your hands. The paint is there to stay. Hang paper to dry!

How to Make Marbled Paper / May Designs via Oh So Beautiful Paper

How to Make Marbled Paper / May Designs via Oh So Beautiful Paper

How to Make Marbled Paper / May Designs via Oh So Beautiful Paper

How to Make Marbled Paper / May Designs via Oh So Beautiful Paper

How to Make Marbled Paper / May Designs via Oh So Beautiful Paper

How to Make Marbled Paper / May Designs via Oh So Beautiful Paper

How to Make Marbled Paper / May Designs via Oh So Beautiful Paper

How to Make Marbled Paper / May Designs via Oh So Beautiful Paper

How to Make Marbled Paper / May Designs via Oh So Beautiful Paper

How to Make Marbled Paper / May Designs via Oh So Beautiful Paper

How to Make Marbled Paper / May Designs via Oh So Beautiful Paper

How to Make Marbled Paper / May Designs via Oh So Beautiful Paper

How to Make Marbled Paper / May Designs via Oh So Beautiful Paper

How to Make Marbled Paper / May Designs via Oh So Beautiful Paper

From Heather: We’ve been excited to introduce this fun trend as a pattern collection since spotting it at the National Stationery Show. We first envisioned it as a collaboration. We thought we might need an expert, to guide us through the process, so that we could get the results we desired for the collection. BUT, when Mica had the idea to incorporate the marbling process into our brand new Desk Calendars, it changed our timeline quite a bit and we decided to roll up our sleeves and get our hands dirty!

We set aside a day that same week to set up our very own marble workshop in the studio. We’ve hosted a few different workshops in the studio; calligraphy, painting, cocktail classes, etc., but this was my personal favorite. The process is so free and each piece almost creates itself! We collected tips and tricks from several different videos and blogs to create the process outlined in the tutorial above. Here’s a list of little things that we feel made this a success:

  • Cotton paper is a must! The other papers we tried broke down in the water bath
  • Don’t go on a crazy search for fancy “dispersant” – dish soap works the same way! Oh and remember, a little goes a LONG way!
  • Turns out, restaurant supply stores have the perfect large, shallow dishes for water bath. And they’re white!

We hoped that by the end of the day, we would have 12 gorgeous pieces to work with, but the pressure was off. It was SUCH a fun day. Doors open, messy desks, lunch ordered in (of course) and selfies galore. A perfect exercise for our team to let loose and bond, and BONUS… we ended the day with walls covered in gorgeous marbled paper. We are so happy with the end result! The new calendars are are beautiful and the pattern collection for notebooks is a new favorite!

May Designs Marbled Calendar / Oh So Beautiful Paper

May Designs Marbled Calendar / Oh So Beautiful Paper

May Designs Marbled Calendar / Oh So Beautiful Paper

Photo Credits: May Designs

Post-it Brand Celebrates 35 Years!

I’m always writing little notes. Notes with little reminders, favorite quotes, and even little love notes to my husband and my kids. I’ve been writing little notes – to myself, to my family, to friends and co-workers – for as long as I can remember. And so many of those notes have been on Post-it® Notes! I usually keep a few Post-it® Note pads scattered around my office, and I love the bright pop of color on my desk. Post-it® Brand products have been a huge part of my life – from student to creative entrepreneur – and I’m thrilled to help them celebrate 35 years of helping great ideas take shape!

Post-it Brand Celebrates 35 Years! / Oh So Beautiful Paper

Believe it or not, Post-it® Brand launched in 1980 with the introduction of the original Canary Yellow Post-it® Note! Fun fact: To help introduce the brand new product, Post-it® Brand mailed packs of the original notes to Fortune 500 CEOs and their secretaries. Pretty smart, huh? Since then, Post-it® Brand has introduced everything from Post-it® Notes in new colors, shapes, and sizes to help us all create and collaborate, to Post-it® Note Flags and Tabs to help keep us all organized, to fun Post-it® Note Big Pads that help us when we need to dream a little bigger. Post-it® Brand products are an indispensable tool for anyone trying to create or stay organized, whether in the office, at school, or at home.

Post-it Brand Celebrates 35 Years! / Oh So Beautiful Paper

Post-it Brand Celebrates 35 Years! / Oh So Beautiful Paper

Last year, I partnered with Post-it® Brand to create a fun cocktail party menu made entirely of Post-it® Notes from the World of Color Collection! The Post-it® Notes come in a range of bright colors with 9 color palettes inspired by global design. We used the tropical-inspired colors of the Bora Bora collection, but I also love the bright neons of the Rio de Janeiro collection, the soft pastels of the Bali collection, and the candy colors of the Cape Town collection. It was such a fun challenge to think of a new way to use a product that has been a constant presence on my desk for so many years!

Post-it Brand Celebrates 35 Years! / Oh So Beautiful Paper

Post-it Brand Celebrates 35 Years! / Oh So Beautiful Paper

Post-it Brand Celebrates 35 Years! / Oh So Beautiful Paper

Post-it® Brand products have transformed the way we work, create, and even inspire achievement over the last 35 years – I’d love to hear the creative ways that you’ve used Post-it® Notes and other Post-it® Brand products in your life!

This post is sponsored by Post-it® Brand, helping great ideas take shape for 35 years. All content and opinions are my own. Follow Post-it® Brand on Twitter, Facebook, Instagram, and Pinterest. Thank you for supporting the sponsors that make Oh So Beautiful Paper possible!

Behind the Stationery: The Social Type

I’m beyond thrilled to bring y’all our next stationer, Allison from The Social Type! Allison and Jess have created some of my favorite foil pieces and matchboxes and they are a hoot to be around. The Social Type is a creative manifestation of their friendship and they have been at it since working separate day jobs and being long distance business partners. From working together on designs to adjusting to being a parent, Allison is here to take us through their stationery business story! –Megan

Behind the Stationery: The Social Type / Oh So Beautiful Paper

Hello from sunny Los Angeles! I’m Allison Brennan, co-founder of The Social Type. Jessica Tree and I are thrilled to be featured on Oh So Beautiful Paper, our go-to for all things paper related! Jessica and I founded The Social Type in 2009. We were already good friends and decided we wanted to do something creative together. Both eager to be our own bosses and business partners, we were excited by the idea of creating cards and products that we loved and wanted to buy. I had previously worked as a buyer for Jonathan Wright and Company and Minted.com. I was immersed in the stationery and gift industry, and there was no place I’d rather be. I had a desire to launch a wholesale line and Jessica was on board.

Behind the Stationery: The Social Type / Oh So Beautiful Paper

We really kicked things off in 2010 when we launched our mini-collection of letterpress and foil greeting cards at the Renegade Craft Fair in LA. Urbanic, in Venice, CA was our very first store. We dropped off some samples for Audrey right after Renegade and I think she purchased the entire line for her boutique. We were thrilled; that gave us the boost of confidence to keep going and grow our line further. Over the next year, we figured out how to fund a collection that was big enough to show at the National Stationery Show. Our first show in 2012 was a great success and this May 2016 will mark our fifth NSS. We are always excited to travel to New York City to be part of such an amazing show.

Behind the Stationery: The Social Type / Oh So Beautiful Paper

The Social Type is a paper goods and gift company; we sell wholesale to boutiques and stores across the United States, Canada, and beyond. We also have a retail site where customers can purchase directly. We outsource all of our printing and most of our manufacturing primarily in the United States, and we ship all of our products from Los Angeles.

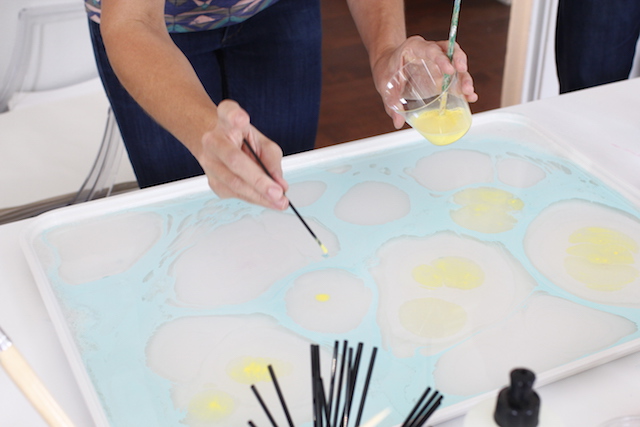
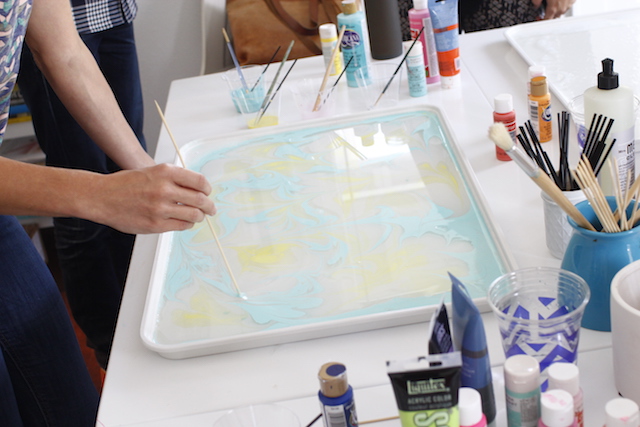
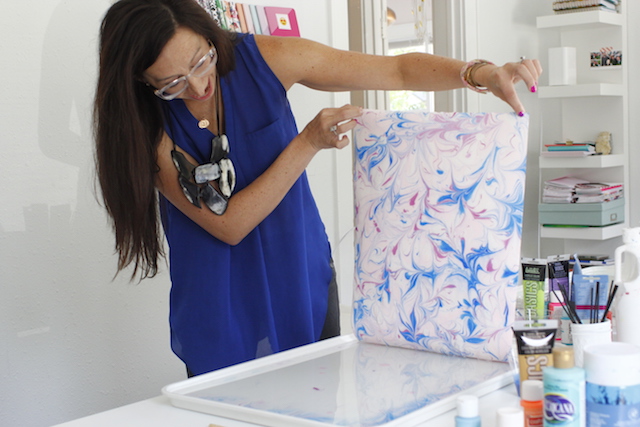
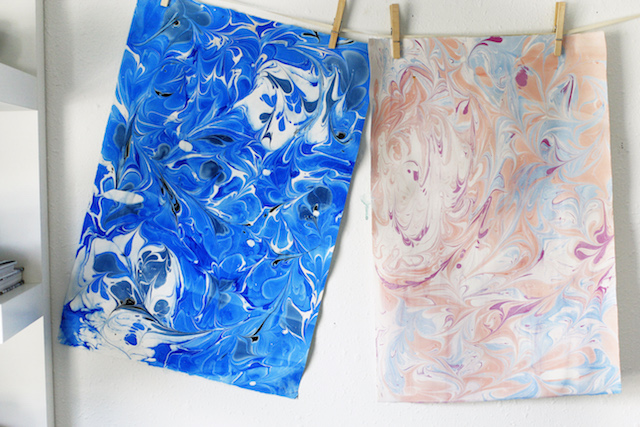
We are really crazy about foil printing. When we were conceptualizing our first collection, foil wasn’t a prominent printing method in the stationery industry. We love letterpress but knew we wanted our cards to have a little more sparkle, and foil was the perfect detail. It was a bit of a risk because the trend hadn’t taken off yet, but we were confident that it would catch on. Everything we print today, from cards to matchboxes, all involve some sort of foil printing. We haven’t met a foil we didn’t like. Right now we are mad for hologram; we really can’t get enough of it.

Behind the Stationery: The Social Type / Oh So Beautiful Paper

Our studio is in Echo Park, Los Angeles, which is just a short jaunt from hip Silver Lake and booming Downtown. Jessica and I love LA, and it suits us both quite well. We are two midwestern transplants that can’t get enough sunny skies. Some days we head to the Echo Park Boathouse for lunch meetings to enjoy the lake or we’ll have a happy hour brainstorming session at L&E Oyster Bar in Silver Lake. Our surrounding neighborhoods serve as constant inspiration as they are home to many artists, entrepreneurs, and creatives like us. Los Angeles is such an exciting place to grow our company; we have lots of good friends that have their own companies here, too. We are lucky to have such a great support group.

Behind the Stationery: The Social Type / Oh So Beautiful Paper

Our studio has a lot of natural light and great outdoor space, and we take our meetings in the courtyard whenever possible. About a quarter of the studio is dedicated to our own offices and the rest of the studio is comprised of fulfillment space and inventory, though the inventory is really taking over. We moved to the studio in August 2014 and are already outgrowing it. We are currently looking for space in the area where we might one day be able to have a retail shop, which is a dream of mine, as well as our warehouse and design studio.

Behind the Stationery: The Social Type / Oh So Beautiful Paper

Our work day typically starts around 9-9:30 for the team. I usually sneak in at about 10 so I can spend a few morning hours with my daughter (and I’m grateful to have a partner who allows me to do so). Monday mornings we have a team meeting to discuss projects and schedules for the week ahead. Jess and I usually meet on our own and split up tasks for the week. Jess often focuses on design, deliverables for our licensing partners, and answering inquiries we receive through our website. I focus on some design, sourcing, and general operations. Our awesome fulfillment team handles everything else from order processing and packing to rep correspondence, processing payments, and shipping wholesale and web orders. From time to time, we bring in extra fulfillment help during busier seasons and for large key account orders.

Behind the Stationery: The Social Type / Oh So Beautiful Paper

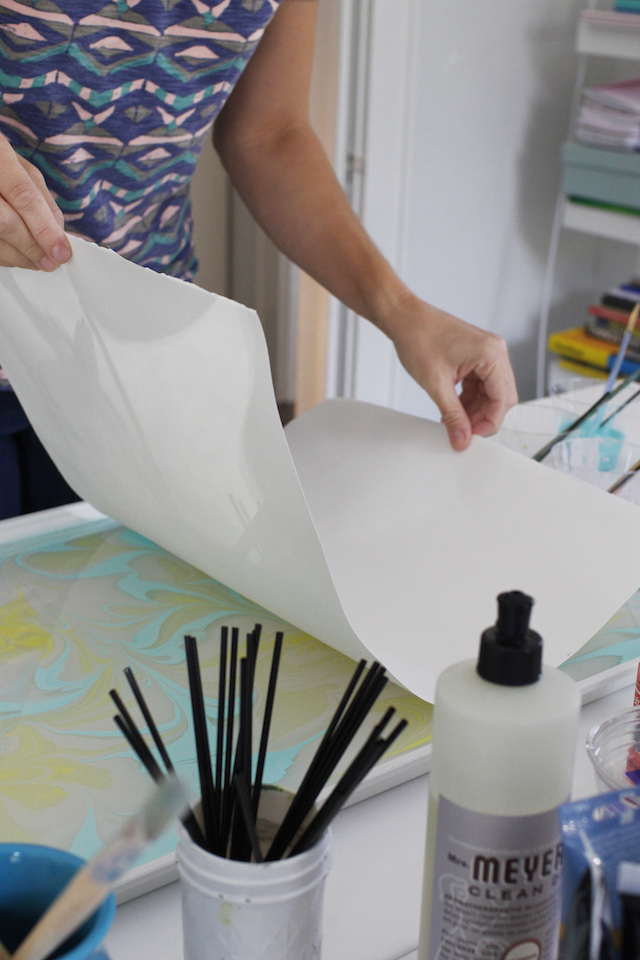
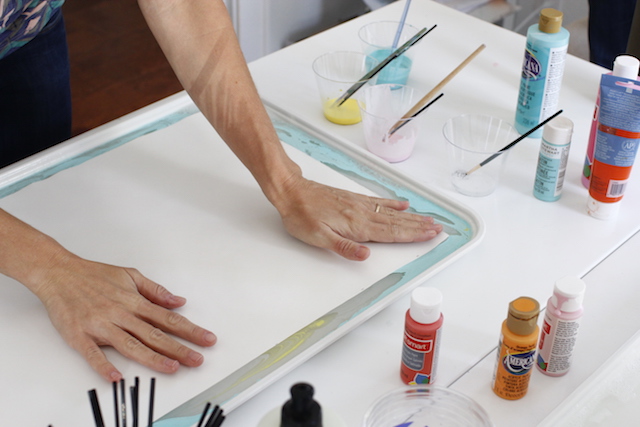
Jess and I concept and design together. When I get stuck on an initial idea or design, I pass it off to Jess and she figures out what to do with it, and vice versa. We have worked that way since the very beginning, even when we were in different cities. Occasionally we license art from other artists too, and we really appreciate those partnerships.

Behind the Stationery: The Social Type / Oh So Beautiful Paper

Once a design is ready to be manufactured, I usually prep the design files to send to our printer and Jess will create or update our catalog and sell sheets for our reps and stores. Our products often go through several rounds of proofing before we sign off on them. Once we receive inventory at our studio, our accounts coordinator and fulfillment team handle the rest. They stock product, sleeve and label cards, pull and pack orders, and ship samples to our reps. Our team is small but growing, and that means we all wear a lot of hats – it’s a group effort. We work hard, but like to have a good time. It’s not unusual to find us blasting music, dancing about the studio, or cracking jokes.

Behind the Stationery: The Social Type / Oh So Beautiful Paper

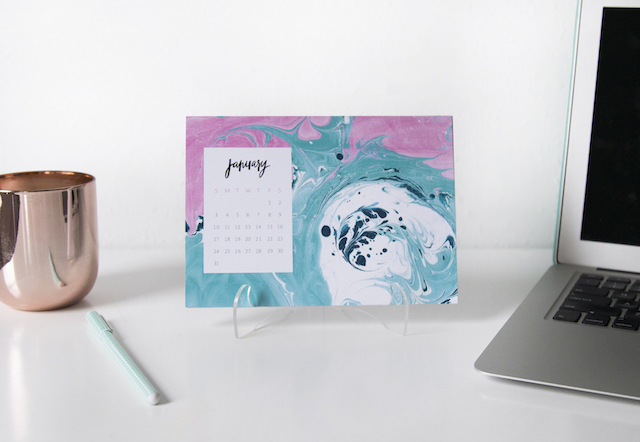
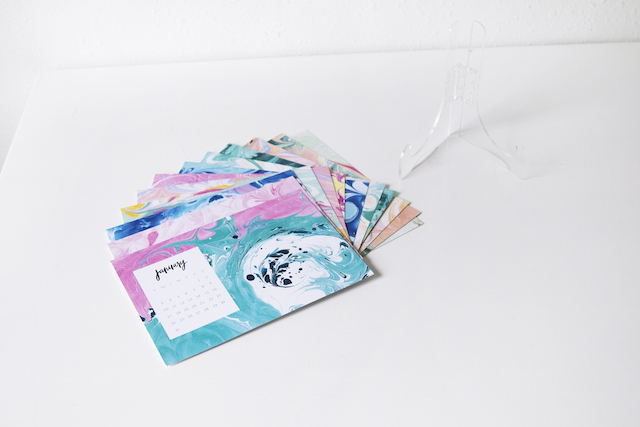
About a year and a half ago we started designing die cut cards and they’ve been really successful. We have fun designing them, too. Expect to see more die cuts, lots of hologram foil, and new matchboxes in May at NSS. We have some other goodies planned for 2016, including a line of candles and other party and gift items. Our biggest release comes in May of each year when we show off new product at NSS. We have two other smaller releases in early Fall and mid-Winter, though this year we will have a more sizable release in August since we will have our first solo booth at NY NOW. We love owning and operating our own business, but it’s not always cut and dry. As we grow, we occasionally run into obstacles but try to learn from our mistakes, which makes our partnerships and business stronger.

Behind the Stationery: The Social Type / Oh So Beautiful Paper

Thanks to Nole and Megan for letting us share a little glimpse of our company with you. We love what we do and are very fortunate to be part of an amazing network of talented businesses and individuals. We look forward to expanding our business this year and sharing new products with you. Don’t be a stranger, please keep in touch!

Photos by Stephanie Todaro

Interested in participating in the Behind the Stationery column? Reach out to me at Megan [at] ohsobeautifulpaper [dot] com.