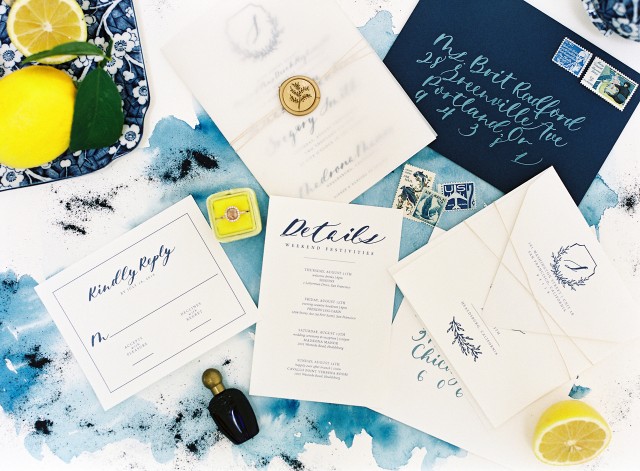
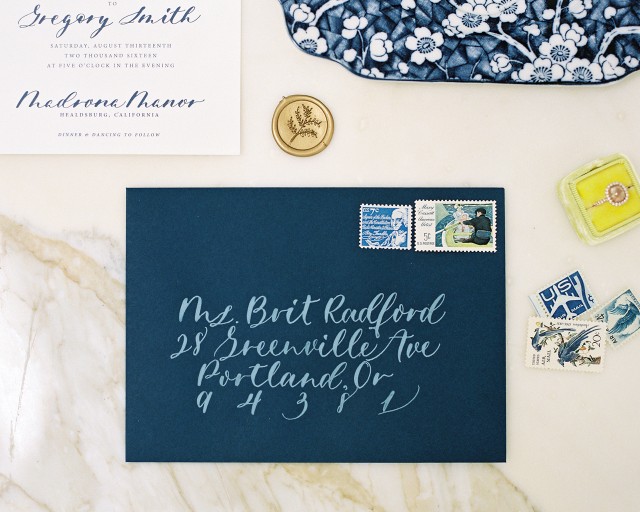
Do you remember these fun and colorful envelopes that we made back in April, using saturated watercolors and Sakura of America‘s gorgeous Soufflé and Glaze pens? I still LOVE how that project turned out, and today I’m so excited to share another project featuring those awesome watercolors! This time we’re using the 30-color Koi Water Color Field Sketch Travel Kit to create watercolor wall art with fun phrases of cut out letters! These pieces are so easy to make (no advanced painting skills required!) and are such a great way to add a dose of color – and an inspiring sentiment – to your walls!
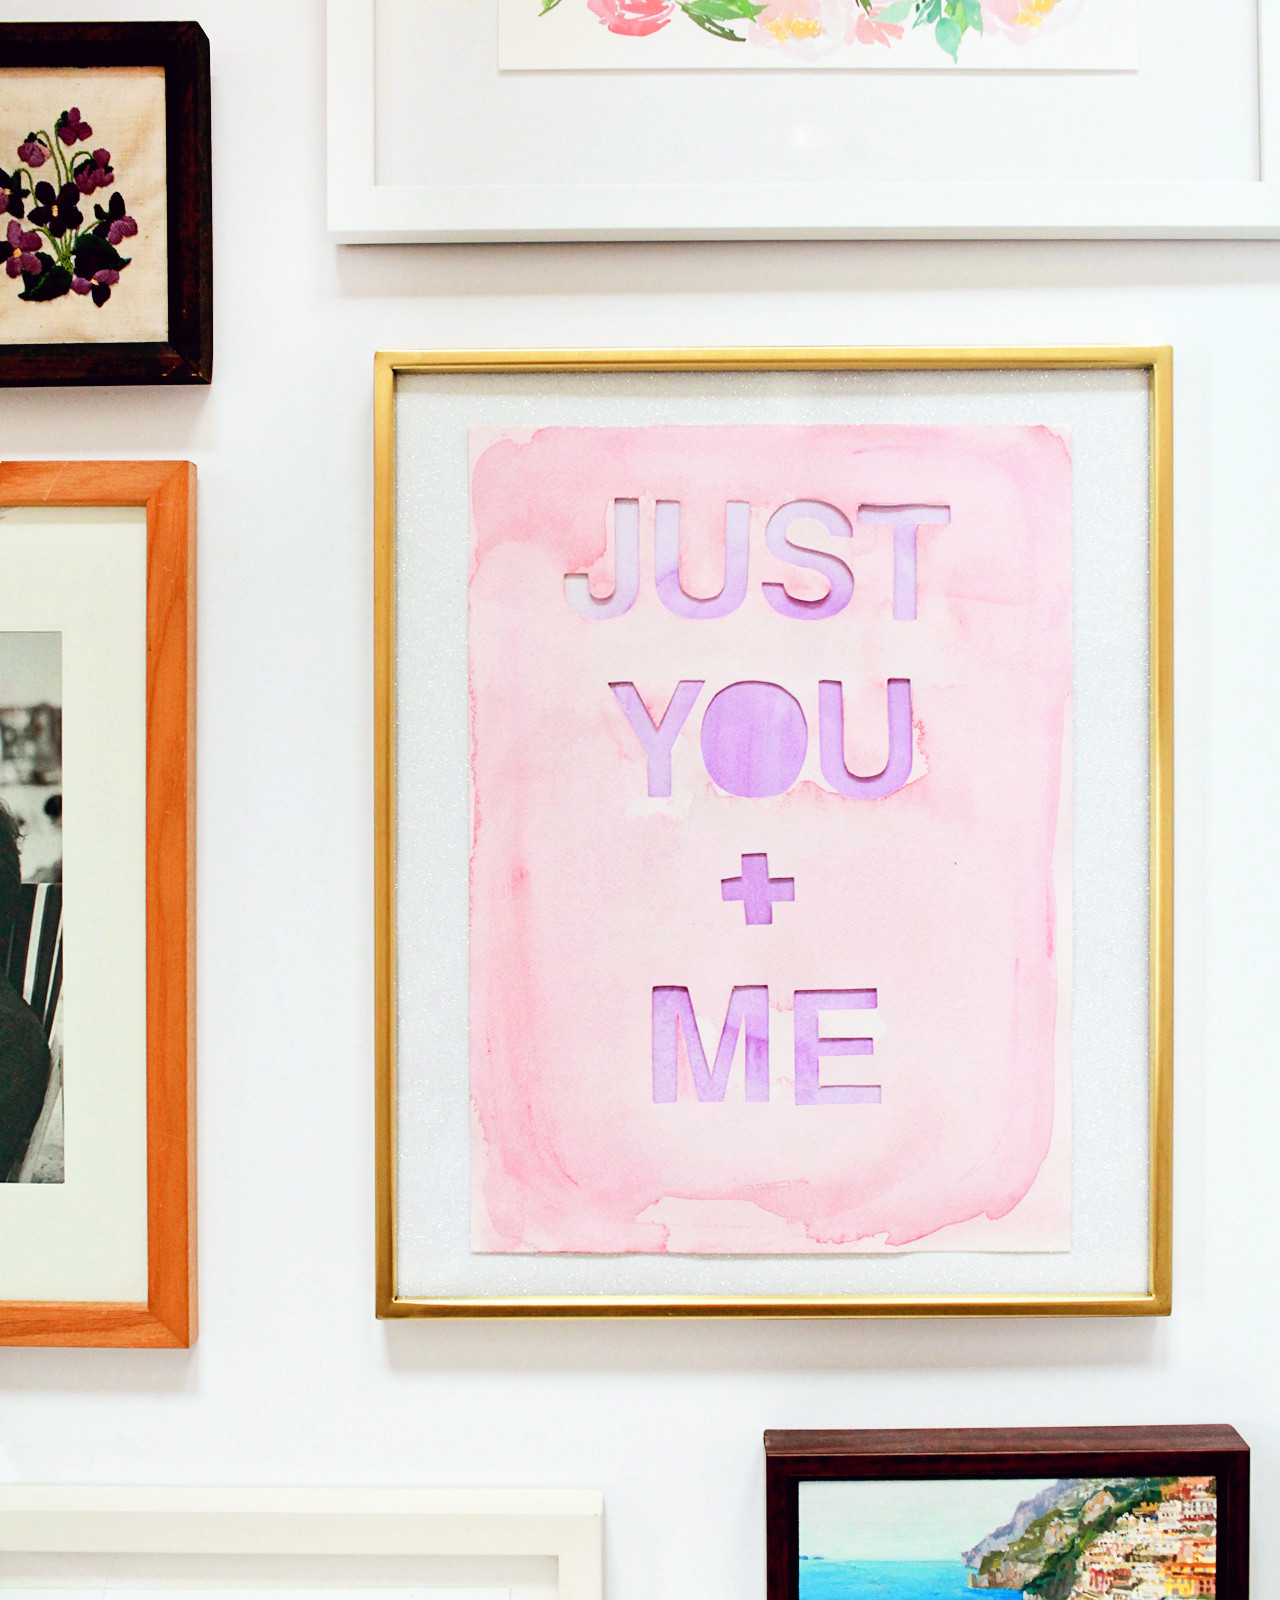
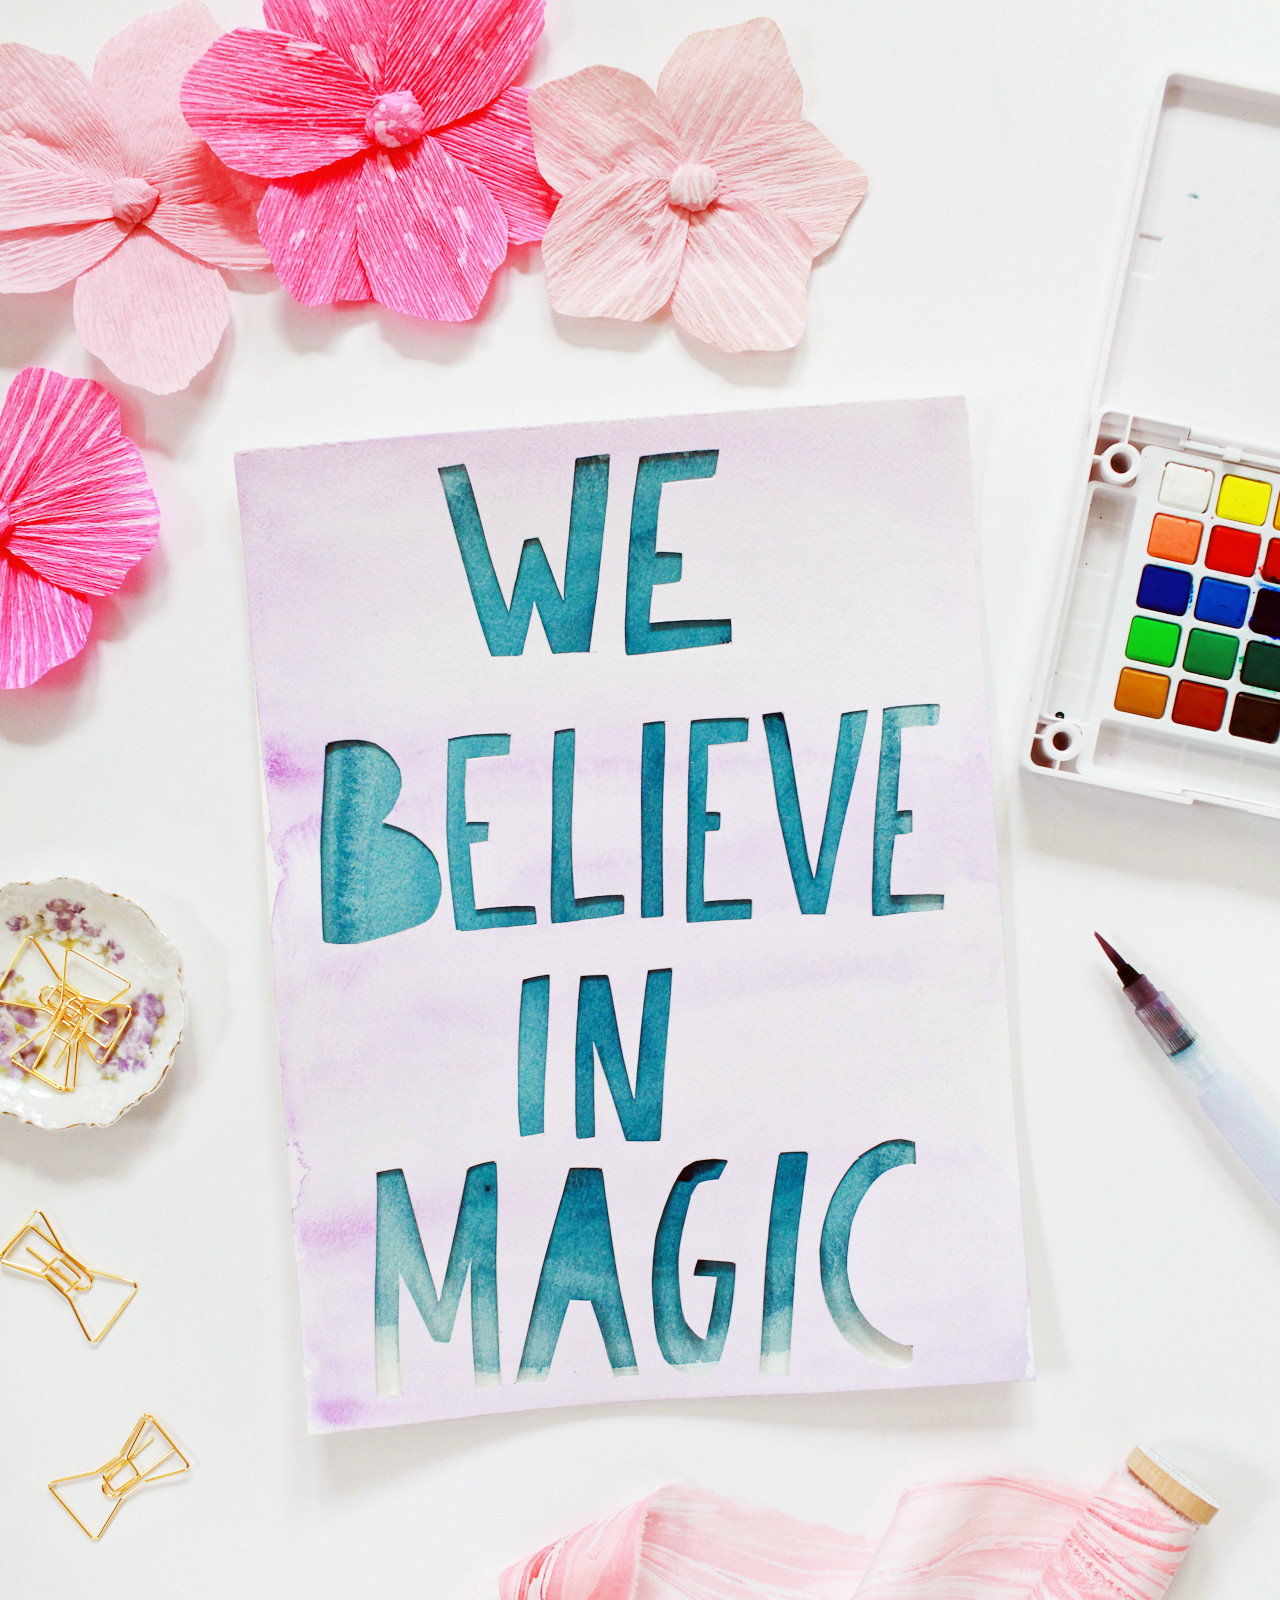
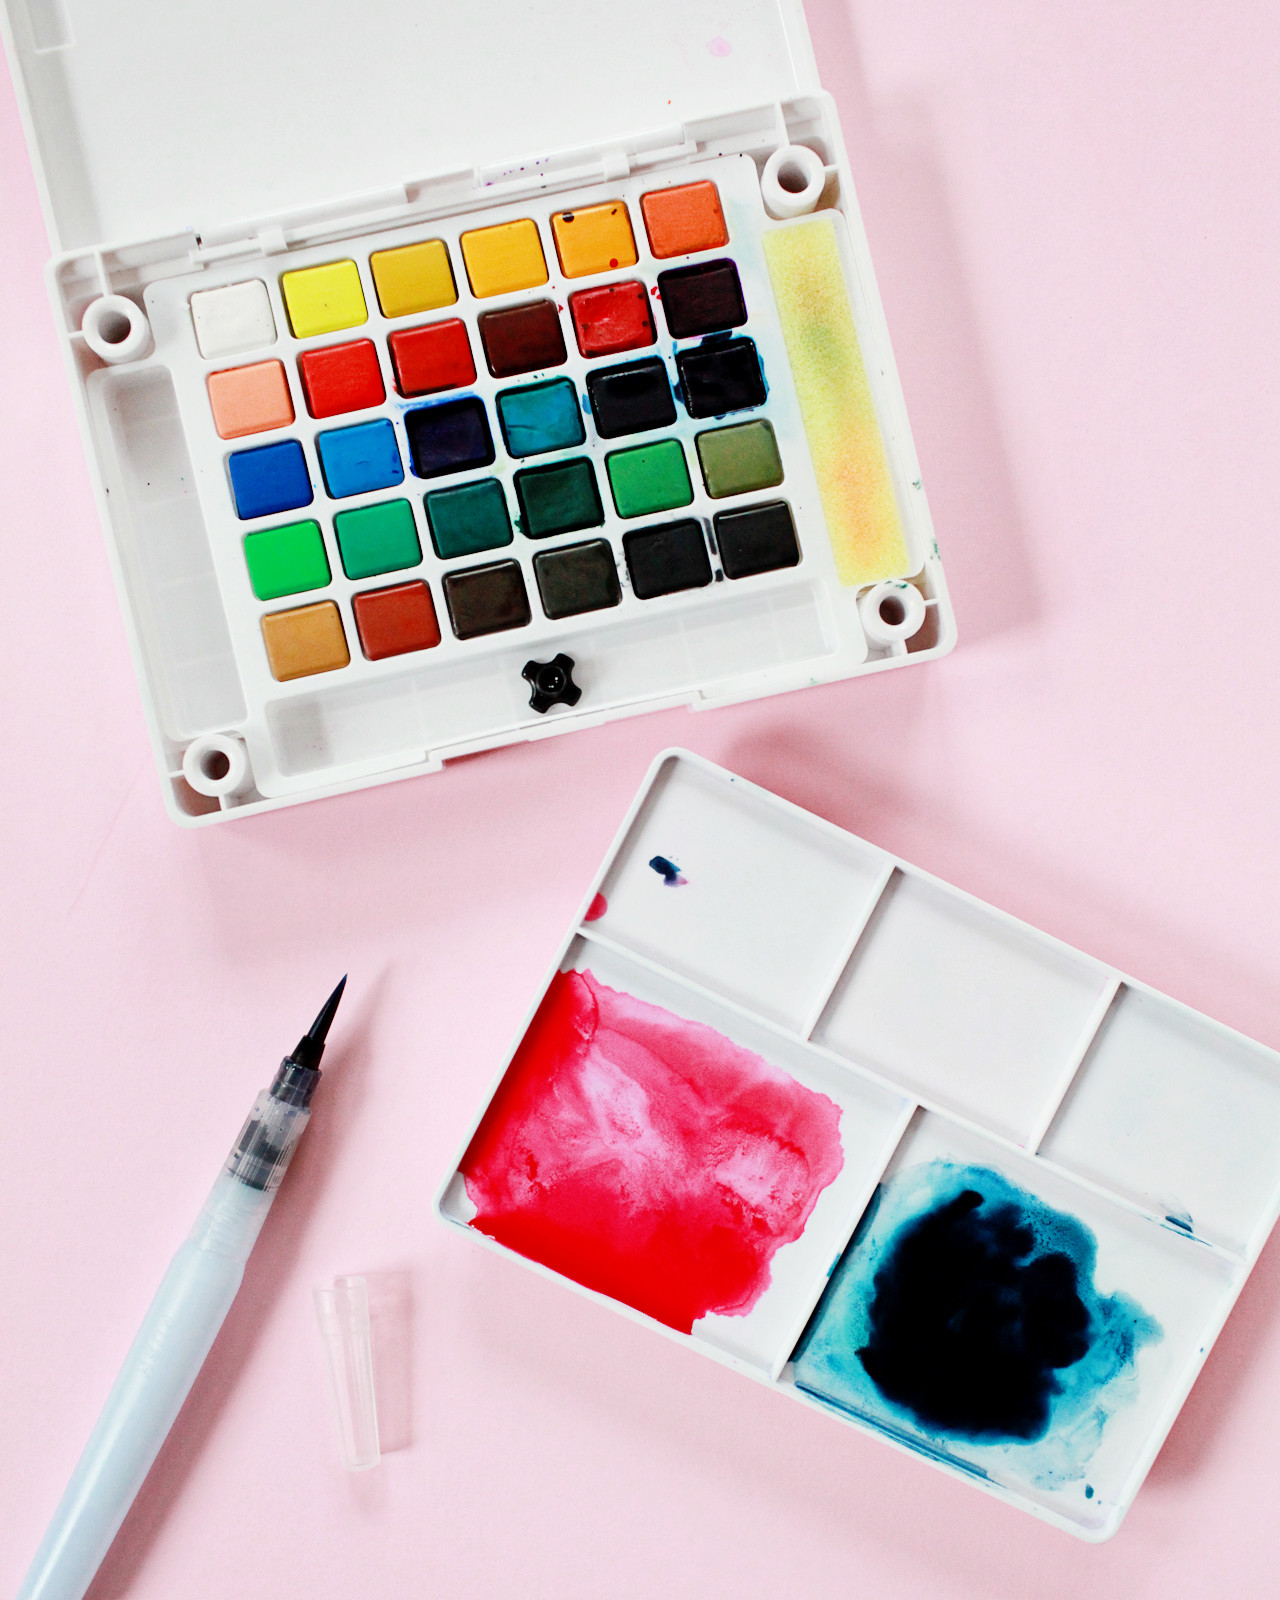
My color inspiration for these watercolor art pieces was to layer a light pastel color over a dark tone, but once I got painting I quickly discovered that two pastel tones in complementary colors look really amazing together. I ended up mixing mostly warm pastel watercolor tones in peach, coral, pink, and lavender with a bit of deep indigo and Prussian blue. The Koi Water Color Field Sketch Travel Kit comes with 30 gorgeous colors that all look amazing together, so you really can’t go wrong when choosing your color story. The kit also comes with a refillable waterbrush for spontaneous painting and a detachable painting palette for mixing colors – and the whole entire kit can easily fit into a small bag or a jacket pocket in case inspiration strikes while you’re out and about!
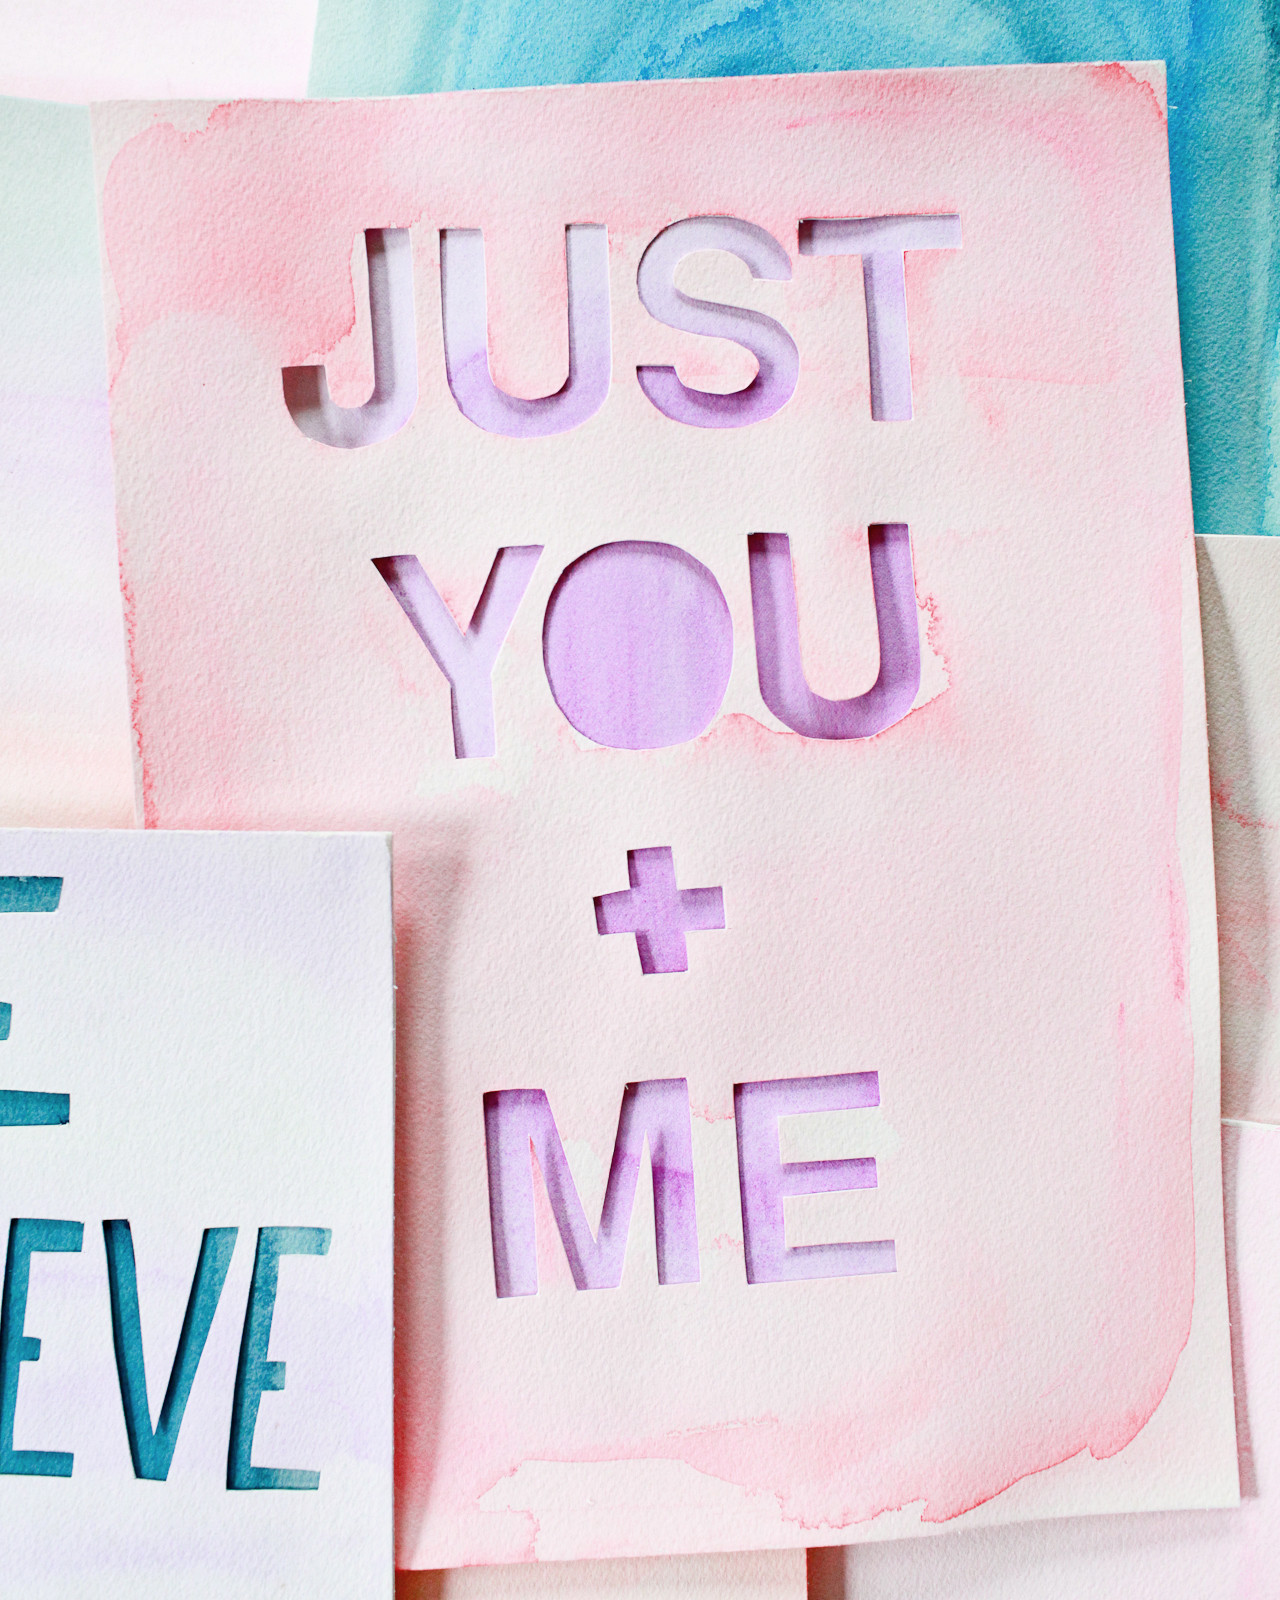
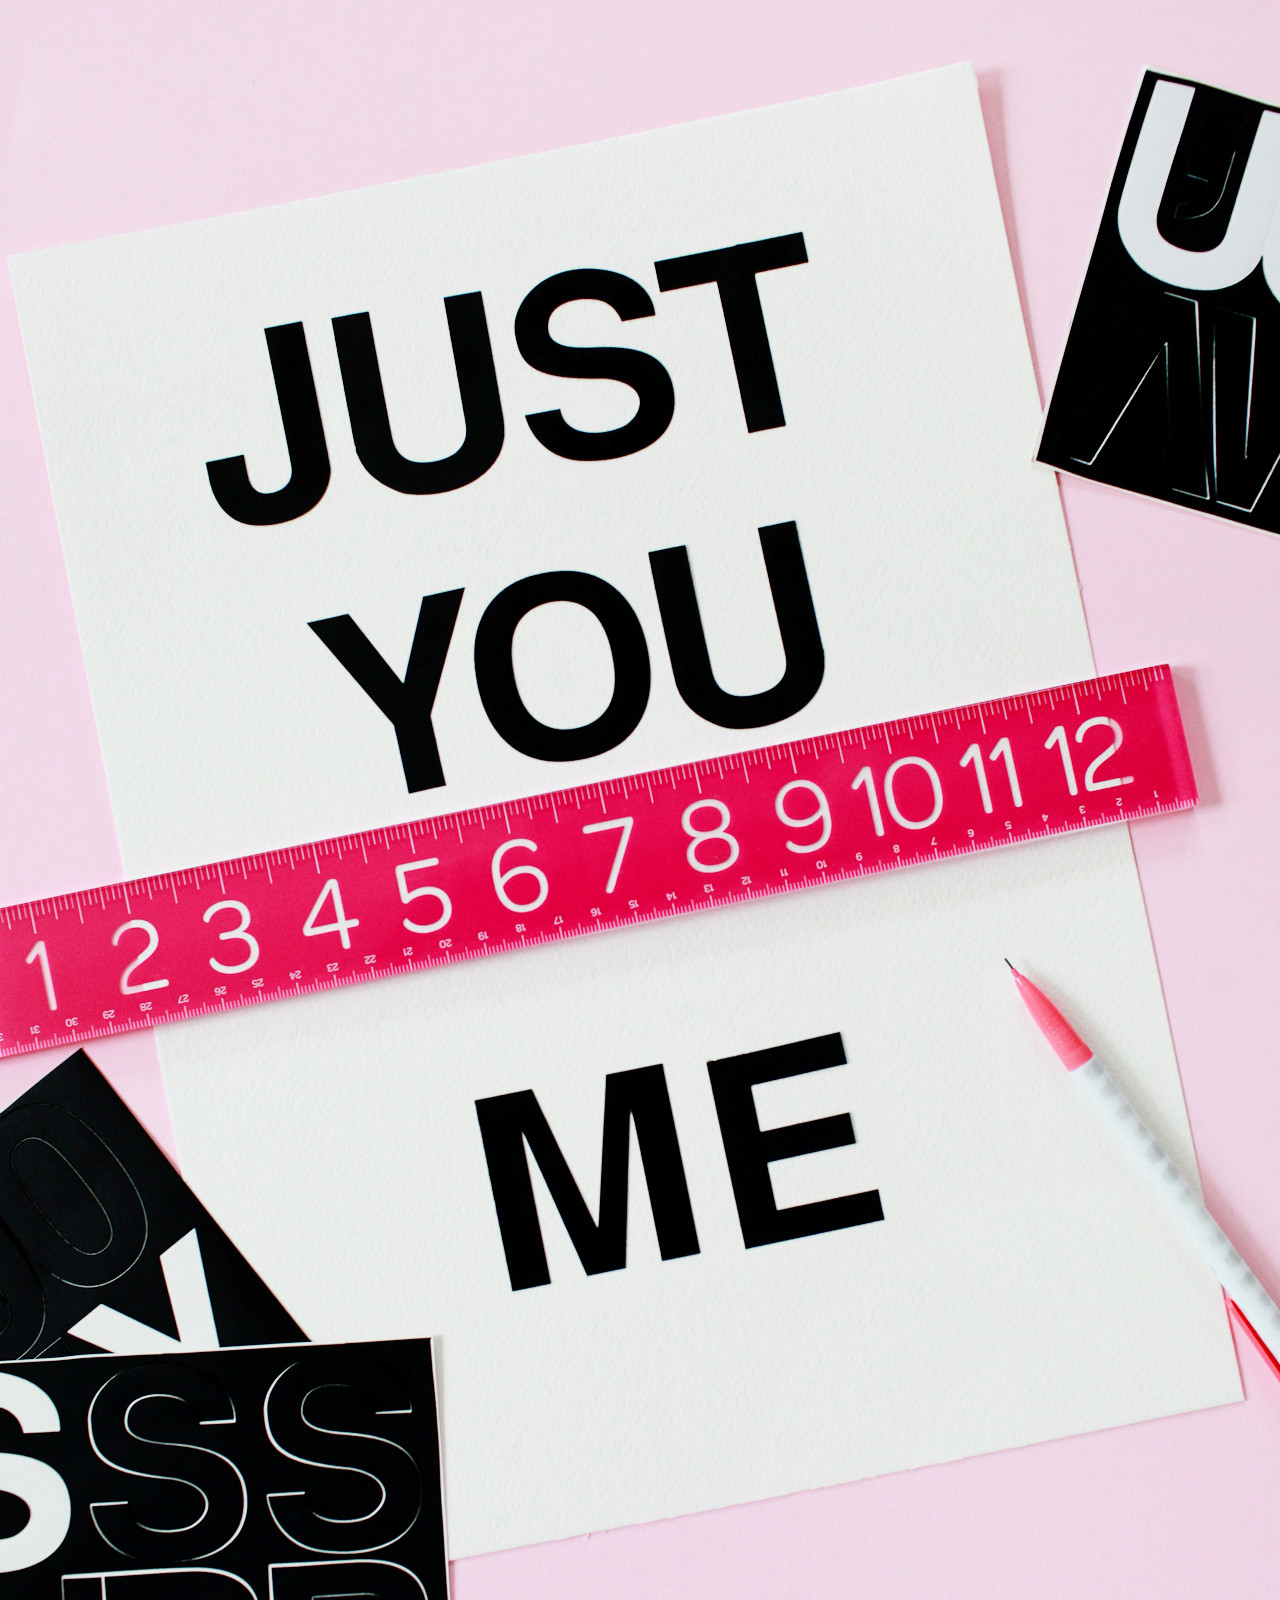
I also envisioned writing each phrase by hand in tall and skinny block letters, but I realized that might feel out of reach for some of you. Not to worry – there’s a Plan B! I did a bit of testing and figured out that we can use removable letter stickers to create the letter outlines. I provided instructions for both methods in the tutorial below, so feel free to do whatever feels best for you!
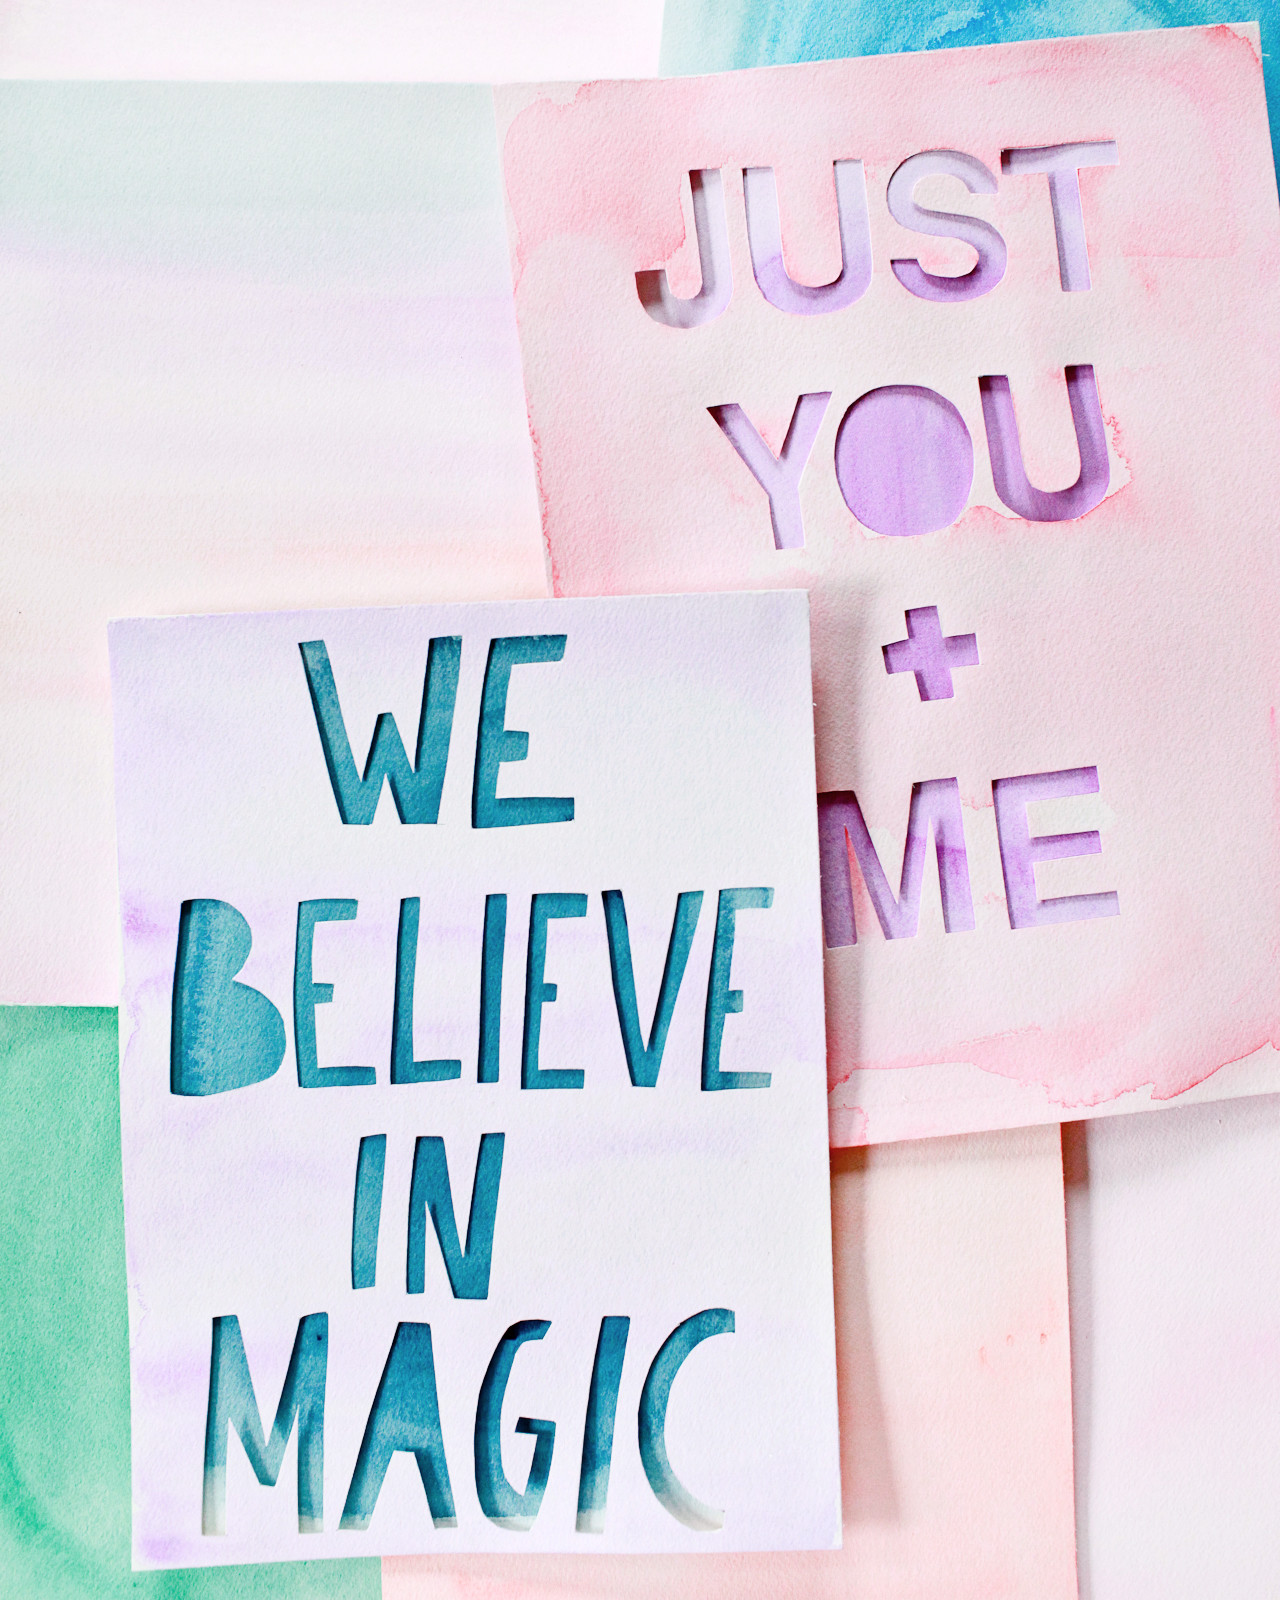
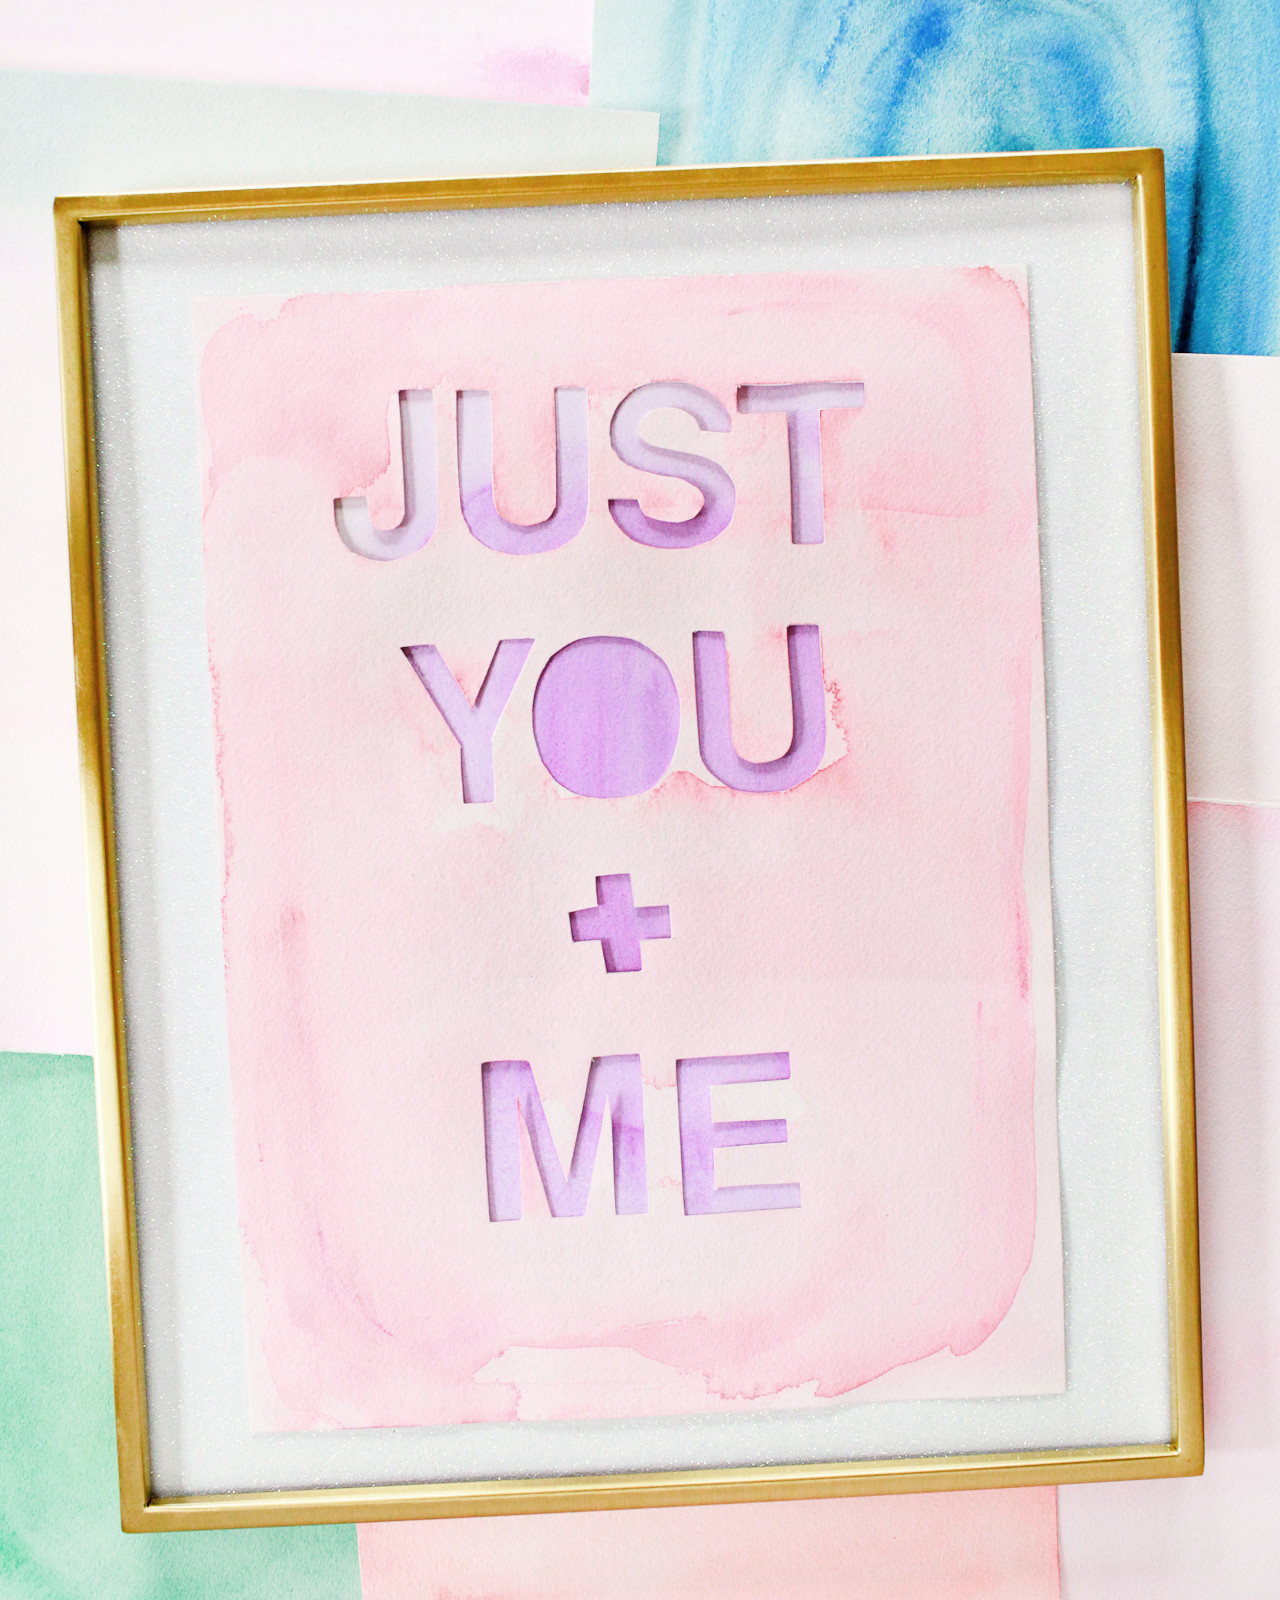
Okay, let’s get started!
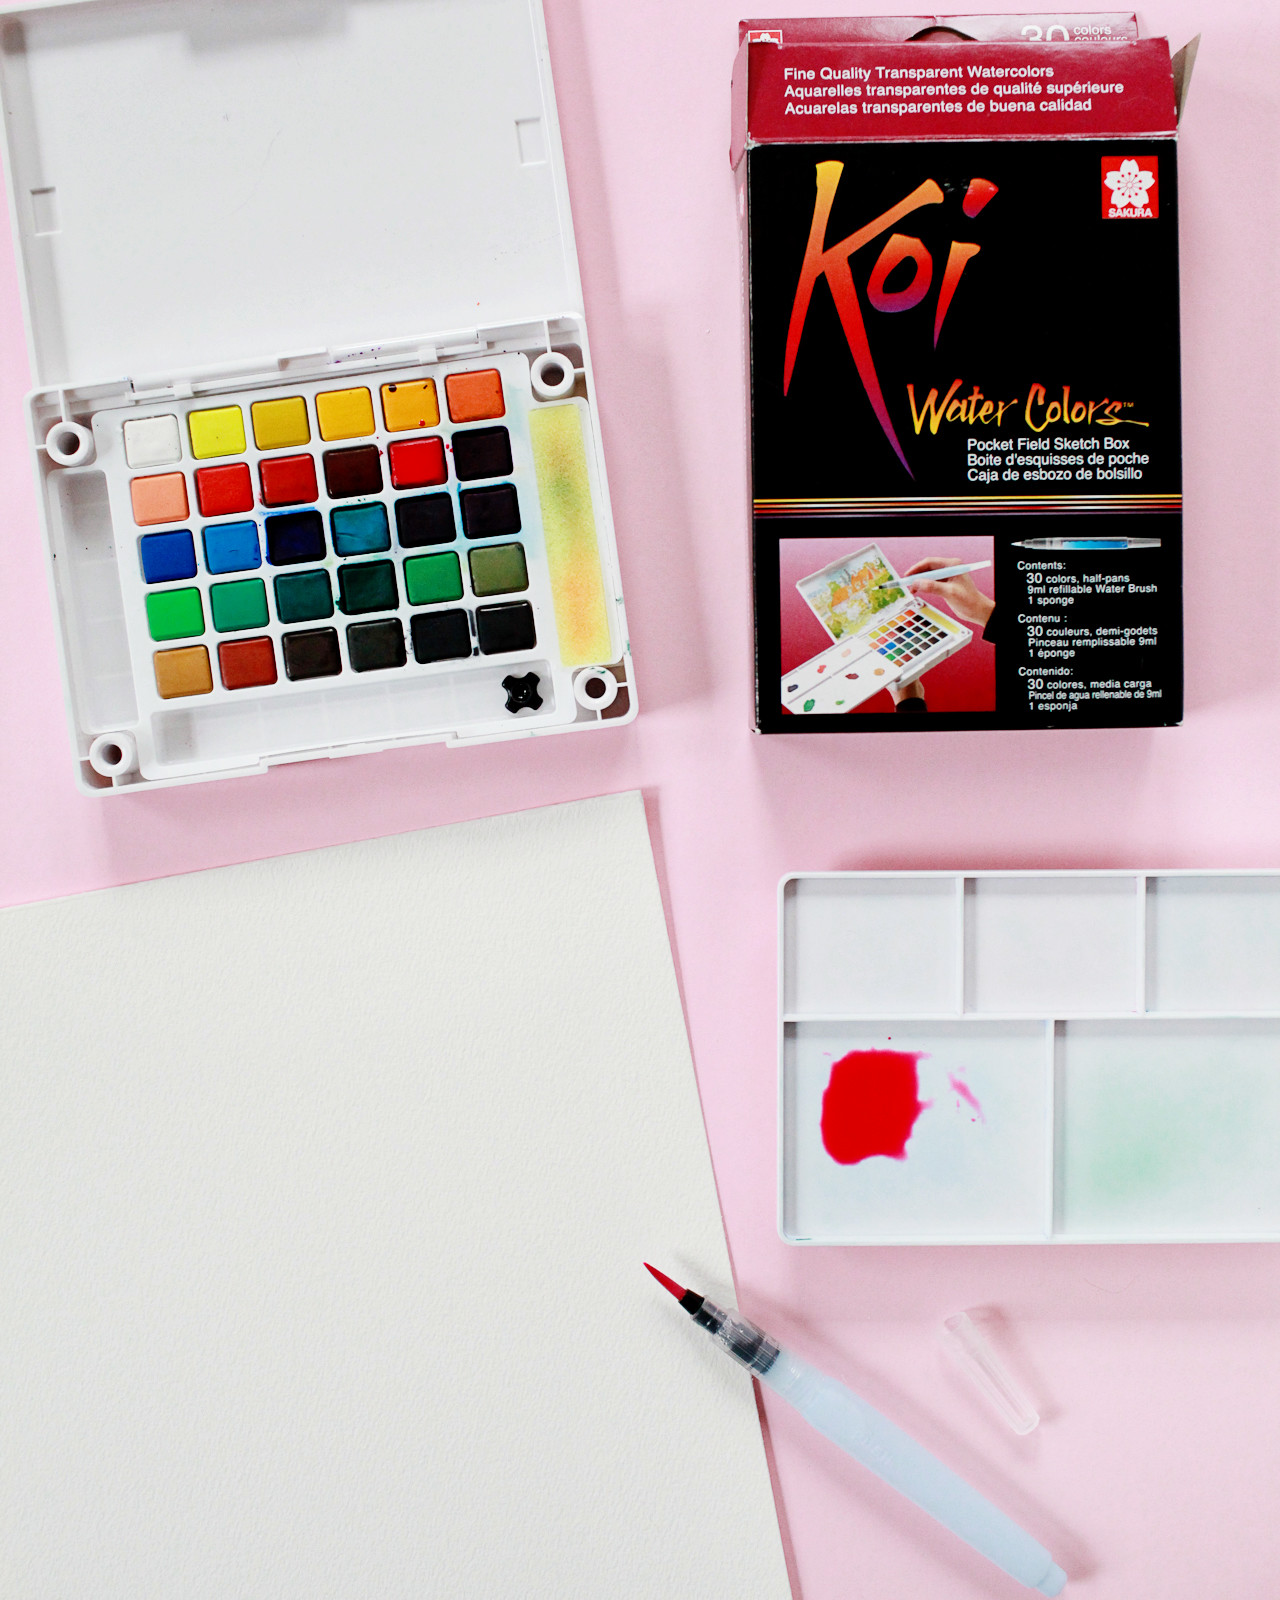
Supplies
Sakura of America 30-color Koi Water Color Field Sketch Travel Kit
High Quality Watercolor Paper
2″ removable letter stickers
Craft Knife
Cutting Mat
Ruler
Pencil
High Quality Artist Eraser
Foam Mounting Squares
Small bowls for water
Paper Towels
Instructions
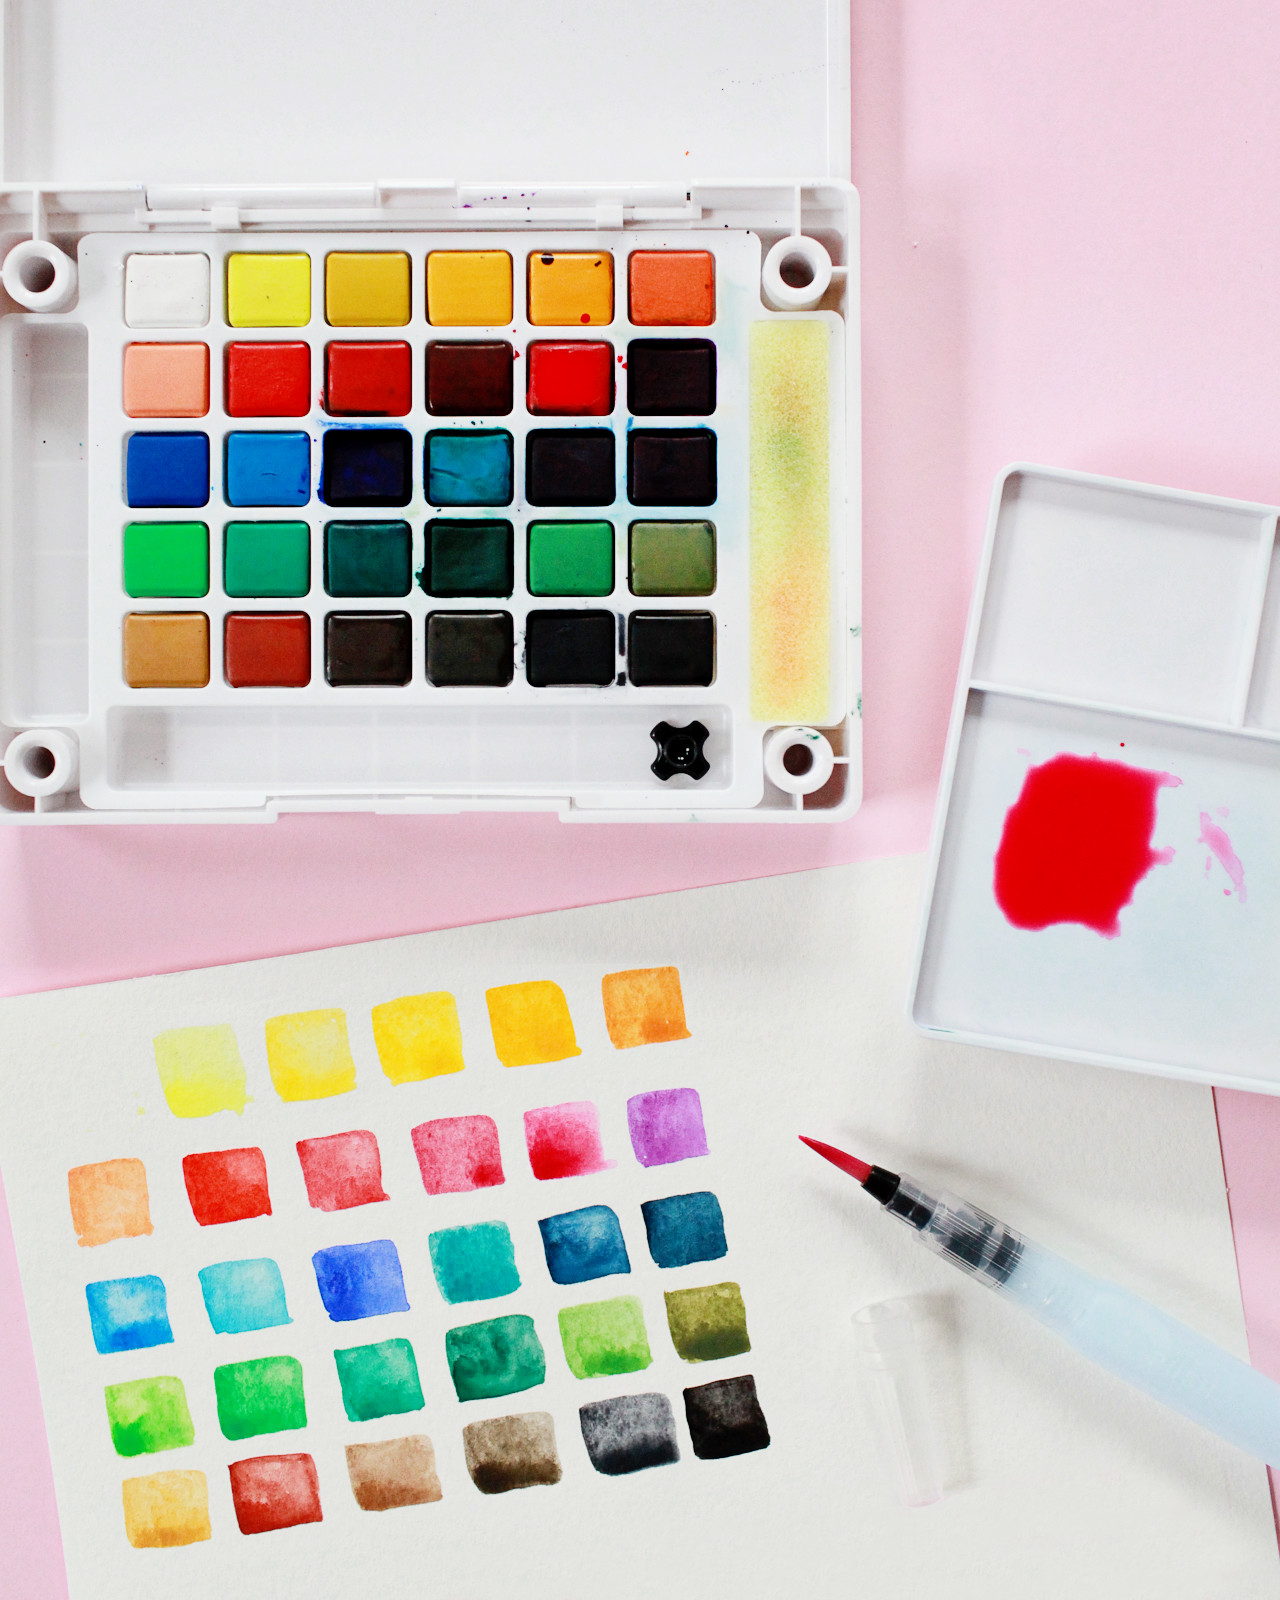
Step 1. Open your 30-color Koi Water Color Field Sketch Travel Kit, remove the palette, and fill the brush with water. Then paint all of the watercolor paint pans in the kit on a pice of watercolor paper. The colors look very different when painted, so this quick exercise will help you choose your color pairings – or even how to combine two different colors into a custom watercolor!
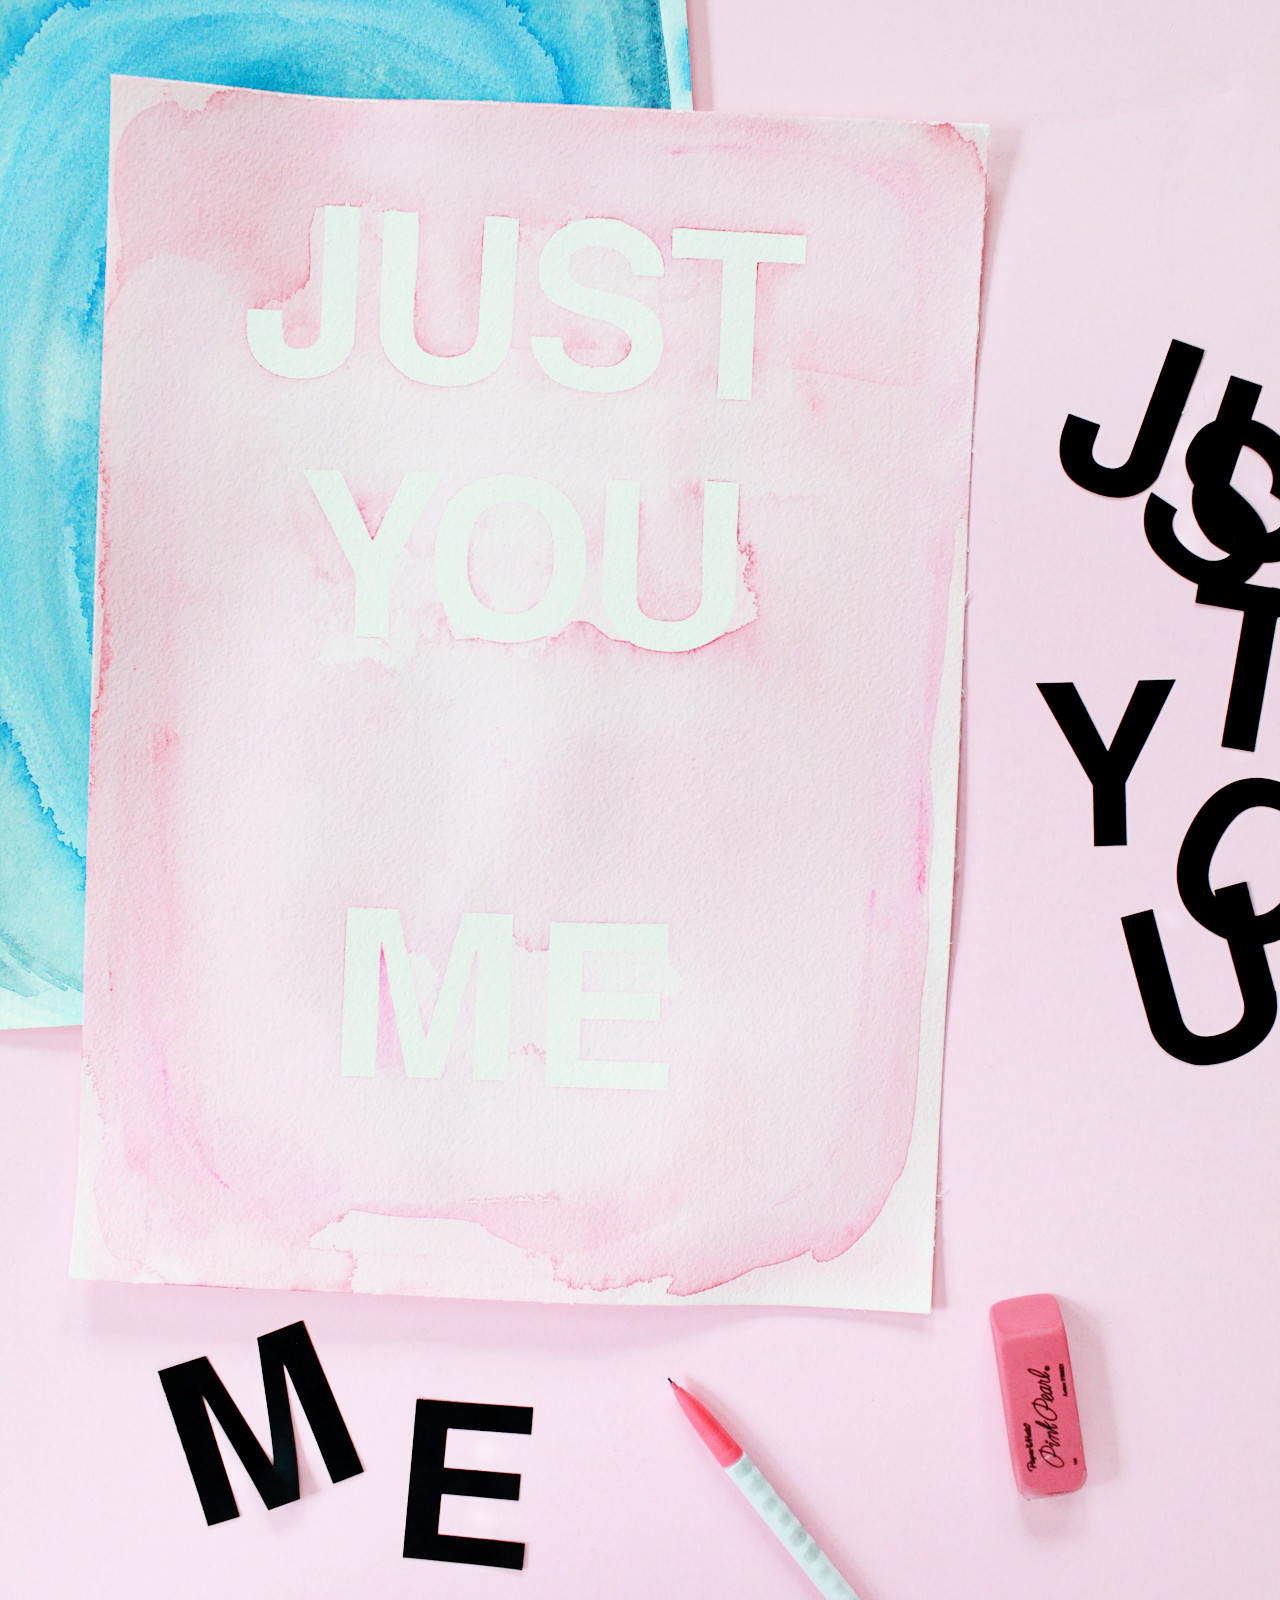
Step 2. Decide what phrase you want to use for your art print. Lay the 2″ letter stickers on a sheet of watercolor paper, using a ruler to make sure that your lines are fairly even. If you’re planning to write your phrase out by hand, skip this step and go straight to Step 3. If you’d like your final art to fit within a readymade frame, trim your paper down to 8″ x 10″ before painting or applying letter stickers. I didn’t trim my paper (I used 9×12 and 10×14 size sheets), so I just float mounted my art within the frame using foam mounting squares.
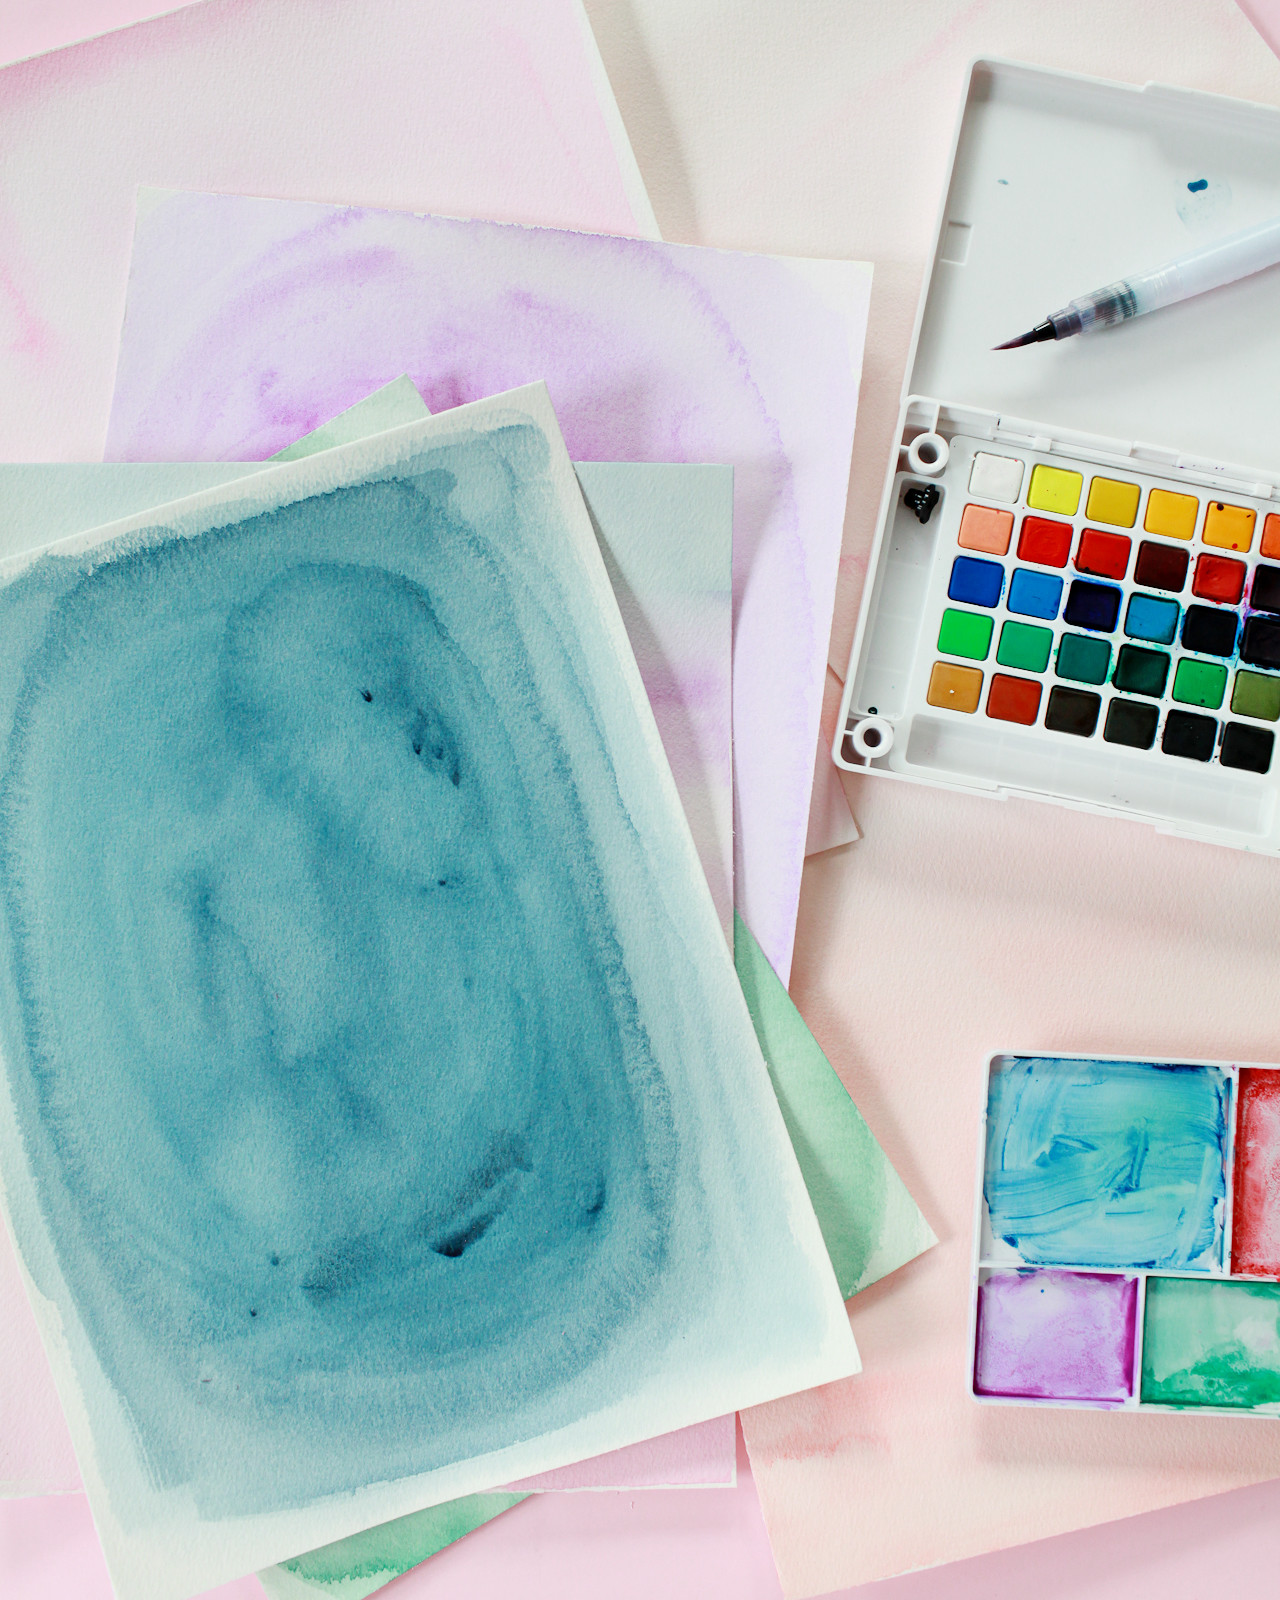
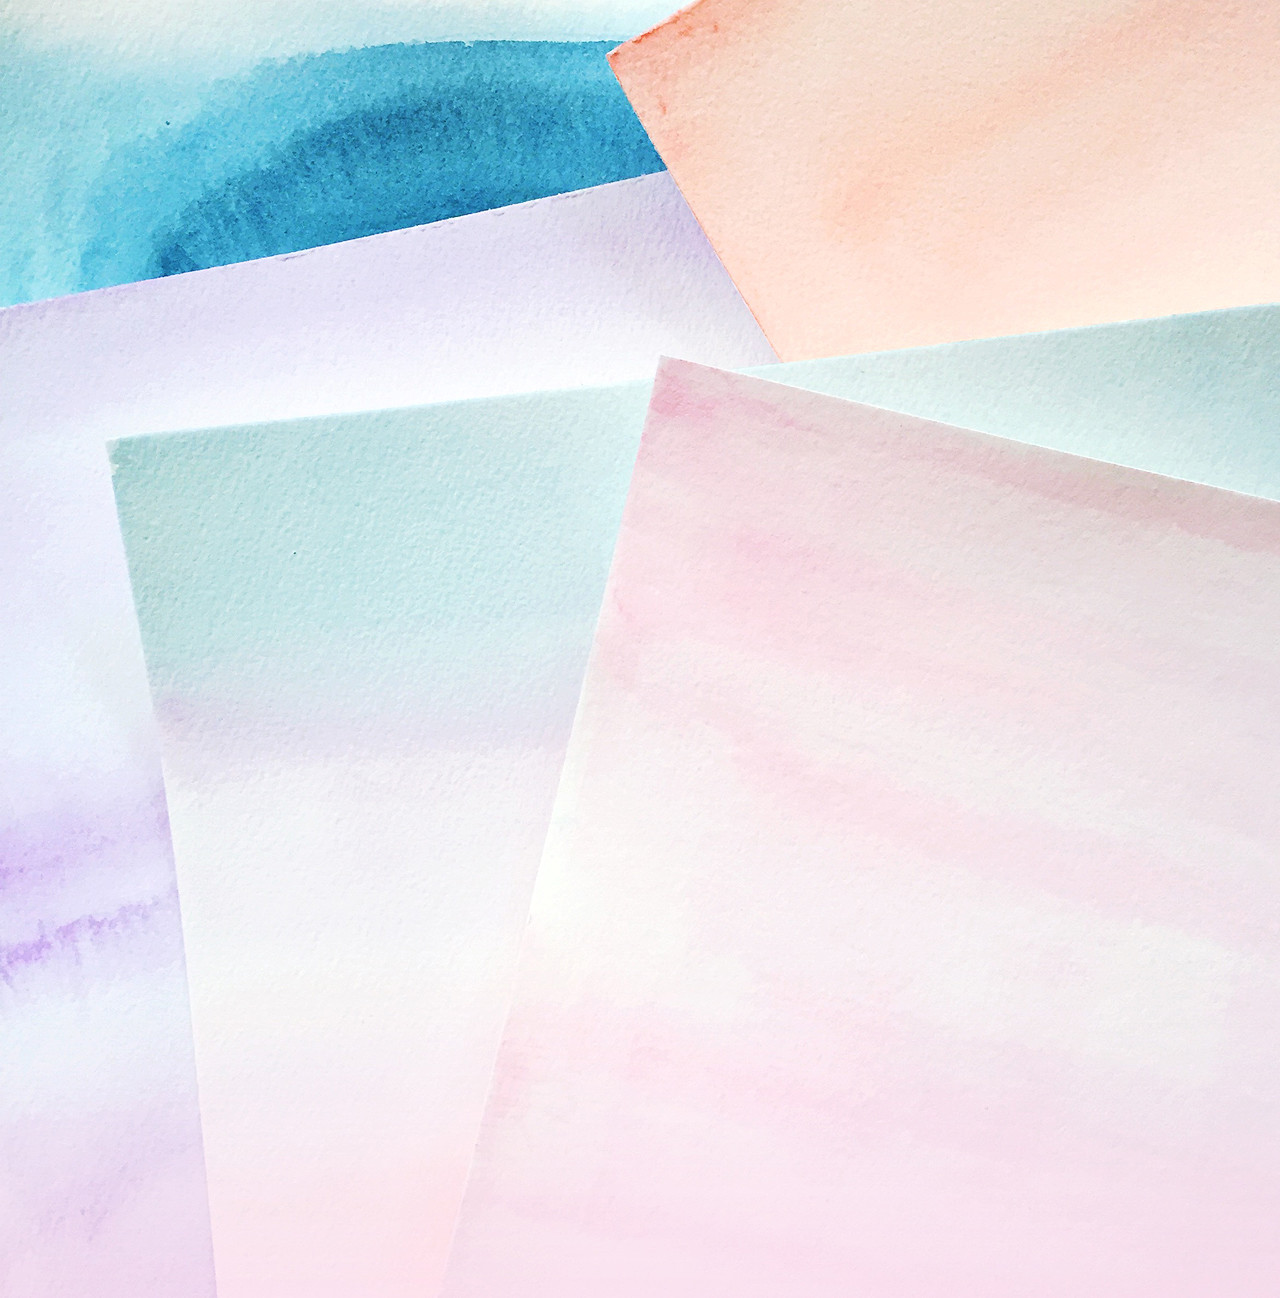
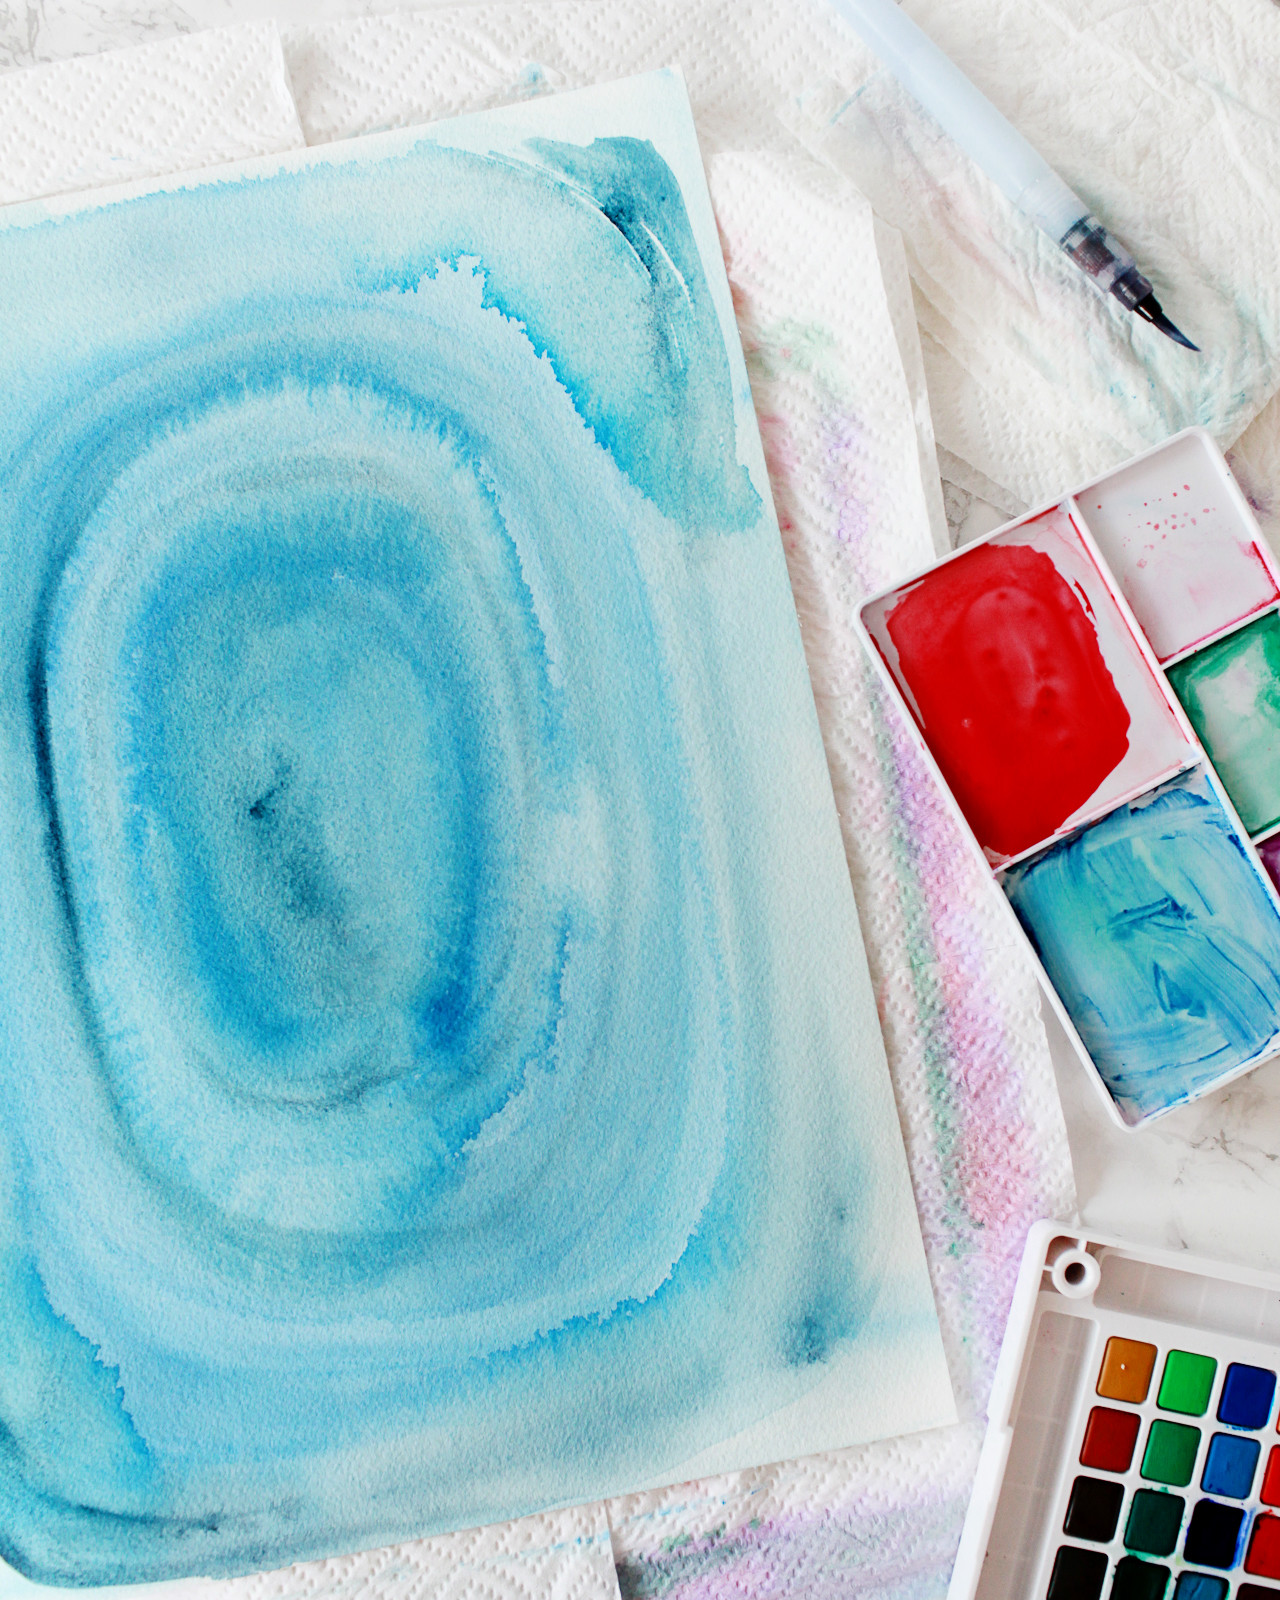
Step 3. Choose 2-5 colors from the 30-color Koi Water Color Field Sketch Travel Kit and add them to the detachable palette. Lay a sheet of water color paper on a flat work surface protected with paper towels or newspaper. Paint one sheet of watercolor paper in each color. My favorite color combinations ended up being purple paired with a coral-peach tone and Prussian blue paired with rose pink – but pick any color combination that speaks to you. You could even do a rainbow-inspired ombré! If you’re using the letter stickers to create your phrase, paint over the stickers your desired color. Let dry. If necessary, add a second coat to create a more saturated hue. Let dry.
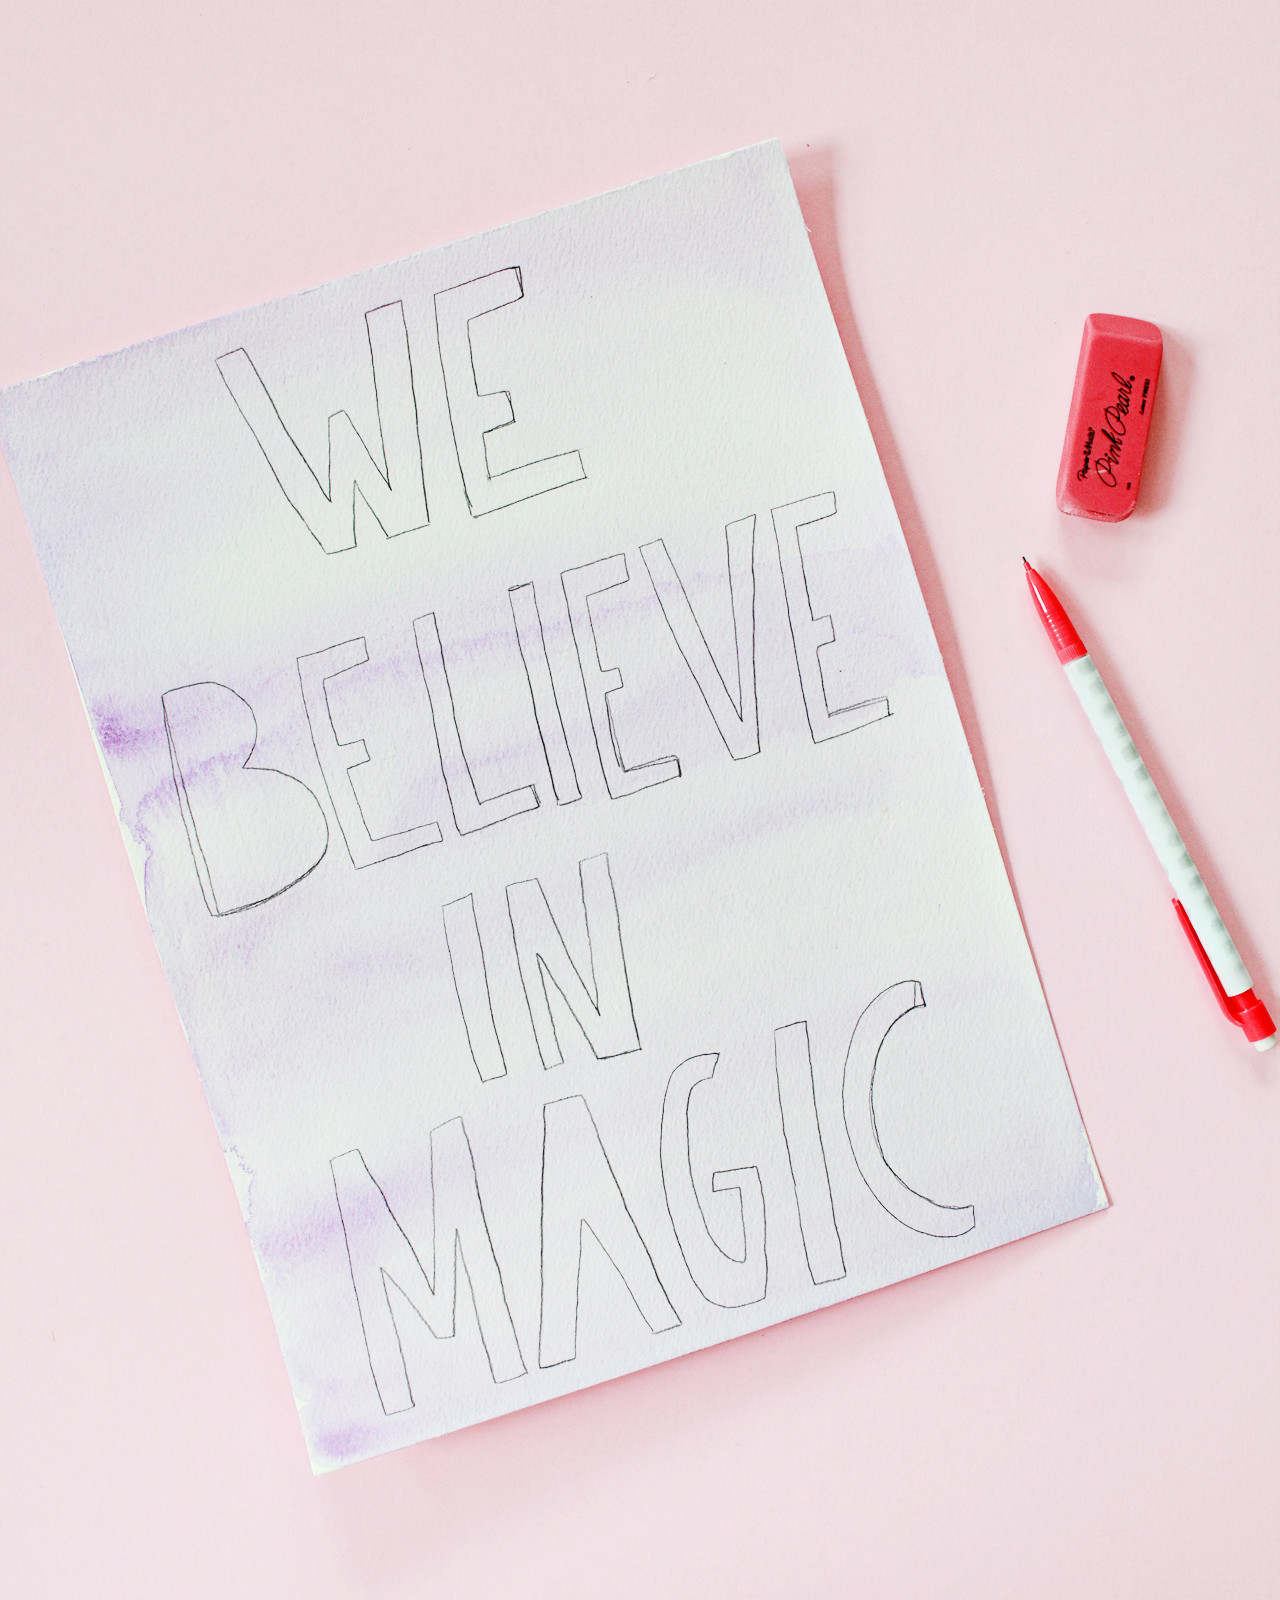
Step 4. Once the paint is completely dry, you can either remove the 2″ letter stickers to reveal the letter outline underneath (ta da!) – or use a pencil to write your phrase over the dry watercolor in tall and skinny block letters. If you’re going the second route, try to use the lightest possible pencil lines. I made mine a little darker so you would be able to see them, but the pencil lines should be as light as possible so that you can easily erase them later, if needed.
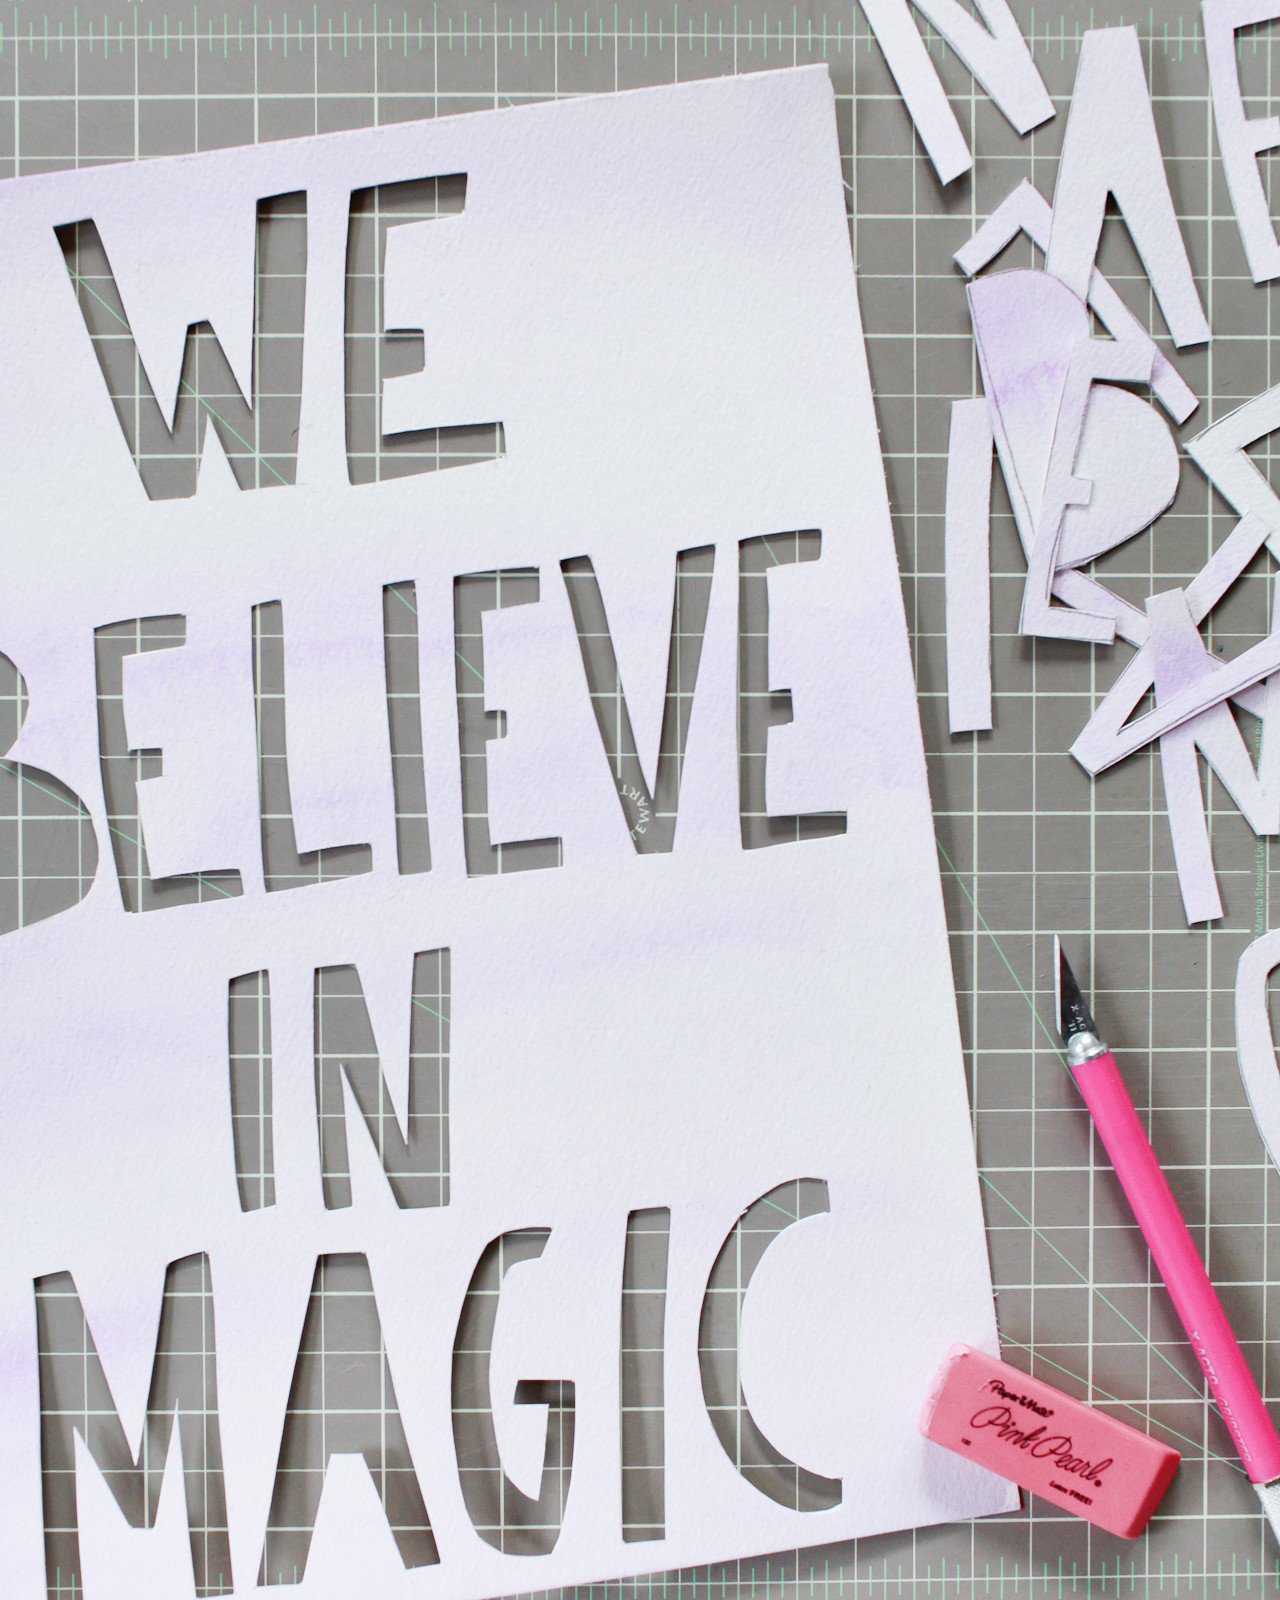
Step 5. Lay the watercolor paper on a cutting mat, and carefully cut out the individual letters using a craft knife. If necessary, use an artist eraser to erase any remaining pencil lines around the cut out letters.
Step 6. Layer the other sheet of watercolor paper under the sheet with the phrase cut out. Use foam mounting squares or glue to secure the two pieces of paper together. Then pop into a frame and enjoy!
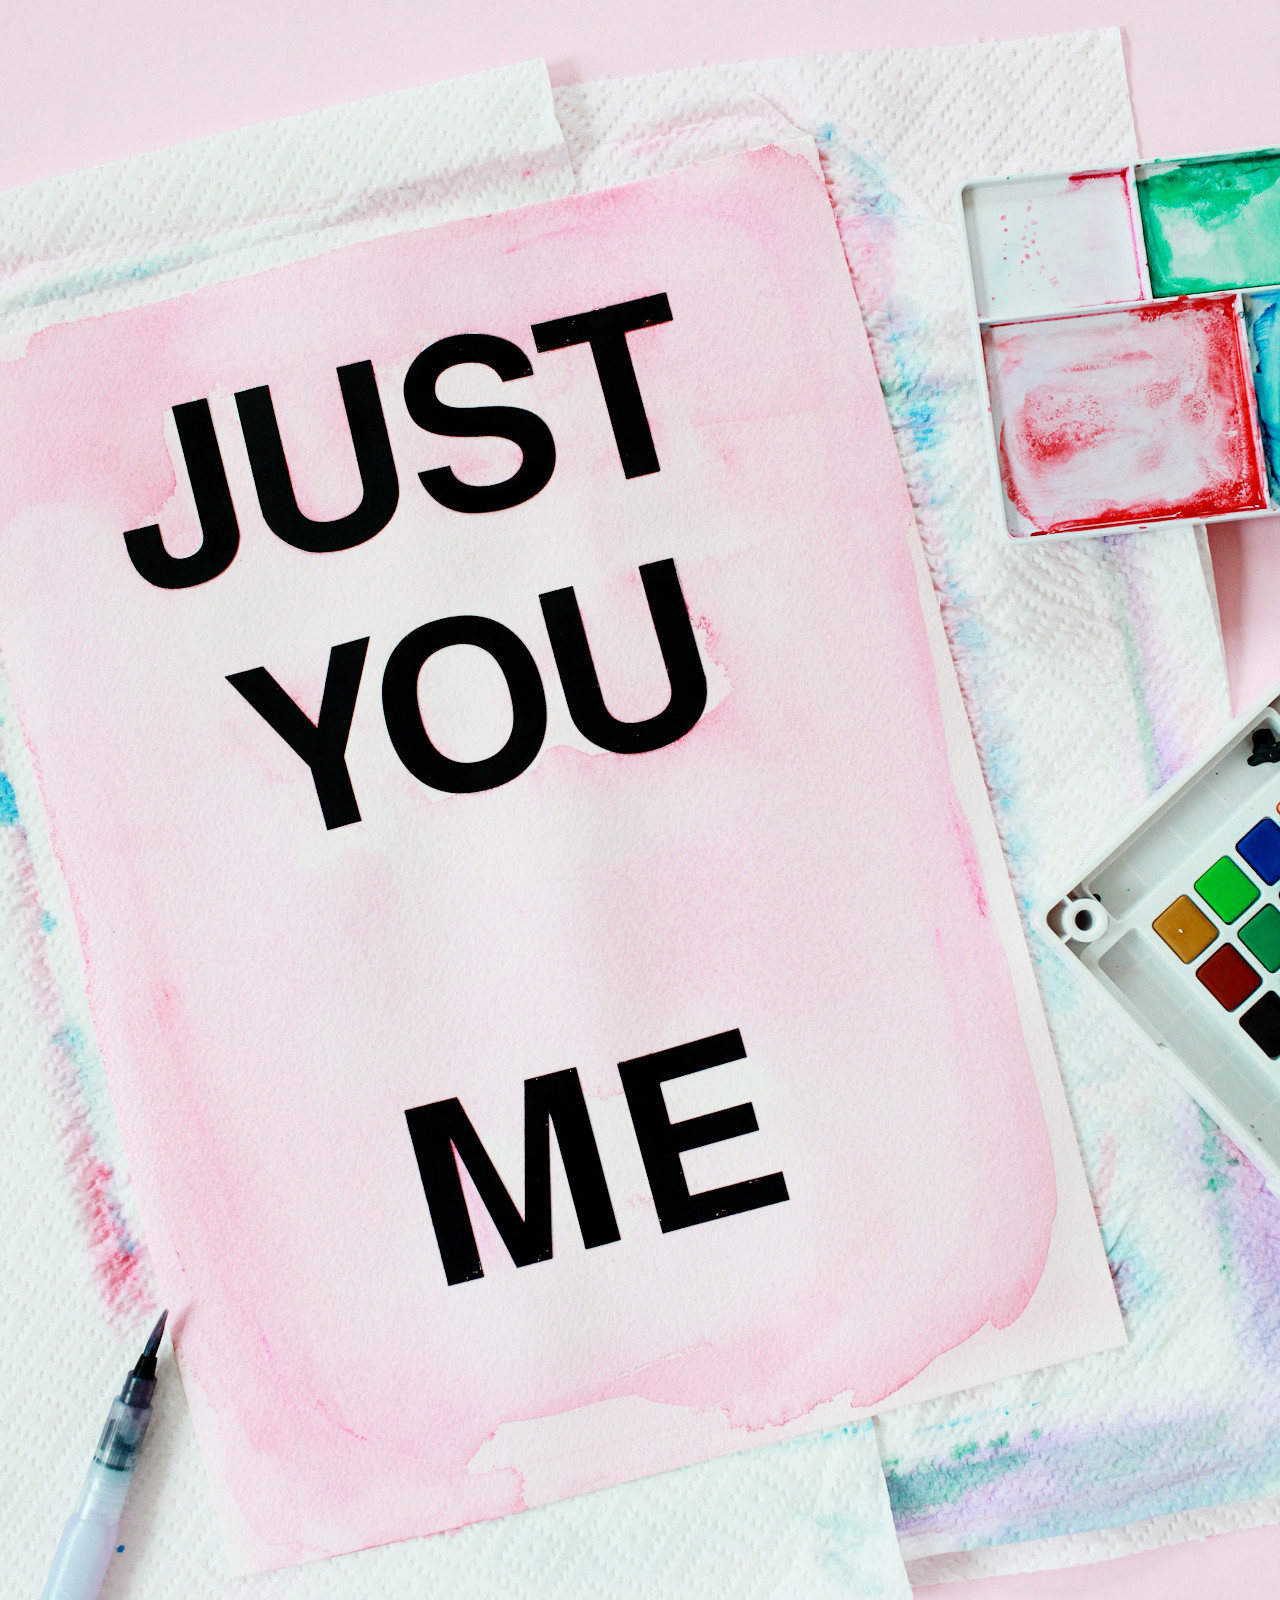
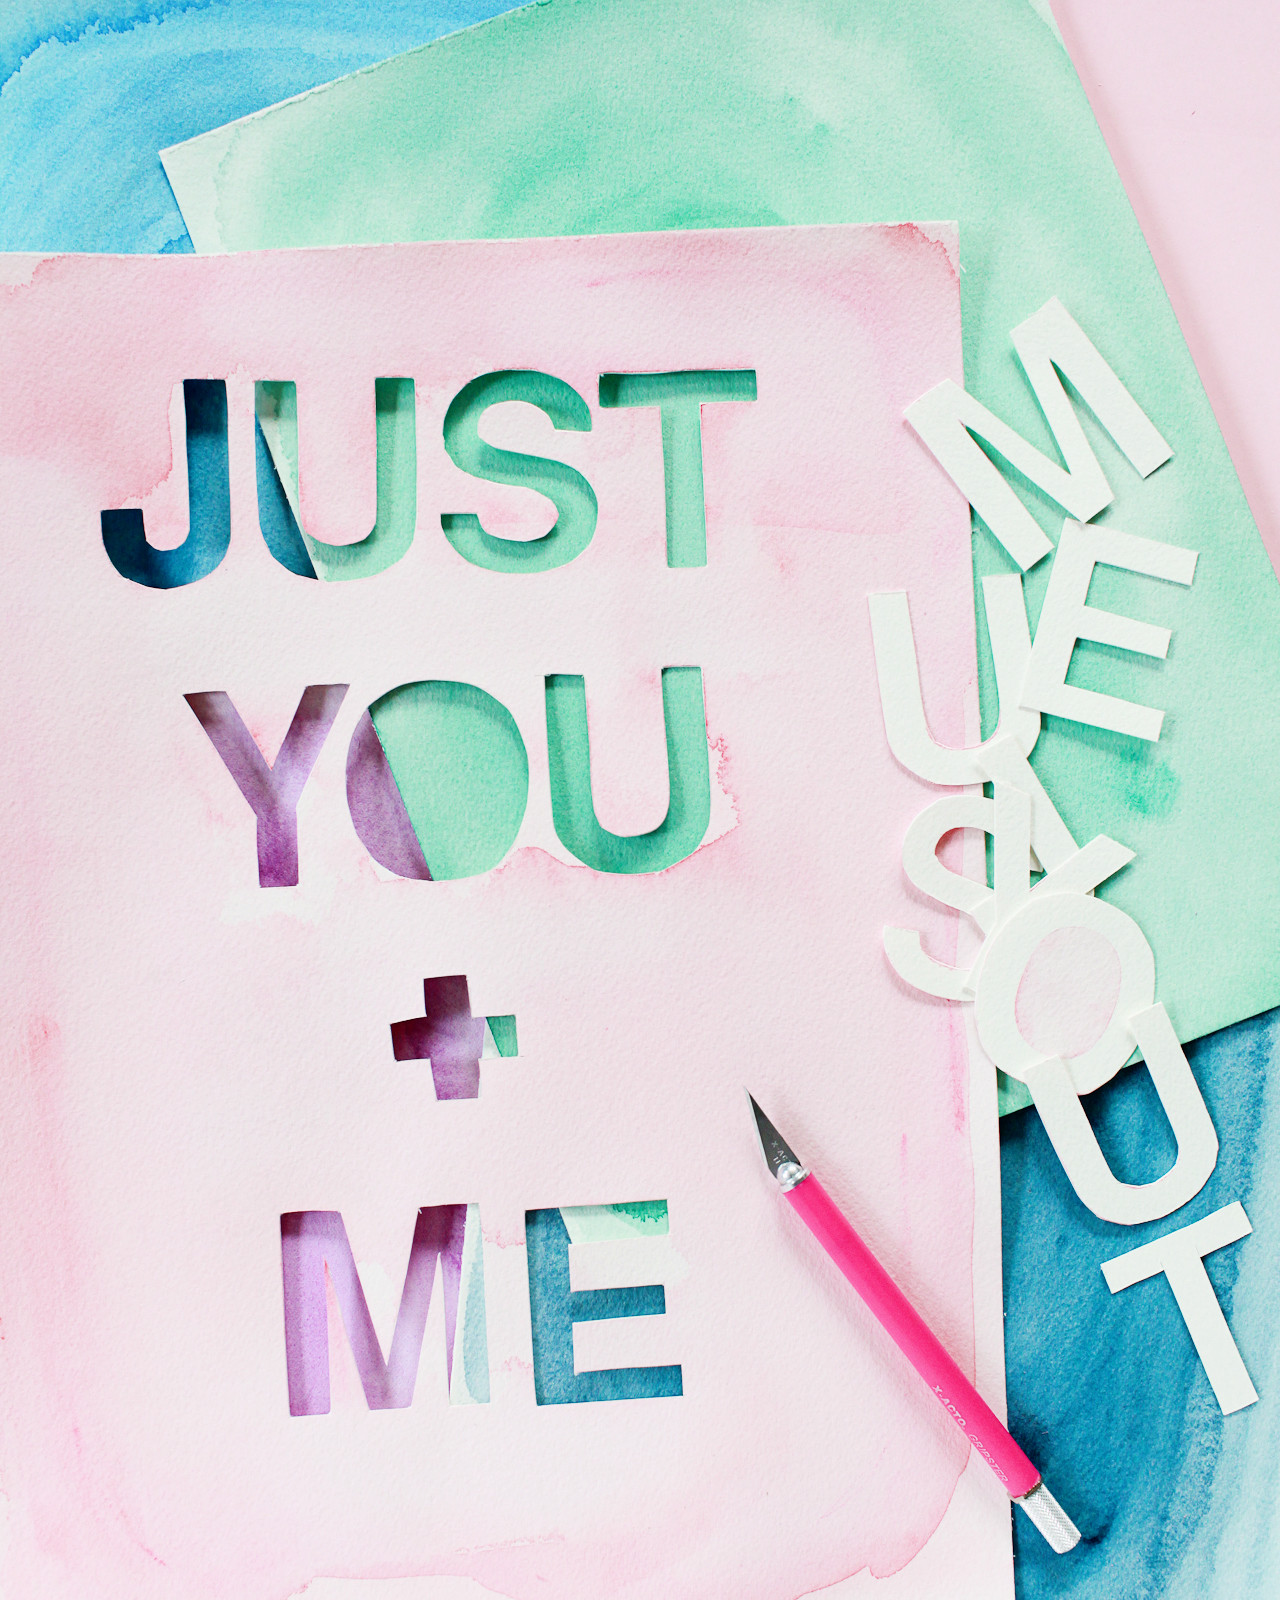
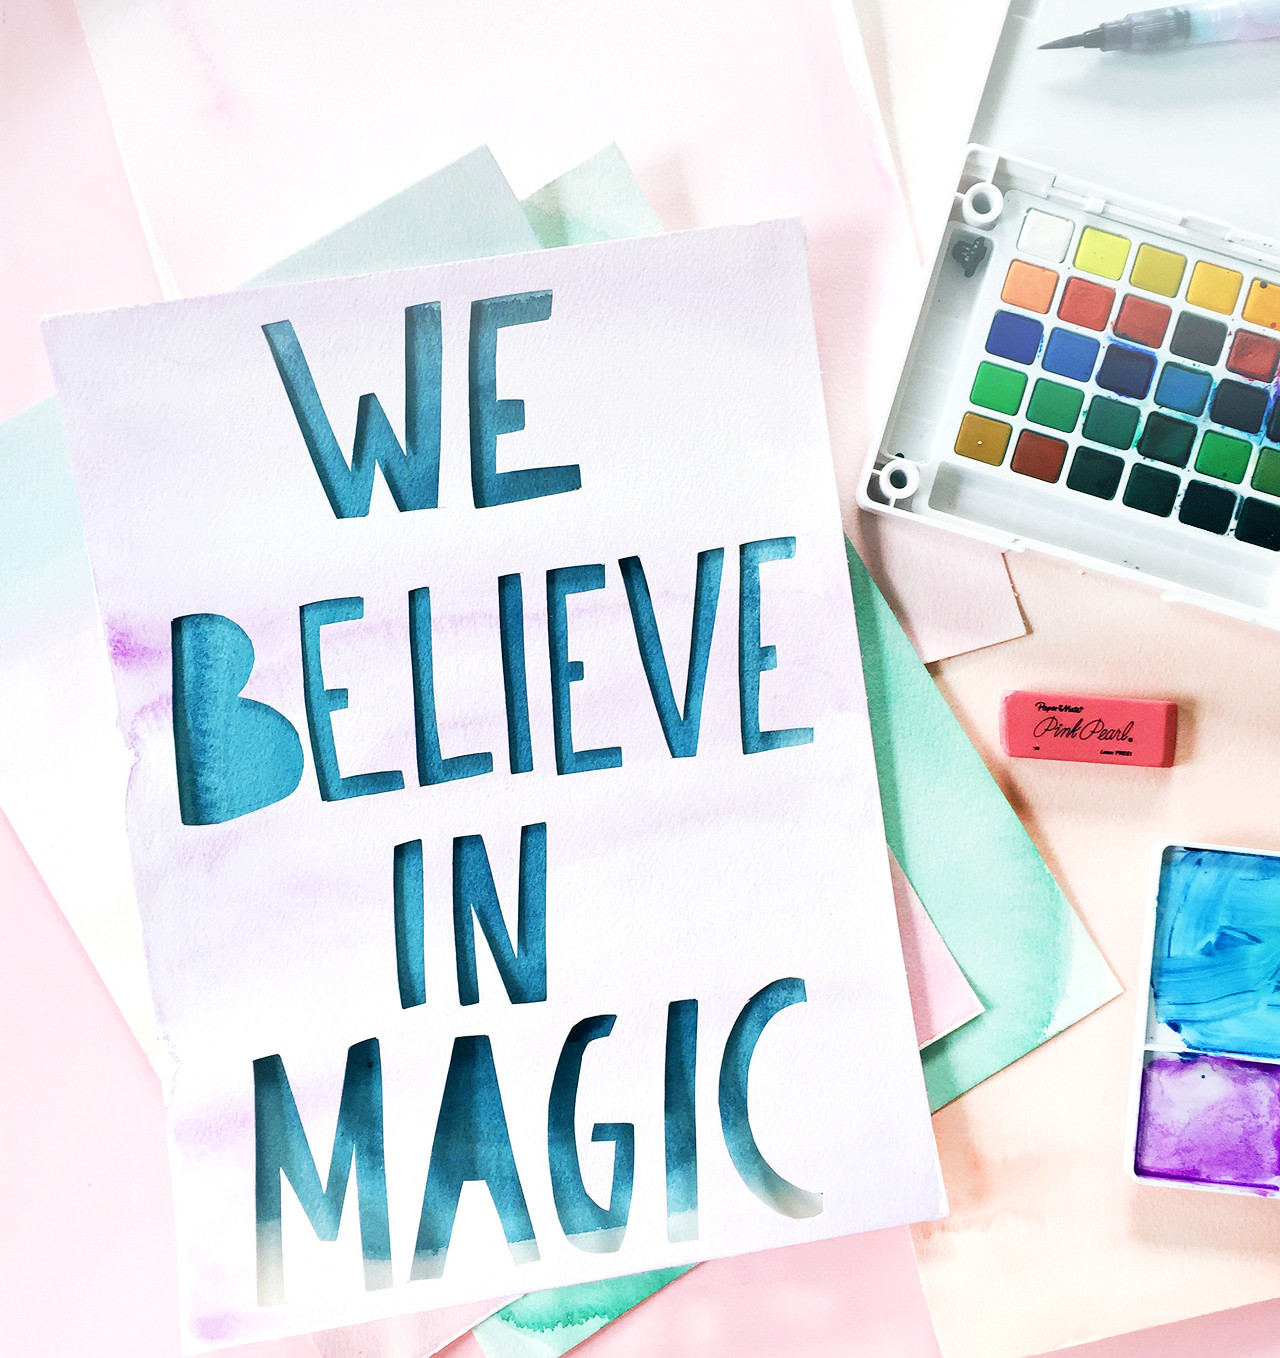
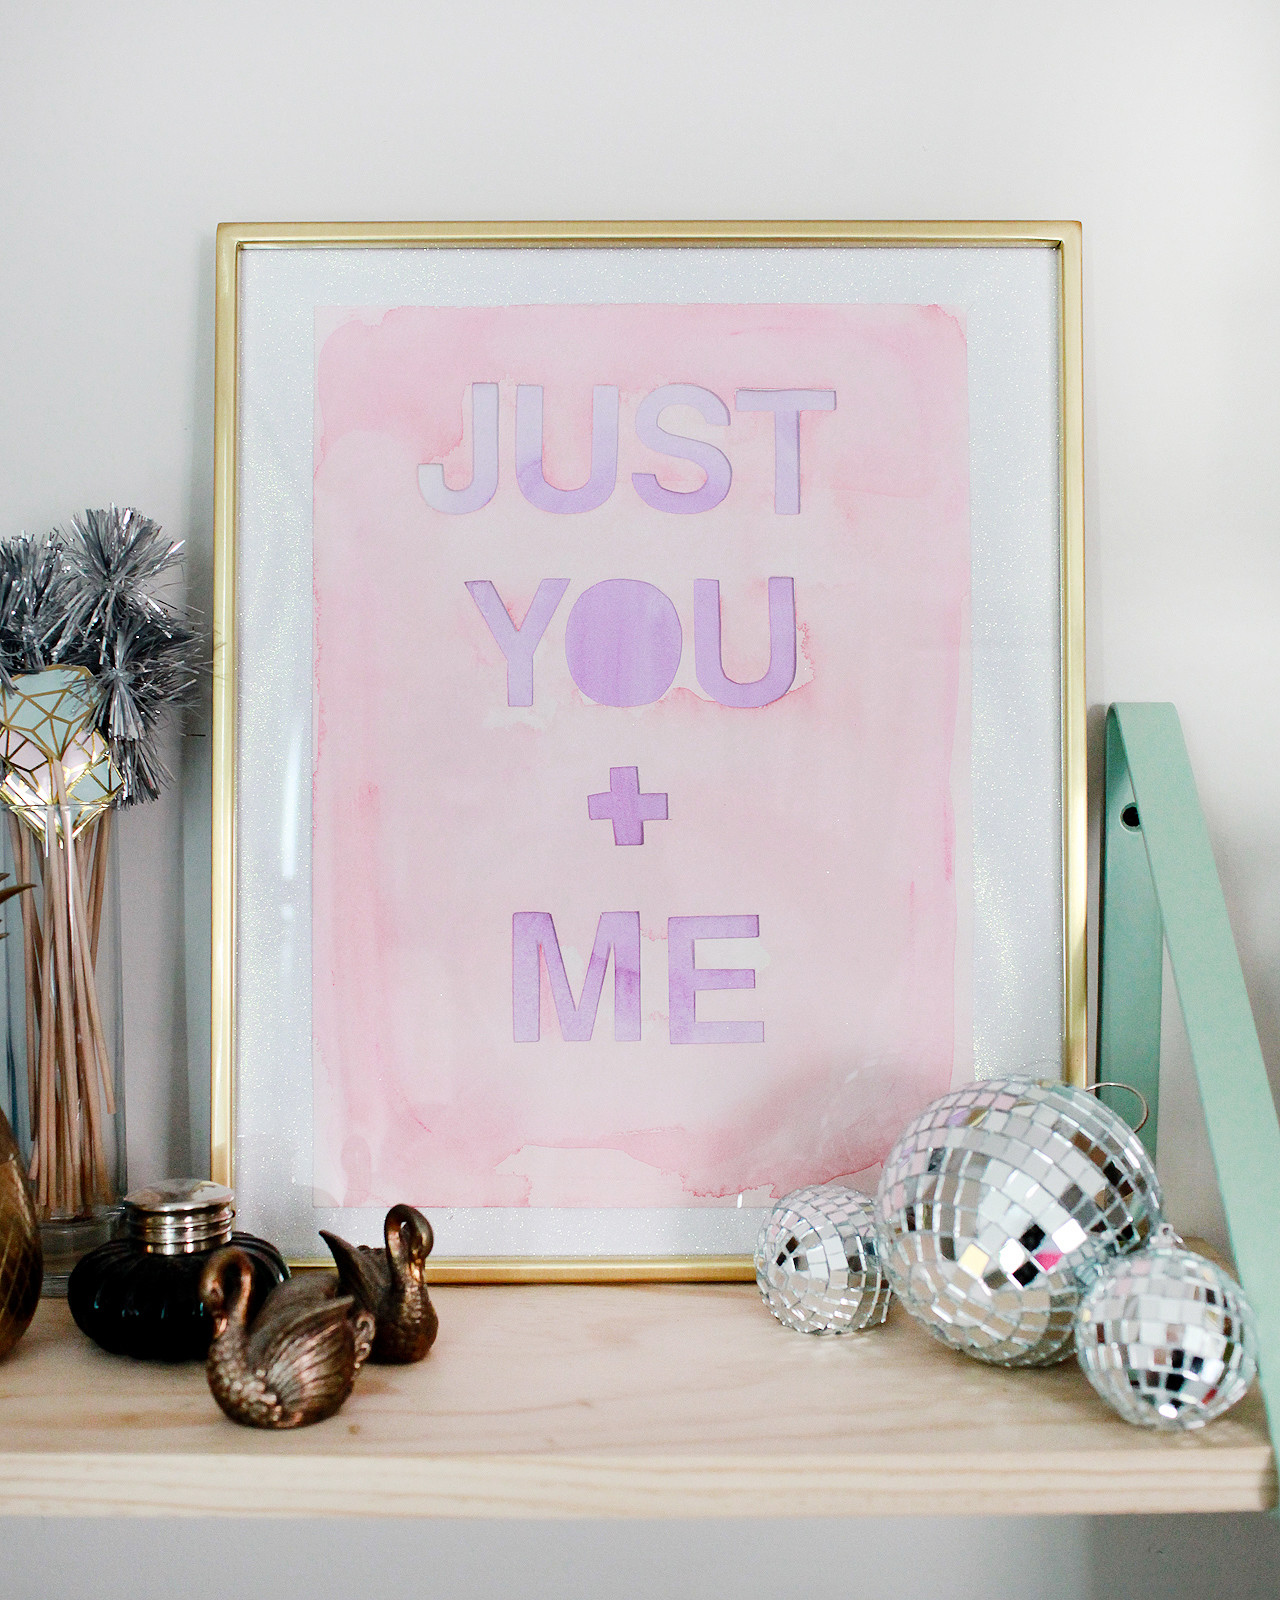
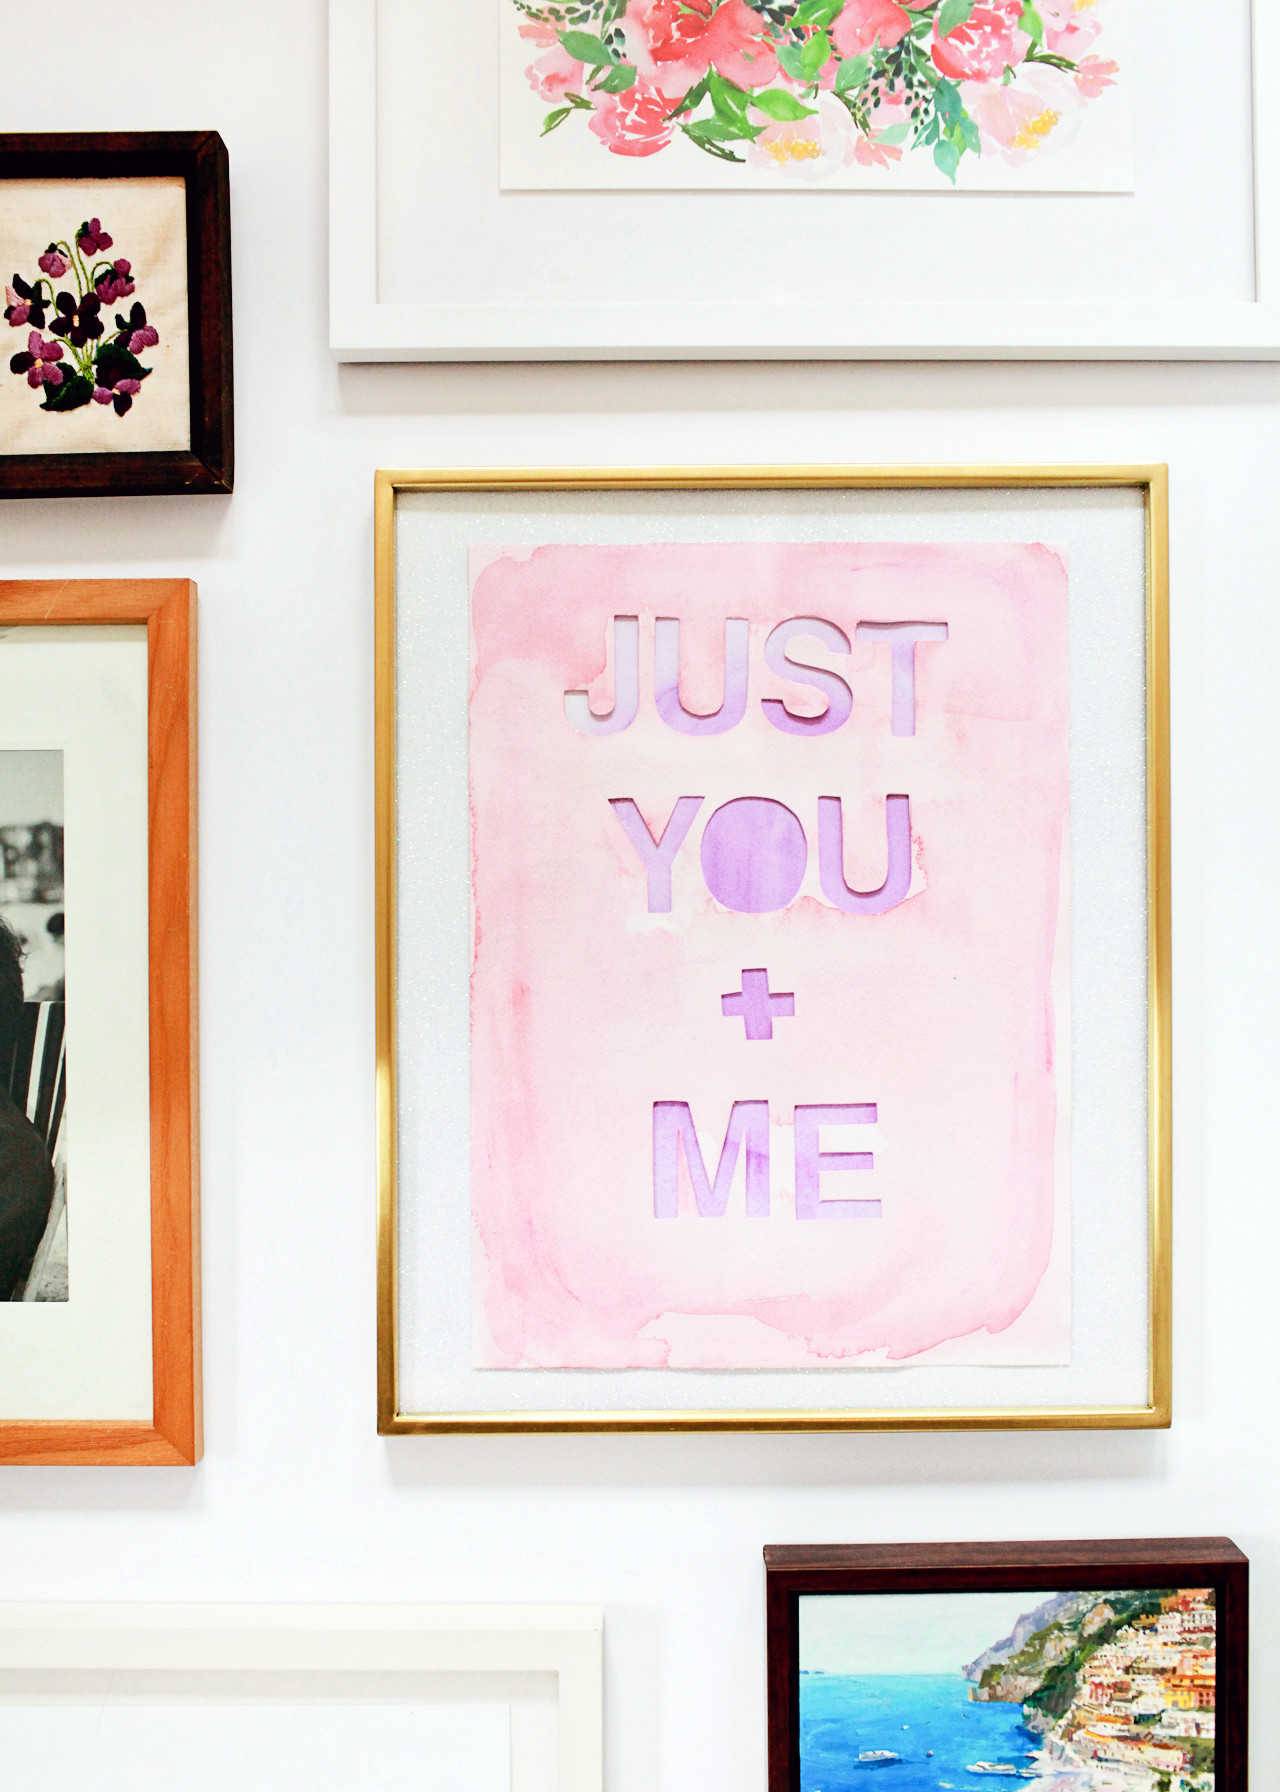
I had SO much fun creating these watercolor pieces! The watercolor painting actually turned out to be a super zen activity for me, and I love the ability to create your own custom art pieces with a meaningful phrase or inside joke!
You can pick up your own 30-color Koi Water Color Field Sketch Travel Kit here – you’ll have so much fun painting beautiful watercolor masterpieces with it!
Photos by Nole Garey for Oh So Beautiful Paper
This post is sponsored by Sakura of America. All content and opinions are my own. Thank you for supporting the sponsors that make Oh So Beautiful Paper possible!


