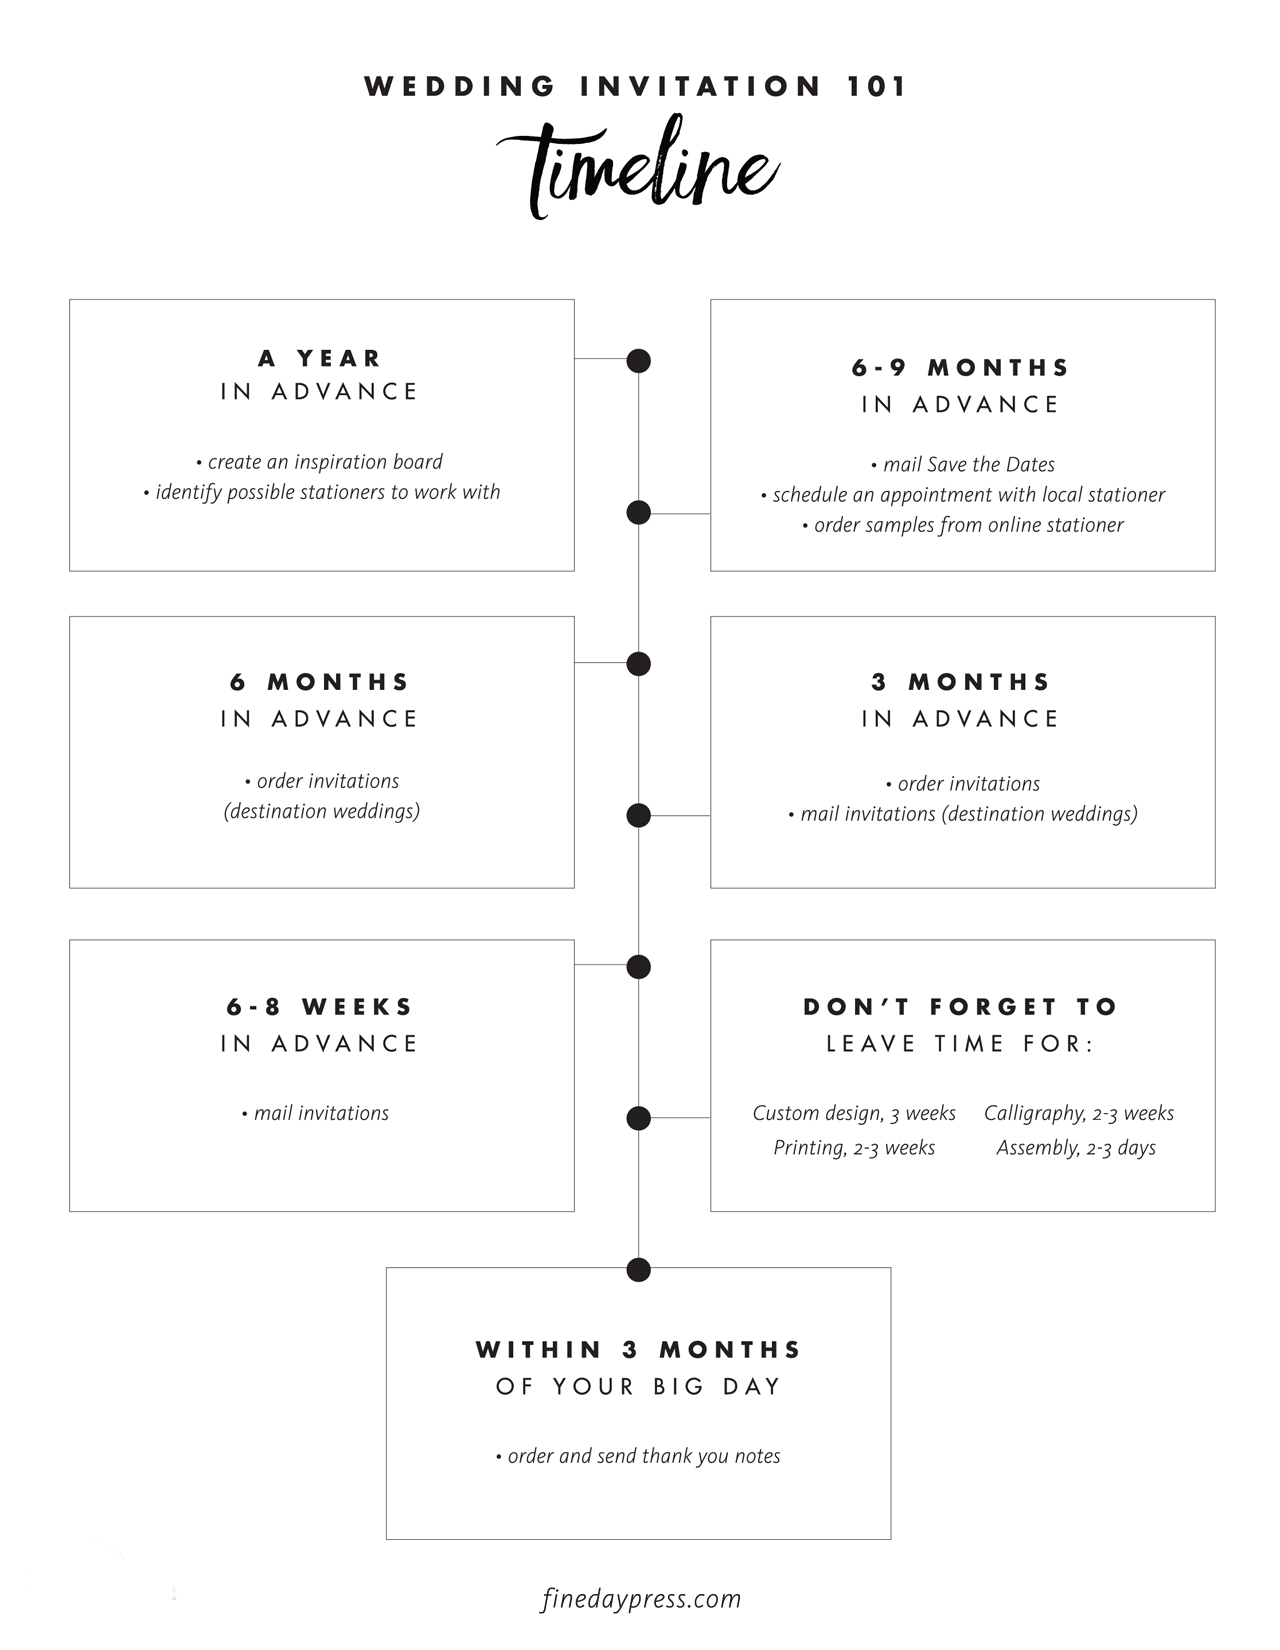
Hi guys, Ashley from Fine Day Press here! Welcome back to our Invitation 101 series, all about wedding invitations. Today’s post covers the different wedding invitation printing methods. Be sure to check out our first post, about how to get started, and the second post, about when to send.
When it comes to printing wedding invitations, the options really are endless. Your budget will likely play a role in what printing method(s) you choose. If your stationery budget is on the smaller side, digital or 1-color letterpress could be the best option. For a no-holds-barred affair, on the other hand, you might combine a few different printing methods, like letterpress, foil stamping, and edge painting. If these terms have you scratching your head in confusion, read on!
FLAT PRINTING
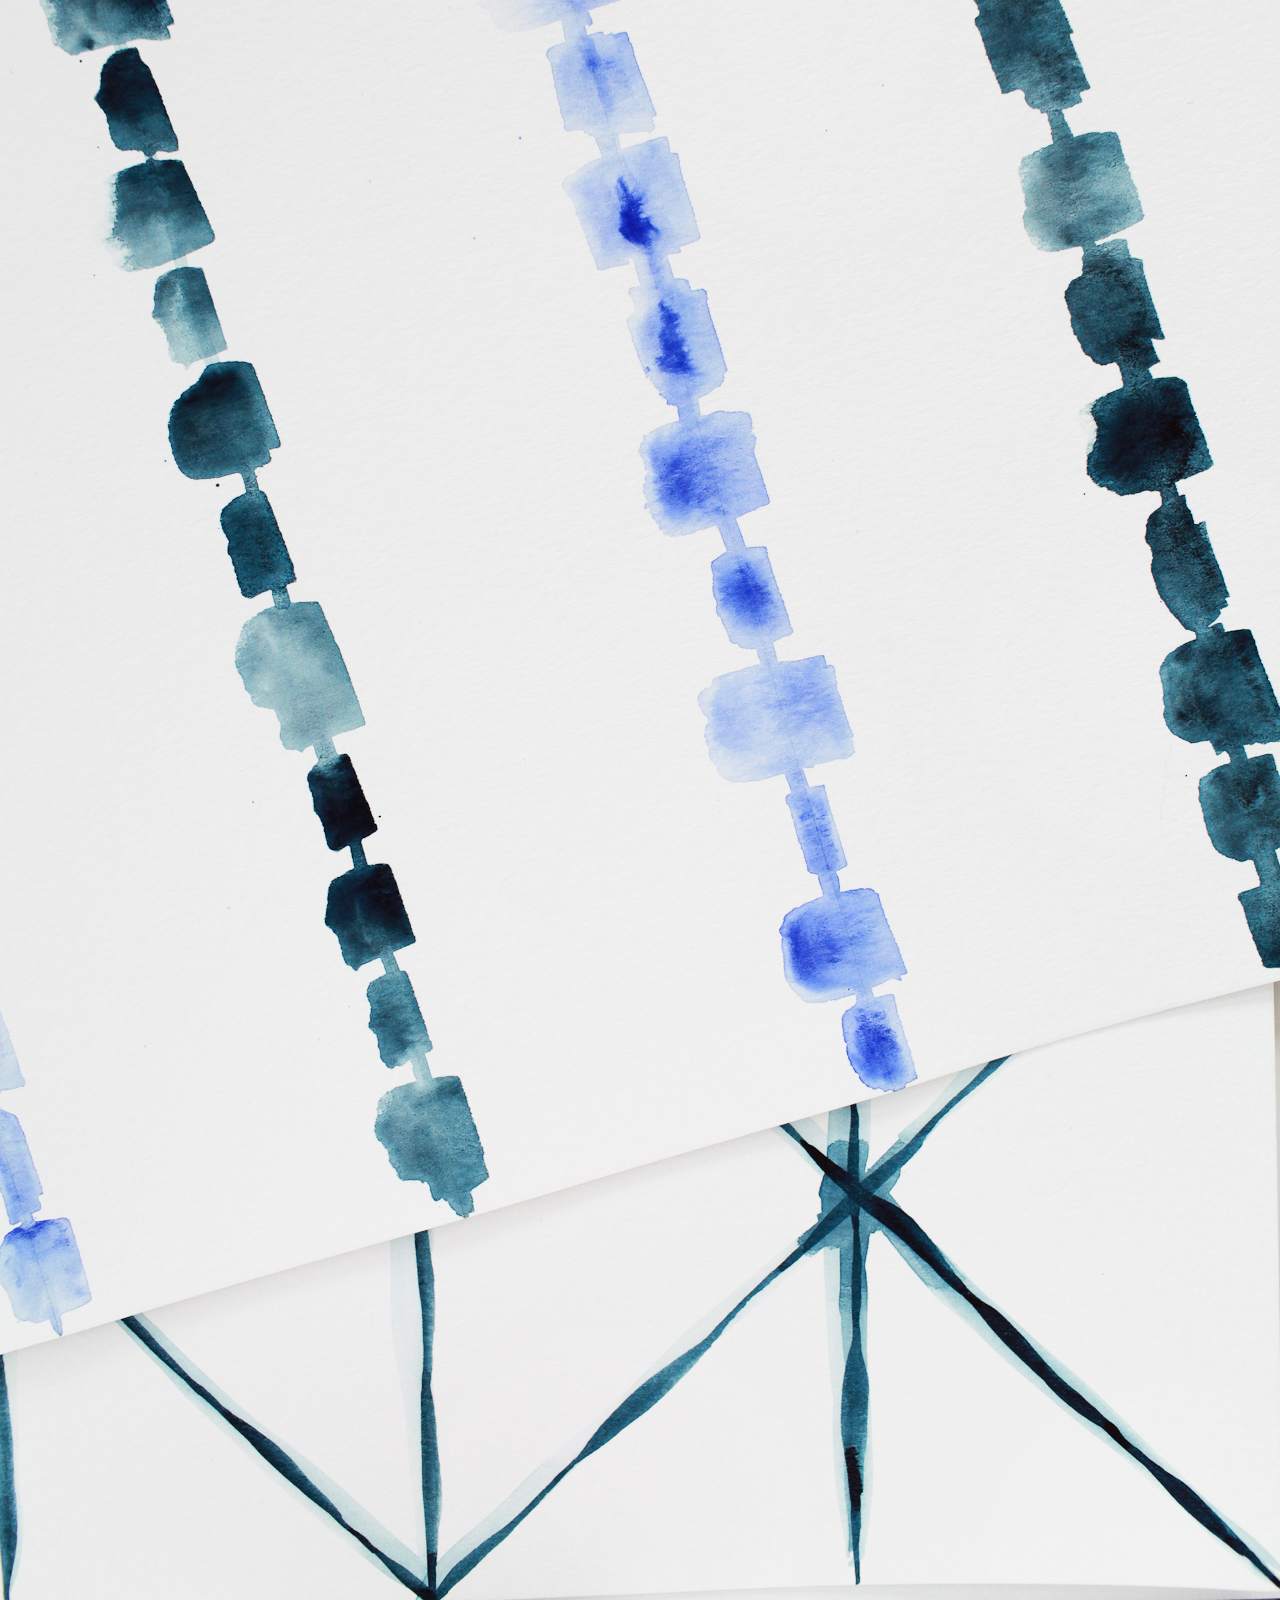
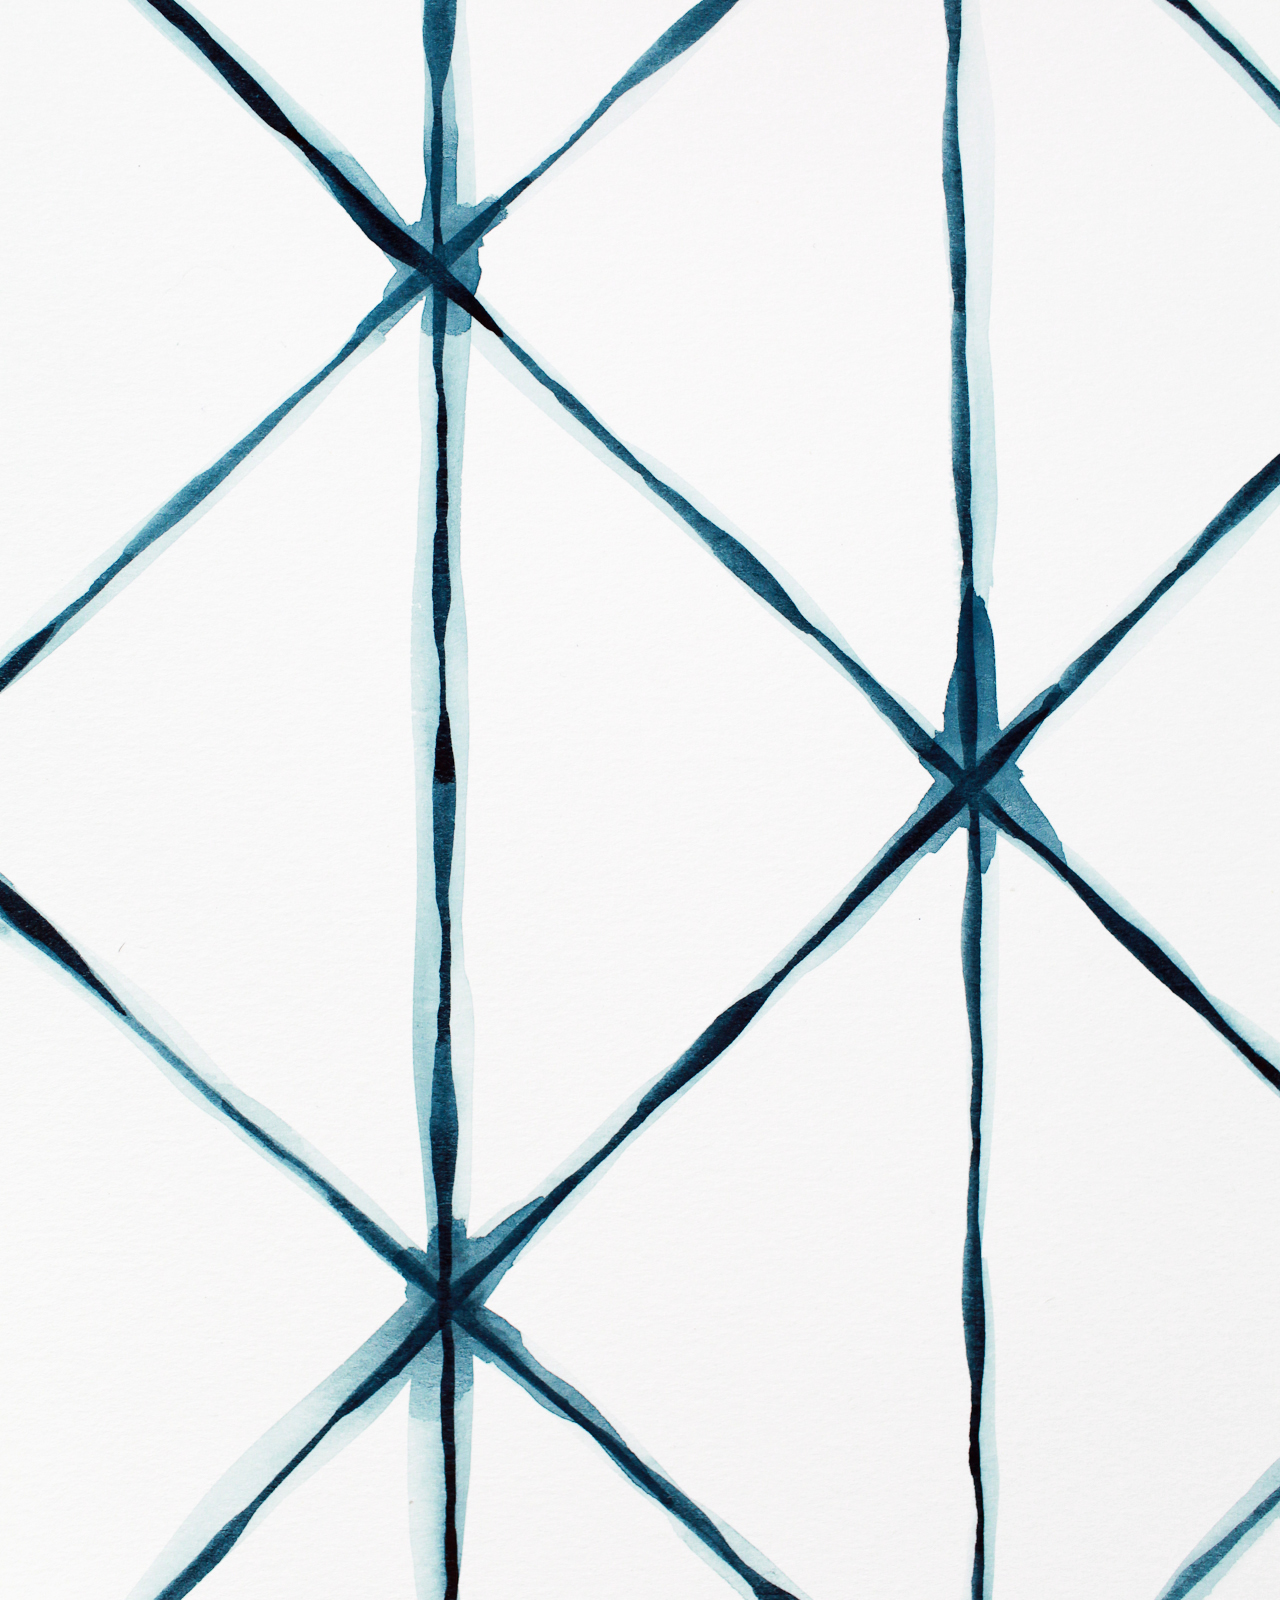
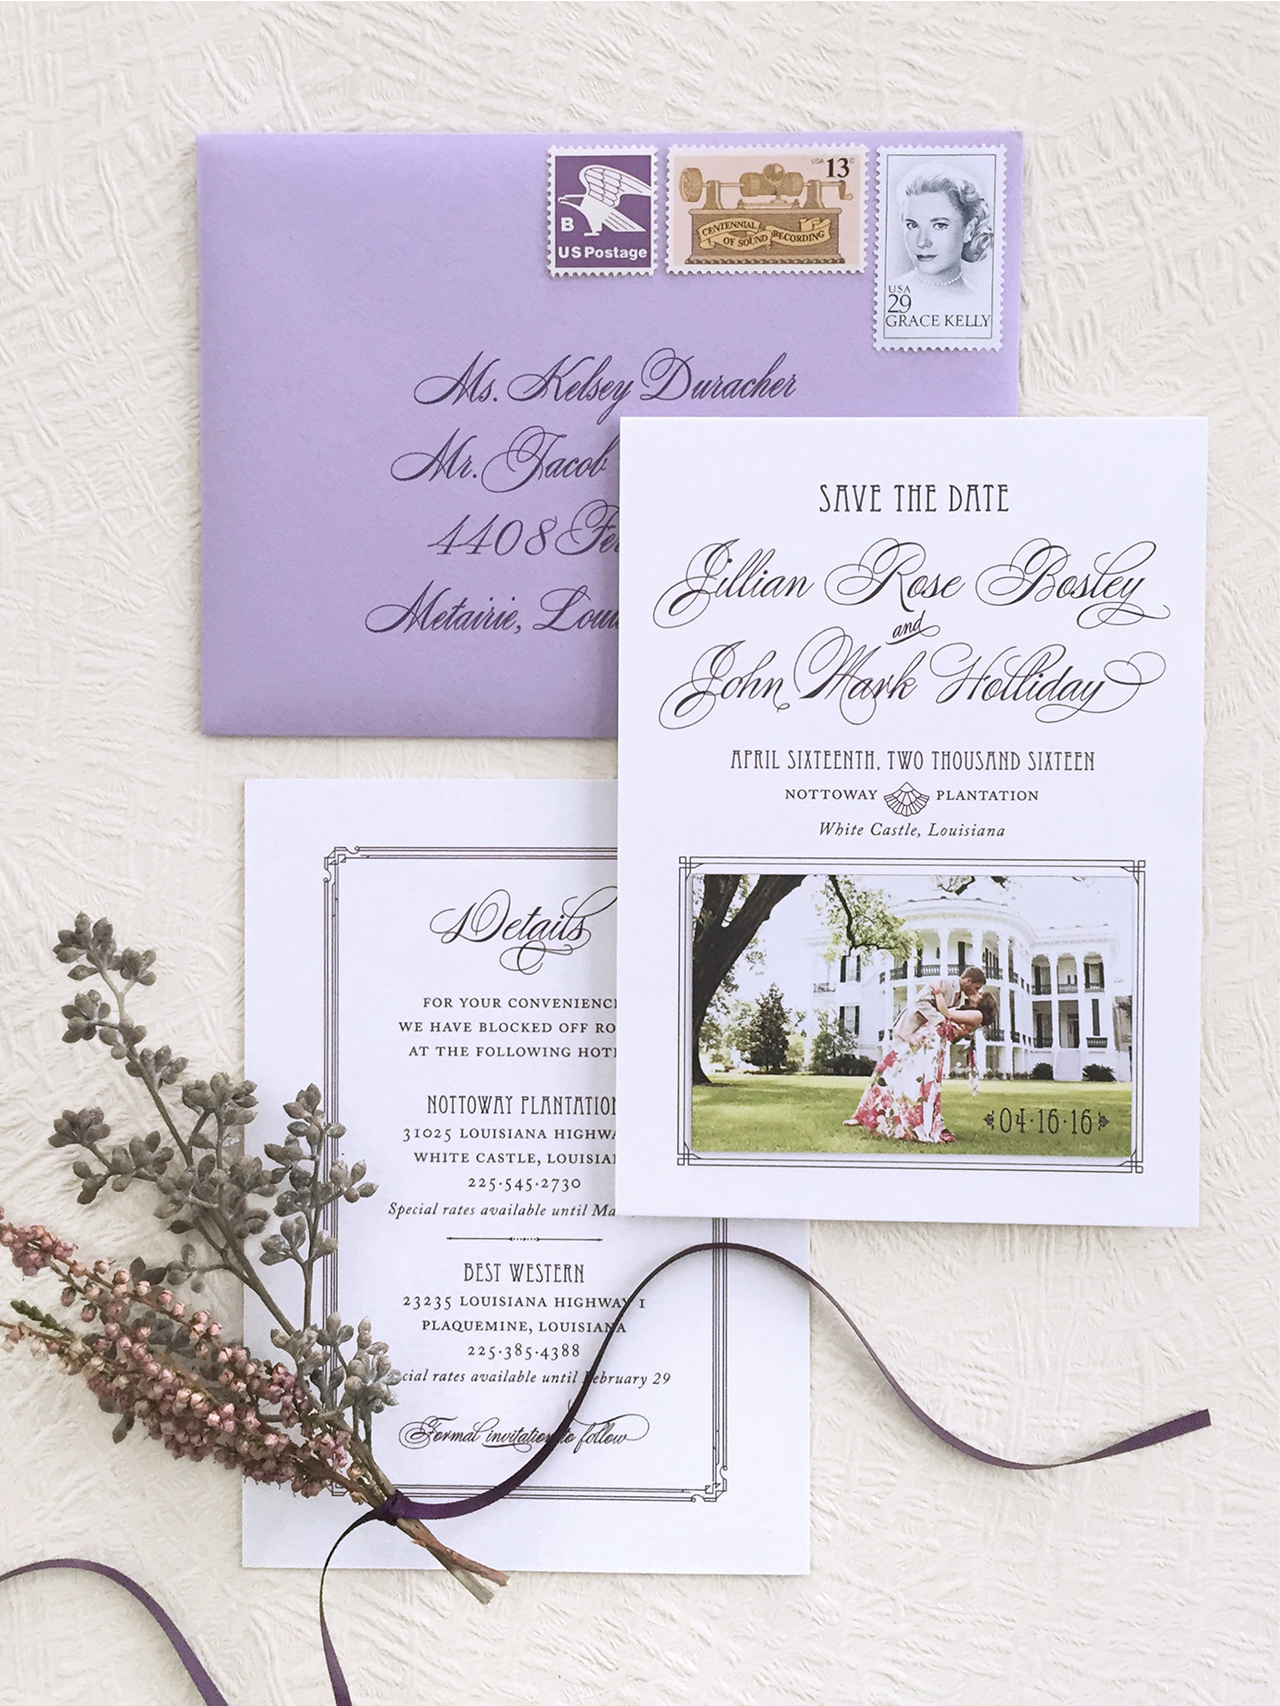
These days, the vast majority of invitations are flat – or digitally – printed. Digital printing has revolutionized the way we print invitations. It’s much more affordable, and the technology has come so far that the quality is very high. Plus, you can print with an endless amount of colors! You can even print on cotton stocks and heavier papers. Personally, I love the unlimited color capabilities that flat printing allows – it’s what gives our watercolor invitations their textural details. This look wouldn’t be possible with letterpress printing or screen printing. You can find examples of beautiful real wedding invitations that use digital printing here.
LETTERPRESS PRINTING
It’s hard to beat letterpress printing for sheer beauty; it has an amazing tactile quality that no other method conveys. Letterpress printing is a centuries-old technique in which ink is applied to a raised plate design and then pressed into paper – today often a thick cotton stock – resulting a wonderfully textured impression. Blind letterpress printing, or de-bossing, is created by stamping the impression onto the paper without using any ink and can be incredibly stunning. However, letterpress printing can be limiting in some ways. Because a new plate and press run is required for each color in the design, adding a second or third ink color can make already pricey letterpress printing exponentially more expensive. And because the design must be created from line art, you won’t get the subtle color changes and design variations that you can achieve with digital printing. You can read more about the letterpress printing process here.
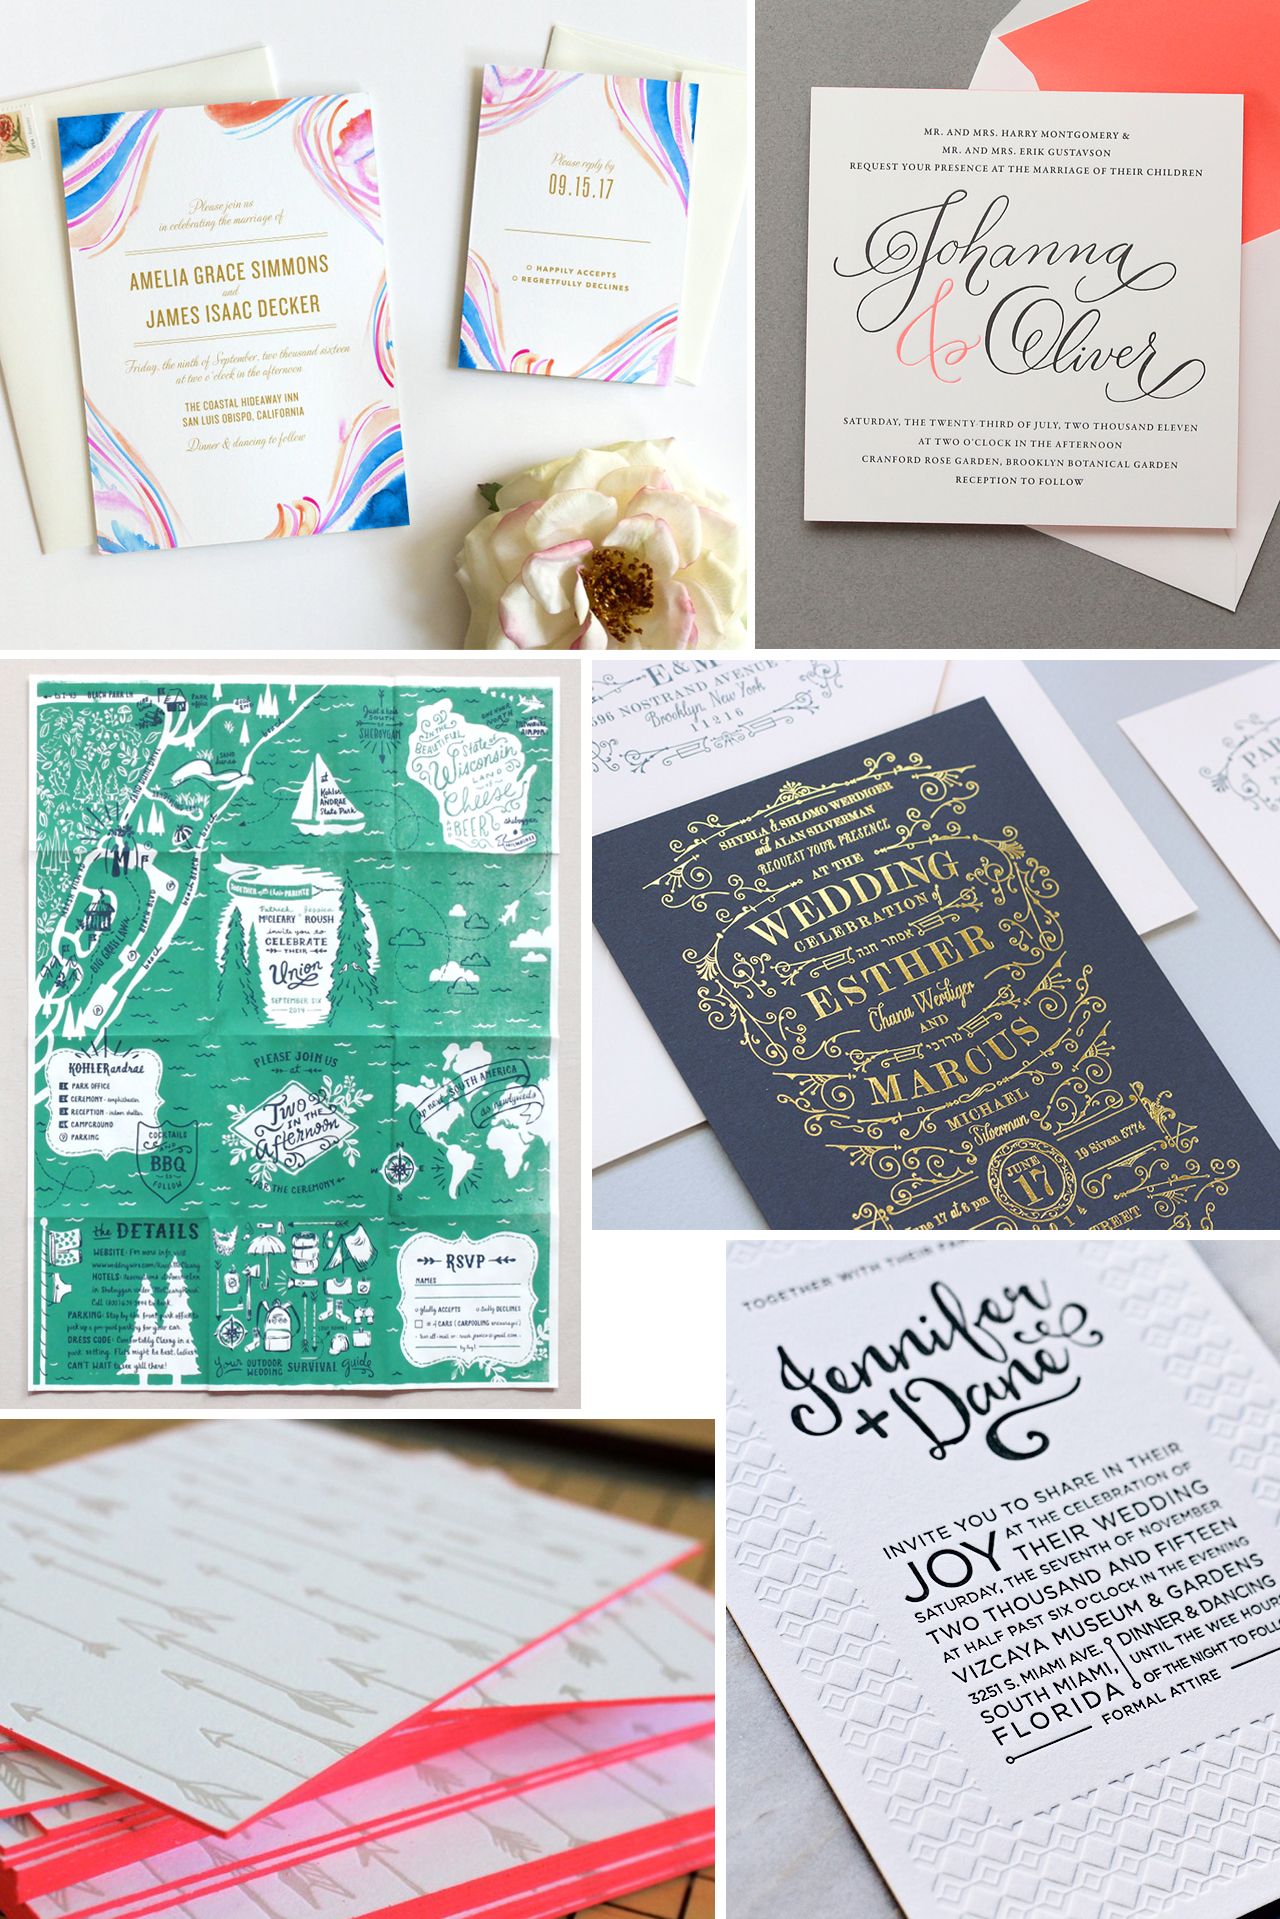
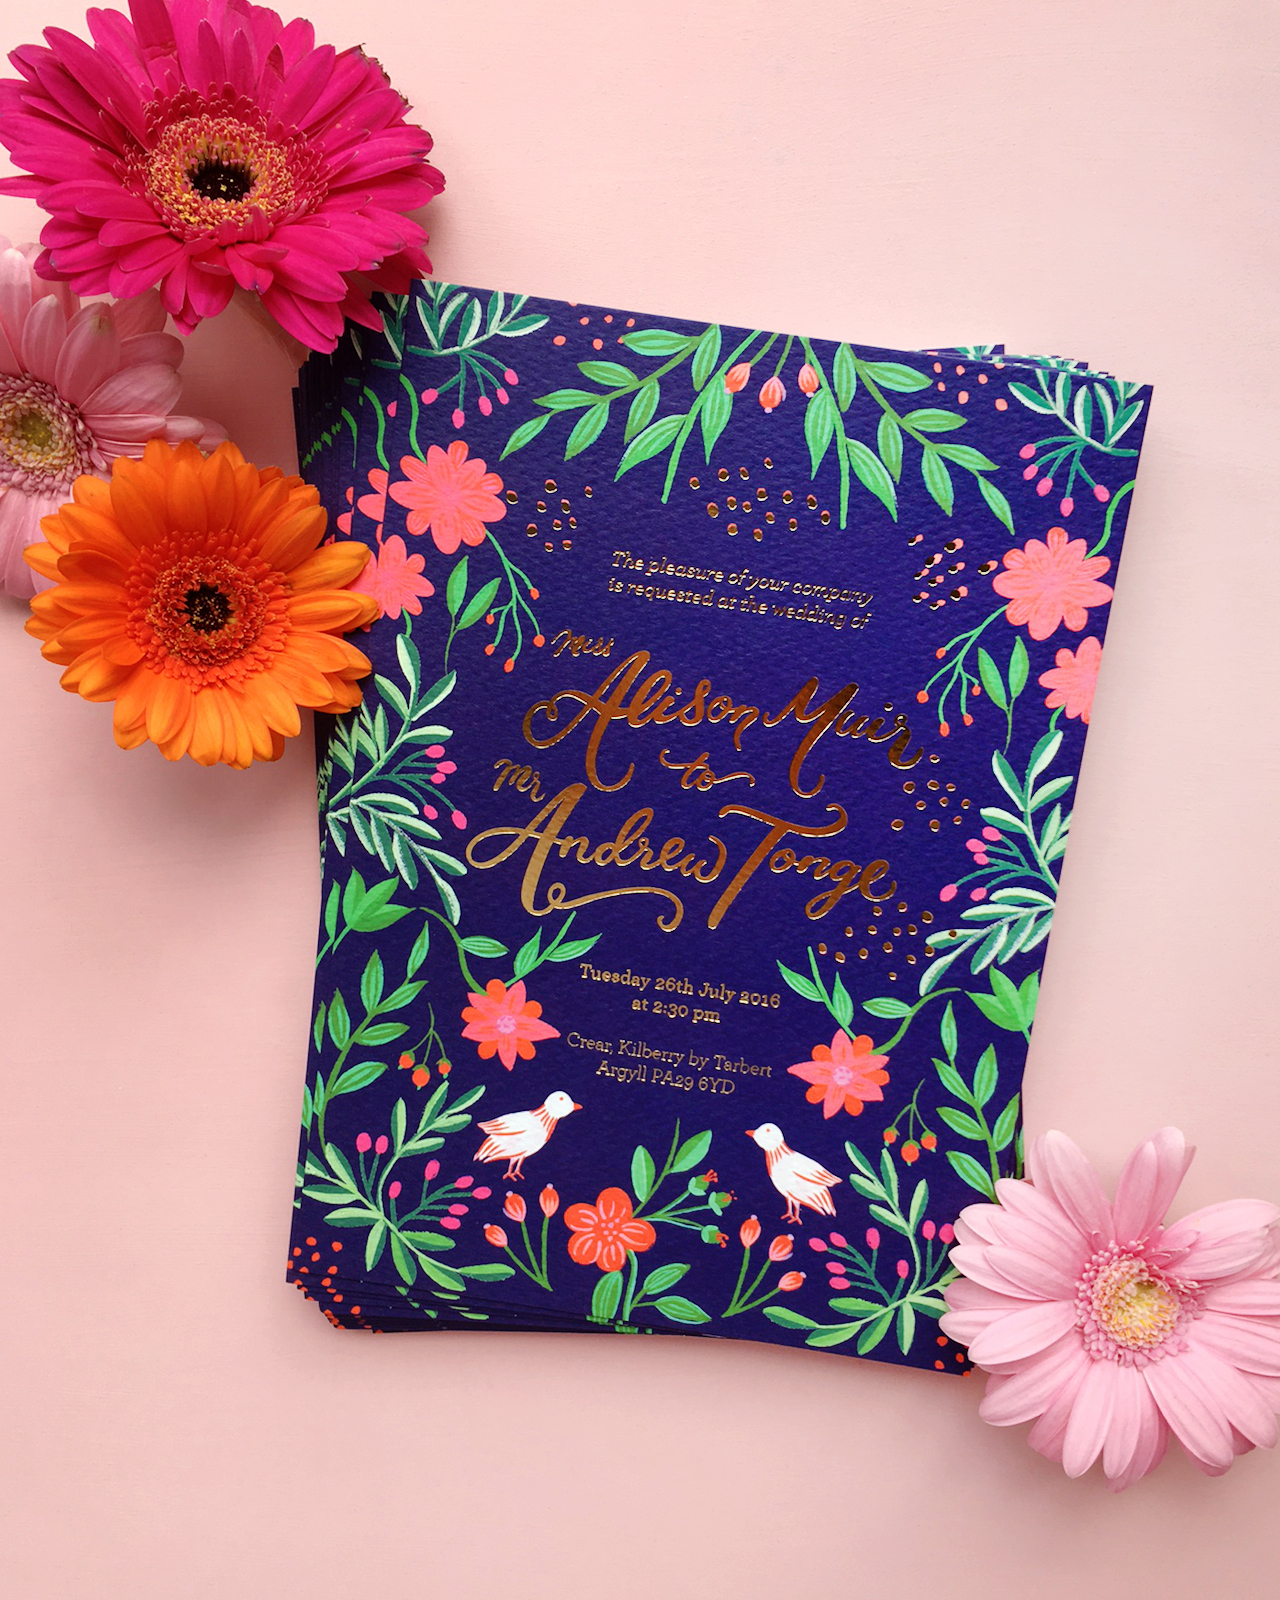
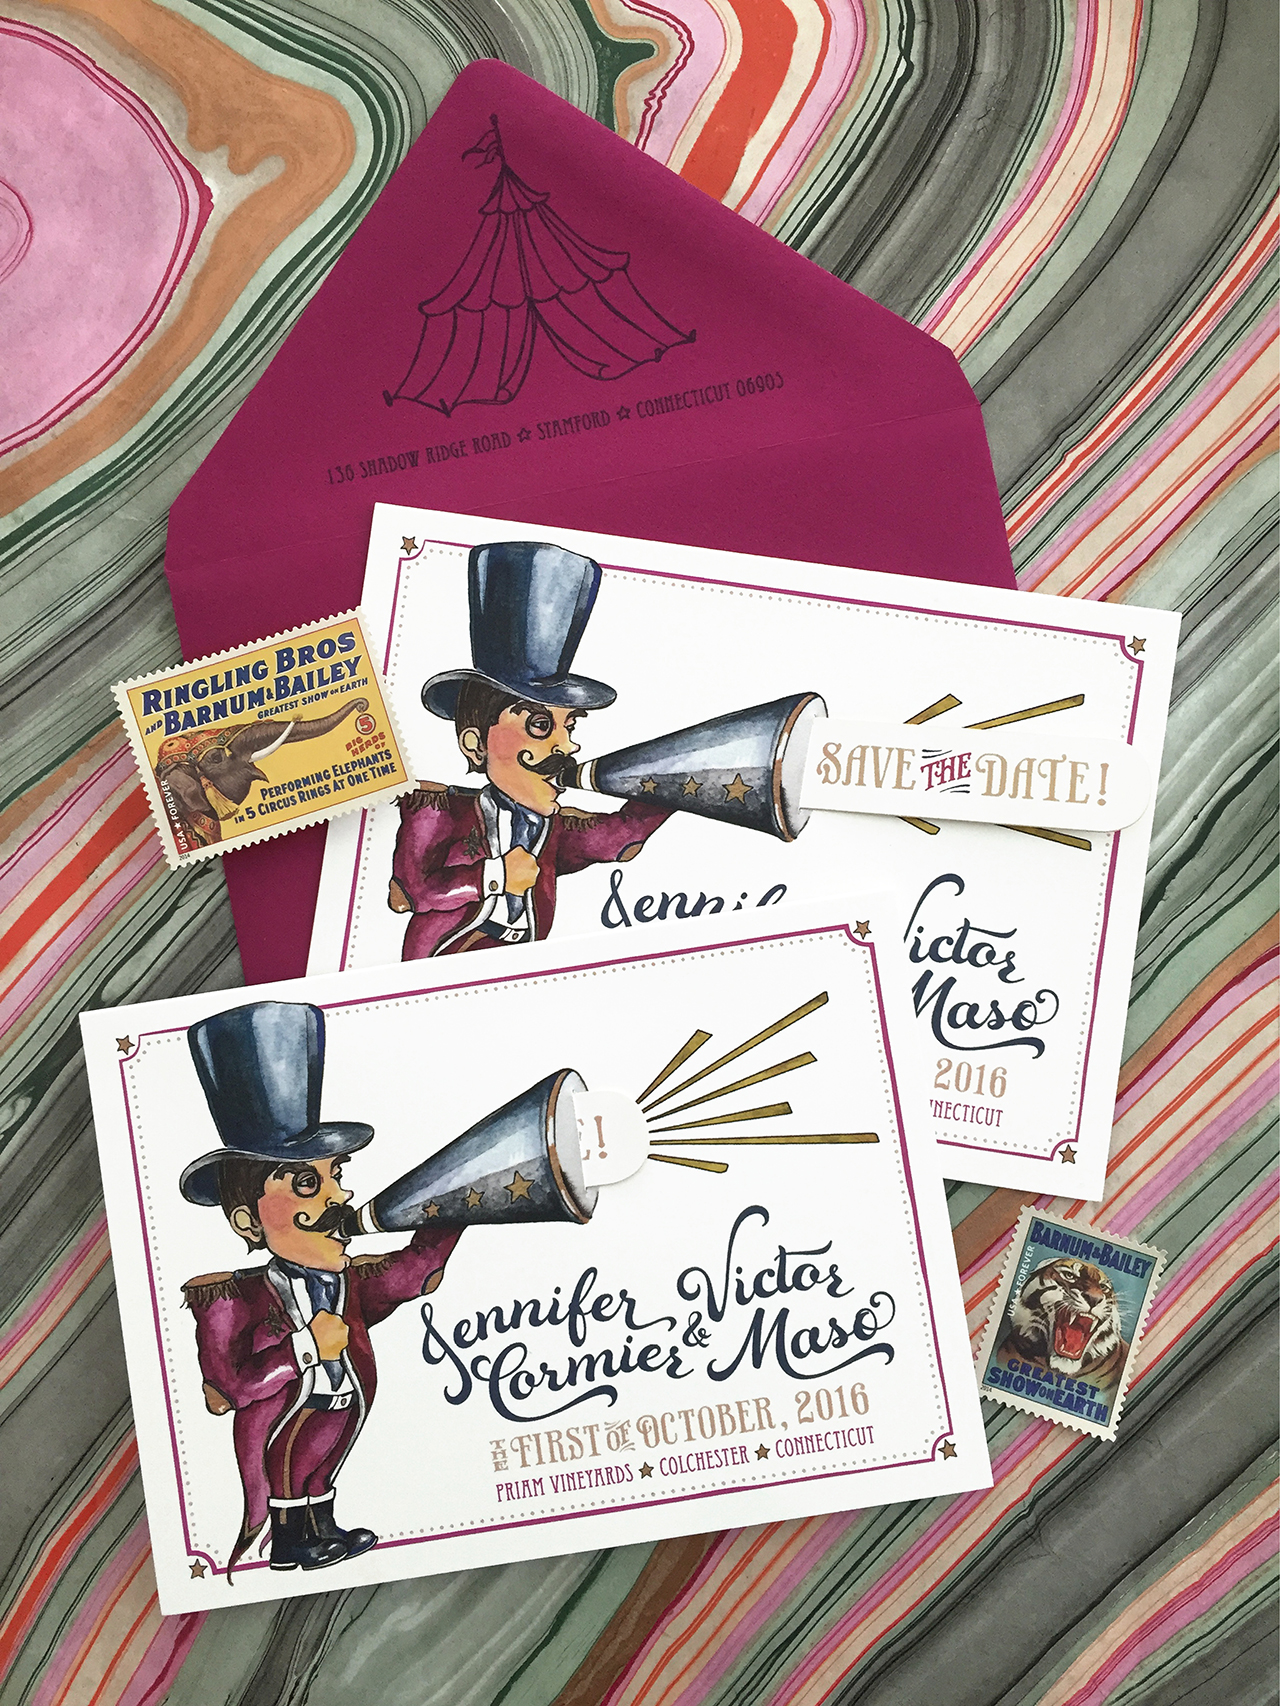
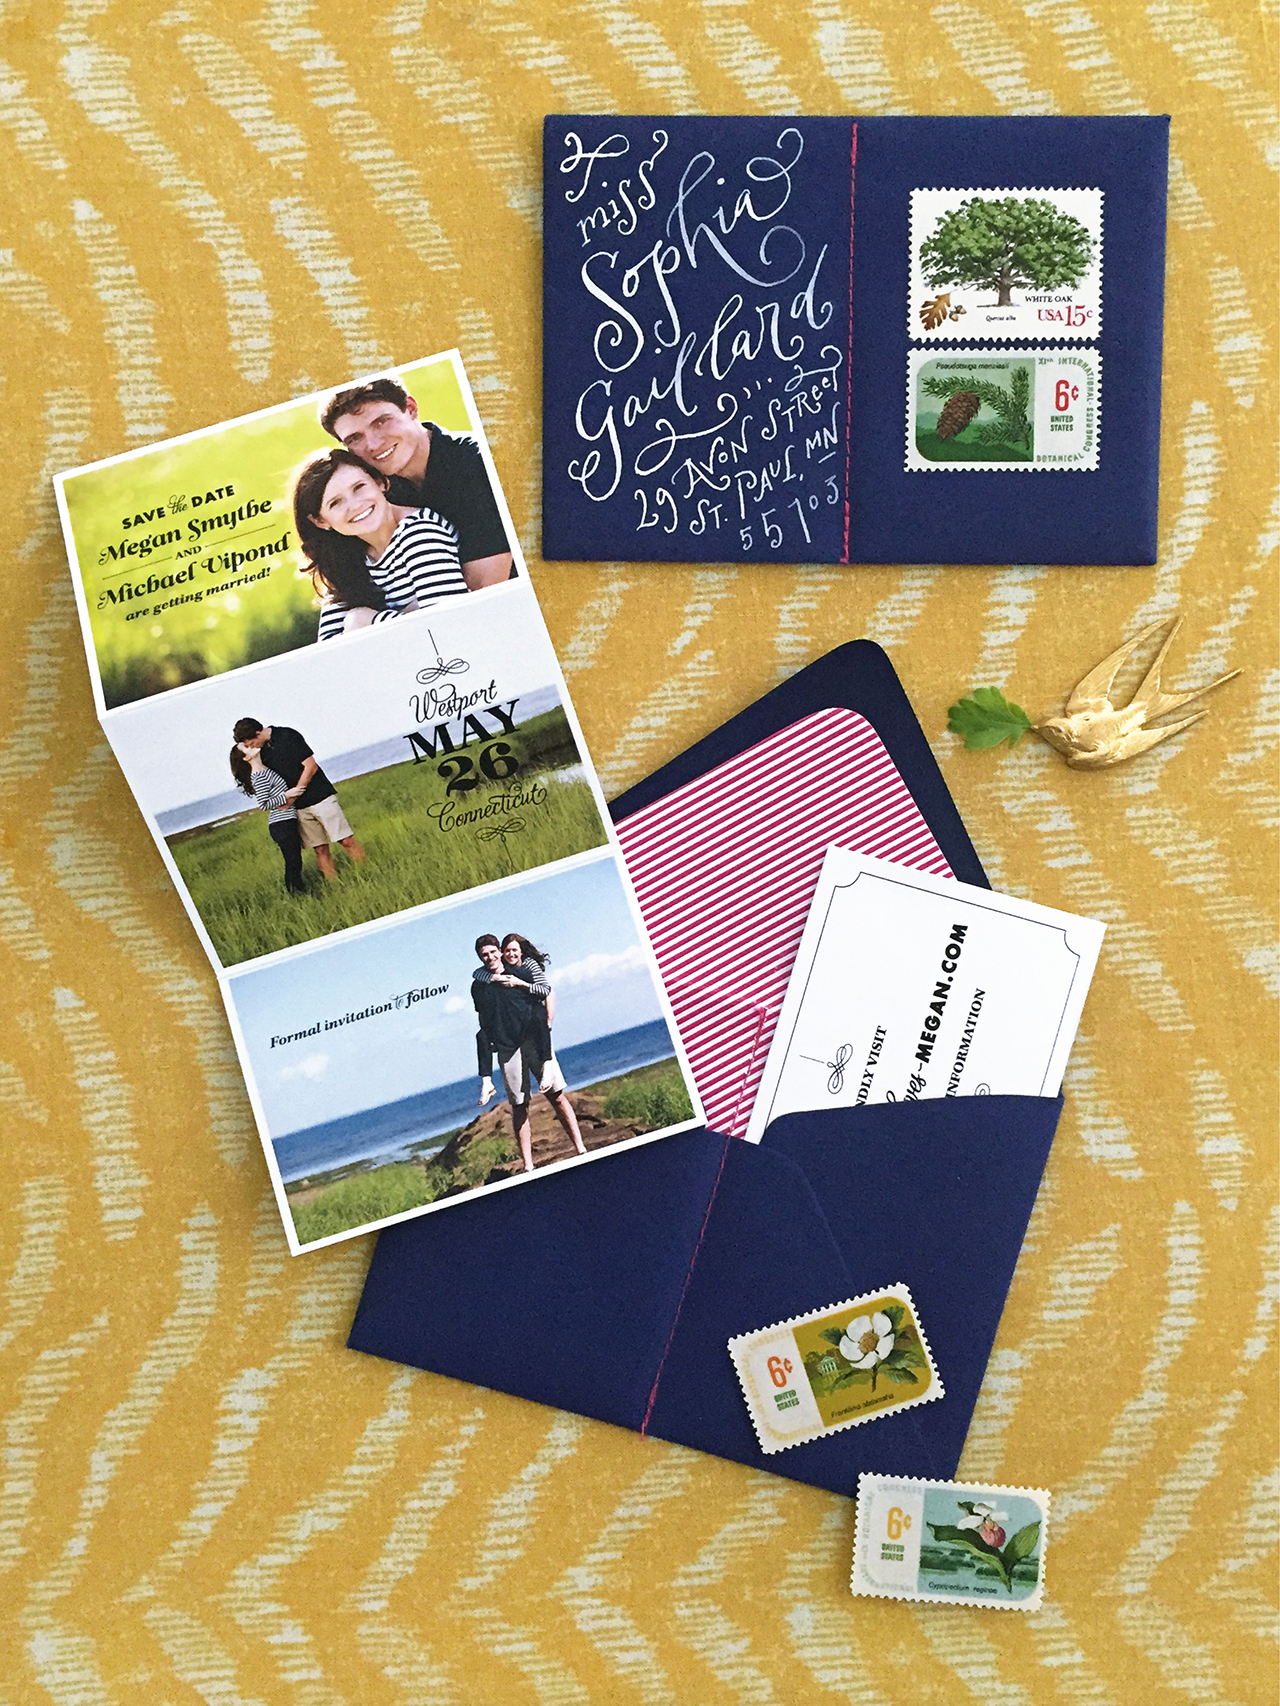
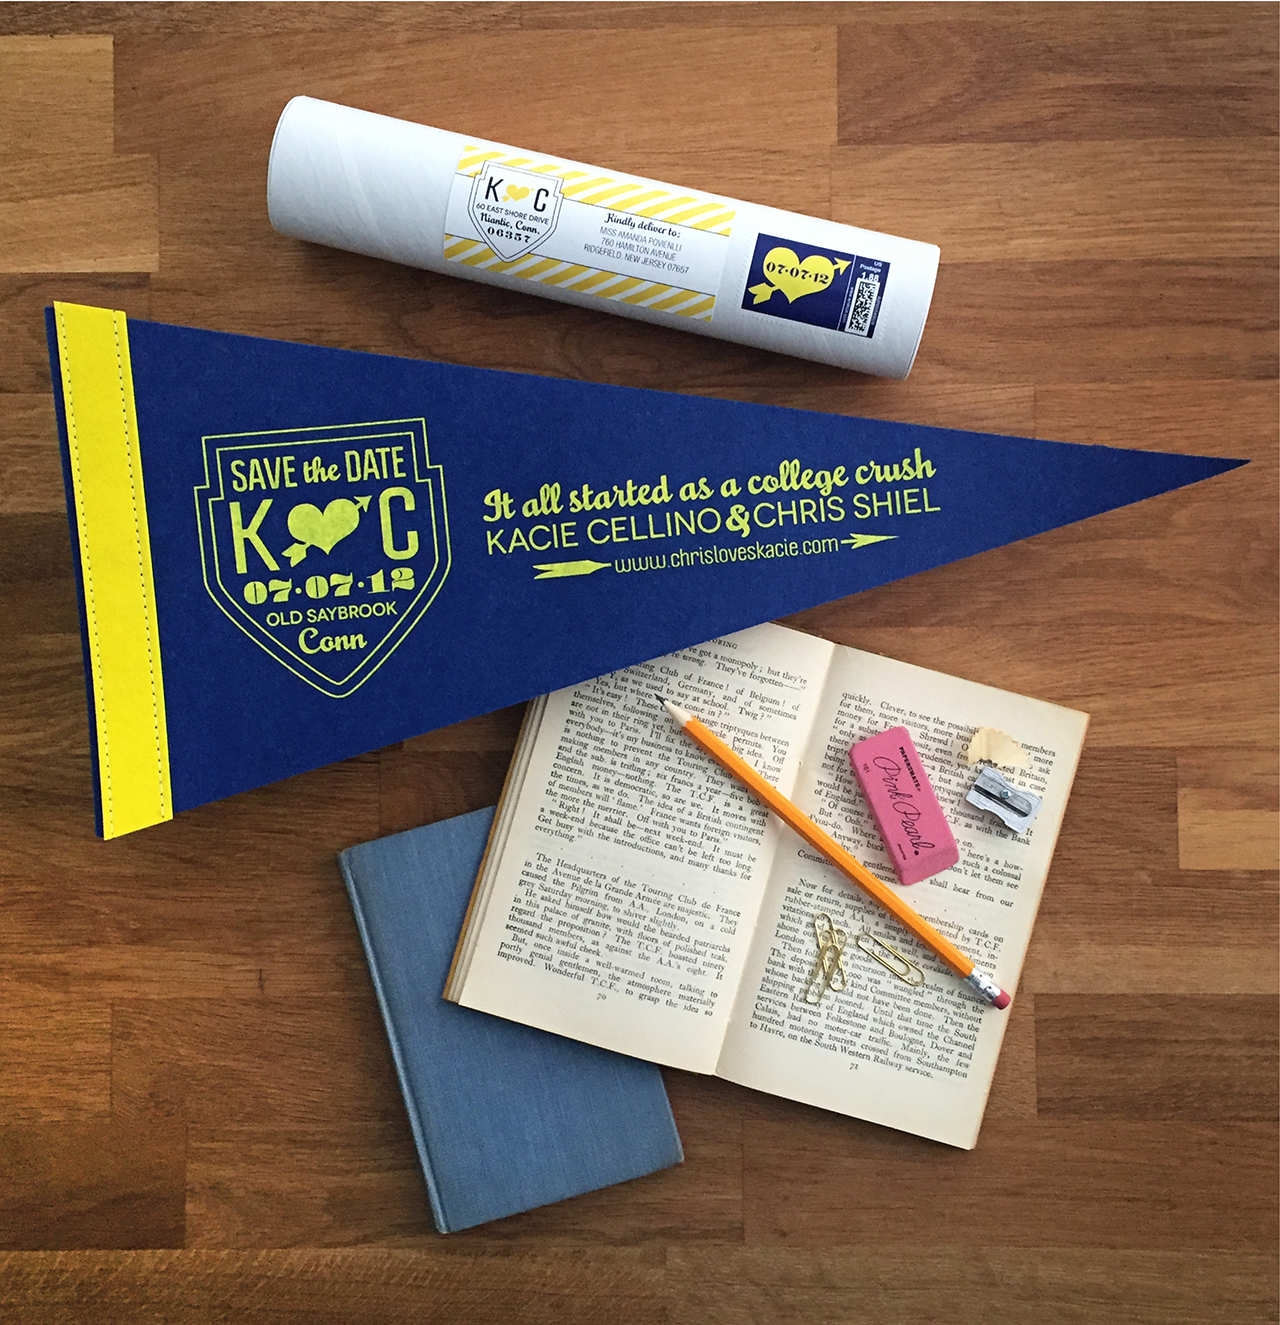
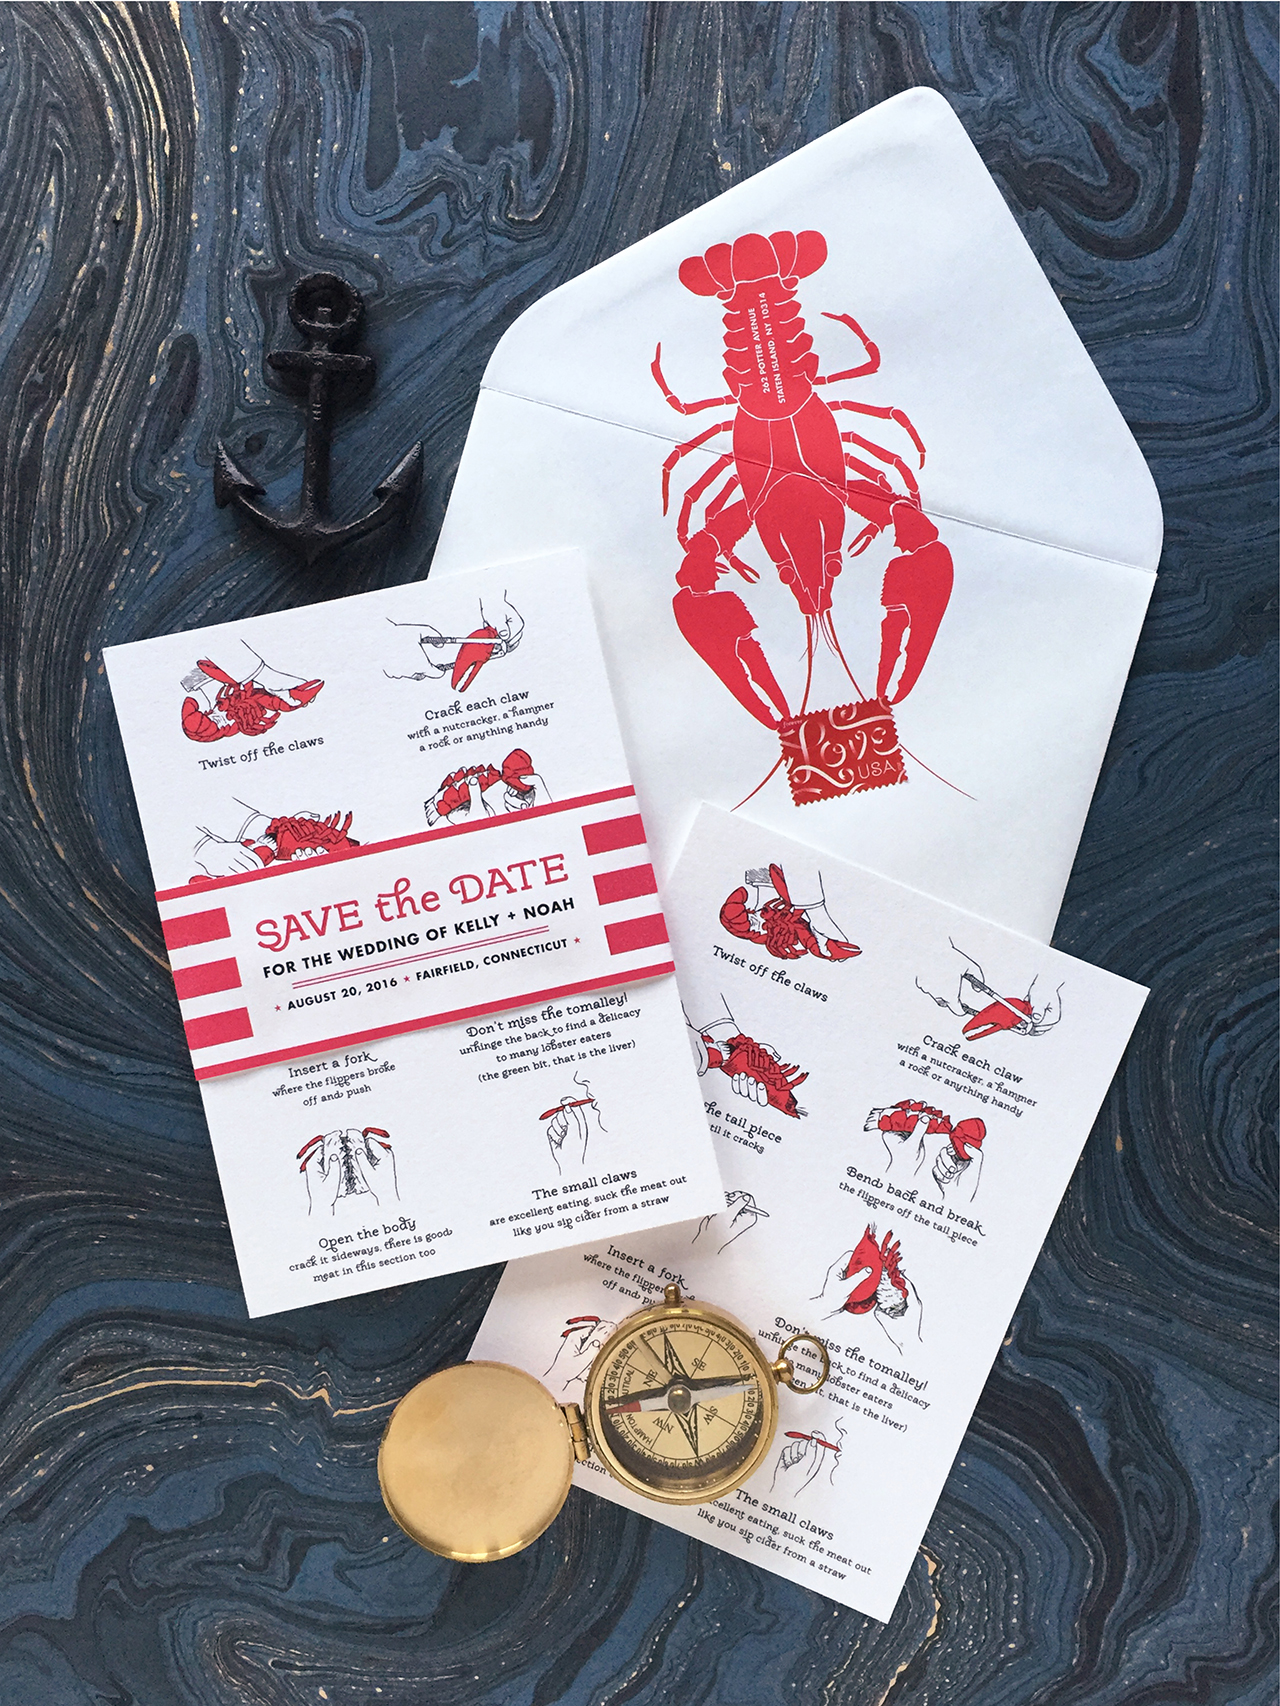
Clockwise from top left: Marble watercolor invitations by Fine Day Press; Two-color letterpress by Cheree Berry Paper; Gold foil on navy stock by Megan Wright Design Co.; Blind letterpress designed by Kate Holgate via this post; Edge painting by Ladyfingers Letterpress; Screen printed foldout map by Jessica Roush via this post.
SCREEN PRINTING
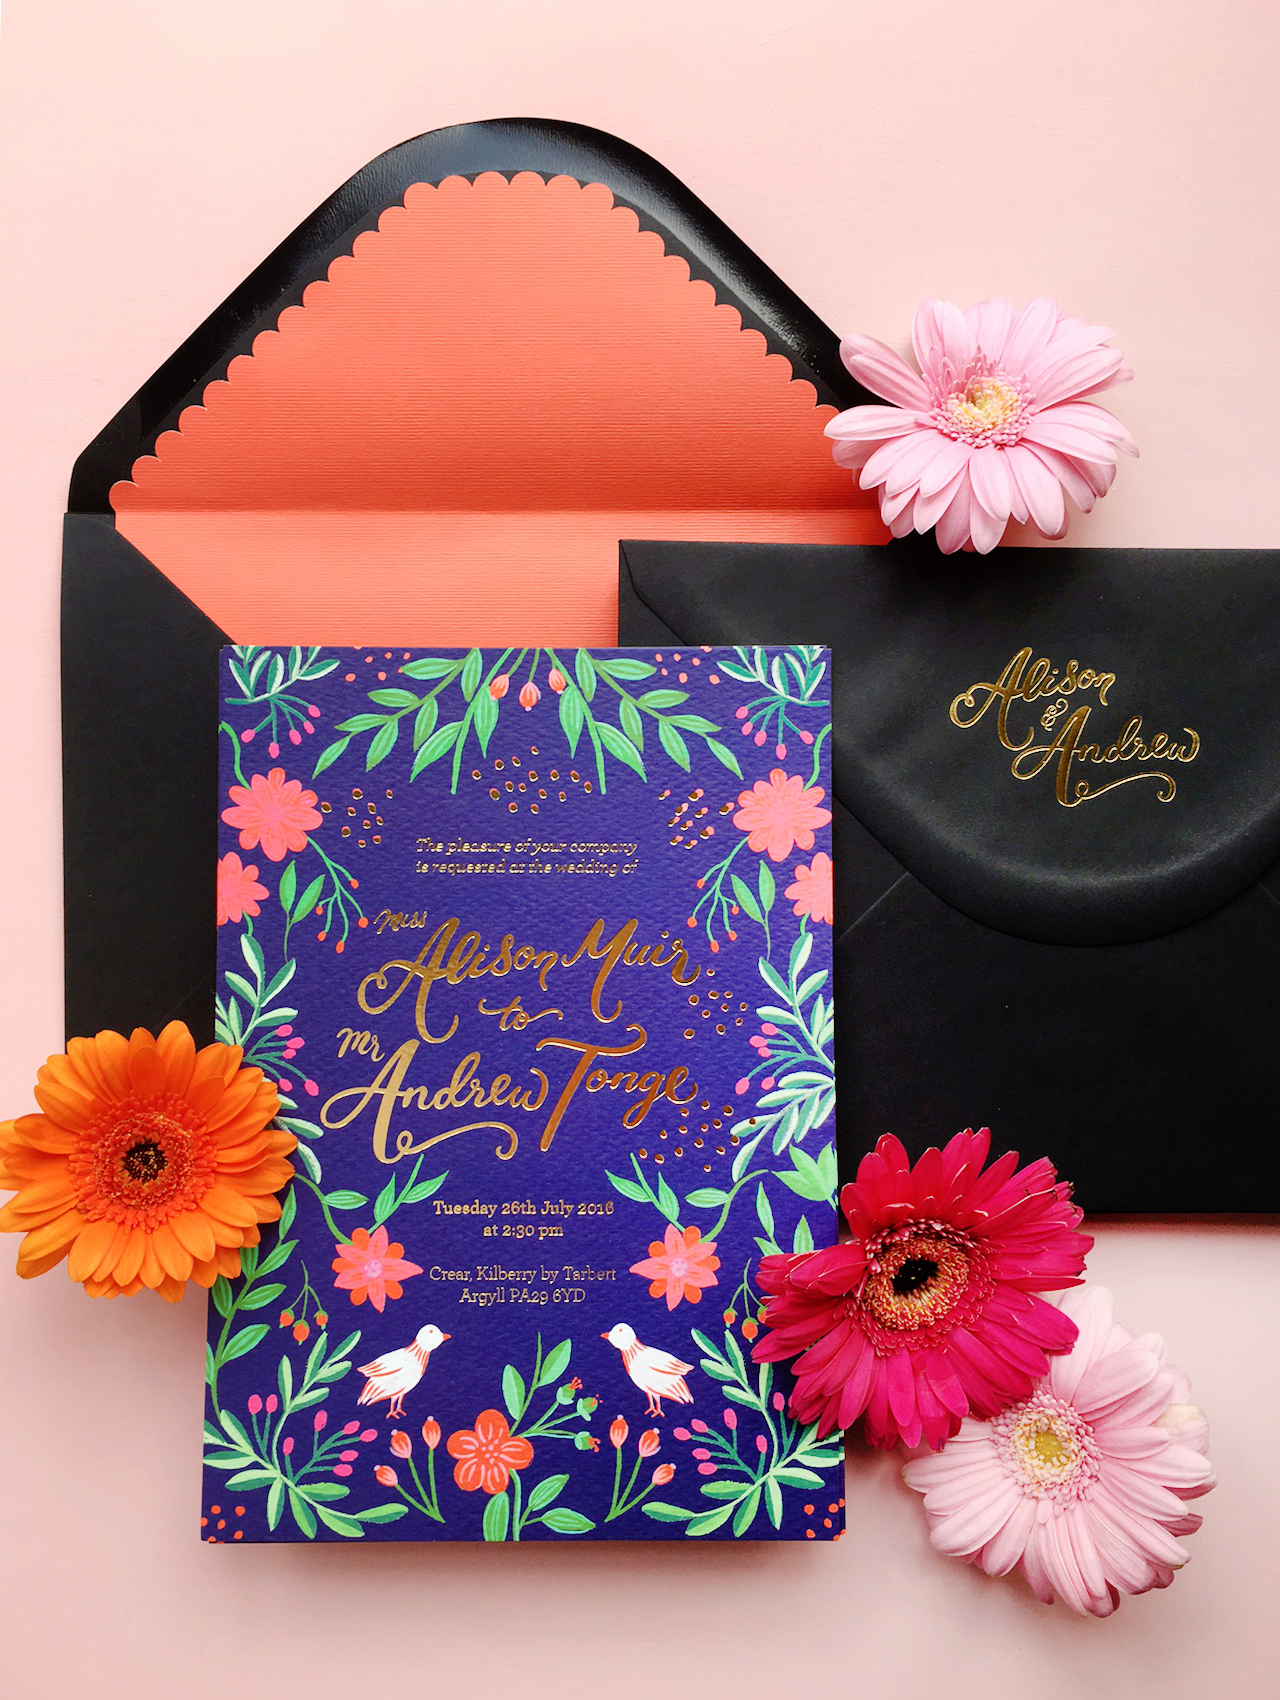
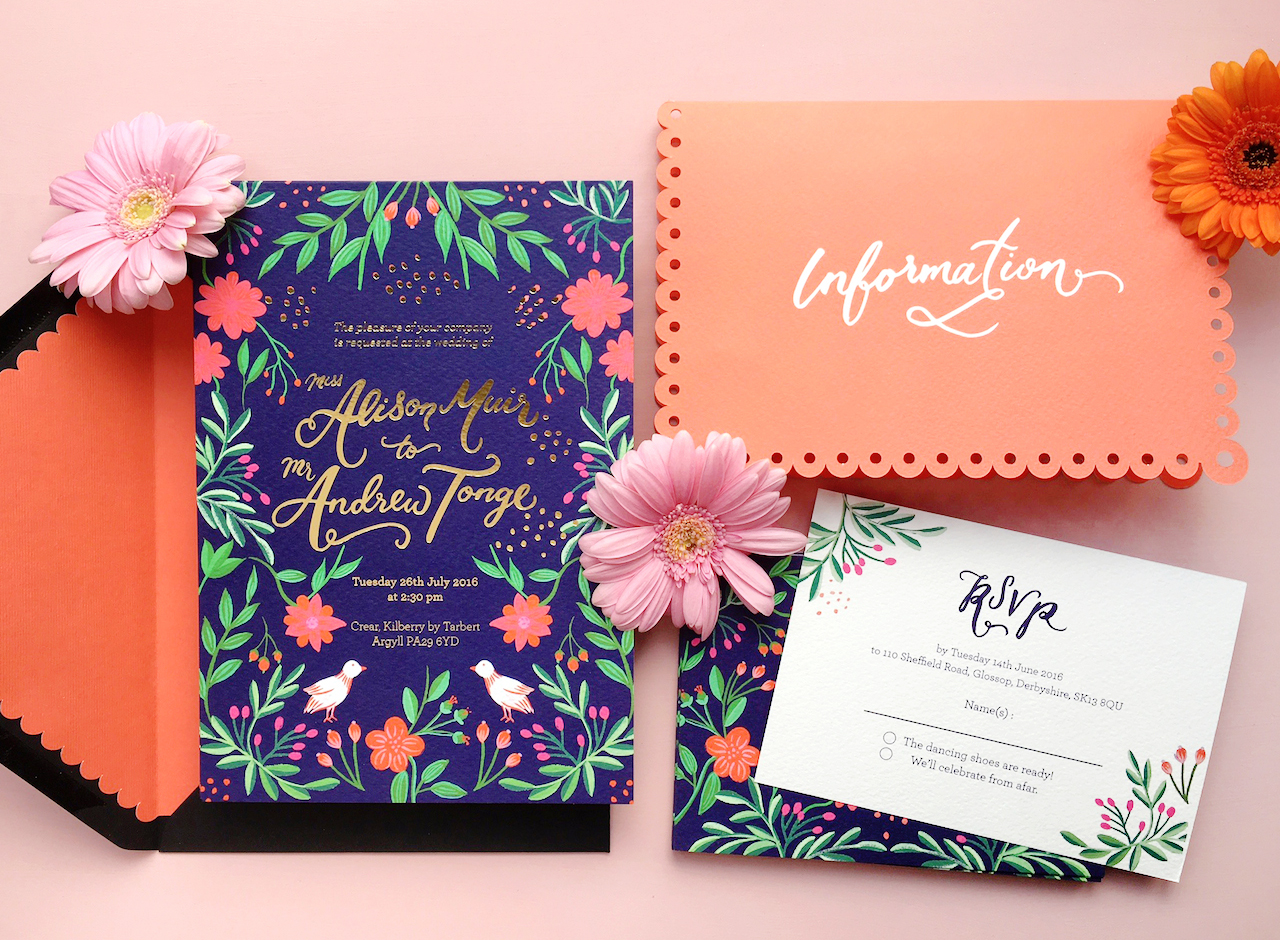
Screen printing is one of the oldest printing techniques and involves pushing thick, opaque ink through a fine mesh screen, resulting in a bright, tactile design that sits on the surface of paper.This method is great for using special inks like fluorescents and metallics, or for printing with opaque white ink onto a dark background color. As a result, screen printing can be a wonderful choice for vibrant and colorful modern wedding invitations. Screen printing also allows for printing on a variety of surfaces – like fabric or super-thick chipboard – so the possibilities for creativity run high. Budget-wise, it’s comparable to letterpress printing but can vary widely depending on the size of the screen and the number of inks. Each color requires its own separate screen so, like letterpress printing, a more colorful design means a higher overall cost. You can read more about the screen printing process here.
ENGRAVING
Engraving is the most classic of all wedding invitation printing methods – and most likely the method that your parents and grandparents used to print their wedding invitations! Engraving has fallen somewhat out of favor in recent years with the return of letterpress printing and improvements in digital printing, but it’s still one of the best options for a classic invitation design or black tie affair. Like letterpress printing, the engraving process transfers ink from a metal plate to paper by using intense pressure. However, unlike letterpress printing, with engraving the type and graphics are raised and create an embossed result. Engraving requires two metal plates etched with an image or text, which are then aligned on the press. Once aligned, ink is applied to the top plate and each piece of paper is then hand-fed through the press, receiving two tons of pressure and creating an embossed image with startling clarity, color purity and depth. You can read more about the engraving process here.
FOIL STAMPING, DIE CUTS, EDGE PAINTING, AND MORE!
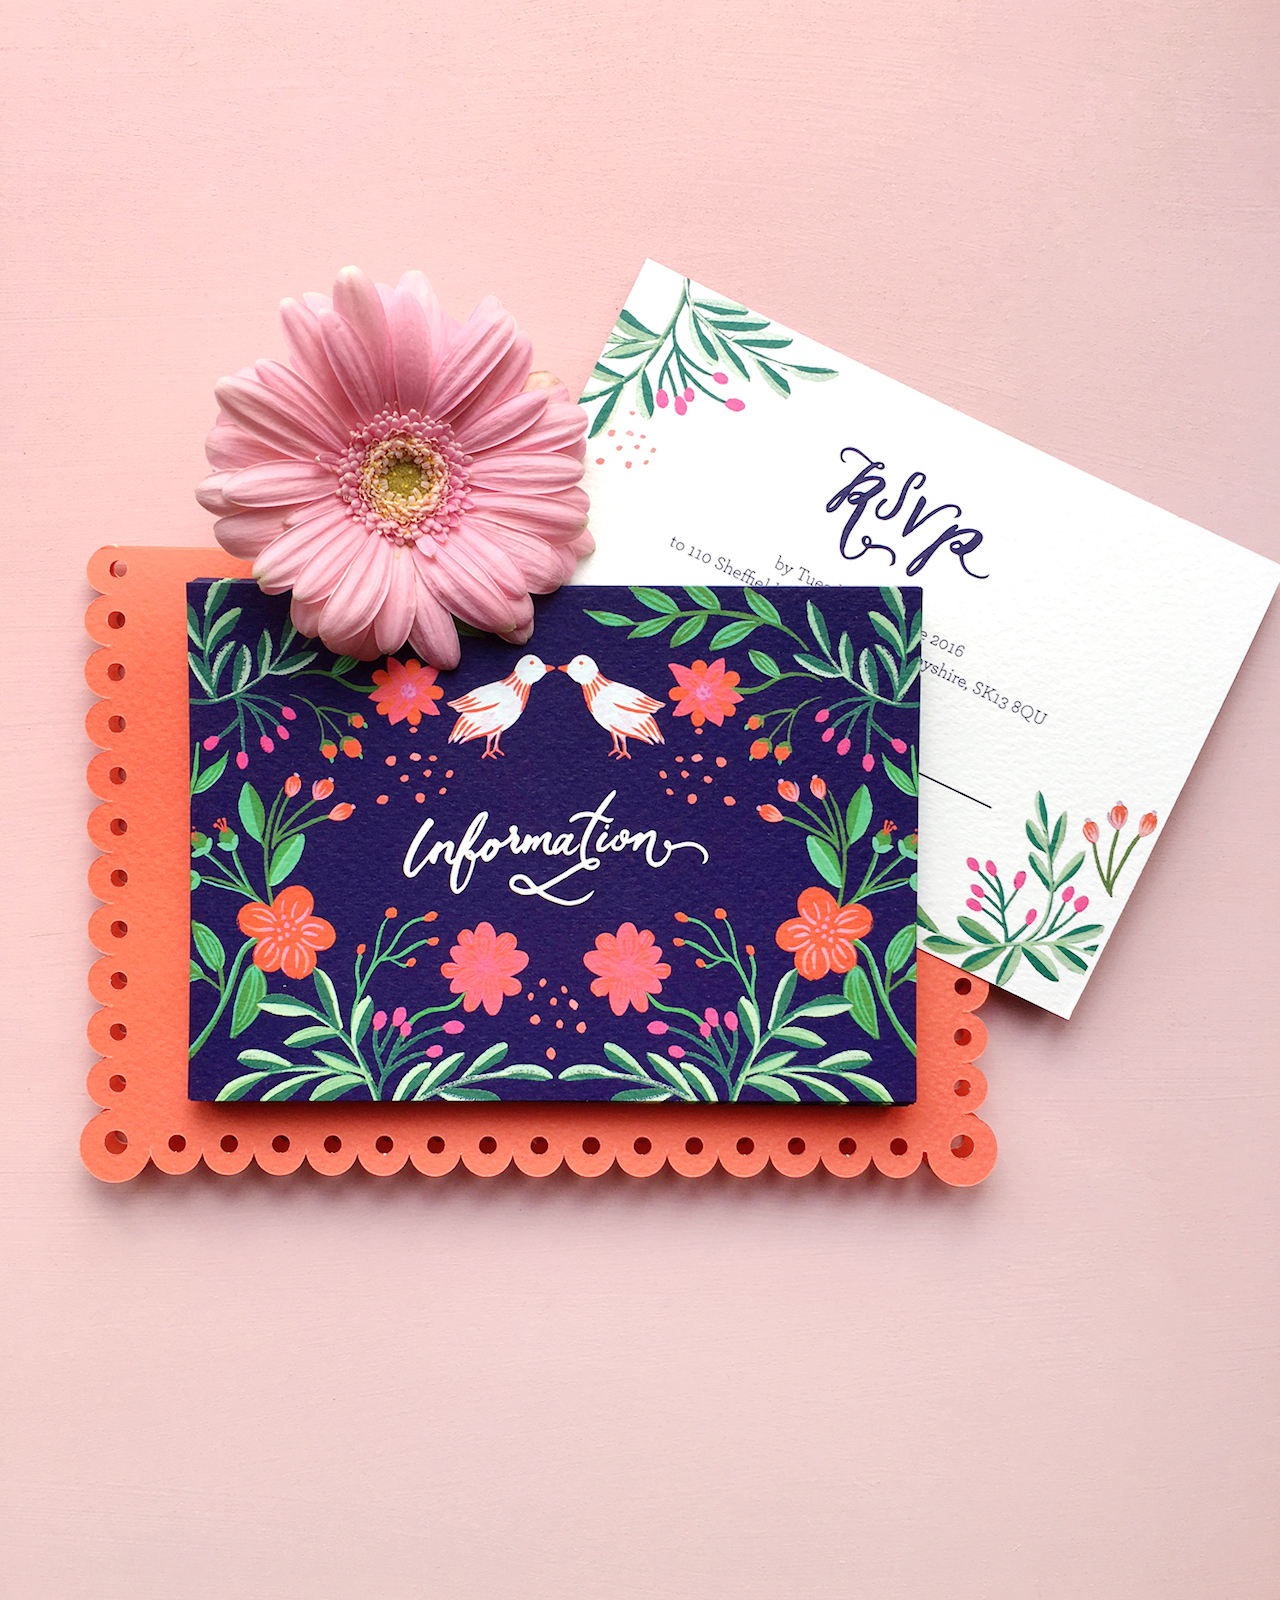
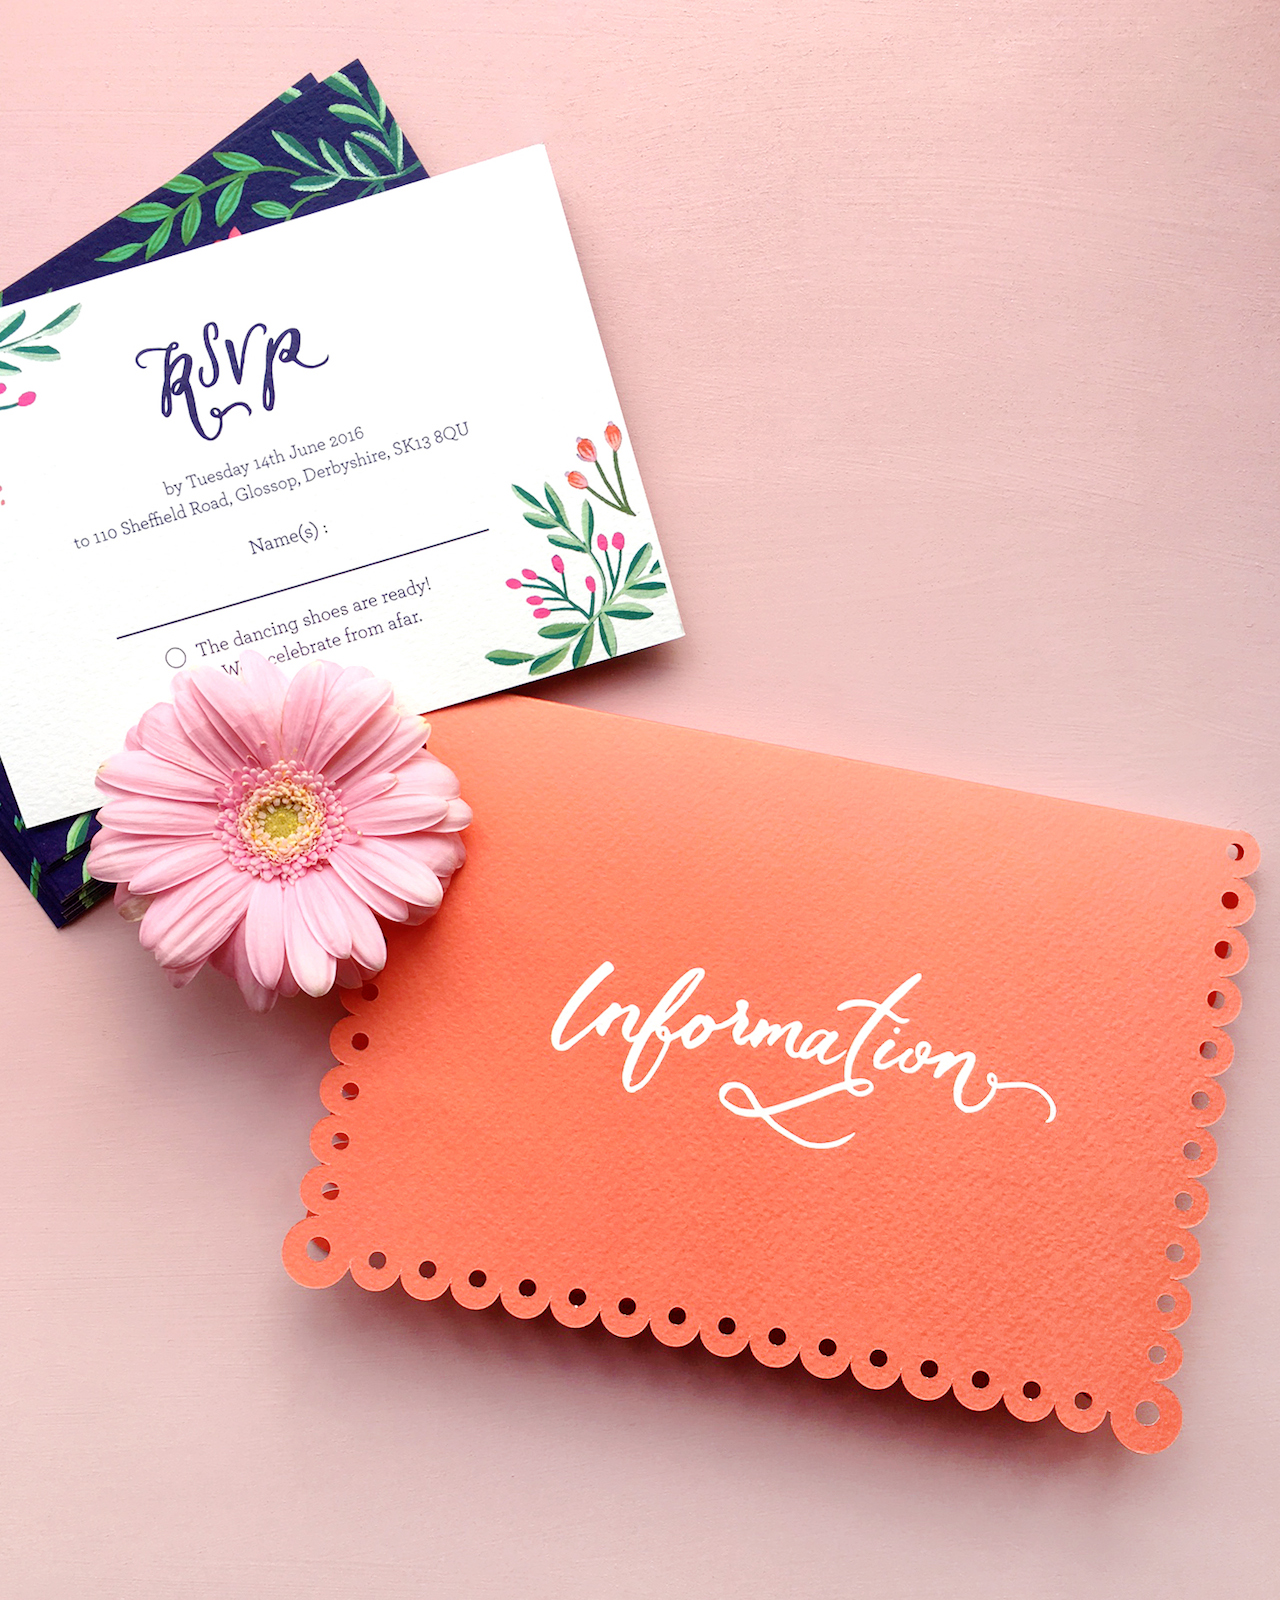
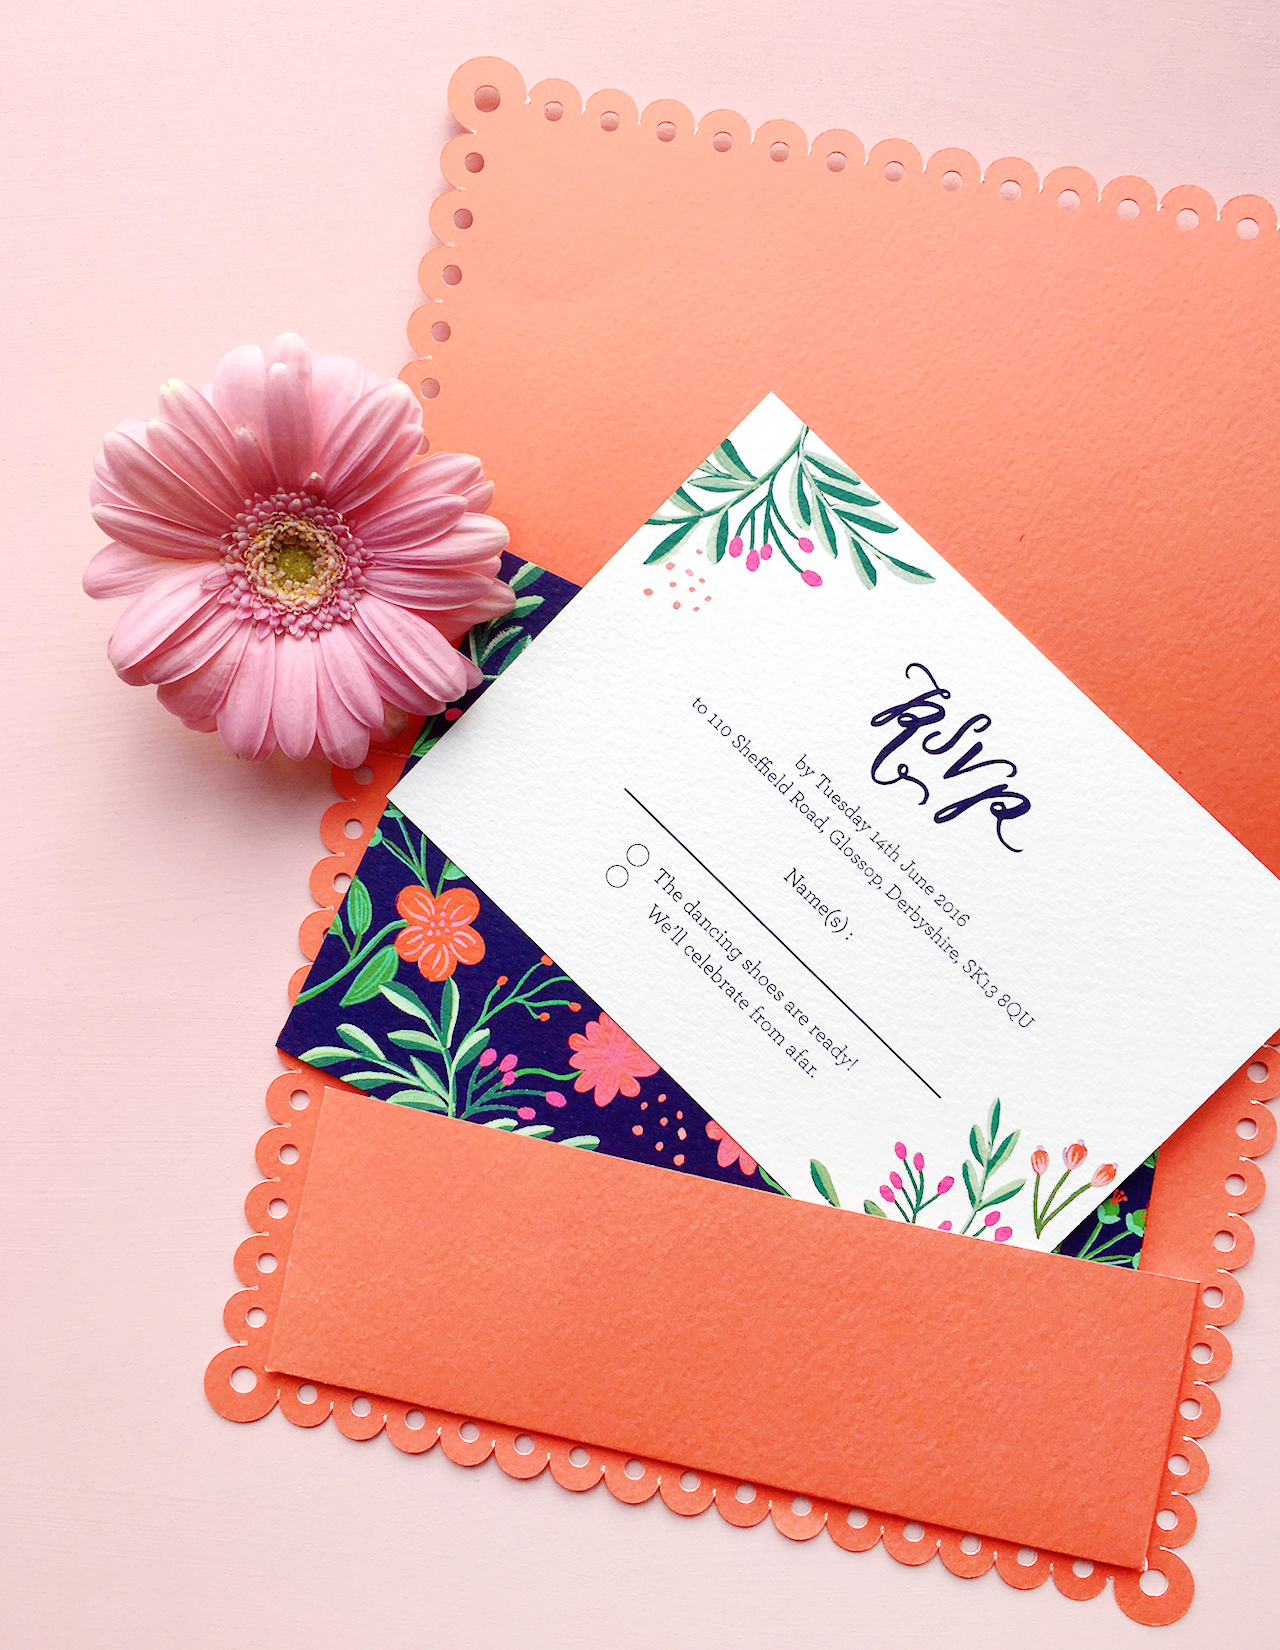
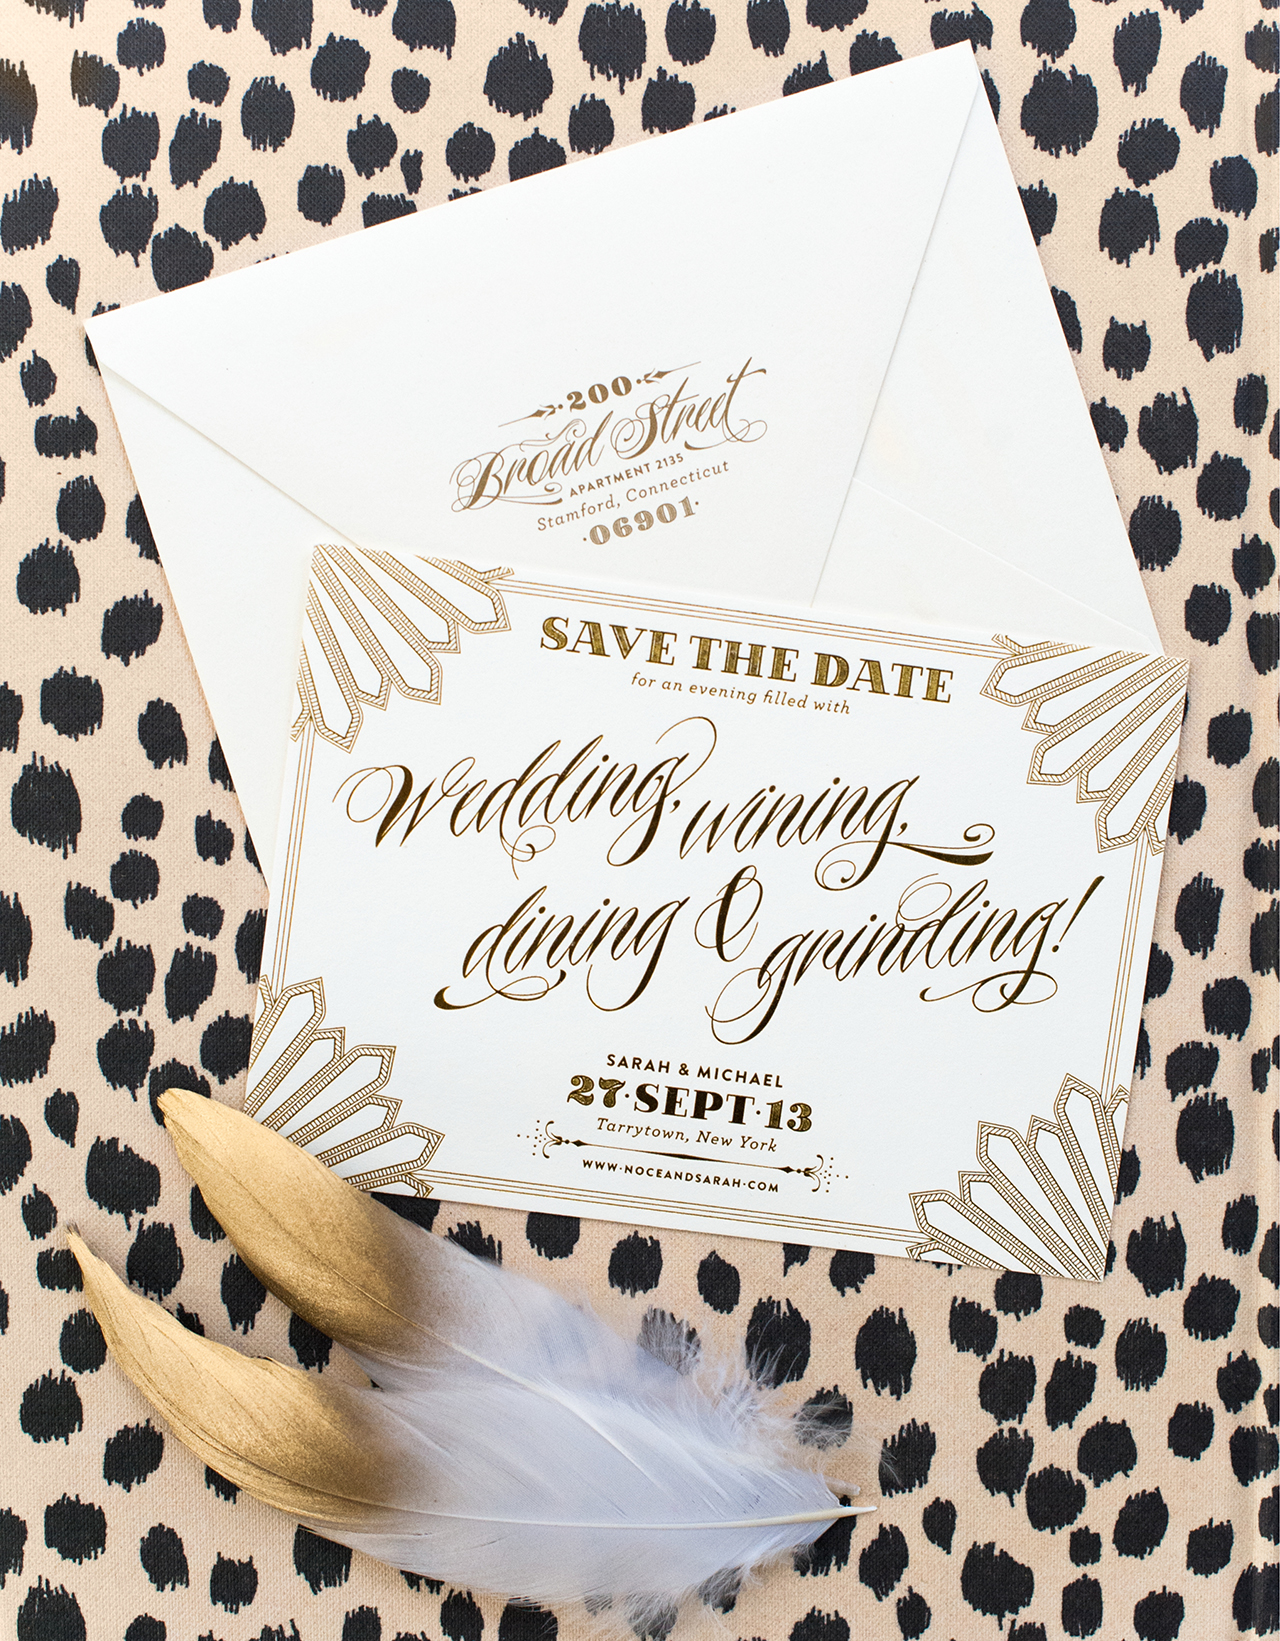
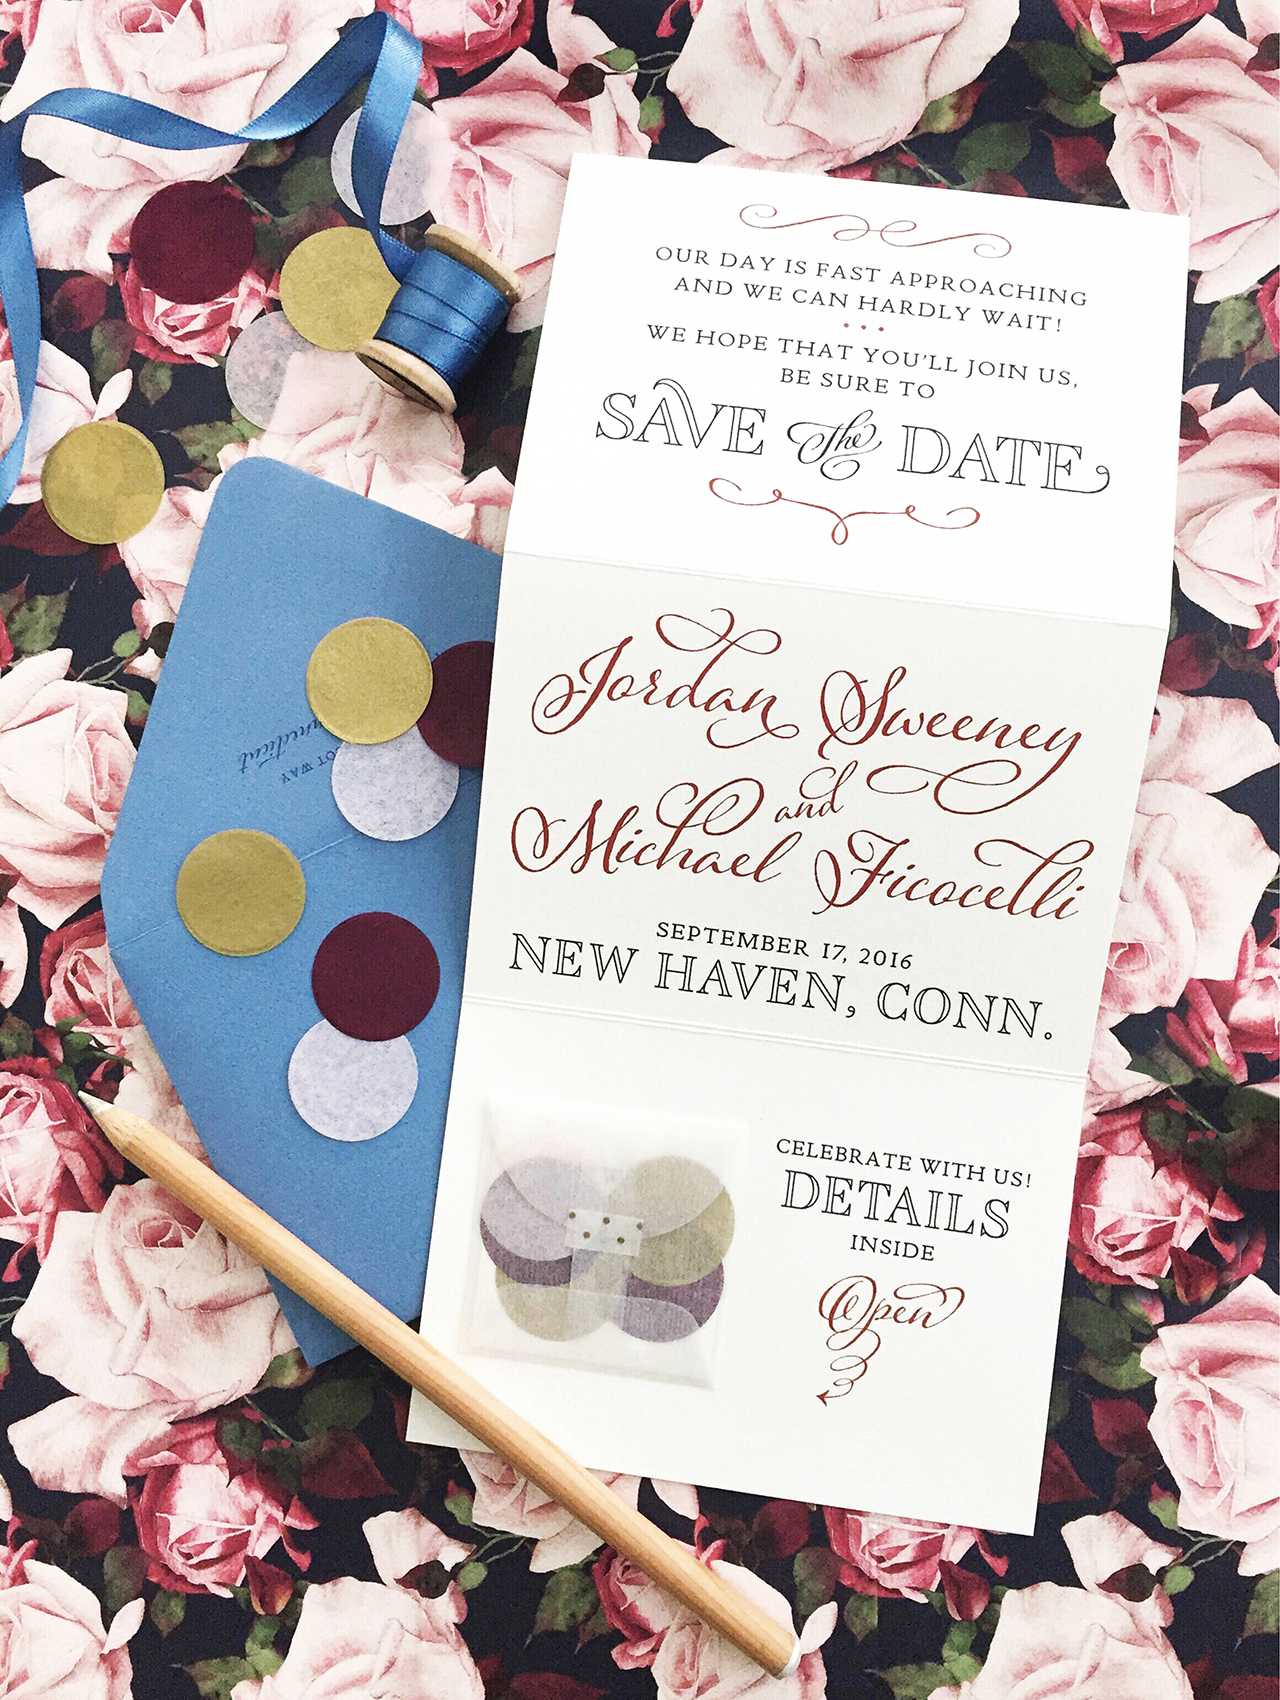
Special printing and finishing techniques include things like foil stamping, die cutting, perforations, edge painting, and duplexing. Foil-stamping adds a high shine factor and adds a super special touch – it can be used on its own to beautiful effect or combined with digital printing for an extra shine. Want your invitations in the shape of a heart or another funky shape? You’ll be needing a custom die cut. Duplexing is when 2 sheets of thick stock are glued together to give a double-thick result. If you are printing on a double-thick stock, consider edge-painting to add a bright or metallic color to the edges of the card. So pretty! You can also use duplexing to combine a two different colors of card stock, like ecru and navy, to create major impact on both the front and back of an invitation. You can read about edge painting here, die cutting here, and foil stamping here.
DIY
Yes, it’s possible to print your invitations by your own bad self! Going this route takes some gumption, design savvy, and a willingness to be hands on. If you and your fiancé are both crafty, this could be a really fun project to tackle together. For example, you might take a letterpress printing class and then rent time at a studio to print your design. Or you could have screens made and silkscreen the cards yourself. Keep in mind that, with these options, you’ll need to supply your own paper stock and take care of trimming the paper as well. You can take your printed invitations to a local print shop for trimming if you don’t own a paper cutter.
I’ll be back soon with a post about Wording & Etiquette – stay tuned and happy printing!