Happy Weekend!

Happy Friday everyone! It’s November! How is it November??? Daylight Savings Time comes to an end this weekend (ugh), so we’ll fall back an hour on Saturday night. Have you grabbed your new phone or desktop wallpaper yet? You can find them right here! But in the meantime…

Sugar Paper: Start Each Day with a Grateful Heart

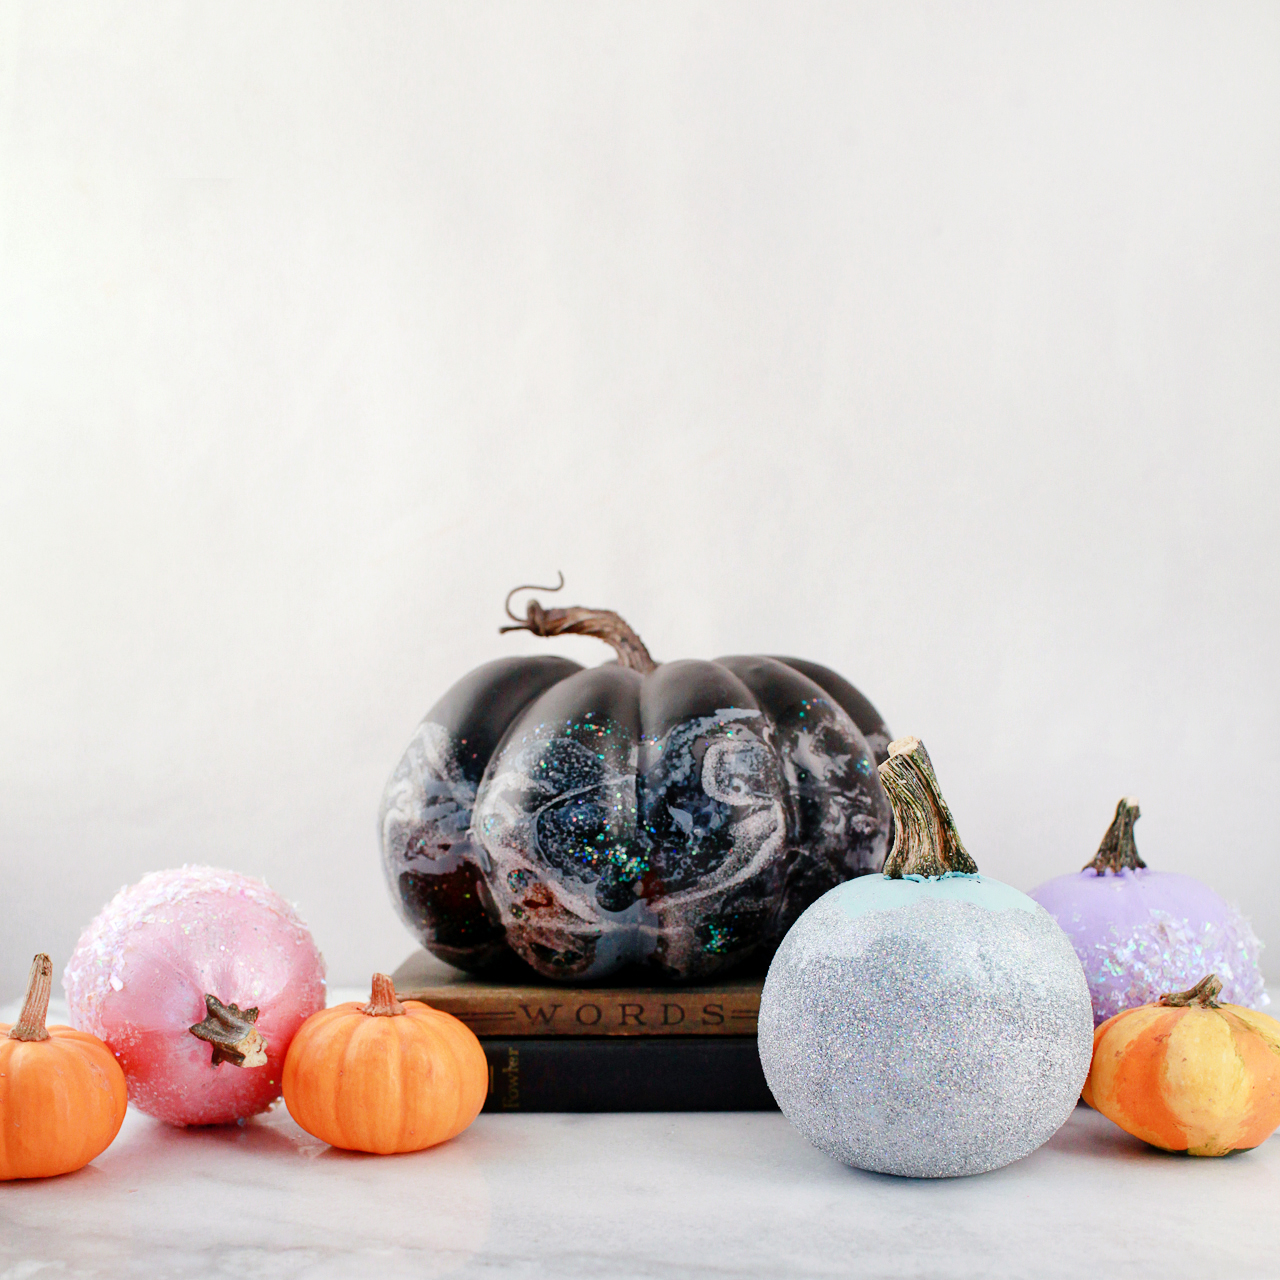
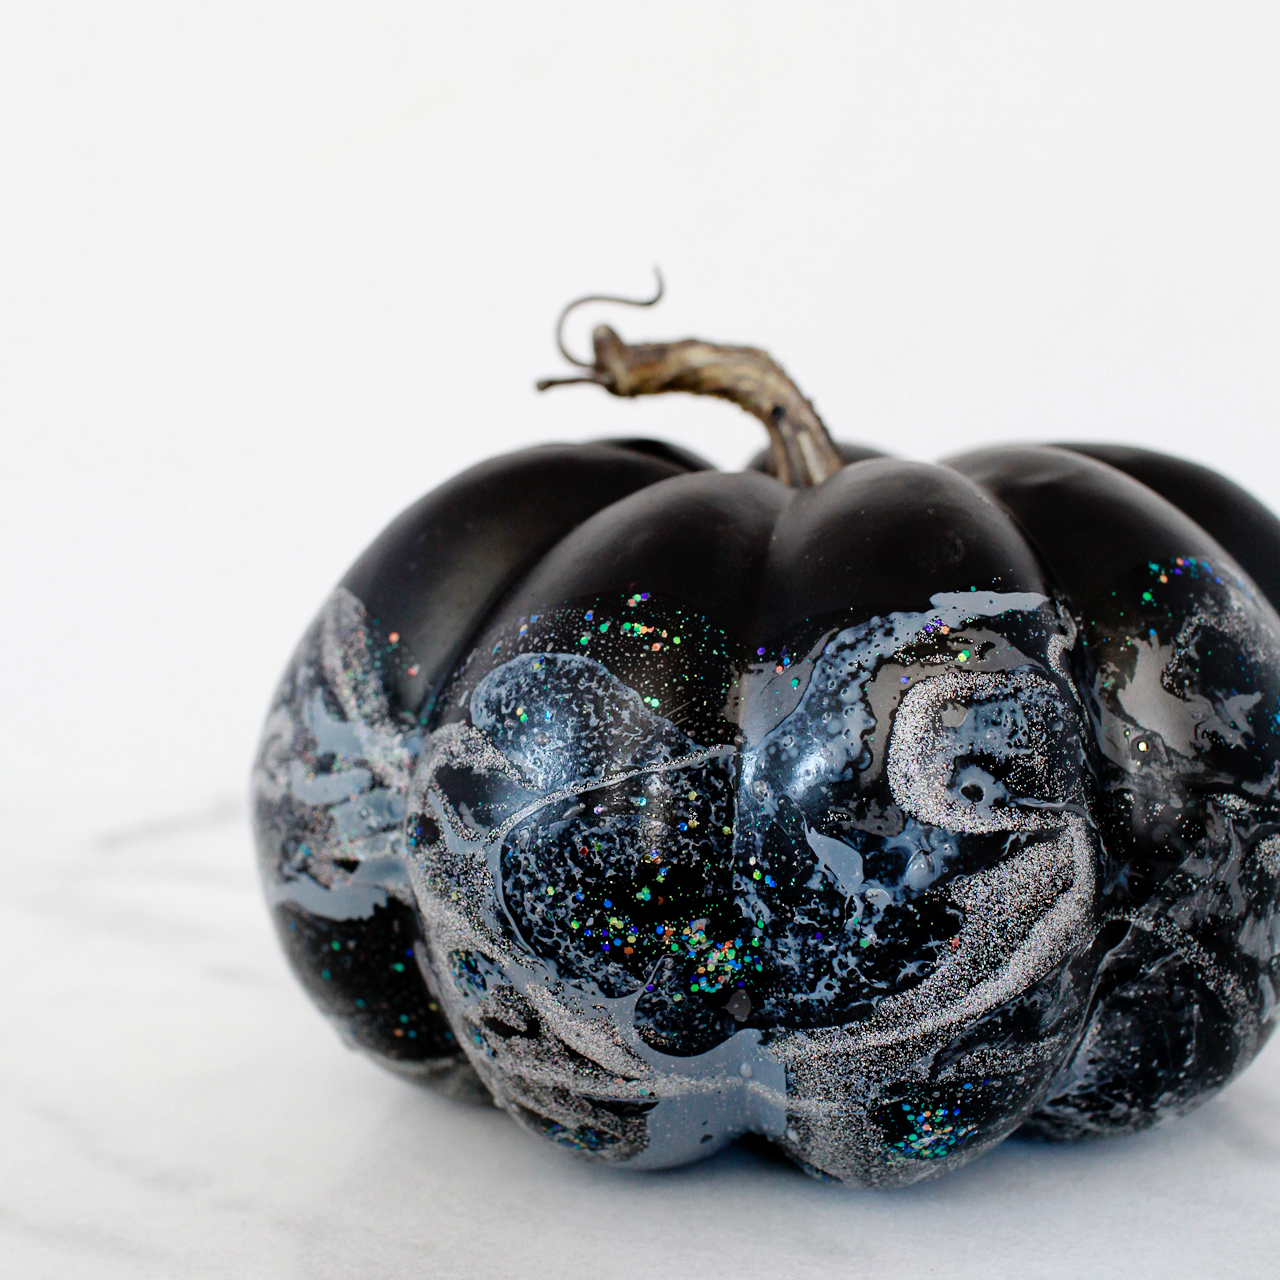
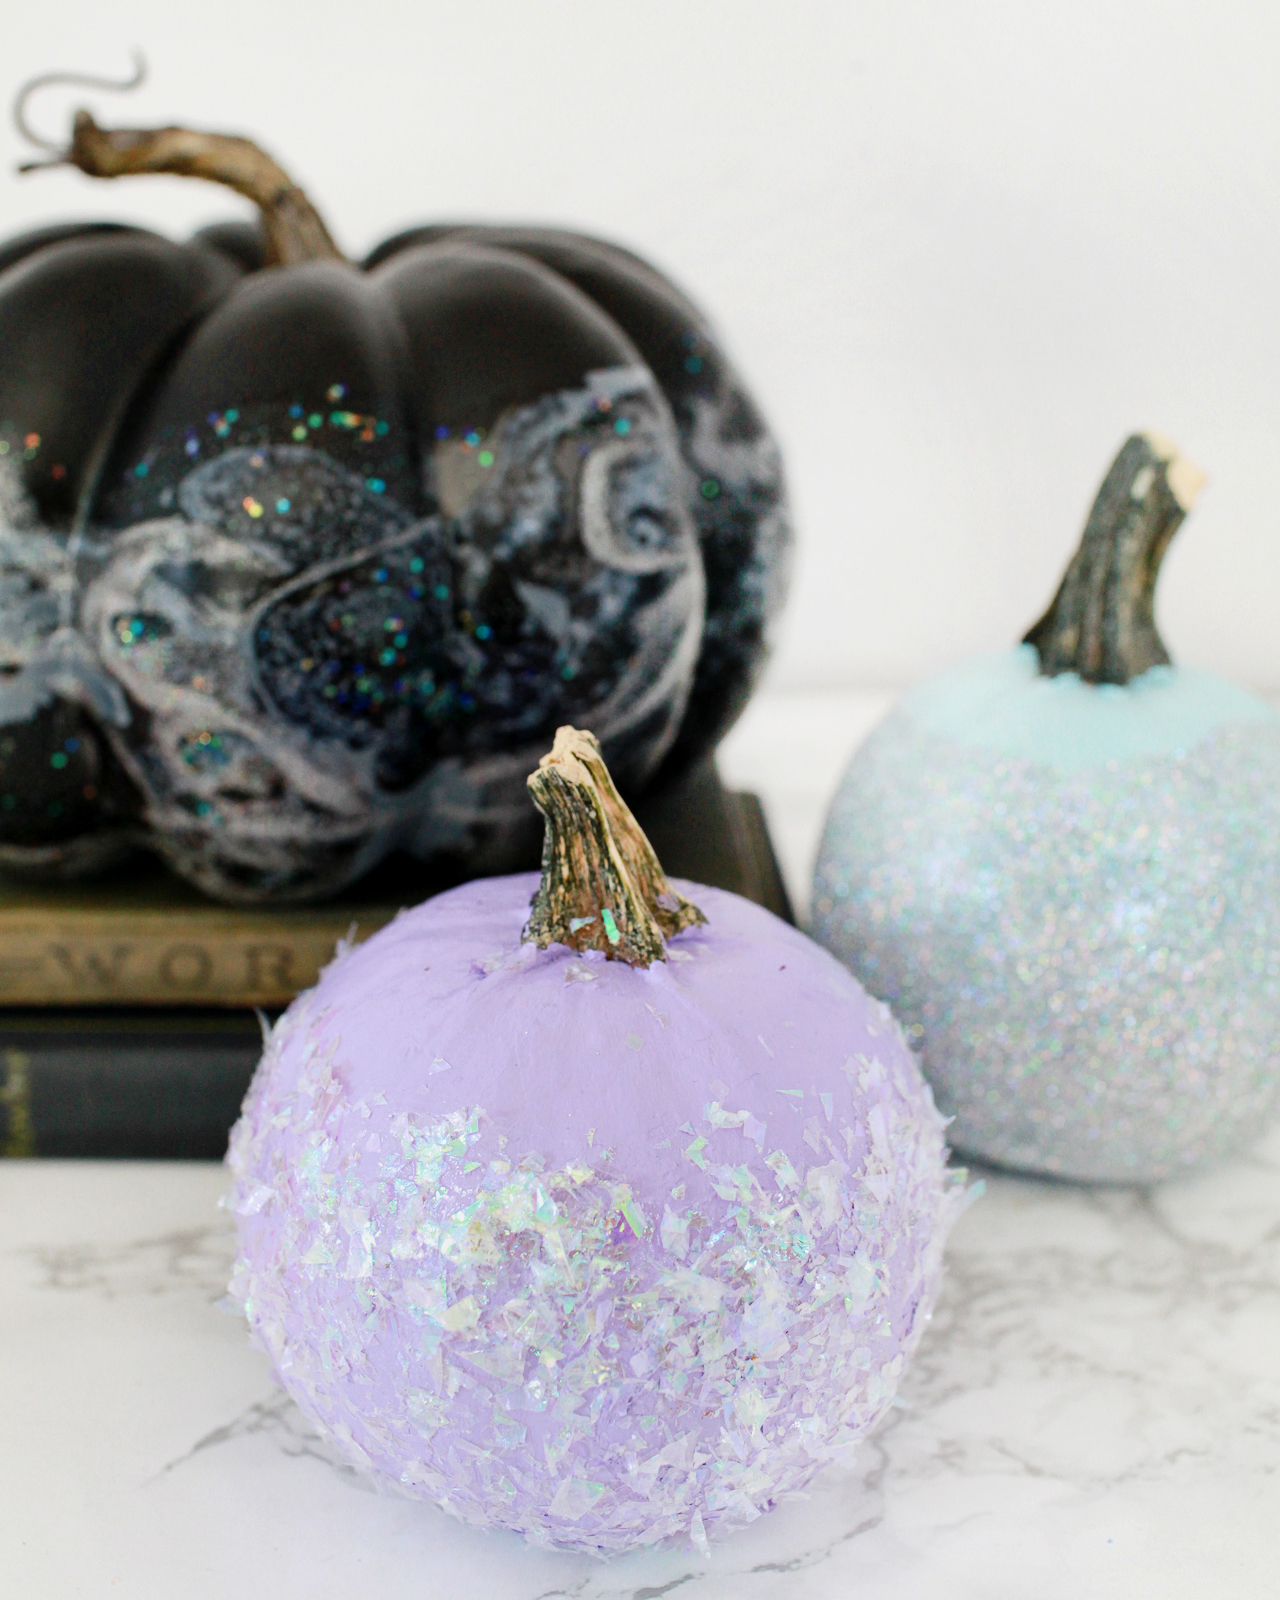
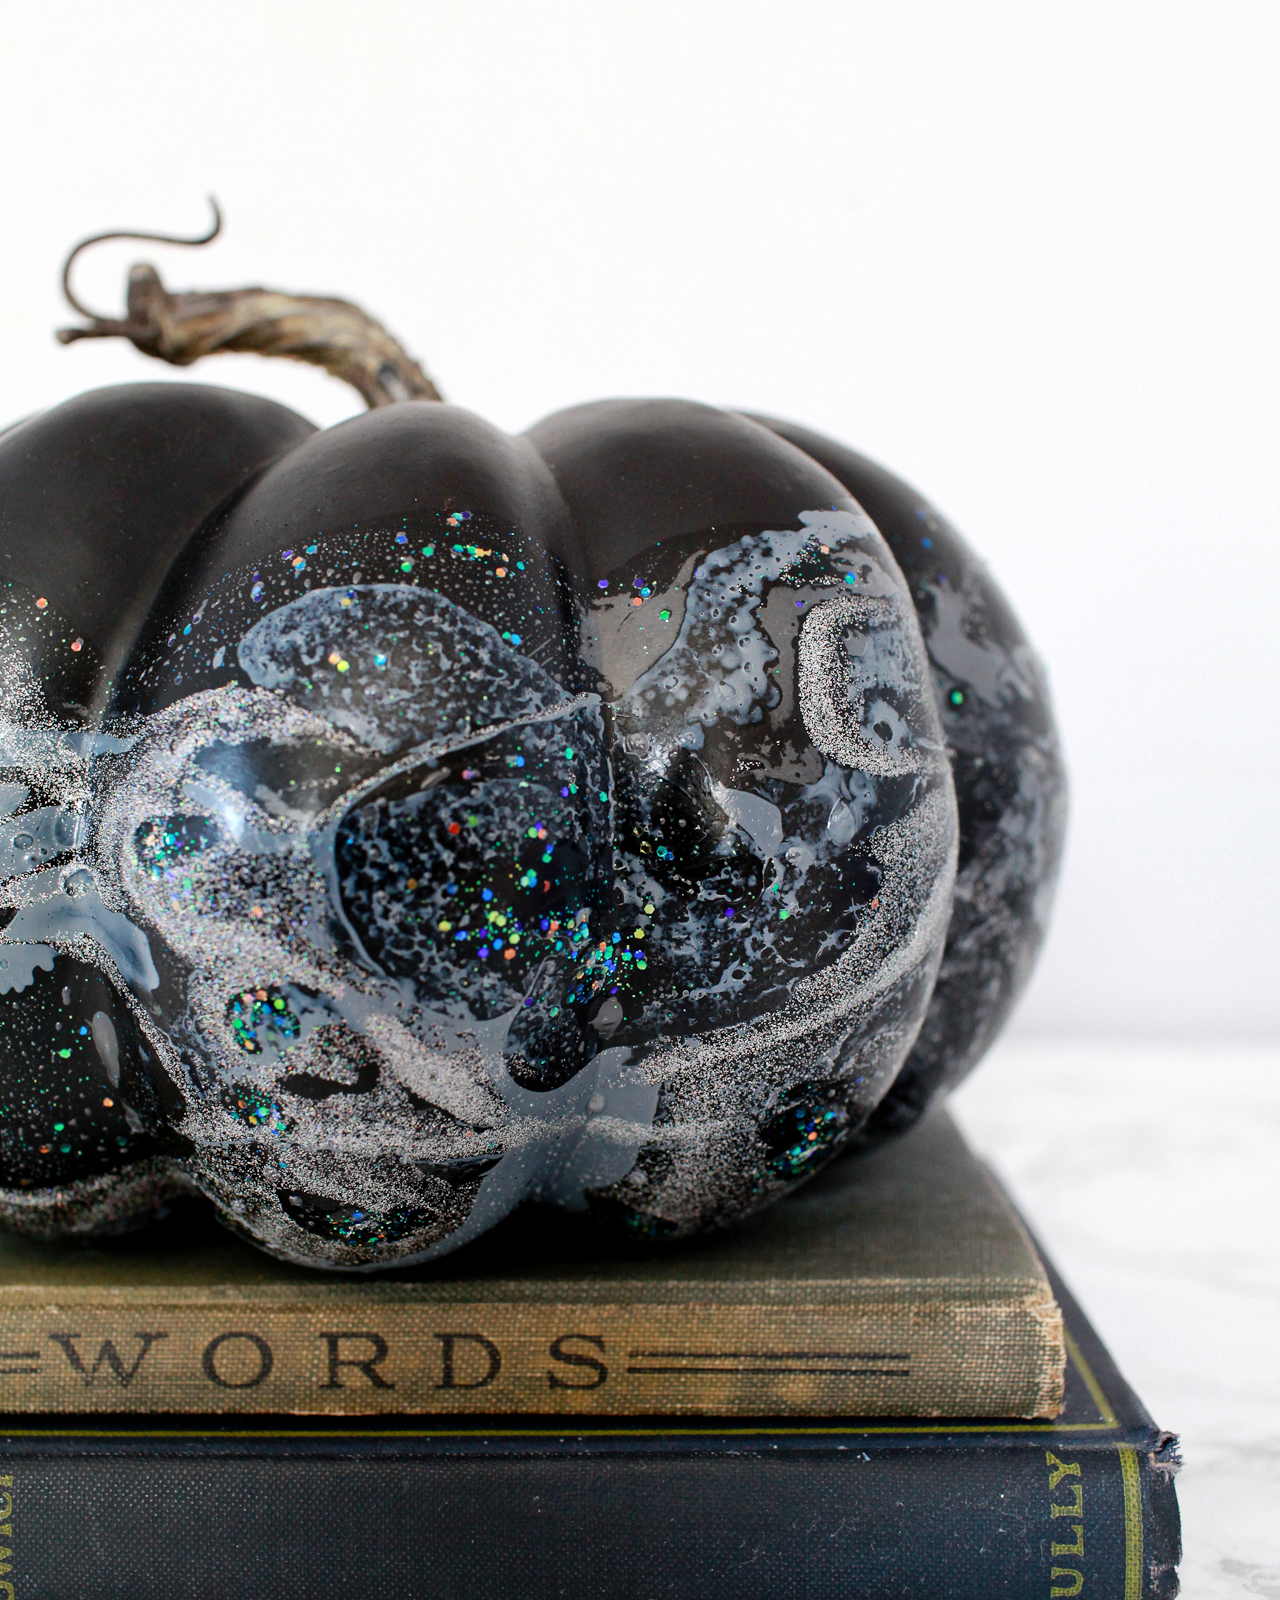
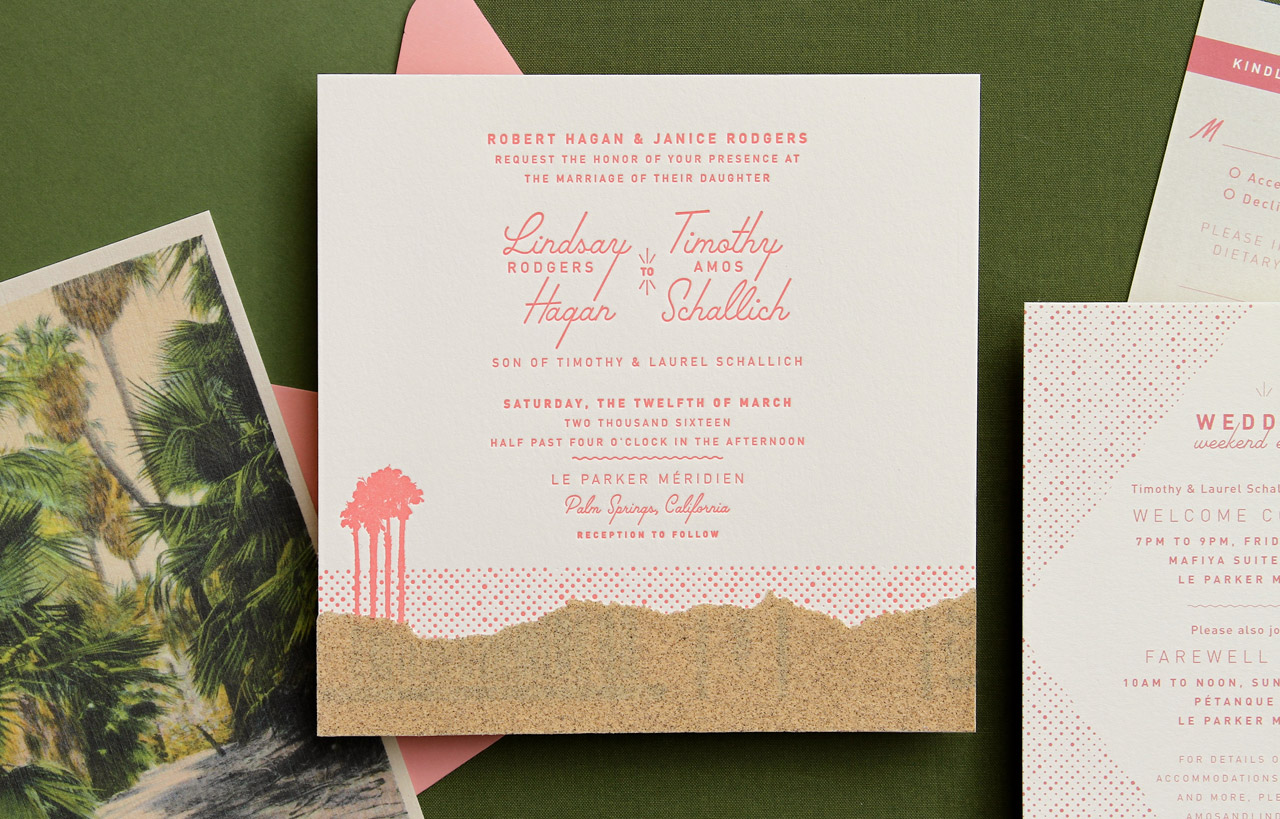
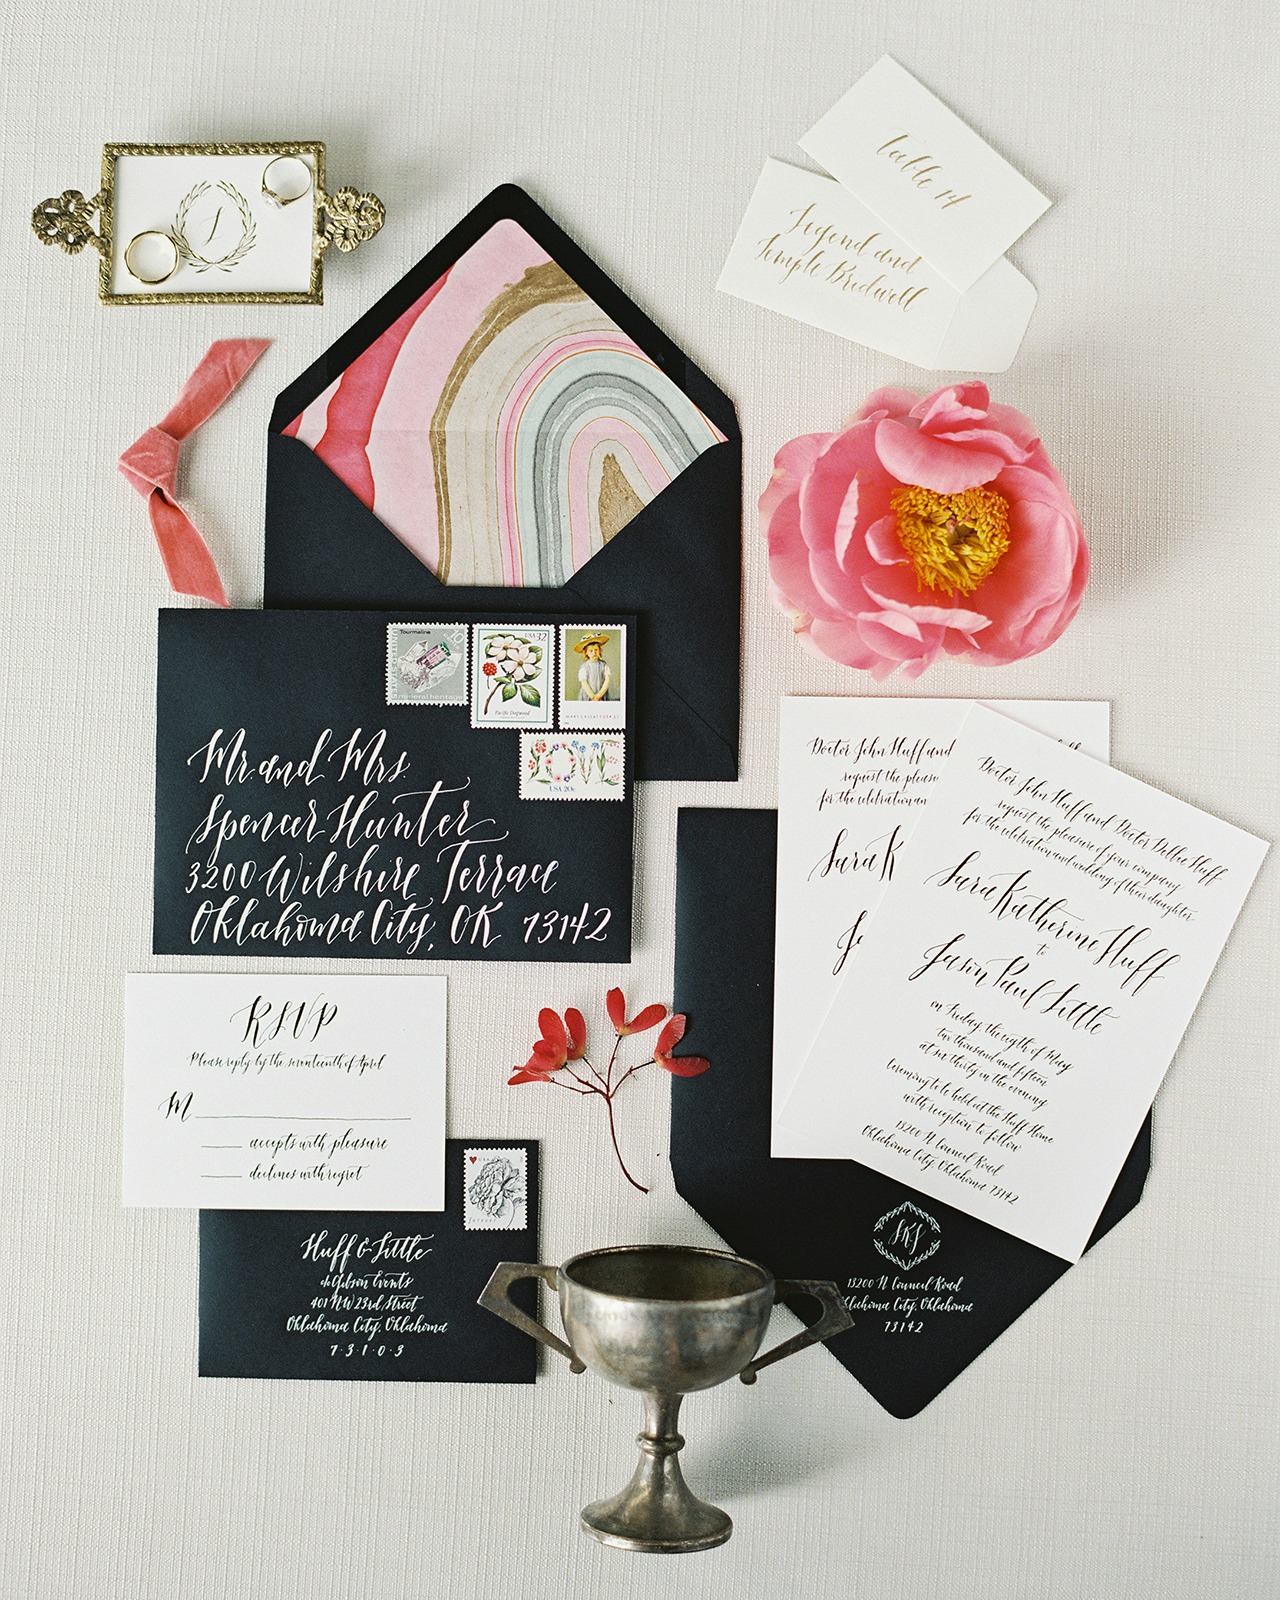
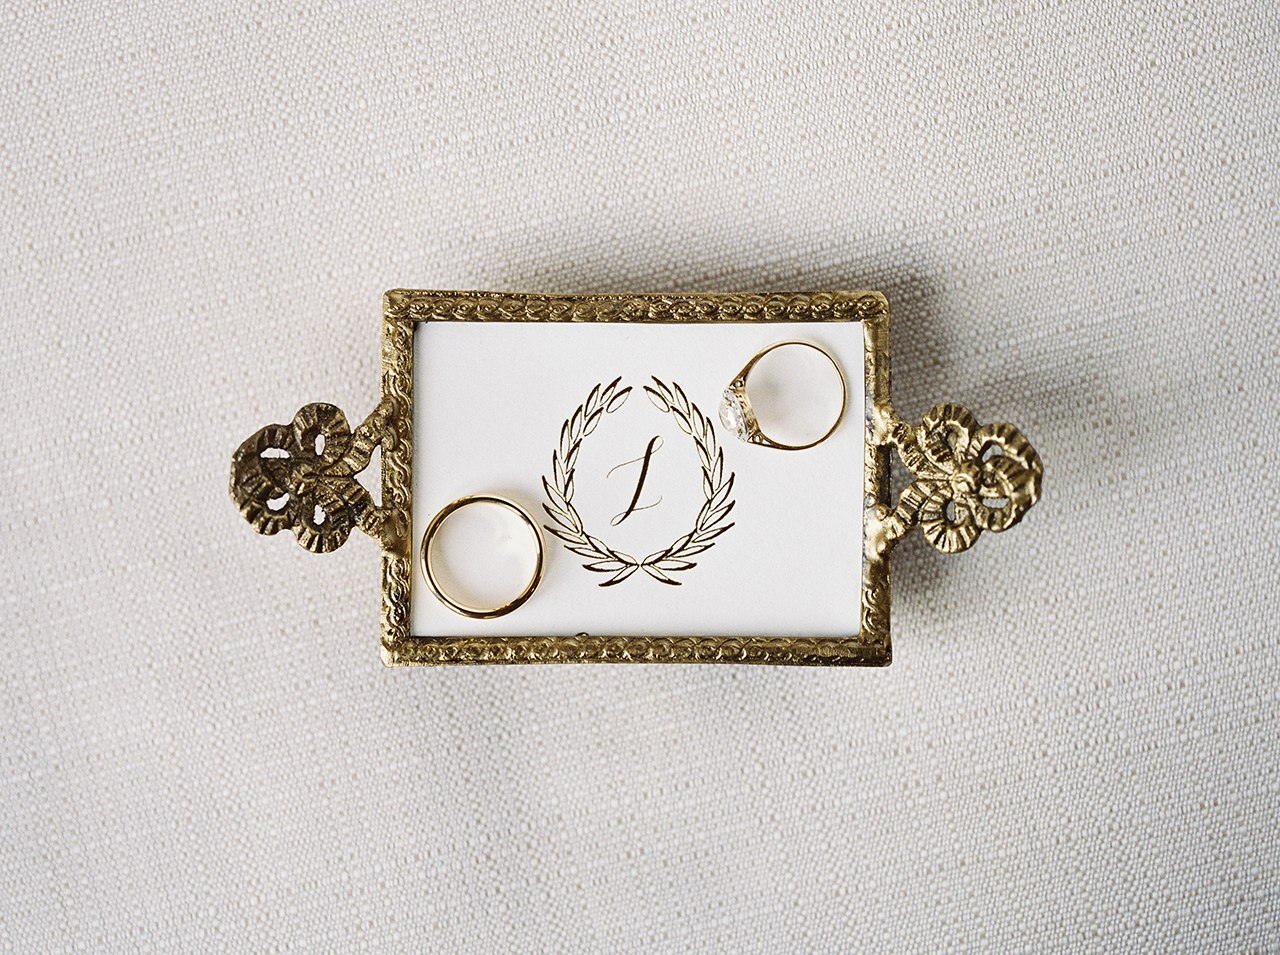
Image by Sugar Paper via Instagram

…a few links for your weekend!

This week on Oh So Beautiful Paper:

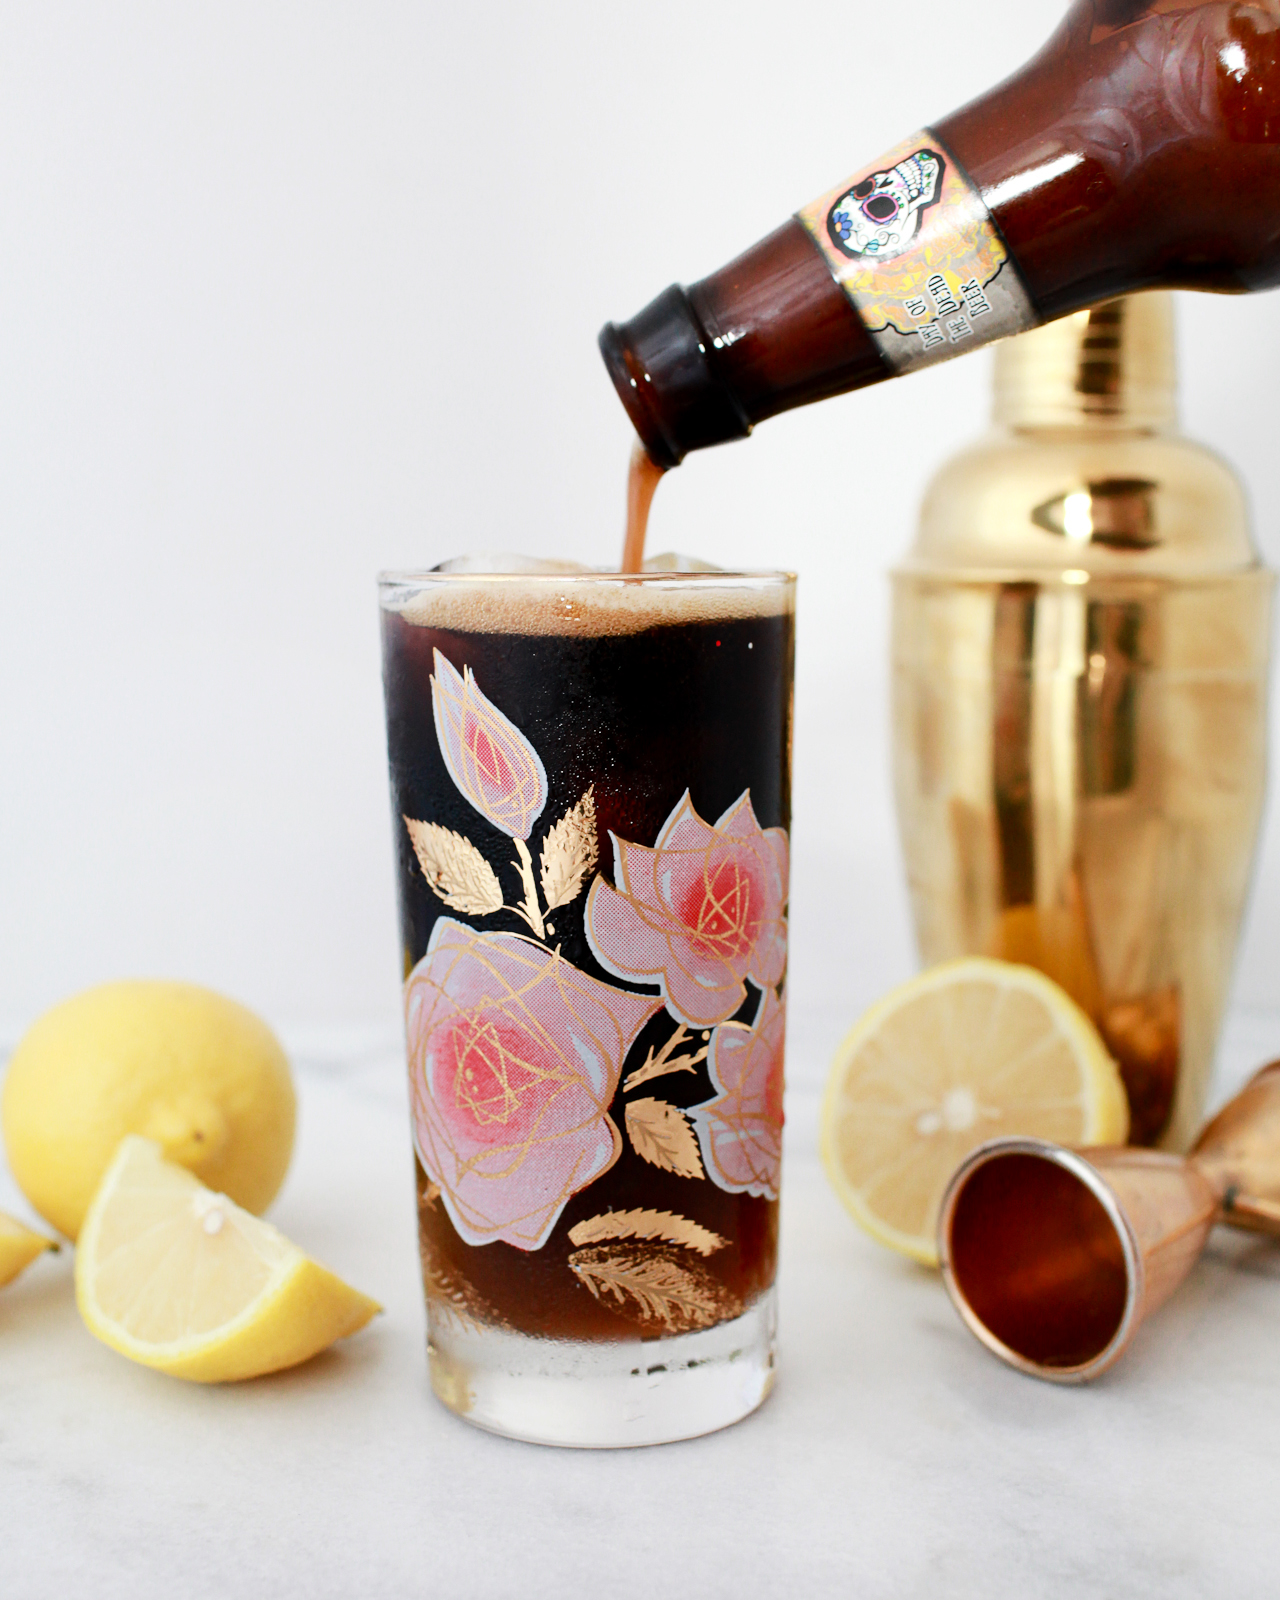
That’s it for us this week! Check back a bit later for a cocktail recipe (yay!) and I’ll see you back here next week! xoxo

DIY Iridescent Pumpkins

Anyone else doing the last minute pumpkin thing? Okay, good! As you may have noticed, I’m a wee bit obsessed with the whole iridescent and hologram thing happening these days, so I wanted to see if it would be possible to apply my favorite trend to our Halloween pumpkins! I tried a few different methods – including marbling and dipping the pumpkins in glitter – on both craft pumpkins and real mini pumpkins to create these fun DIY iridescent pumpkins, and I thought I’d share the results with all of you!

DIY Iridescent Pumpkins for Halloween!

The two main methods that I used to make the pumpkins are nail polish marbling and dipping the pumpkins in iridescent confetti and hologram glitter. I’m including a supply list below with links, but you should be able to find all the materials for these pumpkins locally! For the nail polish marbled pumpkins, you can find all the materials at your local drugstore (I went to CVS) and supermarket. For the confetti and glitter dipped pumpkins, you can find the materials at pretty much any local craft store or party store (mine all came from my local Michael’s). I also made a pastel iridescent pumpkin covered a pumpkin in a layer of iridescent cellophane, but it was a pretty time intensive process so I only ended up making one of them. My favorite is the black marbled pumpkin – the iridescent and hologram nail polish looks like a galaxy!

DIY Iridescent Pumpkins for Halloween!

DIY Iridescent Pumpkins for Halloween!

Supplies

DIY Iridescent Pumpkins for Halloween!

If you haven’t tried nail polish marbling, it’s super easy – but very stinky! I recommend either marbling outside or opening up a bunch of windows to air out the nail polish fumes. To make the iridescent marbled pumpkins, fill a disposable roasting pan with lukewarm water. The water needs to be deep enough to cover the entire pumpkin (or at least the portion that you want to marble). Drizzle nail polish over the water in curvy circular patterns, starting with any solid colors and working towards the clear glitter polish. For the larger pumpkins I used about half a bottle of nail polish each, but for the smaller pumpkins just a few drops of polish is enough. As you add more nail polish, the new drops will make the previous nail polish disperse across the surface of the water, creating beautiful marbled patterns. Holding the pumpkin by the stem, dip the pumpkin in the water and spin it around a bit. Remove the pumpkin from the water and set on wax paper to dry.

DIY Iridescent Pumpkins for Halloween!

I was only able to marble one pumpkin per marble bath, so I tried out a bunch of nail polish combinations on both black and white pumpkins. My absolute favorite combined solid gray, silver glitter, hologram glitter, and iridescent glitter nail polish (all found at my local CVS) on a black craft pumpkin. The hologram and iridescent glitter is pretty subtle on the white pumpkins, so I tried adding a pastel lavender nail polish to the mix, but I think darker colors would have worked better on the white pumpkins – maybe even black or oxblood mixed with the iridescent and hologram glitter polish??

DIY Iridescent Pumpkins for Halloween!

DIY Iridescent Pumpkins for Halloween!

To make the pastel iridescent pumpkin, paint a pumpkin with pastel craft paint or spray paint and let it dry completely. Cut squares of iridescent cellophane that are approximately the same height as your pumpkin – mine were about 6″ square. Apply a layer of quick drying tacky glue to the pumpkin and spread it out with a paintbrush, then quickly press a square of iridescent cellophane to the pumpkin. Continue working around the entire pumpkin until all sides are covered.

DIY Iridescent Pumpkins for Halloween!

To make the glitter and confetti dipped pumpkins, you can start by painting your pumpkins with craft paint in your chosen color palette – or use white mini pumpkins or black craft pumpkins! I painted a few orange mini pumpkins in a pastel color palette of pink, mint green, and lavender. Use a paintbrush to apply a layer of mod podge or school glue on the lower 2/3 of your pumpkin. For the iridescent confetti pumpkins, hold a pumpkin by the stem over a bowl filled with confetti. Grab small handfuls of confetti and press it on the pumpkin until all sides are covered with confetti. For the hologram glitter pumpkins, I found it was easiest to fill a bowl with the glitter, then hold the pumpkin by the stem and dip the pumpkin into the glitter. Slowly turn the pumpkin until all sides are covered with glitter, then set aside to dry. Once the pumpkins are dry, you can tap them to shake off any excess glitter. If you like, you can take the pumpkins outside and spray them with a clear varnish to seal the rest of the glitter.

DIY Iridescent Pumpkins for Halloween!

DIY Iridescent Pumpkins for Halloween!

DIY Iridescent Pumpkins for Halloween!

p.s. These DIY iridescent favor bags could be easily repurposed as Halloween party treat bags!

Photos by Nole Garey for Oh So Beautiful Paper

Retro Coral and Olive Palm Springs Wedding Invitations

These retro coral and olive Palm Springs-inspired wedding invitations from Anticipate Invitations are so much fun! Gorgeous coral letterpress printing with palm tree motifs and retro typography selections are complemented by a mixed media (sandpaper!) element to mimic a desert landscape. The classic retro vibes from this suite set the stage wonderfully for the couple’s retro Palm Springs wedding bash!

Retro Coral and Olive Palm Springs Wedding Invitations by Anticipate Invitations

From Michael: Every once in awhile a couple comes along that gives you complete creative license, and so it was for Lindsay and Timothy’s Palm Springs retro wedding bash. They wanted to have an element of fun mixed with the classic retro vibes of Palm Springs, so we threw out the idea of doing a desert landscape made of sandpaper and they were all in.

Retro Coral and Olive Palm Springs Wedding Invitations by Anticipate Invitations

The square invitation card was letterpress printed on ecru Lettra with coral pink ink. The layout was kept simple, with modern typography and a simple, throwback, script font for their names. Silhouettes of three palm trees were letterpress printed in the corner along with a ‘sunset’ of half tone dots, as a nod to the pop art movement of the 1960s.

Retro Coral and Olive Palm Springs Wedding Invitations by Anticipate Invitations

Then we tore strips of sandpaper to complete the Palm Springs desert scene, adhered them to the invitation, and trimmed the edges flush with the card edges.

Retro Coral and Olive Palm Springs Wedding Invitations by Anticipate Invitations

Retro Coral and Olive Palm Springs Wedding Invitations by Anticipate Invitations

The remaining cards were printed digitally on ecru Lettra paper. The suite included a details card of wedding weekend events, framed with a diamond of halftone dots. Also included was a reply card in the form of a vintage postcard. We sourced the postcard from eBay, digitally resized it to fit a 4×6″ postcard, and removed some of the original text from the back to make room for the reply card wording. Using a postcard instead of envelope also helped bring costs down by removing the reply envelope and reducing postage.

Retro Coral and Olive Palm Springs Wedding Invitations by Anticipate Invitations

The coral square invitation envelope was lined with olive green paper and perfectly complemented the foliage of the vintage postcard. Envelopes were digitally printed with guest addresses and the couple sourced their own vintage postage stamps to grace the front.

Retro Coral and Olive Palm Springs Wedding Invitations by Anticipate Invitations

It is such a pleasure to work with couples who give just the right amount of direction. Adding a hand-applied element is always something we’re excited to take on as it truly makes the suite one-of-a-kind!

Thanks Michael!

Design: Anticipate Invitations

Letterpress Printing: Thomas Printers

Digital Printing: Digital Lizard

Check out the Designer Rolodex for more tal­ented wed­ding invi­ta­tion design­ers and the real invi­ta­tions gallery for more wedding invitation ideas!

Photo Credits: Anticipate Invitations

Black and White Foil Stamp Calligraphy Wedding Invitations

When a stylish boutique owner gets engaged and teams up with a design maven like Lauren of Blue Eye Brown Eye for her wedding stationery, you just know that invitation is going to pack a punch! These black and white foil stamp calligraphy wedding invitations are bold yet totally refined and elegant, and are complemented by colorful marbled envelope liners and curated vintage stamps! Lauren’s calligraphy is beautifully incorporated throughout and I love how the day of stationery pieces incorporate gold into the overall design aesthetic. Bold, unique, and timeless – what a great combo!

Black and White Foil Stamp Calligraphy Wedding Invitations

From Lauren: Vintage stamps. Marbled Liners. Classic black and white with pops of color. All of the makings of a beautiful and timeless wedding suite. Enter couple Sara Kate and Jason, a stylish match made in heaven. The bride is the owner of Sara Kate Studios, an eclectic boutique, styling company, and interior design power house out of Oklahoma City, and had a distinct vision to match her impeccable taste.

Black and White Foil Stamp Calligraphy Wedding Invitations

Mixing classic black and white with pops of color in the envelope liners and vintage stamps, their invitation perfectly represented them as a couple. We had a lot of fun pulling together the vintage stamp collection, representing artists, florals, a mix of colors, and geodes, which went along with the hand marbled envelope liners in shades of pinks, blues, golds, and blacks. Each liner was different, a detail I love to incorporate. It gives each invitation its own special and individual personality.

Black and White Foil Stamp Calligraphy Wedding Invitations

We incorporated foil printing in each element for this project, from invitations to day of pieces. For the invitation, black foil printing on thick, white cotton stock made the text pop and stand out, and white the white foil printing on black envelopes added drama. Mix that with white calligraphy on a black envelope, and you get a distinct look (and a personal favorite of mine).

Black and White Foil Stamp Calligraphy Wedding Invitations

For day of pieces, we transitioned from black and white to gold, incorporating calligraphy into the menu designs, and a custom hand drawn laurel wreath with their new last name monogram – L. We carried the gold through to the escort cards in a unique display: using a vintage bulb frame, a special piece of the bride’s.

Black and White Foil Stamp Calligraphy Wedding Invitations

Black and White Foil Stamp Calligraphy Wedding Invitations

Black and White Foil Stamp Calligraphy Wedding Invitations

The bride used her impeccable styling skills and composed each vignette for the paper prior to the wedding, making the images all the more special because they have her special touch.

Black and White Foil Stamp Calligraphy Wedding Invitations

Thanks Lauren!

Design and Calligraphy: Blue Eye Brown Eye

Printing: Letterpress Graphics

Marbled Paper: Paper Mojo

Styling: Sara Kate Studios

Wedding Planner: Gibson Events

Check out the Designer Rolodex for more tal­ented wed­ding invi­ta­tion design­ers and the real invi­ta­tions gallery for more wedding invitation ideas!

Photo Credits: Brett Heidebrecht

A Sudsy Whiskey Sour

The weather has turned, and I’m in the mood for dark, rich drinks. And since we’re spending October with beer cocktails, what better thing is there to jam together a dark and rich classic cocktail – the Whiskey Sour – with a dark rich Porter beer? This beer and whiskey sour cocktail recipe is the perfect addition to your fall cocktail menu. –Andrew

Beer and Whiskey Sour Cocktail Recipe / Liquorary for Oh So Beautiful Paper

Beer and Whiskey Sour Cocktail Recipe / Liquorary for Oh So Beautiful Paper

Sudsy Whiskey Sour

2 oz Whiskey
3/4 oz Lemon Juice
3/4 oz Pedro Ximénez Sherry
1/2 oz Amaro Montenegro
Porter Beer

Add the whiskey, lemon juice, sherry, and amaro in a cocktail shaker filled two-thirds with ice and shake to combine. Strain into a highball glass filled with fresh ice and top with the porter. Give it a gentle stir and enjoy!

Beer and Whiskey Sour Cocktail Recipe / Liquorary for Oh So Beautiful Paper

The Whiskey Sour is a pretty simple drink – whiskey, your choice, with a bit of lemon and a bit of sugar. This drink jazzes it up a bit with Pedro Ximénez sherry, a sherry made from dried grapes that is full of fruity raisin notes and is sweet enough that you can use it in place of simple syrup. It’s rounded out by Amaro Montenegro, a gently bitter Italian liqueur, that adds another layer of dark, herbaceous complexity. (You could try out any gentle amaro here or, if you don’t have one handy, try throwing in a few dashes of Angostura bitters to help give it that extra layer of complexity and a touch of bitterness.)

Beer and Whiskey Sour Cocktail Recipe / Liquorary for Oh So Beautiful Paper

So to all that, we add porter, a dark, sweet, malty beer that gets its name from the English workers who used as something of an early energy drink. Pouring it on top of your Whiskey Sour gives you a layered drink, one that starts out sweet and malty and grows progressively more complex – both fruity and a bit herbal as you get closer to the bottom. (Or, I suppose, in reverse if you drink this with a straw, which is totally your prerogative.)

Beer and Whiskey Sour Cocktail Recipe / Liquorary for Oh So Beautiful Paper

(Don’t forget to follow us on Instagram!)

Glassware by Liquorary

Photo Credits: Nole Garey for Oh So Beautiful Paper