It’s the ladies of AntiÂquaria, back with another fabÂuÂlous and creÂative DIY project for you all!  This week they’re here with instructions on creating a perforated enclosure for your invitations or save the dates!
For this Save the Date DIY, we were inspired to create a suite that appealed to a more modern aesthetic.  The clean lines of  the black & white design create a classic look while the handmade touches add texture and personality to these otherwise simplistic pieces.  The most exciting part??  It’s so easy to do perforation yourself!!
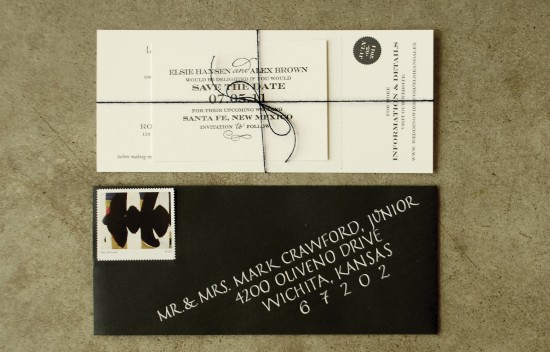
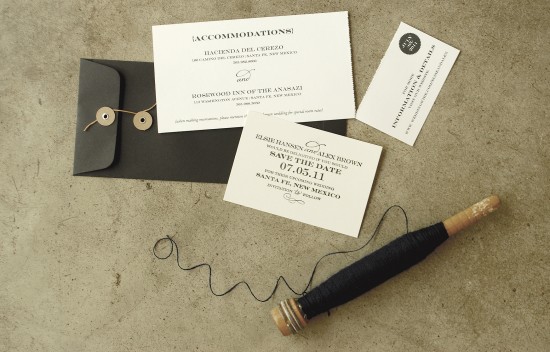
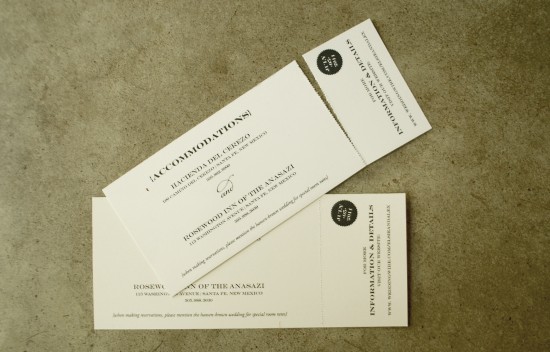
For this suite, we combined a printed accommodations/website card with our “Sophisticate” save the date stamp to provide layers of texture. Â We recommend sending out the accommodations and website information with your save the date so that guests have plenty of time to make arrangements. Â The perforated website card is small and useful. Â Guests can take this small piece to the computer or travel agent to book their trip.
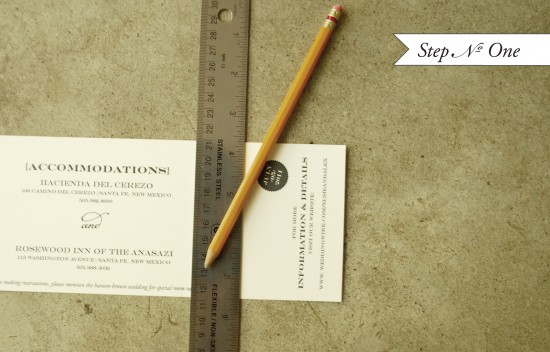
Step One: Using a pencil & ruler, faintly mark where you want the perforated line to be.
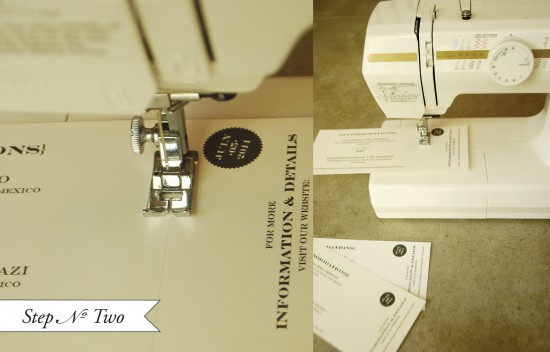
Step Two: Remove the thread from your sewing machine (top spool & bobbin). Â Set your stitch length to be relatively small (we set it on 2 on a scale of 1-4). Â Sew along the pencil line. Â Since there is no thread in the machine, all that will be left are tiny needle holes that create the perforation.
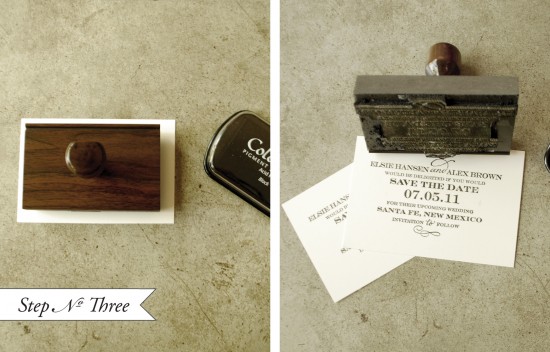
Step Three: On a hard, flat surface, lay out your paper that you want to stamp. Â Ink your stamp (we used the “Sophisticate” save the date) in desired color, lay down gently on paper and give the stamp even pressure. Remove the stamp to reveal your inked image.
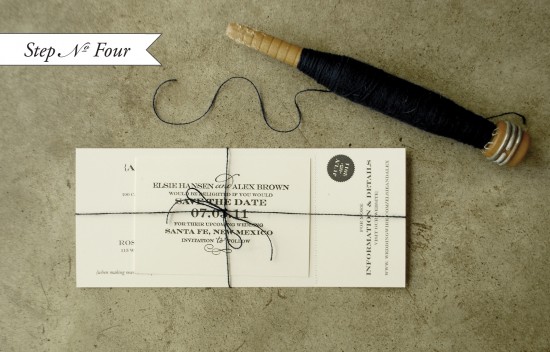
Step Four: Tie the pieces together with a string. Â Now all that’s left is address and mail them!!
** Please make sure to “hand cancel” the postage if you use the string and button envelopes. Â This will help to make sure the Save the Date arrives in pristine condition.
Materials:
Custom Rubber Stamp – we used our “Sophisticate” Save the Date stamp
Accommodations/website card – Use a word processing program or design software to create an #10 card.  We have also just recently added an accommodations rubber stamp to our webstore, see the whole collection here.
Paper – We used the Paper Source Luxe, white cover stock (8.5″x11″)Â for this tutorial. Have the paper cut to size to fit the #10 envelope (3.75″x9″) for the accommodations/website card. Have the paper cut to (3″x4″) for the Save the Date card.
Envelope – We love the string and button tie of this #10 envelope
Ink – We used black for this suite.
Black embroidery thread – you can find this at your local craft or fabric store.
Photo Credits: Antiquaria

