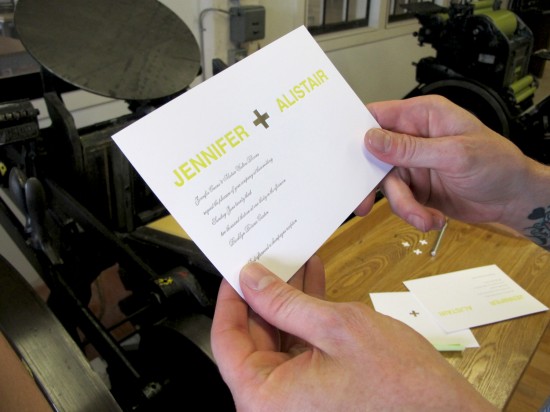
NYIGF January 2012, Part 1

Whew!  Between NYIGF and the Louie Award judging, the last couple of days have been quite a whirlwind.  There were more stationers exhibiting at NYIGF than ever before, which means I have a lot of fun stuff to show you!  Unfortunately the hotel wifi here in New York is kind of terrible, so I may need to wait until next week to share the bulk of my favorites from the show.  But today I’m starting off with two of my favorite booths – both of which happen to be two of the largest booths packed full of stationery awesomeness and which also made their NYIGF debut this week!

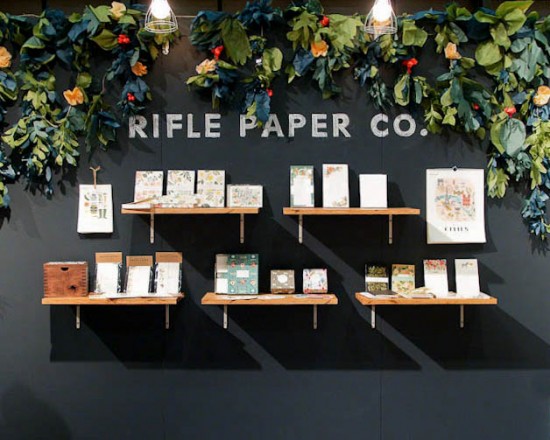
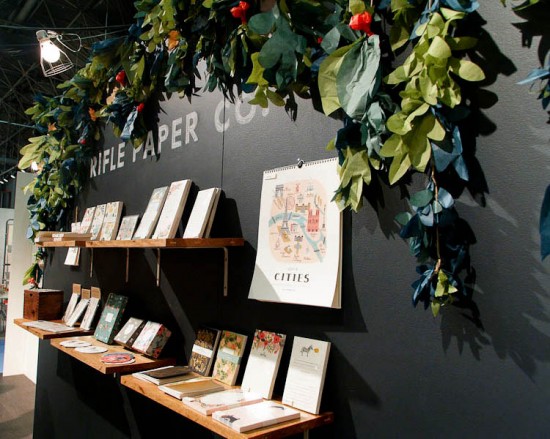
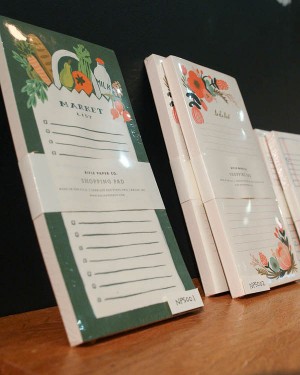
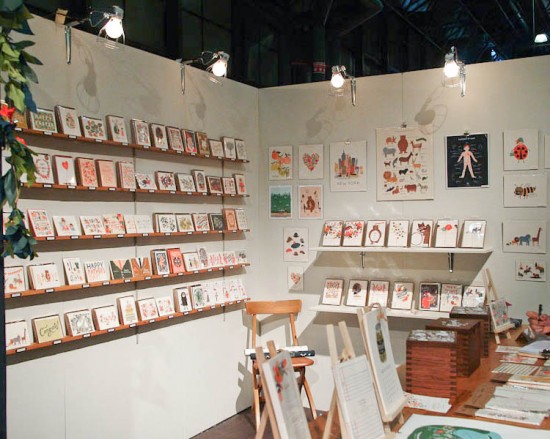
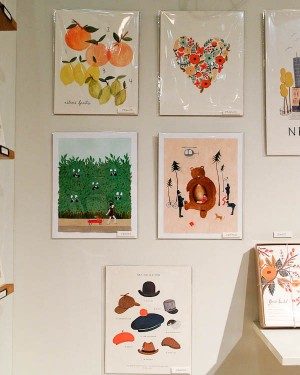
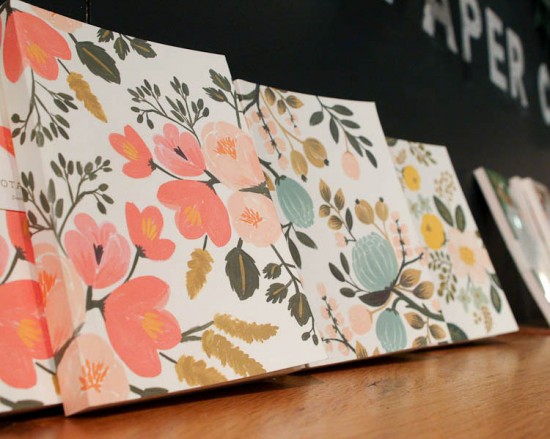
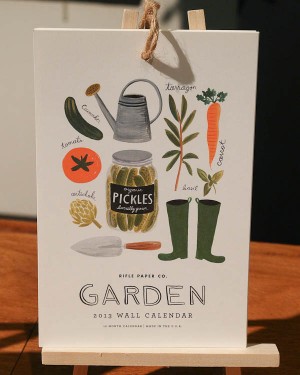
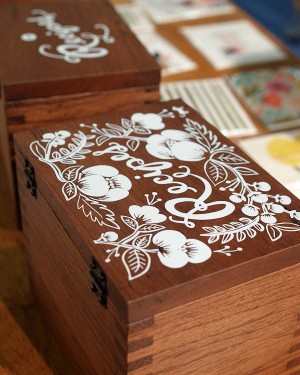
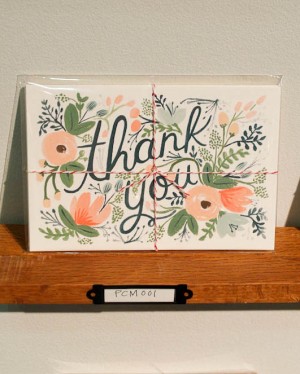
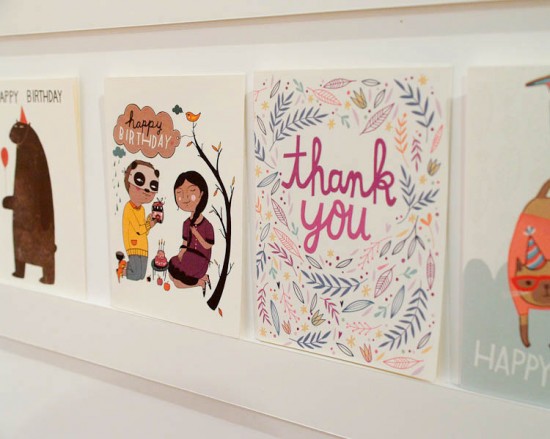
First up, Rifle Paper Co.!  I look forward to their beautiful booth at the National Stationery Show each year, but they also did an amazing job with their booth for NYIGF.  Anna and Nathan also have a ton of fun new products coming very soon – from magnetic shopping list notepads to beautiful gold foil and floral pocket journals to new greeting cards.


Rifle Paper Co.

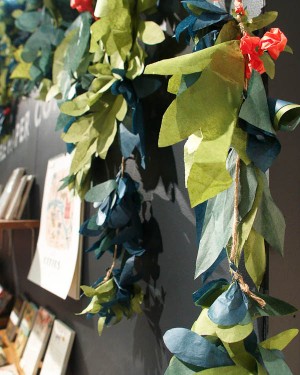
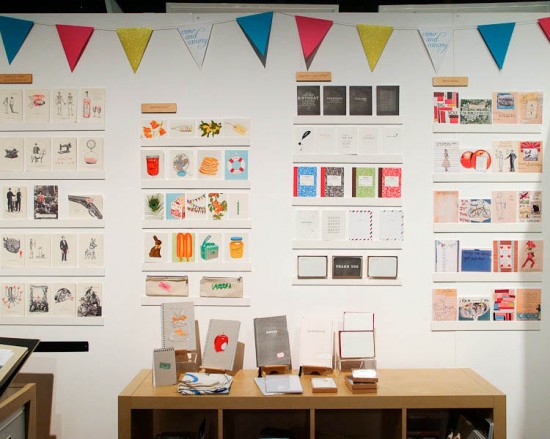
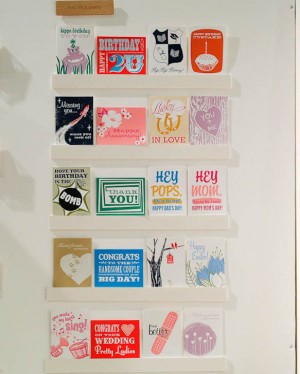
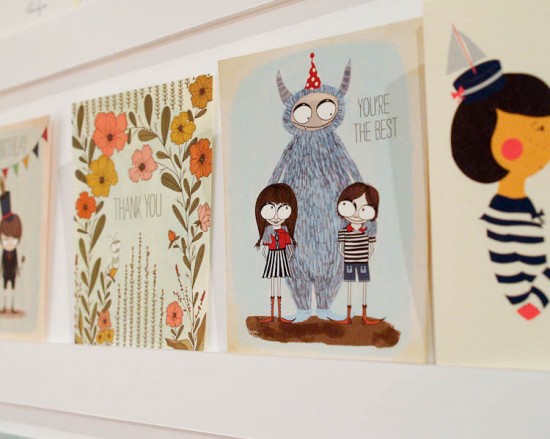
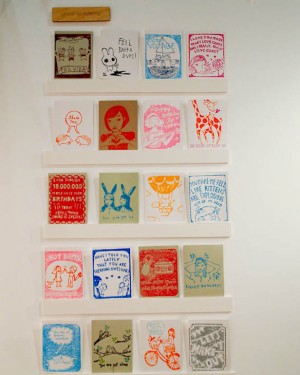
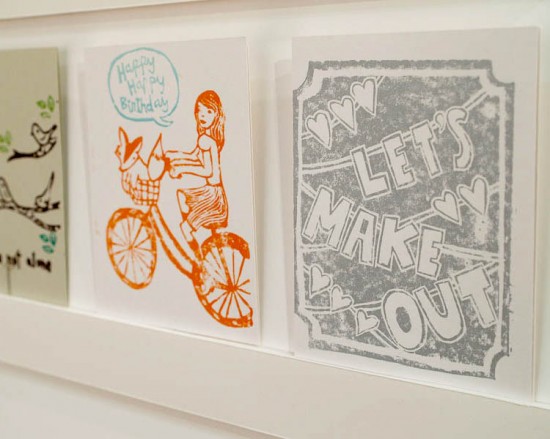
Next up, Crow and Canary – making their NYIGF debut with a booth representing a collective of several stationers.  Although this was technically a single booth, it was packed full of gorgeous stationery from several of my favorite designers!


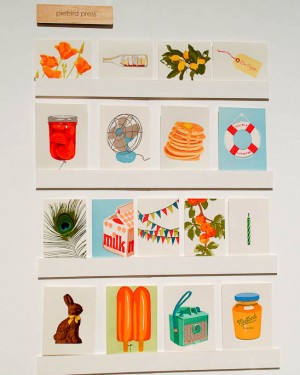
Pie Bird Press (left) and Two Trick Pony (right)

Red Cap Cards


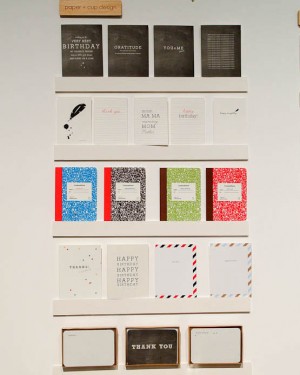
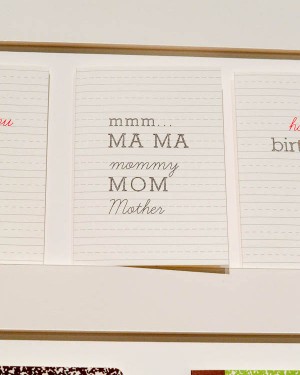
Paper + Cup


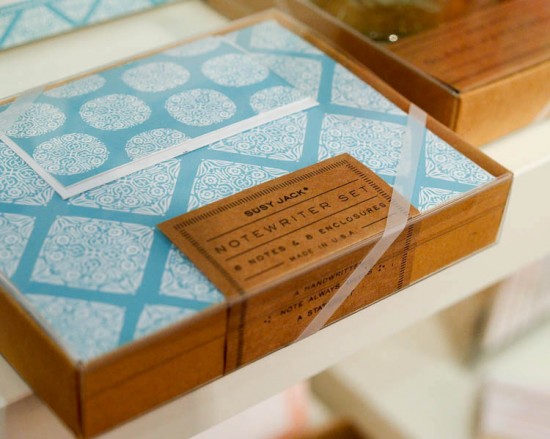
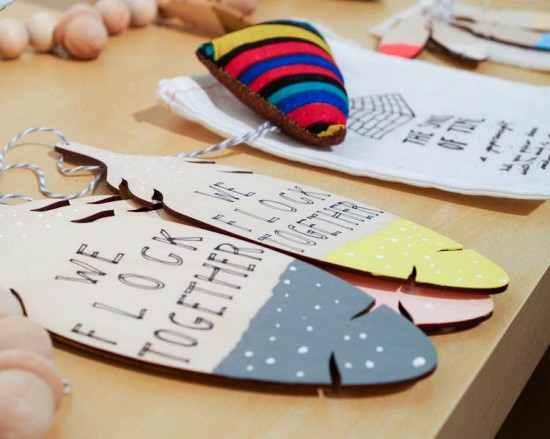
Susy Jack* – including gorgeous new paperweights and writing sets!


Dear Hancock (left) and Gold Teeth Brooklyn (right)


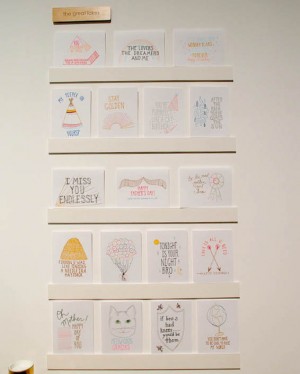
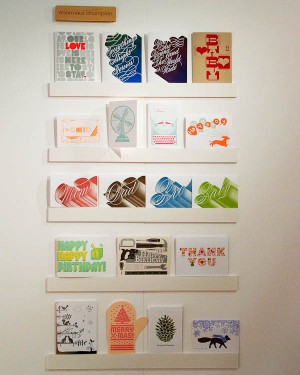
The Great Lakes (left) and Enormous Champion (right)

The Great Lakes


Sapling Press


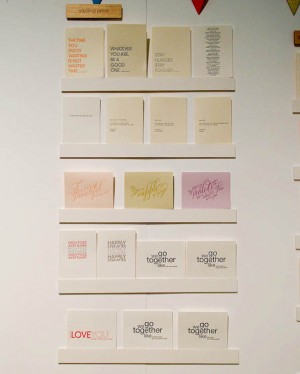
Ghost Academy (left) and Greenwich Letterpress (right)

Ghost Academy

Greenwich Letterpress

I’m afraid that’s all for now, but I’ll be back with lots more soon!

Photo Credits: Nole Garey for Oh So Beautiful Paper

The Printing Process: Edge Painting

Every morning this week, I’m running a series of guests posts about different printing methods â€“ so if you’ve ever wondered why certain printing methods are best for certain kinds of designs (or cost more than others), this is for you!  You can read the previous installments covering digital printingengravingscreen printingletterpress printing with antique type, and foil stamping all right here.  Today Michael from Czar Press is here to walk us through edge painting!

What is Edge Painting?

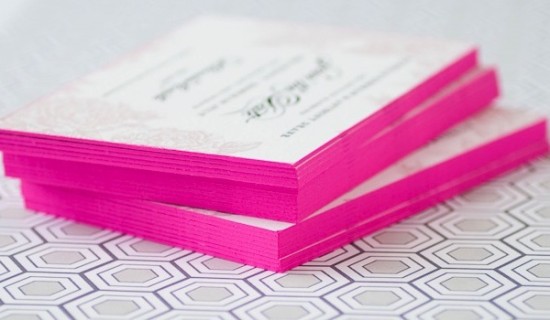
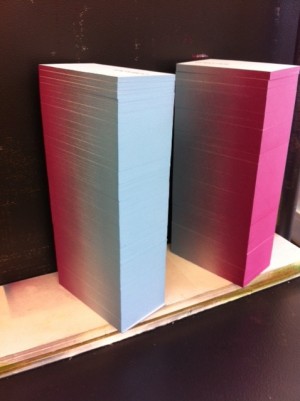
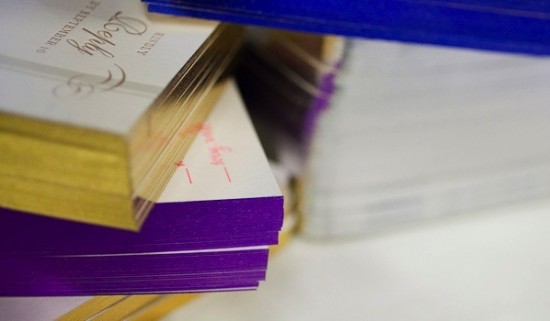
Edge painting at its surface sounds pretty simple – it’s a process by which color is applied to the edges of cards, invitations, even books or journals.  Edge painting can be done in any color, including metallics and foils (!), and is usually mixed by hand to be matched to a specific Pantone color.

I’m a huge fan of edge painting for a bold pop of color on business cards and wedding invitations, like the new invitation collections from Bella Figura, Dauphine Press, and many others.  While edge painting is a commonly used technique, there is a whole lot of mystery surrounding the process – and printers seem to have different methods or processes for applying edge paint.  Today we have Michael from Czar Press walking us through his edge painting process and removing some of the mystery from this popular technique!

The Process

The edge painting process takes place after all graphics and text have been printed and all paper materials cut down to size.  For this example, we’re focusing in on a recent business card project.  I like to make sure my blade is especially nice and sharp when trimming out cards that are going to be edge painted.

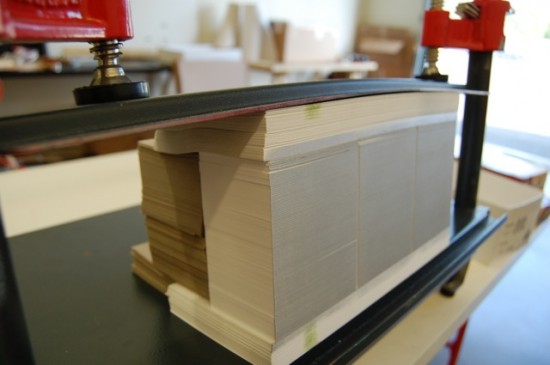
Edge painting involves a padding press (pictured above), ink, and a brayer.  The cards should be stacked on the padding press, making sure that the cards are pressed against one wall of the padding press as evenly as possible.  Crank down the vice(s) on the press, applying pressure to the cards, making them nice and snug.  Remove the outer wall off the padding press, leaving one side exposed.  This the side that will receive the ink.


Then using just a little bit of ink, ink up your brayer.  Roll the brayer around and around on a piece of glass if possible in attempt to make the ink spread even across the brayer roller.  Then I apply the ink to the exposed side of the card, applying as little pressure as possible with the brayer to get good ink coverage on the cards.  Once the ink has been applied, I like to gently wipe down the inked side of the cards with a cotton cloth to remove any excess ink.


Let them dry for a while – maybe an hour, depending on conditions – until they are dry to the touch.  Put the outer wall back on the padding press, spin the cards around to the next side and repeat until all sides are complete.

Tips and Advice

Most printers recommend thicker papers – usually 160 lb and up – for maximum results with edge painting.  Edge painting can be done on thinner paper, but heavier (thicker) paper weights will better show the color and saturation of the ink color.

Similarly, most letterpress printers recommend darker or more saturated colors for edge painting.  Think bright red, cobalt blue, or even bright neon or metallic foils!  As with any custom process, most printers hand mix inks to match a specific Pantone color, so keep in mind that there may be slight variations in tone and saturation depending on the number of cards being painted.

Thanks Michael!  Check out more of Michael’s letterpress work right here!

Photo Credits: Example images via Bella Figura, process photos by Czar Press

The Printing Process: Offset Printing

Every morning this week, I’m running a series of guests posts about different printing methods â€“ so if you’ve ever wondered why certain printing methods are best for certain kinds of designs (or cost more than others), this is for you!  You can read the previous installments covering digital printingengravingscreen printingletterpress printing with antique type, and foil stamping all right here.  Today we’re talking about offset printing, with help from Katie of Kelp Designs and Nicole of Barrington Printing.

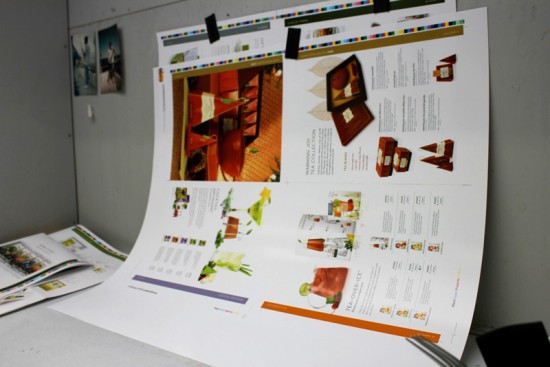
Offset printing is often confused with digital printing – both are four-color flat printing methods, but the process is quite different!  While offset printing is incredibly common, the printing process and procedures are often not well known.  Barrington Printing, a family-owned print shop in Cranston, Rhode Island, provides offset printing to a range of clients around the United States, including Katie of Kelp Designs in Los Angeles, California.  Katie recently interviewed Nicole about the offset printing process.

What is Offset Printing?

Offset printing is one of the most common flat printing techniques, wherein ink is transferred from a plate to a rubber blanket, then back to the printing surface.  Like most types of printing, offset printing is a mix of art and science.   Although the process is very technical (the science part), the press operator also carries a lot of weight in achieving the desired outcome of the printed piece.


Offset printing (or lithography) is what you probably see most often in your day to day travels.  It is often used for direct mail postcards, business cards, brochures, pocket folders, signage and, yes, greeting cards and stationery.  Offset varies from other print methods in many ways including technology, process, cost, material options and turn around time.

The Printing Process

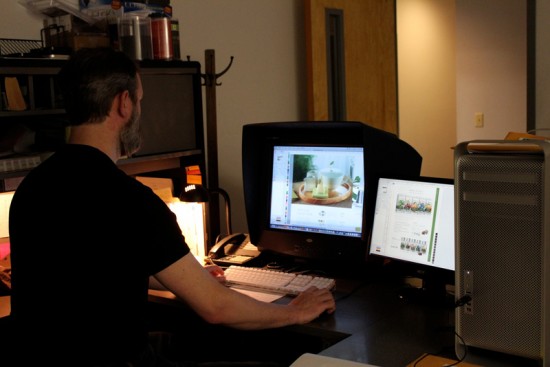
The most important part of the offset printing process is the very beginning.  It is important to ensure that you have very well prepared files.  One of the biggest mistakes we see is a simple one, files must be converted from RGB to CMYK in order to print offset.  This conversion will change the look of your piece, sometimes marginally, sometimes dramatically.  Many designers are unsure how to prepare their files for an offset print job and can end up running into unplanned prepress costs to correct them.  My best advice is to call your local printer and ask to speak with the pre-press manager.  These people are such valuable resources to an artist or designer and can help you avoid trouble spots through the rest of the print process.  Often, much of this information can be found online on the printer’s website.


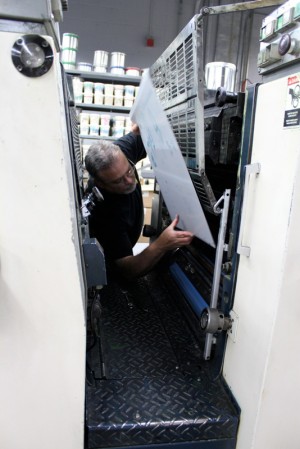
Once the files are in place a proof is prepared, which will give a very close representation of what the final printed piece will look like.  It is never exact, as the process of making the proof is different from the offset print process.  In addition, often times the proofing material is different from the stock that will be used on press which can vary the color slightly.  Once the proof is approved, the job moves onto plating.  Metal plates are made that get “hung” on press.  There is one plate for each color used (Cyan, Magenta, Yellow and Black – aka CMYK – to make four color process, or any Pantone Color for a single color job).


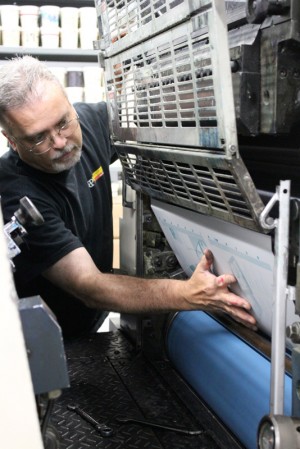
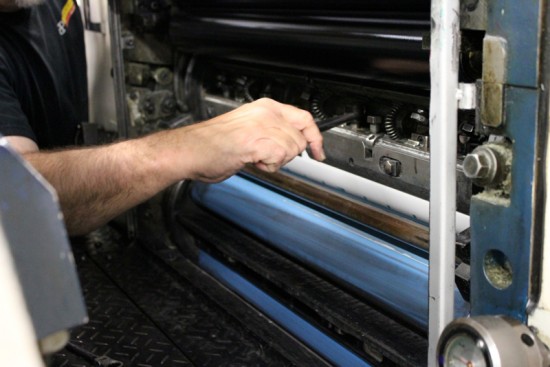
The stock will be cut to the size of the press it is being run on and depending on the size and scope if the project it can run for as short as 30 minutes or as long as multiple days. Once the press run is complete, bindery is the next stage.  That could mean, die cutting, scoring, stamping, numbering, folding, stitching, etc.  This can be a multi day process as ink needs to dry before you can finish a job and get it boxed for delivery.

Offset Printing vs. Digital Printing

Offset is typically considered the gold standard for quality, although the process is longer and it can be more expensive depending on the quantity being printed.  Offset printing also allows for more material options.   Digital printing is quick and can be less expensive especially when printing smaller quantities, however, the image quality might not be 100% accurate.  Most offset printers offer digital printing, so always check with your printing representative to gauge your options!

Tips and Advice

Offset printing is the highest quality flat printing process available, and there are many paper stock and material options for offset printing.  Projects can also be tweaked for color adjustments on the press during the run. Like other artisan printing methods, such as letterpress and engraving, you’ll find better pricing value in higher volume jobs.  Conversely, offset printing requires a more expensive set up time, which can be an issue for smaller projects.  Offset printing also requires a longer turn around time.

My best advice is to get a good referral to a printer!  It doesn’t have to be in your area (although it may help).  It is super important to find a printer that is invested in YOUR project and understands the exact outcome you are trying to achieve.  If the printer is a good and honorable one, they will give you all of the options and recommend the best one, even if it’s not something that they offer.  It is important to keep in mind that all printers have different niche’s, some have smaller presses, some have larger and your project may or may not be an economical fit for their equipment.  Don’t be afraid to ask them if your project is a good fit for them.

Nicole Couto is a sales person at the family-owned Barrington Printing in Cranston, Rhode Island.  They are celebrating their 30th anniversary this year!

Thanks Nicole and Katie!

Photo Credits: Process photos by Barrington Printing, example photos by Kelp Designs

The Printing Process: Die Cutting

Every morning this week, I’m running a series of guests posts about different printing methods â€“ so if you’ve ever wondered why certain printing methods are best for certain kinds of designs (or cost more than others), this is for you!  You can read the previous installments covering digital printingengravingscreen printingletterpress printing with antique type, and foil stamping all right here.  Today, the talented team at Egg Press is here to talk about the technique known as die-cutting, which they use to produce unique shapes, edges, and message windows in greeting cards and other stationery design elements.

What is Die Cutting?

Die-cutting is a process used in many different industries to cut a thin flat material (in our case, paper) into a specific shape using a steel cutting die.  It can be used to punch out a decorative shape or pattern to incorporate within a larger piece, or it can be used to create the main shape of an object by cutting the entire sheet of paper in an distinct/designed way.  More simply put: for us it’s way of making a hole in paper in a desired shape using the same presses that we use for letterpress printing.

Like letterpress, a die-cut element draws attention to the 3D nature of paper and the character of the material itself.  We mostly use die-cutting as a feature – taking an industrial process and turning it into a design element.  As a letterpress print shop, here are some common ways we use die-cutting:

  • to create die-cut windows for messages on greeting cards
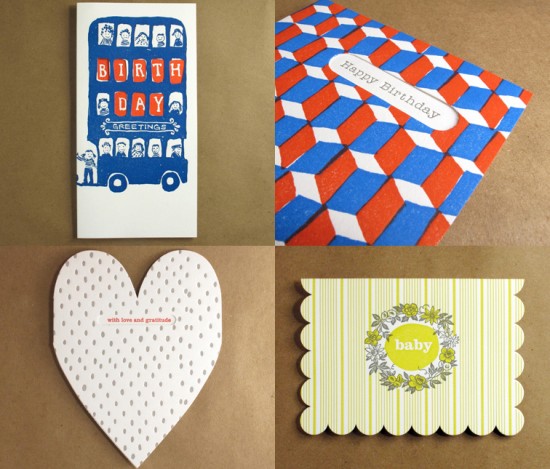
  • to create a unique shaped greeting card (examples include heart die-cuts, scallops, mini-paper sculptures)
  • as a design element in one of our new wedding suites
  • to create die-cut coasters, hang tags, and rounded corners on business cards for clients
  • to make the boxes in which our cards are packaged

The Printing Process

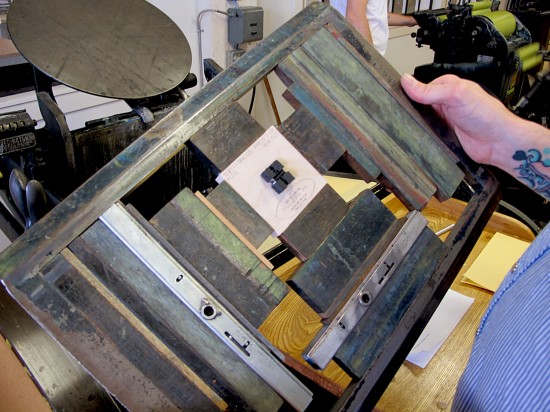
The process of die-cutting is easy for us as letterpress printers, as the set-up is similar to letterpress printing.  Instead of a type-high printing plate we use a type high wood mounted steel cutting die.  The shape of the cutting die is often something we’ve designed and ordered from our local die-makers.  Instead of tympan paper and packing (used to control the impression when printing), we use a sheet of metal on the press bed giving the die a hard surface to cut against.

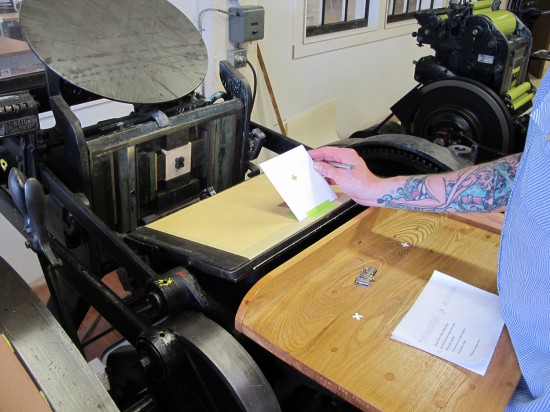
The first few steps are essentially the same as letterpress printing, although since we’re not using ink we’re always sure to remove the rollers from the press before we start.  We don’t want the dies to damage our rubber rollers!

Next, we attach metal plate/backing onto the press bed by locking the die into the chase and inserting the chase into the press.  Then we’re ready to turn on the press and make a cut.

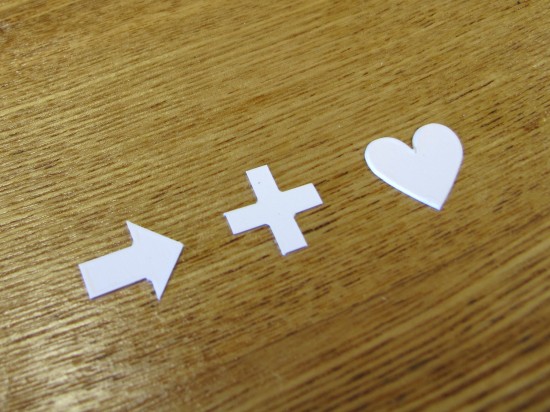
Pop out the cut shape (paper is still taped to press bed).  Slide your mock-up proof underneath – align your mock up with the cut sample – hold in place.  Make any necessary adjustments, start cutting, and enjoy the confetti!

Tips + Advice

Though die-cutting can produce unique results, it’s not for every print job.  This is why it’s not very commonly used, and why it can be so distinctive.  A die-cut can add a decorative element or a functional component to a design.  For stationery or invitations, creating a die-cut silhouette for your suite may add interest and a vintage feel.  Using a small punch-out within the invitation as a motif can be a nice touch (in this case, a modern feel).  A functional die-cut might be something like a half-moon thumb hole on an open ended envelope, or a notch system in a folded piece.  There are many possibilities for die-cutting, but the medium has limitations.

Complicated shapes or patterns may not work (ask your printer or die-maker).  There is a minimum size for die-cut elements.  The maximum size of the die-cut will depend on the capability of the press you are using.

Paper can affect the outcome – this is something to consider when choosing your paper or choosing to use a die-cut element.  In our experience, thinner paper has less resistance and seems to cut more cleanly while thicker stock can yield mushy edges.  Cotton paper can leave a ragged edge.  Finally, when mailing something with a die-cut element it’s a good policy to mail it in an envelope for protection.  It might not be a good choice for a postcard mailer or rsvp card.

Thanks guys!  Check out awesome stationery from Egg Press right here!

Photo Credits: Egg Press

The Printing Process: Letterpress Printing

Every morning this week, I’m running a series of guests posts about different printing methods â€“ so if you’ve ever wondered why certain printing methods are best for certain kinds of designs (or cost more than others), this is for you!  You can read the previous installments covering digital printingengravingscreen printingletterpress printing with antique type, and foil stamping all right here.  Today Kim and Kyle from Baltimore Print Studios are here to walk us through modern letterpress printing!
Hello OSBP!  We’re Kim and Kyle from Baltimore Print Studios, a public-access letterpress and screen printing studio where we also print commercially and for ourselves.  We’re thrilled to share the process of letterpress printing with you and how things work in our shop.

What is Letterpress? 

Letterpress printing has become the go-to printing technique for wedding invitations, greeting cards, and business cards for anyone hoping to make an impression (pun intended) on the recipient.  Today’s cottage industry of letterpress printers has been built on the shoulders of 100 years of printing industry, starting around the late 1800s.  It’s easy to forget that what we treasure today as an artisan product, made by a well-trained craftsperson, was once known simply as printing.

What began with hand-set wood and metal type (read more about this from Jen of Starshaped Press here) has become an industry centered around the photo polymer plate.  Designing for letterpress today begins on a computer, and as such, new fonts, embellished ornaments, graphics, patterns, and complicated multi-color designs can be produced with relative ease.  The printing part is still by hand, one at a time.

The Printing Process

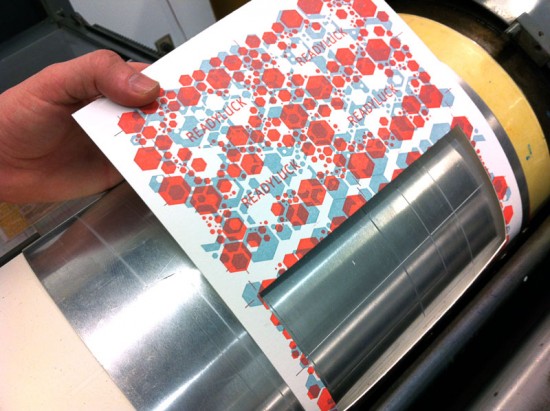
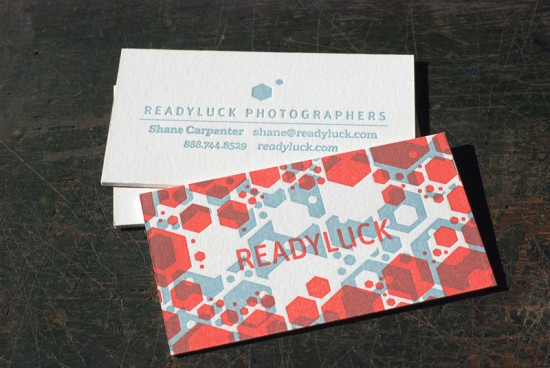
The images below walk you through the process of printing 2-color, double-sided business cards on a Vandercook SP-20 printing press.  They were designed for a wedding photography company called Readyluck, by Baltimore designer Christopher Clark.  These cards were printed on Crane Lettra 220 lb Pearl White cotton paper.

This is the Vandercook SP-20.  In this press’s first life it probably pulled proofs of pages for a daily newspaper.  Today, these presses are sought after for their quality and large printing size.
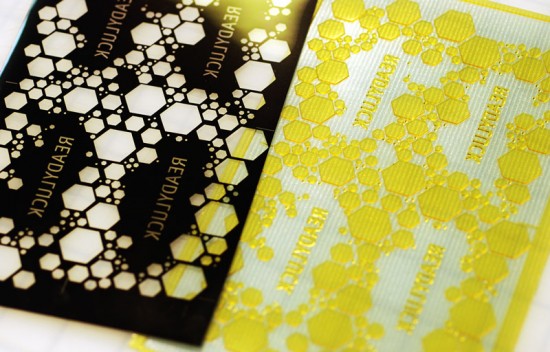
Polymer plates are produced using a photographic process.  The digital design is output to a film as a negative (left), and then exposed to a polymer plate using UV light (right).  The polymer plate is made of a light-sensitive, water-soluble plastic with a clear backing.  The portions of the plate that are exposed through the clear parts of the film hardens, and what is not washes away.  What remains is a raised surface in the shape of the design.  A separate plate is produced for every color being printed, and the paper is run through the press at least once for each color in the design.  We send our designs to Boxcar Press, where they transfer your digital design onto a polymer plate.  These plates match a gridded Boxcar Base, a machined aluminum plate that raises the plate to type high.
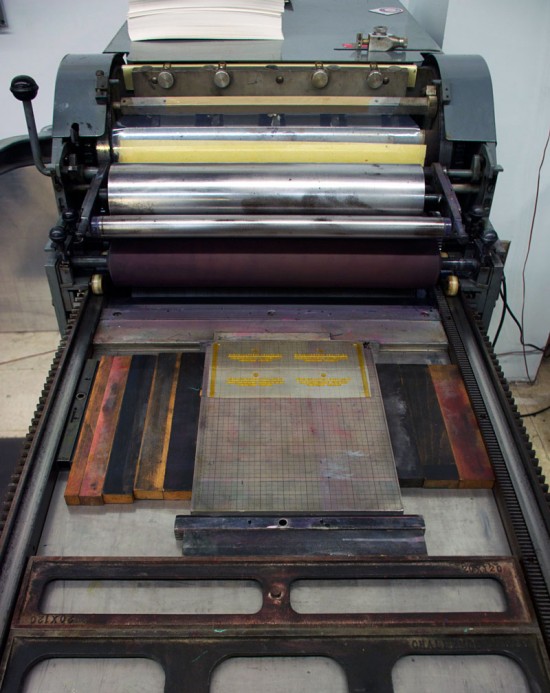
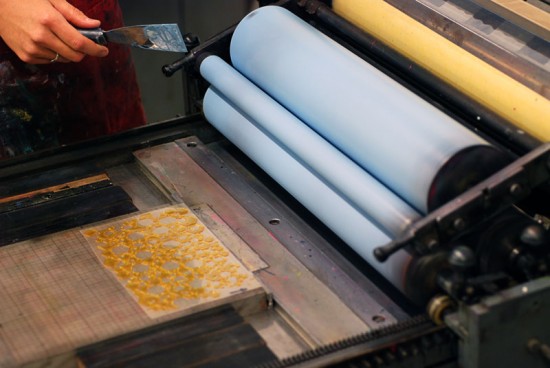
The plate is affixed to a machined metal base which is in turn locked into the press.
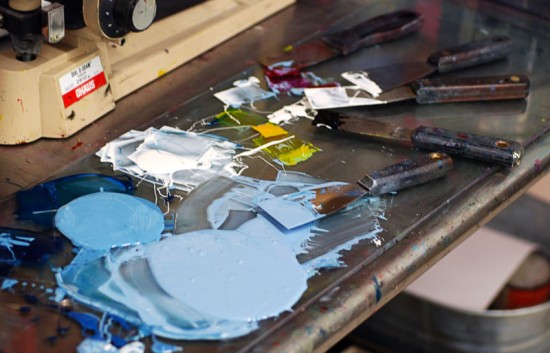
Ink is mixed by hand.  When possible, ink can be weighed out to match a specific color recipe, but in our shop we mix everything by eye, often matching to a specific Pantone color.  We use oil-based, lithography inks.

The press is inked.  Even the inking process has to be done carefully.  Too much ink will produce a sloppy print.  Too little, and the color will not be solid.

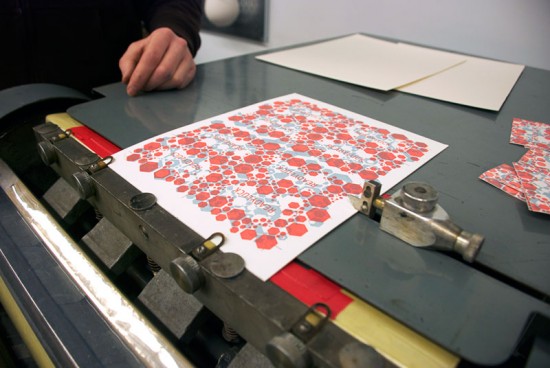
Printing begins.  This plate prints an area half the size of the sheet.  The sheet of paper is hand-fed through the press twice, once from each end of the paper.  This produces 8 cards per sheet in a process called a work-and-turn.  The 220 lb Crane Lettra paper, double than the standard 110 lb weight (and more than twice the cost), allows for a deeper impression on both sides, which was desired by the client.

The ink is allowed to dry and the next day the press is inked up in red.  Differences in pressure and the amount of ink can dramatically affect the printed color.  Adjustments are made to produce the desired color, and the print run is checked periodically to be sure the color is consistent.  For this particular run, the red ink ran out relatively quickly and frequent re-inkings were required.
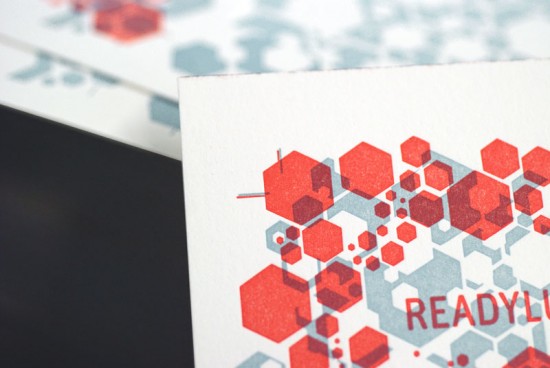
All presses have a system of registration.  Consistent placement of every print on every sheet is a must for quality printing.  This design, like most we produce, has cross-hair trim marks made into the plate that serve not only as cutting guides, but printing guides as well.  After this print run dried, a third printing run was made on the reverse of the pages.
Cutting!  Printing is finished and the job is ready to cut.  We usually die cut our business card jobs, even when the job doesn’t call for an unusual shape.  Our business card die cuts four cards in a single pass.  The press is outfitted with a metal die-jacket for protection, and the die itself is made up of metal cutting blades surrounded by protective foam pads. (Ed. Note: We’ll be covering die cutting in greater detail tomorrow!)
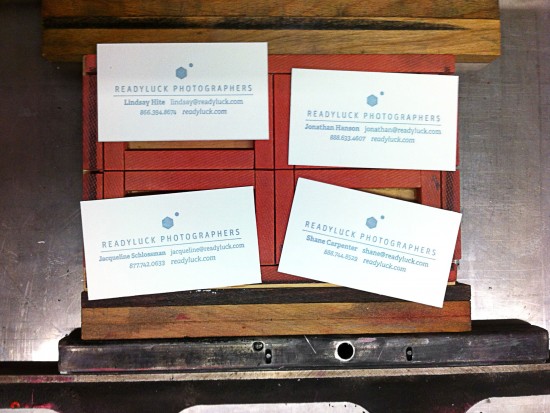
Each pass on the press cuts four cards.  While this is an extremely inefficient press for die cutting, its accuracy far out-weighs speed for us.
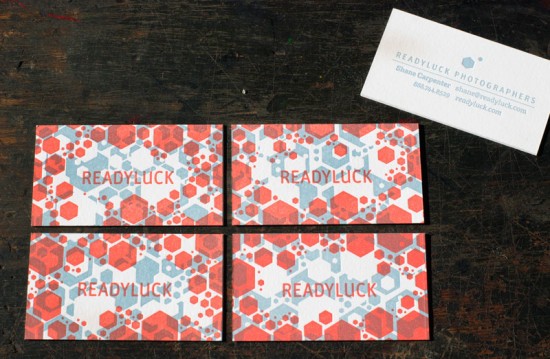
The design for these cards utilized a random, non-repeating pattern and intentionally transparent colors.  The four cards together create one overall design, but each business card is unique.

Tips and Advice

Letterpress printing takes some time.  In our shop, each page is fed by hand, and each color of a print job can be several hours on press from start to clean-up.  Add to that designs that need to be sent out to be made into plates.  A two-week turn-around is common.

Letterpress excels at printing fine type and line work.  Letterpress printing is not ideal for solid fields of color.  Most large solid shapes result in the color printing ‘salty’, a term used to describe the texture and color of the paper showing through the ink.  Your printer can tell you what is possible on their equipment.

While letterpress was never intended to be printed with a dramatic impression, or deboss, into the paper, it is often the most desired feature today.  Printing like this will quickly damage wood and metal type, but polymer plates are more durable (and more easily replaced).  Certain papers show off this impression better than others.

Thanks Kim and Kyle!  You can learn more about Baltimore Print Studios right here.
Photo Credits: Baltimore Print Studios