Elegant Rustic Coral Wedding Invitations

Beautiful modern calligraphy paired with a fantastic vintage coral velvet ribbon? Yes, please! These elegant rustic coral wedding invitations from Melissa of Atheneum Creative pair elegant letterpress printed calligraphy with a sophisticated gray, white, and coral color palette and rustic wood details throughout the invitation suite. Absolutely gorgeous!

Elegant Rustic Coral Wedding Invitations by Atheneum Creative / Oh So Beautiful Paper

From Melissa: Hadley and Ross planned a rustic wedding in the mountains, but wanted their wedding to be sophisticated and elegant at the same time. We started working on their wedding monogram and their wedding stationery with that concept in mind: rustic, modern, and softly elegant.

Elegant Rustic Coral Wedding Invitations by Atheneum Creative / Oh So Beautiful Paper

The wedding invitation was letterpress printed with gray calligraphy text on white paper, then bound with a vintage velvet coral ribbon and a custom wood tag featuring the wedding monogram. The coral ribbon is absolutely gorgeous when paired with the cherry wood tag! The wedding invitation suite also included an accordion-fold booklet with a wood front and back cover. The booklet listed all of the wedding events and contained a custom map. The wood booklet cover helped provide the rustic feel for the invitation suite. A letterpress printed reception card in coral calligraphy, a formal RSVP card in gray calligraphy, and gray envelopes completed the invitation suite.

Elegant Rustic Coral Wedding Invitations by Atheneum Creative / Oh So Beautiful Paper

Elegant Rustic Coral Wedding Invitations by Atheneum Creative / Oh So Beautiful Paper

We also had lots of fun with their day-of wedding stationery. Napkins and stir sticks in matching colors, ceremony programs, and more! Our favorite detail of all has to be the custom copper cups that were sitting at everyone place setting. The copper just popped right off the table! We also made a custom coffee travel cup for guests to grab for brunch on the go the following morning.

Elegant Rustic Coral Wedding Invitations by Atheneum Creative / Oh So Beautiful Paper

Elegant Rustic Coral Wedding Invitations by Atheneum Creative / Oh So Beautiful Paper

Elegant Rustic Coral Wedding Invitations by Atheneum Creative / Oh So Beautiful Paper

Elegant Rustic Coral Wedding Invitations by Atheneum Creative / Oh So Beautiful Paper

Elegant Rustic Coral Wedding Invitations by Atheneum Creative / Oh So Beautiful Paper

Thanks Melissa!

Design: Atheneum Creative

Atheneum Creative is a member of the Designer Rolodex – you can see more of their beautiful work right here!

Photo Credits: Chelsea Davis Photography

Printable 4th of July Calligraphy Art Print

With the 4th of July just a few days away, you could be like me and scrambling for all of the red, white, and blue things you can find, eat, or wear… or, you could actually be prepared and ready to go for your festive celebration. Either way, we have one little extra that you absolutely must download and print this year: a printable 4th of July calligraphy art print to celebrate the land of the free and the home of the brave. It’s the perfect finishing touch for your BBQs, picnics, and other celebrations this holiday weekend! –Lauren

Land of the Free and Home of the Brave Printable 4th of July Calligraphy Art Print / A Fabulous Fete for Oh So Beautiful Paper

I created this printable with multiple uses in mind – but the top of my list would be for decorating your table or bart cart with a framed version! Add in a colorful red, white, and blue garland, a delicious cocktail or two, and maybe even some fresh white flowers and you have yourself a good looking 4th of July display. But don’t feel like you’re limited to just the 4th of July holiday weekend – this print can be displayed all summer or even all year long. There are even two colors to choose from: a traditional blue or a softer coral. Land of the Free and Home of the Brave Printable 4th of July Calligraphy Art Print / A Fabulous Fete for Oh So Beautiful Paper

Choose and download your favorite from the two files below, then print on a letter size sheet of white paper or card stock. To display, either pop the print into an 8″ x 10″ frame or simply hang on the wall with a few strips of washi tape. Easy!

Land of the Free and Home of the Brave Printable 4th of July Calligraphy Art Print / A Fabulous Fete for Oh So Beautiful Paper

Land of the Free and Home of the Brave Printable 4th of July Calligraphy Art Print / A Fabulous Fete for Oh So Beautiful Paper

DOWNLOAD THE BLUE PRINTABLE | DOWNLOAD THE CORAL PRINTABLE

Printable artwork © Lauren Saylor of A Fabulous Fete and created exclusively for Oh So Beautiful Paper. All artwork is created for personal use only and may not be altered, reproduced, or sold in any way without prior written consent.

Photo Credits: Lauren Saylor of A Fabulous Fete for Oh So Beautiful Paper

DIY Watercolor Wall Art

Do you remember these fun and colorful envelopes that we made back in April, using saturated watercolors and Sakura of America‘s gorgeous Soufflé and Glaze pens? I still LOVE how that project turned out, and today I’m so excited to share another project featuring those awesome watercolors! This time we’re using the 30-color Koi Water Color Field Sketch Travel Kit to create watercolor wall art with fun phrases of cut out letters! These pieces are so easy to make (no advanced painting skills required!) and are such a great way to add a dose of color – and an inspiring sentiment – to your walls!

DIY Graphic Watercolor Wall Art with Sakura of America Koi Water Color Field Sketch Travel Kit / Oh So Beautiful Paper

DIY Graphic Watercolor Wall Art with Sakura of America Koi Water Color Field Sketch Travel Kit / Oh So Beautiful Paper

My color inspiration for these watercolor art pieces was to layer a light pastel color over a dark tone, but once I got painting I quickly discovered that two pastel tones in complementary colors look really amazing together. I ended up mixing mostly warm pastel watercolor tones in peach, coral, pink, and lavender with a bit of deep indigo and Prussian blue. The Koi Water Color Field Sketch Travel Kit comes with 30 gorgeous colors that all look amazing together, so you really can’t go wrong when choosing your color story. The kit also comes with a refillable waterbrush for spontaneous painting and a detachable painting palette for mixing colors – and the whole entire kit can easily fit into a small bag or a jacket pocket in case inspiration strikes while you’re out and about!

DIY Watercolor Wall Art with Sakura of America Koi Water Color Field Sketch Travel Kit / Oh So Beautiful Paper

I also envisioned writing each phrase by hand in tall and skinny block letters, but I realized that might feel out of reach for some of you. Not to worry – there’s a Plan B! I did a bit of testing and figured out that we can use removable letter stickers to create the letter outlines. I provided instructions for both methods in the tutorial below, so feel free to do whatever feels best for you!

DIY Watercolor Wall Art with Sakura of America Koi Water Color Field Sketch Travel Kit / Oh So Beautiful Paper

DIY Watercolor Wall Art with Sakura of America Koi Water Color Field Sketch Travel Kit / Oh So Beautiful Paper

Okay, let’s get started!

DIY Watercolor Wall Art with Sakura of America Koi Water Color Field Sketch Travel Kit / Oh So Beautiful Paper

Supplies

Sakura of America 30-color Koi Water Color Field Sketch Travel Kit

High Quality Watercolor Paper

2″ removable letter stickers

Craft Knife

Cutting Mat

Ruler

Pencil

High Quality Artist Eraser

Foam Mounting Squares

Small bowls for water

Paper Towels

DIY Watercolor Wall Art with Sakura of America Koi Water Color Field Sketch Travel Kit / Oh So Beautiful Paper

DIY Watercolor Wall Art with Sakura of America Koi Water Color Field Sketch Travel Kit / Oh So Beautiful Paper

Instructions

Step 1. Open your 30-color Koi Water Color Field Sketch Travel Kit, remove the palette, and fill the brush with water. Then paint all of the watercolor paint pans in the kit on a pice of watercolor paper. The colors look very different when painted, so this quick exercise will help you choose your color pairings – or even how to combine two different colors into a custom watercolor!

Step 2. Decide what phrase you want to use for your art print. Lay the 2″ letter stickers on a sheet of watercolor paper, using a ruler to make sure that your lines are fairly even. If you’re planning to write your phrase out by hand, skip this step and go straight to Step 3. If you’d like your final art to fit within a readymade frame, trim your paper down to 8″ x 10″ before painting or applying letter stickers. I didn’t trim my paper (I used 9×12 and 10×14 size sheets), so I just float mounted my art within the frame using foam mounting squares.

Step 3. Choose 2-5 colors from the 30-color Koi Water Color Field Sketch Travel Kit and add them to the detachable palette. Lay a sheet of water color paper on a flat work surface protected with paper towels or newspaper. Paint one sheet of watercolor paper in each color. My favorite color combinations ended up being purple paired with a coral-peach tone and Prussian blue paired with rose pink – but pick any color combination that speaks to you. You could even do a rainbow-inspired ombré! If you’re using the letter stickers to create your phrase, paint over the stickers your desired color. Let dry. If necessary, add a second coat to create a more saturated hue. Let dry.

Step 4. Once the paint is completely dry, you can either remove the 2″ letter stickers to reveal the letter outline underneath (ta da!) – or use a pencil to write your phrase over the dry watercolor in tall and skinny block letters. If you’re going the second route, try to use the lightest possible pencil lines. I made mine a little darker so you would be able to see them, but the pencil lines should be as light as possible so that you can easily erase them later, if needed.

Step 5. Lay the watercolor paper on a cutting mat, and carefully cut out the individual letters using a craft knife. If necessary, use an artist eraser to erase any remaining pencil lines around the cut out letters.

Step 6. Layer the other sheet of watercolor paper under the sheet with the phrase cut out. Use foam mounting squares or glue to secure the two pieces of paper together. Then pop into a frame and enjoy!

DIY Watercolor Wall Art with Sakura of America Koi Water Color Field Sketch Travel Kit / Oh So Beautiful Paper

DIY Watercolor Wall Art with Sakura of America Koi Water Color Field Sketch Travel Kit / Oh So Beautiful Paper

DIY Watercolor Wall Art with Sakura of America Koi Water Color Field Sketch Travel Kit / Oh So Beautiful Paper

DIY Watercolor Wall Art with Sakura of America Koi Water Color Field Sketch Travel Kit / Oh So Beautiful Paper

DIY Watercolor Wall Art with Sakura of America Koi Water Color Field Sketch Travel Kit / Oh So Beautiful Paper

DIY Watercolor Wall Art with Sakura of America Koi Water Color Field Sketch Travel Kit / Oh So Beautiful Paper

DIY Watercolor Wall Art with Sakura of America Koi Water Color Field Sketch Travel Kit / Oh So Beautiful Paper

DIY Watercolor Wall Art with Sakura of America Koi Water Color Field Sketch Travel Kit / Oh So Beautiful Paper

DIY Watercolor Wall Art with Sakura of America Koi Water Color Field Sketch Travel Kit / Oh So Beautiful Paper

DIY Watercolor Wall Art with Sakura of America Koi Water Color Field Sketch Travel Kit / Oh So Beautiful Paper

DIY Watercolor Wall Art with Sakura of America Koi Water Color Field Sketch Travel Kit / Oh So Beautiful Paper

DIY Graphic Watercolor Wall Art with Sakura of America Koi Water Color Field Sketch Travel Kit / Oh So Beautiful Paper

I had SO much fun creating these watercolor pieces! The watercolor painting actually turned out to be a super zen activity for me, and I love the ability to create your own custom art pieces with a meaningful phrase or inside joke!

You can pick up your own 30-color Koi Water Color Field Sketch Travel Kit here – you’ll have so much fun painting beautiful watercolor masterpieces with it!

Photos by Nole Garey for Oh So Beautiful Paper

This post is sponsored by Sakura of America. All content and opinions are my own. Thank you for supporting the sponsors that make Oh So Beautiful Paper possible!

DIY Colorful Envelope Address Ideas

I’ve been obsessed with bright and colorful envelope addresses lately, especially envelopes that use white or light ink over bold and saturated watercolor paint! These invitations from Kim at Bright Room Studio and these save the dates by Gina at Eleven and West are recent favorites. So when Sakura of America got in touch about their new opaque Soufflé pens and vibrant Glaze pens, I knew EXACTLY what I wanted to do with them! I enlisted my talented friend Michele of Meant to Be Calligraphy to help write out the addresses on some (well, a lot) of envelopes, and today we’re sharing the results with you – along with the how-to so you can recreate these DIY colorful envelope address ideas at home!

DIY Colorful Envelope Address Ideas with Sakura of America Glaze and Soufflé Pens / Oh So Beautiful Paper

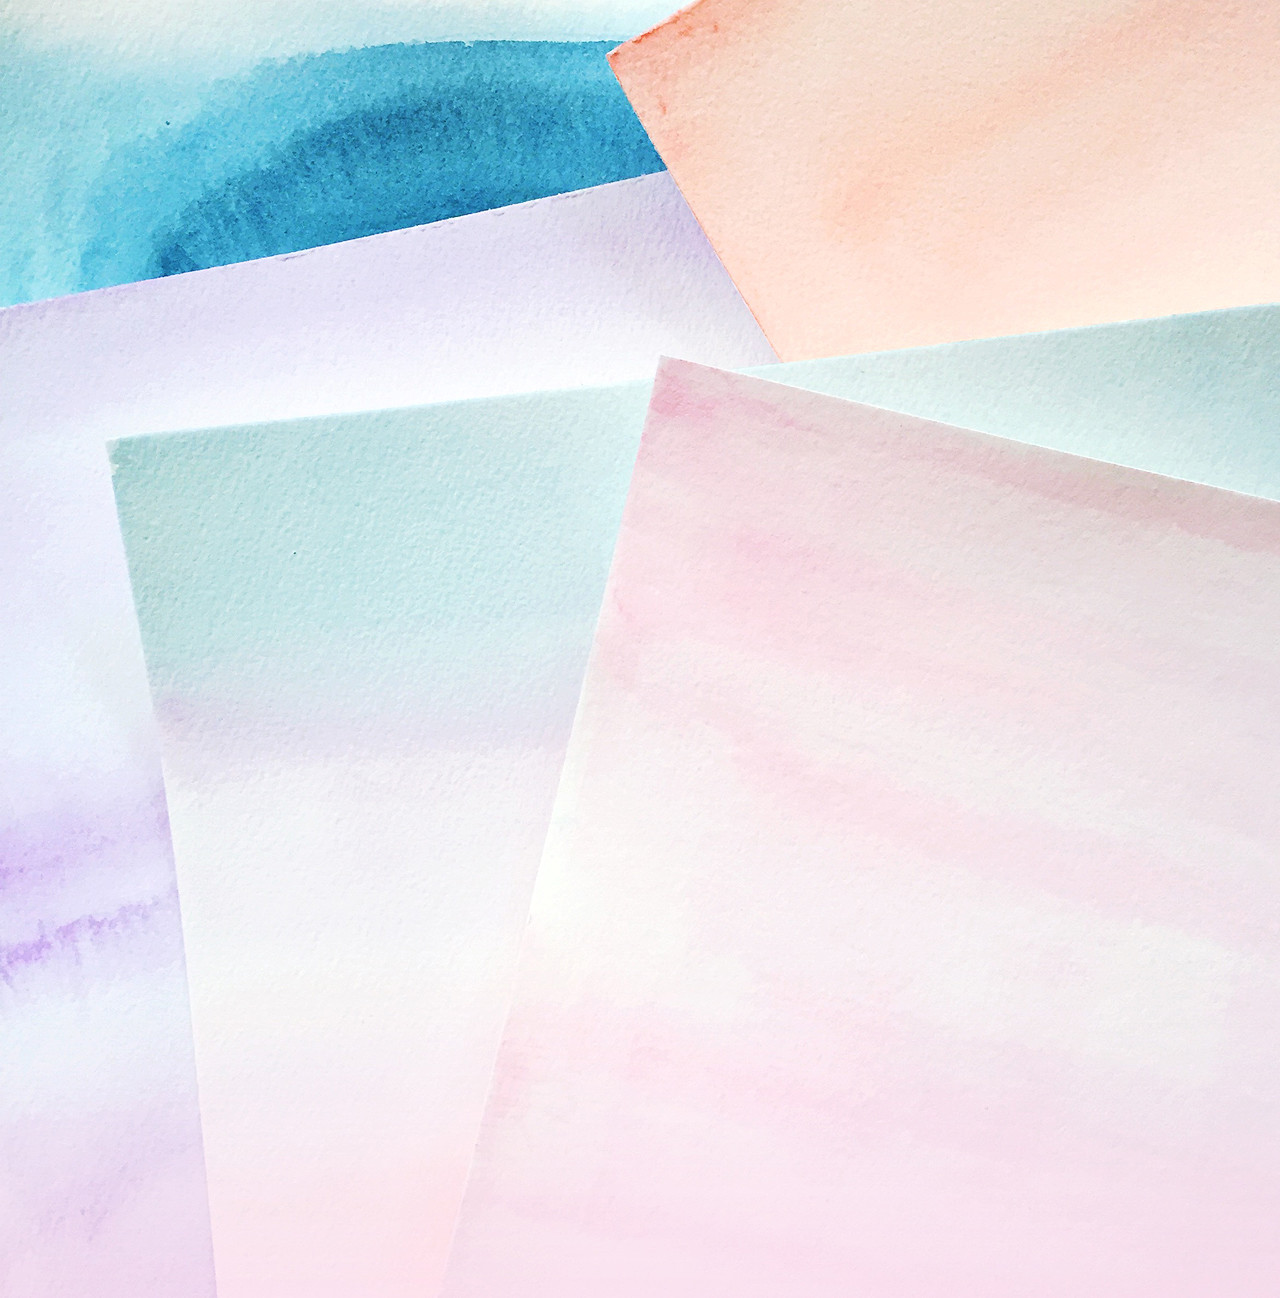
Let’s start with the Soufflé pens, which come in some really gorgeous pastel tones and white ink! Since the ink is opaque you can use the pens on dark paper or layer them over dark paint colors! I had the BEST time coming up with color combinations for these envelopes: pale pink over dark green watercolor paint, peach over cobalt blue watercolor, lavender over indigo watercolor, citron/mint over black watercolor, and aqua over violet watercolor. I can’t pick a favorite color combination!

DIY Colorful Envelope Address Ideas with Sakura of America Glaze and Soufflé Pens / Oh So Beautiful Paper

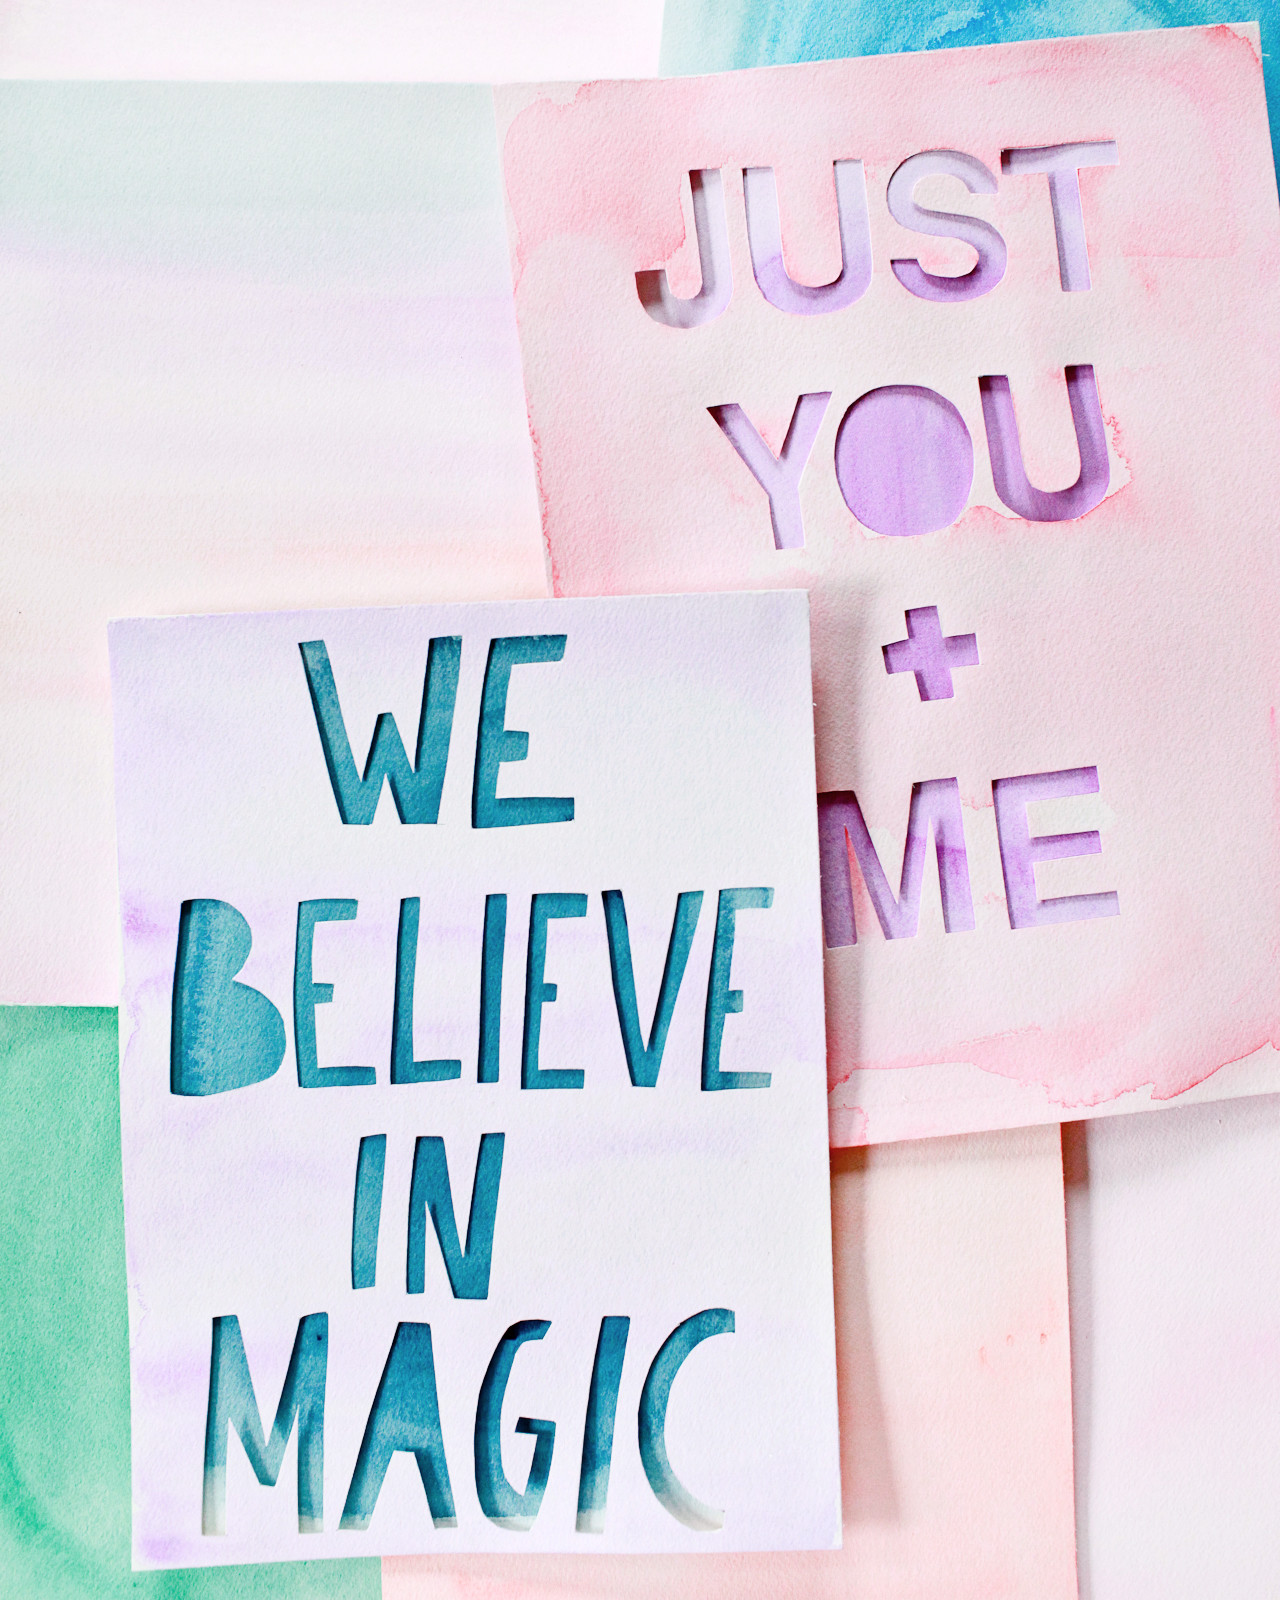
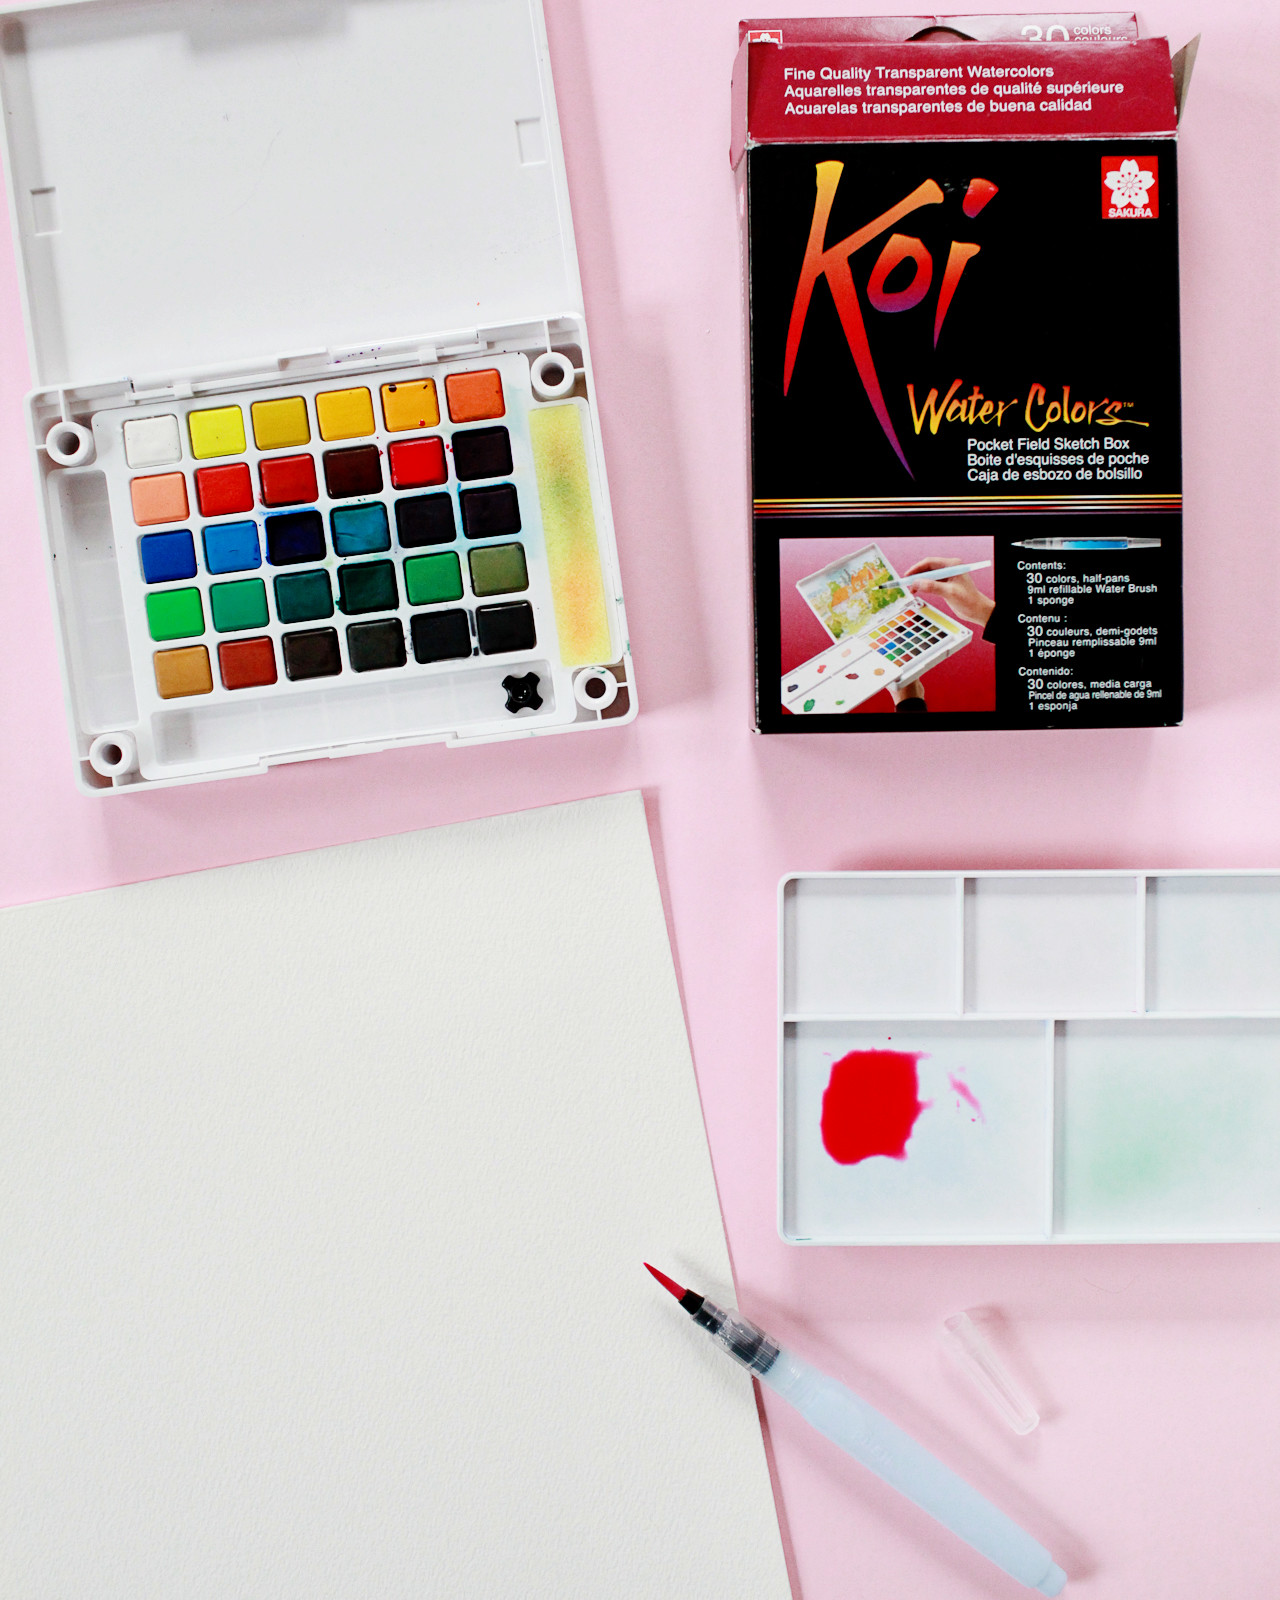
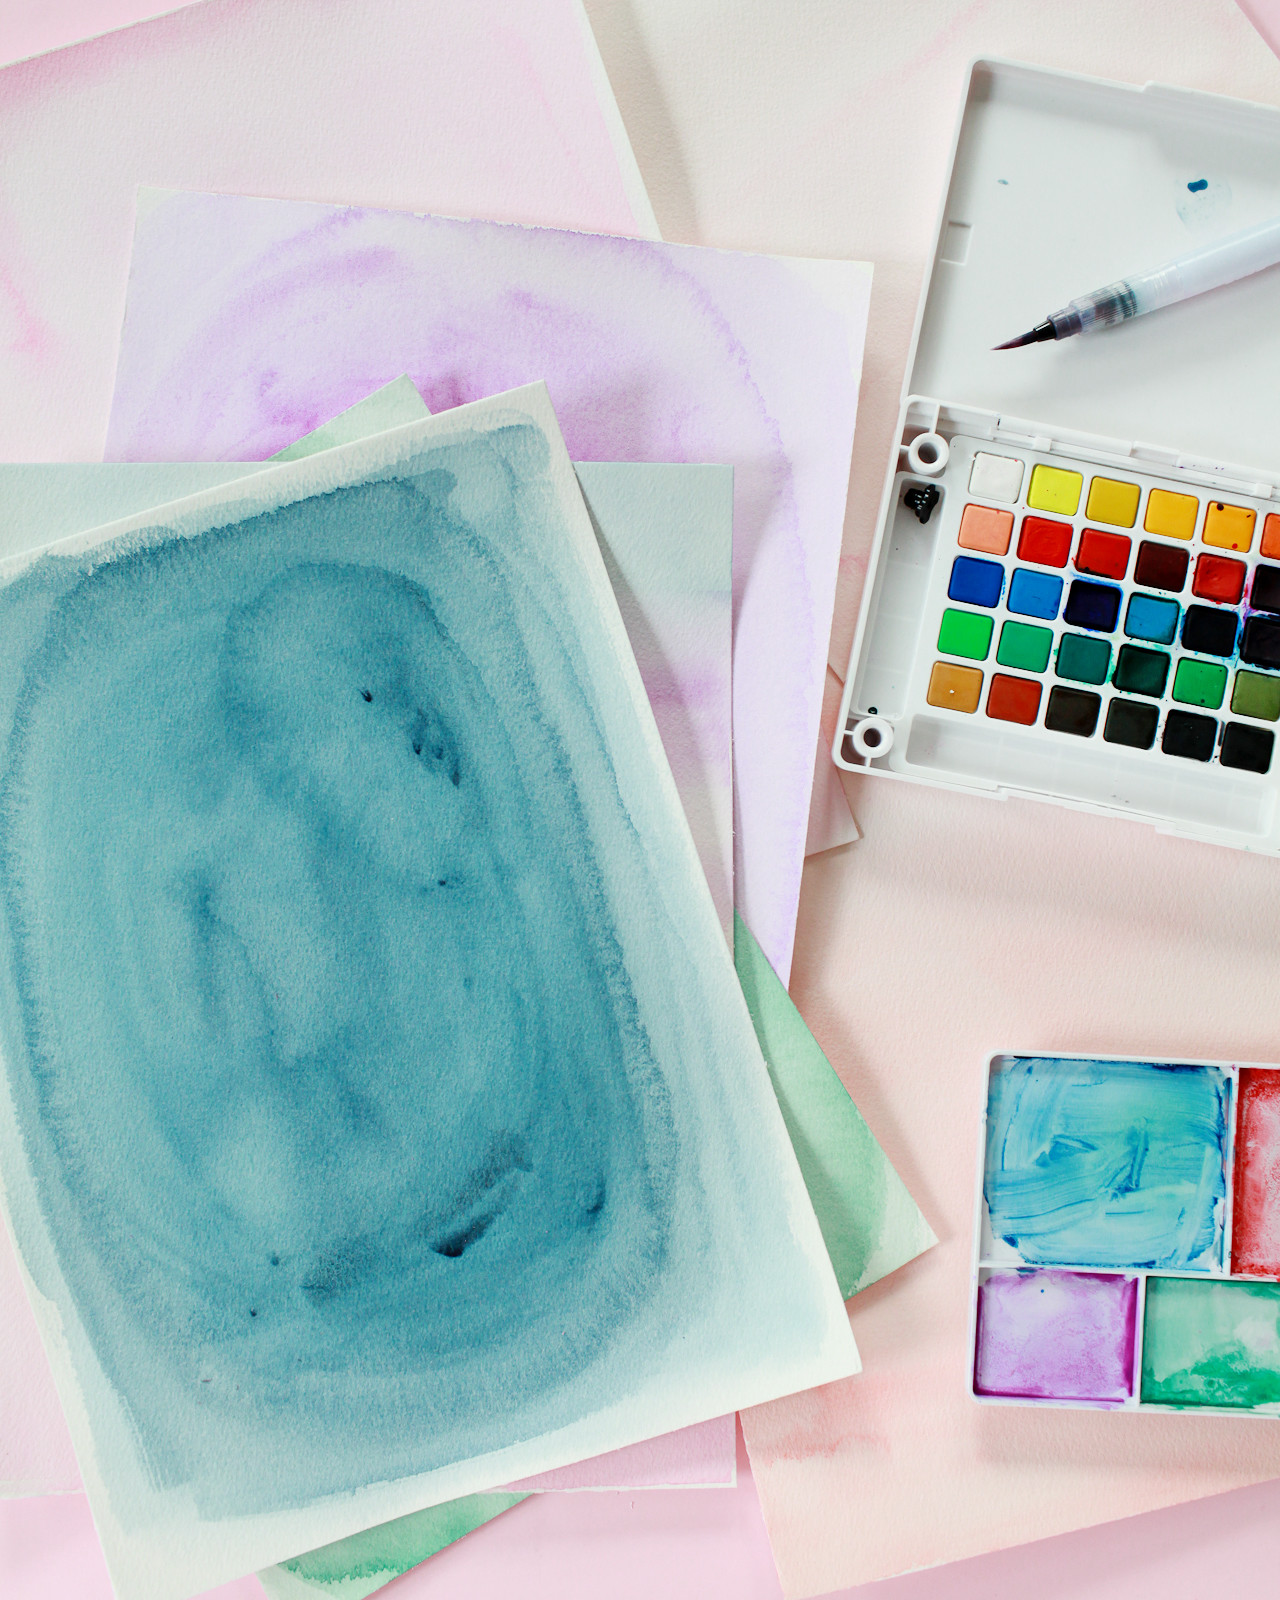
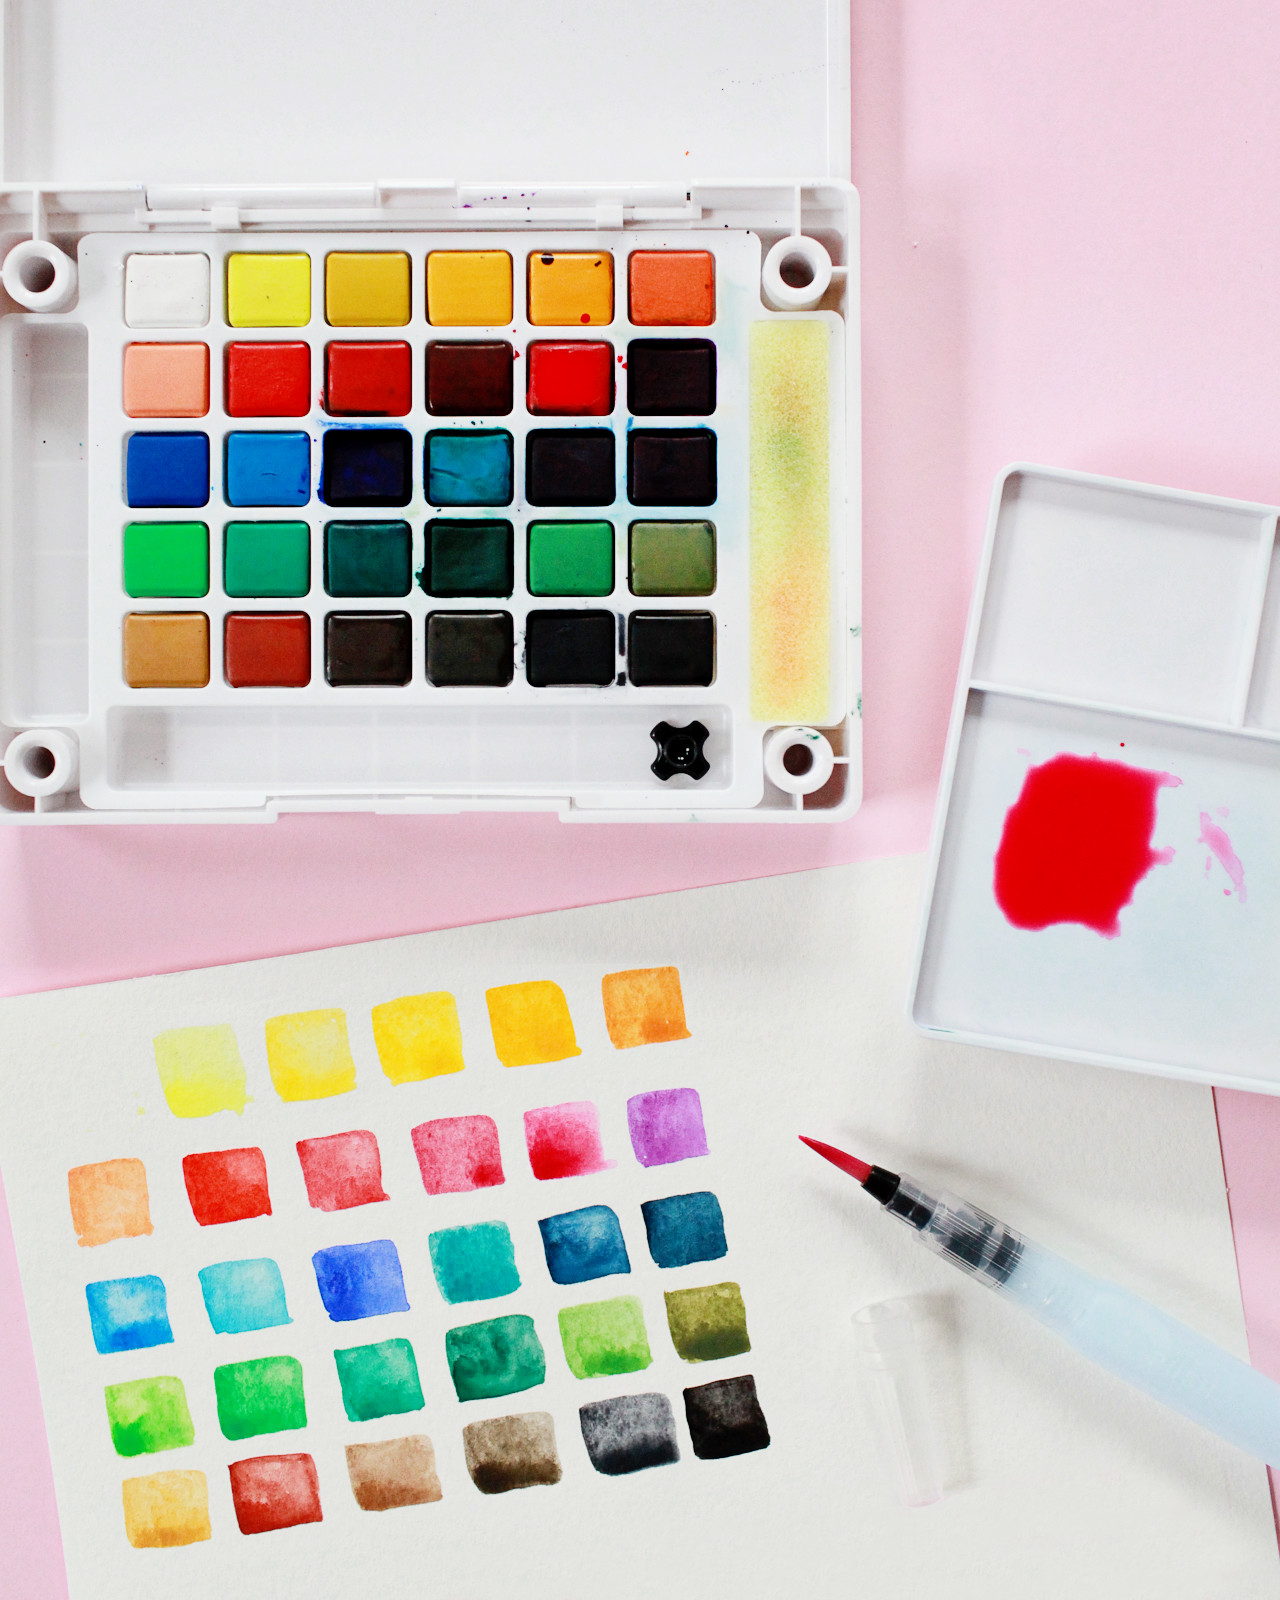
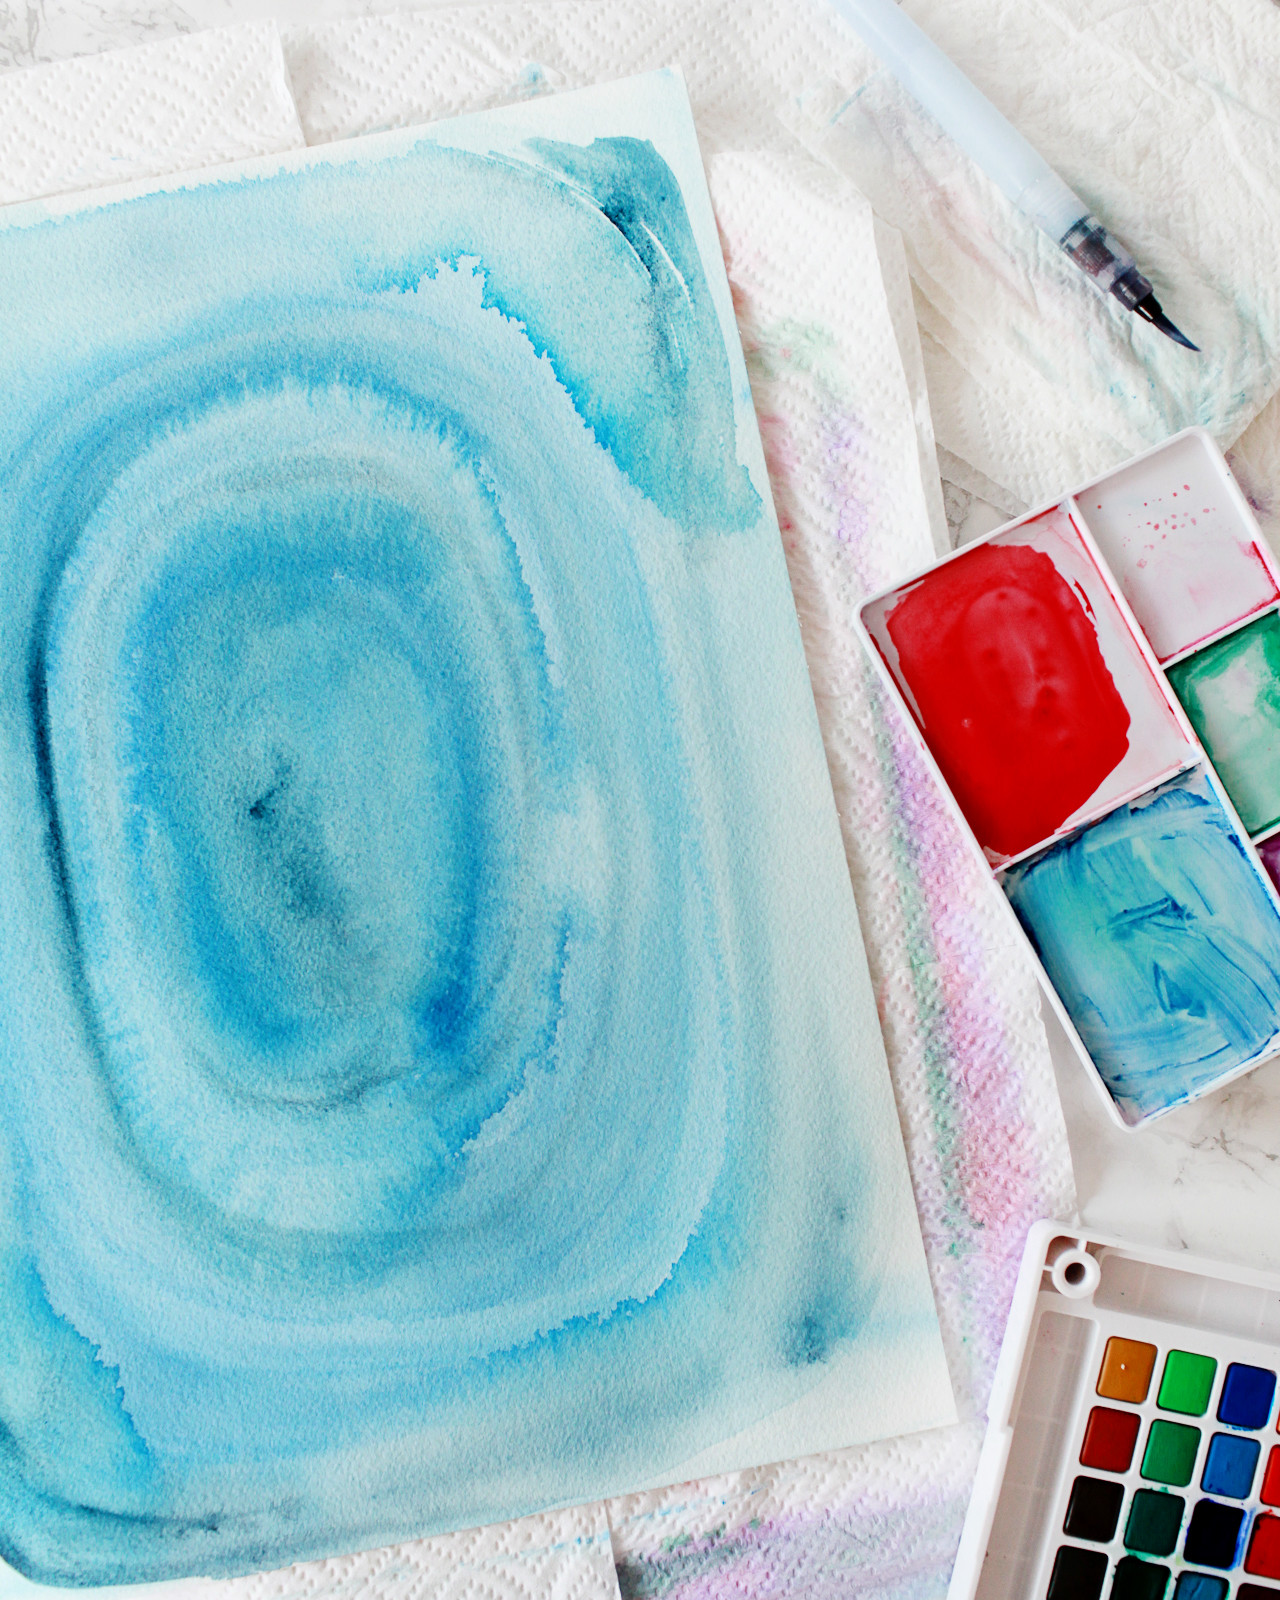
To create the watercolor envelopes, we used Sakura’s Koi Watercolor Field Sketch Travel Kit to paint really vibrant colors on white cotton envelopes. We started painting right below the point where a stamp would be placed and painted horizontal strokes from left to right, working our way down the front of the envelope. The trick is to use high quality cotton or bamboo envelopes, which will absorb the watercolor without too much warping, and to use very little water and a ton of pigment when painting. We used only enough water to spread the paint over the envelope, rather than adding pigment to a cup or bowl full of water. Practice on a test sheet of watercolor paper until you achieve your desired hue, and be sure to place a clean sheet of paper under your envelopes while painting.

DIY Colorful Envelope Address Ideas with Sakura of America Glaze and Soufflé Pens / Oh So Beautiful Paper

Once the envelopes are fully dry, start writing the addresses! The Soufflé pens go on dark but lighten considerably as they dry, which can make them a bit tricky in the beginning – but you’ll quickly get the hang of it. Mix different lettering styles, from script to serif to all caps, and have fun with embellishments like dots, lines, arrows, and ornamental frames!

DIY Colorful Envelope Address Ideas with Sakura of America Glaze and Soufflé Pens / Oh So Beautiful Paper

DIY Colorful Envelope Address Ideas with Sakura of America Glaze and Soufflé Pens / Oh So Beautiful Paper

DIY Colorful Envelope Address Ideas with Sakura of America Glaze and Soufflé Pens / Oh So Beautiful Paper

Now for the Glaze pens, which offer a really unique 3D ink and glossy, vibrant colors that remind me of watercolors! The Glaze pens are translucent, so we paired them with subtle dip dye envelopes. I really love the tone-on-tone look of blue, pink, and purple Glaze pens against blue, pink, and lavender dip dyed envelopes, but we also created some fun contrasting envelope addresses with tropical green against pale pink – even a rainbow envelope address!

DIY Colorful Envelope Address Ideas with Sakura of America Glaze and Soufflé Pens / Oh So Beautiful Paper

As with the watercolor envelopes, the key to successful dip dyed envelopes is to use high quality cotton or bamboo envelopes. They absorb the dye and Glaze pen ink so well! To dip dye envelopes, mix food coloring with warm water in a vessel that is at least half an inch wider than your largest envelope and around three inches deep. I like using foil square cake pans to dip dye, and you can dip the envelopes at an angle to achieve more color coverage. When you’ve achieved your desired shade, dip (and quickly remove) the envelope in the dye bath, then blot dry with a paper towel and set aside to dry.

DIY Colorful Envelope Address Ideas with Sakura of America Glaze and Soufflé Pens / Oh So Beautiful Paper

When addressing your envelopes, have fun mixing script lettering with lowercase and all caps, and play around with proportions! I also added a second layer of ink to some of the addresses (after waiting for the first layer to dry completely) for a more whimsical look. The best part is that you don’t have to be a lettering genius to create these envelopes – the colorful ink alone adds a major dose of whimsy to the envelope, and the combination of colorful ink with playful, imperfect lettering just makes my heart happy.

DIY Colorful Envelope Address Ideas with Sakura of America Glaze and Soufflé Pens / Oh So Beautiful Paper

To create the little palm frond illustrations, I sketched them out very lightly with pencil first, then went over the pencil sketch with the Glaze pens. I also want to add whimsical polka dots to ALL of my envelopes from now on! Wouldn’t it make you so happy to receive that neon pink and coral envelope in the mail??

DIY Colorful Envelope Address Ideas with Sakura of America Glaze and Soufflé Pens / Oh So Beautiful Paper

DIY Colorful Envelope Address Ideas with Sakura of America Glaze and Soufflé Pens / Oh So Beautiful Paper

So fun, right??? You can pick up your own set of Soufflé pens here and Glaze pens here – you’ll have so much fun creating bright and beautiful envelope addresses with them!

Photos by Nole Garey for Oh So Beautiful Paper

This post is sponsored by Sakura of America. All content and opinions are my own. Thank you for supporting the sponsors that make Oh So Beautiful Paper possible!

Romantic Swan-Inspired Wedding Invitations

I’m kiiiiinnnnnd of obsessed with swan motifs at the moment, so naturally I was super excited when these romantic swan-inspired wedding invitations from Nichole at Coral Pheas­ant showed up in my inbox! I love the way Nichole incorporated subtle swan details (inspired by the groom’s last name!) into this classic blush and gold invitation design, including a die cut details card and swan envelope liner!

Romantic Swan-Inspired Wedding Invitations by Coral Pheasant / Oh So Beautiful Paper

From Nichole: Last year I had the pleasure of working with the magnificent florist Diane Gaudett, of Custom Floral Designs, and her daughter Jocelyn to create a custom wedding invitation suite for Jocelyn’s wedding. Truth be told, it more a family affair with Jocelyn’s fiancé, Justin, and her sister being involved too! They all came to the first design meeting, each contributing and offering ideas that were built upon during the design process.

Romantic Swan-Inspired Wedding Invitations by Coral Pheasant / Oh So Beautiful Paper

The vision for the wedding was a super romantic affair with lush florals, crystal chandeliers and luxe linens to be held at the Lace Factory in Deep River, Connecticut. Those details and the darling last name of the groom (Swann!) were the driving bits of inspiration for the suite.

Romantic Swan-Inspired Wedding Invitations by Coral Pheasant / Oh So Beautiful Paper

The invitation itself is completely typeset in a script full of romantic flourishes, set at a slight angle and is letterpress printed on double-thick Crane’s Lettra. While the language on the invitation is traditional, playful wording is used on the response card.

Romantic Swan-Inspired Wedding Invitations by Coral Pheasant / Oh So Beautiful Paper

My favorite part of the suite is the die cut details card that features a swan with outstretched wings. Seriously, could the groom’s surname be any more fitting for a wedding?! Swans mate for life and are symbols of elegance and beauty. The swan reference is repeated on the patterned envelope liners and again on the custom postage stamp. Blush envelopes bring a hint of color to the palette and calligraphy by Graceline complete the suite.

Romantic Swan-Inspired Wedding Invitations by Coral Pheasant / Oh So Beautiful Paper

Romantic Swan-Inspired Wedding Invitations by Coral Pheasant / Oh So Beautiful Paper

Romantic Swan-Inspired Wedding Invitations by Coral Pheasant / Oh So Beautiful Paper

Thanks Nichole!

Invitation design and styling: Coral Pheasant

Calligraphy: Graceline

Event and floral design: Custom Floral Designs

Coral Pheasant is a member of the Designer Rolodex – you can see more of Nichole’s beautiful work right here or visit the real wedding invitations gallery for more invitation inspiration!

Photo Credits: Coral Pheasant