Bilingual Wedding Invitations with a Beautiful Illustrated Envelope Liner

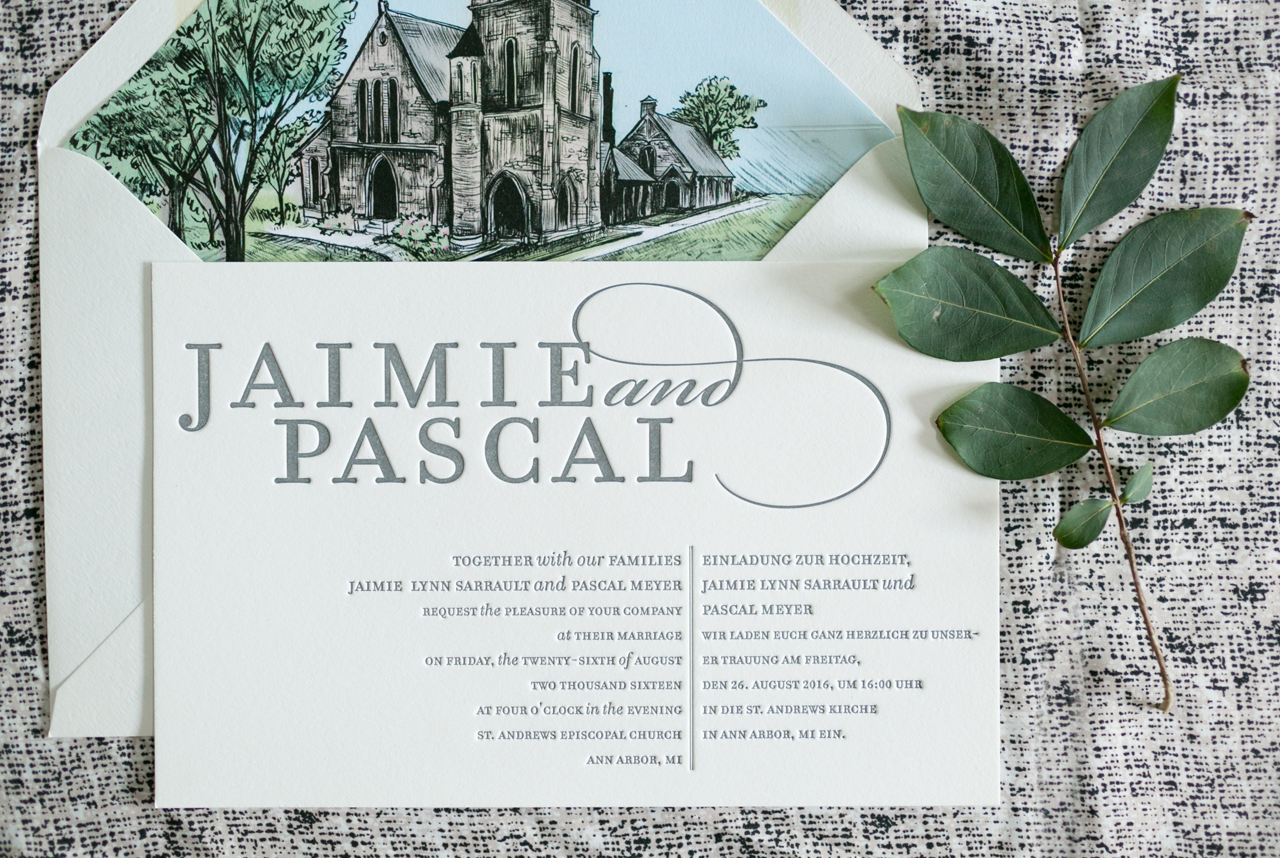
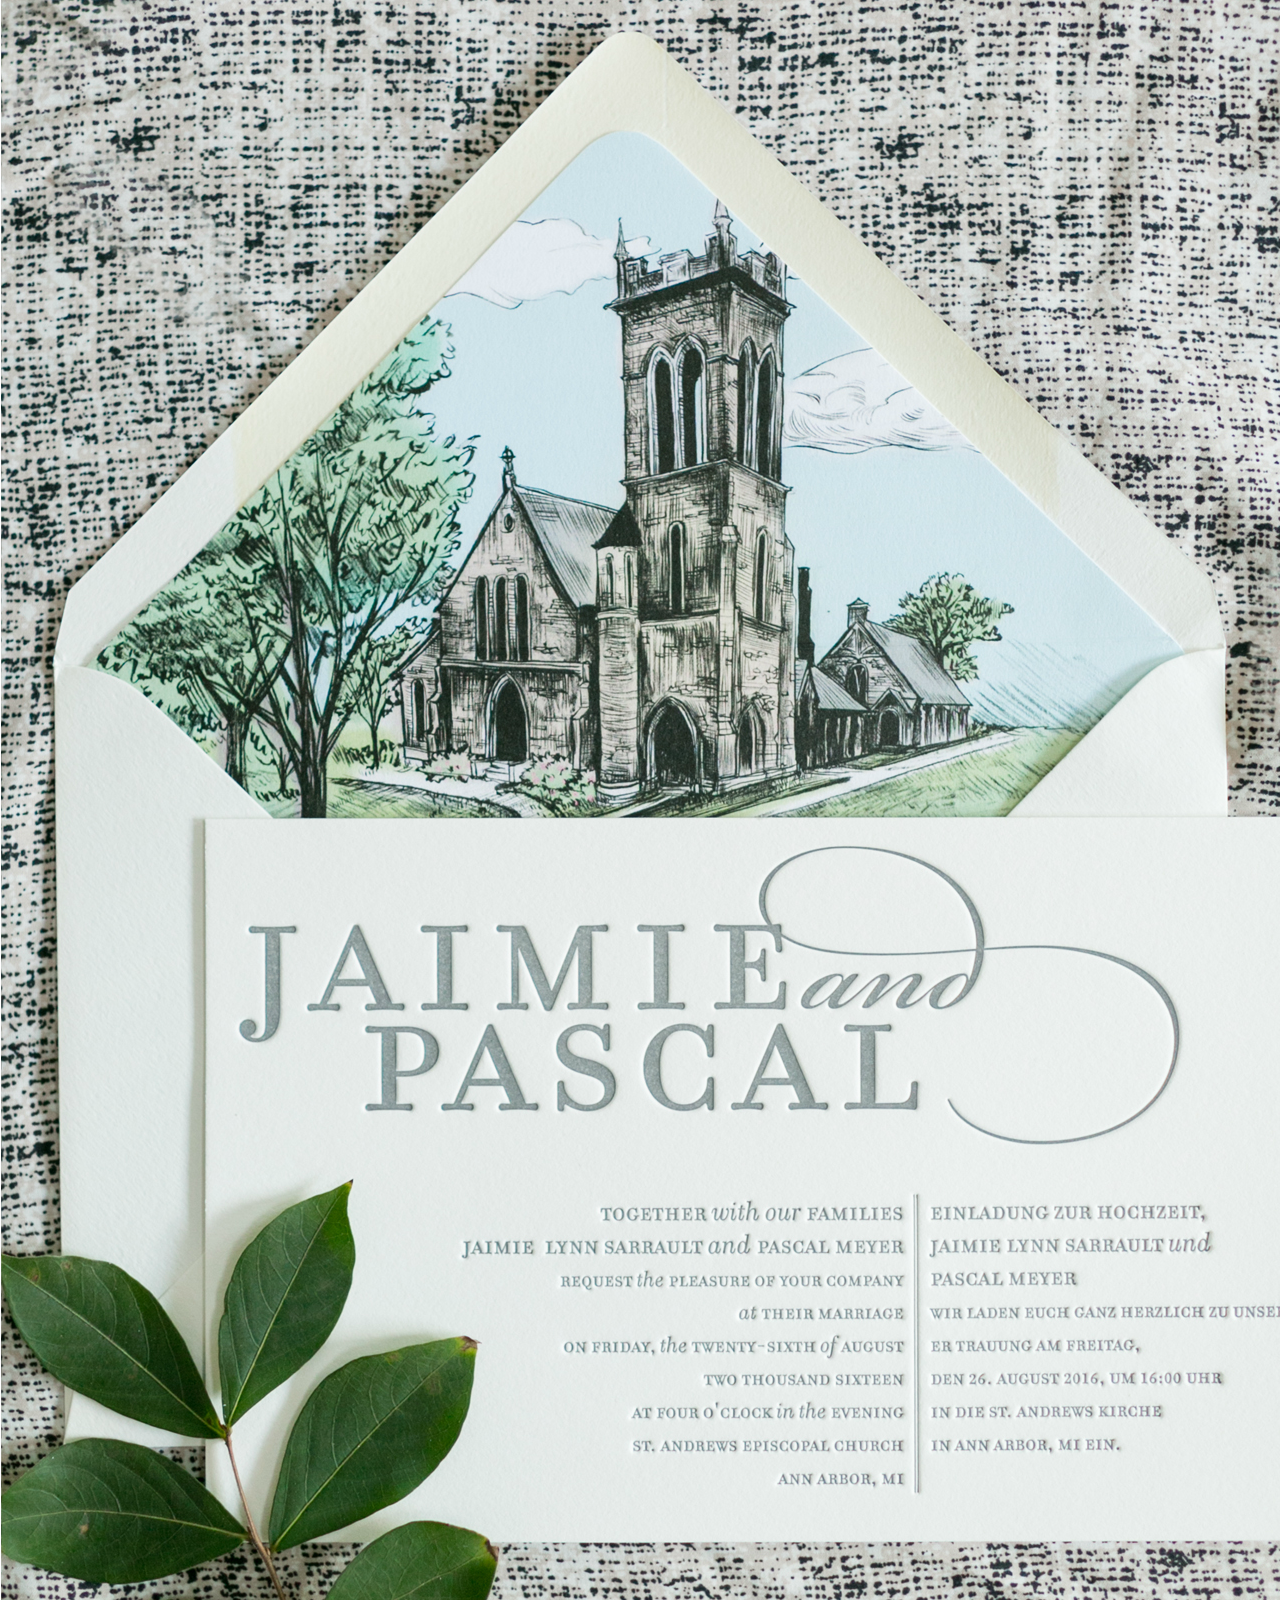
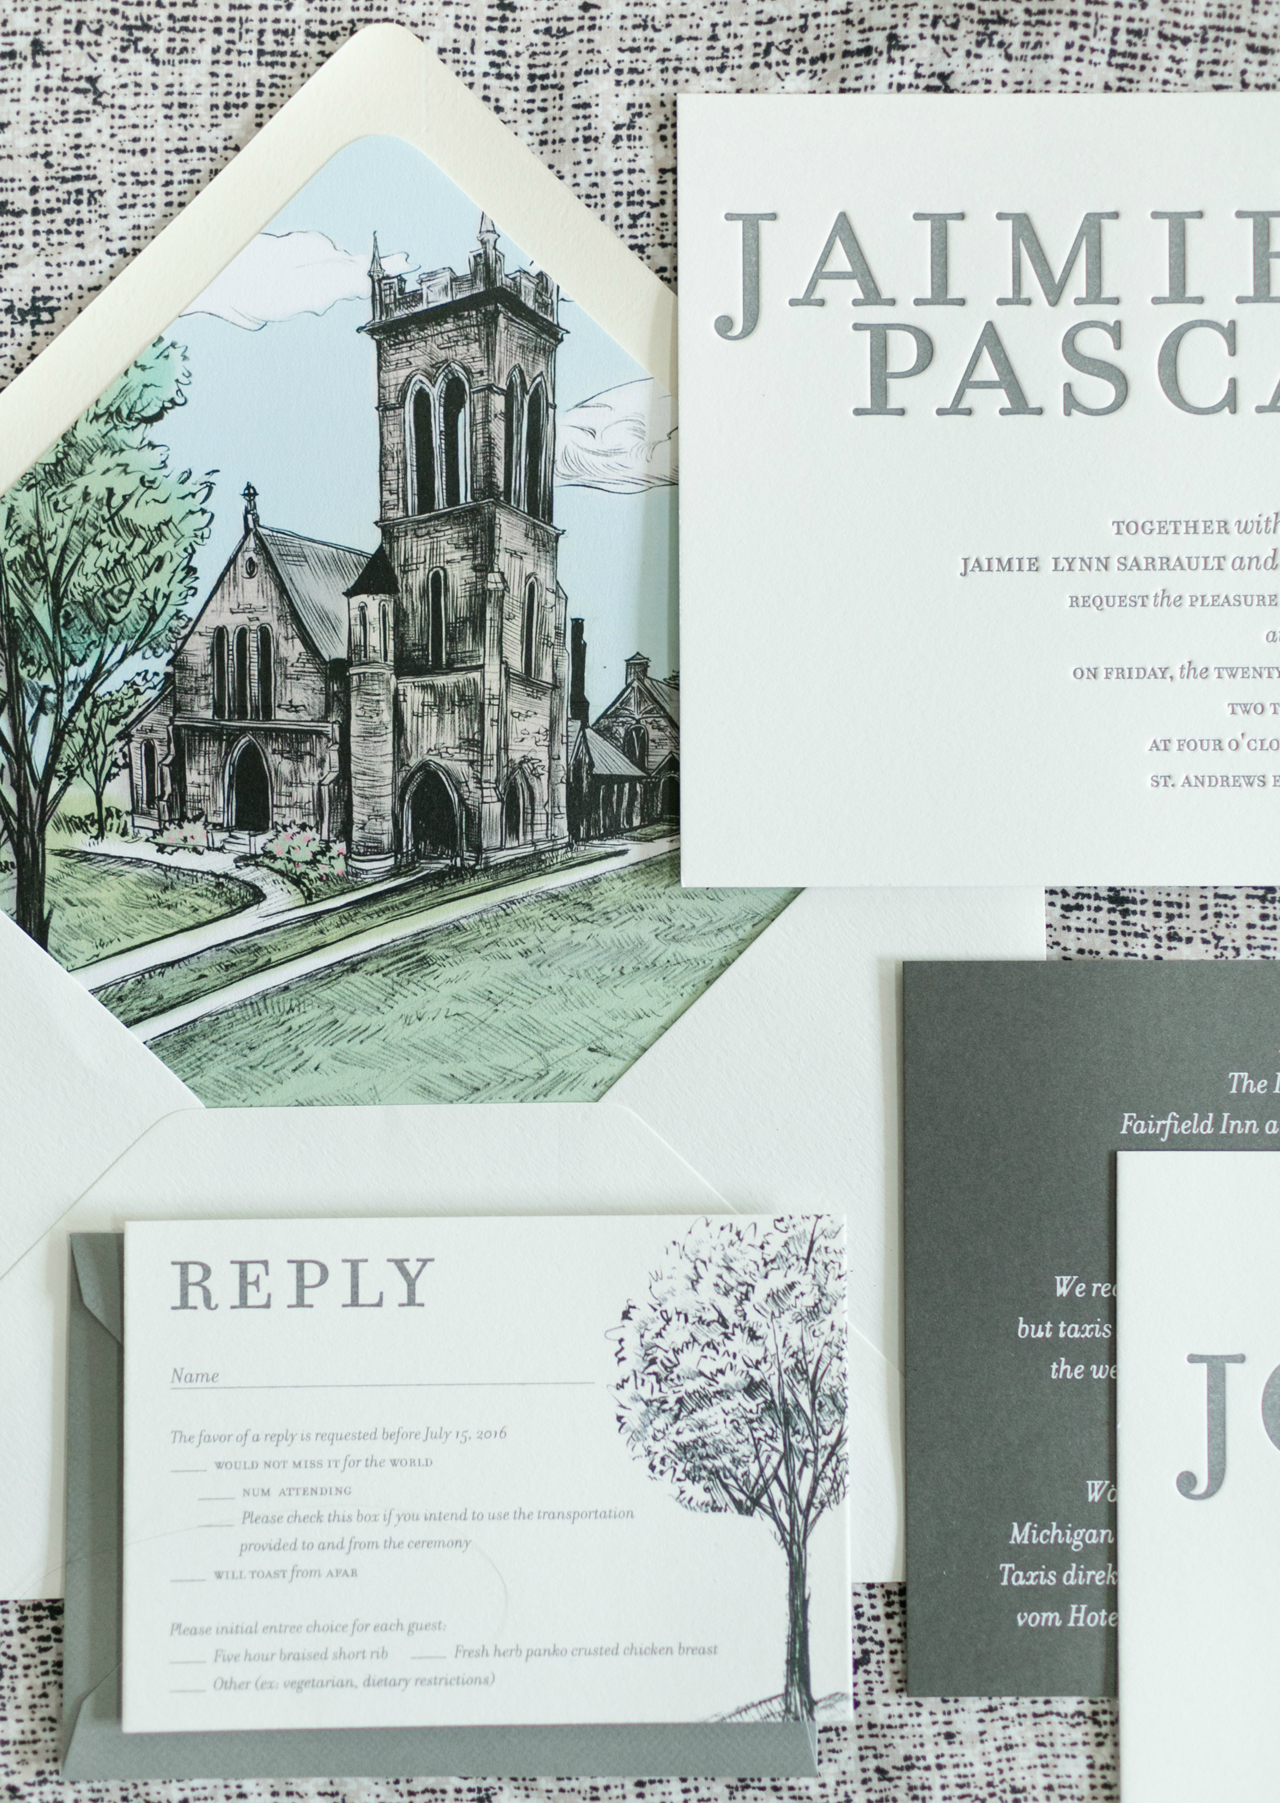
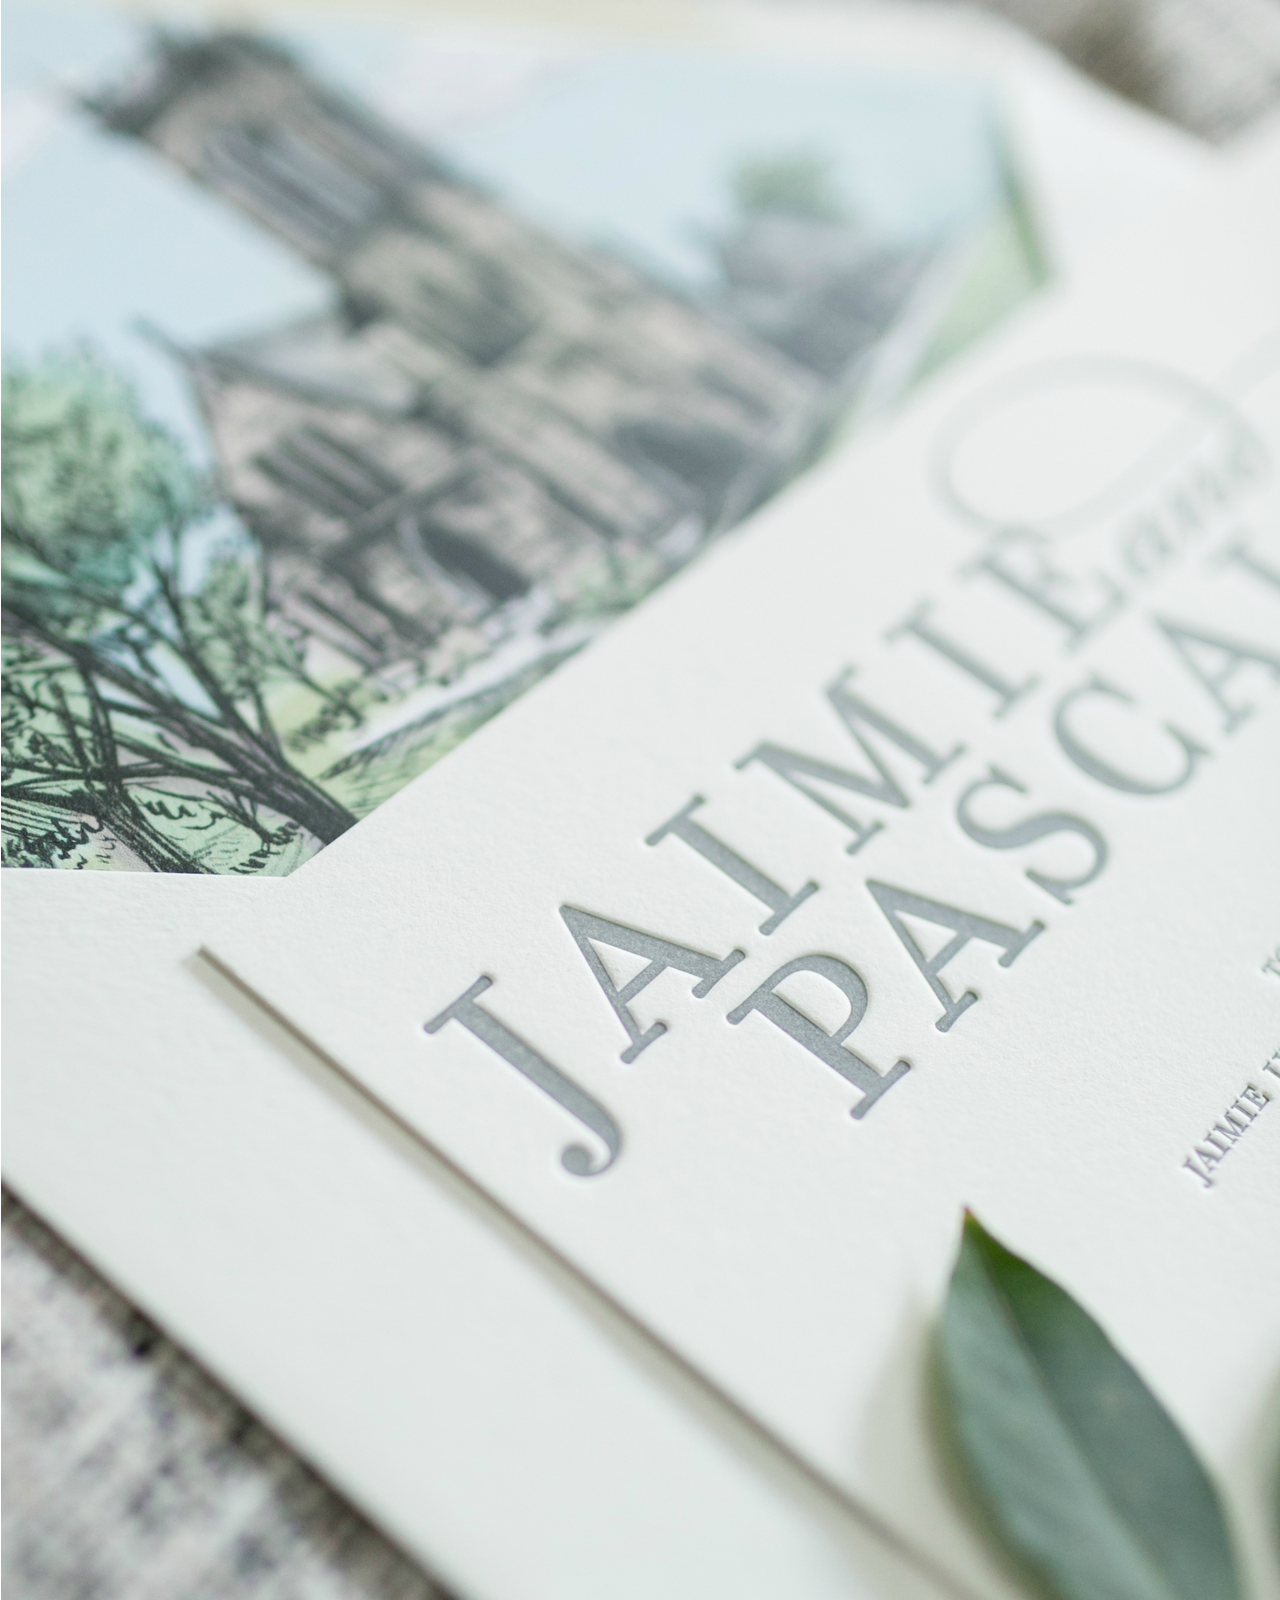
Bilingual invitations can be tough, especially when you want to keep the design modern and simple. Do you go with a double sided layout with a different language on each side? Or print separate invitations in each language and mail them to the appropriate guest? Today we’re sharing these clean and modern bilingual wedding invitations with a beautiful illustrated envelope liner from Designer Rolodex member Melissa from Atheneum Creative. Doesn’t the illustrated envelope liner serve as the perfect complement to the crisp type-driven design and letterpress printing of the invitation?!
Bilingual Wedding Invitations with a Beautiful Illustrated Envelope Liner by Atheneum Creative

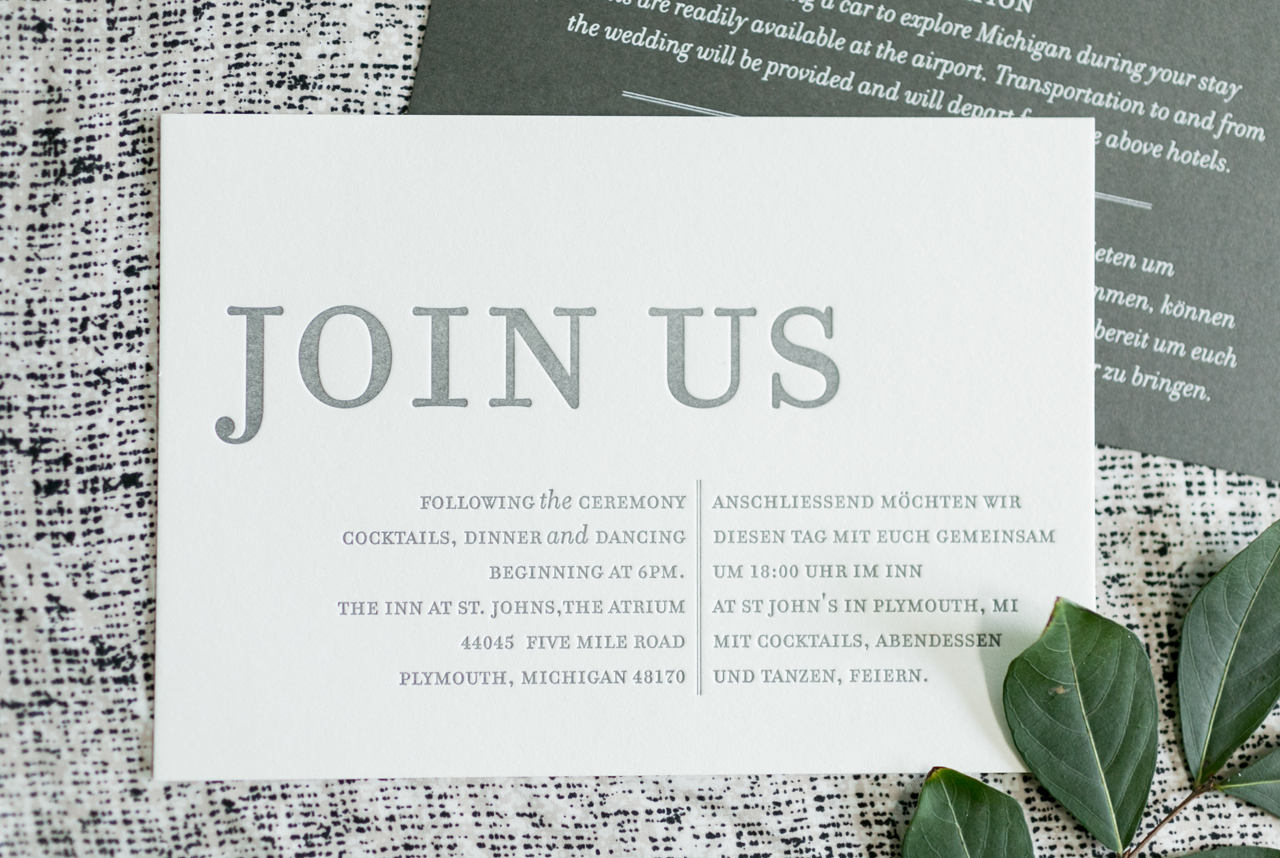
From Melissa: Jamie and Pascal came to us in need of a bilingual wedding invitation, but wanted to keep the design simple and clean. Bilingual invitations can sometimes get too wordy, too busy and too complicated, so keeping the design simple is always a challenge. We talked about all the options… run the two different languages with one on the front and one on the back, simply create two different invitation sets, or work to try and fit it all on the front – which was the direction we took in the end.
Bilingual Wedding Invitations with a Beautiful Illustrated Envelope Liner by Atheneum Creative

Bilingual Wedding Invitations with a Beautiful Illustrated Envelope Liner by Atheneum Creative

Bilingual Wedding Invitations with a Beautiful Illustrated Envelope Liner by Atheneum Creative

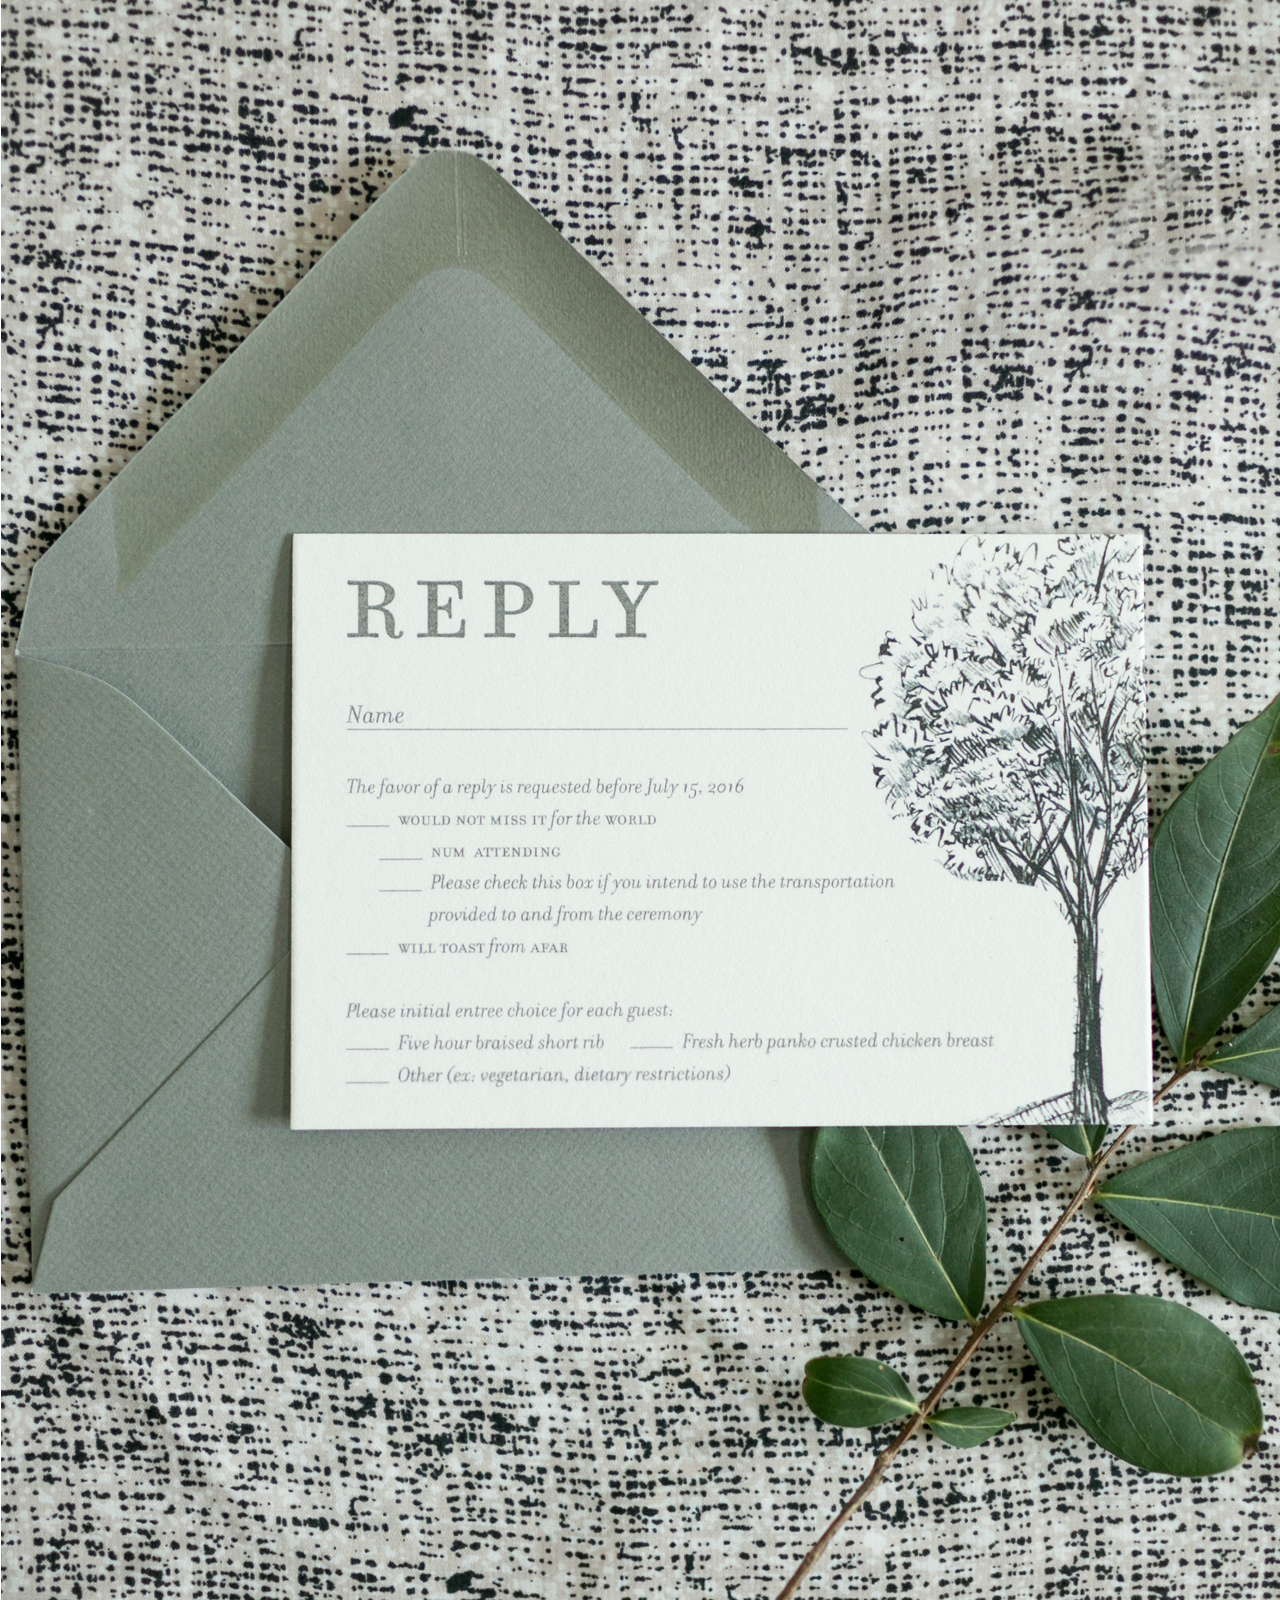
Keeping all the information on the front, with the exception of the reply card, allowed us stay within the budget and utilize both letterpress printing and foil printing. We the invitation and ceremony card were both letterpress printed, while the accommodations card featured white foil on dark gray paper and the reply card was digitally printed.
Bilingual Wedding Invitations with a Beautiful Illustrated Envelope Liner by Atheneum Creative

Bilingual Wedding Invitations with a Beautiful Illustrated Envelope Liner by Atheneum Creative

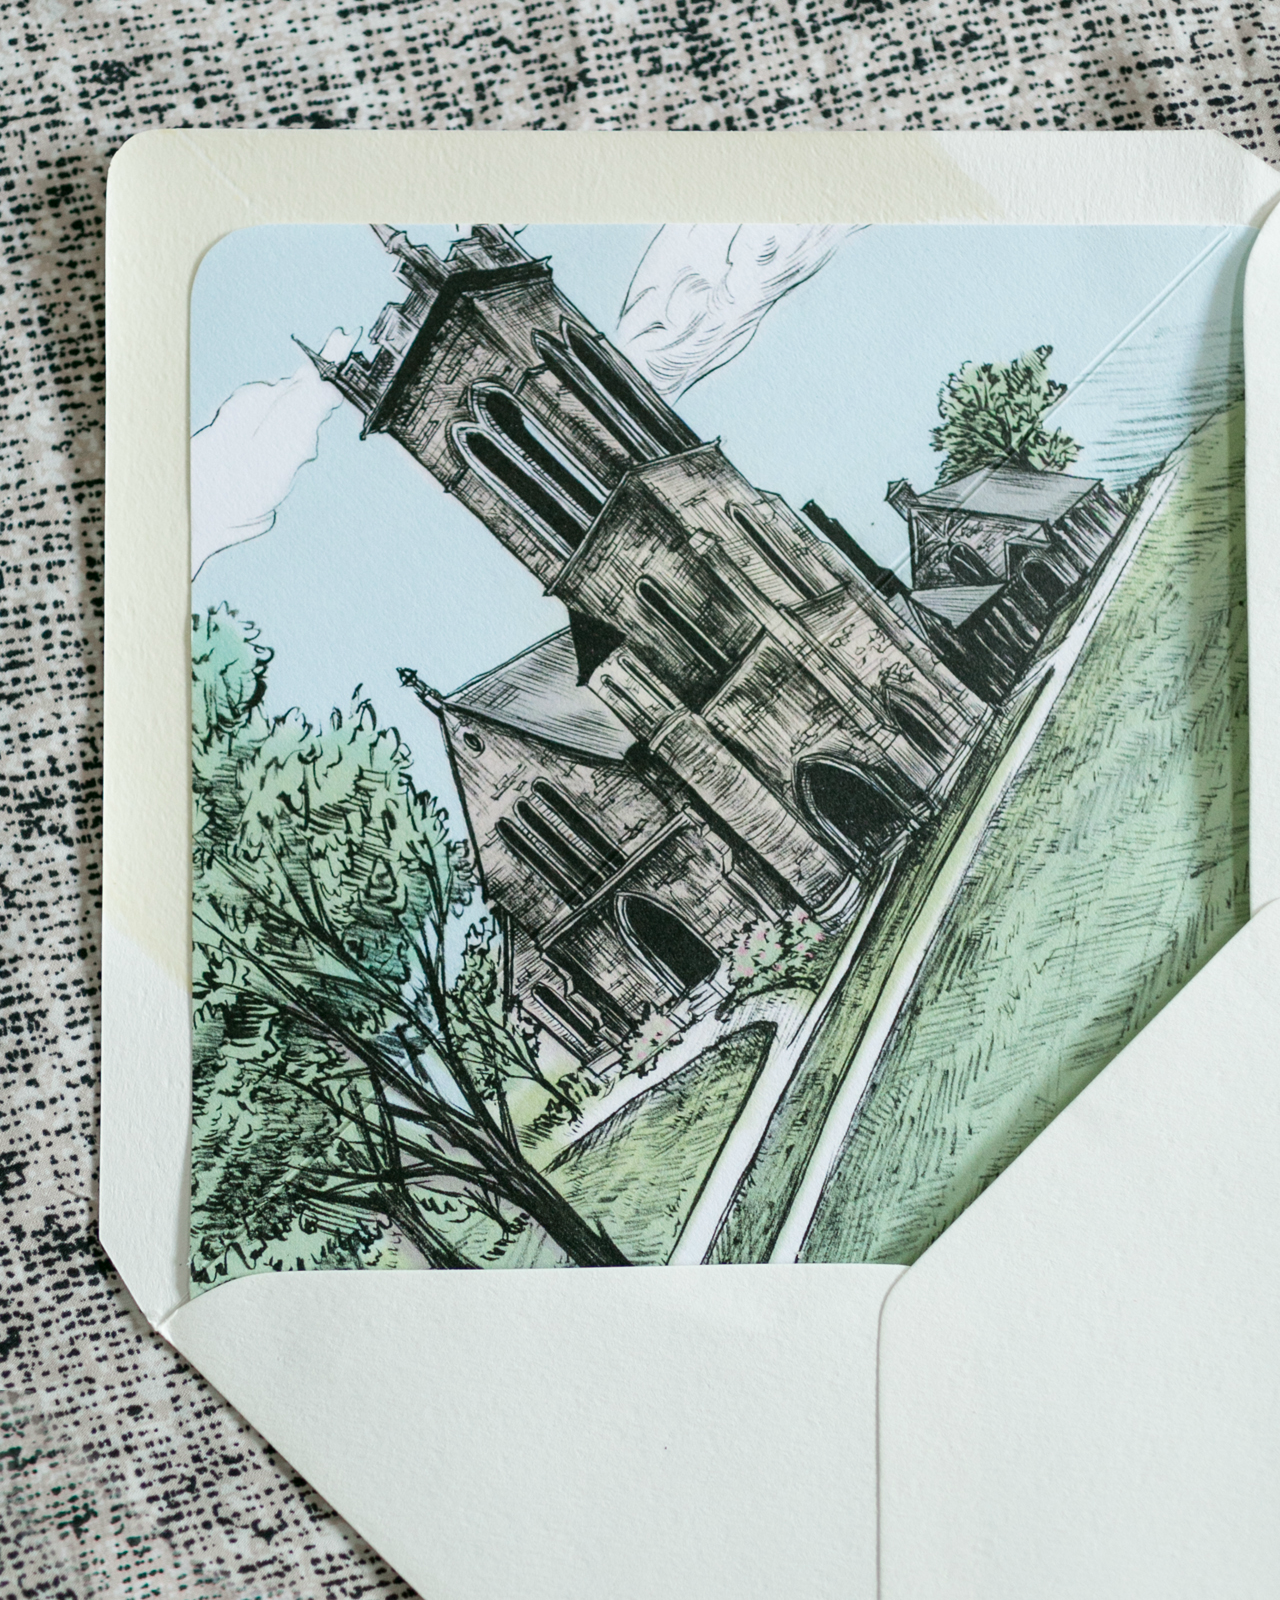
We decided to keep the entire wedding invitation suite in shades of gray to allow the envelope liner to really pop when guests opened the envelope. The couple wanted something very meaningful for the envelope liner: a custom illustration of the church they were getting married in. It was a church that has a lot of history with the couple and family. Once the pen illustration was complete, we adjusted the colors in the illustration to be very saturated and bold. We increased the blacks and the contrast while keeping the blues and greens very vibrant.
Bilingual Wedding Invitations with a Beautiful Illustrated Envelope Liner by Atheneum Creative

Bilingual Wedding Invitations with a Beautiful Illustrated Envelope Liner by Atheneum Creative

Thanks Melissa!

Design: Atheneum Creative

Illustration: Alice Holleman

Atheneum Creative is a member of the Designer Rolodex – see more of their beautiful work here or visit the real invi­ta­tions gallery for more wedding invitation ideas!

Photo Credits: Chelsea Davis Photography

February Desktop Downloads!

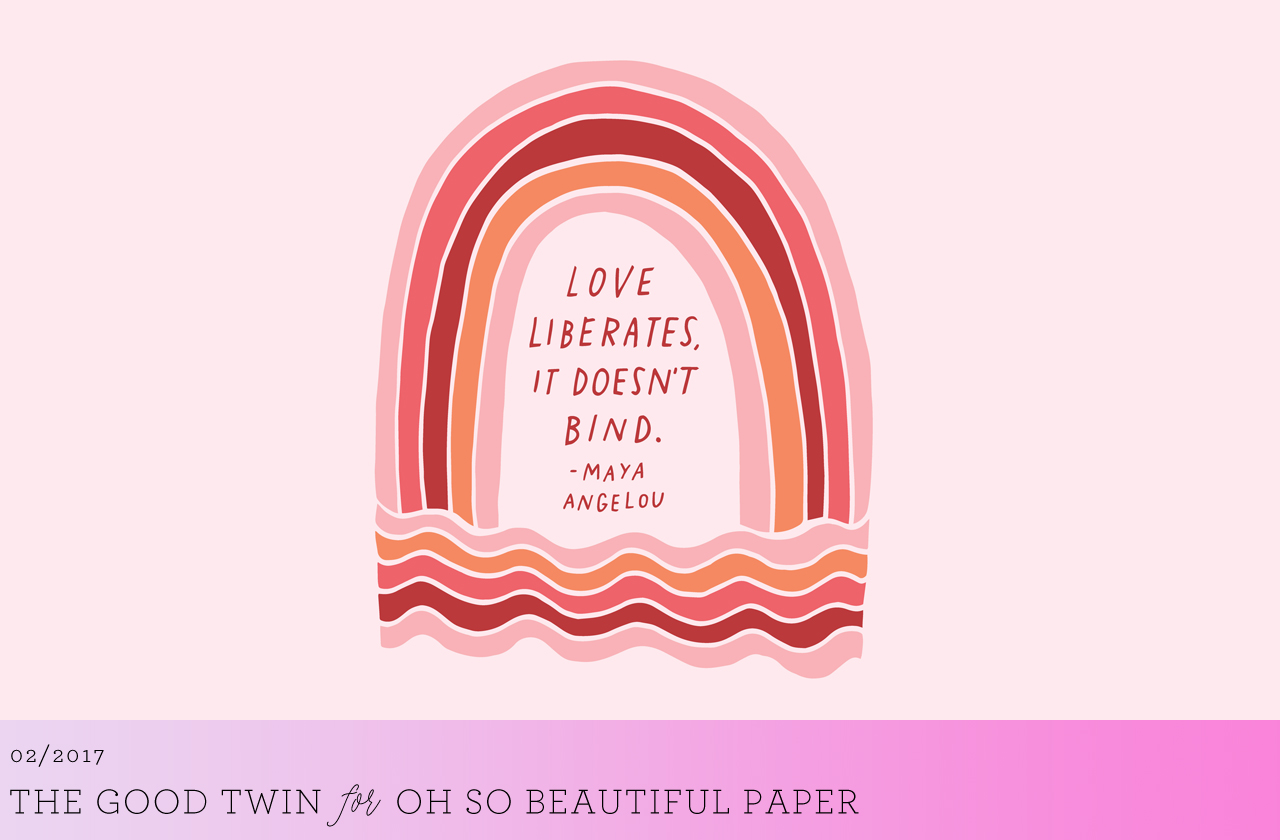
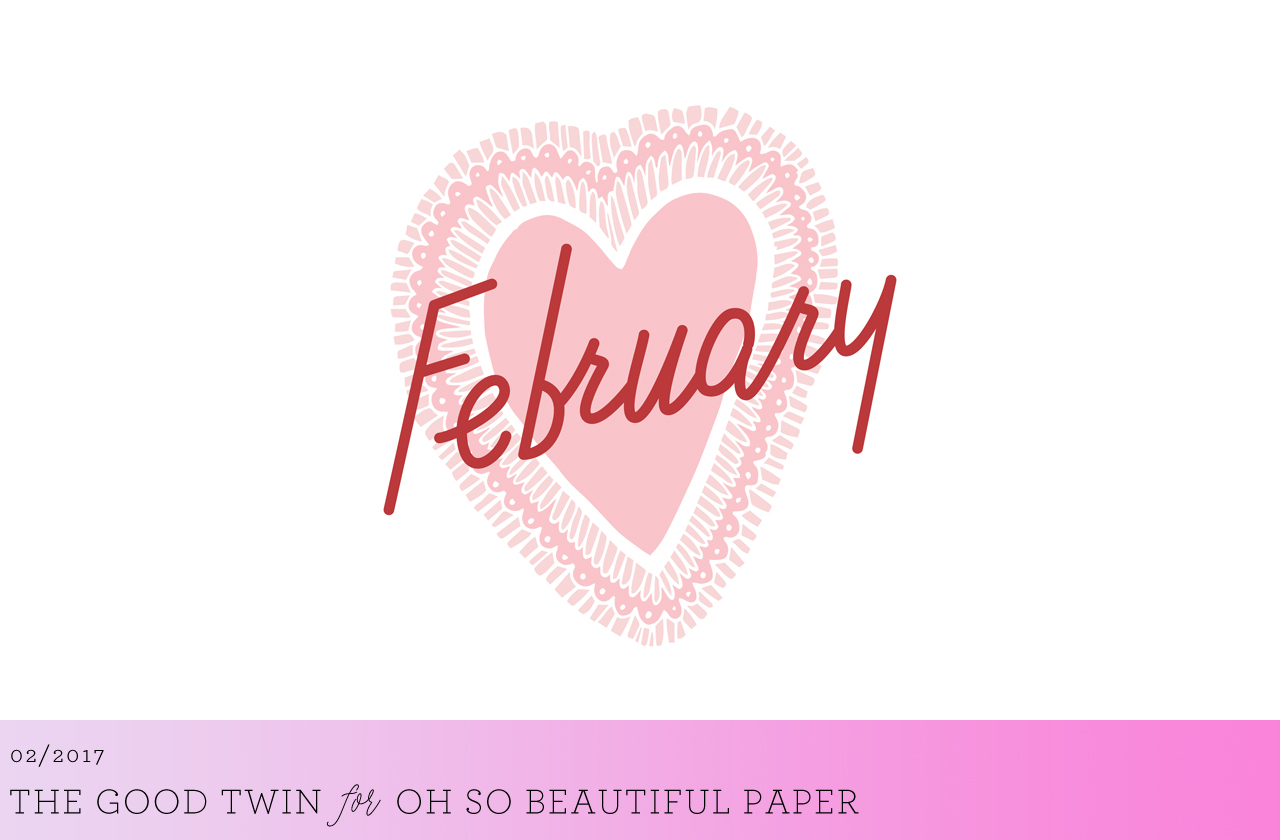
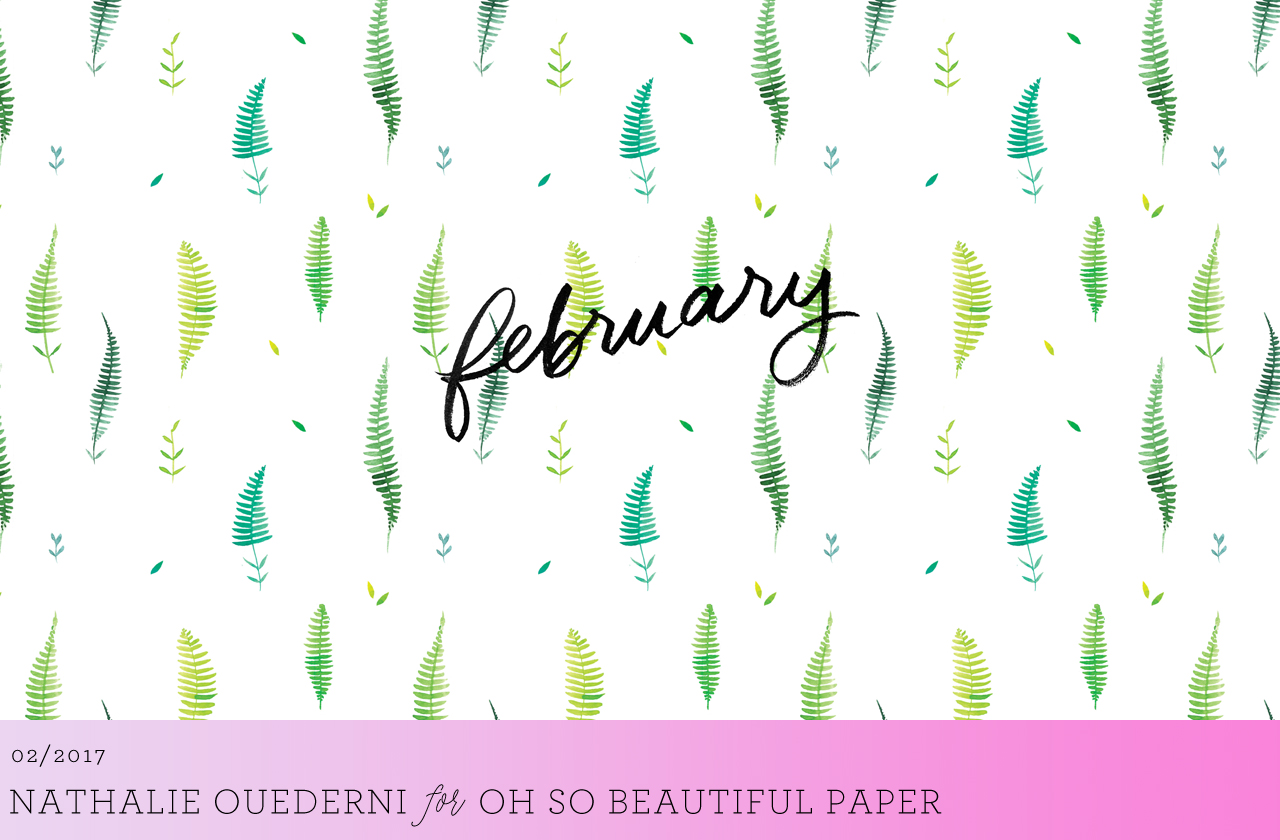
Welcome to February everyone! We have a wealth of illustrated wallpapers to help brighten your screens this month, with four new designs from Swiss Cottage Designs, The Good Twin, and Nathalie Ouederni! This month we’re both celebrating the season of love – very much needed these days – and looking ahead to the promise of Spring. Pick your fave (or two!) and download the files via the links below! xoxo

February Illustrated Wallpaper by Swiss Cottage Designs

Desktop | iPhone

February Illustrated Wallpaper by The Good Twin

Desktop | iPhone

February Illustrated Wallpaper by The Good Twin

Desktop | iPhone

February Illustrated Wallpaper by Nathalie Ouederni

Desktop | iPhone

For personal use only. All illustrations by Swiss Cottage Designs, The Good Twin, and Nathalie Ouederni for Oh So Beautiful Paper

If you’re a designer or illustrator interested in contributing your own designs to this column, please email your design to hello(at)ohsobeautifulpaper.com with the subject line “desktop downloads” and image files in both desktop and iPhone retina screen sizes. If it’s a good fit I’ll add it to the post for the following month!

Printable Valentine’s Day Envelope Liners

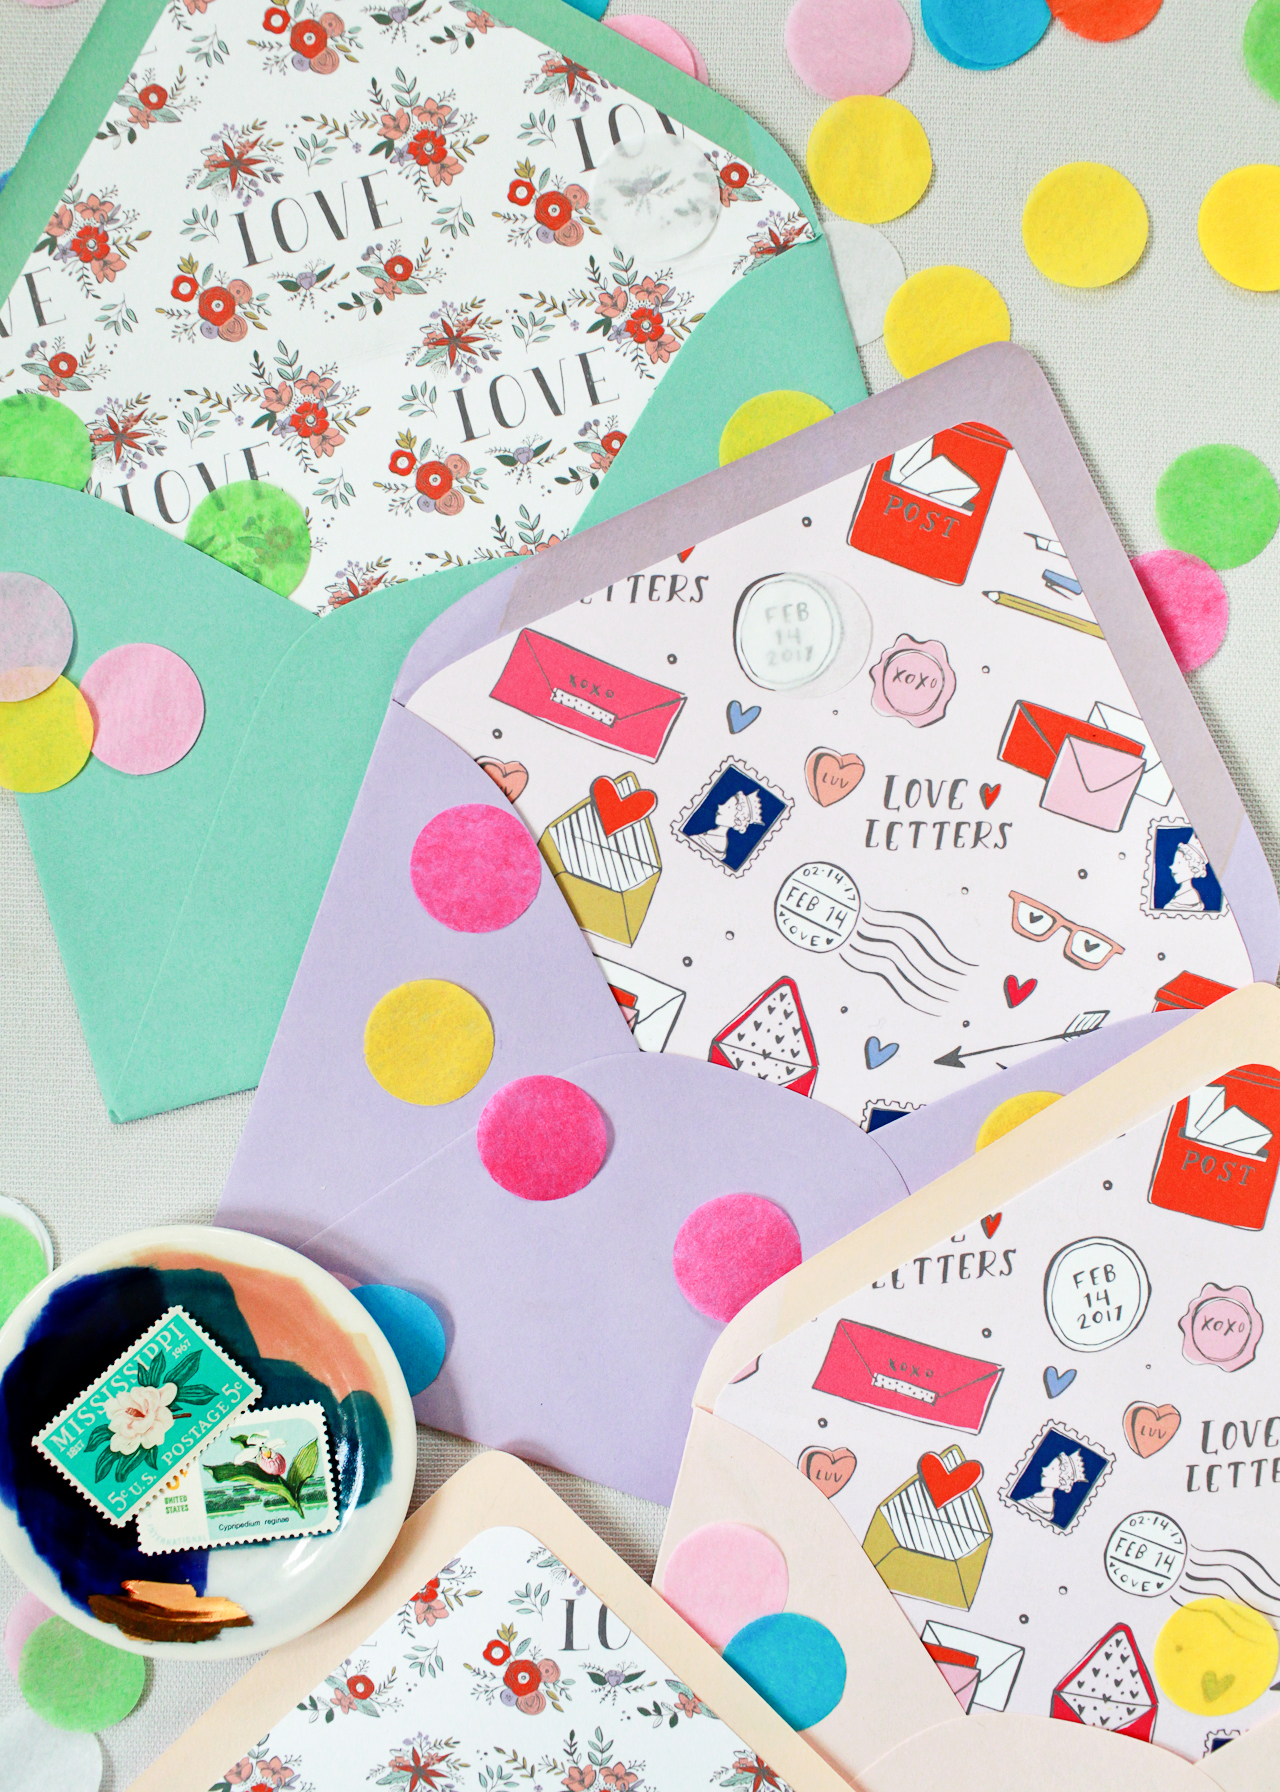
Valentine’s Day is just around the corner – and today I’m sharing a fun printable project to add an extra dose of love (and color) to your Valentine’s Day cards: printable Valentine’s Day envelope liners! I’ve teamed up with Courtney of Swiss Cottage Designs to offer two beautiful envelope liner patterns for you to enjoy. And the best part is that these liners are totally versatile, so you can use them with envelopes of all shapes and sizes!

Printable Valentine's Day Envelope Liners

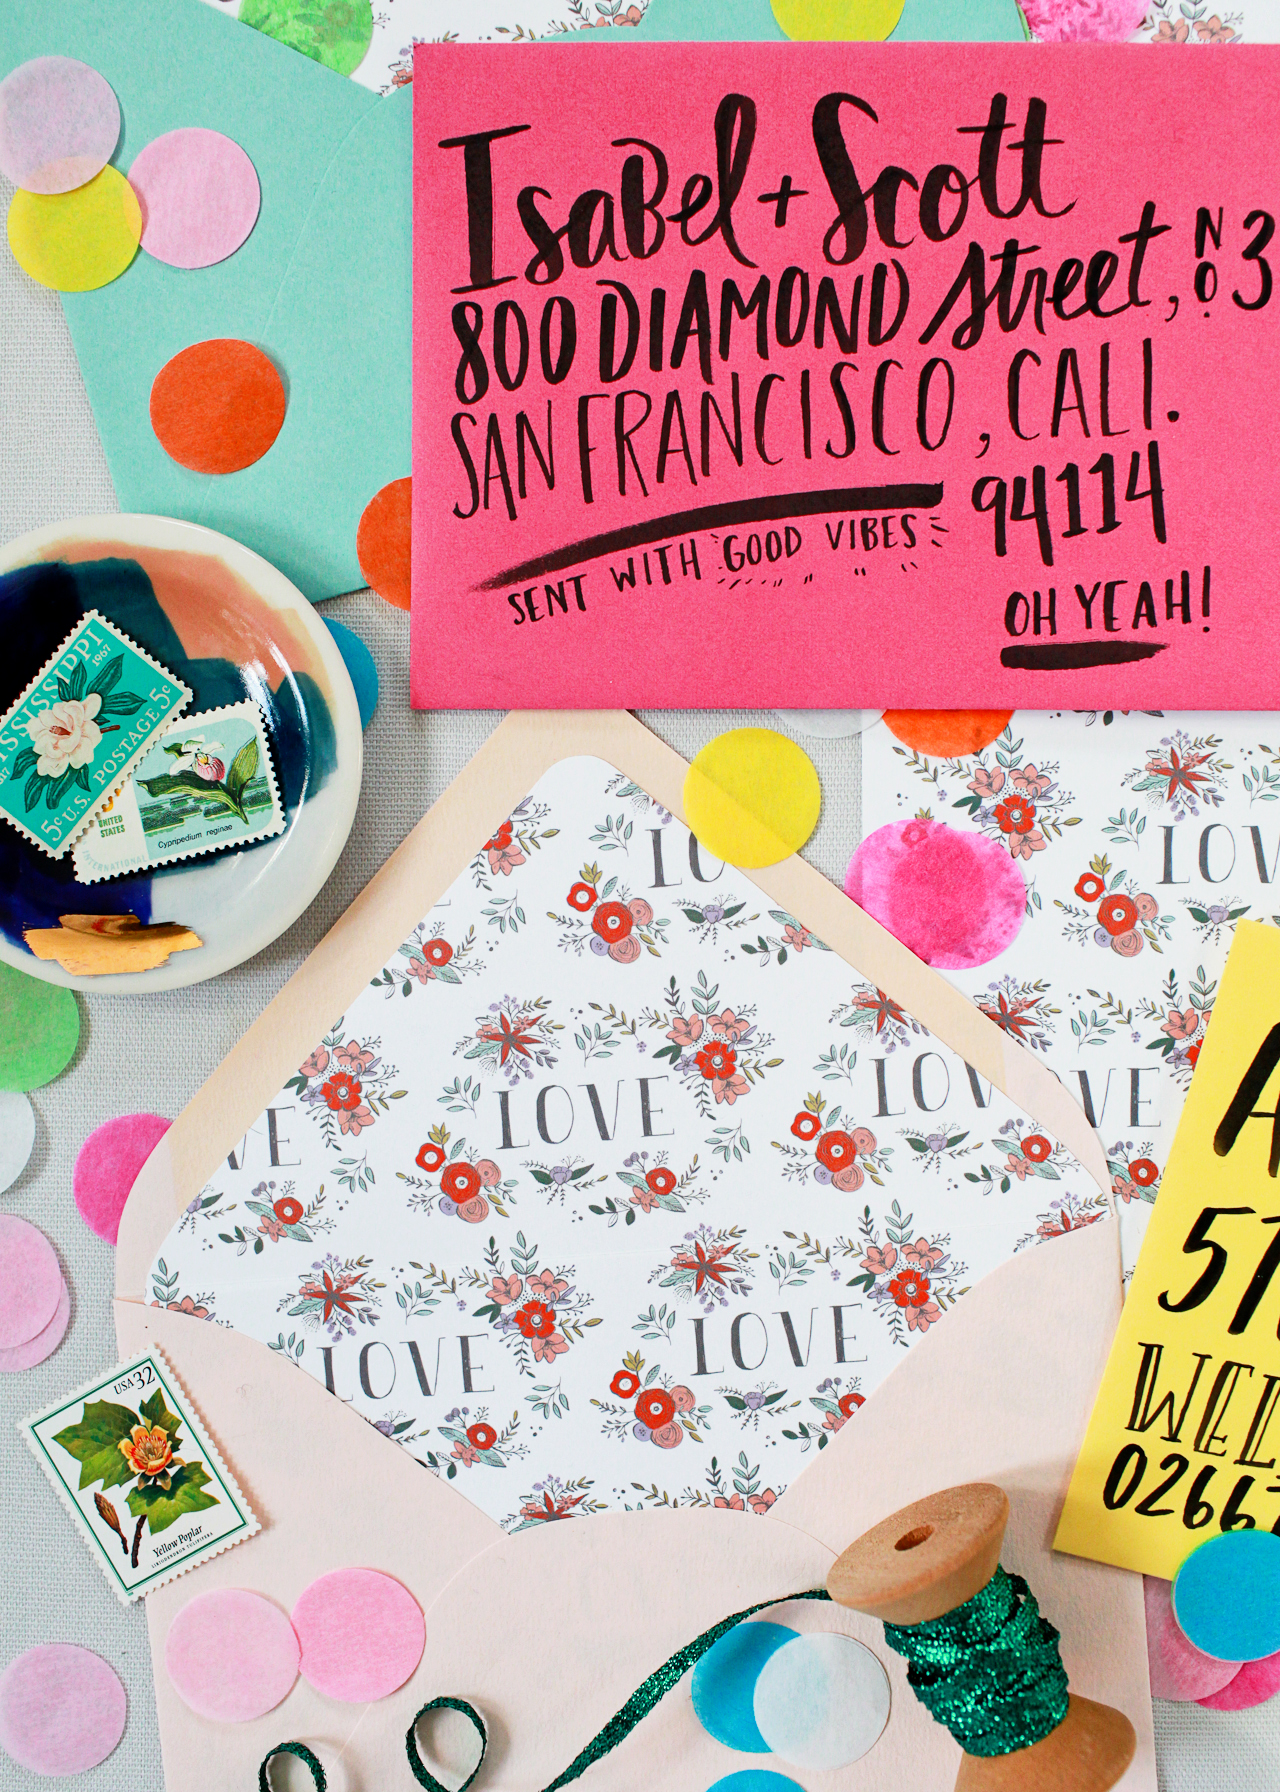
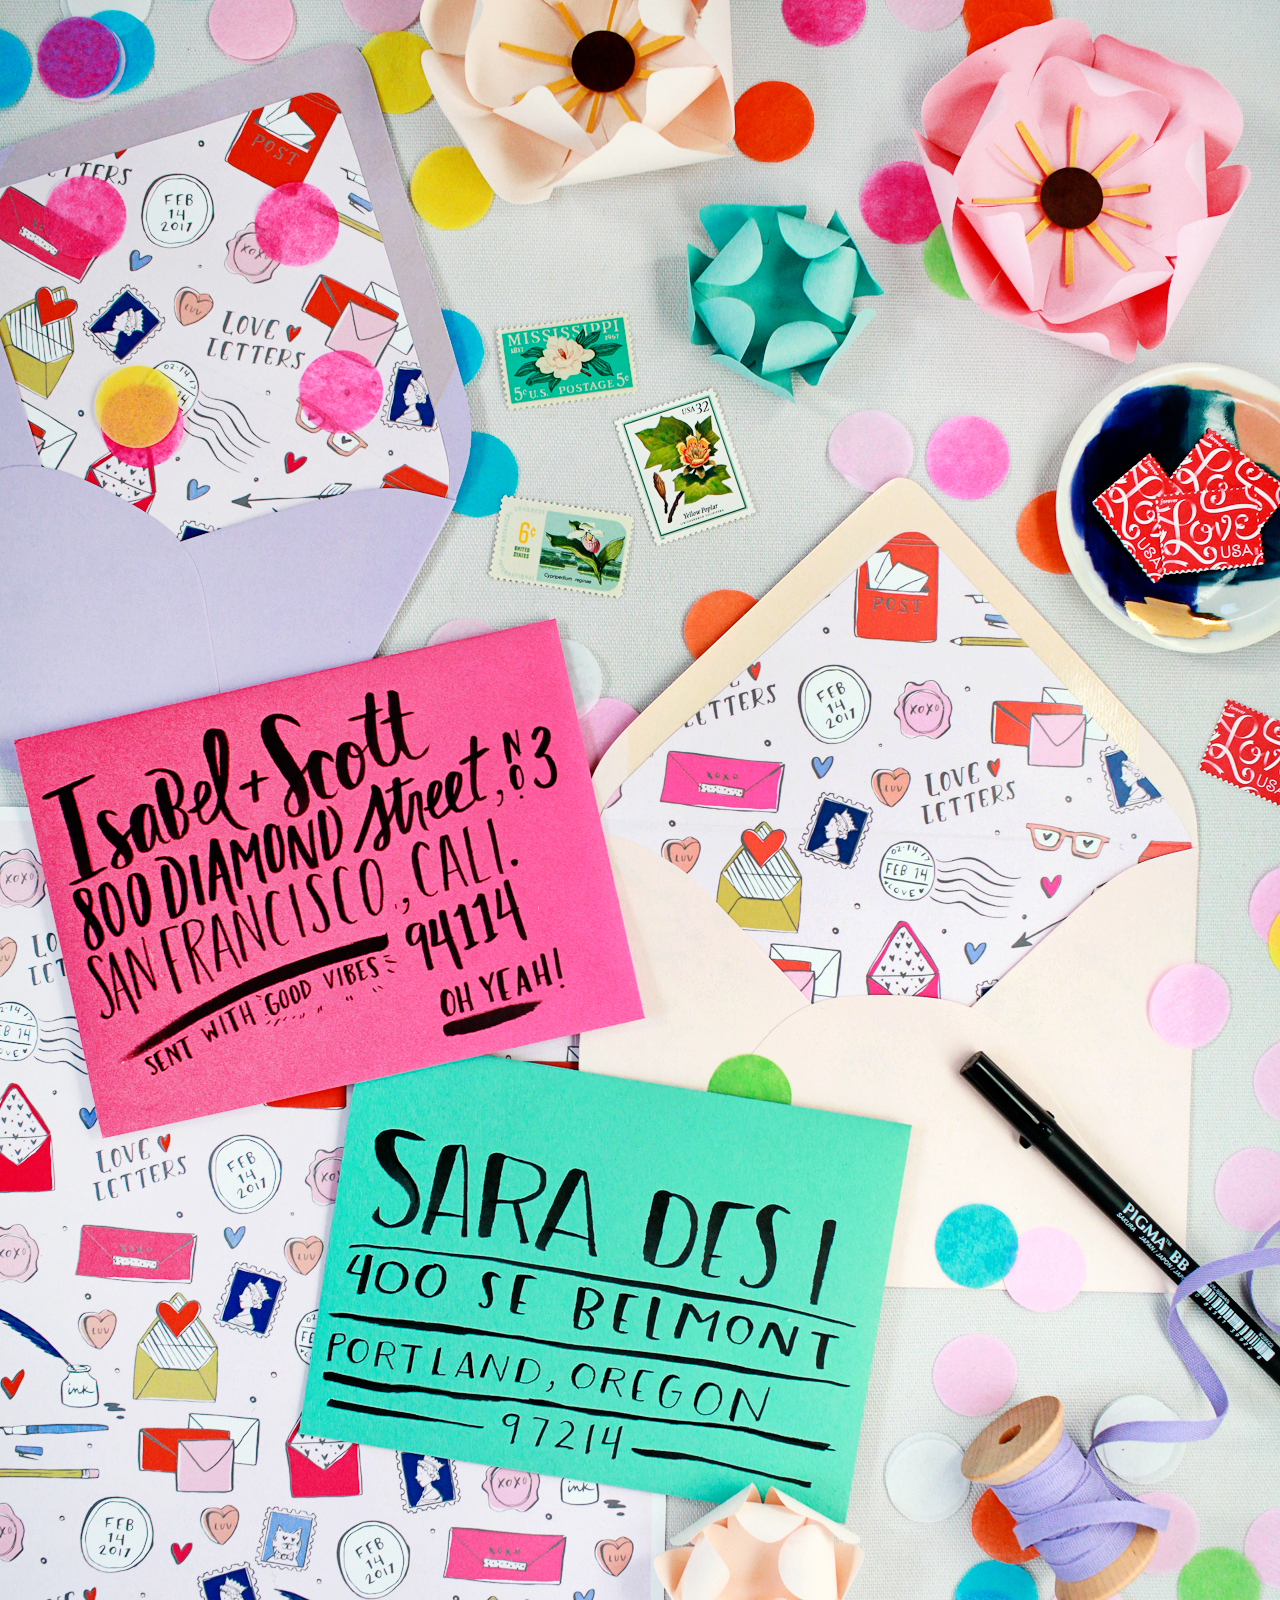
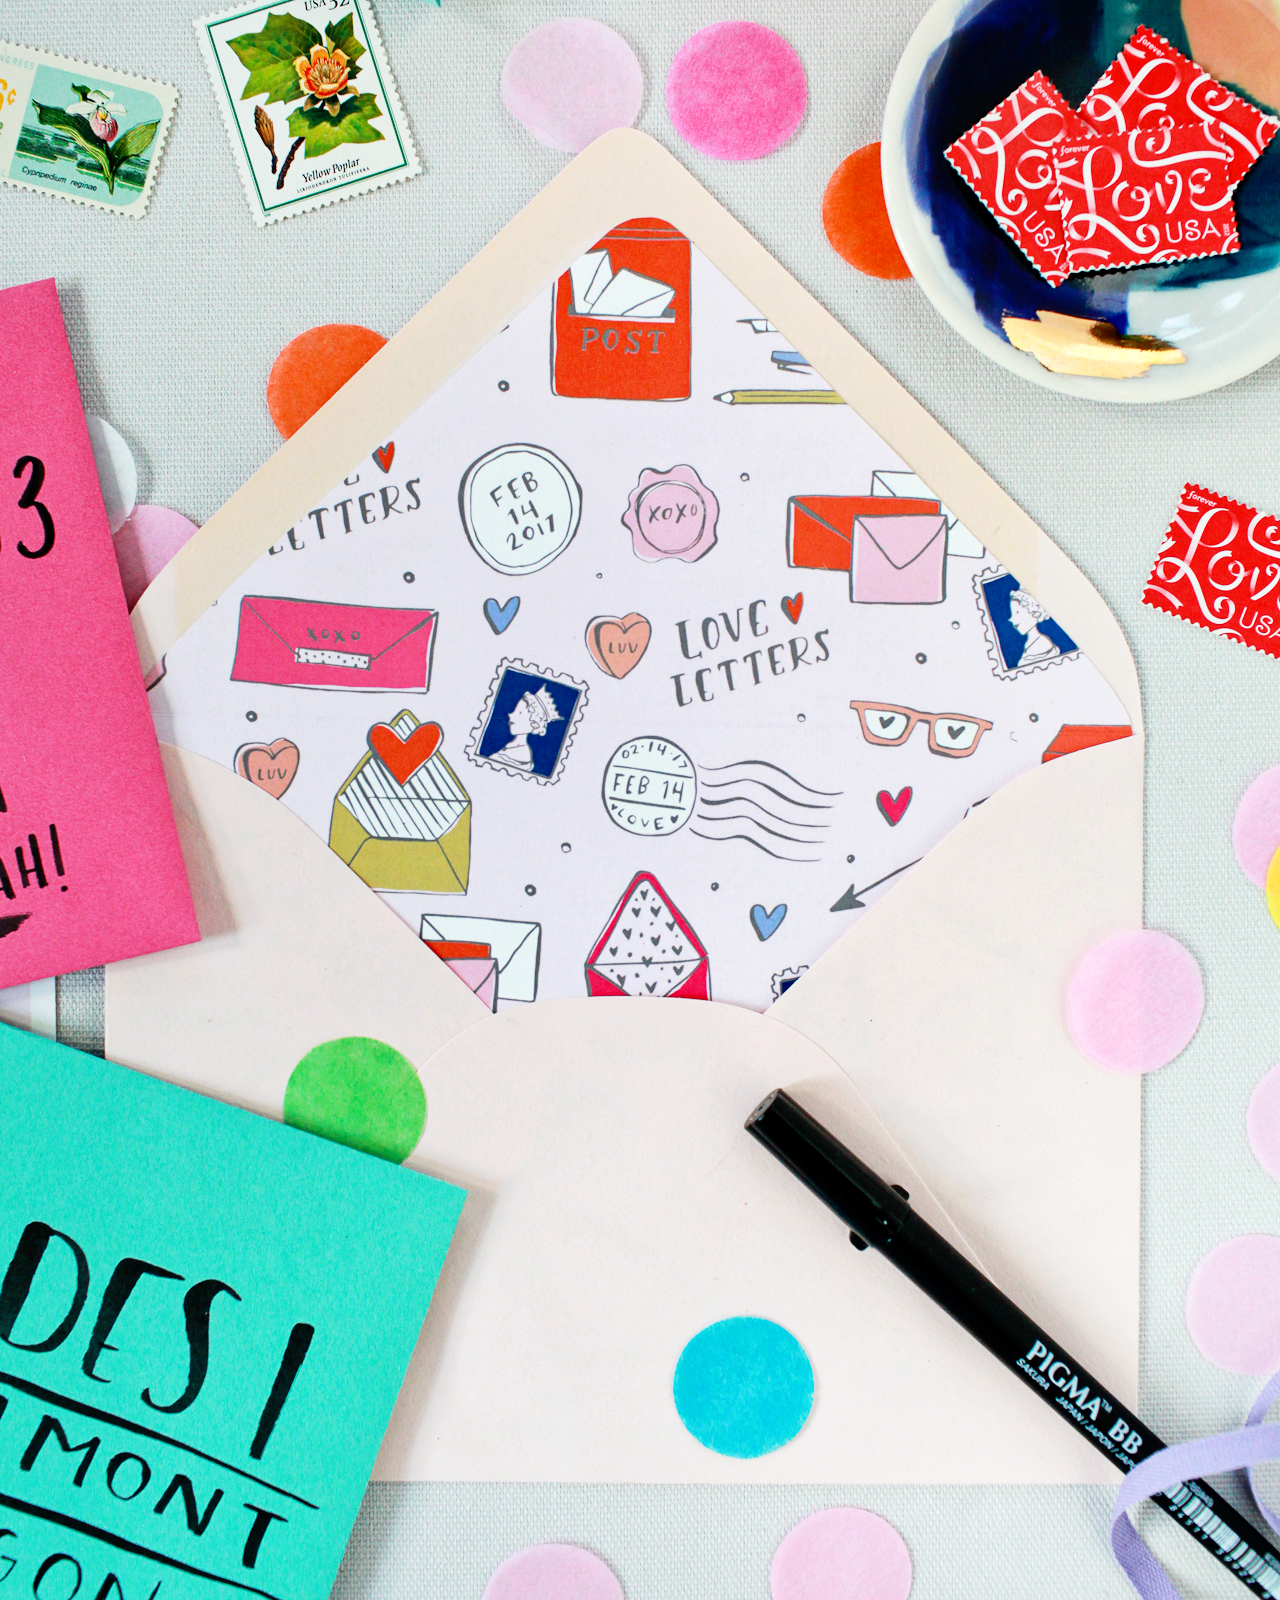
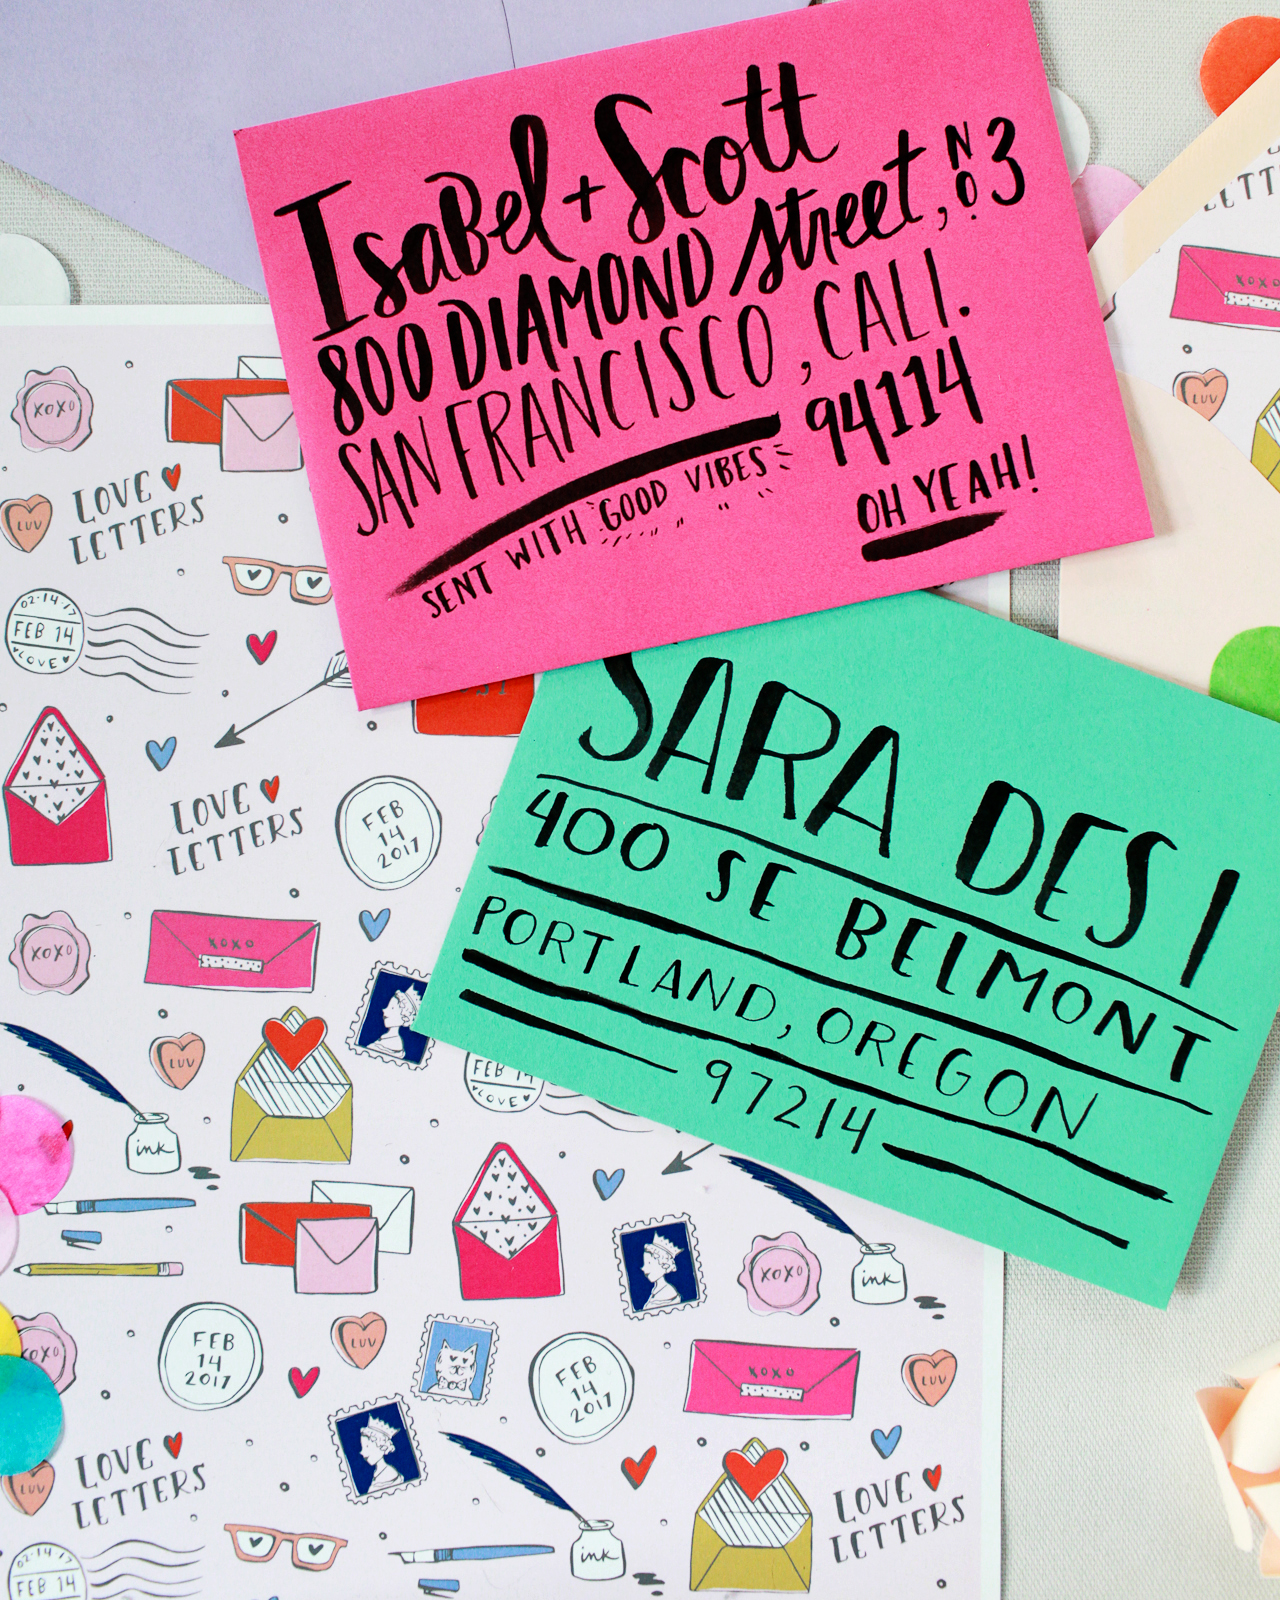
Courtney created two absolutely gorgeous illustrated liner patterns celebrating two of our favorite things: love letters and flowers! The little bouquets in the floral liners are my favorite thing ever – and can be used any time of year to send some love! And seriously, how cute are all those little illustrated postage stamps, airmail stamps, and wax seals?? Add ’em in to an envelope with a favorite greeting card, or use them with any colorful envelope to send a special hand written message. Bonus points if you add a bit of colorful confetti to your envelope. The more love the better these days!

Printable Valentine's Day Envelope Liners

These would even be fun for weddings and bridal shower invitations, no?

Printable Valentine's Day Envelope Liners

ribbon + scissors| ceramic dish | tissue paper confetti

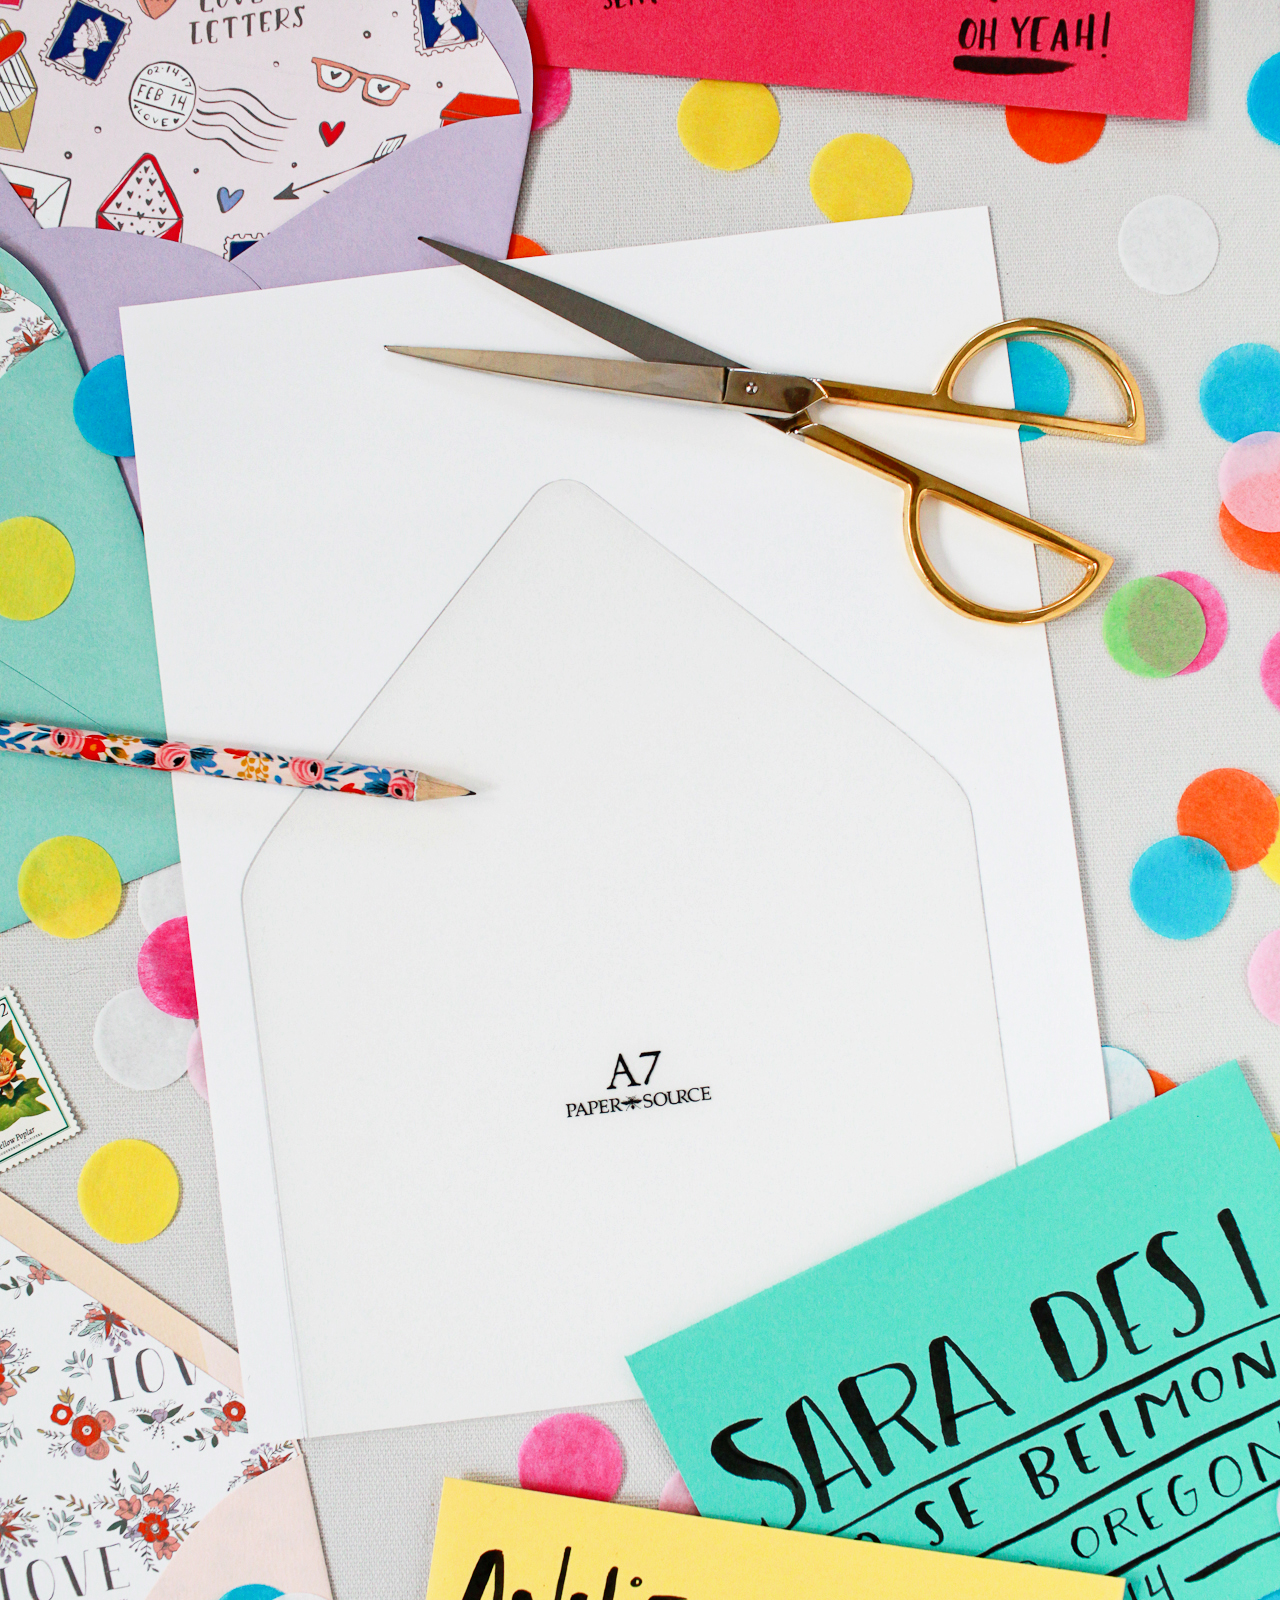
We’ll need a few basic supplies before we get started:

Printable Valentine's Day Envelope Liners

To make the envelope liners:

Step 1. Print your liner pattern of choice onto a letter sized sheet of text weight paper. If you don’t have a home printer, you can easily print these at your local copy and print shop – my printer isn’t that great at printing pink tones, so I had mine printed at my local Staples.

Step 2. On the back of the liner, lightly trace your liner template with pencil. For pointed flap envelopes, I like to use these liner templates from Paper Source. If you’re using square flap envelopes or prefer to DIY your own template, just trace the outline of the back of your envelope onto a sheet of thick card stock. Cut the template from the card stock, being careful to cut on the inside of the lines, and trim an additional 1/16″ off the left and right side and 3/4″ off the bottom of the template. Trace the liner template on the back of each printed liner until you have enough liners for all your envelopes, then carefully cut out each liner with scissors.

Step 3. Place the liner in the envelope. Use a glue stick or double sided tape on the back of the liner (along the top triangle and just above the crease) to adhere the liner to the envelope. Don’t worry about placing any adhesive on the lower part of the liner, since it’s tucked into the envelope it should stay put. Place a ruler along the crease of the envelope flap, then use your bone folder to score the envelope liner. This will help you maintain a clean line when you close your envelopes!

Step 4. Add a fun hand written note or greeting card, and close the envelope. Address the envelope in a playful hand lettering style using a brush marker or writing tool of your choice, and voila! You’ve got yourself a snazzy envelope that is guaranteed to bring a smile to someone’s face!

Printable Valentine's Day Envelope Liners

Since the liner patterns are a full letter-size sheet of paper, you can make them work for any size envelopes, including larger square envelopes, rectangular #10 envelopes, and all standard size greeting card envelopes. No matter what size envelope you’re using, we’ve got you covered!

Printable Valentine's Day Envelope Liners

Printable Valentine's Day Envelope Liners

Are you as obsessed with these liners as I am? When you print them out and use them, don’t forget to share your photos on Instagram and tag #madewithosbp so I can see them! I can’t wait!!

Printable Valentine's Day Envelope Liners

Download the envelope liner patterns from Swiss Cottage Designs right here: Love Letters and Floral Love!


All artwork © 2017 Swiss Cottage Designs created exclusively for Oh So Beautiful Paper. All artwork is made available for personal use only. By downloading the patterns you agree to the terms of use.

Photos by Nole Garey for Oh So Beautiful Paper


Hazelnut Bourbon Hot Chocolate

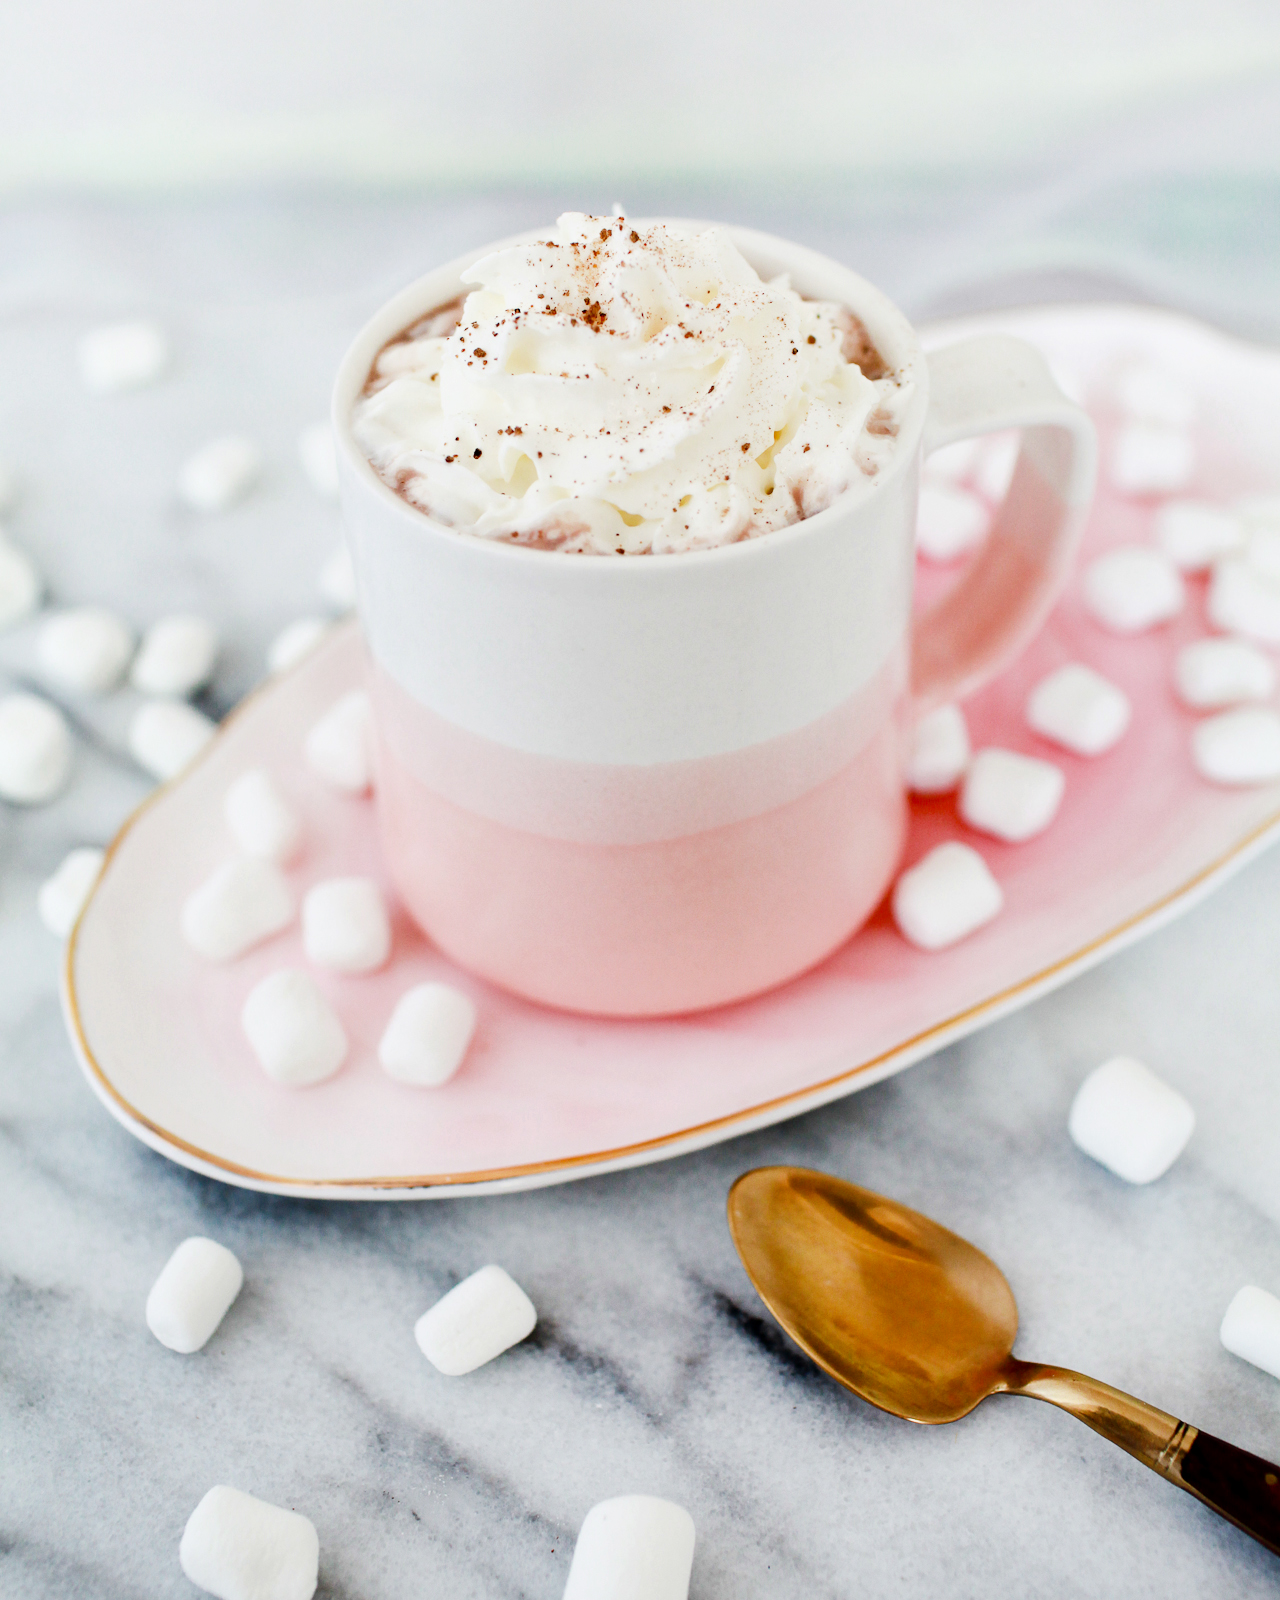
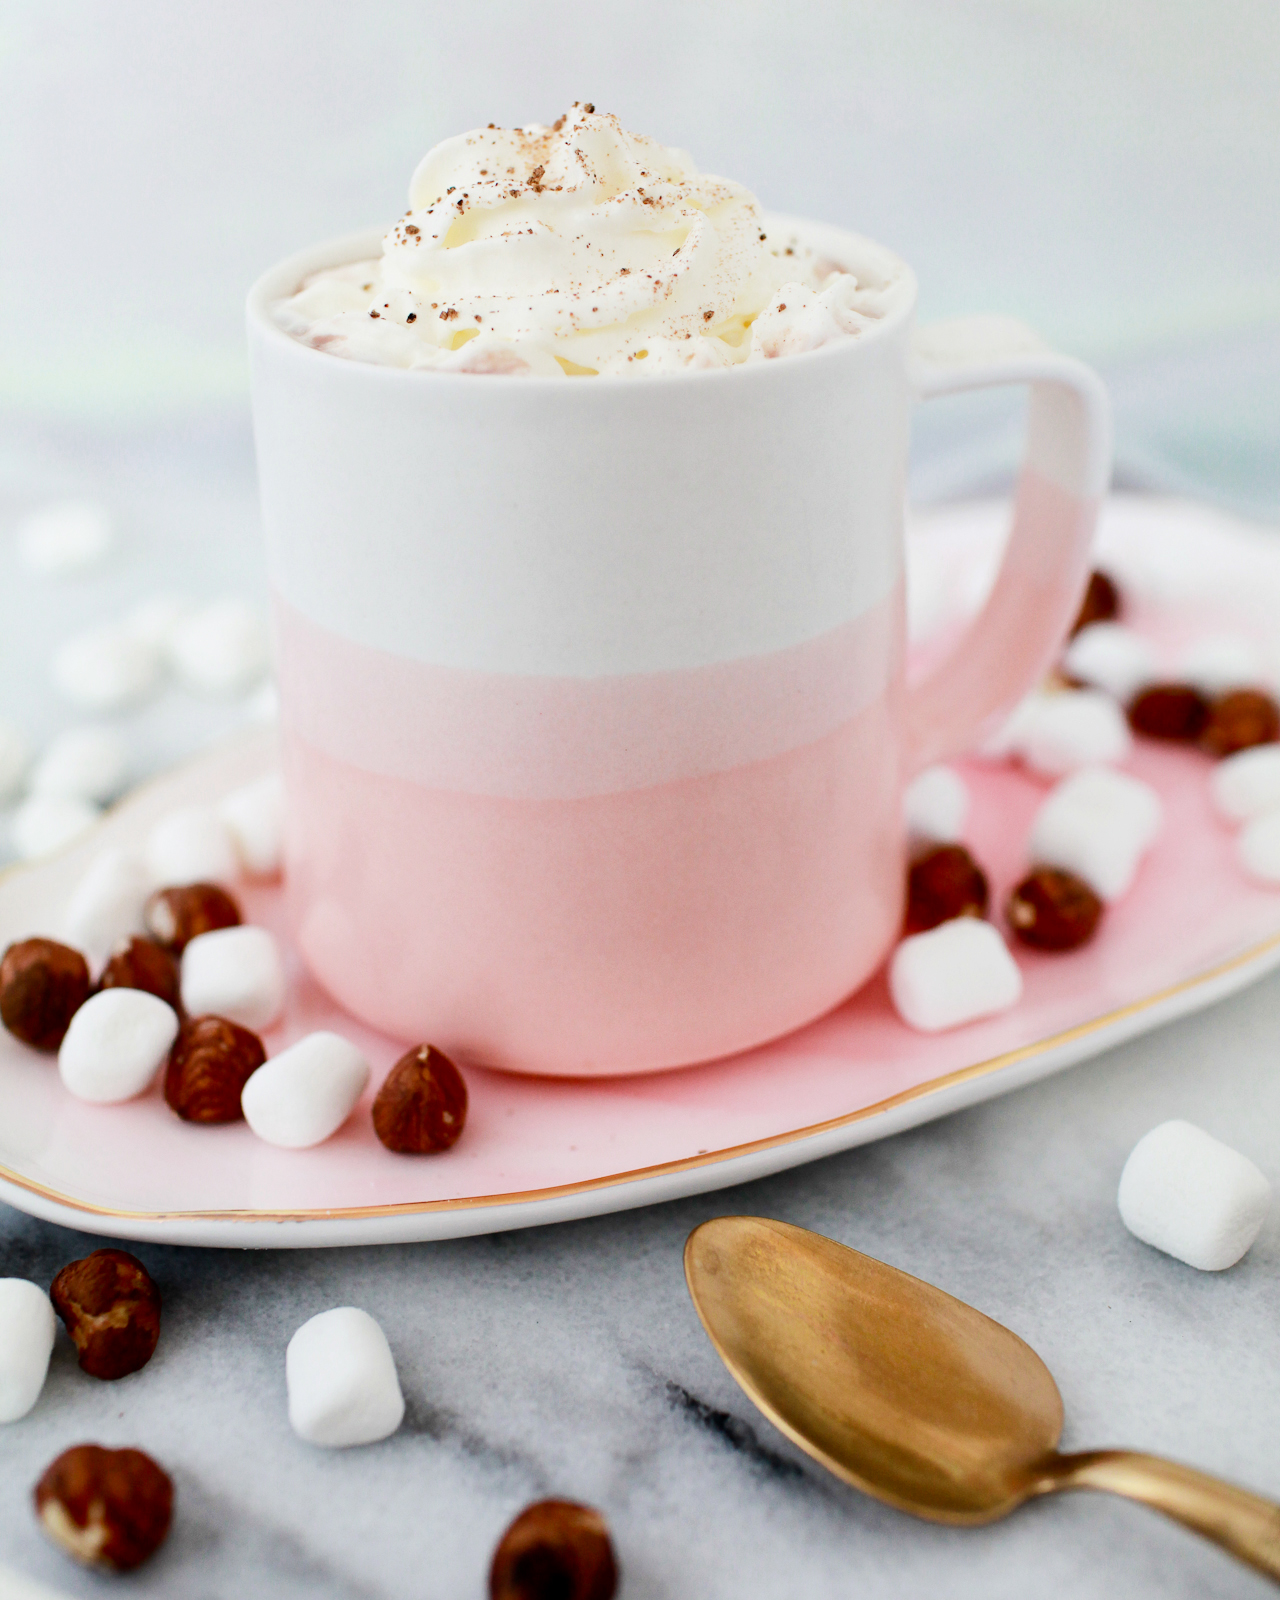
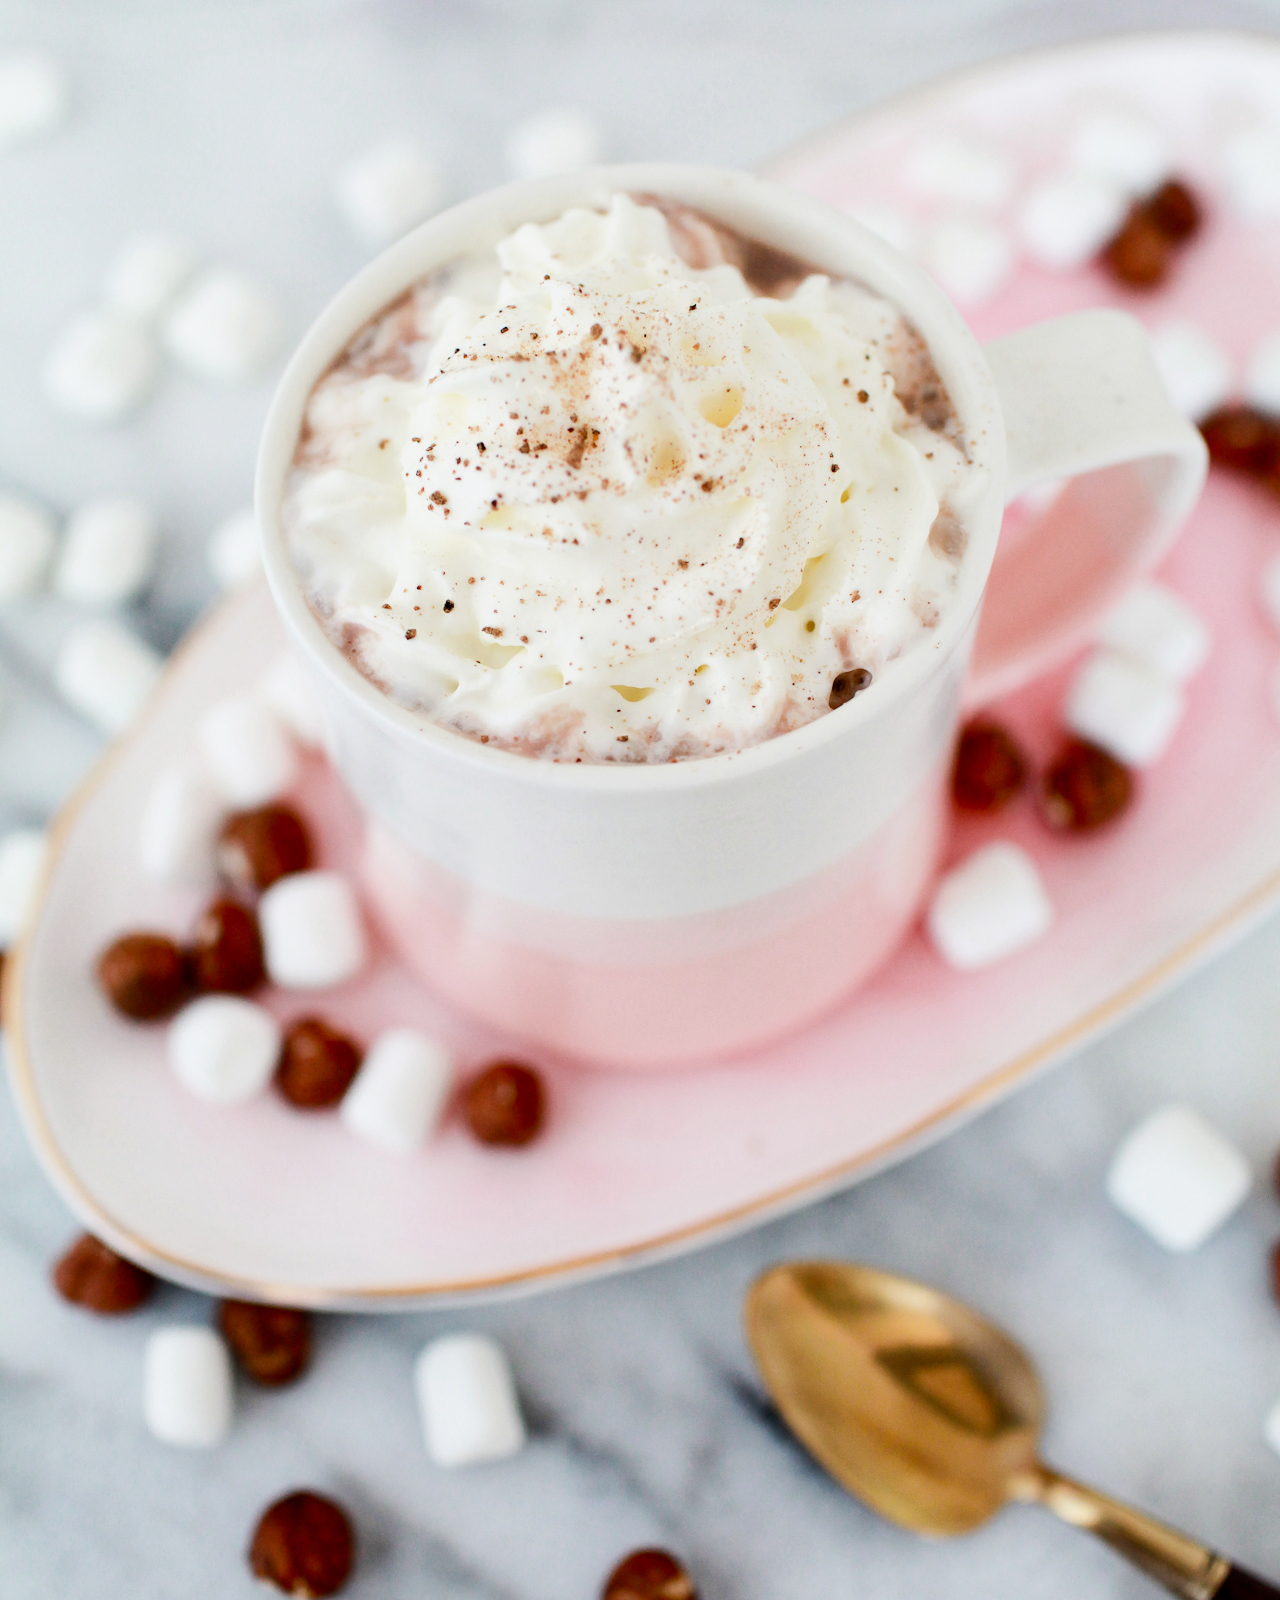
December and the holidays may belong to punch, champagne, and egg nog, but January and February are definitely hot chocolate season. Hot chocolate is absolutely delicious on its own, but why not dress it up a bit? So far, we’ve made a Tiki Hot Chocolate with rum, cinnamon bark syrup, and orgeat, and a Smokey Mezcal Mexican Hot Chocolate. But in keeping with our Hygge theme for this month’s cocktail recipes, I wanted something warm and cozy. This Hazelnut Bourbon Hot Chocolate absolutely does the trick!

Hazelnut Bourbon Hot Chocolate Recipe

Hazelnut Bourbon Hot Chocolate

2 oz bourbon (we used Four Roses Bourbon)
1 tsp hazelnut syrup*
8 oz hot chocolate
Ground cinnamon and nutmeg to taste

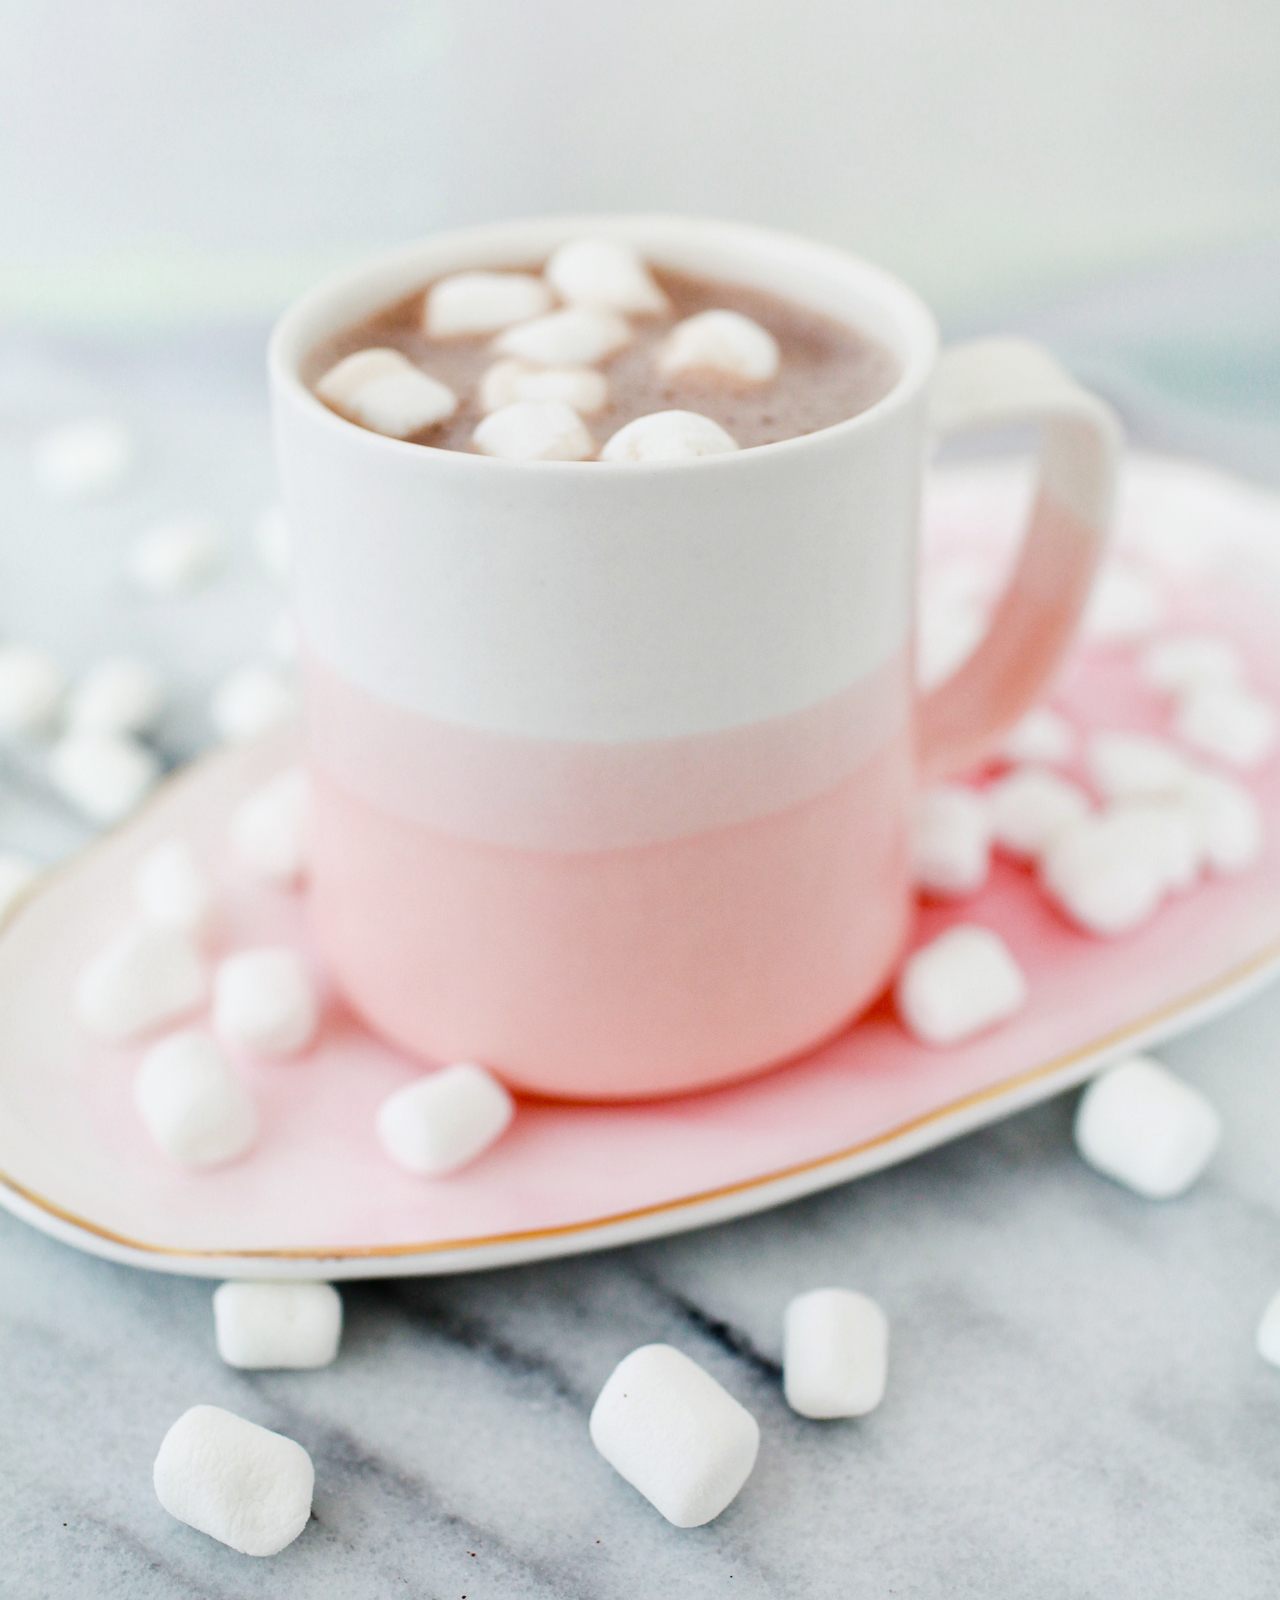
Make the hot chocolate to your liking, then add the bourbon and hazelnut syrup and give everything a stir. Garnish with your favorite hot chocolate topping – mini marshmallows, whipped cream – and some ground cinnamon and freshly ground nutmeg if you like. Enjoy!

Hazelnut Bourbon Hot Chocolate Recipe

*To make the hazelnut syrup, spread 8 ounces of whole hazelnuts over a baking sheet lined with parchment paper. Bake at 350 degrees for 15 minutes. While the hazelnuts are baking, add 2 cups of Demerara sugar to 2 cups of water in a small saucepan. Slowly melt the sugar in the water over medium-low heat. Once the sugar is fully dissolved, turn off the heat and set aside. Remove the roasted hazelnuts from the oven and peel. (FYI – I found the easiest way to peel a hazelnut was by roughly rolling the hazelnuts together on the parchment paper) Combine the hazelnuts and simple syrup in a blender or food processor and blend until the hazelnuts are coarsely ground. Strain the resulting hazelnut syrup through a fine mesh strainer or cheesecloth, then transfer to a swing bottle or jar for storage. Store the syrup in a cool, dark place for up to a month.

Hazelnut Bourbon Hot Chocolate Recipe

This Hazelnut Bourbon Hot Chocolate is warmly nutty and rich, with undertones of spiciness and heat. Perfect for curling up on the couch to watch a movie on a cold winter night, or for drinking around the fire pit with a group of friends! But think of this recipe as more of a guide, not a hard and fast recipe. Want less heat? Try using one ounce of bourbon instead of two. Or if you have more of a sweet tooth, consider upping the hazelnut syrup to 1 1/2 tsp (or to taste). You really can’t go wrong!

Hazelnut Bourbon Hot Chocolate Recipe

Pink Mug: Paper & Clay

Pink Platter: Suite One Studio for Anthropologie

Photo Credits: Nole Garey for Oh So Beautiful Paper