While I’m away on vacation I’m running a series of guest posts on the various printing processes, from digital printing to engraving. Â I’ve asked some designers and printers to share their expertise and lots of photos to fill you in on what you need to know about different stationery printing methods. Today I’ve asked two of my favorite screen printing ladies, Carrie and Laurie from Two Trick Pony, to walk us through the screen printing process. Â Take it away ponies!
What is Screen Printing?

Screen printing (also known as silk screening) is one of the oldest methods of printmaking, with examples dating back to the Song Dynasty in China. Â The process involves creating a stencil of an image on a screen of porous mesh, traditionally made of silk. Â A roller or squeegee is used to pull paint-like ink over the stencil, forcing it through the mesh onto the paper being printed. Â Unlike the inks used in some other forms of printing, screen printing ink sits right on the surface of paper, resulting in incredibly rich, vibrant color.
The Printing Process
The screen printing process has multiple steps, starting with the process of creating the screen.

The screens are coated with a light sensitive emulsion, and exposed using a positive image. Â Your positive can be created in a variety of ways, from digitally printed film, hand-cut rubylith, or hand drawn with ink on acetate. Â The positive is positioned directly on the surface of the light table, and the screen placed over the positive, print side down. Â The emulsion hardens when exposed to light, and remains soft and water-soluble where the positive blocks the light. Â After exposure, we take the screen to the wash-out sink, and rinse away the soft emulsion. Â Once the screen has dried completely, we lock the screen into hinges that are mounted onto our print surface.


We align the paper for printing, and mark the location with registration tabs. Â Ink is applied directly to one end of the screen in a long bead, ready to be pulled over the screen with the squeegee.

A nice, firm pass with the squeegee forces ink through the mesh, visibly showing on the print side of the screen. Â The screen is lowered on the hinges, and the squeegee is used to press the inked mesh flat against the paper, transferring a thin, even layer of ink to the page.


The amount of ink transferred to the paper is controlled by the thickness of the emulsion, so crisp images need a fine, even coat of emulsion to maintain their detail.

Mixing the second color for this particular job was a challenge; we wanted to create the illusion of a 3rd color in the print, so the second ink needed to be transparent and overlay the first color to create a pleasing effect. Â We settled on a yellowish green that would create a darker green where it overlapped the blue.


Registration was tight! Â The blue and yellow-green had to line up perfectly along the sides of the image.


Printing finally completed, it’s time to cut! Â Our cutter, Cooper, was made in 1867, and still works like a charm.


The final piece; poster sized invite, ready to be rolled into tubes and mailed to guests!
Tips and Advice
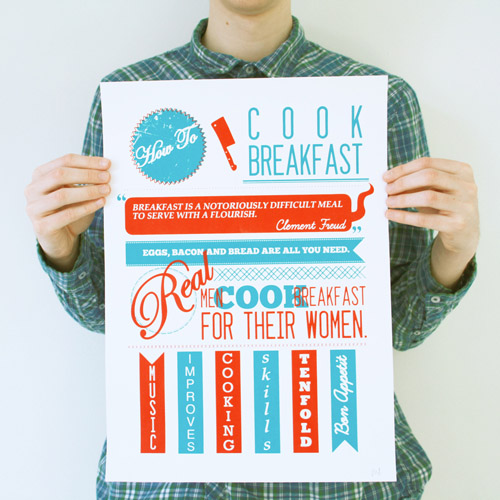
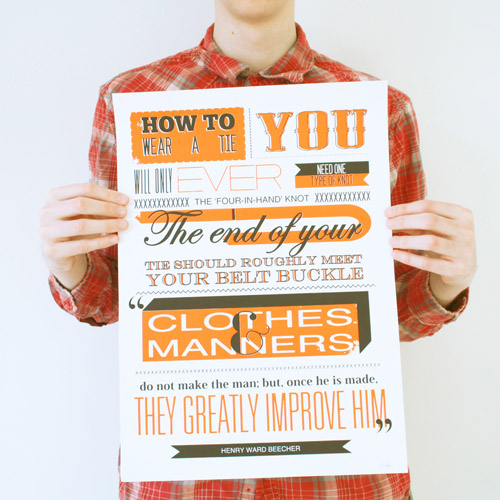
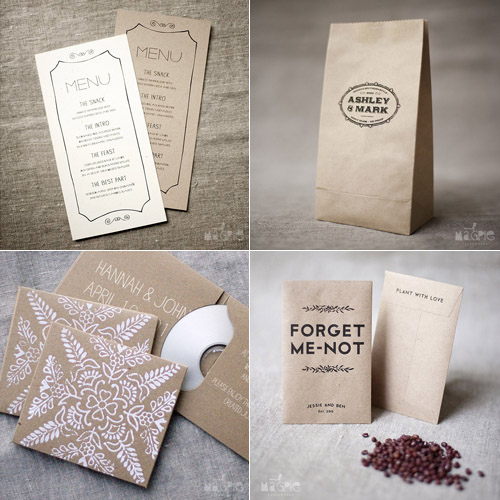
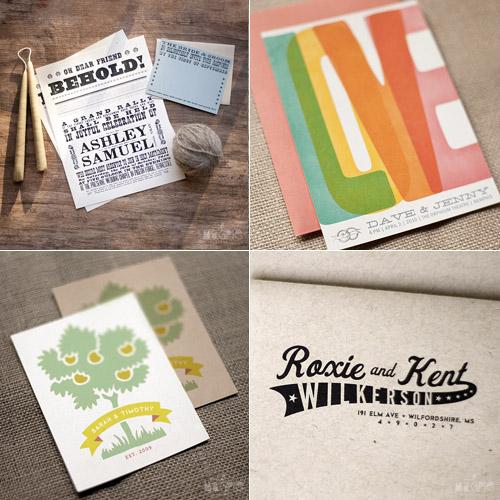
Like most hand-printing methods, screen printing has a very distinctive look. Â Even though the surface is flat, the velvety finish and extreme vibrancy of the ink cannot be replicated with any other technique. Â Screen printing can also be used on a variety of surfaces, so anything that has a flat surface can be printed; paper, chip board, fabrics, wood, leather and metal are all viable candidates!

Like any other printing process, screen printing definitely has specific limitations, which makes it better suited for some projects (and not so well suited for others). Â Fine details or delicate text can be lost or broken up in the printing process, and large blocks of text can be difficult to print consistently. Â Light ink on dark paper works beautifully, but textured papers are out. Â Thin papers also present difficulty, as the ink could cause them to buckle or warp.
Thank you so much Ponies! Â You can see more of the talented screen printed designs from Two Trick Pony right here!
Photo Credits: Two Trick Pony