Cassie + Ariel’s Navy and White Calligraphy Letterpress Wedding Invitations

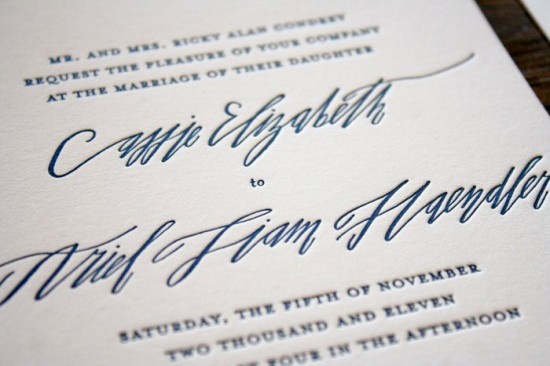
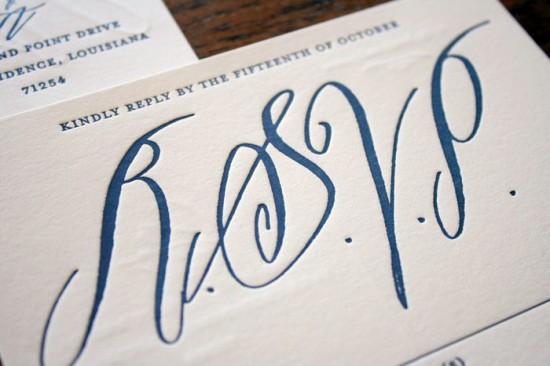
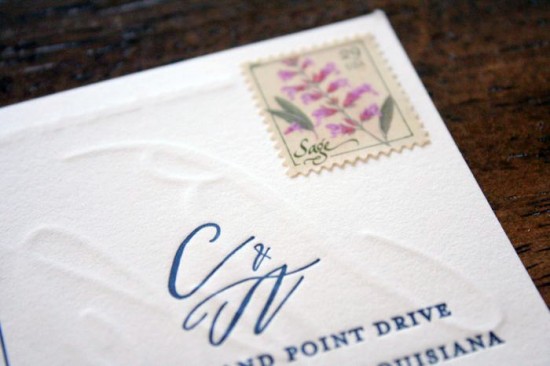
I haven’t been able to get these gorgeous navy and white wedding invitations out of my mind since spotting them on the Parrott Design Studio blog last week.  Sarah from Parrott Design Studio incorporated the bride’s favorite vintage wallpaper into the suite, using a scanned, resized version of the wallpaper pattern as backing for the super thick invitations.  The invitation suite also includes a double-sided RSVP postcard and an enclosure card pointing guests to Cassie and Ariel’s wedding website.

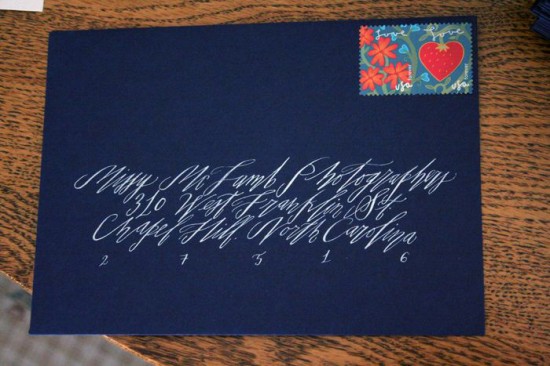
Betsy Dunlap provided lovely calligraphy accents for the invitation suite, including the names of the bride and groom, their initials, and rsvp card lettering.  Betsy also addressed 250 deep navy envelopes in a beautiful silver ink.  Simply stunning!

I love that Sarah used strips of fabric and custom wax seals to hold the assembled invitation suite together!

Check out more details on the invitations right here!

Design and Letterpress Printing: Parrott Design Studio

Calligraphy: Betsy Dunlap

Parrott Design Studio is a mem­ber of the Designer Rolodex – you can see more of Sarah’s beau­ti­ful work right here!

Photo Credits: Parrott Design Studio

DIY Rubber Stamp Edge Painted Save the Date Tags

It’s the ladies of Anti­quaria, back with another fab­u­lous and cre­ative DIY project for you!  This week they’re here with instructions on how to create a rubber stamp save the date tag!

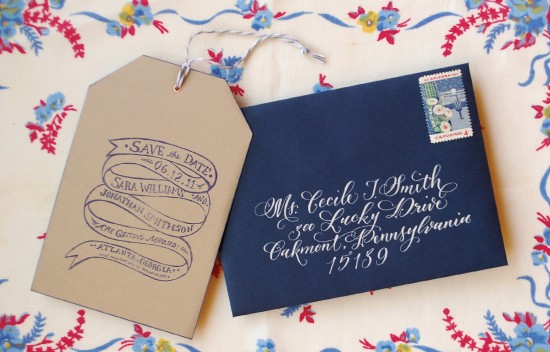
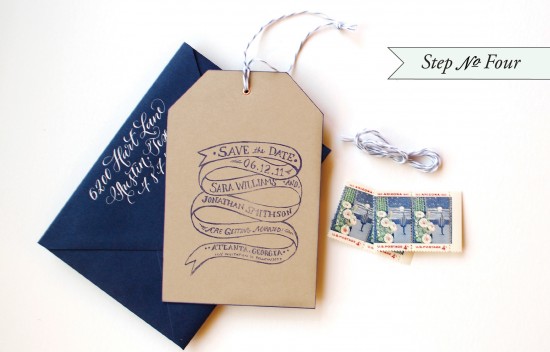
At Antiquaria, we love everything vintage!!  In this save the date DIY, we were inspired by the look of old luggage and parcel tags.  There is something very lovely and familiar about this tag shape but to have it professionally die cut can be quite costly.  We emphasized the shape with “edge painting” using a very nifty and easy trick!!

DIY Rubber Stamp Edge Painted Save the Dates

DIY Rubber Stamp Edge Painted Save the Dates
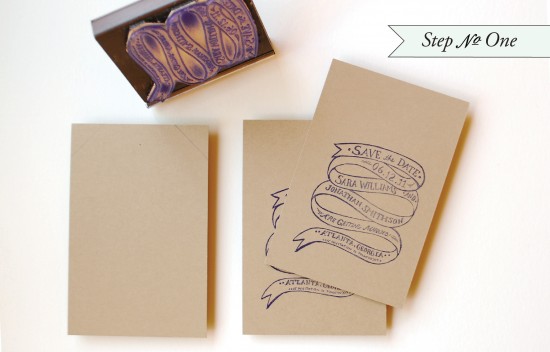
Step One: Cut your kraft paper into a 4.5″x6″ rectangle.  Ink your save the date stamp (we used our “Ribbons and Banners” stamp) with your desired ink and make a print on your paper.  Be sure to press evenly on a hard work surface.  Let the ink dry overnight.

DIY Rubber Stamp Edge Painted Save the Dates

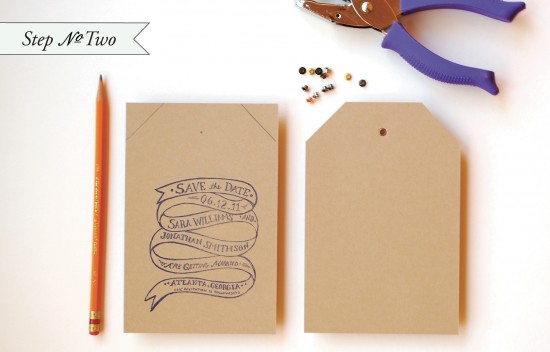
Step Two: Next, draw 1.5″ diagonal lines on the top corners of the save the date.  Also draw a small dot in the center, about 3/4″ from the top.  Once you have your markings in place, cut off the corners with a pair of scissors or an X-Acto knife & ruler.  Punch a 1/8″ hole where you have placed the dot.  Insert a small craft grommet and install using a grommet tool.

DIY Rubber Stamp Edge Painted Save the Dates

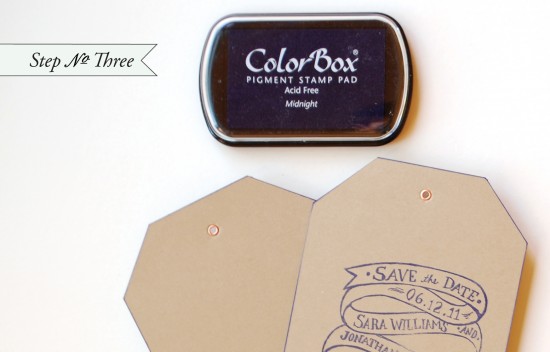
Step Three:  Using the same or a coordinating ink color, drag edges smoothly through the pad to create the “edge painted” effect.  Let dry overnight.

DIY Rubber Stamp Edge Painted Save the Dates

Step Four:  Assemble the save the date. Tie twine or ribbon through the brad and add fun postage and calligraphy to bring it all together!!

Materials:

“Ribbons & Banners” Save the Date Stamp

Kraft Card Stock, cut into 4.5″x6″ rectangles

Stamp Pad (we used navy)

Pencil

Scissors or X-acto & Self Healing Craft Mat

1/8″ Hole Punch

A6 Envelopes

Gray Striped Twine

Photo Credits: Antiquaria

Papel Picado Wedding Invitations from Avie Designs

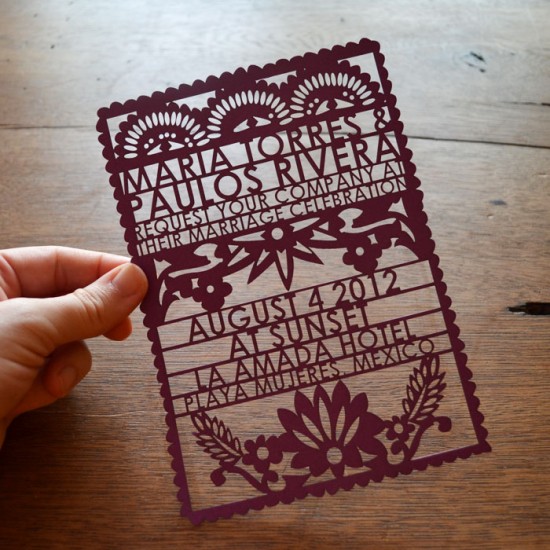
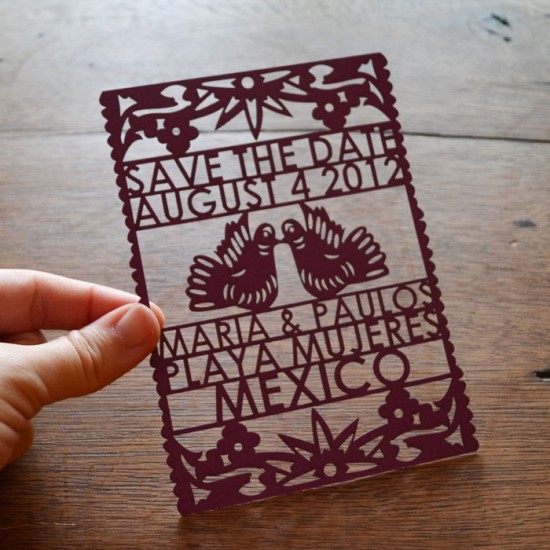
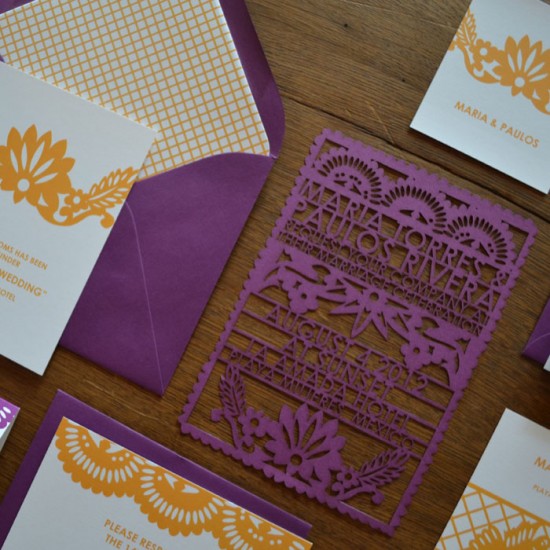
I’ve always loved the papel picado marriage announcements that Avis from Avie Designs made for her own wedding a couple of years ago – and I’m so happy to see that Avis recently added a papel picado-inspired design to her wedding invitation collection!  The new lasercut papel picado invitation design is available in a range of color options and as part of complete invitation suite, including save the dates, RSVP cards, programs, and escort cards.  So pretty!

You can see the full suite and more details over in the Avie Designs shop right here!

Photo Credits: Avie Designs

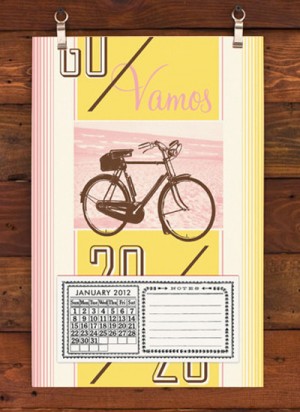
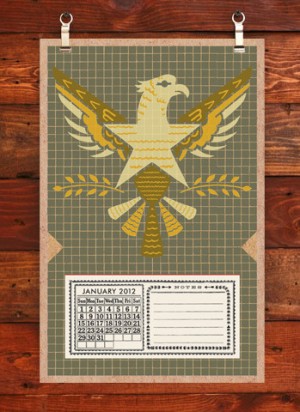
2012 Calendar Round-Up, Part 2

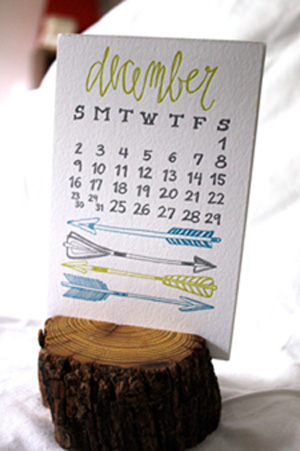
As promised, I’m back with more lovely 2012 calendars to share!   I personally love calendars that function as both wall art and a useful date reminder (and use my weekly planner to keep track of appointments and , but for those of you who like to write important events on wall calendars, Snow & Graham has you covered with not one, two, but FIVE 2012 calendar formats – including a beautiful write-on monthly wall calendar!

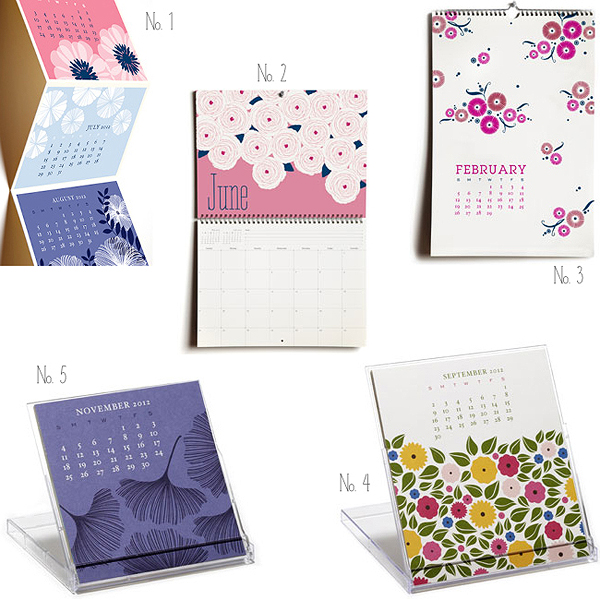
Snow & Graham: 1) Accordion calendar; 2) Write-on wall calendar; 3) Monthly wall calendar; 4) Desk calendar; 5) Mini desk calendar

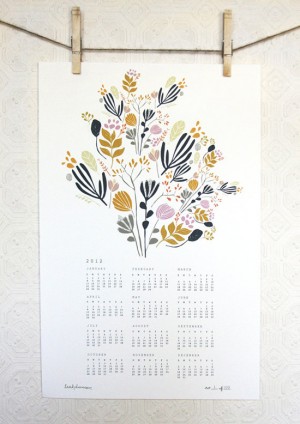
I love the illustrations and graphic patterns in these 2012 calendars from artist Leah Duncan:

Floral Wall Calendar 

Leah Duncan

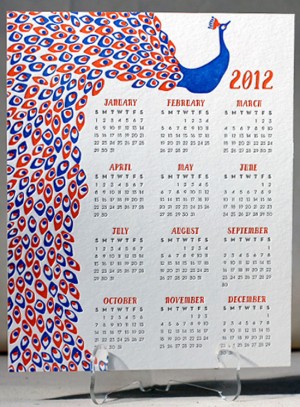
Beautiful pops of bright color in these lovely letterpress calendars from Smock:

Peacock Calenday Floral Calenday

Smock

Once again, Hammerpress is offering a tear-away calendar for 2012, with seven different (and equally stunning) background design options:


Hammerpress

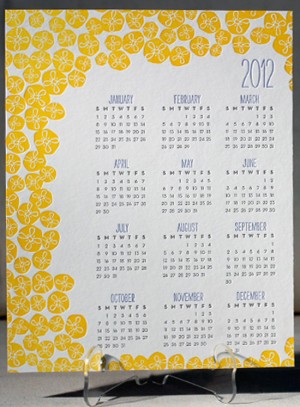
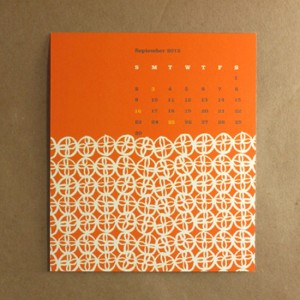
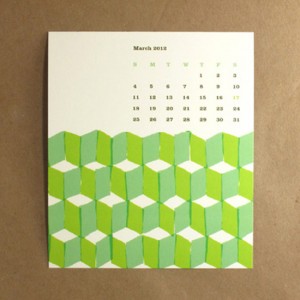
More bright color and pretty graphic patterns in the 2012 calendar from Egg Press:

Pattern Calendar Pattern Calendar

Egg Press

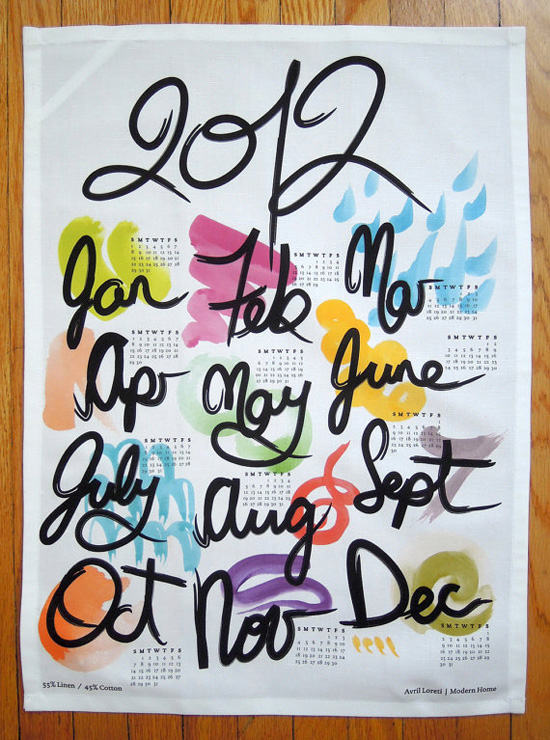
I love the hand lettering and pretty painterly elements in this tea towel fabric calendar from Avril Loreti:

Tea Towel Calendar

Avril Loreti

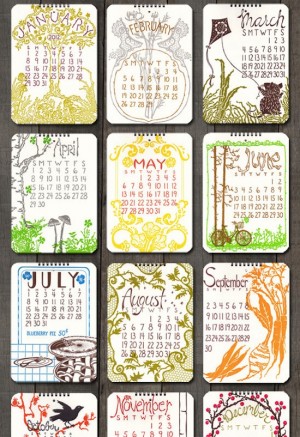
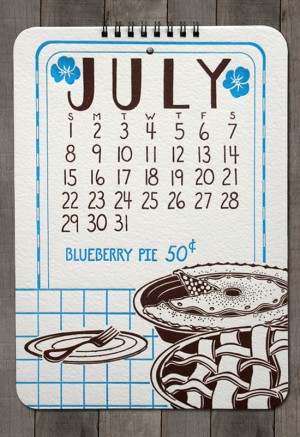
Beautiful illustrations in the 2012 wall calendar from Old School Stationers

 Letterpress Calendar

Old School Stationers

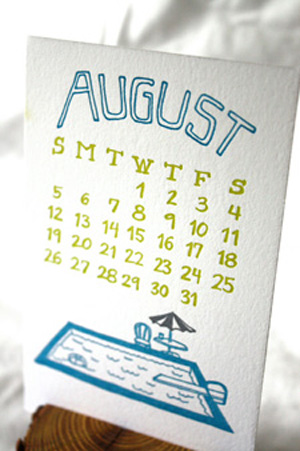
…and 1 Canoe 2!

Letterpress Calendar Letterpress Calendar

1 Canoe 2

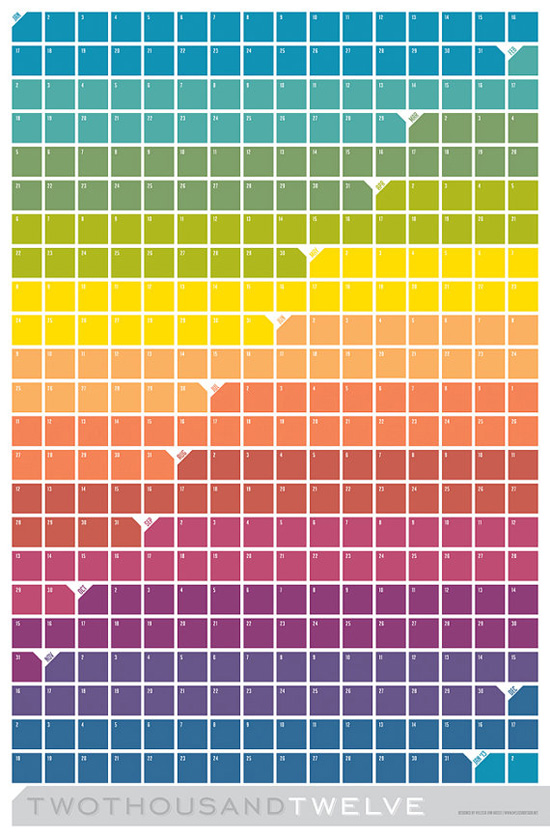
This modern and minimalist calendar from Melissa Design is absolutely stunning:

Large Wall Calendar

Melissa Design

And, last up for today, pretty floral designs in the 2012 calendar from Silhouette Blue:

Floral Calendar Floral Calendar

Silhouette Blue

If you haven’t found your favorite calendars yet, don’t worry!  We’ll have more beautiful calendars to share with you soon!

{images via their respective sources}

*Smock is one of my fab­u­lous spon­sors; for more on my edi­to­r­ial poli­cies please click here.

Tradeshow Bootcamp Giveaway!

Designers and stationers, this giveaway is for you!

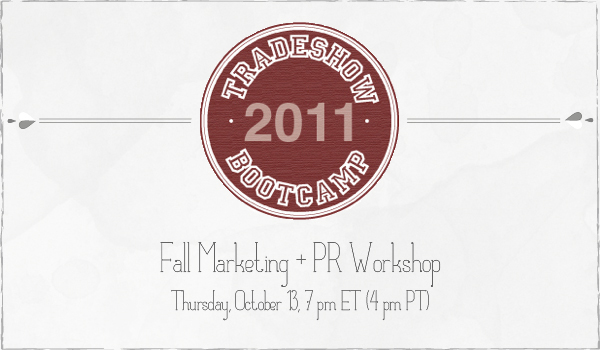
If you’ve ever thought about exhibiting at a tradeshow like the New York International Gift Fair or the National Stationery Show, you definitely want to sign up for Tradeshow Bootcamp, an amazing series of teleconference workshops organized by Katie from Kelp Designs.  Tradeshow Bootcamp covers everything you need to know before exhibiting at a major tradeshow, from booth logistics to pricing and product issues.  Back in March I had the honor of participating in the marketing and PR workshop, and I’m looking forward to talking with a whole new group of people in a couple of weeks!

You can still sign up for the remaining workshops right here, but today I have the pleasure of giving away one spot for the marketing workshop on October 13!  This workshop is your chance to ask any question you can think of about how to promote your collection before and during the show and get lots of foot traffic into your booth.

To enter this giveaway, just leave a comment below with any burning questions you might have about tradeshow marketing and promotion.  You’ll have until midnight EST on Sunday, October 2 to enter the giveaway.  Bonne chance!

Congratulations to commenter #14 – Chelsey!  We’ll be in touch with your registration info soon!

UPDATE: Hi Everyone!  Some of you are submitting some fabulous product and logistics-related questions, so I just want to be clear that this giveaway is for the Marketing and PR workshop ONLY.  If you have questions about product collections or logistics and booth set up, please register for those specific workshops right here!