{happy weekend!}

Happy Friday everyone!  I hope you all had a wonderful week!  I actually managed to come down with a bit of a cold this week, so I’m planning to lie low this weekend.  Not very exciting, I know, but definitely necessary every now and then.  But in the meantime…

…a few links for your weekend!

This week on Oh So Beautiful Paper:

I’ve got an awesome cocktail recipe coming up for you a bit later this afternoon, but otherwise that’s it for me this week!  I hope you all have a wonderful weekend and I’ll see you back here on Monday! xoxo

Photo Credit: Tieperfume

Suzanne’s Elegant Baby Announcements for Twins!

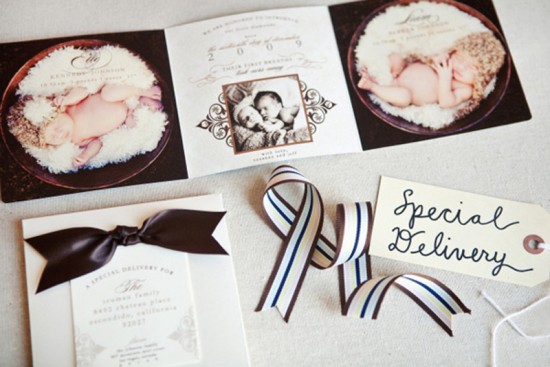
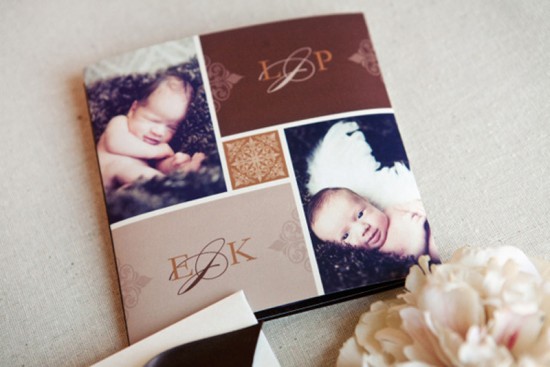
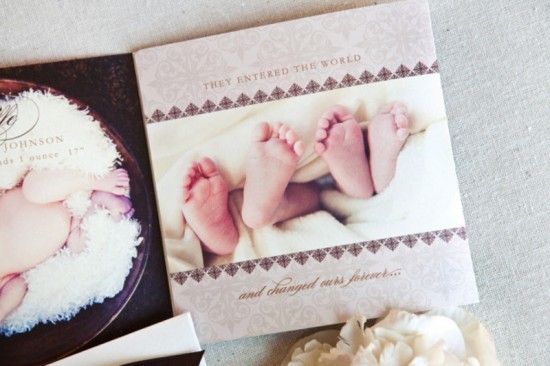
I love sharing adorable baby announcements – and today I’m thrilled to feature announcements for twins!  Suzanne from SHE Paperie gave birth to her darling twins Elle and Liam in 2009 and knew that she wanted to two something extra special for her little bundles of joy.  Suzanne based the design on the special nickname that she and her husband came up with for the babies while Suzanne was pregnant.  So sweet!
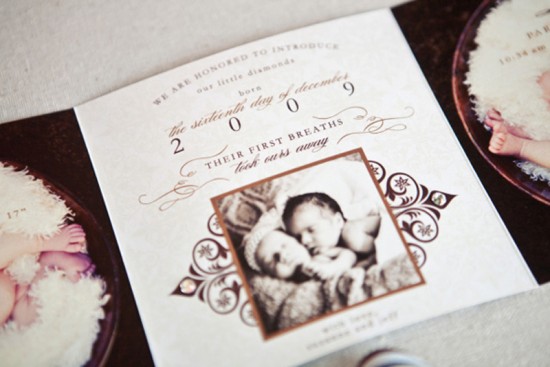
From Suzanne: The inspiration behind the design actually came from what my husband so endearingly referred to our babies as while I was pregnant: “The Diamonds.”  I incorporated two Swarovski crystals (one for each baby) into the design, along with unique wording woven throughout the announcement, to tie in the special name that we still call our babies to this day.

The 6-panel announcement was printed on pearlized stock to resemble that of a lustrous diamond and then packaged in a shimmering petal enclosure for mailing.  Other unique touches of the ensemble included a wax seal, personalized mailing labels, and a color palette suitable for either a boy or a girl.  Designing our birth announcement and hand crafting every last detail was indeed a labor of love.

Thanks Suzanne!

Photo Credits: Jeanna Hayes Studio

2011 Holiday Card Round Up, Part 3

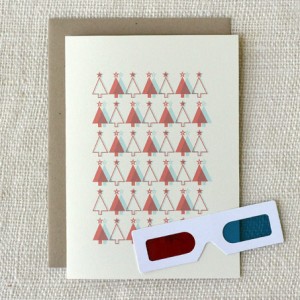
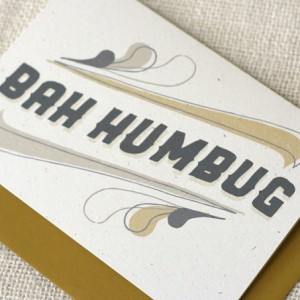
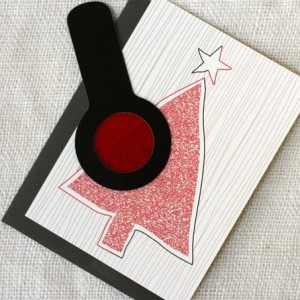
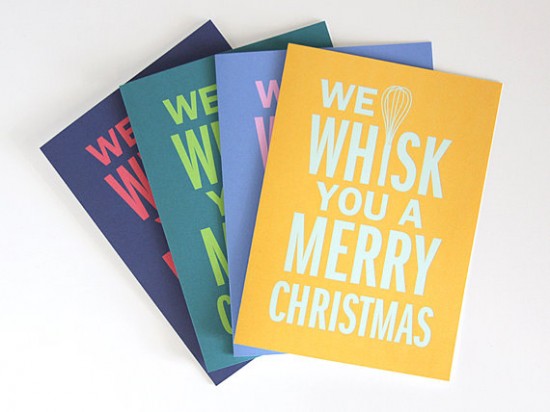
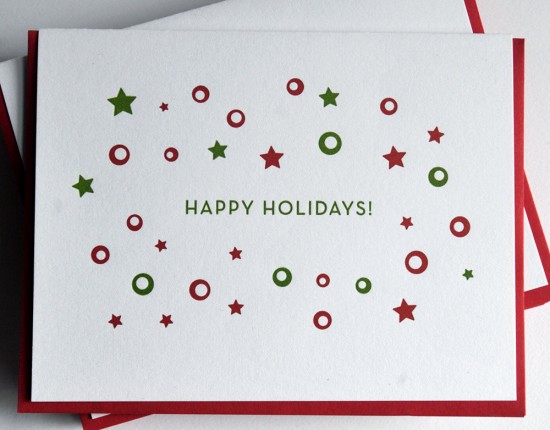
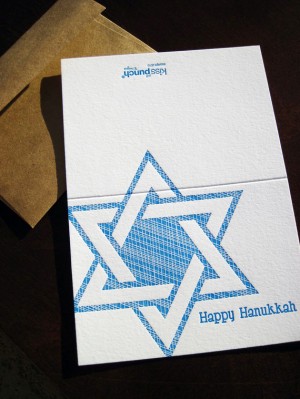
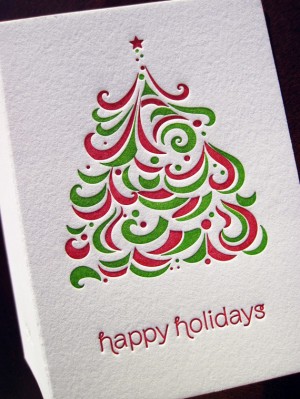
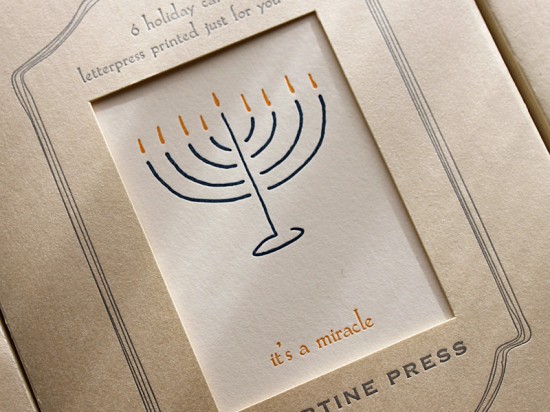
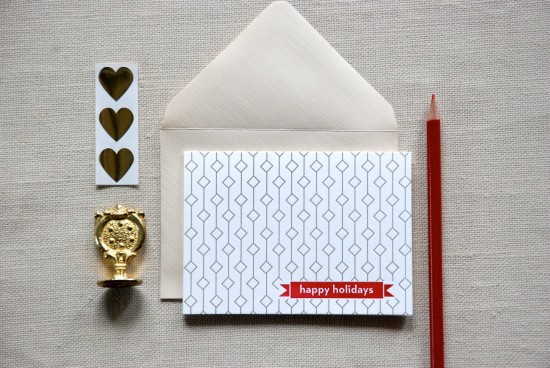
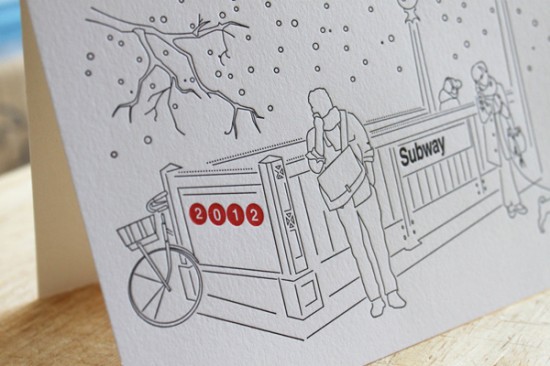
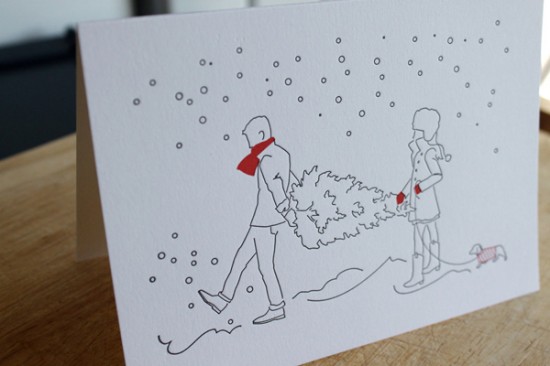
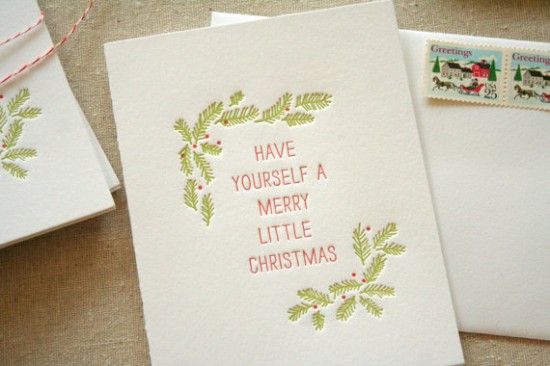
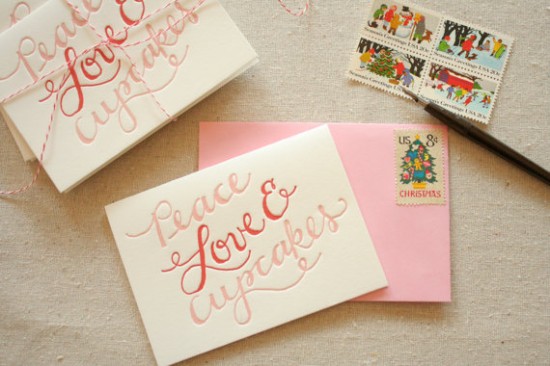
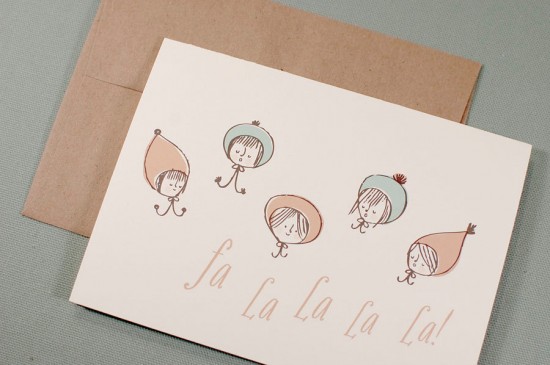
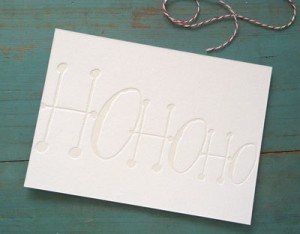
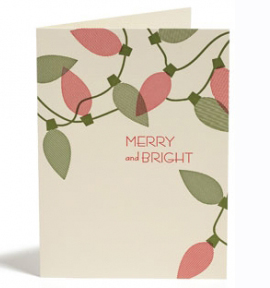
As promised, I have even more awesome holiday cards for you!  This particular round up focuses on modern holiday card designs – from cool 3D and secret decoder designs to beautiful line illustrations and full of bright and happy color.  Perfect for someone looking for something a bit different this holiday season!

Anemone Letterpress


Wit + Whistle

Dapper Paper

Vandalia Street Press


Kiss and Punch

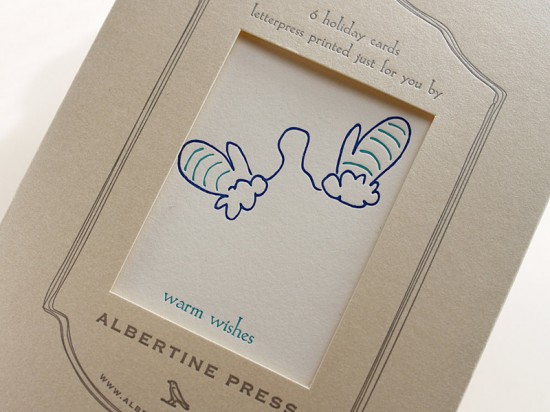
Albertine Press

Cartoules Letterpress

Moontree Letterpress

Fugu Fugu Press

Maida Vale

Miss any of the earlier holiday card round ups?  Check them out right here!

{images via their respective sources}

2011 Holiday Card Round Up, Part 2

It’s time for more holiday cards!  There are so many beautiful designs to choose from this year, from illustrated to metallic to modern and everything in between.  Here are a few more of my favorites for this holiday season!

I love these sweet and whimsical holiday cards from Parrott Design Studio


Laid back holiday cards from Wild Horse Press

Cute illustrated cards from Nisee Made


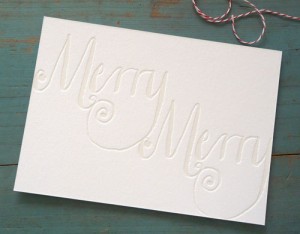
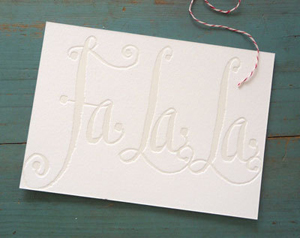
Beautiful hand lettered blind impression letterpress cards from Gracie Finn

Modern holiday cards from Sweet Harvey


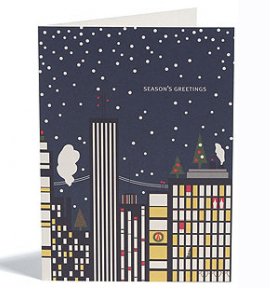
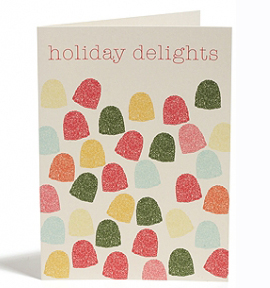
Lots and lots of pretty holiday card designs from Snow & Graham

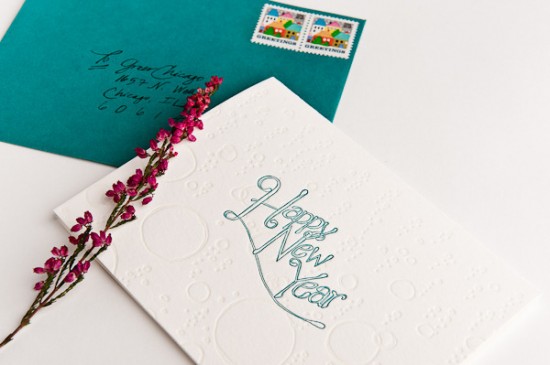
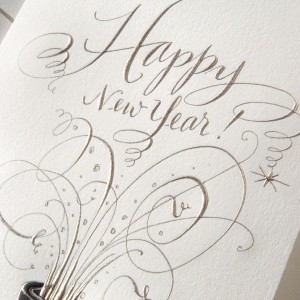
Lovely letterpress Happy New Year cards from Campbell Raw Press


Very cool (and unique!) illustrated offset holiday cards from Yellow Owl Workshop

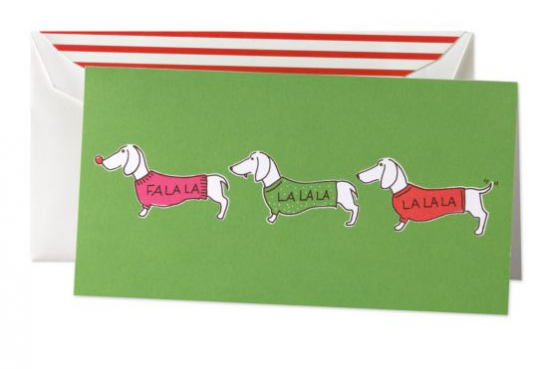
I can’t help but smile at these Kate Spade holiday cards


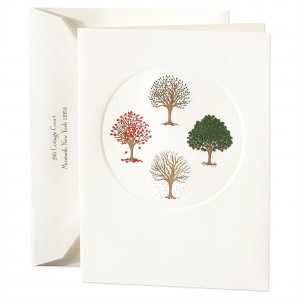
Beautiful engraved holiday cards from Crane & Co.

I’ll have more soon!  And just in case you missed it, you can check out the first holiday card round up right here!

{images via their respective sources}

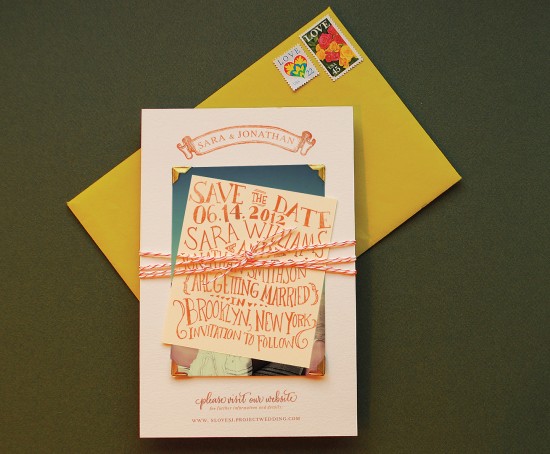
DIY Rubber Stamp Photo Card Save the Dates

It’s the ladies of Anti­quaria, back with another fab­u­lous and cre­ative DIY project for you!  This week they’re here with some awe­some DIY photo card save the dates!

Need a fabulous and unique way to incorporate your engagement shoot into your save the date?  We’ve got the solution for you: hand stamped photo save the date cards!  We are constantly inspired by all the wonderful engagement shoots that folks are putting together these days, and wanted to find a way to incorporate that imagery with rubber stamps.  We think the results are truly adorable and your family and friends will love receiving a sweet photo of the two of you.

DIY Photo Card Save the Date

DIY Photo Card Save the Date

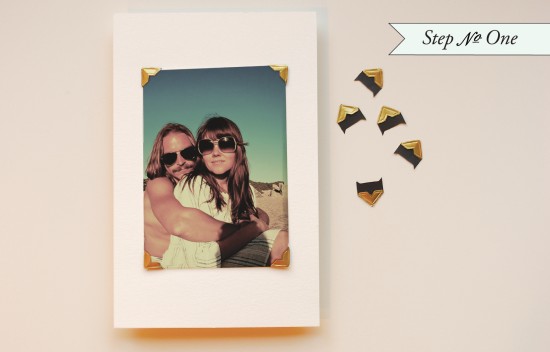
Step One: Cut paper to a size A9 card (5.5″ x 8.5″).  Use photo corners (our most recent obsession) to secure your (3″ x 5″) photo to the card.  You just stick them on each corner to activate and the adhesive, center over the paper and press down to secure.

DIY Photo Card Save the Date

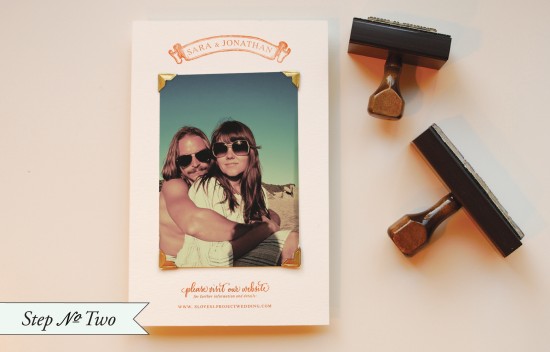
Step Two: This step will take two stamps, a monogram (we used our ribbons & banners monogram) and a website stamp (we used our calligraphy accent website stamp).  Ink each stamp thoroughly, position and stamp down on a hard, even surface.  Let dry.

DIY Photo Card Save the Date

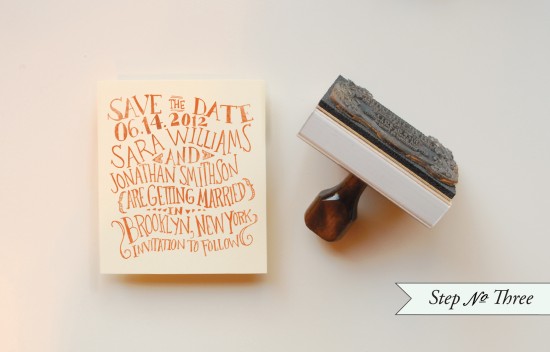
Step Three: Cut paper to (4″ x 4.5″).  Ink a save the date stamp (we used our “Circus” save the date stamp) and make print on a hard surface.  Make sure when stamping, you apply moderate and even pressure over the entire stamp.  Let dry before assembly.

DIY Photo Card Save the Date

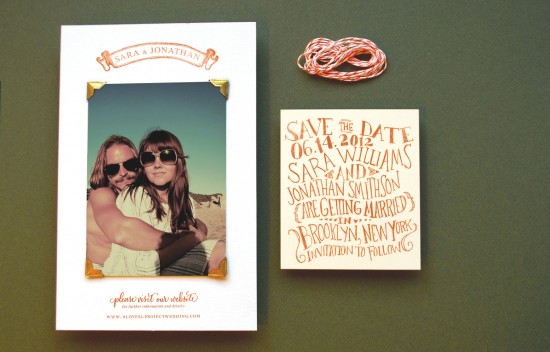
Finish up the suite with twine, wrapping the bundle a few times before making a knot.

Rubber Stamps:

“Banners” monogram

“Calligraphy Accent” website card

“Circus” save the date

Supplies:

A9 Card (5.5″ x 8.5″)

A9 Envelope

Photo – Printed locally or online.  Look for specials and deals on 3″ x 5″ prints

Save the Date (cut to 4″ x 4.5″)

Stamp Pad (we used orange)

Orange twine

Photo corners

Photo Credits: Anti­quaria, Save the Date photograph by Kelly Lynn James

p.s.  I’ve got two holiday card round ups coming a bit later this morning, so check back soon!