Happy Thanksgiving!

Hi everyone!  I’m heading off for the long weekend – and crossing my fingers that we don’t run into too much traffic as we make our way north this afternoon.  I’ll be back on Monday with a beautiful set of wedding invitations, holiday cards, and lots more.  I hope you all have a wonderful and happy holiday weekend!  But in the meantime…

…a few links for your weekend!

This week on Oh So Beautiful Paper:

Graphic by me, the font is Belluccia
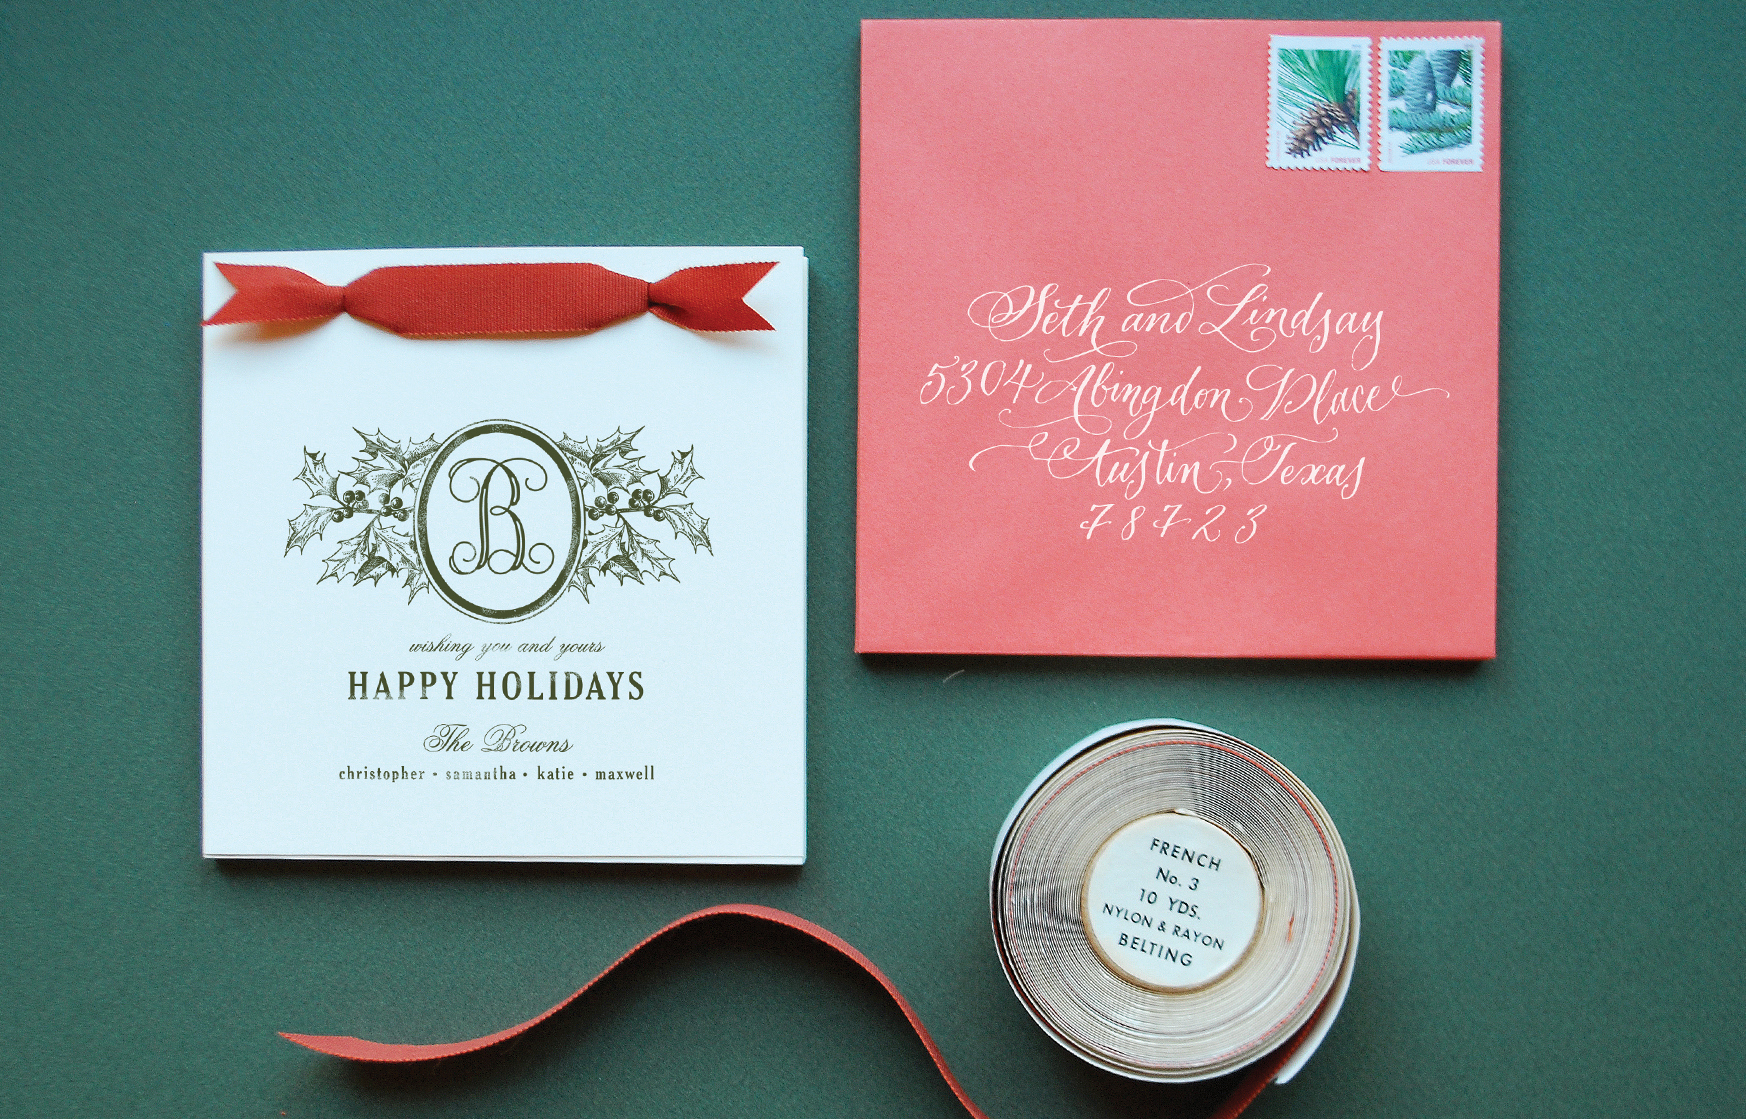
DIY Rubber Stamp Holiday Cards

Hi Everyone!  Before we run off for the holiday weekend, the ladies of Antiquaria are back with a holiday DIY for you!  You can see lots of awesome holiday cards in my holiday card round ups right here, but if you’re planning to DIY your holiday cards this year, check out the post below for a fabulous idea!

Wow! This holiday season has totally crept up on us…however, we couldn’t be more thrilled that it has arrived.  For the past few months, we’ve been busy bees designing a new holiday stamp collection!  This tutorial was born out of our desire to get our hands on some of the new seasonal stamps.  Add vintage grosgrain ribbon and it’s just icing on the cake.  This holiday card design is so simple and lovely… it would be a great afternoon project.

DIY Holiday Card

DIY Rubber Stamp Holiday Card

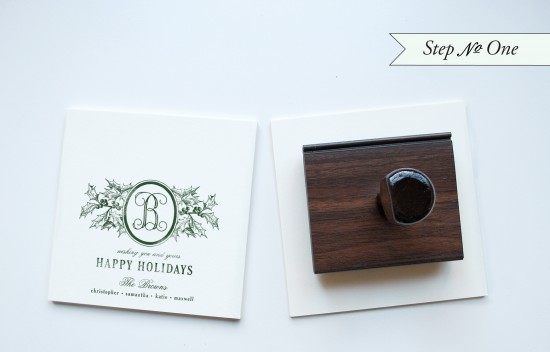
Step One: Cut card to square dimensions (5.5″ x 5.5″).  Ink the stamp (we used our Holly Berry Greeting stamp) thoroughly and center on the lower half of the square card.  Press evenly to make print.  Let dry.

DIY Rubber Stamp Holiday Card, Step 2

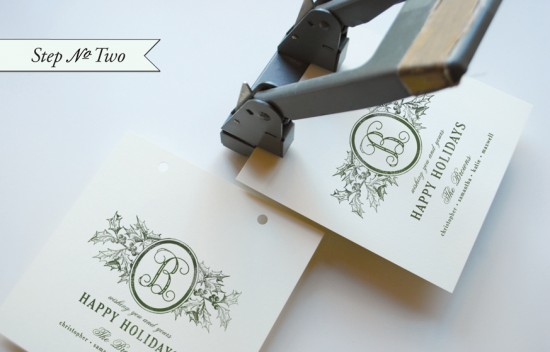
Step Two: Punch 2 holes in the top of the card by either using a 2 hole punch (as shown, makes things really simple) or drawing & punching 2 even dots about 1/2″ from the top and 1″ in on each side.

DIY Rubber Stamp Holiday Card, Step 3

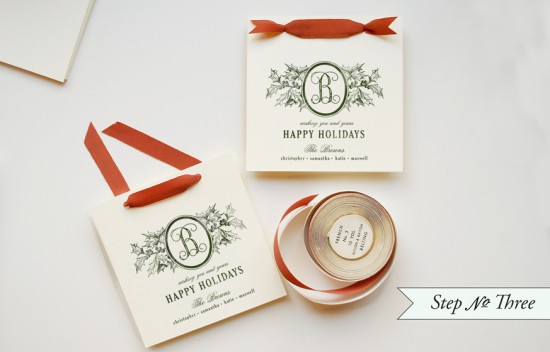
Step 3: Cut ribbon in pieces 10-12 inches long.  Thread ribbon through the holes so that each end is now on towards the back of the card.  Crossing in the back, thread each end back through the holes and toward the front.  Fold ribbon in half and cut to make a crisp V shaped end.

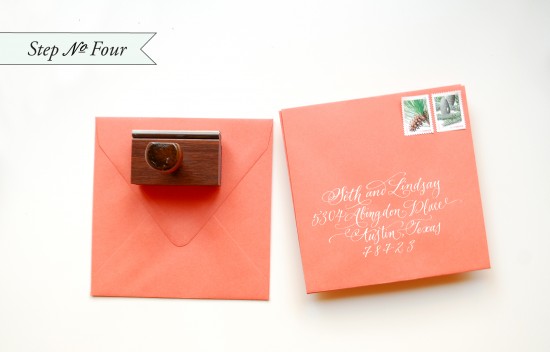
DIY Rubber Stamp Holiday Card, Step 4

Step 4:  With everything going on this time of year addressing your envelopes may seem like the last thing you need to spend time on.  Make the process a bit more fun by trying interesting color combinations that will help your card stand out from the rest.  Save time by using a return address stamp or fun printed labels, and you’re all done!

Materials:

Holly Berry Greeting Stamp  (Greeting stamps work just as well inside a store bought card)

Holiday Wreath Return Address Stamp

Cover paper, cut into 5.5″x5.5″ square cards

Stamp Pad, we used Hunter Green

2 Hole Punch

Grosgrain ribbon, search Etsy, Ebay or local thrifts for the vintage stuff.

5.75″x5.75″ Envelopes, we used Papaya

Photo Credits: Antiquaria

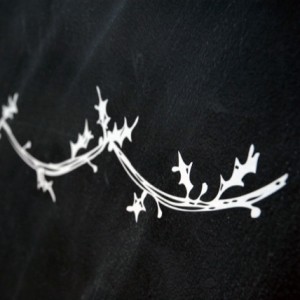
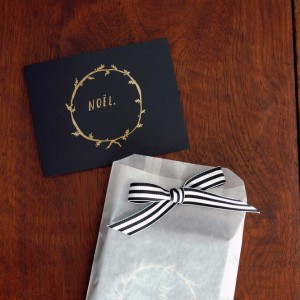
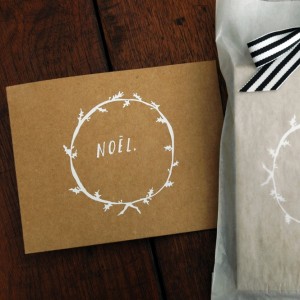
Quick Pick: Holiday Decals by Shanna Murray

It’s always a bit of a challenge to decorate for the holidays in our narrow DC apartment – we don’t have a mantle and barely have enough room for a Christmas tree!  These holiday decals from Shanna Murray are perfect for our little space.  I already have a couple of Shanna’s decals in our bedroom, and I’d love to put one of the holiday designs in our entryway and another in our living room window.  So pretty!


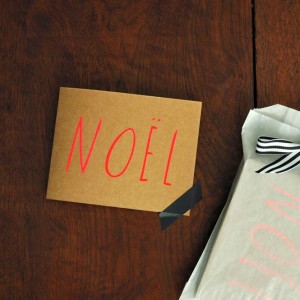
p.s. Shanna also has a lovely collection of holiday cards (including a fun neon and kraft paper card!)…


Check out more in Shanna’s shop right here!

Photo Credits: Shanna Murray


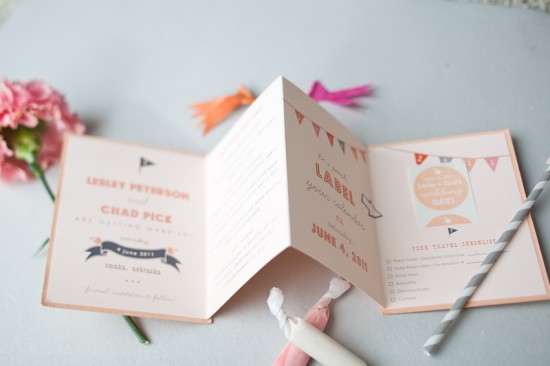
Lesley + Chad’s Accordion Save the Dates

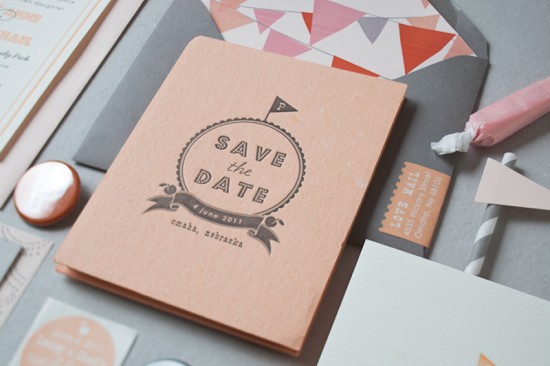
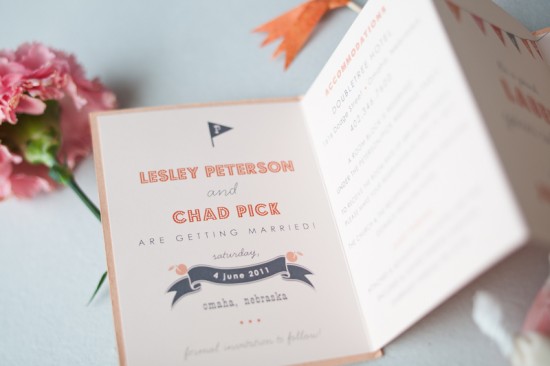
Last month we featured the country elegance wedding invitations of Lauren from Inclosed Studio.  Today we’re showcasing the save the dates of Lesley – Lauren’s other half at Inclosed Studio!  Lesley and her now-husband Chad decided to use an accordion fold-out format so they could incorporate accommodation and travel information into their save the dates, along with a fun sticker that guests could place on their calendars to remember the wedding date.

From Lauren and Lesley: The front and back of the accordion save the date was printed by hand using our vintage letterpress on handmade peach-scented paper.  The inside piece is digitally offset on a pale pink Crane cover stock.  The last page features a hand-made pocket that holds two custom “Save the Date” stickers so guests can mark their calenders with the date!  Pennant flags were a theme of the wedding, so we included them throughout the design including the hand-cut envelope liners!

So cute!  Thanks Lauren and Lesley!

Design + Letterpress: Inclosed Studio
Handmade Paper: Porridge Papers

Check out the Designer Rolodex for more tal­ented wed­ding invi­ta­tion design­ers and the real invi­ta­tions gallery for more beau­ti­ful cus­tom wed­ding invitations!

Photo Credits: Daniel Muller

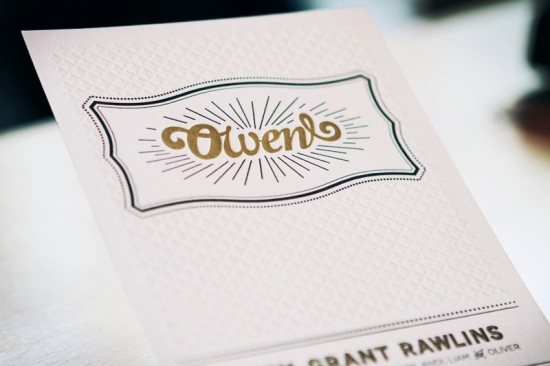
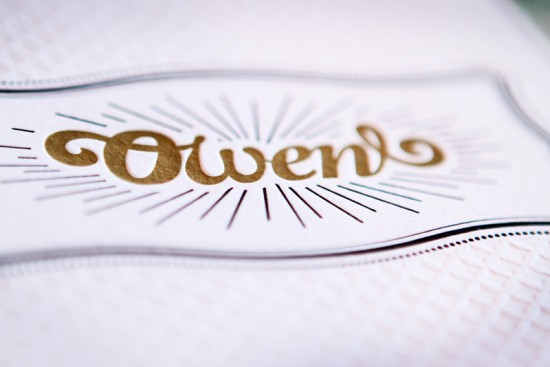
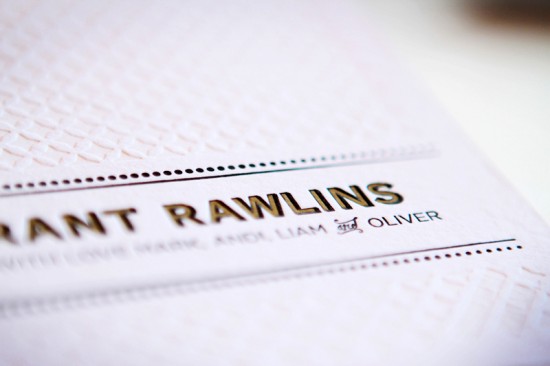
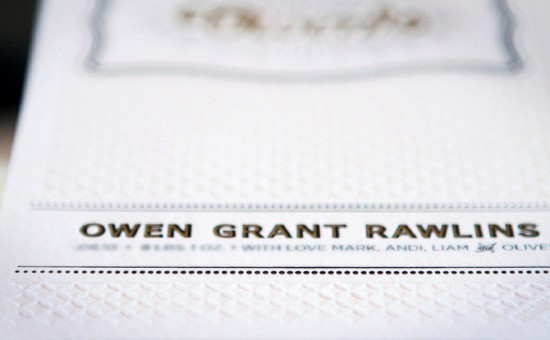
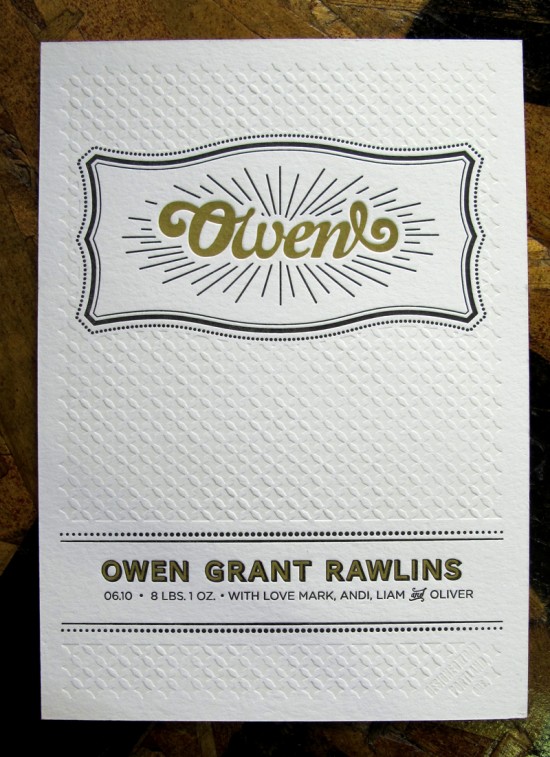
Black + Gold Birth Announcements for Baby Owen

As much as I love the cuteness factor of baby announcements, I’m also drawn to announcements that eschew traditional baby graphics for something a bit different.  So I was thrilled when I laid eyes on these stunning baby announcements created by art director Mark Rawlins for the birth of his son Owen and letterpress printed by The Mandate Press.  Mark wanted to create something masculine for his little man, so he chose a black and gold color palette paired with a beautiful blind impression pattern.  So awesome.

From Mark: The biggest inspiration for this piece was Babies-R-Us.  Seriously.  While preparing for the Owen’s birth we, like just about everyone else, walked around that store filled to the brim with over produced, glossy, and often tasteless stuff.  I decided that I wanted to design a baby announcement counter to everything else in the world of babies.

In this case, I wanted the piece to be masculine, celebrating the birth of a little man.  That thought led me to use bold gold and black colors combined with the subtlety of a blind hit for the patterning, rather than the more typical childlike colors and themes.  We were so happy with how it turned out.  And, as always, the fine folks at The Mandate Press did a fantastic job. 

Thanks Mark!

Design: Mark Rawlins

Letterpress Printing: The Mandate Press

Photo Credits: 1 – 4 by Mark Rawlins, 5 by The Mandate Press