Clever Gift Card Enclosures from Dingbat Press

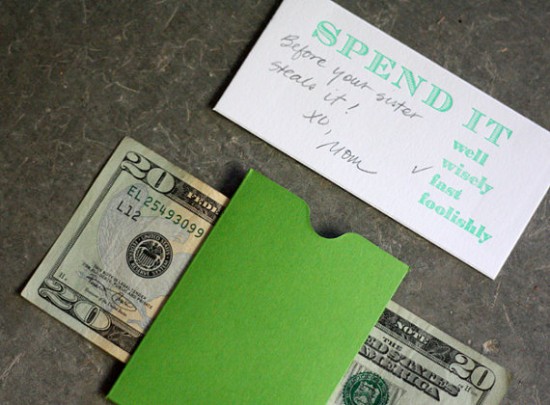
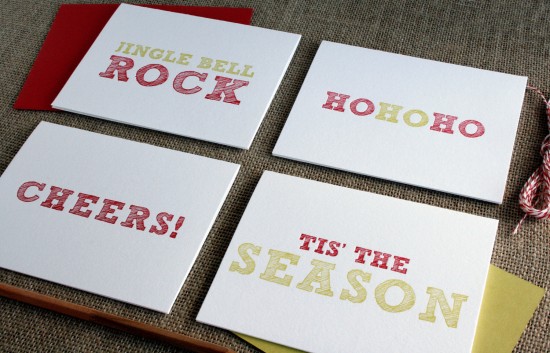
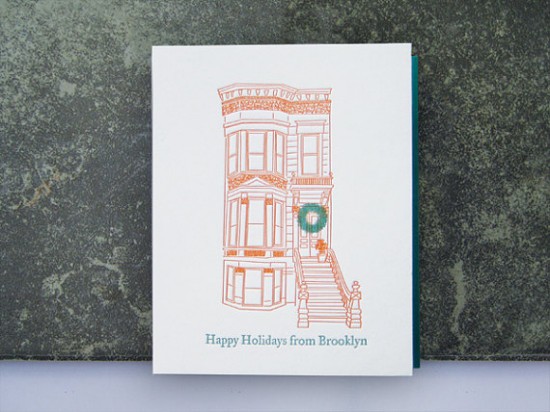
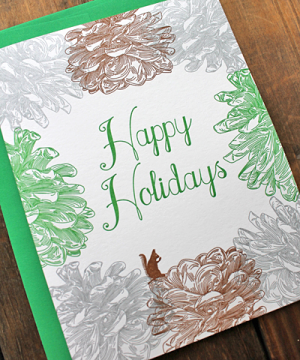
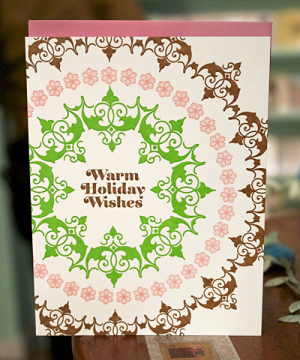
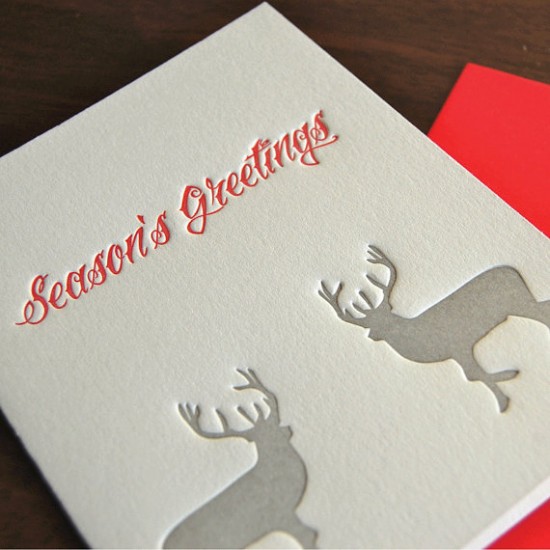
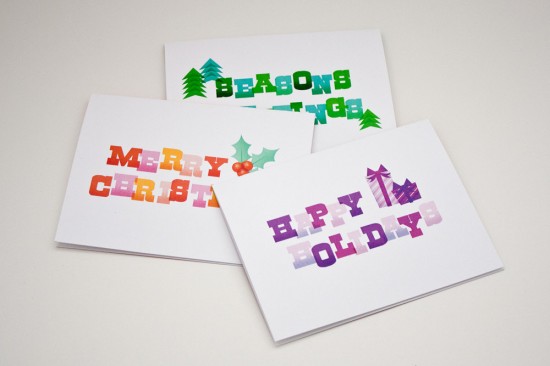
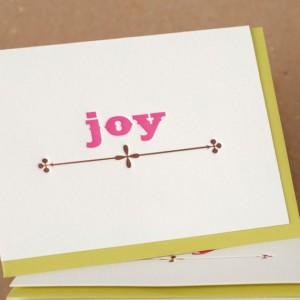
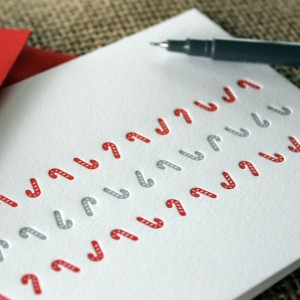
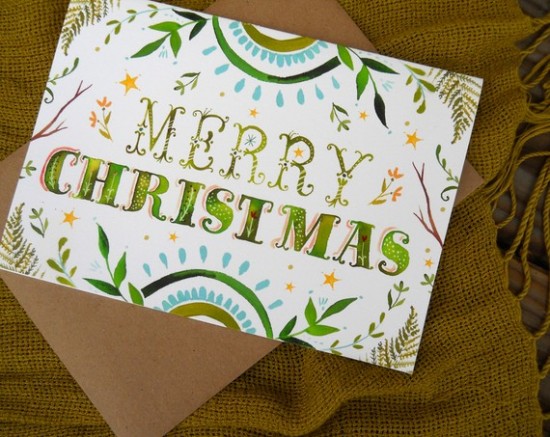
For the last few years I’ve resorted to gift cards for my teenage nephew – he lives on the West Coast and it was beyond my ability to keep up with his evolving collection of video games!  These clever enclosure cards from Dingbat Press are perfect for dressing up a gift card or cash gift for someone on your holiday list.  I can also see these coming in really handy for a graduation or Bar Mitzvah gift.  Each 2.25″ x 4″ letterpress card contains cute phrases that you can personalize with your own message and is paired with a green die cut pocket enclosure.

Check them out right here!

Photo Credits: Dingbat Press

*Dingbat Press is one of my fab­u­lous spon­sors; for more on my edi­to­r­ial poli­cies please click here.

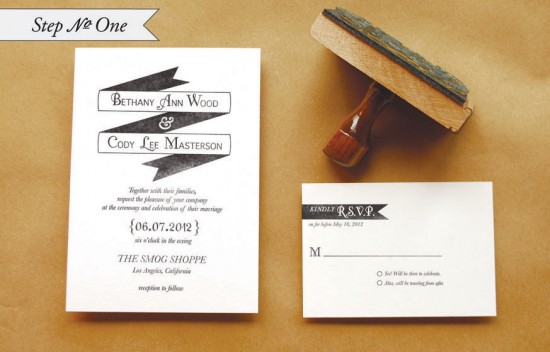
DIY Rubber Stamp “Banner” Wedding Invitations

It’s the ladies of Anti­quaria, back with another fab­u­lous and cre­ative DIY project for you!  This week they’re here with some awe­some DIY rubber stamp wedding invitations!

This invitation suite is simple, but it packs a graphic punch!  We wanted to design a suite that looked modern and was easy to execute.  There aren’t any fancy techniques or tools needed for this one, but when all the pieces come together, it looks very high end and custom!  There are so many color options for this invitation suite.  In addition to black and white, think about navy and gray or eggplant and kraft!
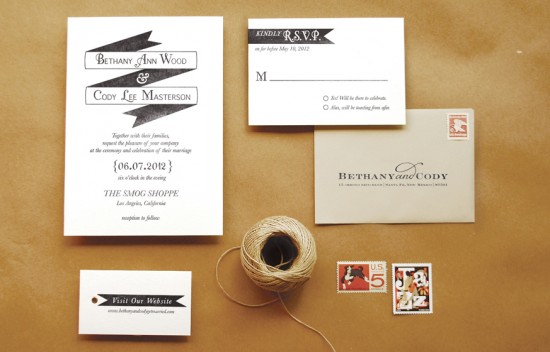
Step One: Stamp the invitation cards.  For the invitation, you will use an A7 card; for the reply, you will use a 4bar card.  When making a print, ink the stamp throughly and apply even pressure for the best results.  On the large stamps, such as the“Modern Banner” invitation and “Modern Banner” reply, cover stamp with both palms and press, focusing on the center (near the handle).  Moderate pressure is required but too much can make for a muddy print.
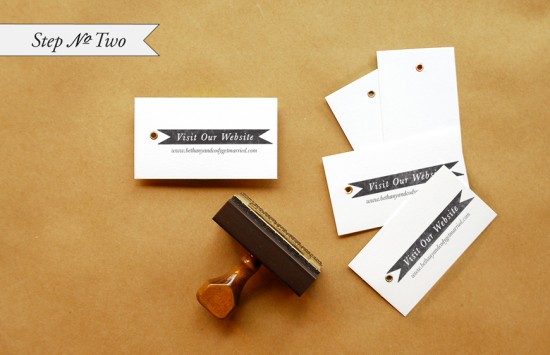
Step 2: Stamp the website cards.  We used our small “Modern Banner” Website stamp.  Follow the directions above for making a good print.

Step 3: Cut your envelope liners.  We used tan text weight paper for a monochromatic neutral look.  To make the liner, trace a template and cut on the traced line.  Be sure to stamp your monogram (we used our “Seal Initial” monogram) on the liner so that when your guests open the envelope there is a lovely surprise!
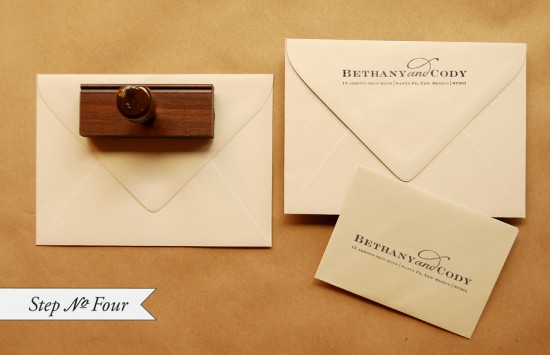
Step 4: Stamp return and reply addresses on the envelopes.  We used our “Sophisticate” Return Address stamp for this suite.  It’s a great money saving tool to be able to use one stamp for both your return and reply address.
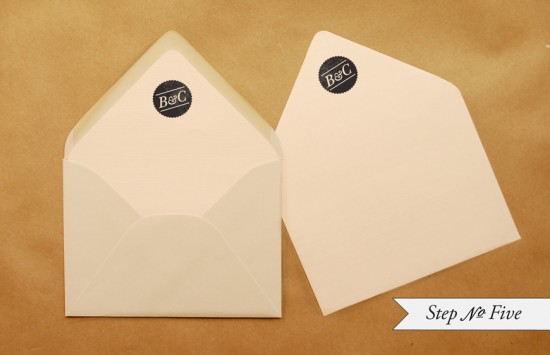
Step 5: To install the liner into the envelope, apply double sided tape (or use a glue stick) around the top triangle of the liner (on the back).  Slide the liner into the envelope, holding the taped edge away from the envelope.  Once the liner is positioned correctly, press down on the tape to adhere.
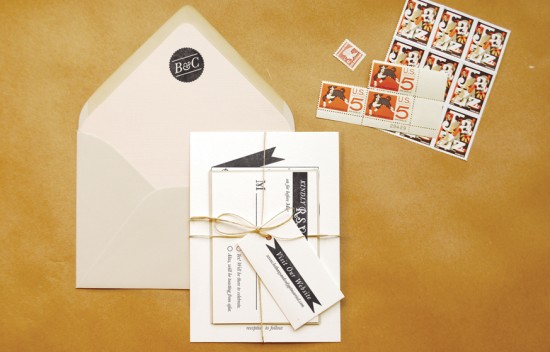
Finishing touches: Tie the whole suite up with twine, address, and add postage!

Materials:

“Modern Banner” Invitation Stamp from Antiquaria 

“Modern Banner” Reply Card Stamp from Antiquaria

“Modern Banner” Website Card Stamp-Large  from Antiquaria

“Seal Initial” Monogram Stamp from Antiquaria

“Sophisticate” Return Address Stamp from Antiquaria

Color Box Stamp Pad in Black

Metal Eyelet Tags for website card

A7 Cardstock,

4Bar Cardstock

A7 Envelopes

4 bar Envelopes

Envelope liner templates

81/2″ x 11″ text paper, for liners

Twine

Postage (we used the Jazz Forever Stamps mixed with vintage stamps)

Photo Credits: Antiquaria

2011 Holiday Card Round Up, Part 11

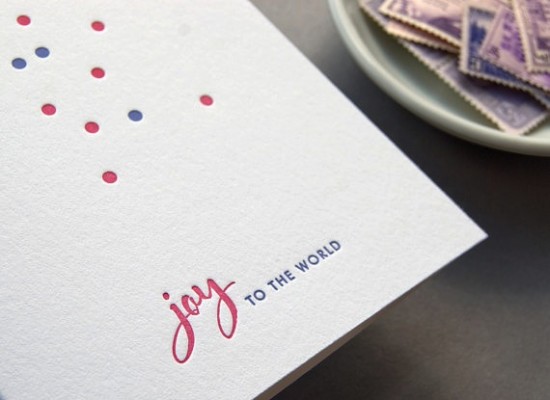
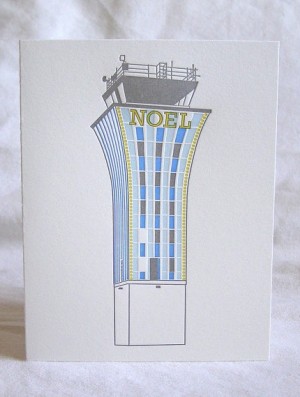
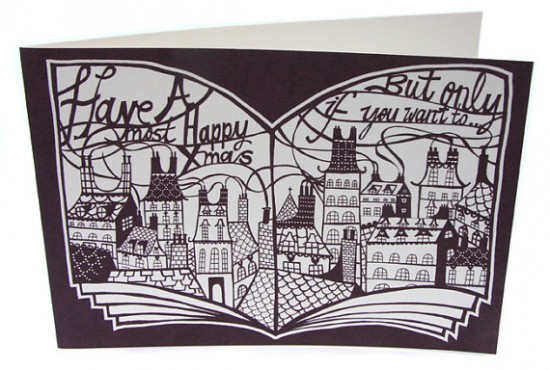
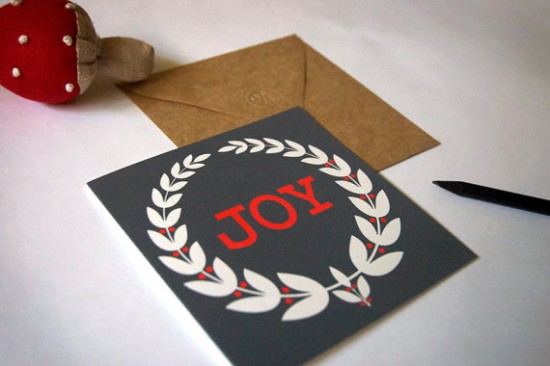
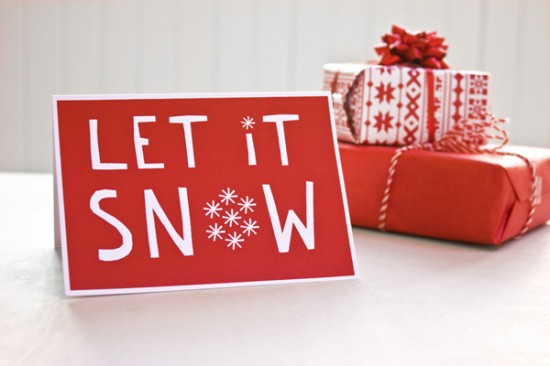
As promised, I have a few more beautiful holiday cards to share with you!  This round up includes a little something for everyone – from classic and elegant holiday cards to illustrated and hand lettered designs.  Let’s take a look!

Daily Sip Studios

Armato Design


Presse Dufour

Dutch Door Press

Miss Wyolene


Banquet Atelier & Workshop

Farmee

Katharine Watson


Dude and Chick (left); Oh My Deer (right)

Dahlia Press
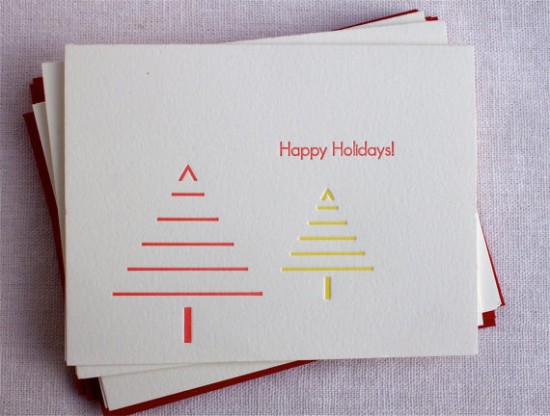
Paper Coterie

{images via their respective sources}
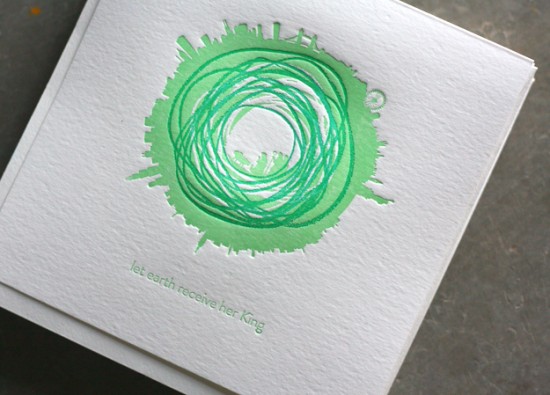
2011 Holiday Card Round Up, Part 10

We’re coming up on the end of this year’s holiday card round ups, but if you still haven’t made your decision there’s definitely no shortage of awesome holiday cards to choose from!  I have two holiday card round ups to share with you today, each full of beautiful cards.  And just in case you missed them, you can find the previous round ups right here!

Rob Ryan

One Lantern


Dear Hancock

Yoke

Pepper Press NY


Greenwich Letterpress

Paisley Tree Press

One Plus One Design


Ruby Press (left); Shortgrass Designs (right)

Inkprint Letterpress

Dingbat Press

The Wheatfield

Check back soon for a few more holiday cards!

{images via their respective sources}

*Paisley Tree Press is one of my fab­u­lous spon­sors; for more on my edi­to­r­ial poli­cies please click here.

New Giveaway – Holiday Gift Wrap from Felt + Wire!

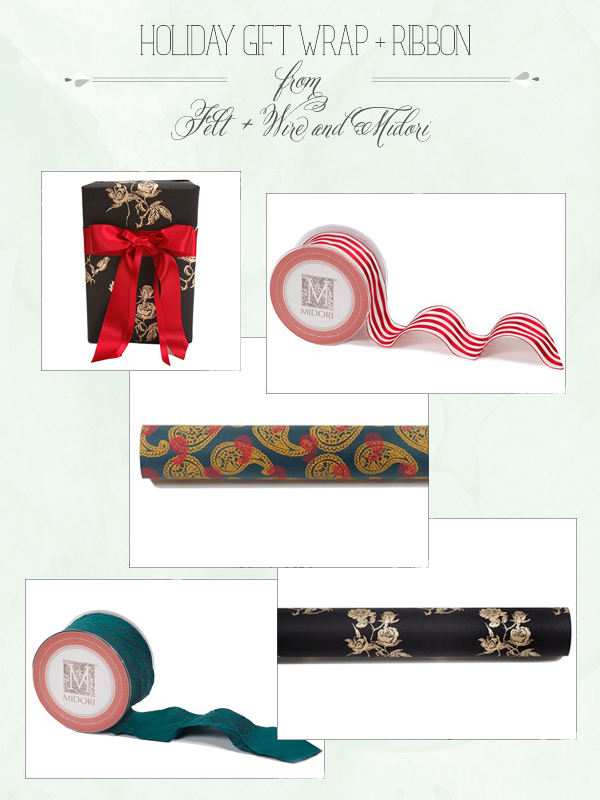
So while we’re on the subject of holiday gift wrap inspiration – I have a fun new giveaway for you!   The folks at Felt + Wire and Midori are offering a selection of gift wrap and ribbon to one lucky reader, including a beautiful red and white striped ribbon, green dupioni silk ribbon, midnight blue paisley gift wrap, and beautiful black and gold rose gift wrap!  For those of you who like to get creative when wrapping gifts, the handmade rolled gift wrap features a thick texture that can be ironed and sewn.  Fun!

To enter, simply visit Midori at Felt + Wire to browse their collection of gift wrap and ribbon.  Then come back here and leave a comment with your favorite wrap and ribbon combination!  We’ll chose a winner randomly, and you’ll have until 11:59 p.m. EST on Friday, December 9 to enter – bonne chance!

Photo Credits: Midori/Felt + Wire