{happy weekend!}

Happy Friday everyone!  Today I’m in Asheville, North Carolina to attend the Ladies of Letterpress Conference – I’m looking forward to meeting so many talented printers over the next couple of days!  Next week I’m taking some time off to relax with my husband, and I have two amazing guest bloggers lined up to fill in while I’m away.  But in the meantime…

…a few links for your weekend!

This week on Oh So Beautiful Paper:

That’s it for me this week!  I hope you all have a wonderful weekend!  xoxo

Photo Credits: Virginia Galvez via You Are My Fave

Topographic Map Wedding Invitations

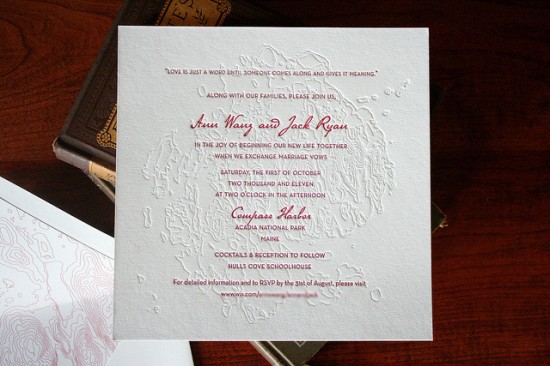
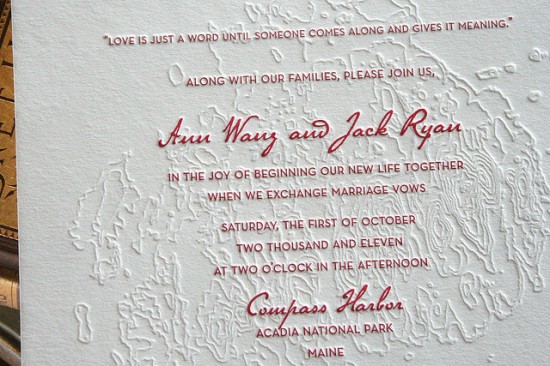
I will always love a wedding invitation that incorporates any kind of map detail, and these letterpress topographic map invitations printed by Parrott Design Studio are no exception.  The couple will be married in Maine later this year and created the design themselves, using the wedding location as the basis for the topographic element.  I love the simplicity of the blind impression detail in the topography and the pops of red.

Topographic-Map-Letterpress-Wedding-Invitations

Topographic-Map-Letterpress-Wedding-Invitations

So, so pretty.  Check out more photos and a bit more about the design over at Parrott Design Studio!

Photo Credits: Parrott Design Studio

DIY Perforated Modern Save the Date

It’s the ladies of Anti­quaria, back with another fab­u­lous and cre­ative DIY project for you all!  This week they’re here with instructions on creating a perforated enclosure for your invitations or save the dates!

For this Save the Date DIY, we were inspired to create a suite that appealed to a more modern aesthetic.  The clean lines of  the black & white design create a classic look while the handmade touches add texture and personality to these otherwise simplistic pieces.  The most exciting part??  It’s so easy to do perforation yourself!!
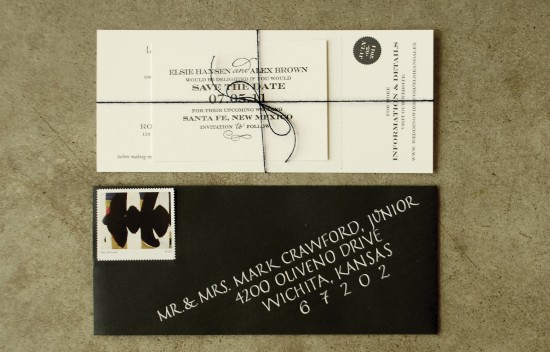
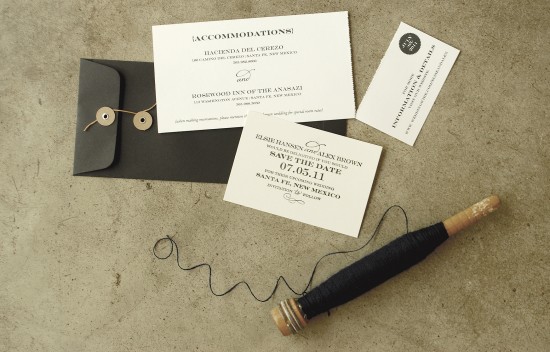
DIY Perforated Black and White Wedding Save the Date

DIY Perforated Black and White Wedding Save the Date

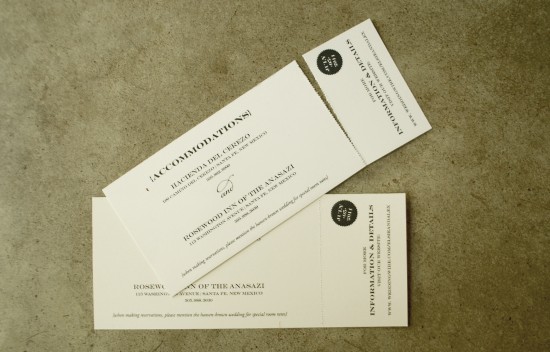
For this suite, we combined a printed accommodations/website card with our “Sophisticate” save the date stamp to provide layers of texture.  We recommend sending out the accommodations and website information with your save the date so that guests have plenty of time to make arrangements.  The perforated website card is small and useful.  Guests can take this small piece to the computer or travel agent to book their trip.
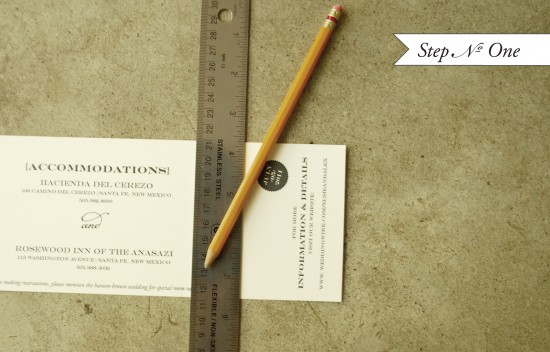
DIY Perforated Black and White Wedding Save the Date

Step One: Using a pencil & ruler, faintly mark where you want the perforated line to be.
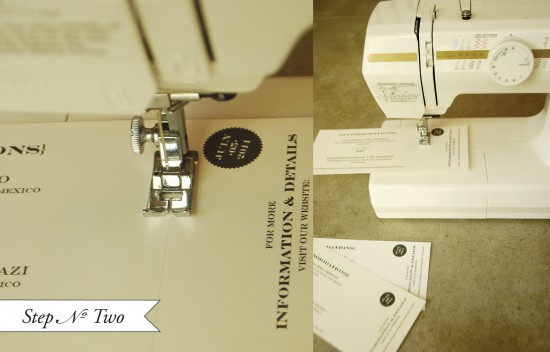
DIY Perforated Black and White Wedding Save the Date

Step Two: Remove the thread from your sewing machine (top spool & bobbin).  Set your stitch length to be relatively small (we set it on 2 on a scale of 1-4).  Sew along the pencil line.  Since there is no thread in the machine, all that will be left are tiny needle holes that create the perforation.
DIY Perforated Black and White Wedding Save the Date

DIY Perforated Black and White Wedding Save the Date

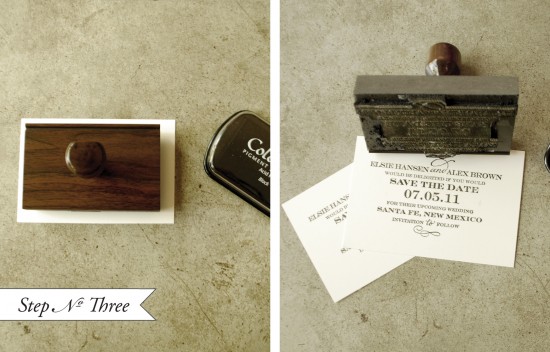
Step Three: On a hard, flat surface, lay out your paper that you want to stamp.  Ink your stamp (we used the “Sophisticate” save the date) in desired color, lay down gently on paper and give the stamp even pressure. Remove the stamp to reveal your inked image.
DIY Perforated Black and White Wedding Save the Date

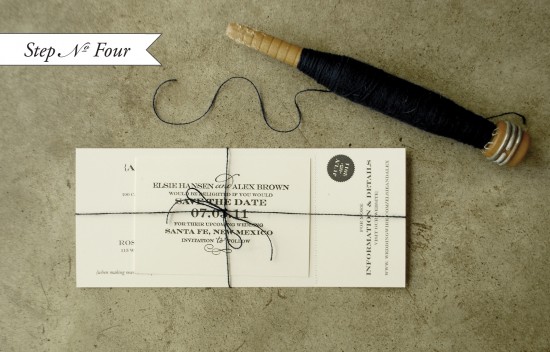
Step Four: Tie the pieces together with a string.  Now all that’s left is address and mail them!!

** Please make sure to “hand cancel” the postage if you use the string and button envelopes.  This will help to make sure the Save the Date arrives in pristine condition.


Materials:

Custom Rubber Stamp – we used our “Sophisticate” Save the Date stamp

Accommodations/website card – Use a word processing program or design software to create an #10 card.  We have also just recently added an accommodations rubber stamp to our webstore, see the whole collection here.

Paper – We used the Paper Source Luxe, white cover stock (8.5″x11″) for this tutorial. Have the paper cut to size to fit the #10 envelope (3.75″x9″) for the accommodations/website card. Have the paper cut to (3″x4″) for the Save the Date card.

Envelope – We love the string and button tie of this #10 envelope

Ink – We used black for this suite.

Black embroidery thread – you can find this at your local craft or fabric store.

Photo Credits: Antiquaria

Colorful Jungle-Inspired Lasercut Party Invitations from Zenadia Design

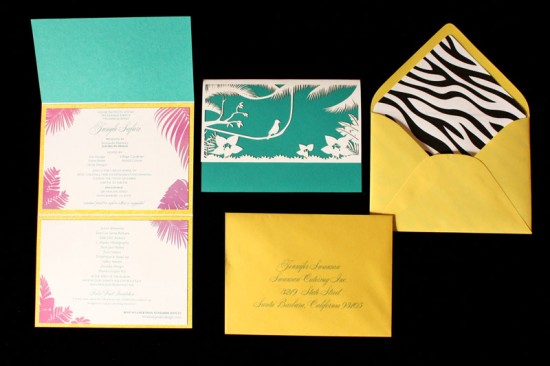
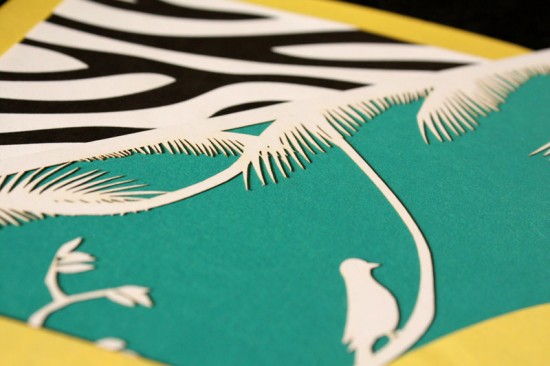
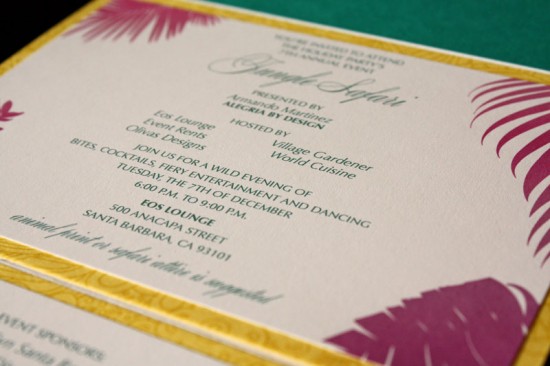
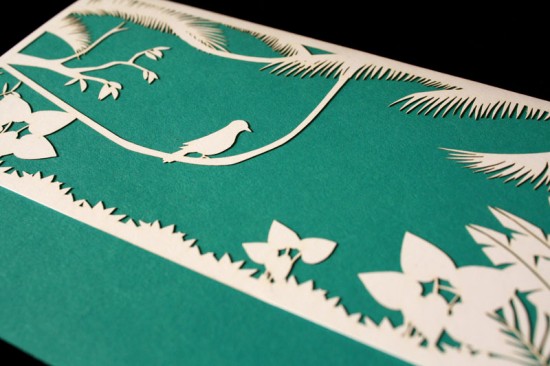
Last week Heidi from Zenadia Design shared these elegant peony invitations for a 50th birthday, and this week she’s back with something totally different – an ’80s-inspired jungle theme invitation!  Heidi created these invitations for a corporate holiday party and she definitely went all out on the details – from vibrant colors to a zebra pattern envelope liner to a lasercut jungle scene on the outside flap of the invitation.  These are definitely different, but a whole lot of fun.

Zenadia-Safari-Jungle-Party-Invitations-Suite

From Heidi: Designed for a modern Jungle Safari themed party, this invitation was inspired by the artist Nagel and all things 80’s with a jungle vibe.  The invitation features a laser cut jungle scene on the outer flap, and comes in a zebra lined envelope.  Jungle foliage details and colors echo the 1980’s in this flat printed invitation.

Zenadia-Safari-Jungle-Party-Invitations-Lasercut-Detail

Zenadia-Safari-Jungle-Party-Invitations

Zenadia-Safari-Jungle-Party-Invitations-Lasercut

Thanks Heidi!

Photo Credits: Zenadia Design

Ashley + Peter’s Yellow and Gray Patterned Letterpress Wedding Invitations

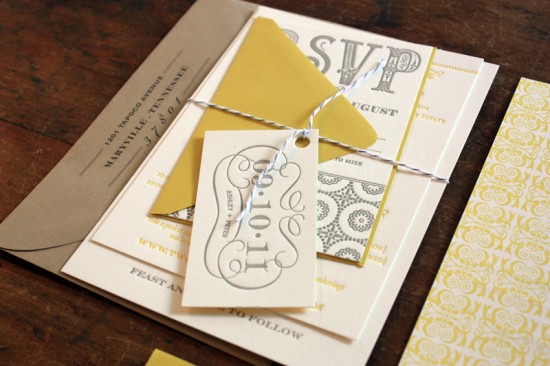
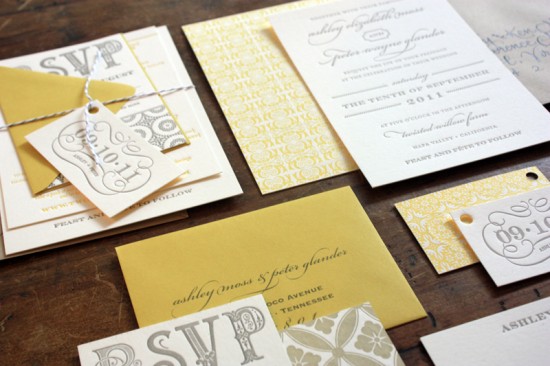
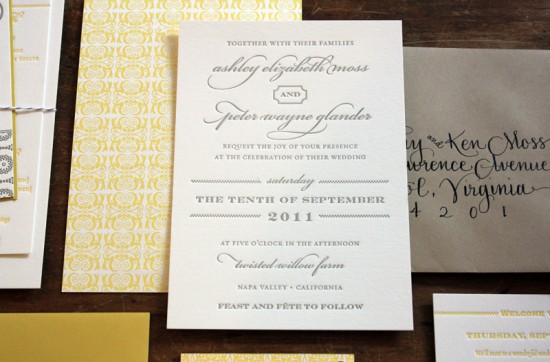
As far as color combinations go, yellow and gray will always be one of my favorites.  Sarah from The Happy Envelope created these gorgeous wedding invitations for a destination wedding in Napa Valley.  She paired elegant script and serif fonts with beautiful patterns for an overall design that is both laid back and sophisticated – and completely stunning.

Yellow-Gray-Patterned-Letterpress-Wedding-Invitations-Twine

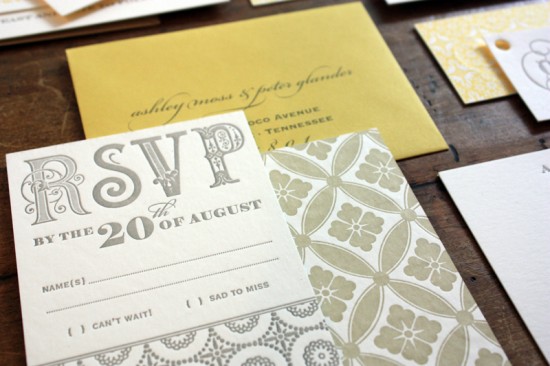
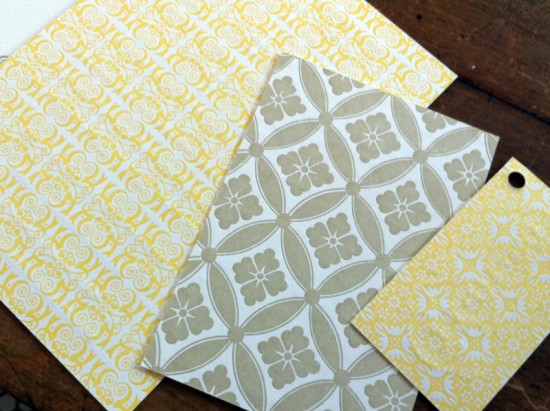
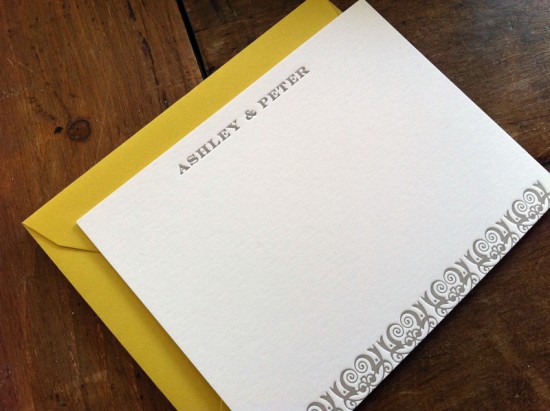
From Sarah: This wedding is a Napa Valley destination event.  The upbeat color palette of yellow, gray and taupe brings a sense of cheer to the whole suite.  All pieces were letterpress printed on weighty conservation board — thick enough to allow for letterpress printing on both sides of the invitation.  All pieces were printed in a warm putty gray on the front, with various patterns printed in warm yellow ink on the back of the invitation, the reply card, and the hangtag.

Yellow-Gray-Patterned-Letterpress-Wedding-Invitations-Suite

The entire suite is wrapped in oyster gray twine paired with a neutral khaki envelope and hand-lettered black ink calligraphy.

Yellow-Gray-Patterned-Letterpress-Wedding-Invitations-Suite

The bride wanted a laid-back, California feel but with an understated, simple aesthetic.  The invitation itself is fairly understated on the front with a mixture of type and a light dotted line motif.  The punch to this invitation is the bold pattern printing on the reverse side of select pieces.

Yellow-Gray-Patterned-Letterpress-Wedding-Invitations-RSVP

Yellow-Gray-Patterned-Letterpress-Wedding-Invitations-Reverse

Yellow-Gray-Patterned-Letterpress-Wedding-Invitations-Thank-You-Cards

So pretty!  Thank you so much Sarah!

Photo Credits: The Happy Envelope