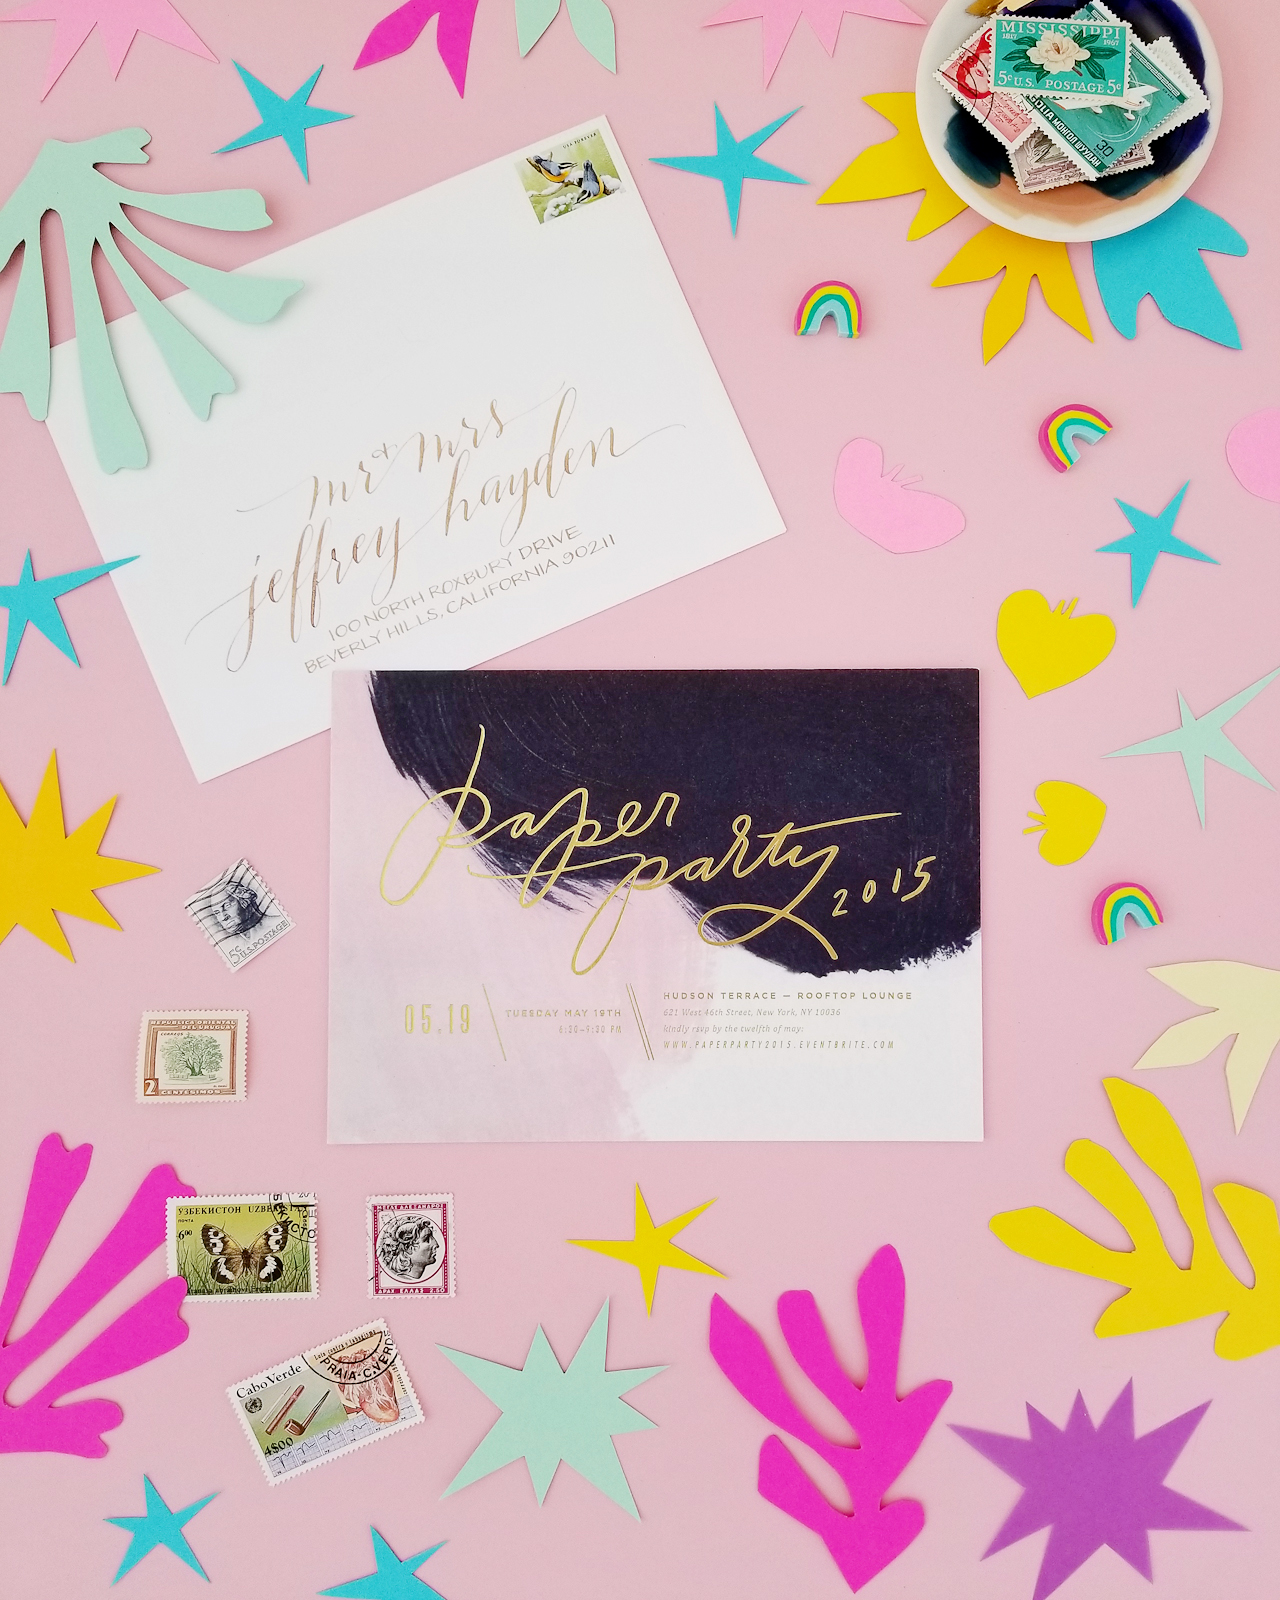
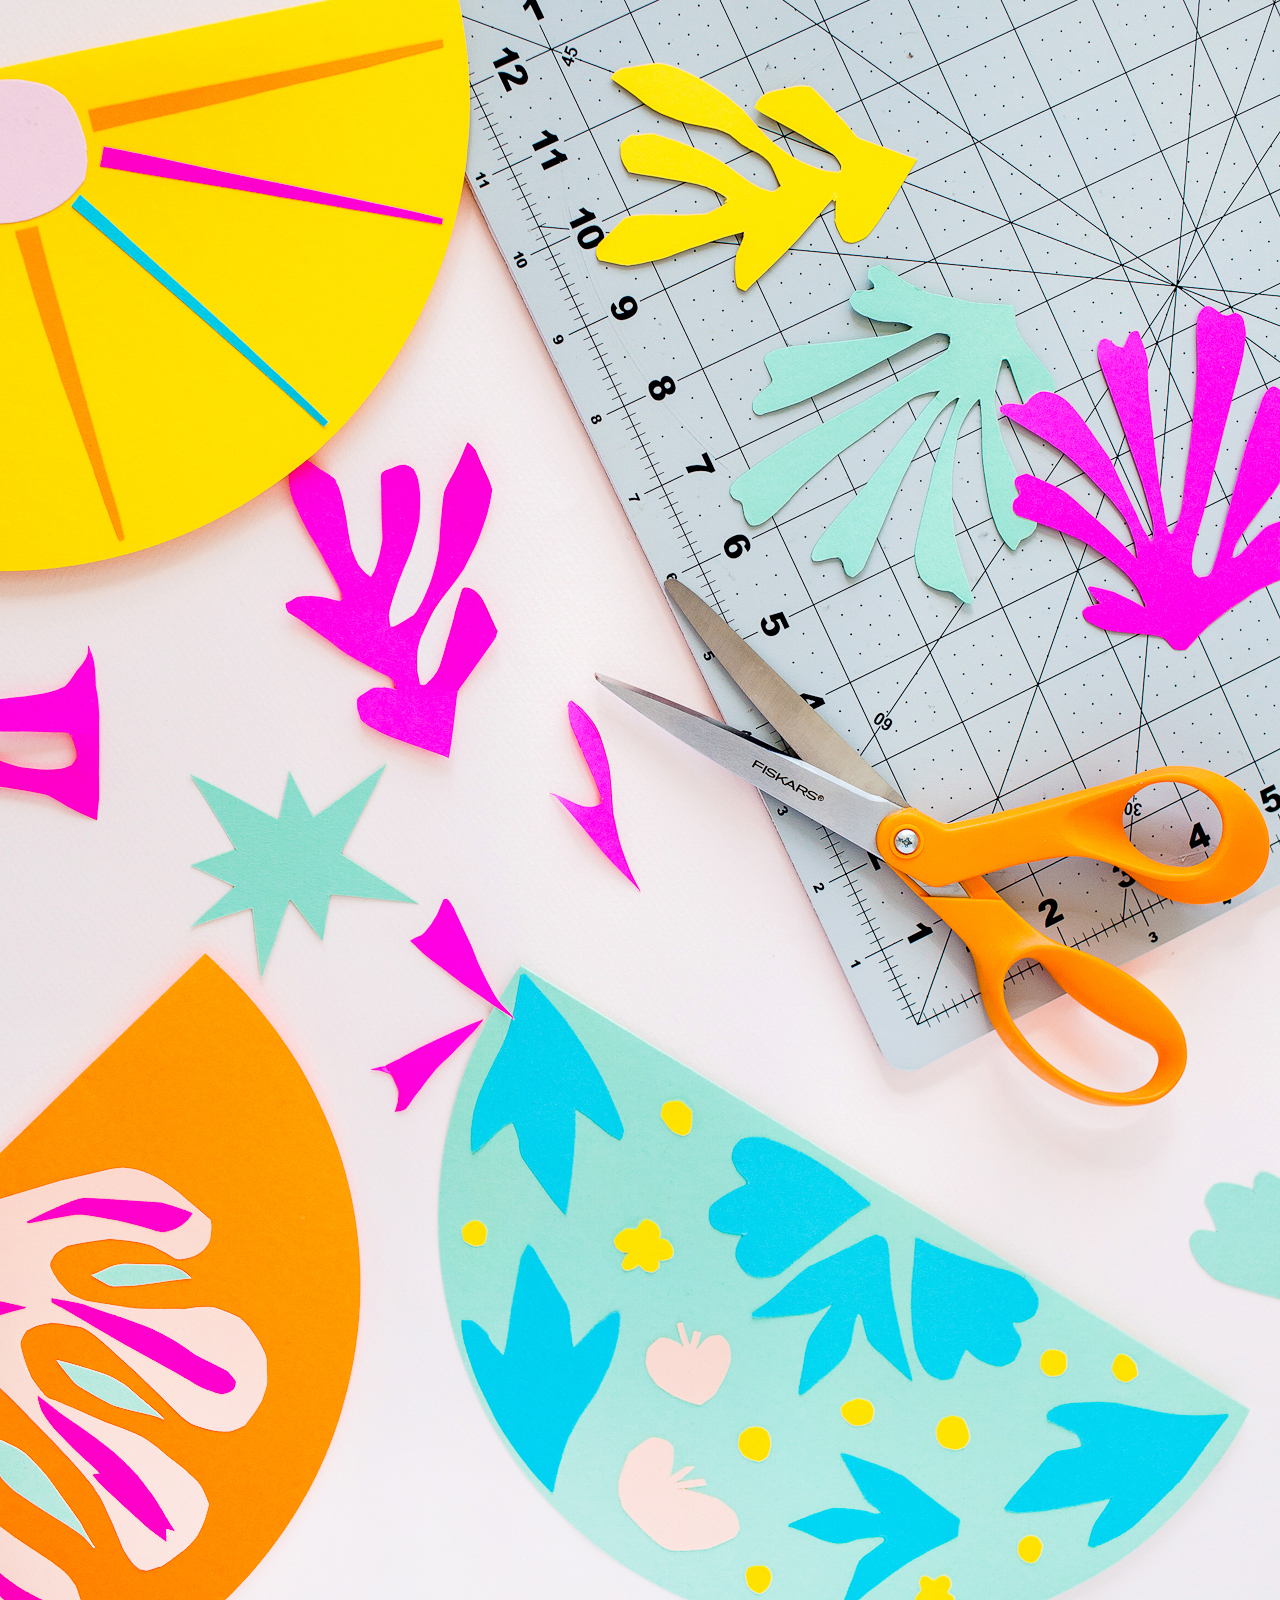
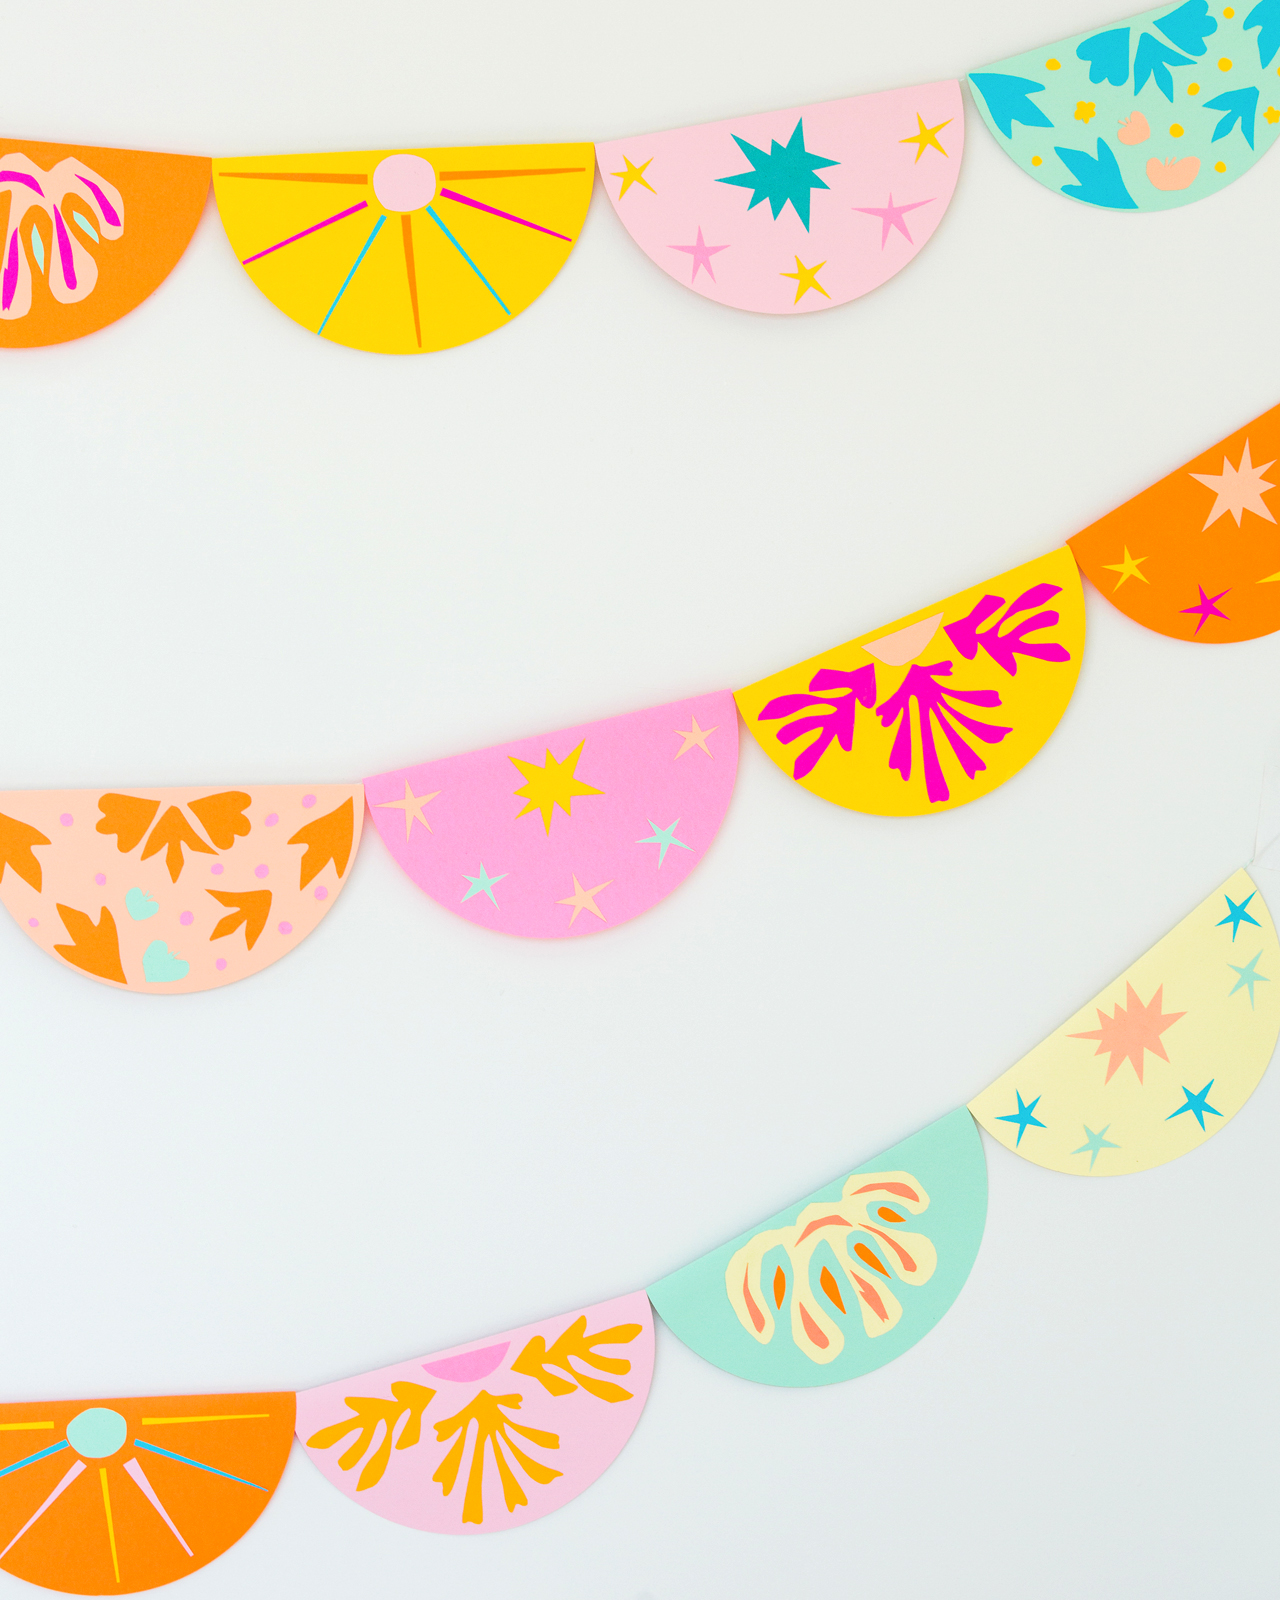
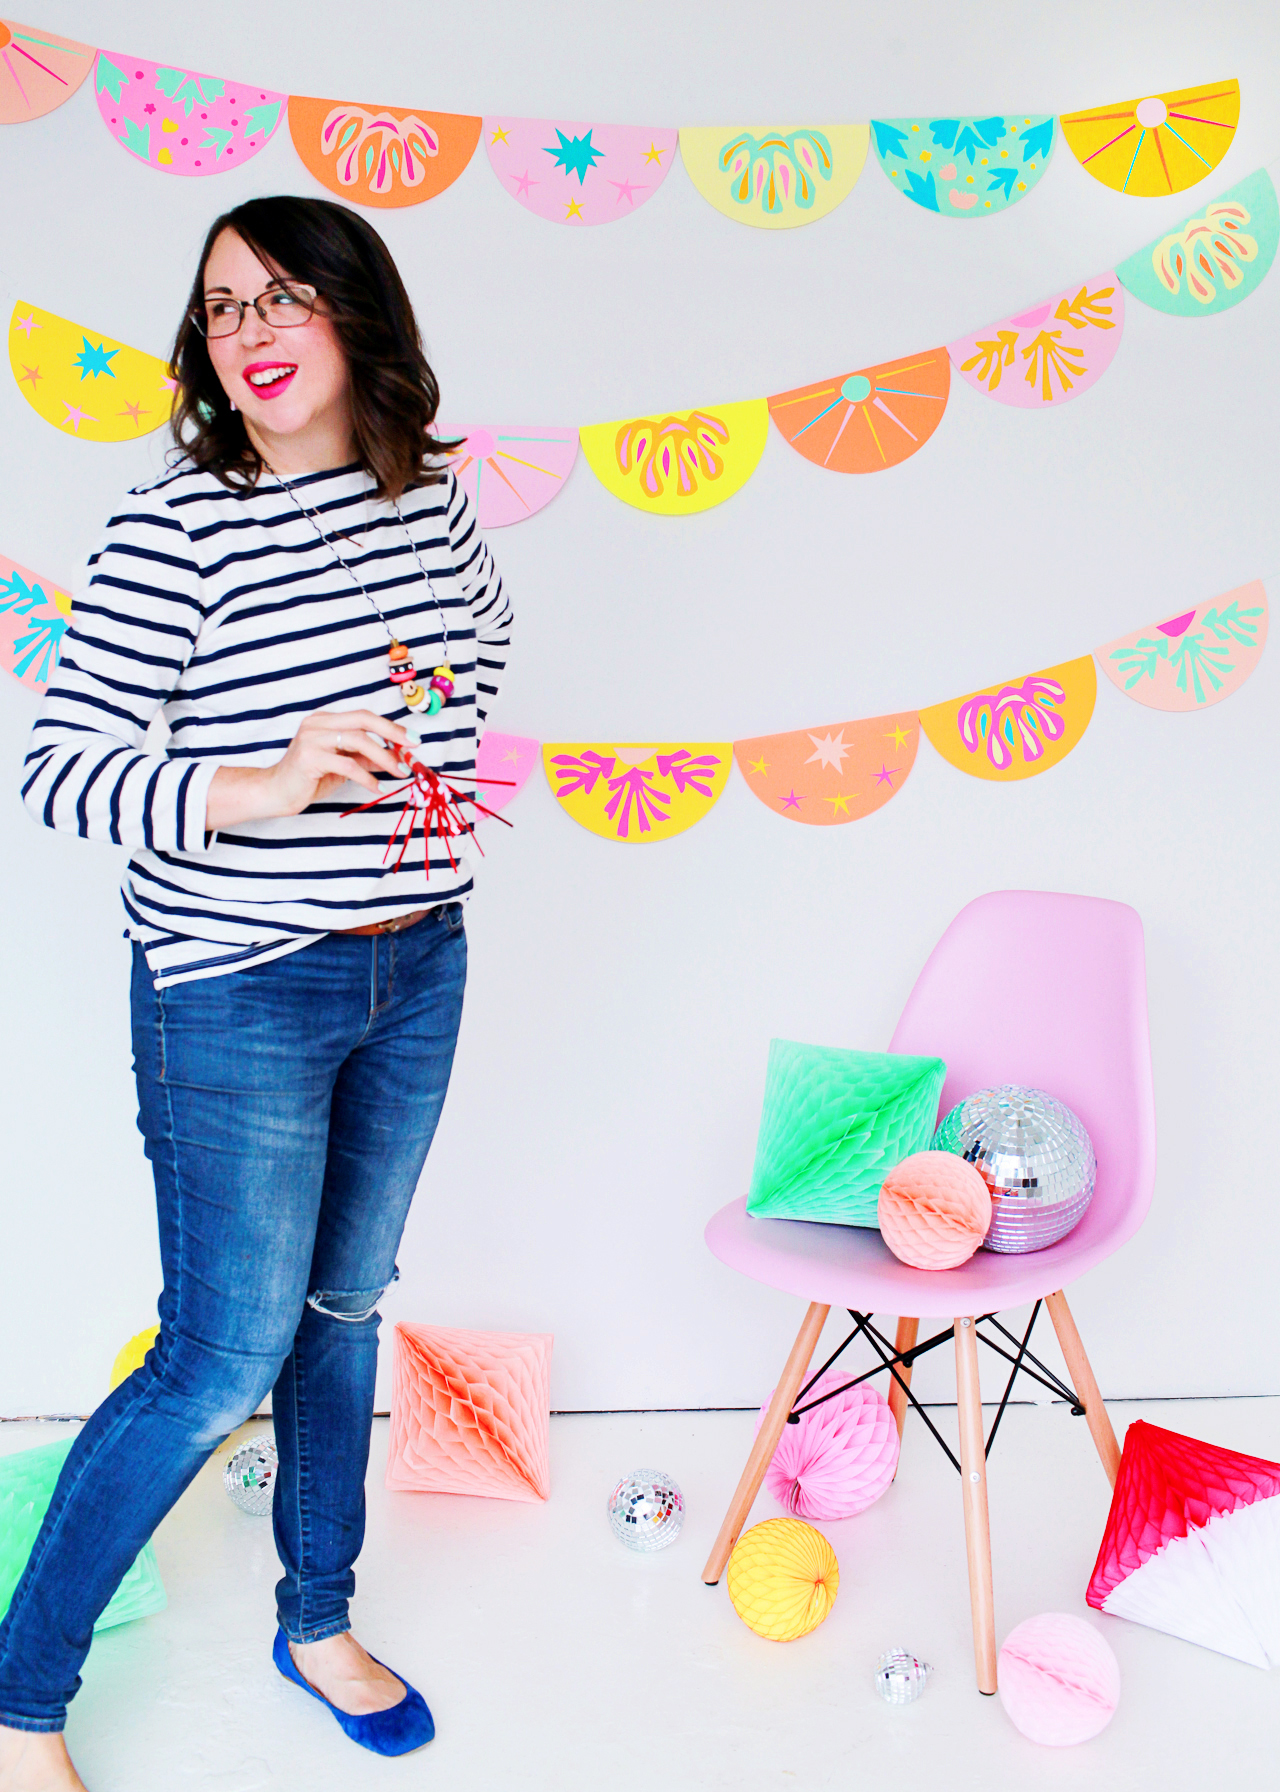
Today we’re all about playful cut paper shapes and a citrus-inspired color palette! When Fiskars asked me to create something to help them celebrate the 50th anniversary of their famous Original Orange-handled Scissors, I knew I needed to come up with something really special. I’ve been wanting to do a project inspired by the Matisse cut outs for a while now, and this was the perfect opportunity! You can make this DIY Matisse-inspired cut paper garland to create a colorful statement piece for any party — layer several garland pieces behind the bar or cake table for indoor parties, or drape between trees to add some color for a backyard get-together!
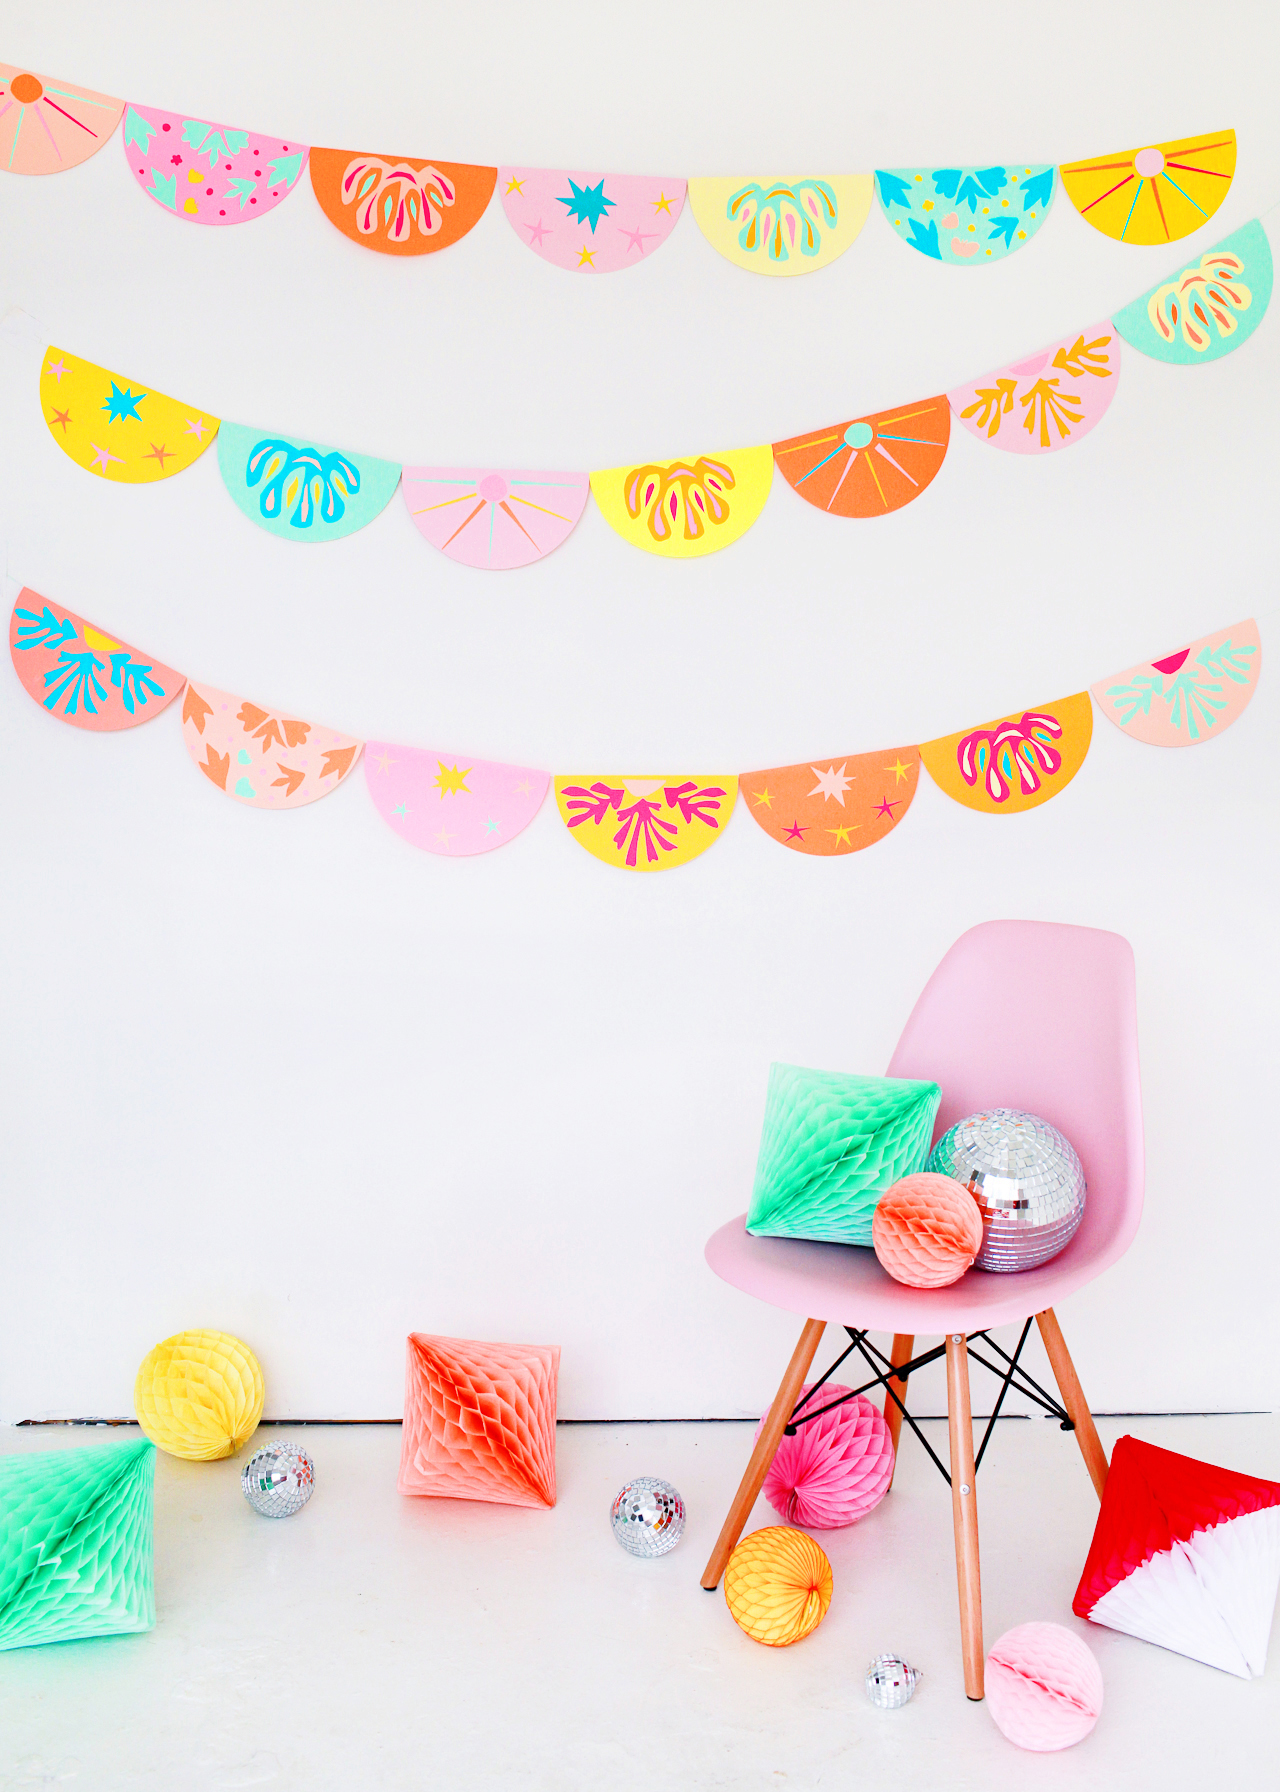
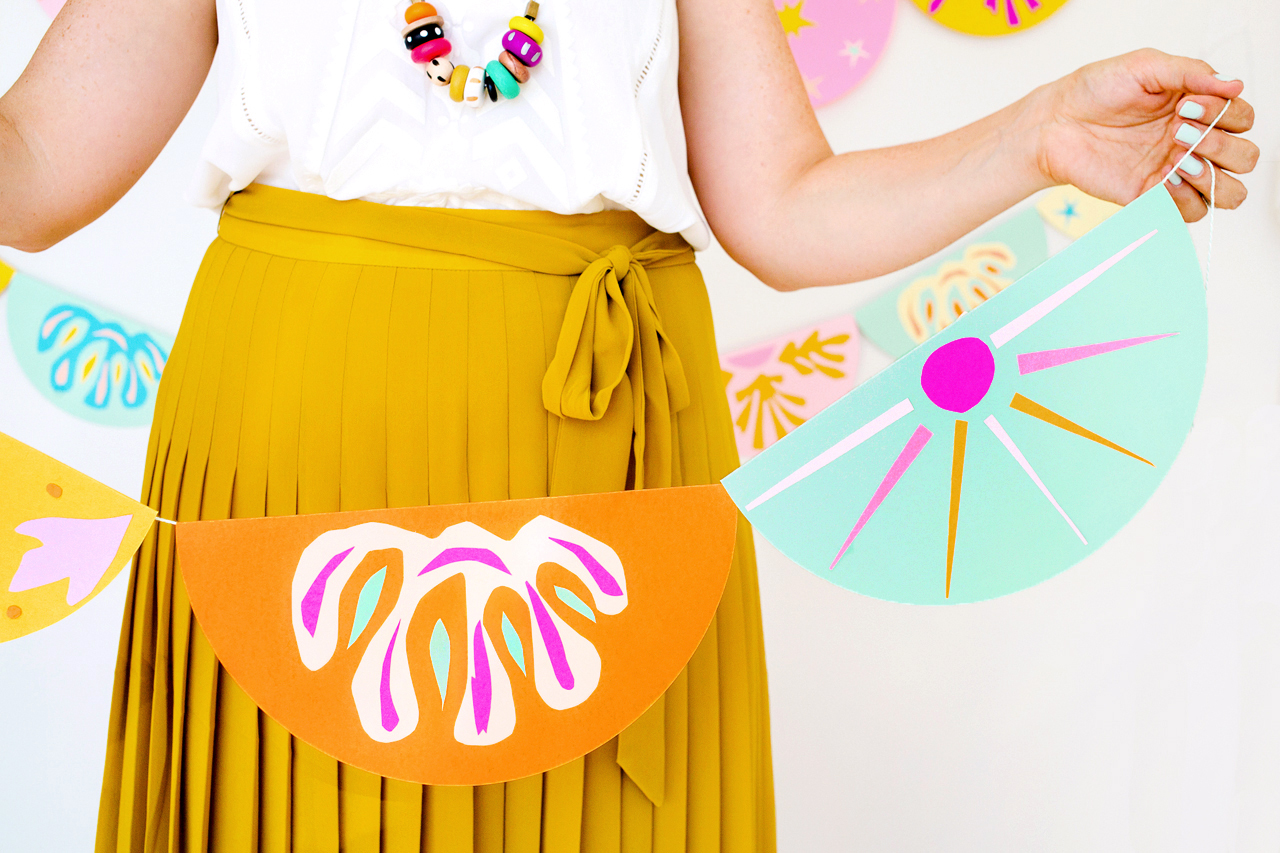
Using the iconic bright orange color of the scissors as my starting point, I chose a citrus-inspired color palette of orange, coral, peach, yellow, pink, magenta, mint green, and aqua. These colors are SO fun and work really well together, but you can use pretty much any color palette for this project. I recommend using at least 5-8 colors to give yourself enough variety within the garland (I ended up going slightly overboard and using twelve different color papers). BTW – did you know that the scissors were originally intended to have black, red, and green handles?? I’m so glad they stuck with the orange, which actually came about from a happy coincidence when a prototype was made with orange plastic leftover from a juicer!
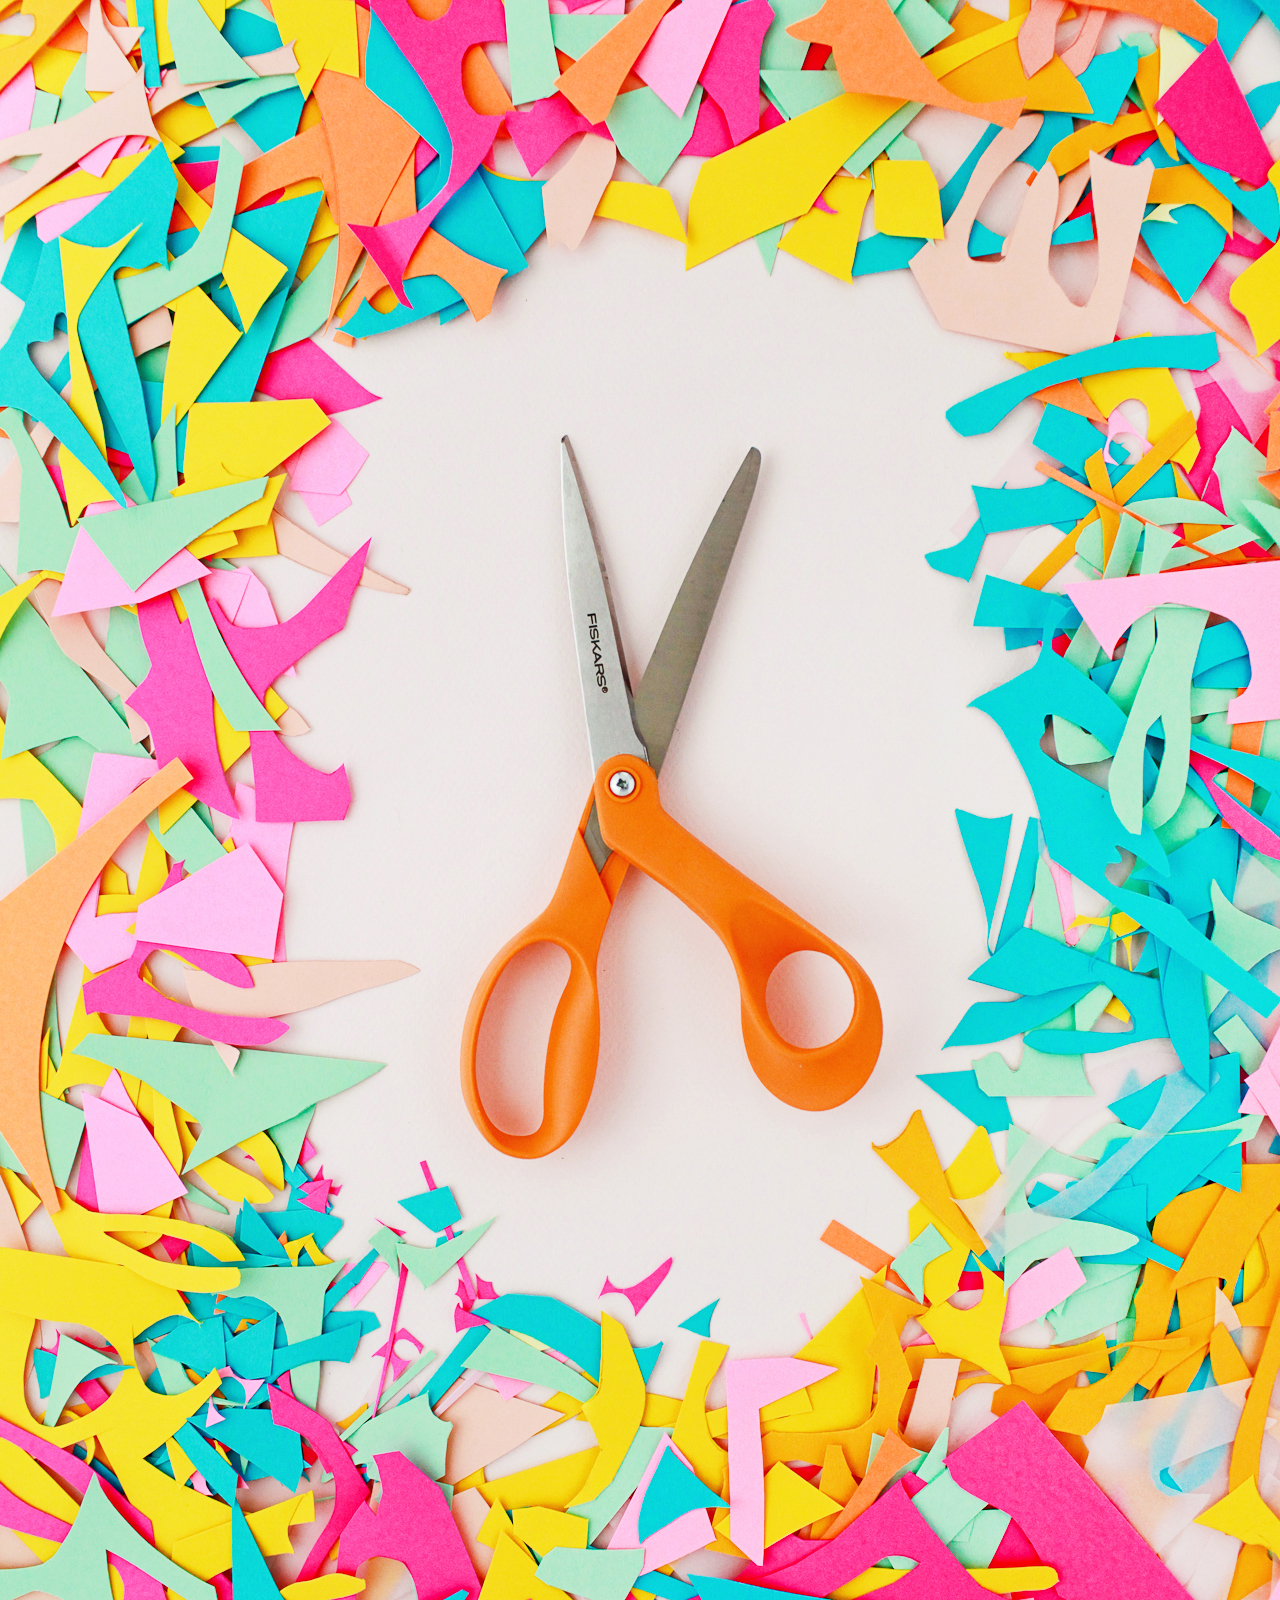
I honestly can’t imagine my life without the Orange-handled Scissors. Fiskars has been part of my life as long as I can remember, starting with the Blunt-tip Scissors when I was a kid and now the Orange-handled Scissors as an adult. I can always count on my Orange-handled Scissors for a sharp edge and precision cut, which is especially important for DIY projects! This garland involves quite a bit of cutting, so I’m especially grateful for the ergonomic handles and sharp blades that cut all the way to the tip. They even managed the tight curves and tiny details of these Matisse-inspired shapes without a single problem!
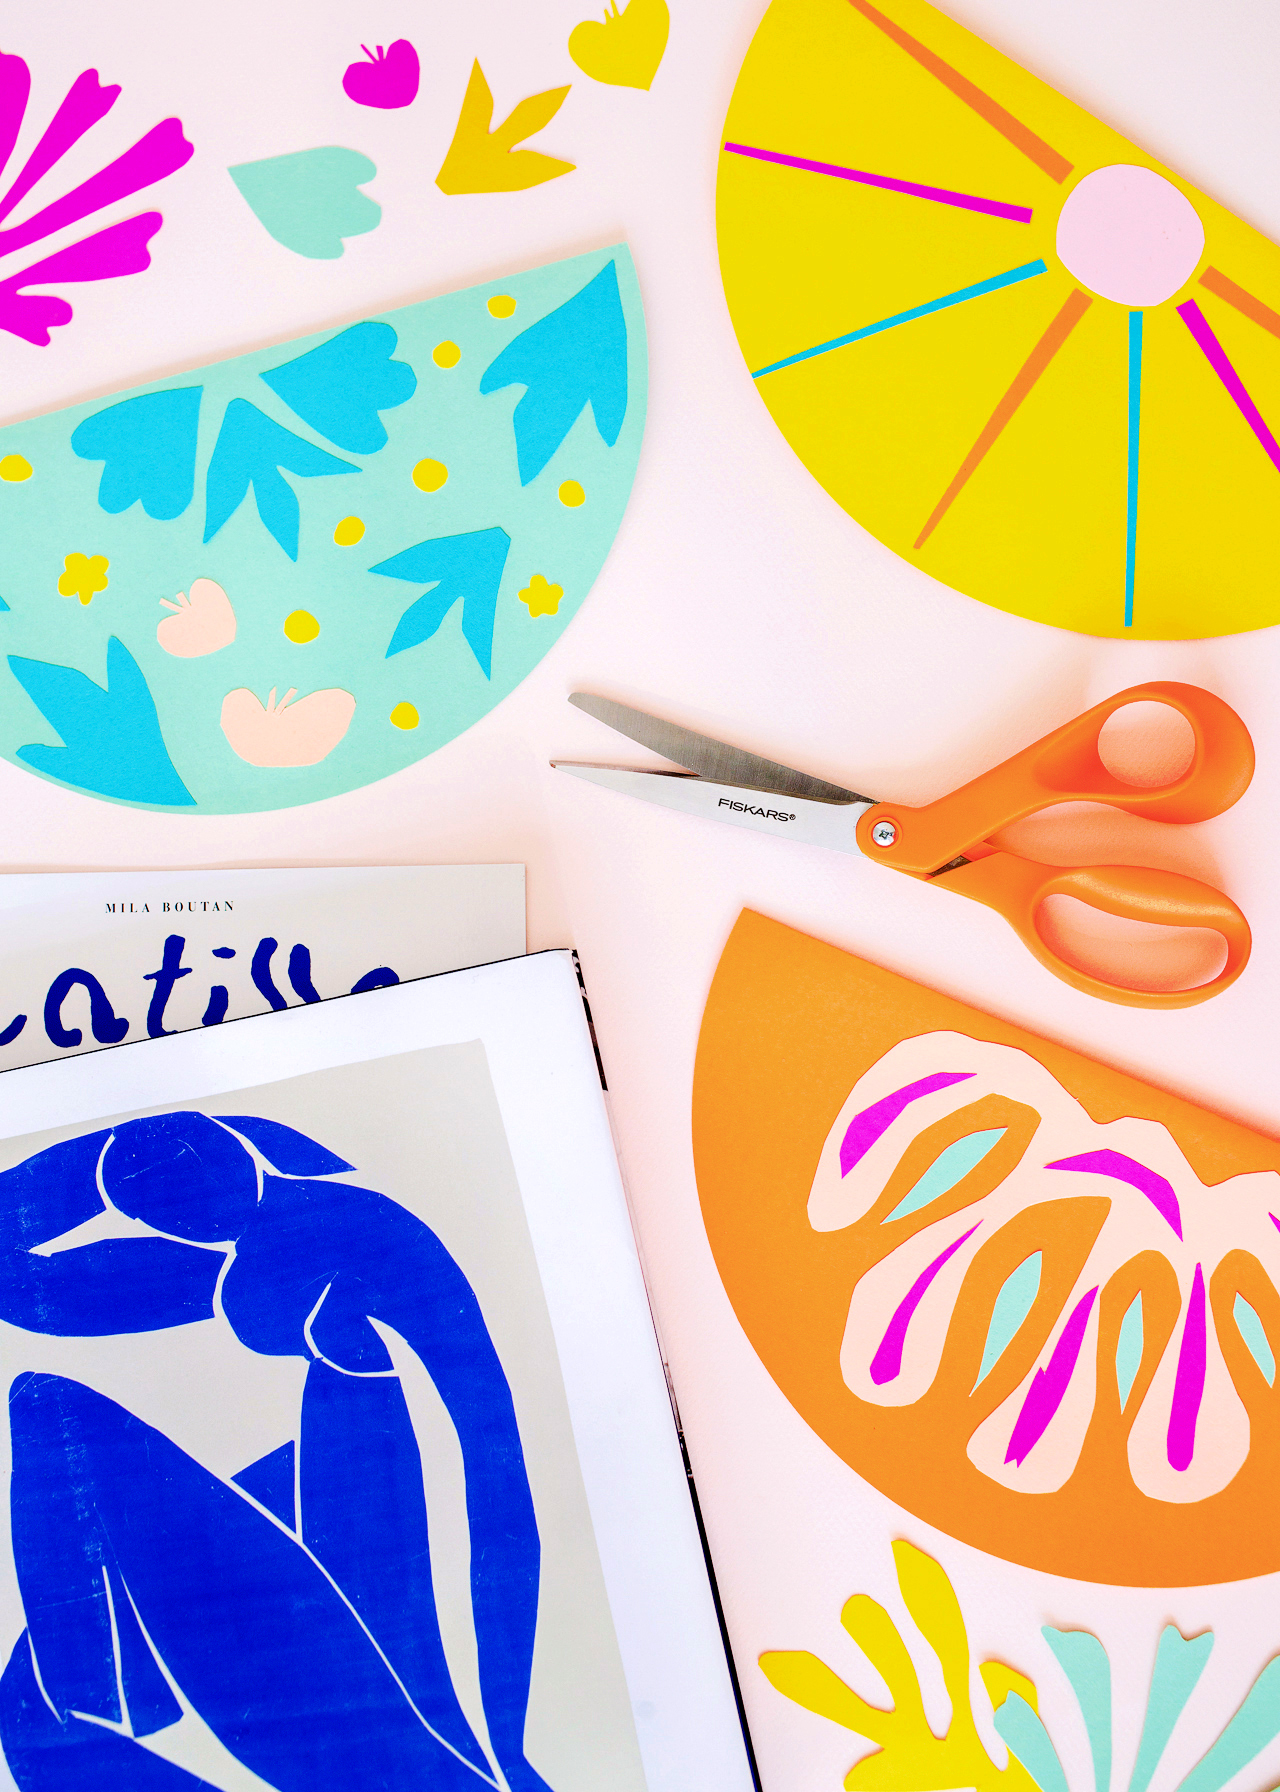
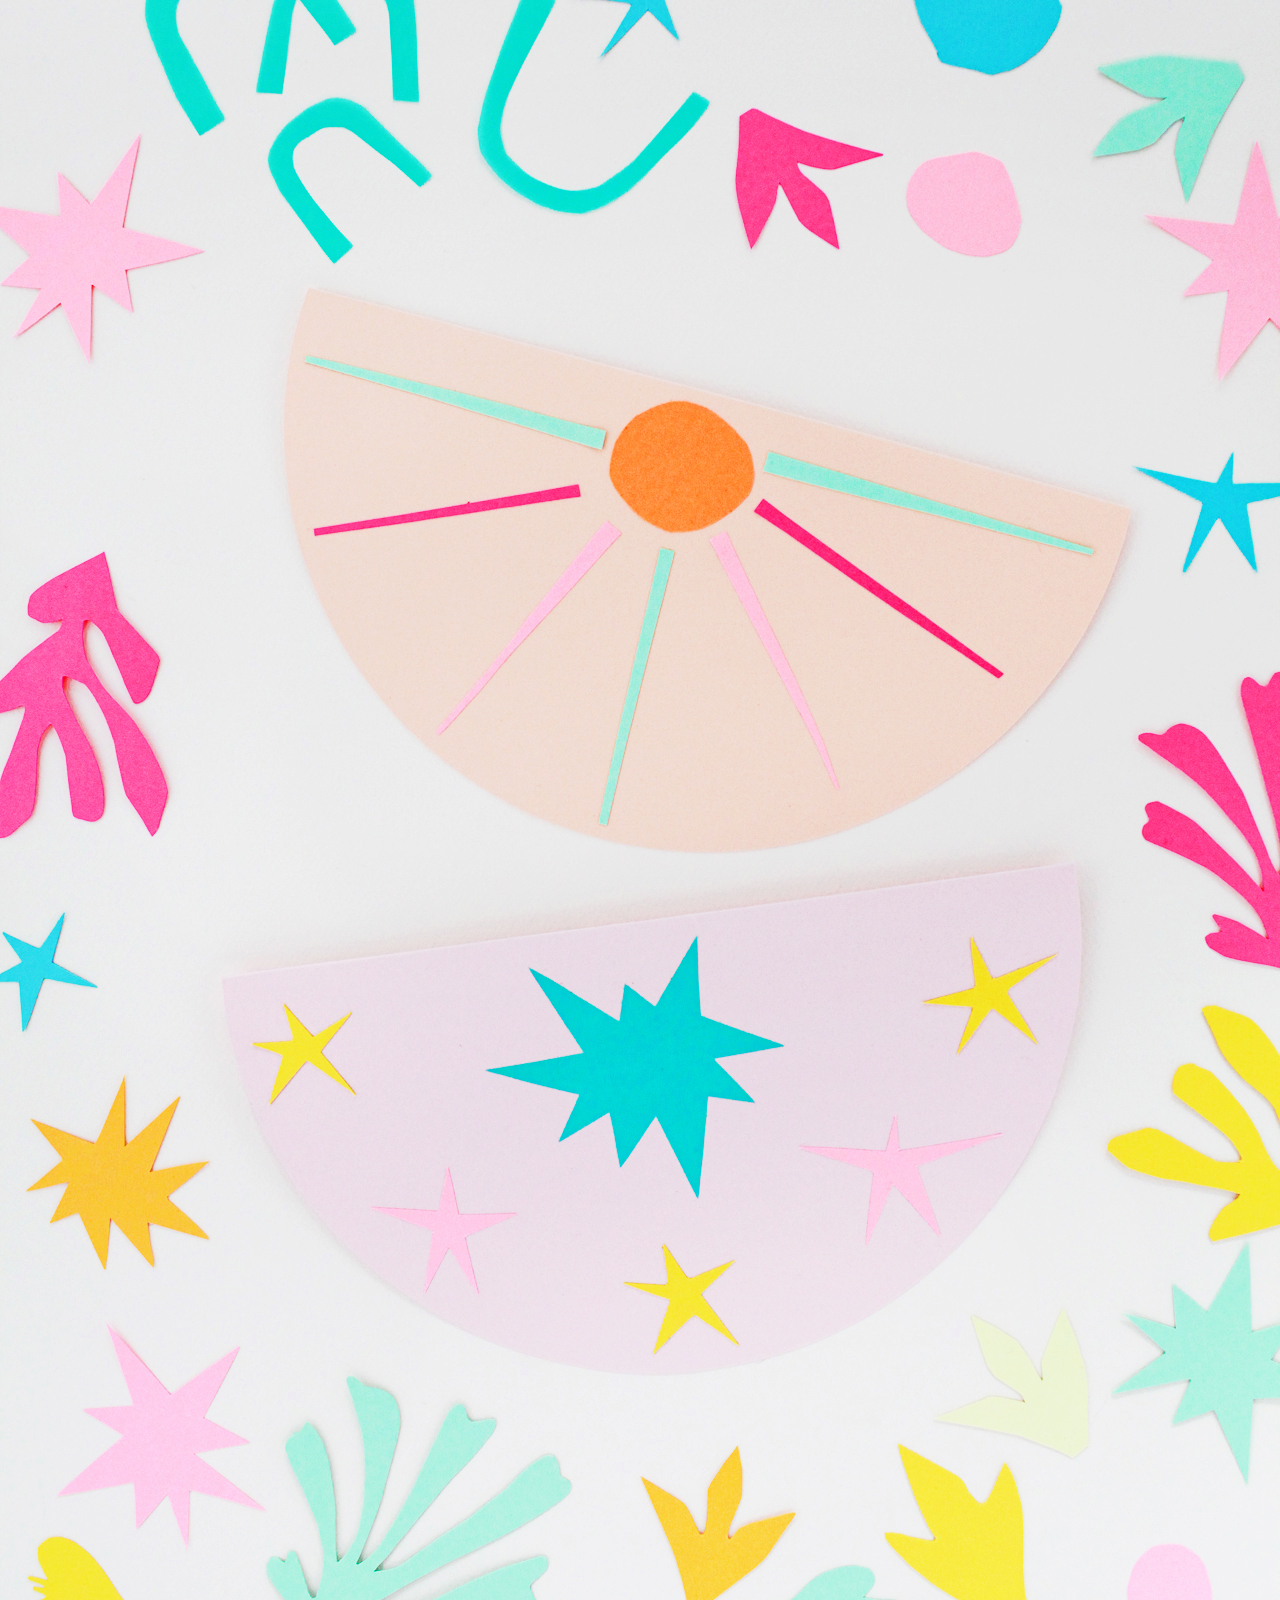
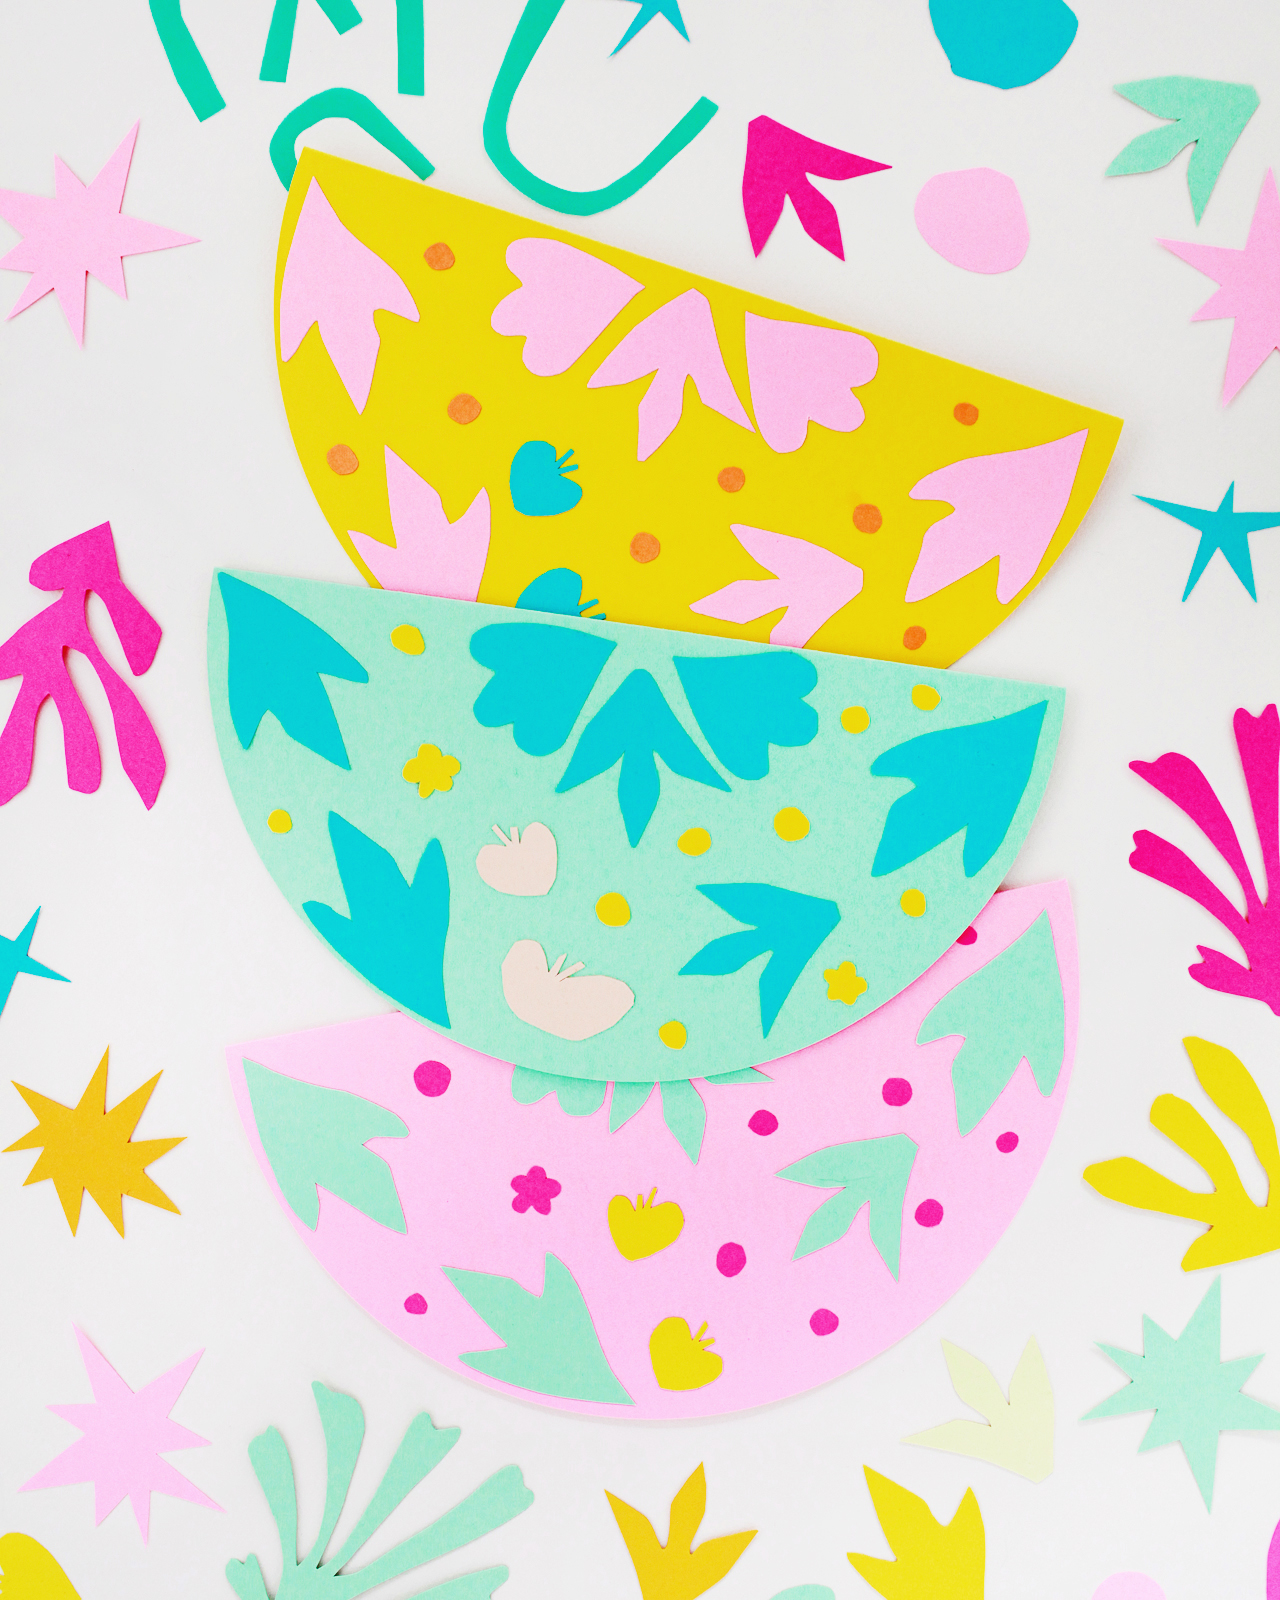
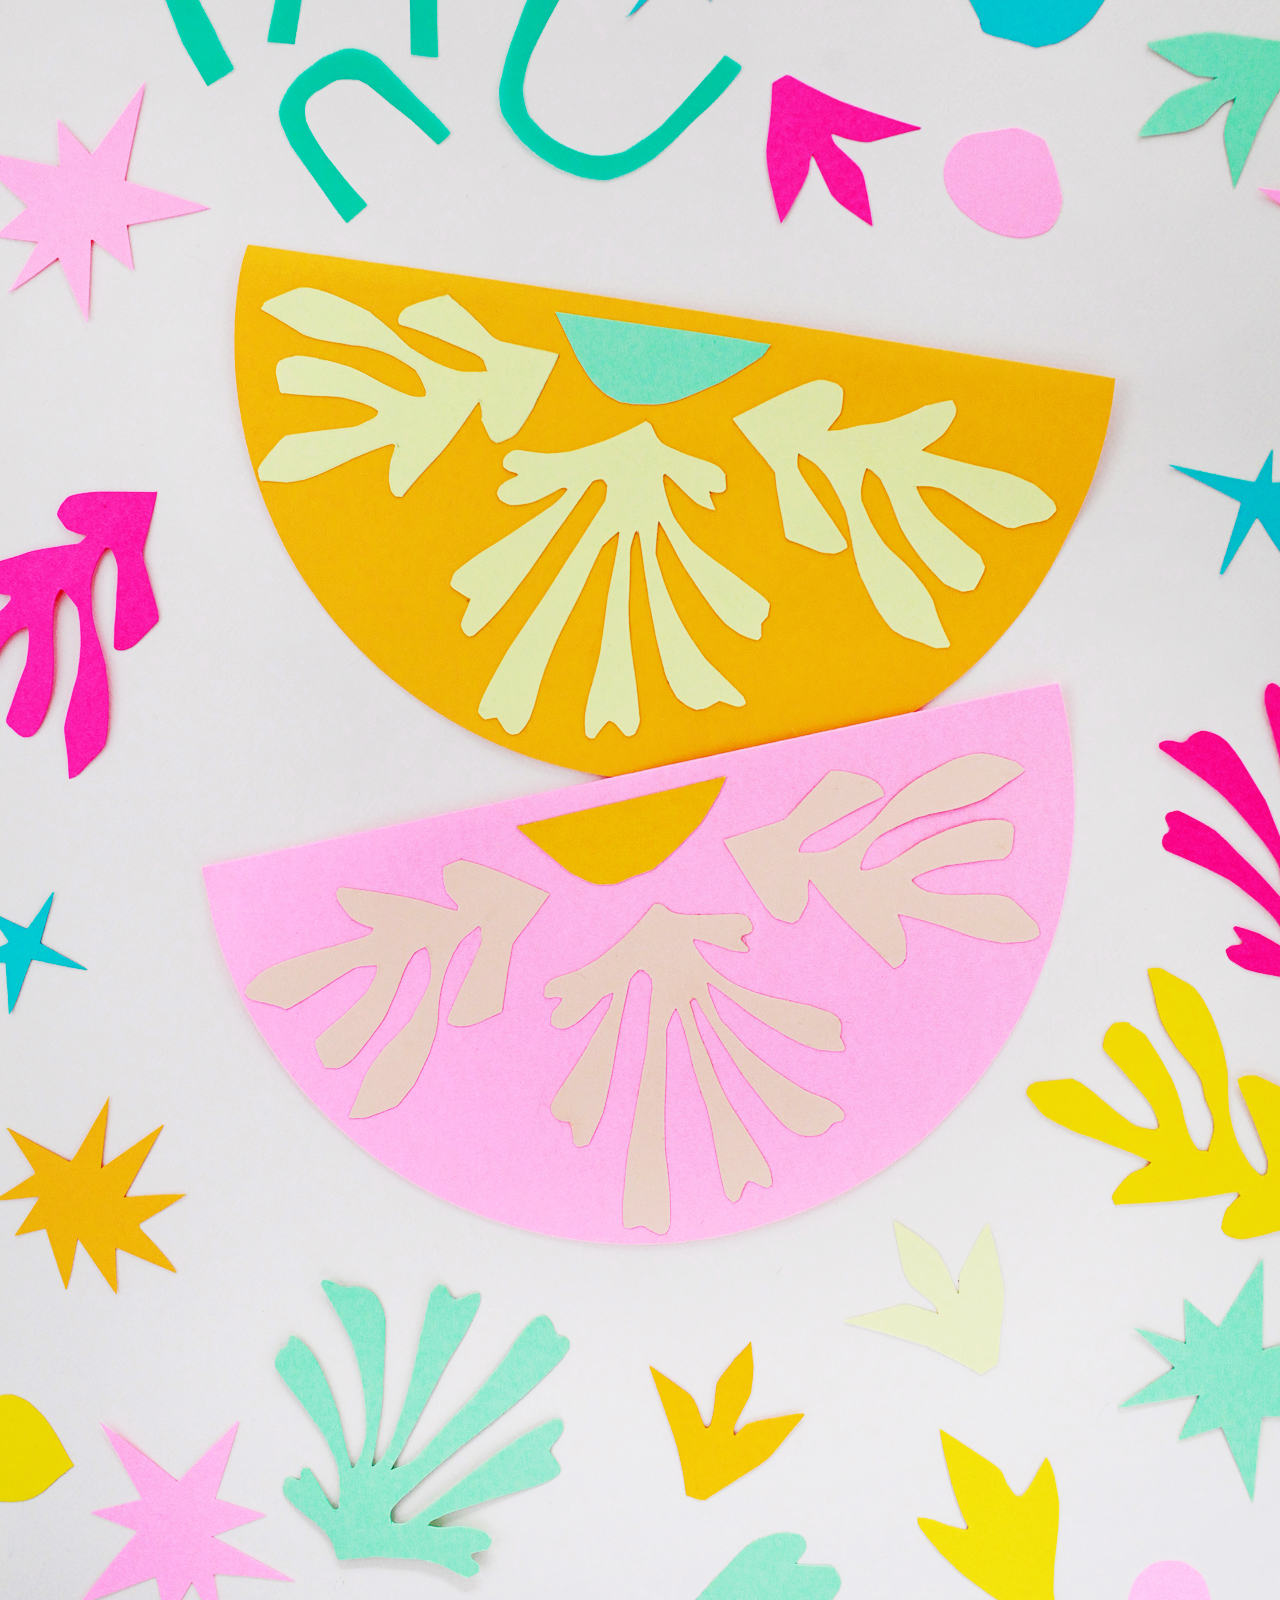
The inspiration for these shapes came from this amazing book all about the Matisse Cut-Outs. Holy color and pattern inspiration! I chose a few favorite examples from the book, drew the shapes by hand on a piece of paper, and created three botanical designs and two geometric designs to use in the garland. The Matisse-inspired cut paper shapes are layered onto semicircle bases that drape and hang beautifully once the entire garland is assembled. Let’s get started!
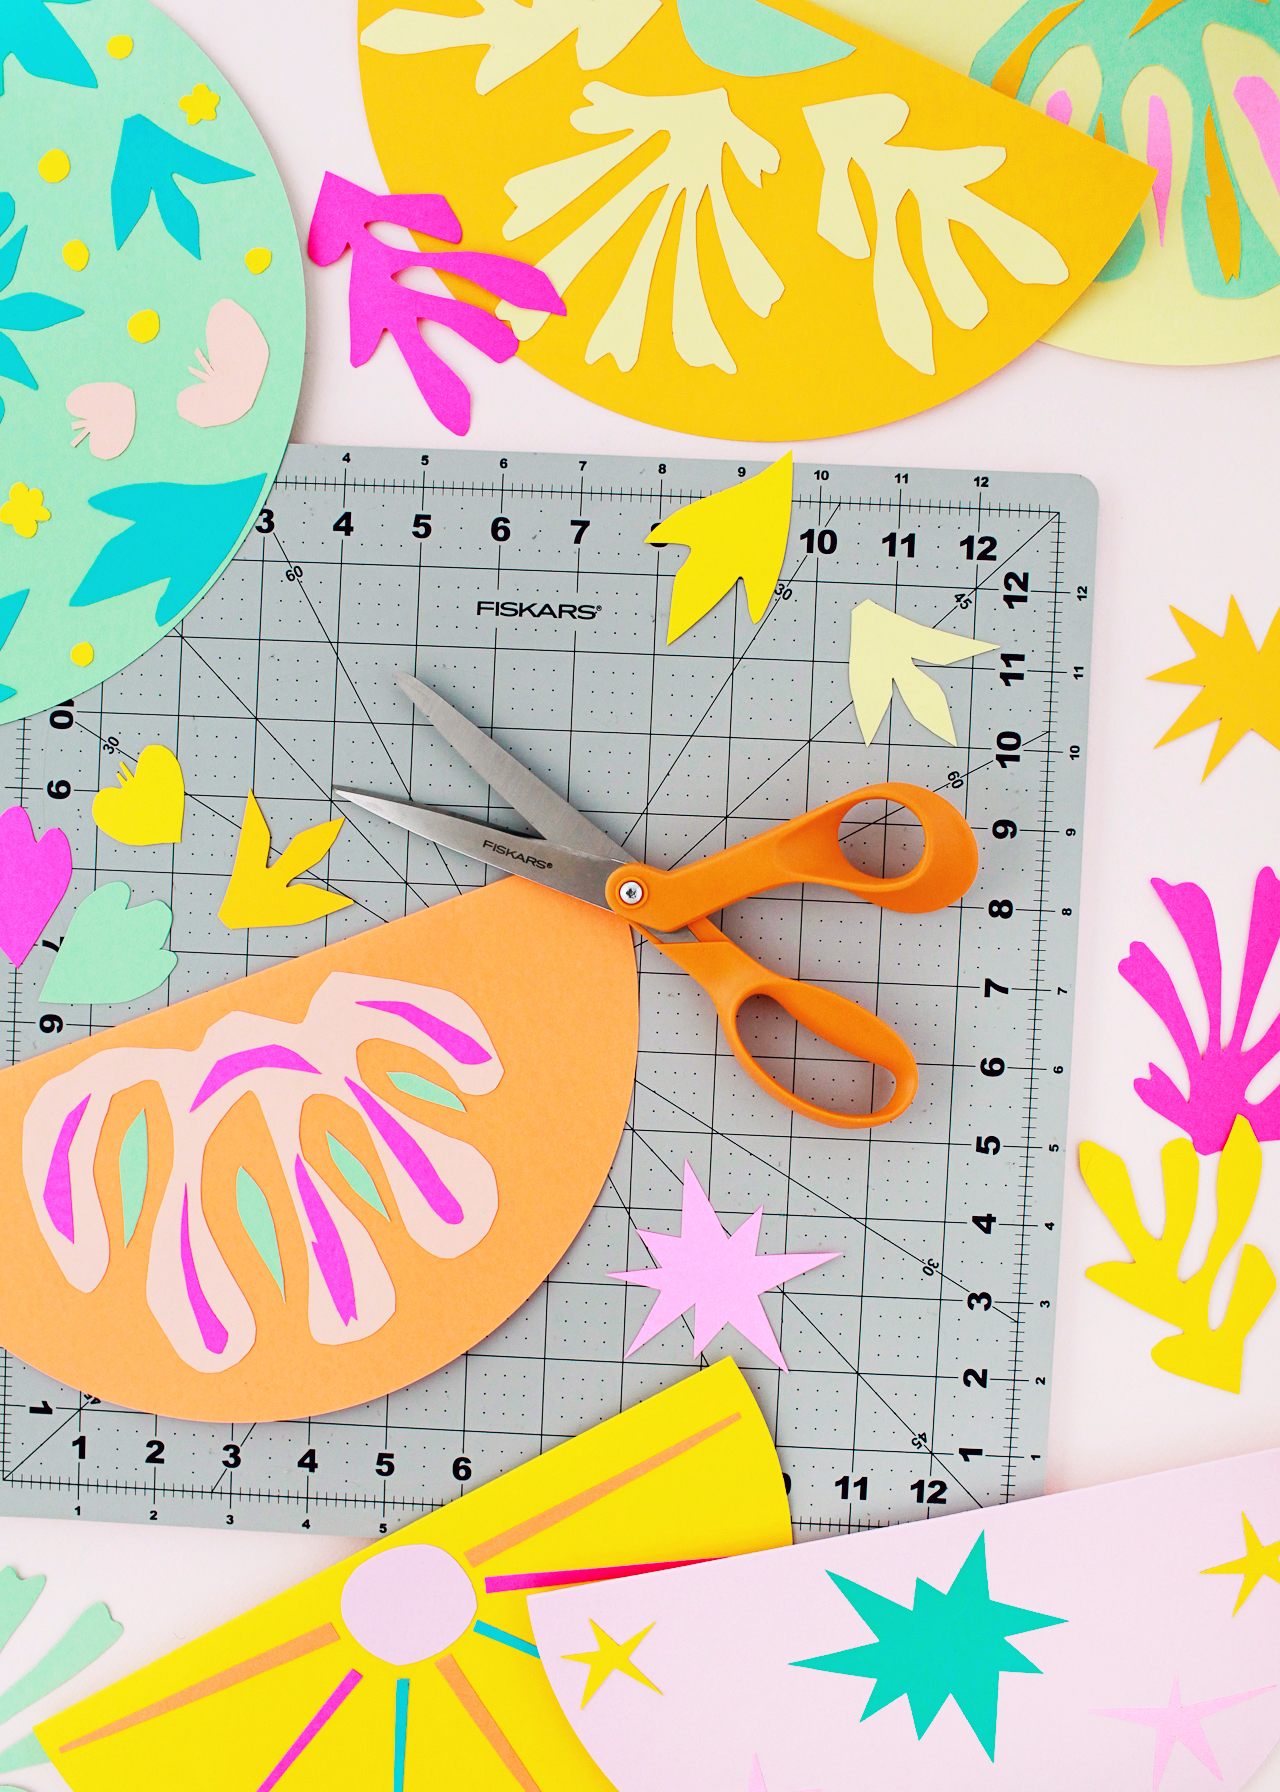
Supplies
Original Orange-handled Scissors
Printable template
Card stock in 5-8 different colors (I used orange, coral, peach, light pink, bubblegum pink, magenta, aqua, mint green, and four shades of yellow)
Craft Mat
Ruler
Bone Folder
Artist-tac adhesive or glue stick
School glue (optional, but useful for smoothing edges)
Three-piece eyelet setter set (to punch holes for hanging)
Twine
Double-sided tape or hot glue
To make the DIY Matisse-inspired cut paper garland:
Step 1. Download our printable template and print onto card stock in your chosen color palette. For most of the designs, you can get both the half-circle shape and smaller shapes from a single sheet of card stock, but there are a few of the larger cut paper shapes that needed to be on their own sheet of paper. The total amount of paper you’ll need depends on the total length of your garland, but I printed 4 or 5 of each template on different colors of card stock to create approximately 20 feet of garland.
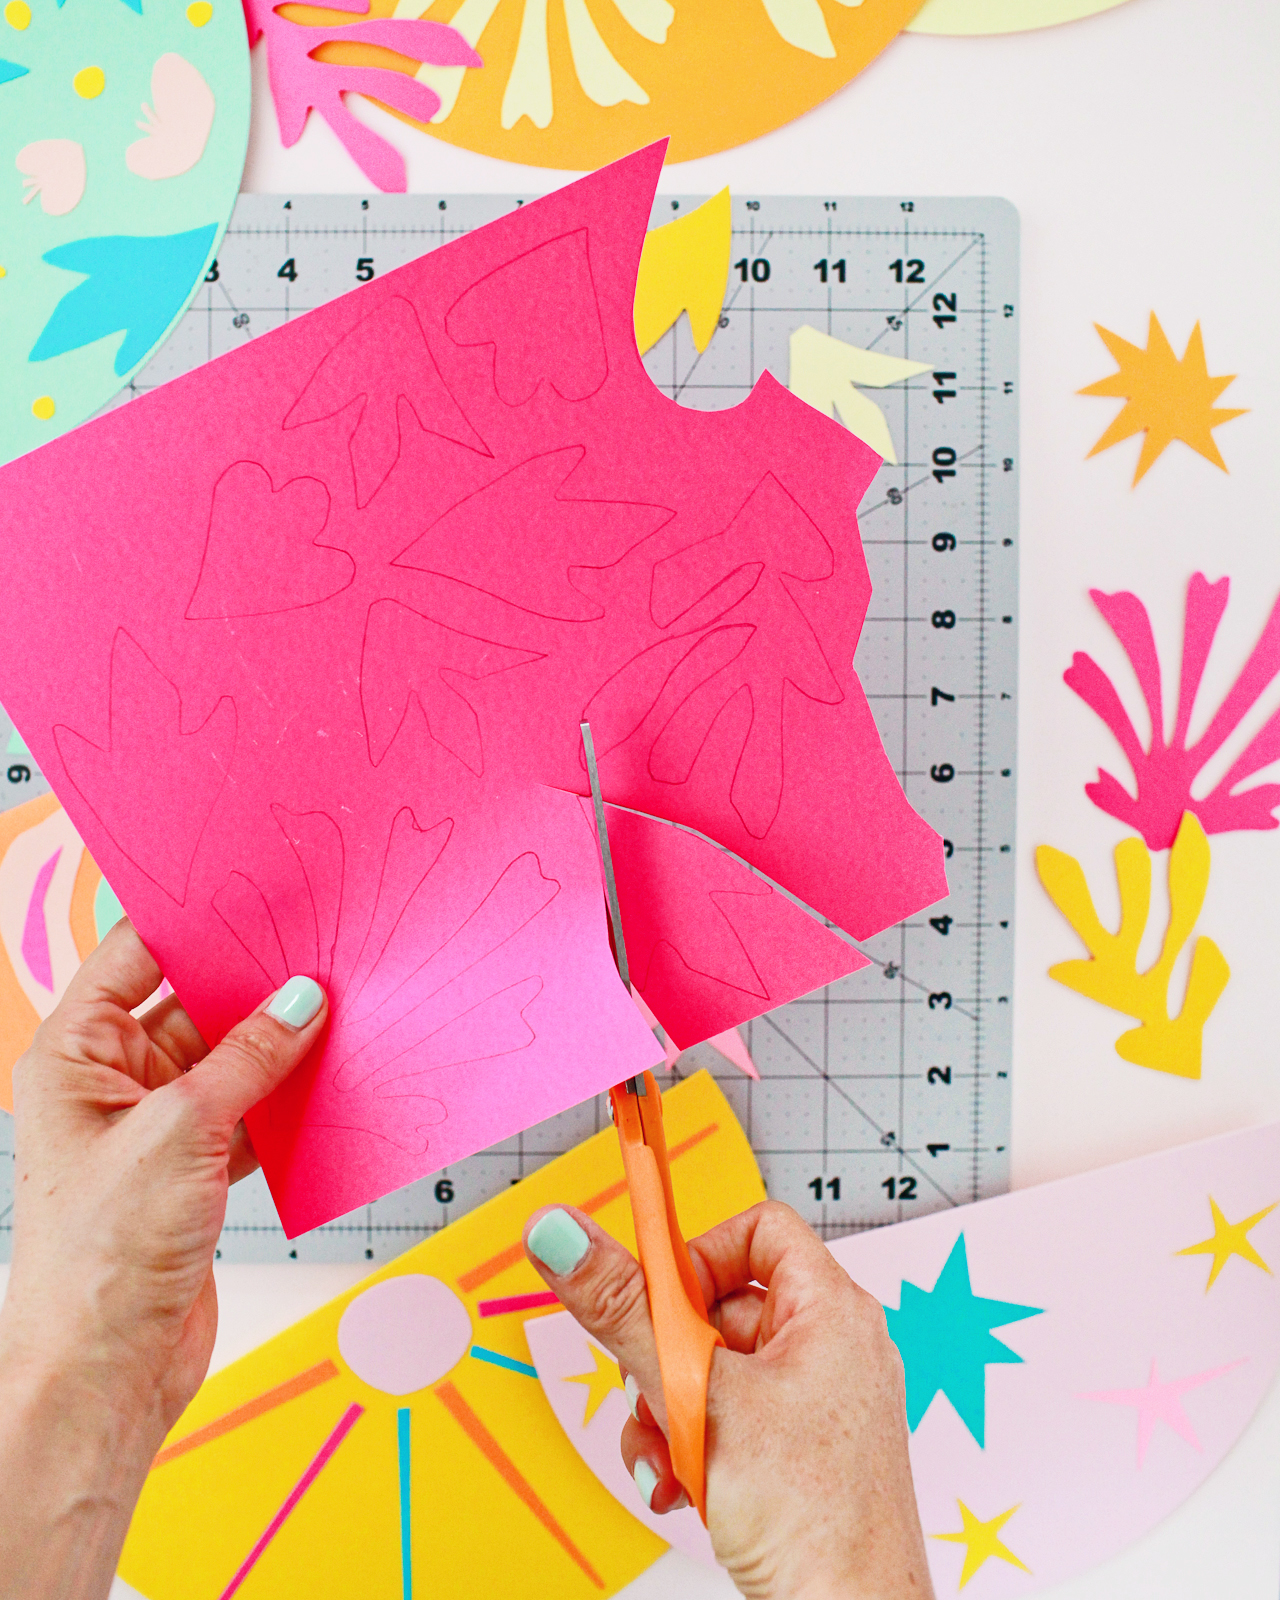
Step 2. Use your Orange-handled Scissors to cut out all of the shapes, including the semicircle base shape. Don’t worry too much about getting perfectly smooth edges on all the shapes – the hand cut nature of the shapes is part of the charm of this garland! Depending on the length of your garland, this can take a while, so I highly recommend doing this while binge-watching your favorite tv show.
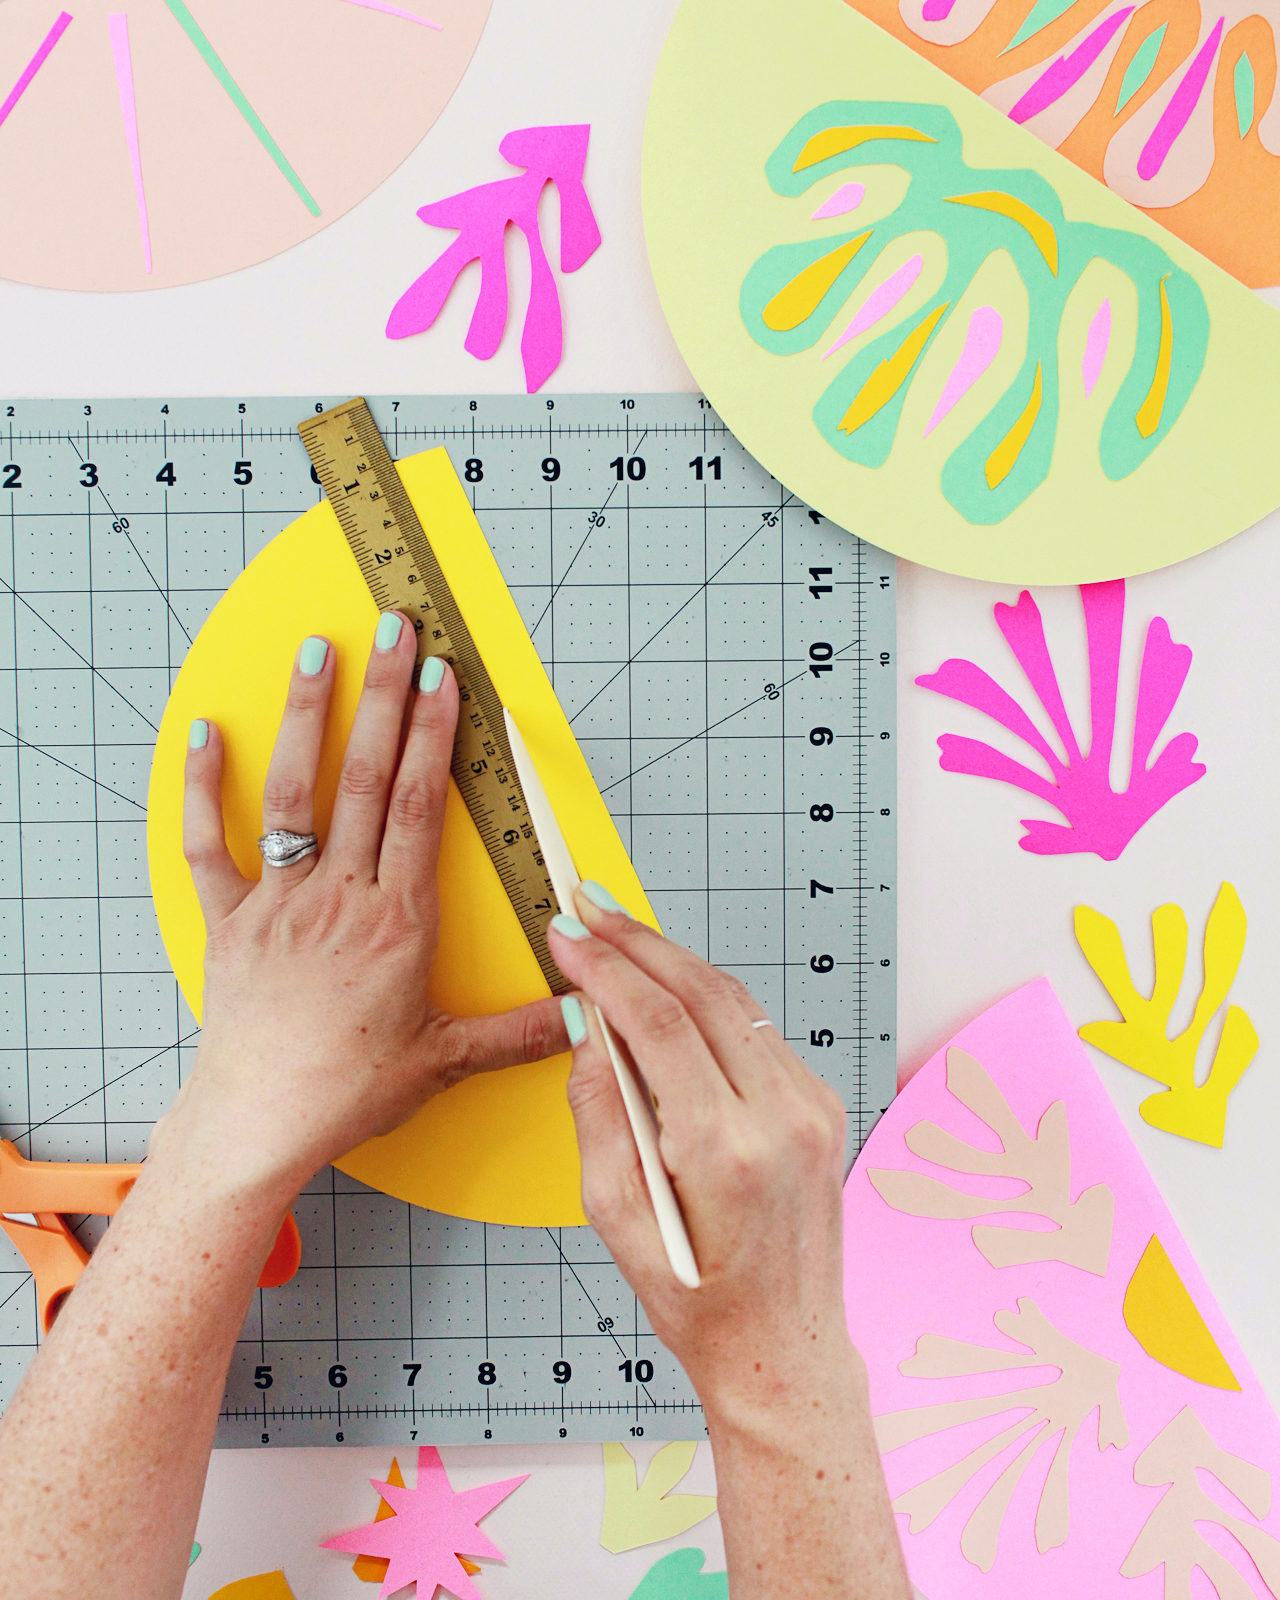
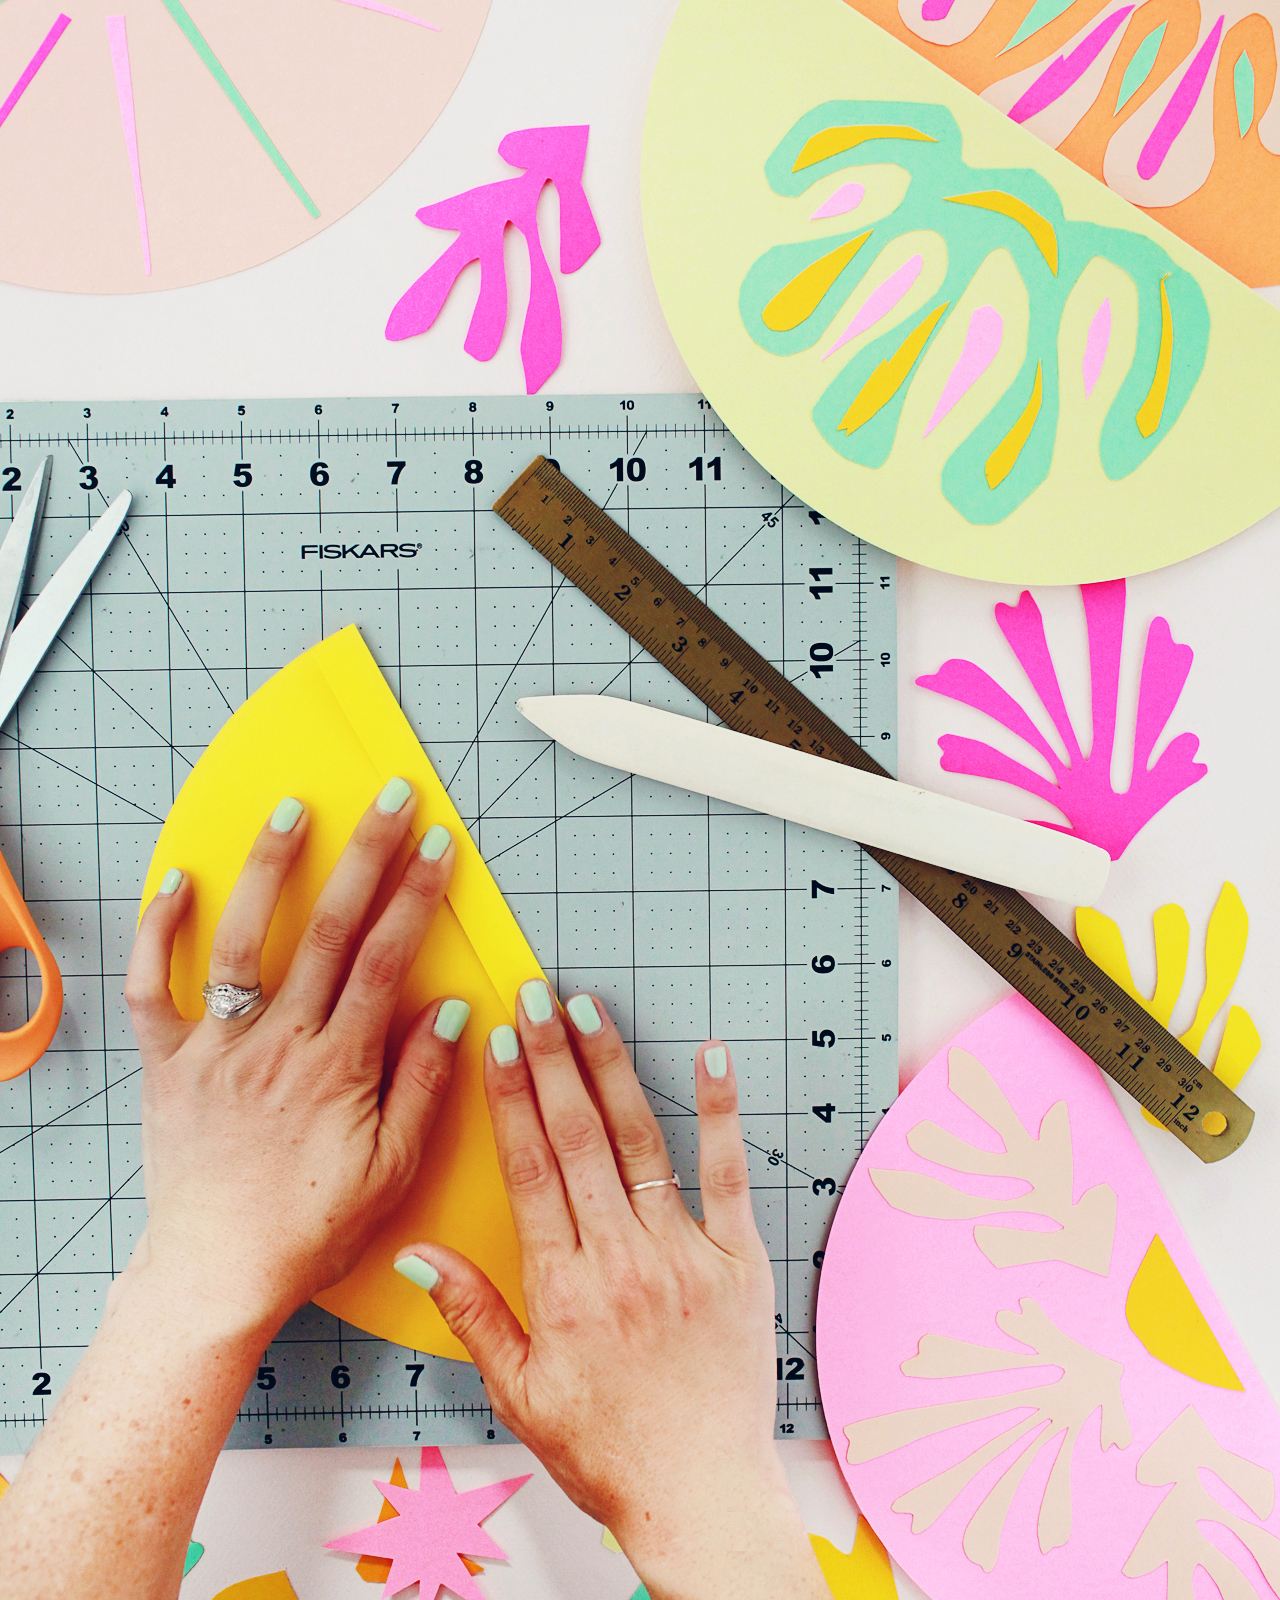
Step 3. Use your three-piece eyelet setter set to punch a small hole at either end of each semicircle base shape. This is eventually where you will run a piece of string or twine to hang the garland. Using a ruler and bone folder, score a straight line approximately half an inch from the edge of each semicircle base shape and fold the paper down along the scored line.
Step 4. Before we start gluing shapes down, I recommend taking a few minutes to lay everything out and decide which colors you want to layer together. Once you have all of your garland pieces laid out, it’s time to glue the cut paper shapes to the semicircle shapes! You can use a glue stick for this process, but using these Artist-tac adhesive sheets makes the process soooooooo much faster. Just peel back the adhesive film and lay the cut paper shapes on the sticky adhesive sheet. Press the shapes onto the sheet, replace the film, and burnish the shapes on the adhesive sheet. When you peel the shapes off the adhesive sheet, the adhesive will stick to the back of the shape to create a sticker. Arrange the sticky cut paper shapes on your semicircle card stock and press down until all edges have adhered. If you have any problematic edges, you can smooth them down with a dab of school glue.
Step 5. Once you’ve assembled all of your individual garland pieces, run a length of twine through the holes on the back of the garland so that the twine is hidden under the folded part of the paper. Use double-sided tape or hot glue to adhere the folded part of the paper to the back of the semicircle so everything lays flat. Continue until your garland is long enough for your space, then hang and enjoy!


Raise your hand if you also grew up using Fiskars scissors – I want to hear your Fiskars Orange-handled Scissors story! Perhaps it’s a memory of the first time you used the Orange-handled Scissors? Or a favorite craft project made using the iconic scissors? Help us celebrate the 50th anniversary by sharing your story in the comments below!
For more information on Fiskars crafting products, check out their website and learn how they’re celebrating the 50th anniversary of their iconic Orange-handled Scissors – or follow Fiskars on Facebook, Twitter, Instagram, and Pinterest!
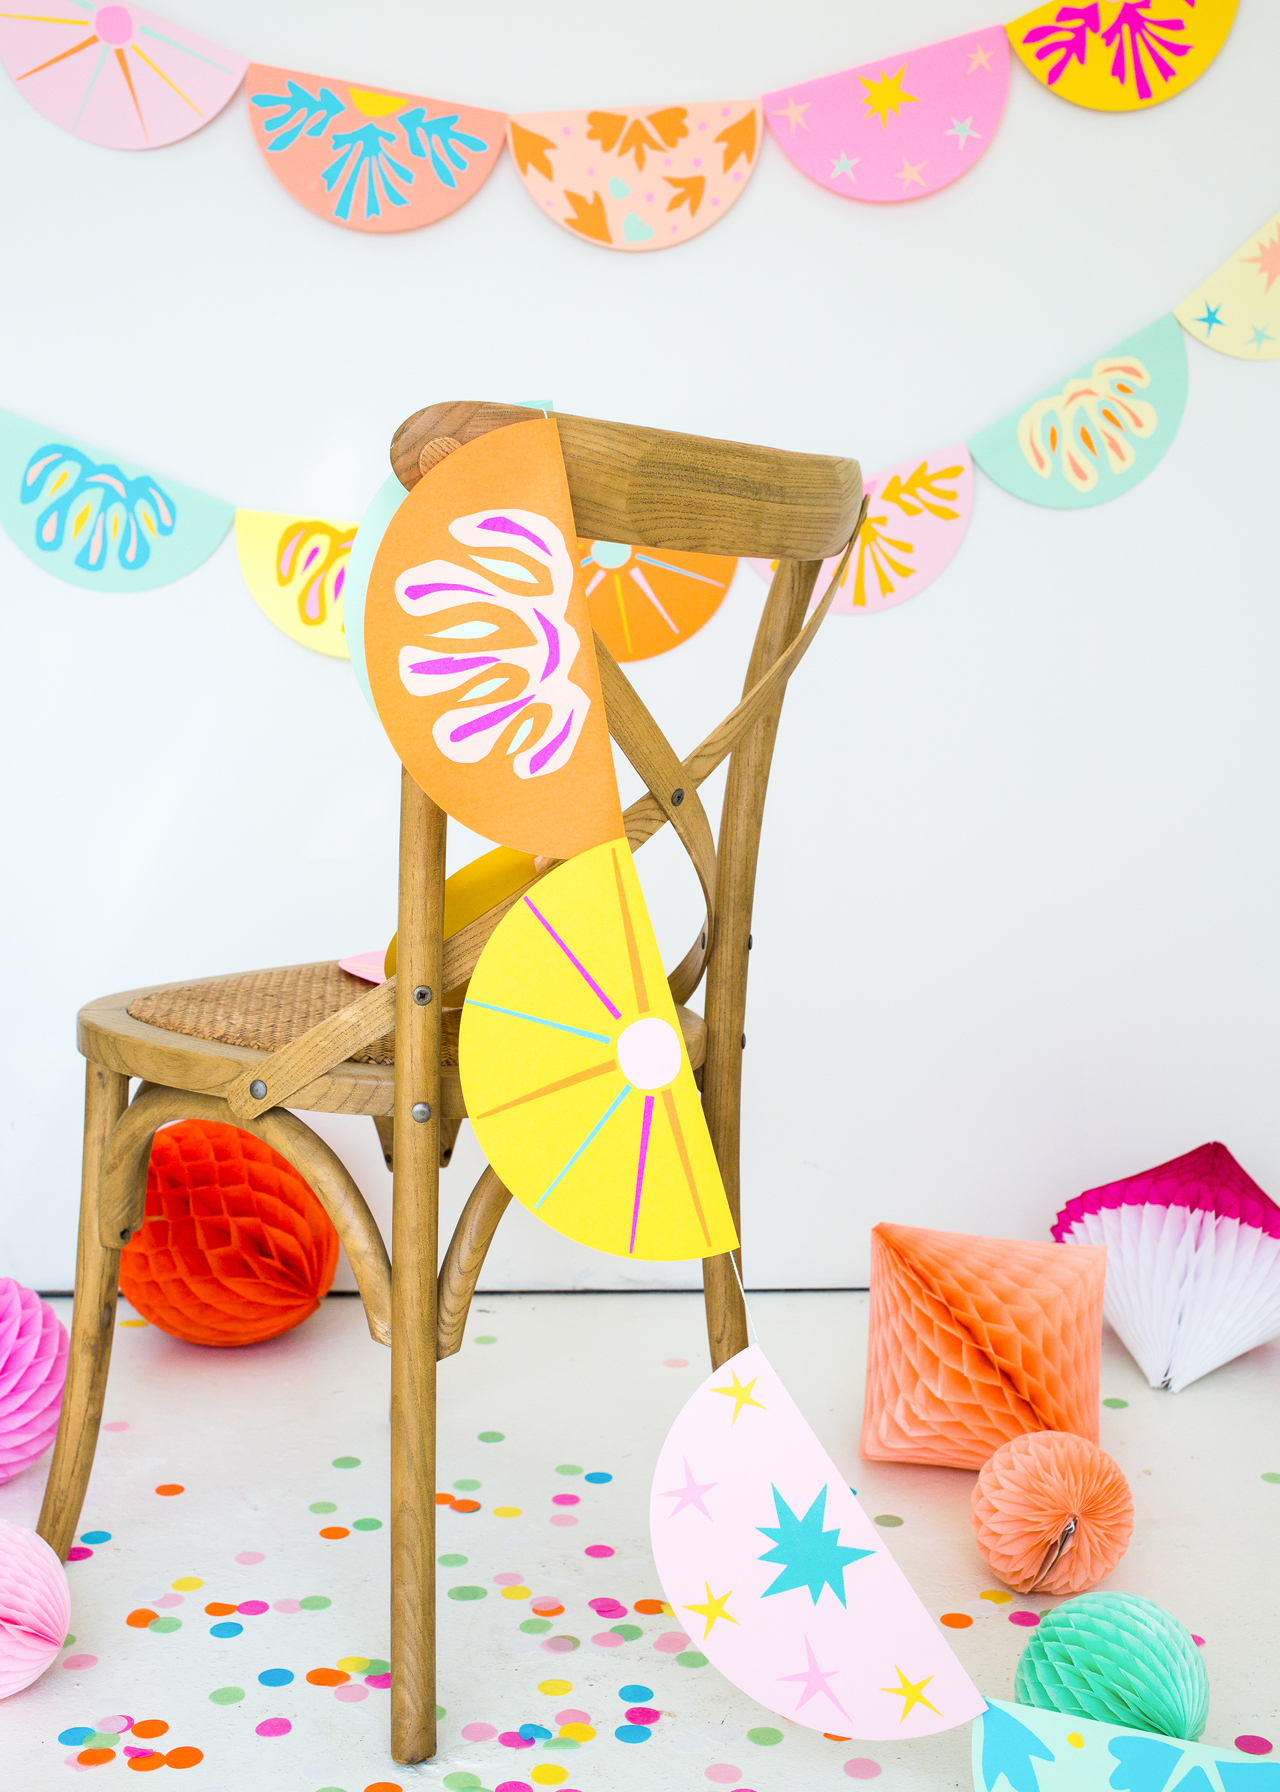
Photo Credits: Nole Garey and Yetta Reid for Oh So Beautiful Paper
This post was created in partnership with Fiskars. All content and opinions are my own. Thank you for supporting the sponsors that make Oh So Beautiful Paper possible!


