{happy weekend!}

Whew! From a less-than-24-hour trip to New York on Tuesday (more on that next week) to a photo shoot yesterday for a special upcoming project, not to mention preparing for our big move in less than two weeks, it’s been a whirlwind of a week! Also, Sophie turned SIX MONTHS OLD! I can’t believe how fast her first year is flying by, and right now we’re just trying to soak up every second. This weekend will be filled with packing, packing, and more packing, but we’re also hoping to enjoy some of the wonderful spring weather that has been peeking through lately. But in the meantime…

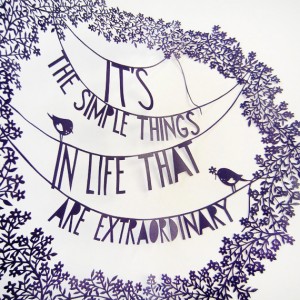
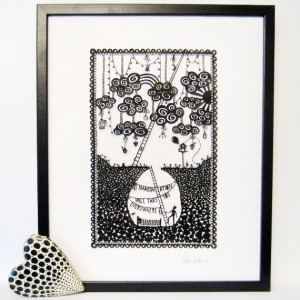
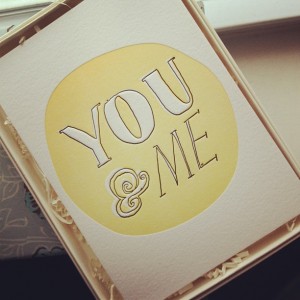
Oh So Beautiful Paper Instagram Photos (3) Oh So Beautiful Paper Instagram Photos (1)

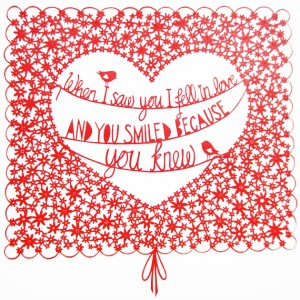
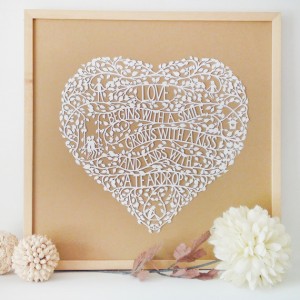
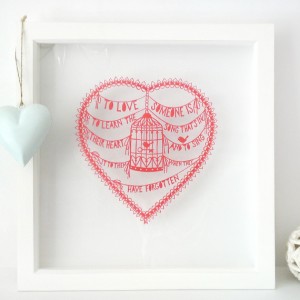
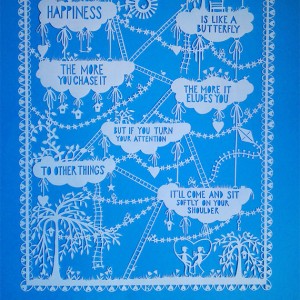
Oh So Beautiful Paper Instagram Photos (2) Oh So Beautiful Paper Instagram Photos (4)

Photos by me via Instagram

…a few links for your weekend!

This week on Oh So Beautiful Paper:

We have a fun cocktail coming up for you this afternoon, so check back a bit later for the recipe!  I hope you all have a wonderful weekend, and I’ll see you back here on Monday!  xoxo

p.s. Stationer friends! Save the dates for this year’s Paper Party during the week of the National Stationery Show went out earlier this week. If you’ll be exhibiting at the Stationery Show, attending as a retailer, or will otherwise be in NYC that week and would like to attend the party, please email us to be added to the invitation list!

Pretty Paper in the Office: File Folders

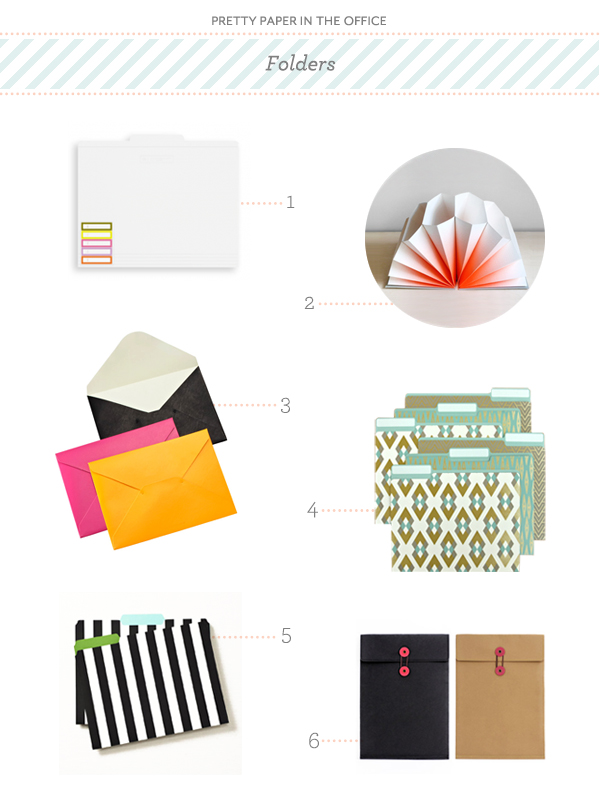
With the aftermath of tax related rummaging and early onset spring cleaning fever, I’ve been looking for the right solution for my papers. My storage boxes work great as they hold a lot of papers, but that also means more to dig through! And what happens when you need access to specifics fast? The answer: folders. Here’s a round up of the finest file folders that I could find to help you find your way around your papers.  Julie

Pretty Paper in the Office Folder Round Up

No. 1 File folders from russell+hazel; No. 2 HAY Plissé folder from Present&Correct; No. 3 Moleskine Professional folder from The Container Store; No. 4 Gold Geometry file folders from Work Inspired; No. 5 Kate Spade Whistle While You Work folders from Crane & Co.; No.6 Washable kraft folder bag from Oliday

{images via their respective sources}

DIY Tutorial: Scalloped Wood Frame Save the Date

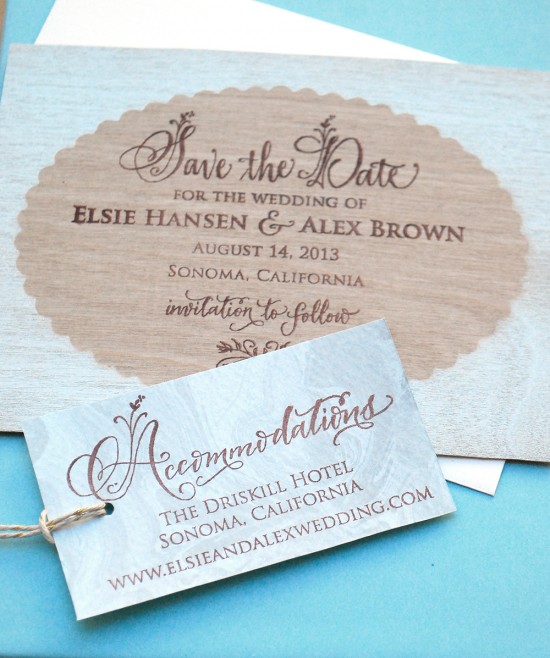
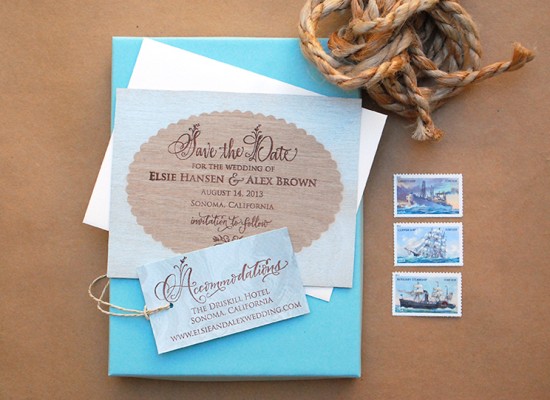
This save the date project has been brewing in our brains for a while now. After we found out how wonderful it was to stamp on wood in this tutorial, we’ve been biting at the bit to use it again. For this save the date, we used spray paint to create the “frame” effect on the wood piece before stamping the text. We couldn’t be happier with the finished project! –Bailey and Emma of Antiquaria

DIY Tutorial: Rubber Stamps on Wood Save the Date by Antiquaria via Oh So Beautiful Paper

DIY Tutorial: Rubber Stamps on Wood Save the Date by Antiquaria via Oh So Beautiful Paper

The subtle wood grain adds such a nice texture to the design.

DIY Tutorial: Rubber Stamps on Wood Save the Date by Antiquaria via Oh So Beautiful Paper

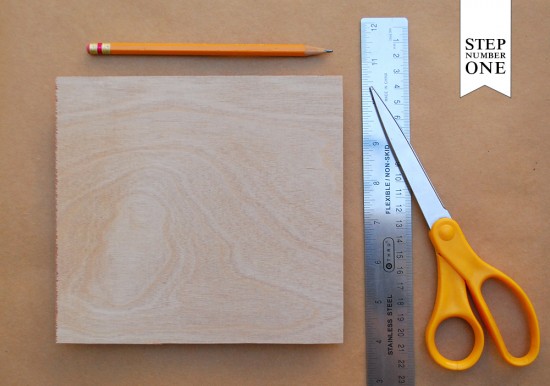
Step One: Since the wood veneer that we used in the project comes in large square sheets, we first had to cut out our A2 (5.5″ x 4.25″) cards from the sheet.

DIY Tutorial: Rubber Stamps on Wood Save the Date by Antiquaria via Oh So Beautiful Paper

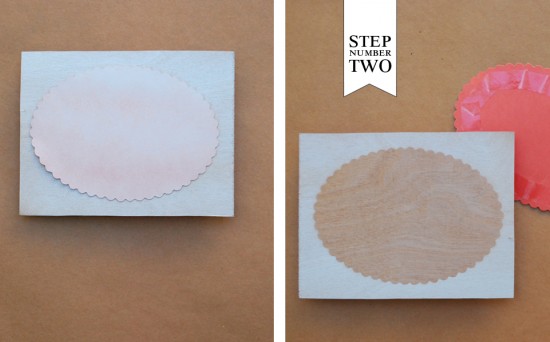
Step Two: Once you have all of your cards cut to size, you’ll now need to prep them for painting. To mask the center and make the frame shape in the wood, we double stick taped an oval scallop flat card to the center of each wood card. We then used acrylic spray paint over the entire card to complete the frame image. **You really only need one pack of oval scallop cards to complete the project. You can reuse them after the paint is completely dry.** Once everything is dry, peel off the oval scallop card and set aside. Repeat the process until all of your cards are complete.

DIY Tutorial: Rubber Stamps on Wood Save the Date by Antiquaria via Oh So Beautiful Paper

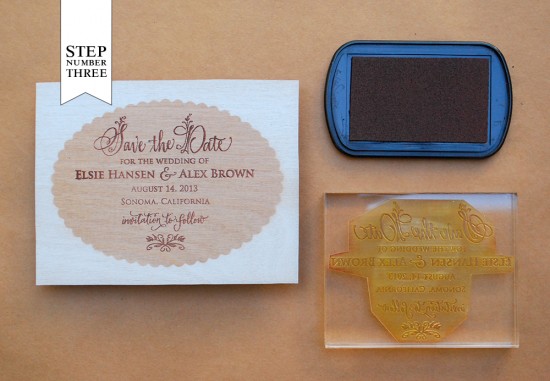
Step Three: You’ll now want to print your save the date. Place one of the cards on a hard surface. Ink your stamp (we used our Floral Calligraphy Save the Date stamp) and center it over the oval portion of the card. Once centered, press down firmly, using both hand to make the print. Please watch this video for more information on inking and stamping an oversized stamp.

DIY Tutorial: Rubber Stamps on Wood Save the Date by Antiquaria via Oh So Beautiful Paper

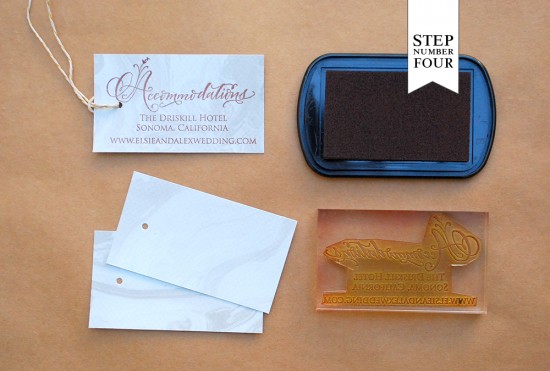
Step Four: Since many out of town guests need to make travel and accommodation arrangements prior to receiving your wedding invitation, it is wise to include an accommodations card or website card with your save the date. This way, they have all of the information they’ll need to make it to your wedding! Print this standard business sized card (2″ x 3.5″) using the stamp printing technique described in step three. To coordinate with our save the date, we used our (Floral Calligraphy Accommodations stamp).

DIY Tutorial: Rubber Stamps on Wood Save the Date by Antiquaria via Oh So Beautiful Paper

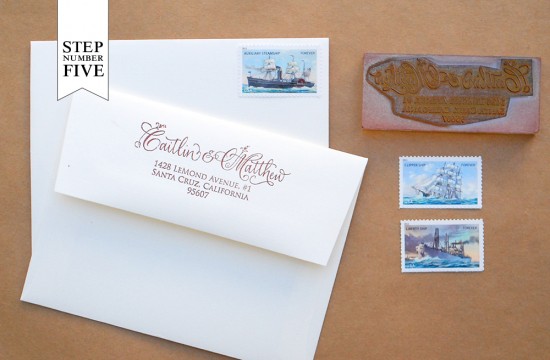
Step Five: Now all that’s left is to stamp your return address (we used our Floral Calligraphy Return Address stamp), address them, add postage and send them to all of your guests!

Materials

Floral Calligraphy Save the Date Stamp

Floral Calligraphy Accommodations Stamp-custom sized to fit tag

Floral Calligraphy Return Address Stamp

Stamp Pad in Chestnut

Wood Veneer cut down to A2 (5.5″ x 4.25″) cards, we bought ours locally at an art store

Oval Scallop Cards

A2 Envelopes

Double sided tape

Spray Paint in Liberty

Suminagashi Tags


Photo Credits: Antiquaria