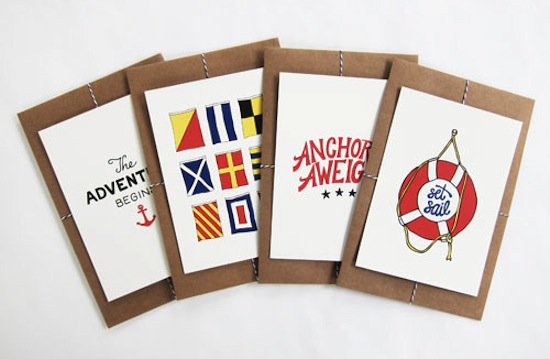
Hi Everyone! Today is going to be a full DIY Day – with another fun tutorial from the ladies of Ladyfingers Letterpress! Like many of you, I’ve fallen in love with wax seal details on wedding invitations and other custom paper projects. Janie + David’s oversize wedding invitations from a few weeks back featured a really fun wax seal and ribbon closure, so today Arley-Rose and Morgan are here to walk us through the step-by-step process of applying a wax seal!

Using a wax seal to secure a belly band around your invitations is a great way to excite your guests and keep your pieces an orderly and presentable fashion. Here are some guidelines to creating a great looking wax-sealed ribbon around a set of invitations. – Arley-Rose and Morgan of Ladyfingers Letterpress
(FYI: It can be helpful to have a friend or honey around to lend an extra set of hands for this project. )
Step 1: Gather Supplies
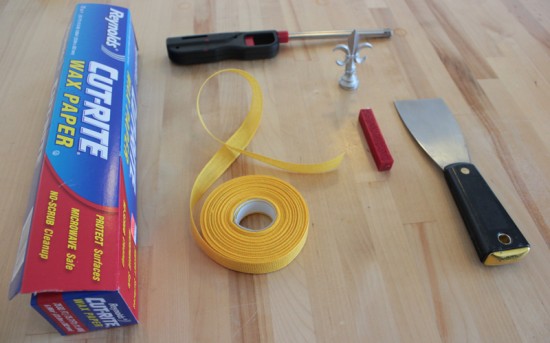
You will need the following: Wax paper, Ribbon (we used Carta wide weave ribbon which allowed the wax to create a bond between the overlapping ribbon), Sealing wax, wax stamp, lighter, palate knife.
Step 2: Tear your Wax Paper Down
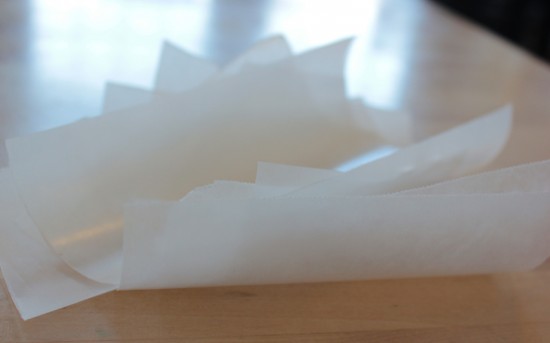
The wax paper will be placed between the invitation and the ribbon to protect the invitation from the wax sealing directly to the paper. Cut the wax paper down to slightly smaller than the size of your invitation or card. You can reuse the wax paper, a quantity of 20 torn sheets is perfect.
Step 3: Cut your ribbon to length

Measure your ribbon, allowing for a few inches of overlap. Cut one piece for each invitation.
Step 4: Prepare Ribbon
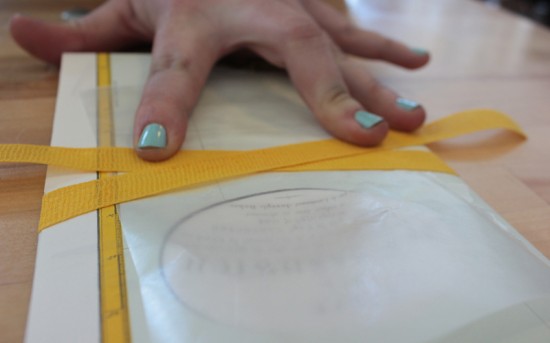
Place the wax paper on top of your invitation or card. Wrap the ribbon around the invitation, holding it snug and allowing for the ribbon to overlap in the center.
Step 5: Drip the wax
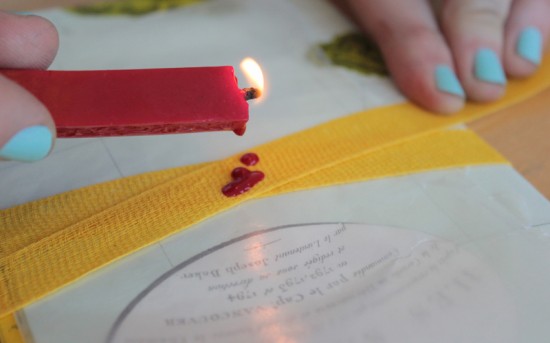
Using a lighter (a match will burn out too quickly), light the sealing wax and allow it to drip onto the ribbon. The larger the pool of wax the larger your seal will be. Practice once or twice before you start to see how much wax you will need for your seal.
Step 6: Apply Seal

Count to five before applying the seal to the wax!
Step 7: Let it cool

Allow the wax to cool for a few seconds – 10 or so – and gently rock the seal back and forth to free it from the wax.
Step 8: Almost done!

Your seal is there…
Step 9: Free the Wax from the Protective Wax Paper
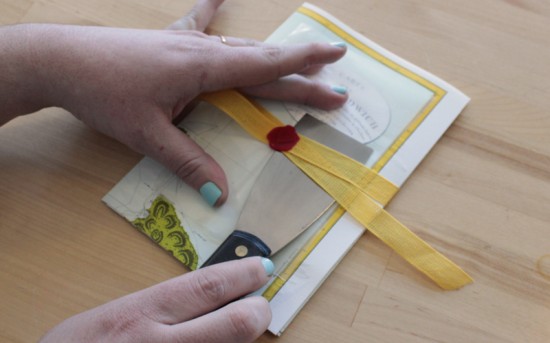
Place your palate knife between the ribbon and the wax paper and break its bond to free the wax seal from the wax paper. This is best accomplished when the wax is still warm but not hot.
Step 10: Trim Ribbon

Finish off your invitation by trimming the tails of the ribbon down to size.
Alright, off you go to seal up the world’s lose ends!
Ladyfingers Letterpress is a member of the Designer Rolodex – check out more of their beautiful work right here or visit the real inviÂtaÂtions gallery for more wedding invitation ideas!
Photo Credits: Ladyfingers Letterpress

