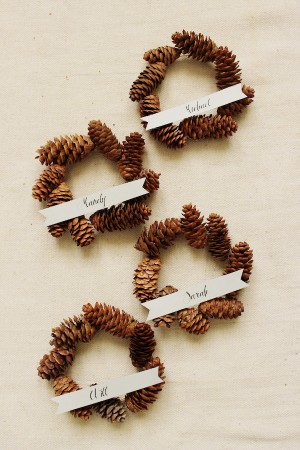
Hello Brick & Mortar: How to Get a Shop Owner’s Attention

Ed Note: You guys, I could not be more excited to introduce this new column! Each month, Emily Blistein – owner of the amazing gift, baby, vintage, home decor, and stationery shop Clementine in Middlebury, Vermont – will be stopping by to share wisdom from the retail perspective. We have lots planned for this column, from gift pairings to retail trends and everything in between. But the best part? Emily is willing to answer questions! So read through her first post below, then leave your questions for Emily in the comment section! –Nole

As a grown-up, mail is not always fun. You, Dear Stationery Artists and Lovers of Letterpress, make mail-time like Valentine’s Day in elementary school. I adore you for it. When I opened Clementine three years ago I had two stationery lines, now I have nearly two dozen. Customers fawn over the card selection so much that stationery has become the heart of my shop. I love watching it grow and dream of days spent drinking coffee and making orders. In reality, my to-do list is often longer by the end of the day.  Things get lost in the shuffle. Here is my best advice for growing your wholesale line by grabbing the eye of busy shop-owners. – Emily of Clementine
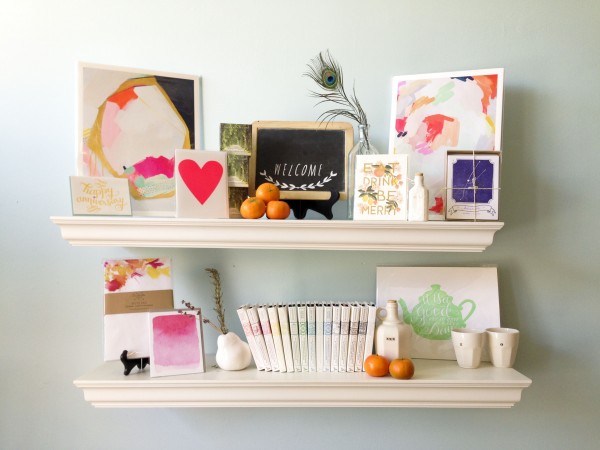
Brick and Mortar: Retail Advice for Stationers via Oh So Beautiful Paper

1. Do you like-like me?

You may have a well-organized list of potential shops to contact or you just blog-hopped your way to a new shop.  This whole thing is a bit like dating. It can be really exciting and slightly awkward. At the core we’re both asking: are we good for each other (even if it’s just seasonal)?

This is a good stage to do a bit of friendly social media stalking. You might find a window to connect that traditional introductions don’t allow. Just refrain from making your first hello a post on Instagram that says: “love your shop, would love to show you my line!”

If you like a shop, you can learn a lot about what we like in a quick website, blog and social media search. If you like what you see, then by all means, say hello!
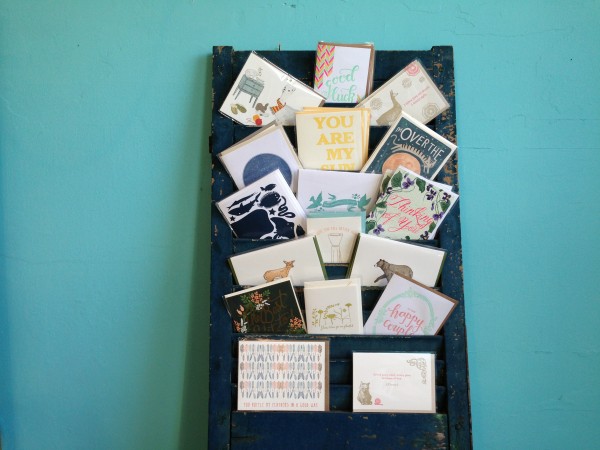
Brick and Mortar: Retail Advice for Stationers via Oh So Beautiful Paper

2. Would you maybe want to get some coffee sometime?

You want to introduce your line but do you email, call, send a packet, or stop in?  No matter the method, make your first hello quick and memorable.

If you’re stuck, follow this: Use my first name, say how you found me and what you like about my shop. Tell me a few sentences about you. Make a date to follow up. Say a gracious good-bye. Decorate a nice envelope. Remember to actually follow up when you say you will. (I prefer email).

  • Introduce yourself by post mail if: You really like my shop, think your cards would be a perfect fit and you can afford it.
  • Introduce yourself by email if: You’re more comfortable over email and it’s easier to get out the door.
  • Call if: You want to make me flustered and awkward. Your currency is visual; I want to see it first.
  • Visit if: You’re in the area. I love in person visits. I do not love unannounced visits to talk about your line, which you happen to have in your car.
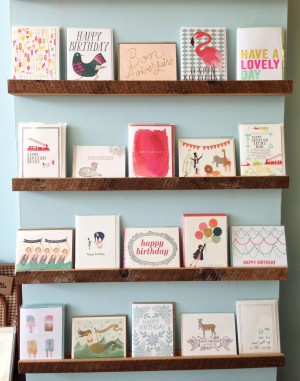
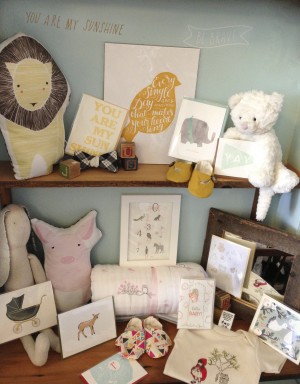
OSBPHappyBirthdayCards2 OSBPbaby2

3. Be memorable and follow up:

I don’t have to tell you how to make it personal. This is where you excel, but here are a few things that often make a difference to me:
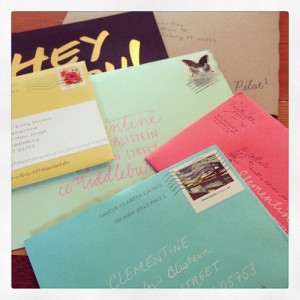
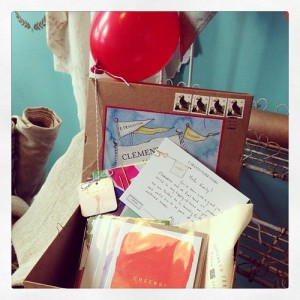
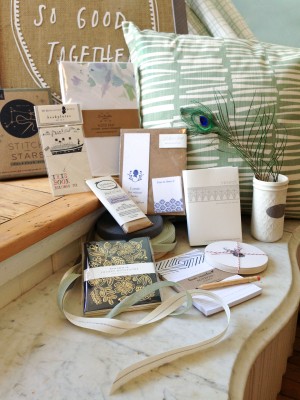
Brick and Mortar: Retail Advice for Stationers via Oh So Beautiful PaperBrick and Mortar: Retail Advice for Stationers via Oh So Beautiful Paper

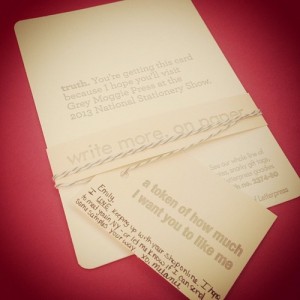
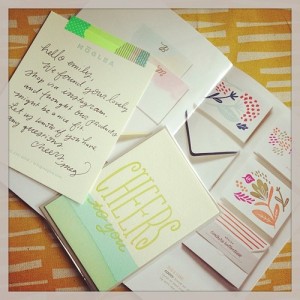
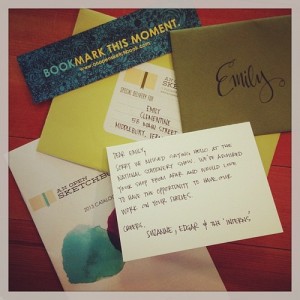
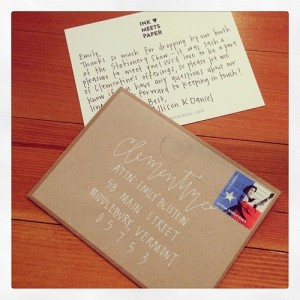
Showstoppers: A day of mail just before the 2013 National Stationery Show / The recent introduction package from E. Frances

  • Your envelope is the first thing I see. You are in a sea of incredible envelope addressers. Stand out in a vibrant way that fits your aesthetic.
  • Let your work do the talking. Include 2-4 images (by email) or 4-5 cards (by post) of your best work. You don’t have to tell me why your cards would be perfect in my shop; I’ll take care of that.
  • Use my first name and make it personal. Shop owners take pride in curating their lines, personalizing your introduction shows that you understand that. (Do beware of ‘cut and paste.’)
  • Offer to send samples. This will make me look at your line, and it gives you an obvious reason to follow-up. I don’t suggest that all vendors send samples, but cards can look very different in person.
  • Consider offering an incentive, like free shipping. This won’t make me order, but may sway me to increase my order and take chances.
  • Sometimes you catch me at the right moment and I reply immediately. Be prepared with immediate follow up and clear (hopefully flexible) instructions for how to place an order.
  • Use your connections. I adore and trust my current vendors and friends. If you know them and they tell me to look at you, I will. You are in the best, most supportive and collegiate industry around, use it!
  • Timing. Remember Thanksgiving through Christmas is crazy for retail shops. Consider following the National Stationery Show timeframe even if you’re not going. I keep a folder of NSS cards and April is when I’m most tuned in to new lines. January is also great, things slow down and I’m ready to think about Valentine’s Day. (I love to think about Valentine’s Day)

4. It’s not you, it’s my toddler. Silence does not mean I’m not interested. I know you put a lot of effort in to your submissions. I try to reply to all of the (thoughtful) submissions I get. But I wrangle a two-year-old, so my days are long, and my “I have to email that person back” list is longer. Don’t be afraid to send a follow up note. I have a huge stack of orders waiting to be written. Often a well-timed email about new items or a special makes an order happen.

5. Don’t be shy. If you like a shop, stay on our radar. I’ve brought on many lines months or years after the first introduction. Social media can be a great way to build a connection. If you mail an introduction packet, remember to include your social media handles. I get a lot of submissions that are fantastic, but aren’t quite right for the shop. I will happily tweet/instagram a quick photo of a great package. (And don’t be afraid to follow up!)

Brick and Mortar: Retail Advice for Stationers via Oh So Beautiful PaperBrick and Mortar: Retail Advice for Stationers via Oh So Beautiful Paper

Brick and Mortar: Retail Advice for Stationers via Oh So Beautiful PaperBrick and Mortar: Retail Advice for Stationers via Oh So Beautiful Paper

Perfectly personalized packages (clockwise from top left): Grey Moggie, MogleaInk Meets Paper, An Open Sketchbook

Brick and Mortar: Retail Advice for Stationers via Oh So Beautiful PaperOSBPscoutshonor

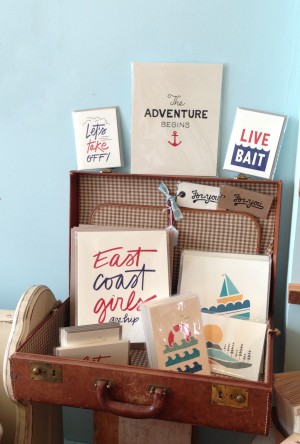
A family of favorites at Clementine and Scout’s Honor Co’s little nook. 

I love growing the family of print at Clementine. Your ideas and experiments make this possible and I’m constantly grateful (and pretty darned impressed).

Each little shop is unique, but I hope these are some helpful bits to expand your wholesale business. If you have specific questions, ask away! That’s where the fun happens, and maybe where future posts are born. I can’t wait to hear from you. xx Emily

Photo & Instagram credits: Emily Blistein, Clementine.

Wedding Stationery Inspiration: Watercolor

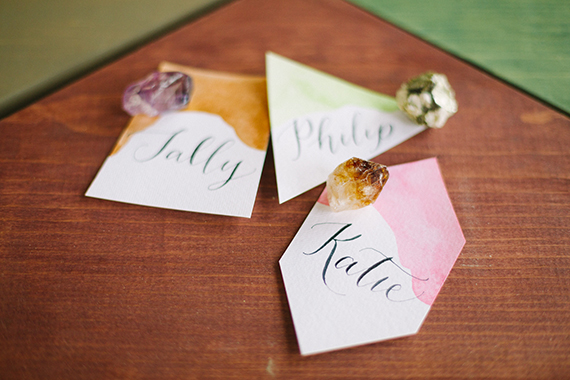
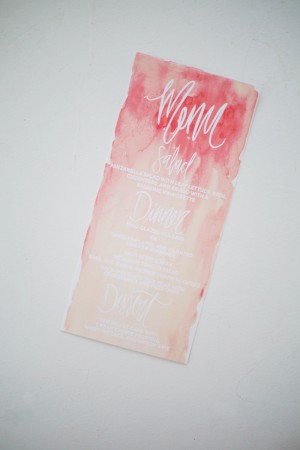
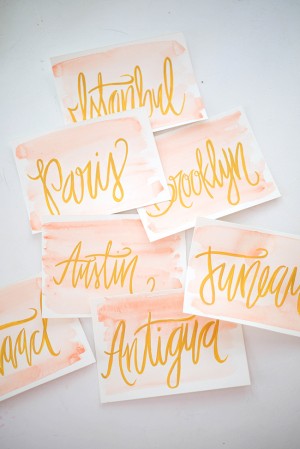
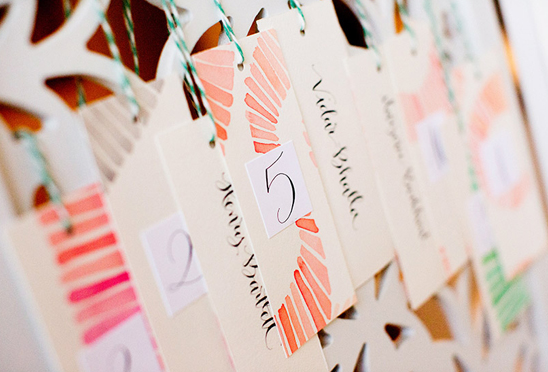
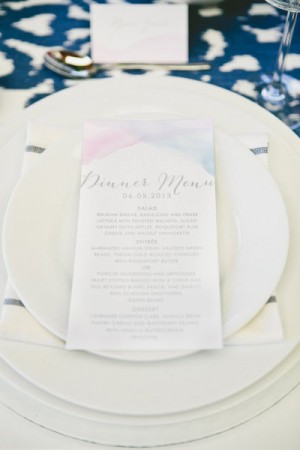
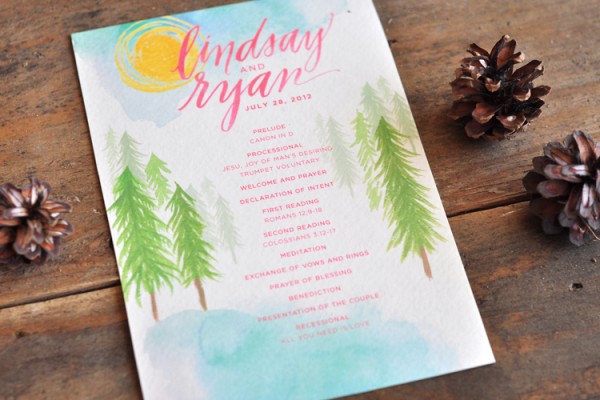
One of my all time favorite wedding stationery elements has to be watercolor. I love that it can be deep and rich, or light and airy and it just makes the most perfect color statement when brushed across any day-of item. And paired with calligraphy? Well that’s just too good. Take a look! —Kelly

Day-Of Wedding Stationery Inspiration and Ideas: Watercolor via Oh So Beautiful Paper

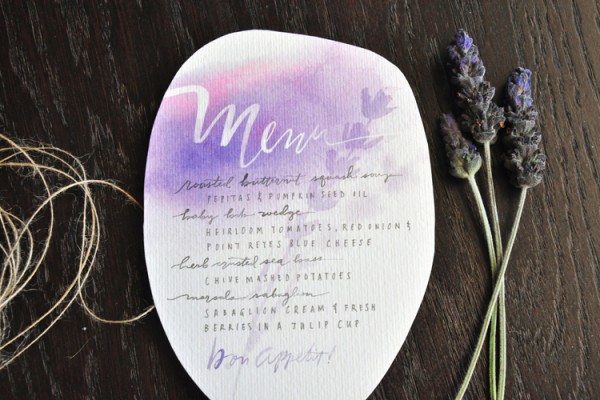
Menu by Julie Song Ink

Day-Of Wedding Stationery Inspiration and Ideas: Watercolor via Oh So Beautiful Paper Day-Of Wedding Stationery Inspiration and Ideas: Watercolor via Oh So Beautiful Paper

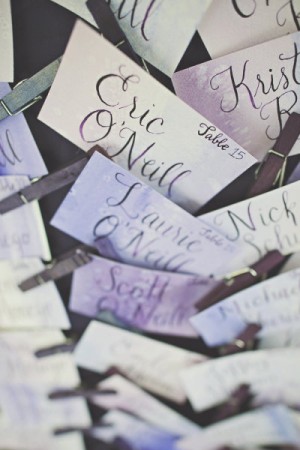
Photo by Taylor Lord Photography, Tags by Hip Ink Co via Style Me Pretty (left), Photo by Love & Perry Photography, Escort Cards by Strawberry Small Works Studio, Calligraphy by Kathryn Hashey via Style Me Pretty (right)

Day-Of Wedding Stationery Inspiration and Ideas: Watercolor via Oh So Beautiful Paper

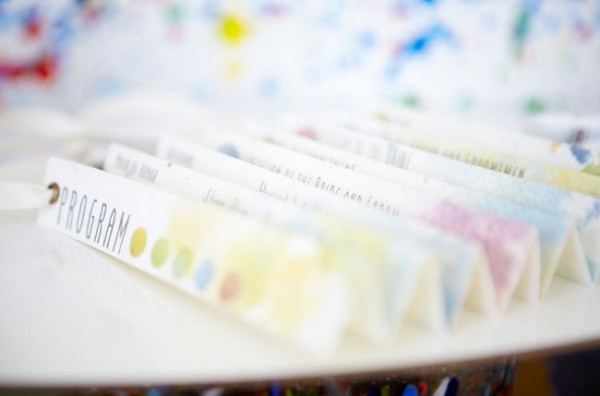
Photo by Scott Clark Photography, Program by Treespace Studio via Green Wedding Shoes

Day-Of Wedding Stationery Inspiration and Ideas: Watercolor via Oh So Beautiful Paper Day-Of Wedding Stationery Inspiration and Ideas: Watercolor via Oh So Beautiful Paper

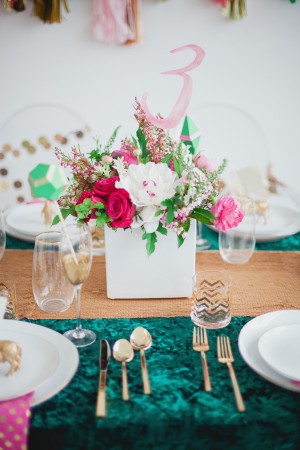
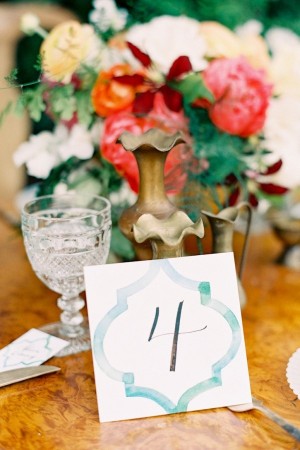
Photo by Lauren Peele Photography, Table Number by The Stationery Bakery via Ruffled (left), Photo by Jen Huang Photography, Table Number by Paperfinger via Style Me Pretty (right)

Day-Of Wedding Stationery Inspiration and Ideas: Watercolor via Oh So Beautiful Paper

Photo by Apryl Ann Photography, Place Cards by Blue Eye Brown Eye via 100 Layer Cake

Day-Of Wedding Stationery Inspiration and Ideas: Watercolor via Oh So Beautiful Paper Day-Of Wedding Stationery Inspiration and Ideas: Watercolor via Oh So Beautiful Paper

Menu and Place Cards by Shannon Kirsten

Day-Of Wedding Stationery Inspiration and Ideas: Watercolor via Oh So Beautiful Paper

Photo by Olivia Leigh, Calligraphy by Angelique Ink via 100 Layer Cake

Day-Of Wedding Stationery Inspiration and Ideas: Watercolor via Oh So Beautiful Paper Day-Of Wedding Stationery Inspiration and Ideas: Watercolor via Oh So Beautiful Paper

Photo + Sign by Anna Delores Photography via Style Me Pretty (left), Photo by One-Love Photography, Menu by The Aerialist Press via Style Me Pretty (right)

Day-Of Wedding Stationery Inspiration and Ideas: Watercolor via Oh So Beautiful Paper

Program by Julie Song Ink

{images via their respective sources}

Anna + Max’s Elegant Gold Foil Wedding Invitations

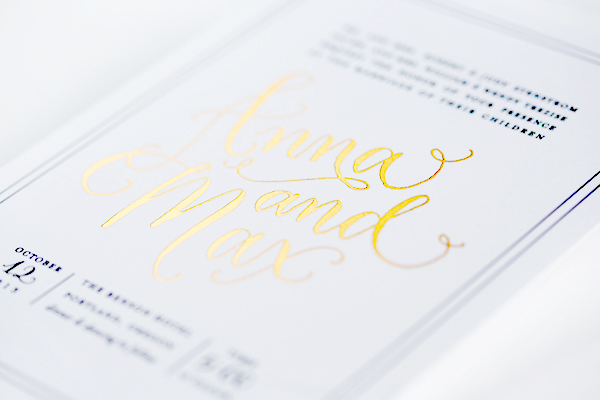
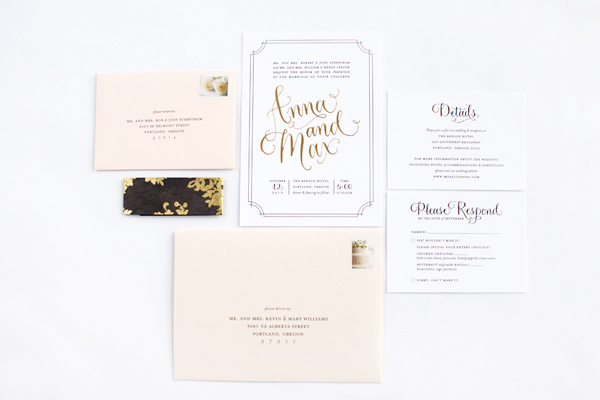
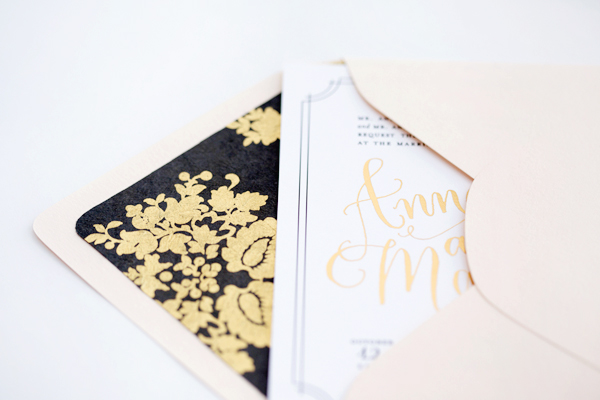
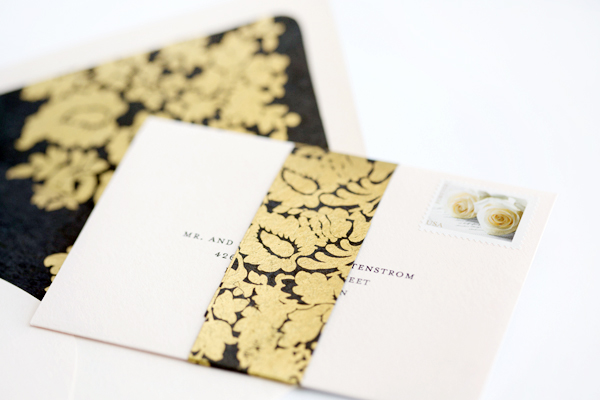
Lindsay from Paper Bloom sent over these gorgeous invitations that she designed for her sister Anna’s wedding. The invitation features gold foil and calligraphy details from Angelique Ink with an elegant, vintage-inspired design and a dramatic black and gold damask envelope liner paired with blush pink envelopes. So beautiful!

Elegant-Gold-Foil-Damask-Wedding-Invitations-Paper-Bloom2

From Lindsay: I designed this suite for my younger sister Anna and her high school sweetheart, Max. This wedding has been a long time coming for our families and friends, as we have all been on this journey together since they fell in love at 16 years old. We could hardly wait for them to make it official!

Elegant-Gold-Foil-Damask-Wedding-Invitations-Paper-Bloom

Throughout the wedding planning, it was really important to Anna and Max to stay true to who they are. They didn’t want anything too lavish or over the top: just simple, clean and beautiful. They chose to be married in the heart of downtown Portland, Oregon at the historic Benson Hotel, and picked a color palette of gold, black, and blush pink.

Elegant-Gold-Foil-Damask-Wedding-Invitations-Paper-Bloom3

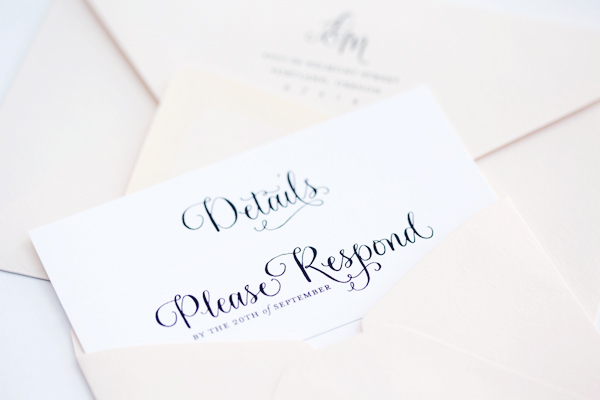
There was a subtle roaring 1920s feel to the event. I incorporated gold foil on the invitation along with black and gold damask paper accents. Angelique Ink calligraphed their names and phrases for the inserts in her perfect Vintage Reserve style, and I kept the rest of the design and text simple and classic.

Elegant-Gold-Foil-Damask-Wedding-Invitations-Paper-Bloom6

Elegant-Gold-Foil-Damask-Wedding-Invitations-Paper-Bloom4

Thanks Lindsay!

Invitation Design: Paper Bloom

Calligraphy: Angelique Ink

Check out the Designer Rolodex for more tal­ented wed­ding invi­ta­tion design­ers and the real invitations gallery for more wedding invitation ideas!

Photo Credits: Paul Rich Studio

DIY Tutorial: Mini Pinecone Wreath Placeholders

Ed Note: Hi Everyone! As you may remember, I put out a call for DIY contributors a few weeks ago – and today I’m thrilled to introduce the first new DIY column! Mandy from Fabric, Paper, Glue will be sharing fantastic entertaining DIY ideas with us every month. Today she’s starting with an idea perfect for the upcoming holiday season: pinecone wreath place cards! –Nole

Few things feel more special than showing up to a dinner party and finding a spot at the table personalized just for you. Unfortunately, the big holiday meals can become so hectic and routine that the noteworthy touches we might normally break out for a special dinner party are long forgotten. I say let’s make an effort this year to bring some specialness back to our holiday meals, and today, I’ve come up with the perfect project to start: a simple DIY placeholder using mini pinecones. –Mandy of Fabric Paper Glue

DIY Mini Pinecone Wreath Placeholder 3

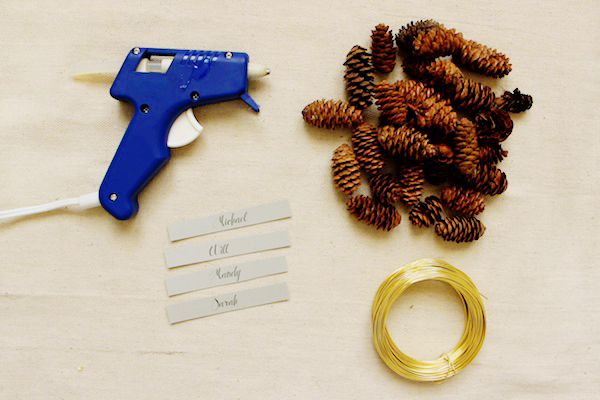
DIY Mini Pinecone Wreath Placeholder - Materials

Materials:

Thick Jewelry Wire

Mini Pinecones

Hot Glue Gun

Hot Glue

Cardstock

Scissors

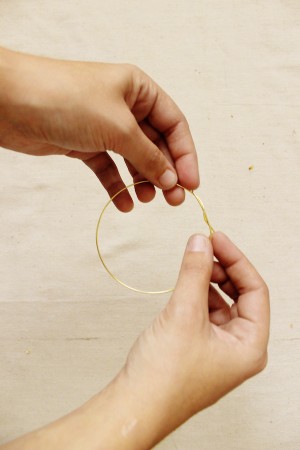
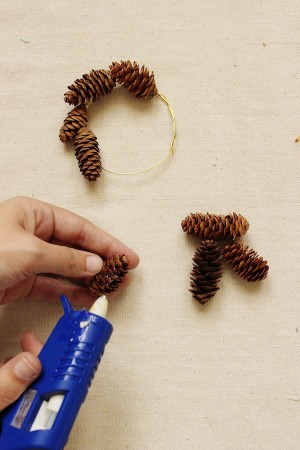
DIY Mini Pinecone Wreath Placeholder - Step 1DIY Mini Pinecone Wreath Placeholder - Step 2

Step One: Using scissors or wire snips, clip off a piece of wire approximately 10″ long, and wrap the ends together to create a circle. To create the perfect circle, I wrapped my wire around a can.

Step Two: Depending on the size of your pinecones, affix seven to 10 pinecones to the wire wreath form using a healthy dollop of hot glue on the back of each pinecone.

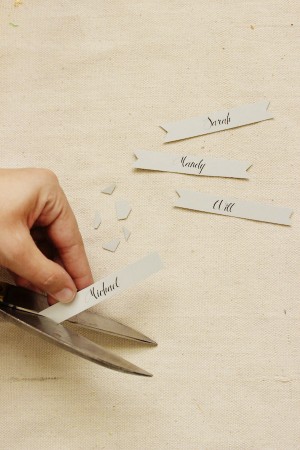
DIY Mini Pinecone Wreath Placeholder - Step 3DIY Mini Pinecone Wreath Placeholder - Step 4

Step Three: Use an elegant font to print out each of your guests’ names onto cardstock. I used a 26-point font. Cut into thin strips, and clip the ends into a V-shape.

Step Four: Affix each guest name banner to a finished wreath using two small beads of hot glue.

DIY Mini Pinecone Wreath Placeholder 1DIY Mini Pinecone Wreath Placeholder 2

Photo Credits: Mandy Pellegrin for Oh So Beautiful Paper