DIY Tutorial: Modern Washi Tape Save the Dates

Who doesn’t love washi tape? Ever since this awesome product arrived state side, we’ve been on board. We typically use it to seal envelopes, paper or belly bands but lately, we’ve had a desire to make it the real star. In this DIY, we use different tapes to add a bit of graphic drama to our stamped save the date cards. The effect you get is so much fun, especially considering it’s humble beginnings as tape! – Bailey and Emma of Antiquaria

DIY Tutorial: Modern Washi Tape Save the Dates by Antiquaria for Oh So Beautiful Paper

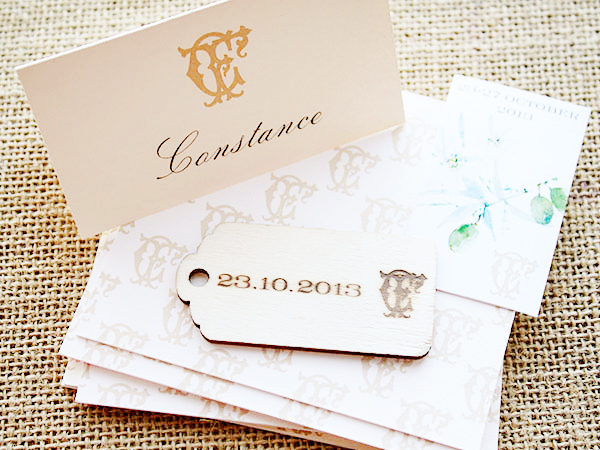
Each save the date is its own, unique piece of art. The best part is that you can make it as simple or tricked out as you like!

DIY Tutorial: Modern Washi Tape Save the Dates by Antiquaria for Oh So Beautiful Paper

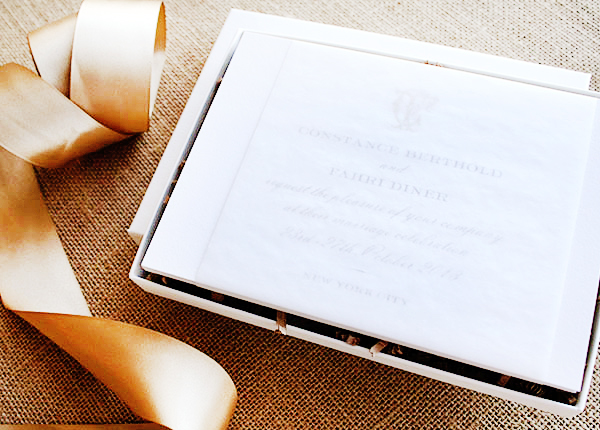
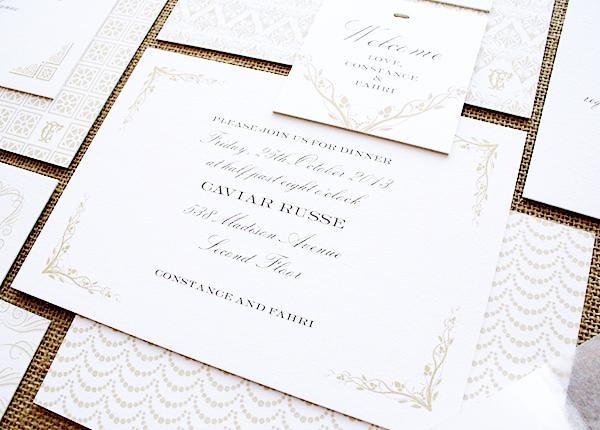
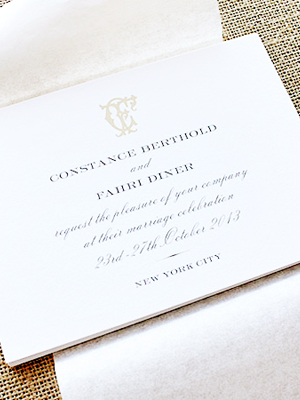
Step One: Before you decorate, you’ll need to stamp your save the date (we used our Art Deco Save the Date stamp) on the bottom of a blank, cream A7 card. Choose an ink color that will coordinate nicely with the tape that you’ve selected. For a step-by-step video tutorial about this printing process go here.

DIY Tutorial: Modern Washi Tape Save the Dates by Antiquaria for Oh So Beautiful Paper

Step Two: Let your creative flag fly! Adorn the top of the card with washi tape in any pattern you like. We used a simple design with straight line and pop of diagonal tape for this example.

DIY Tutorial: Modern Washi Tape Save the Dates by Antiquaria for Oh So Beautiful Paper

Step Three: Next, you’ll need to square up the tape so that you have a clean, professional look. Using a straight edge metal ruler and a craft knife, carefully cut the tape, making sure not to press so hard that it cuts the paper as well.

DIY Tutorial: Modern Washi Tape Save the Dates by Antiquaria for Oh So Beautiful Paper

Step Four: Peel off the tape and press down the cut edge. Repeat the process on the top.

DIY Tutorial: Modern Washi Tape Save the Dates by Antiquaria for Oh So Beautiful Paper

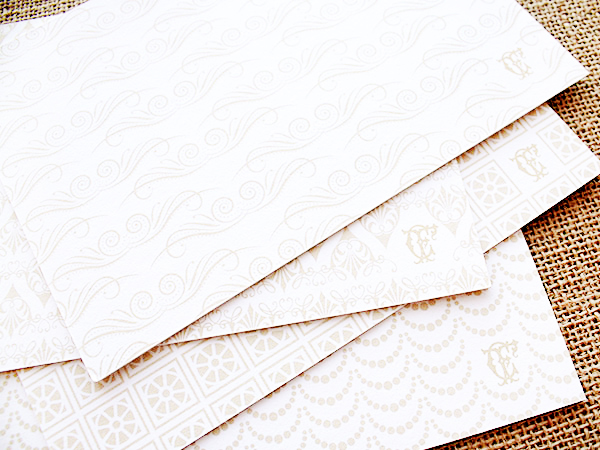
There are an infinite amount of possibilities for the tape designs. Get creative and experiment with tape colors and patterns. We love the way that they all look together, so don’t feel limited to one design!

DIY Tutorial: Modern Washi Tape Save the Dates by Antiquaria for Oh So Beautiful Paper

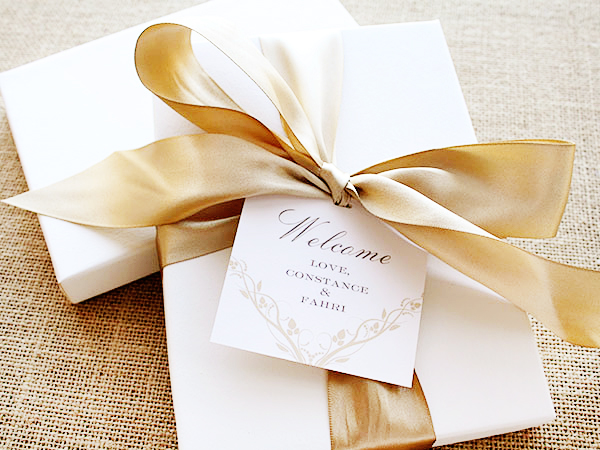
Step Five: Next, you’ll need to stamp your return address (we used our Art Deco Return Address stamp) on the back flap of your envelopes. Now all that’s left is to address them, add postage and send them on their merry way!

Materials:

Art Deco Save the Date Stamp

Art Deco Return Address Stamp

Stamp Pad in Cocoa

Washi Tape

A7 Cream Cards

A7 Envelopes

Metal Ruler and Craft Knife

Anti­quaria is a mem­ber of the Designer Rolodex – you can see more of their beau­ti­ful work right here or visit the real save the dates gallery for more save the date ideas!

Photography: Antiquaria for Oh So Beautiful Paper

Natalie’s Gold Foil Zebra Baby Shower Invitations

These gold foil baby shower invitations are so much fun for a mama-to-be fashionista! Nicole from Umama drew inspiration from mama Natalie’s plans to include lots of zebras in the nursery. To glam things up, Nicole incorporated gold foil and a sparkly gold envelope liner. So fun!

Gold-Foil-Zebra-Baby-Shower-Invitations-Umama2

From Nicole: For this invitation, we wanted to celebrate Baby Sofia: the little fashionista in the making! From the start, mommy-to-be Natalie wanted a palette of gold, blush, black and white… and glitter of course! Girly and chic from a mom who is just that!

Gold-Foil-Zebra-Baby-Shower-Invitations-Umama7

Natalie shared some inspiration from her nursery Pinterest board, and I knew we had to include zebras. They were everywhere on the board. To glam up the traditional zebra, we went gilded.

Gold-Foil-Zebra-Baby-Shower-Invitations-Umama9Gold-Foil-Zebra-Baby-Shower-Invitations-Umama5

Gold-Foil-Zebra-Baby-Shower-Invitations-Umama1

The insert cards were on a pearl blush paper, and both pieces were enclosed in a black envelope with a glittery gold envelope liner and wrap-around label. From the outside chic, from the inside, the soft girly touches!

Gold-Foil-Zebra-Baby-Shower-Invitations-Umama8Gold-Foil-Zebra-Baby-Shower-Invitations-Umama11

Gold-Foil-Zebra-Baby-Shower-Invitations-Umama3

Thanks Nicole!

Photo Credits: Umama

Seasonal Stationery: Valentine’s Day, Part 4

I don’t know if there’s something in the air, but my favorite stationers are doing such an amazing job with love and Valentine’s Day cards this year! I came across a few more cards that I just had to share – and as always, you can check out the full round up right here, and previous highlight posts here!

2014-Valentines-Day-Cards-Part7

1. E. Frances Paper; 2. Betsy Ann Paper; 3. Richie Design; 4. One Canoe Two; 5. Macon York; 6. Pistachio Press

2014-Valentines-Day-Cards-Part8

7. 12fifteen; 8. Brown Parcel Press; 9. Cardtorial; 10. Banquet Workshop; 11. Lilco Letterpress; 12.Avie Designs

Lots more love cards in the full round up right here!

{images via their respective sources}

Constance + Fahri’s Elegant Wedding Dinner Invitations

I love the idea of turning a small, intimate wedding into a multi-day extravaganza with your closest family and friends. And that’s exactly what this bride and groom did – in New York City! They turned to designer Sue Corral, known for her classic and minimalist style, to help with the invitations… but they didn’t stop with the wedding invitation. Sue also designed separate invitations for five dinner parties at a different NYC landmark restaurant. Quite the challenge for Sue, but such a fun idea!

Traditonal-Box-Wedding-Invitations-Sue-Corral-Design

From Sue: I designed this invitation for a 5-day wedding extravaganza in New York City. Each night, the bride and groom invited their guests (family and close friends) to an intimate dinner at a different New York City landmark restaurant topping it all off with a Saturday evening wedding at The St. Regis. The bride and groom requested a separate invitation for each dinner but still wanted everything to be cohesive and coordinated. Overall, they asked that the design be formal, traditional, luxurious, and elegant.

Traditonal-Box-Wedding-Invitations-Sue-Corral-Design2

A box seemed like the perfect package to hold the invitations. The guests stayed at the St. Regis, so the invitation box was part of the welcome basket waiting for them when they arrived at their rooms. The invitations were stacked neatly inside the box and wrapped with an onion skin belly band. The box itself was tied with a gold satin ribbon.

Traditonal-Box-Wedding-Invitations-Sue-Corral-Design7

Traditonal-Box-Wedding-Invitations-Sue-Corral-Design6

Each invitation used the same color palette and typography, but had a different decorative corner motif framing the text. The style of the corners and the full bleed back patterns on the back of each invitation matched the style and decor of the different restaurants. 

Traditonal-Box-Wedding-Invitations-Sue-Corral-Design3Traditonal-Box-Wedding-Invitations-Sue-Corral-Design4

For the actual wedding invitation, we designed a monogram for the motif that we were able to used sprinkled throughout the 5 day event on all sorts of other items, like place cards, coasters and mini champagne labels – even fire branded wooden gift tags.

Traditonal-Box-Wedding-Invitations-Sue-Corral-Design5

Traditonal-Box-Wedding-Invitations-Sue-Corral-Design8

Thanks so much Sue!

Photo Credits: Design Corral