DIY Tutorial: Wax Seal + Ribbon Belly Band

Hi Everyone!  Today is going to be a full DIY Day – with another fun tutorial from the ladies of Ladyfingers Letterpress!  Like many of you, I’ve fallen in love with wax seal details on wedding invitations and other custom paper projects.  Janie + David’s oversize wedding invitations from a few weeks back featured a really fun wax seal and ribbon closure, so today Arley-Rose and Morgan are here to walk us through the step-by-step process of applying a wax seal!

Using a wax seal to secure a belly band around your invitations is a great way to excite your guests and keep your pieces an orderly and presentable fashion. Here are some guidelines to creating a great looking wax-sealed ribbon around a set of invitations. – Arley-Rose and Morgan of Ladyfingers Letterpress

(FYI: It can be helpful to have a friend or honey around to lend an extra set of hands for this project. )

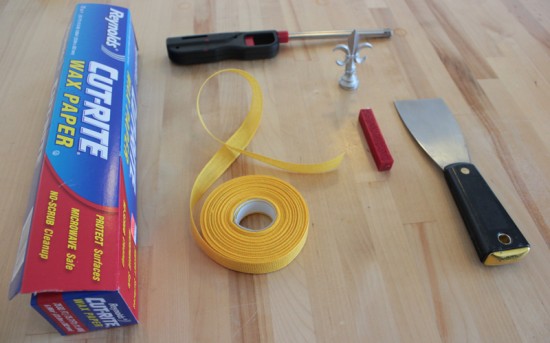
Step 1: Gather Supplies

You will need the following: Wax paper, Ribbon (we used Carta wide weave ribbon which allowed the wax to create a bond between the overlapping ribbon), Sealing wax, wax stamp, lighter, palate knife.

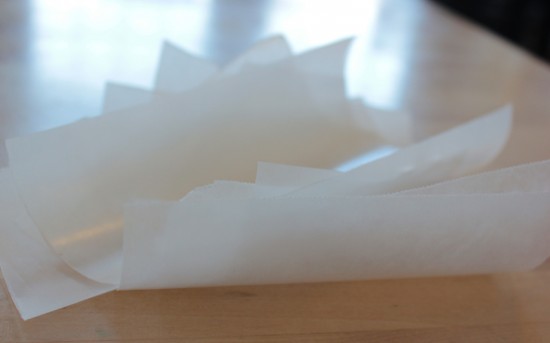
Step 2: Tear your Wax Paper Down

The wax paper will be placed between the invitation and the ribbon to protect the invitation from the wax sealing directly to the paper.  Cut the wax paper down to slightly smaller than the size of your invitation or card.  You can reuse the wax paper, a quantity of 20 torn sheets is perfect.

Step 3: Cut your ribbon to length 

Measure your ribbon, allowing for a few inches of overlap. Cut one piece for each invitation.

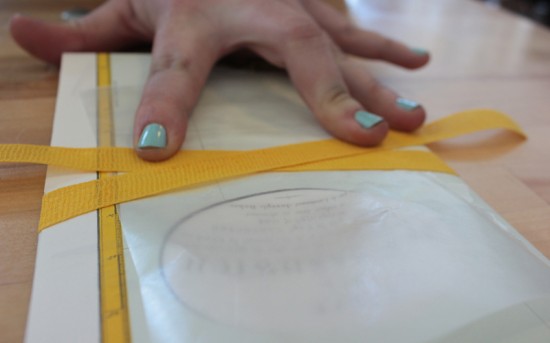
Step 4: Prepare Ribbon

Place the wax paper on top of your invitation or card. Wrap the ribbon around the invitation, holding it snug and allowing for the ribbon to overlap in the center.

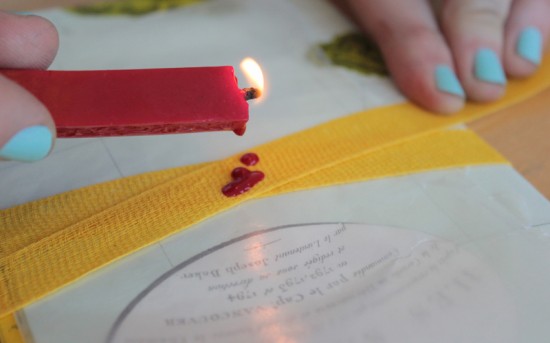
Step 5: Drip the wax

Using a lighter (a match will burn out too quickly), light the sealing wax and allow it to drip onto the ribbon. The larger the pool of wax the larger your seal will be.  Practice once or twice before you start to see how much wax you will need for your seal.

Step 6: Apply Seal

Count to five before applying the seal to the wax!

Step 7: Let it cool 

Allow the wax to cool for a few seconds – 10 or so – and gently rock the seal back and forth to free it from the wax.

Step 8: Almost done! 

Your seal is there…

Step 9: Free the Wax from the Protective Wax Paper

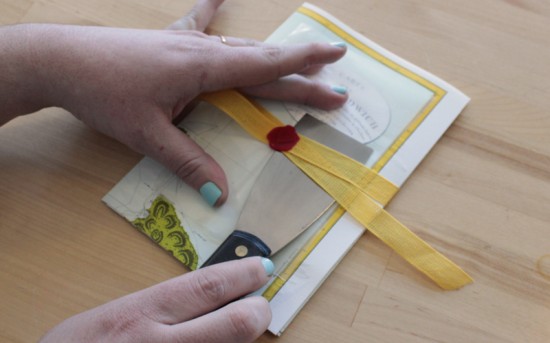
Place your palate knife between the ribbon and the wax paper and break its bond to free the wax seal from the wax paper.  This is best accomplished when the wax is still warm but not hot.

Step 10: Trim Ribbon

Finish off your invitation by trimming the tails of the ribbon down to size.

Alright, off you go to seal up the world’s lose ends!

Ladyfingers Letterpress is a member of the Designer Rolodex â€“ check out more of their beautiful work right here or visit the real invi­ta­tions gallery for more wedding invitation ideas!

Photo Credits: Ladyfingers Letterpress

2012 Paper Party

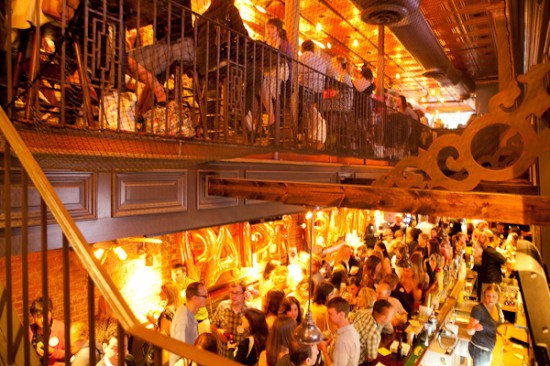
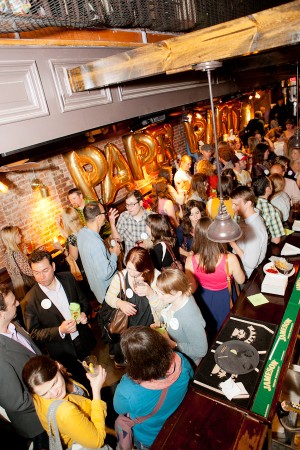
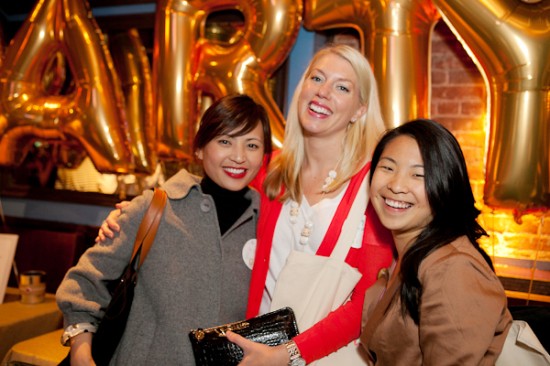
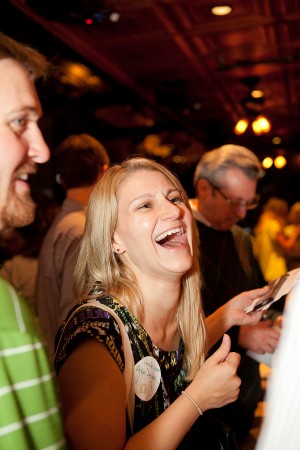
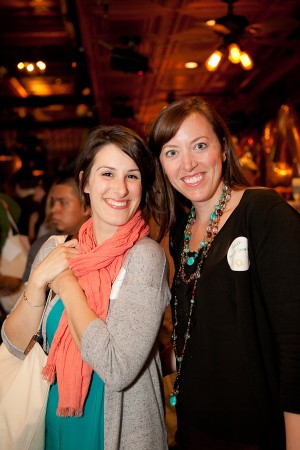
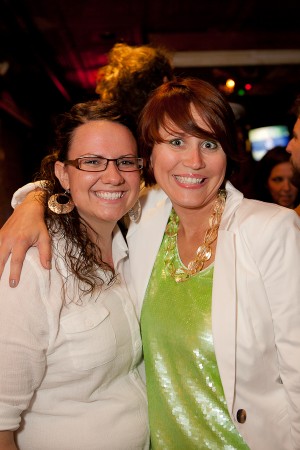
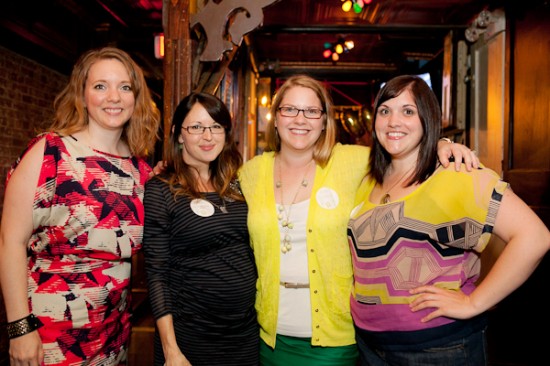
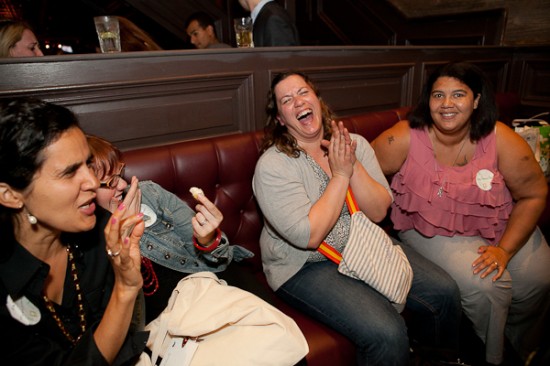
The booth recaps from the National Stationery Show may be over, but I have one final NSS post to share with you!  Every year for the last few years, I’ve had the pleasure of co-hosting a little stationery meetup with Erika from Delphine one evening during the show.  This year, we invited the stationery and design industry’s finest to come hang out for a few hours outside of the Javits Center – and an awesome turnout of exhibitors, retailers, and fellow stationery enthusiasts showed up to get their paper party on!


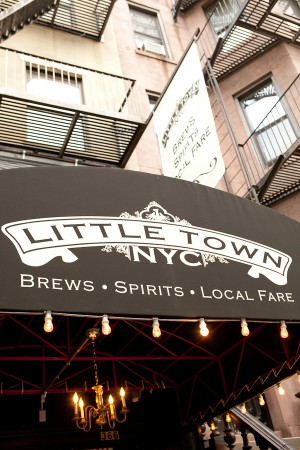
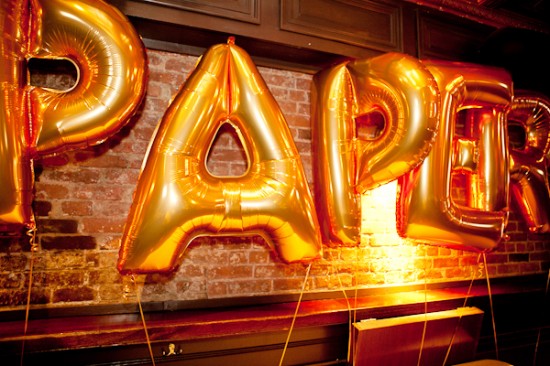
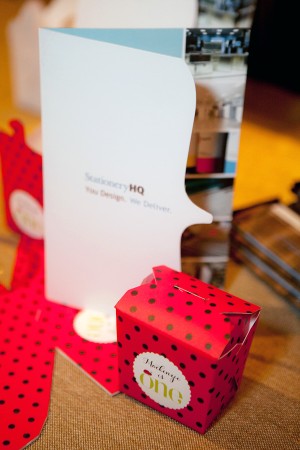
This year’s meetup took place at a fun little venue just a few blocks north of the Javits Center called Little Town NYC on Restaurant Row â€“ we loved the rustic vibe and brick interiors!  Our fabulous and talented friends Janice from Bellwether Events and Cyd from The Sweetest Occasion helped us pull all of the party details together.  We were thrilled to work with some really amazing sponsors who made the party possible, including Crane & Co., Stationery HQ, Tradeshow Bootcamp, Ladies of Letterpress, and Mohawk/Felt + Wire.


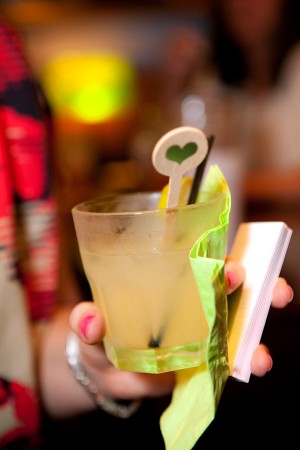
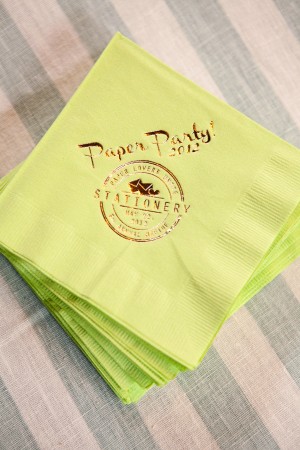
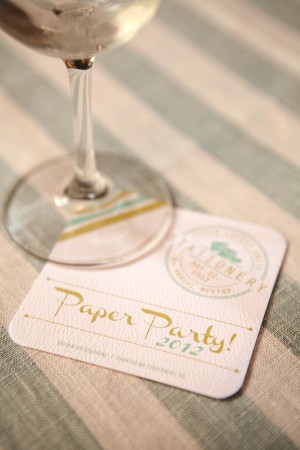
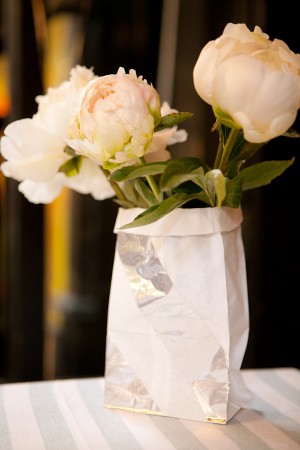
The super cute paper party details were provided by For Your Party, and DC Rentals helped us out with some gorgeous linens!


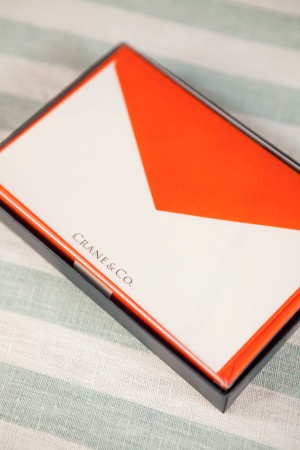
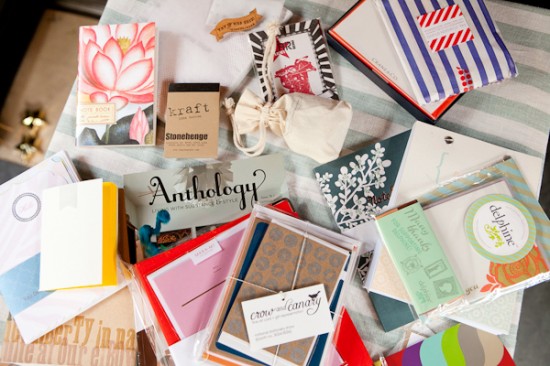
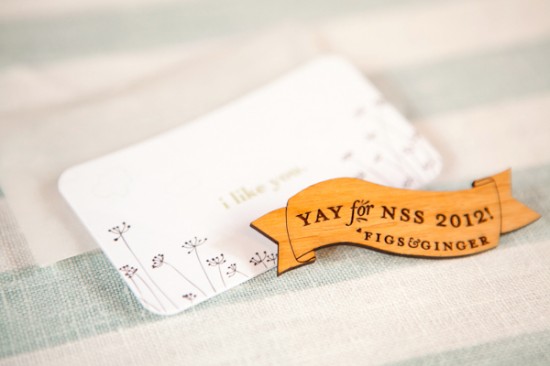
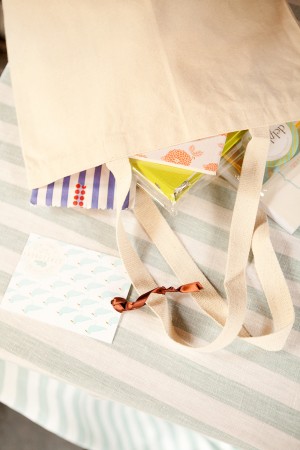
Of course, a paper party wouldn’t be complete without a fabulous goodie bag!  This year’s goodie bag was pretty hefty and full of amazing paper from Crane & Co., Dingbat PressLinnea’s LightsFig. 2 Design StudioRussell + HazelFigs + Ginger, TattlyKelp DesignsKate & BirdieCartolinaPaper + CupCrow & CanaryCzar Press, Knock Knock, Legion Paper, and Anthology Magazine.


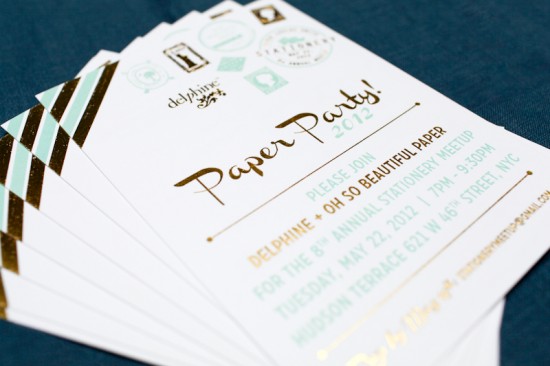
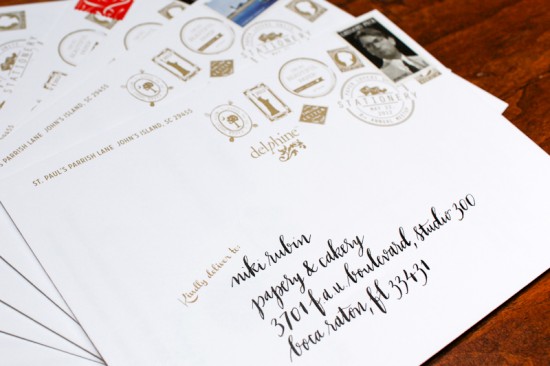
Oh, and I can’t forget the invitations themselves!  Erika created the gorgeous design and the invitations were printed in mint green and gold foil by Stationery HQ.  The wonderful Michele from Meant to Be Calligraphy provided her beautiful hand lettering (in her Edwards style) for the invitations that we mailed out a bit further in advance.

We had so much fun at this year’s meetup!

Once again, a huge thanks and much love to our amazing sponsors: Crane & Co., Stationery HQ, Mohawk/Felt + Wire, Tradeshow Bootcamp, and Ladies of Letterpress, not to mention Little Town NYC for having us – and a million thanks to Janice and Cyd for all their help.  I can’t wait for next year!

There was no way I could fit all of the photos from this year’s meetup into a single post, but you can find the full gallery from the party right here!

Photo Credits: Tory Williams Photography

Circus Sideshow-Inspired Baby Shower Invitations

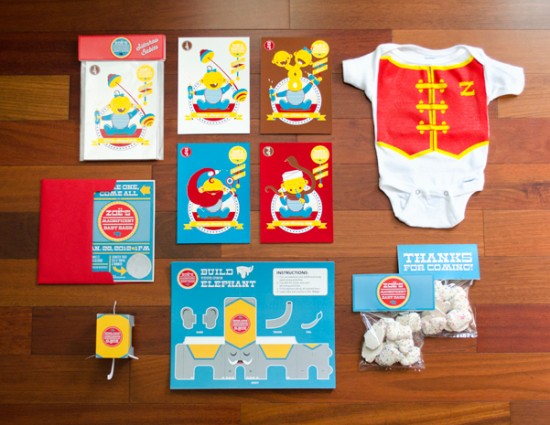
I definitely have babies on the brain these days, and it’s always nice to see parents do something a little unusual and fun for their baby-related stationery, from shower invitations to birth announcements.  We’ve seen plenty of circus-inspired baby shower invitations, but I love this non-traditional interpretation from designer Tommy Perez for his own baby shower invitations – sideshow babies!

Circus Sideshow Baby Shower Invitations by Tommy Perez via Oh So Beautiful Paper (15)

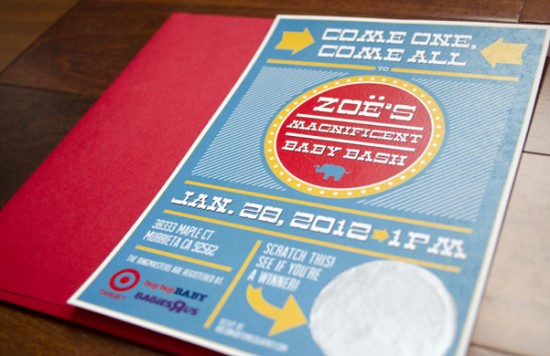
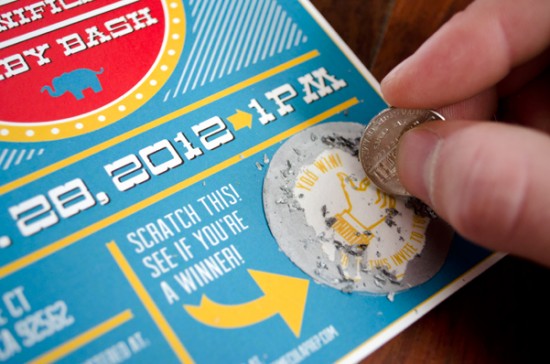
From Tommy: To celebrate our little Zoë’s arrival, my wife and I decided to have a circus-themed baby shower – Zoë’s Magnificent Baby Bash.  The invitations were designed with a scratch-off detail, giving the invitee a chance at winning a fun prize!  The invitations were digitally printed on French Poptone “Whip Cream” 65 lb cover weight paper.

Circus Sideshow Baby Shower Invitations by Tommy Perez via Oh So Beautiful Paper (5)

Circus Sideshow Baby Shower Invitations by Tommy Perez via Oh So Beautiful Paper (1)

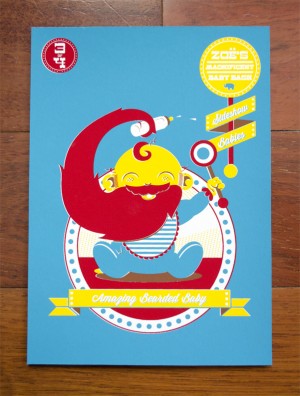
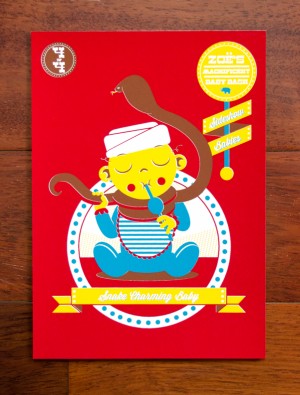
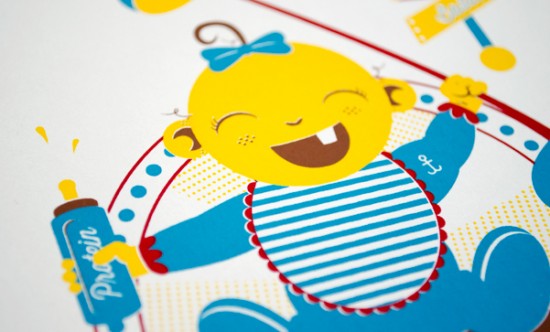
To break away from traditional baby shower paraphernalia, I created a set of “Sideshow Babies” print inspired by a circus sideshow.  The set of four prints included the World’s Strongest Baby, Two-Headed Baby, Amazing Bearded Baby, and Snake Charming Baby.  Each print was a four color silkscreen on French Poptone “Whip Cream” 100 lb cover weight pape.  We even made a “Ringmaster” onesie for Zoë to wear after she is born!

Circus Sideshow Baby Shower Invitations by Tommy Perez via Oh So Beautiful Paper (11)

Circus Sideshow Baby Shower Invitations by Tommy Perez via Oh So Beautiful Paper (8) Circus Sideshow Baby Shower Invitations by Tommy Perez via Oh So Beautiful Paper (12)

Circus Sideshow Baby Shower Invitations by Tommy Perez via Oh So Beautiful Paper (10)

Circus Sideshow Baby Shower Invitations by Tommy Perez via Oh So Beautiful Paper (2)

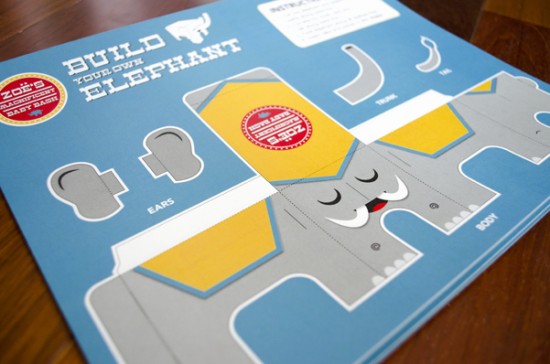
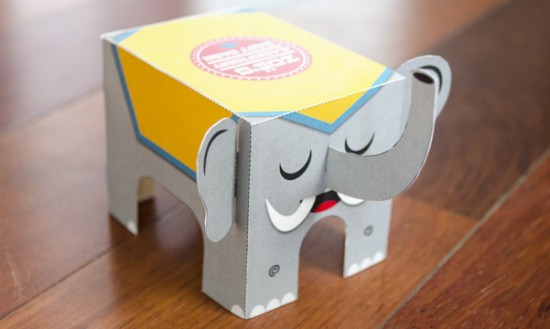
For one of the shower activities I created a “Build Your Own Elephant” paper craft project.

Circus Sideshow Baby Shower Invitations by Tommy Perez via Oh So Beautiful Paper (3)

So great!  You can see tons more photos on Tommy’s flickr page and even download the build-your-own-elephant template over on Tommy’s website right here!  Thanks Tommy!

Photo Credits: Tommy Perez

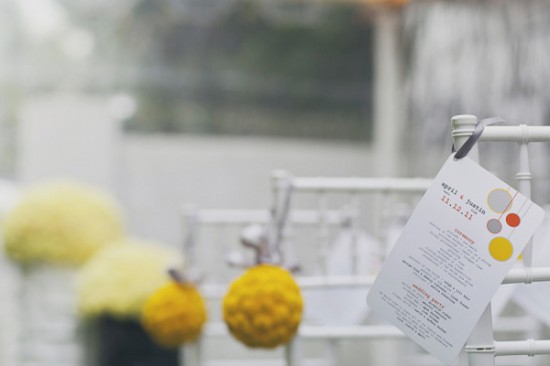
Wedding Stationery Inspiration: MidCentury Modern

Happy Wednesday everyone!  We’ve had the pleasure of featuring hundreds of amazing wedding invitations over the years, but wedding stationery doesn’t stop with the invitations.  Today I’m thrilled to introduce a new column written by my friend Kelly from Studio DIY that is devoted to day-of wedding stationery inspiration, starting with some fun midcentury modern ideas!

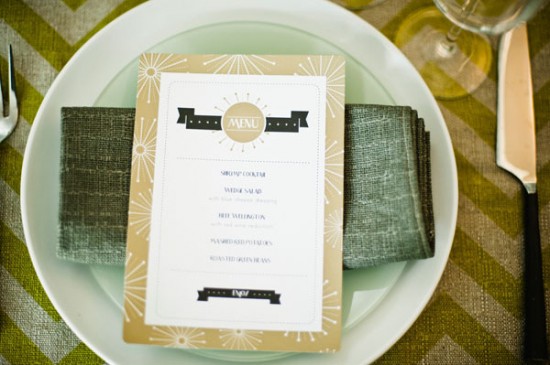
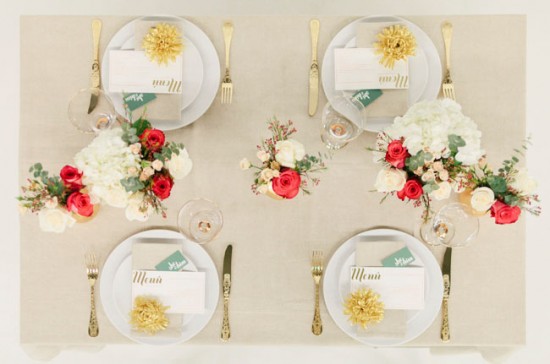
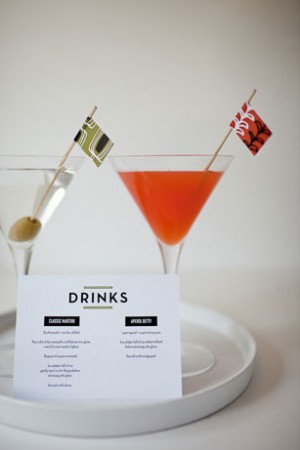
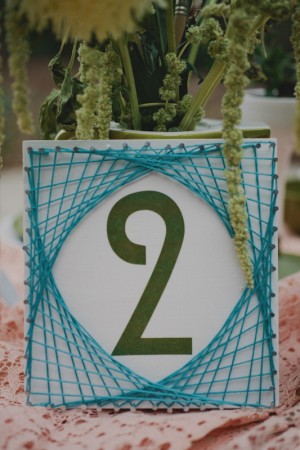
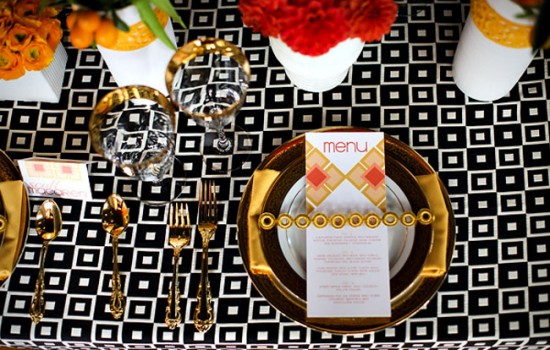
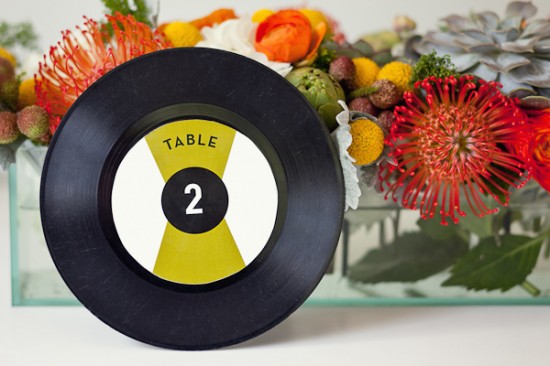
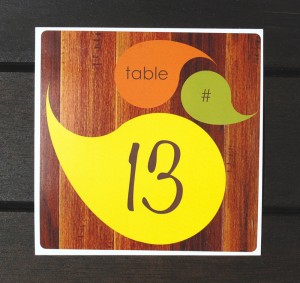
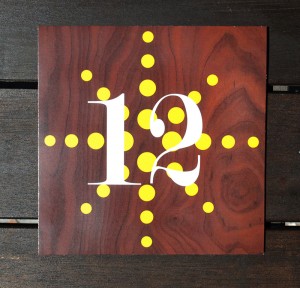
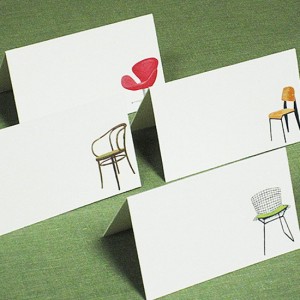
Midcentury Modern design spans several decades and multiple styles.  Clean fonts, bold silhouettes, graphic patterns and offbeat color pairings are a signifying characteristics that come to mind.  Luckily, these qualities all translate beautifully from architecture and interiors into stationery!  If you dream of Eames or you just can’t bear to let this season of Mad Men end on Sunday, take a little cue from this once again popular style for your day-of wedding items!  Menus, place cards, table numbers and more… they all wear the midcentury hat quite well. — Kelly

Wedding Day Of Stationery Ideas: Mid Century Modern via Oh So Beautiful Paper

Photo by B. Mo Foto, Menu by TULIP Design Studio via Style Me Pretty

Wedding Day Of Stationery Ideas: Mid Century Modern via Oh So Beautiful Paper

Photo and Menu by Brancoprata via Green Wedding Shoes

Wedding Day Of Stationery Ideas: Mid Century Modern via Oh So Beautiful Paper Wedding Day Of Stationery Ideas: Mid Century Modern via Oh So Beautiful Paper

Photo by Andrea Hubbell, Table Number by Rock Paper Scissors via The Sweetest Occasion (left); Photo by Red White and Green Photography via Ruffled (right)

Wedding Day Of Stationery Ideas: Mid Century Modern via Oh So Beautiful Paper

Photo by Jasmine Star, Menu by Wiley Valentine via Green Wedding Shoes

Wedding Day Of Stationery Ideas: Mid Century Modern via Oh So Beautiful Paper

Photo by Andrea Hubbell, Table Number by Rock Paper Scissors via The Sweetest Occasion

Wedding Day Of Stationery Ideas: Mid Century Modern via Oh So Beautiful Paper Wedding Day Of Stationery Ideas: Mid Century Modern via Oh So Beautiful Paper

Table Numbers by Aubrey Doodle

Wedding Day Of Stationery Ideas: Mid Century Modern via Oh So Beautiful Paper

Photo by Our Labor of Love, Program by Stelie Designs via Style Me Pretty

Wedding Day Of Stationery Ideas: Mid Century Modern via Oh So Beautiful Paper Wedding Day Of Stationery Ideas: Mid Century Modern via Oh So Beautiful Paper

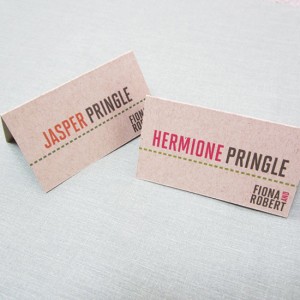
Place Cards by Nancy Nikko Design

Are any of you planning a midcentury modern-inspired wedding?  We’d love to hear what styles and themes are inspiring you these days!

{images via their respective sources}

Amber + Jeff’s Historic Stone Mill Letterpress Wedding Invitations
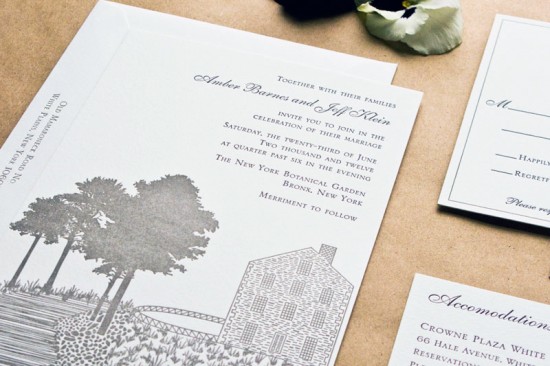
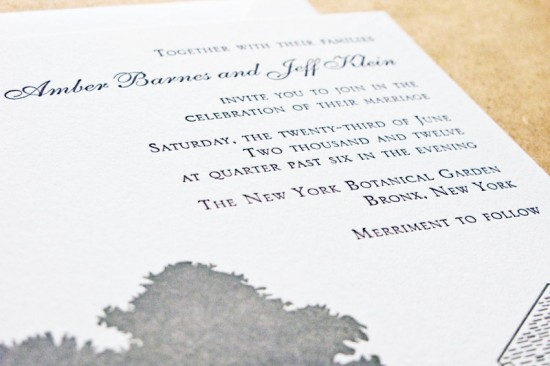
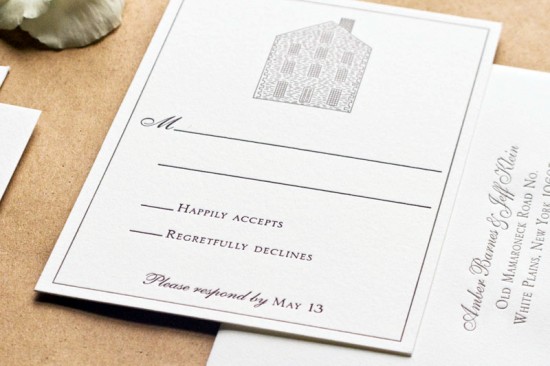
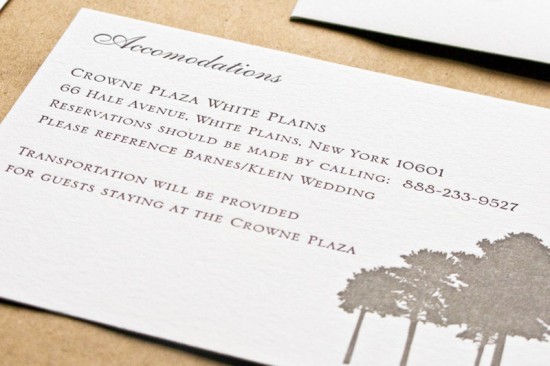
I’ve missed sharing wedding invitations over the last couple of weeks!  So today I’m excited to jump back in with some beautiful letterpress invitations from Laura Macchia and May Day Studio.  Laura created these invitations for a couple getting married at an historic stone mill – and the unique location definitely helped inspire the design for the invitation suite.

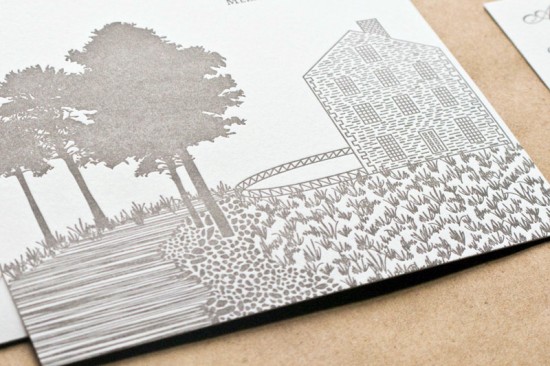
From Laura: Amber and Jeff will be married at the historic Lillian & Amy Goldman Stone Mill – part of the New York Botanical Garden in the Bronx.  They were interested in creating invitations that would give their guests a feel for the beautiful and unique location.

I illustrated the Stone Mill and surrounding landscape with fine lines and details that I knew would show beautifully with letterpress printing.

The centuries-old printing technique also emphasizes the historic character of the stone mill, setting the tone for an elegant wedding at the botanical garden.  The suite was letterpress printed by May Day Studio.

So pretty!  Thanks Laura!

Design: Laura Macchia

Letterpress Printing: May Day Studio
Check out the Designer Rolodex for more tal­ented wed­ding invi­ta­tion design­ers and the real invi­ta­tions gallery for more wedding invitation ideas!
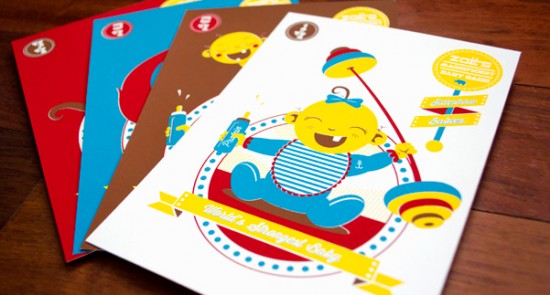
Photo Credits: Laura Macchia