DIY Summer Air Plant Wreath

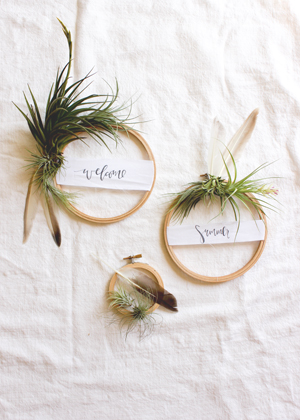
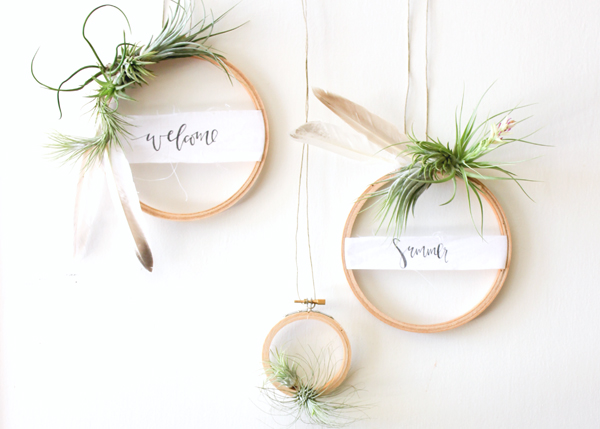
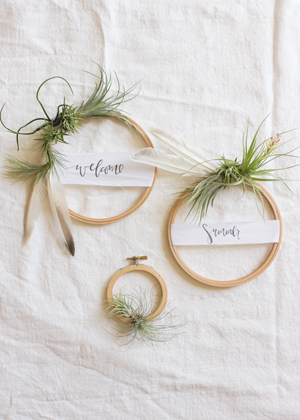
I’ve tried, for years and years, to keep plants alive in our home. I do great for about two weeks, then completely forget they are there (because they are looking so good and not sad yet!). So, typically, a plant will last about four weeks in our house. When I found out about succulents, I thought I had found my perfect pair, but no, sadly I can easily kill those too. And then air plants came on to the scene. I think I found something that I can keep alive for more than a few months now, usually. Sure, I’ve forgotten about one or two here and there, but most live a happy long life around here. I love that you don’t have to fuss with pots or really any container. They look great sitting on a stack of books, or just next to a candle. I’ve seen people mount them to a variety of things, so I thought we would give it a shot and celebrate summer with a fluffy green wreath. These little guys are perfect for wreaths since all you really have to do is mist them once in a while! – Lauren
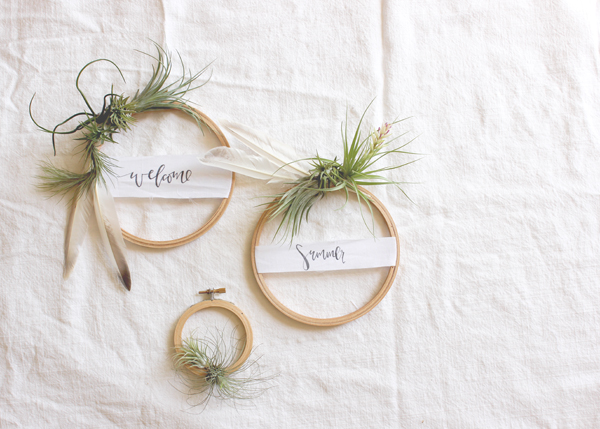
DIY Tutorial: Summer Air Plant Wreath for Weddings and Cocktail Parties via Oh So Beautiful Paper

DIY Tutorial: Summer Air Plant Wreath for Weddings and Cocktail Parties via Oh So Beautiful Paper

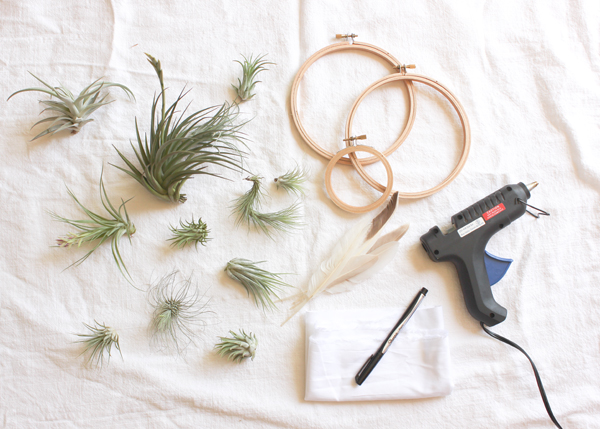
Supplies and Tools

A variety of air plants, I purchased mine here

3 embroidery hoops

White fabric

Black sharpie

Feathers or any other embellishment you want to add

Scissors

Glue gun
DIY Tutorial: Summer Air Plant Wreath for Weddings and Cocktail Parties via Oh So Beautiful PaperDIY Tutorial: Summer Air Plant Wreath for Weddings and Cocktail Parties via Oh So Beautiful Paper

Instructions

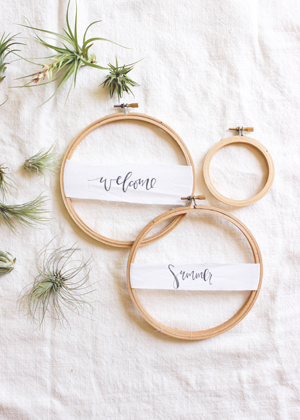
1. While you wait for your glue gun to heat up, cut two strips from your fabric to create the banners. Use your sharpie to write in “Welcome Summer” or any other greeting. Sandwich the banner pieces into the embroidery ring, tighten and trim the excess fabric from the back.

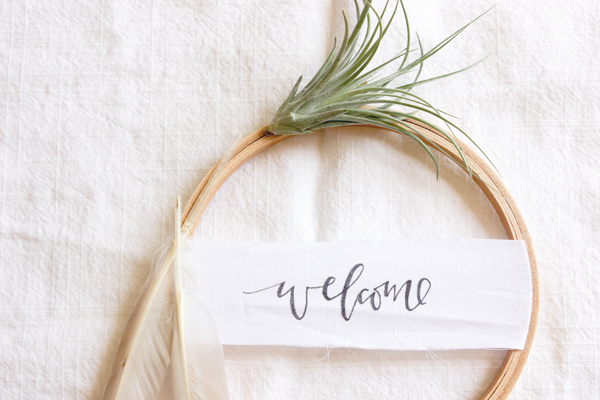
2. Lay out how you’d like your air plants and feathers to look. Since each plant is shaped differently and fairly stiff, you’ll have to play around to fit them together like a puzzle.
DIY Tutorial: Summer Air Plant Wreath for Weddings and Cocktail Parties via Oh So Beautiful Paper

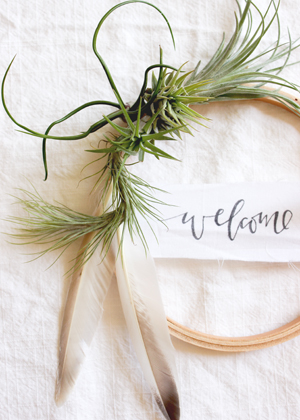
3. Glue down the bottom layer of your design. I attached my feathers first so you wouldn’t see the ends, and then the bottom layer of the air plants I chose. When glueing down the plants, put a dot of hot glue and wait at least 10 seconds before you attach the plant. If you don’t wait, you might burn the air plant. I basically waited until I could touch it, but it was still tacky.
DIY Tutorial: Summer Air Plant Wreath for Weddings and Cocktail Parties via Oh So Beautiful PaperDIY Tutorial: Summer Air Plant Wreath for Weddings and Cocktail Parties via Oh So Beautiful Paper

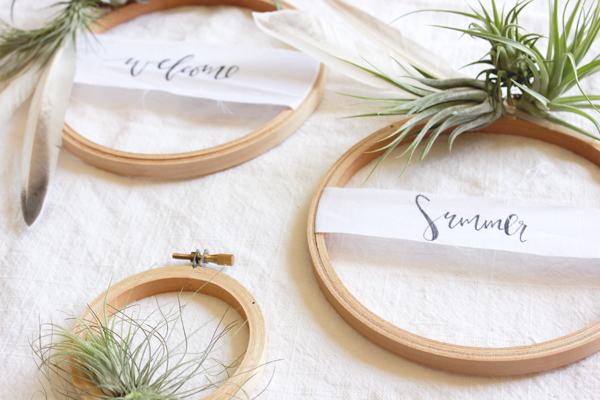
4. Continue layering in the plants until you achieve the look you are going for.
DIY Tutorial: Summer Air Plant Wreath for Weddings and Cocktail Parties via Oh So Beautiful Paper

DIY Tutorial: Summer Air Plant Wreath for Weddings and Cocktail Parties via Oh So Beautiful Paper

You can attach a little string to the top hook and hang or just set on a table… however you’d like to display it. Change out the banners for different seasons, for wedding or party decor, or I even think they’d look great with just the air plants! How would you guys use them?

Photo Credits: Lauren Saylor for Oh So Beautiful Paper

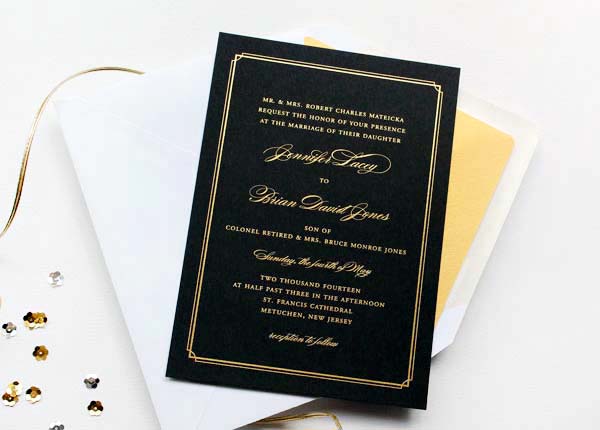
Jennifer + Brian’s Gold Foil and Black Wedding Invitations

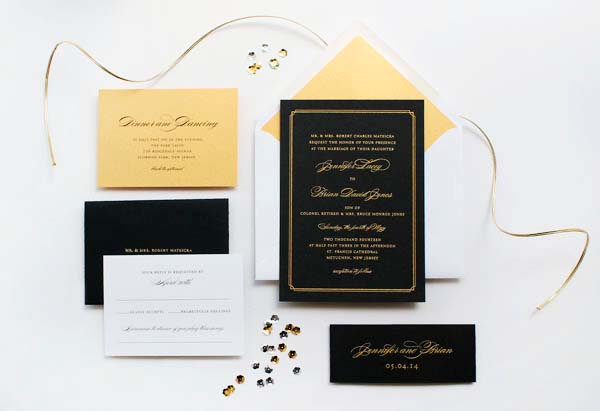
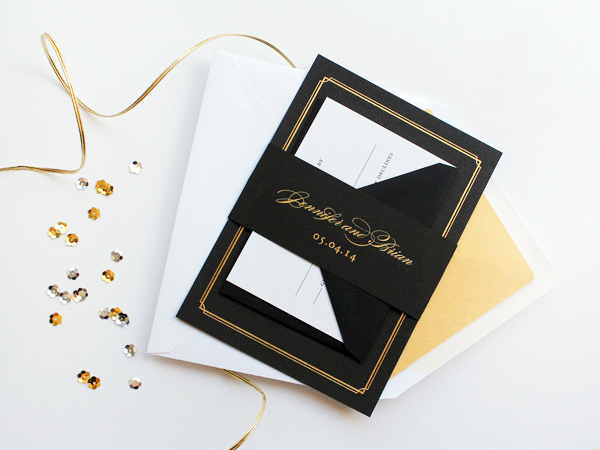
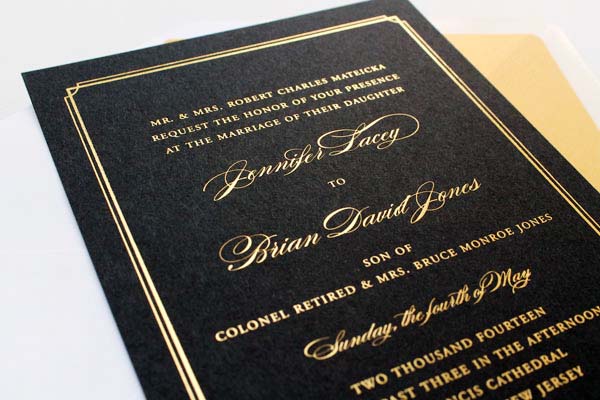
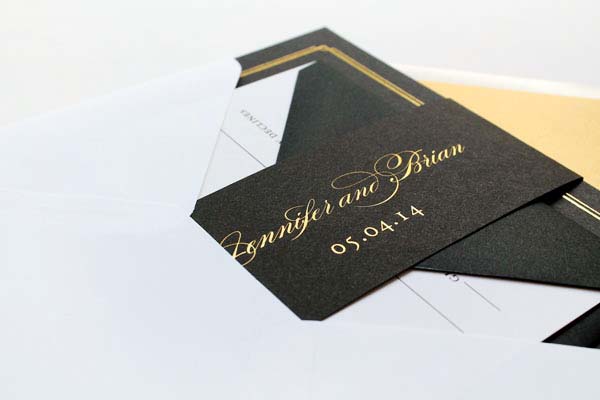
These gold foil and black wedding invitations from designer Sandra Picco are just so glamorous – and perfect for a black tie wedding reception! Sandra paired the gold foil invitations with complementing black and white accents and gold envelope liners. Totally classic, and absolutely stunning!

Gold-Foil-Black-Wedding-Invitations-Sandra-Picco-Design-OSBP10

From Sandra: Jennifer had been doing lots of pinning and inspiration-gathering her wedding: a traditional church ceremony followed by a black tie-optional ballroom reception. Their colors were pink and black with touches of gold, so of course, I immediately thought that we should incorporate gold foil somehow. Her preference was to not use pink for the stationery, so together we decided to go with gold foil on black paper.

Gold-Foil-Black-Wedding-Invitations-Sandra-Picco-Design-OSBP5

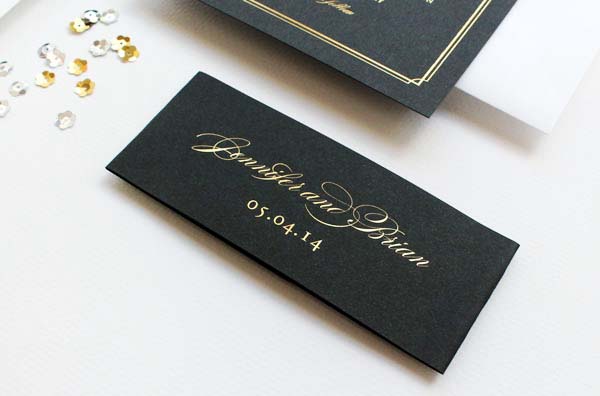
Jennifer and Brian were working within a budget for their paper goods and foil stamping the entire suite was a bit too expensive. Instead we used foil for the invitation and belly band and a coordinating gold stock for the reception card and envelope liners. White reply cards paired with black envelopes and white outer envelopes tied everything together nicely and kept us within budget. Happy budget, happy bride!

Gold-Foil-Black-Wedding-Invitations-Sandra-Picco-Design-OSBP

Gold-Foil-Black-Wedding-Invitations-Sandra-Picco-Design-OSBP3

Gold-Foil-Black-Wedding-Invitations-Sandra-Picco-Design-OSBP8

Gold-Foil-Black-Wedding-Invitations-Sandra-Picco-Design-OSBP7

Thanks Sandra!

Design: Sandra Picco Design

Foil Stamping: Norman’s Printery

Check out the Designer Rolodex for more tal­ented wed­ding invi­ta­tion design­ers and the real invi­ta­tions gallery for more wedding invitation ideas!

Photo Credits: Sandra Picco Design

Jennifer + Barron’s Gold Foil Watercolor Crest Wedding Invitations

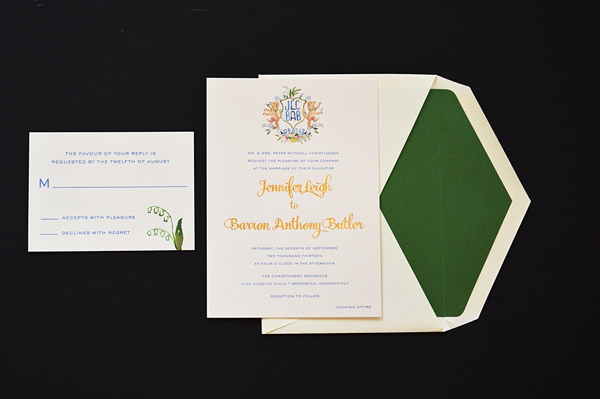
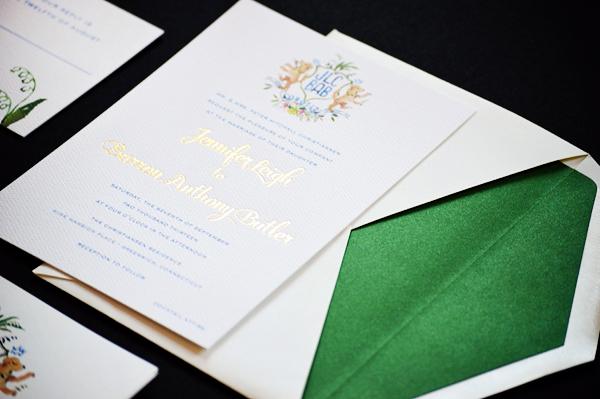
Our next set of wedding invitations mixes classic sophistication with modern glamour and watercolor illustration! With a custom watercolor crest created by Happy Menocal, these invitations from Sandy of Roseville Designs feature gold foil text and a metallic emerald envelope liner. So pretty!

Watercolor-Gold-Foil-Crest-Wedding-Invitations-Roseville-Designs-OSBP

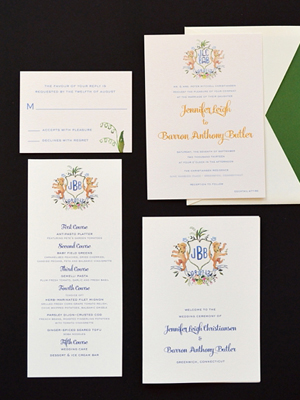
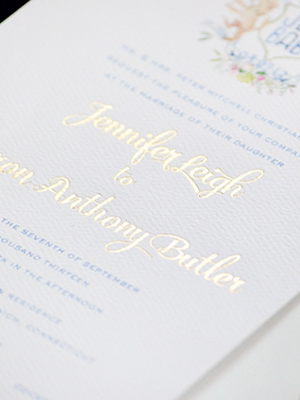
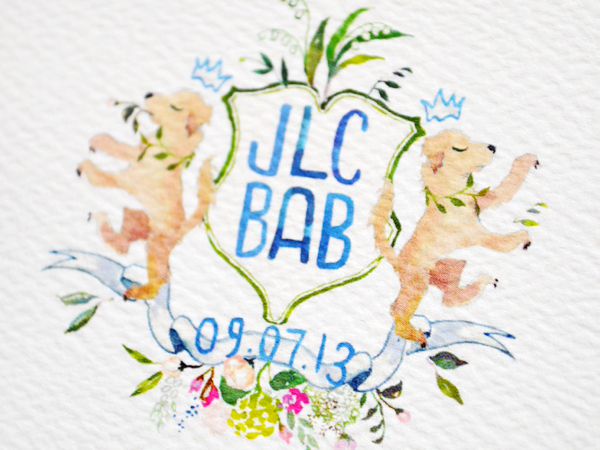
From Sandy: The bride wanted to have a classic wedding invitation with a little bit of fun and glam! The starting inspiration was the gorgeous custom watercolor crest created by Happy Menocal. It featured the couple’s initials and their beloved dog, Pedro! We balanced the softness of the crest with gold foil stamping of their names in a modern script. We also included elements of the crest on the RSVP card to tie it all together. The entire suite was printed on double-thick ecru felt stock, and finished with a metallic colored envelope liner.

Watercolor-Gold-Foil-Crest-Wedding-Invitations-Roseville-Designs-OSBP2

Watercolor-Gold-Foil-Crest-Wedding-Invitations-Roseville-Designs-OSBP6Watercolor-Gold-Foil-Crest-Wedding-Invitations-Roseville-Designs-OSBP15

Watercolor-Gold-Foil-Crest-Wedding-Invitations-Roseville-Designs-OSBP5

Watercolor-Gold-Foil-Crest-Wedding-Invitations-Roseville-Designs-OSBP7Watercolor-Gold-Foil-Crest-Wedding-Invitations-Roseville-Designs-OSBP8

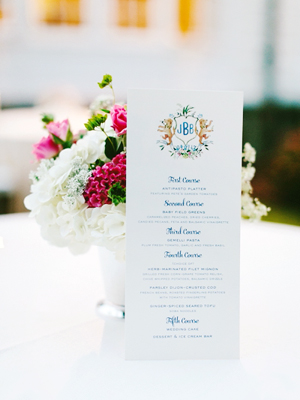
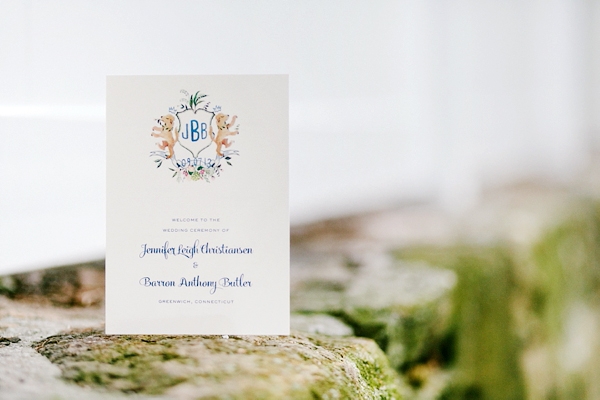
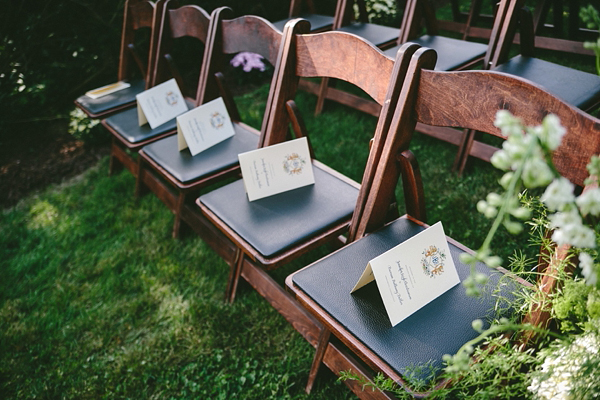
Happy Menocal also created a married version of the crest, which we used in their day-of wedding stationery. We designed programs, menus, table numbers, and other signage that lived throughout the reception tent.

Watercolor-Gold-Foil-Crest-Wedding-Invitations-Roseville-Designs-OSBP10

Watercolor-Gold-Foil-Crest-Wedding-Invitations-Roseville-Designs-OSBP13

Thanks Sandy!

Design: Roseville Designs

Watercolor Crest: Happy Menocal

Printing: StationeryHQ

Check out the Designer Rolodex for more tal­ented wed­ding invi­ta­tion design­ers and the real invi­ta­tions gallery for more wedding invitation ideas!

Photo Credits: Roseville Designs, Wedding Photography by Hudson River Photographer

Ngaio + Julian’s Hand Lettered Ombre Wedding Invitations

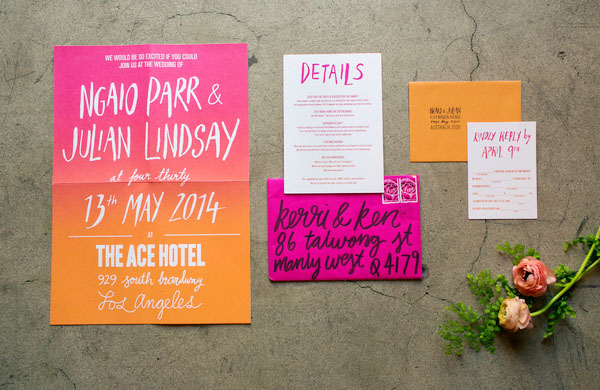
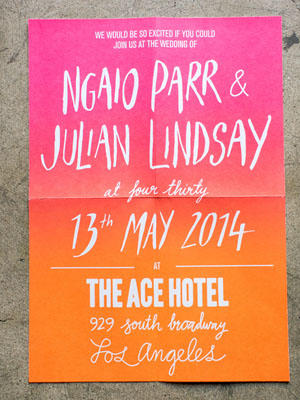
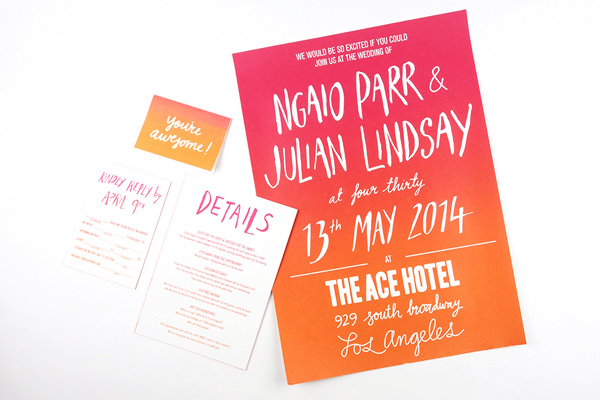
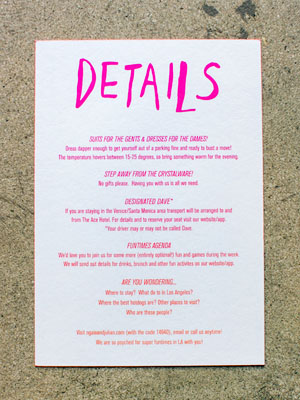
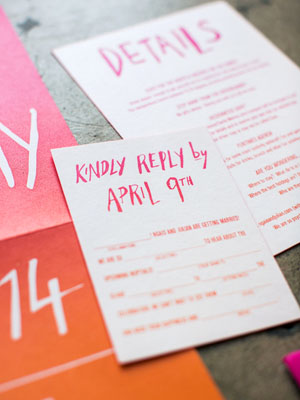
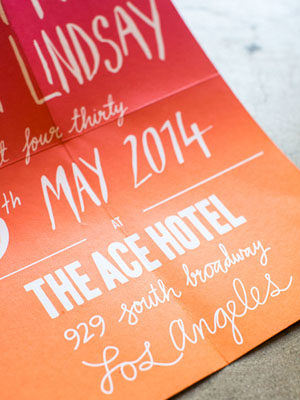
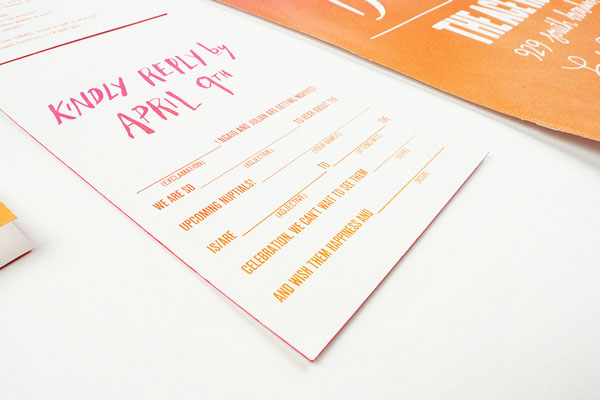
Happy Monday! Our first set of wedding invitations this week come to us from Sydney, Australia-based designer Ngaio Parr – for her own destination wedding in Los Angeles! Ngaio’s colorful poster-size invitations feature split-fountain (aka ombre) screen printing in bright pink and orange along with hand lettering and edge painting. Playful mad lib RSVP cards provide the perfect finishing touch!

Ombre-Screen-Printed-Poster-Wedding-Invitations-Ngiao-Parr-OSBP

From Ngaio: Although we live in Sydney we were married in Los Angeles, and wanted our invitations to be as bright and fun as the city itself. The invitations are designed and hand lettered by myself and screen printed as a split fountain into A3-sized posters by Half Hazard Press.

Ombre-Screen-Printed-Poster-Wedding-Invitations-Ngiao-Parr-OSBP3Ombre-Screen-Printed-Poster-Wedding-Invitations-Ngiao-Parr-OSBP5

Ombre-Screen-Printed-Poster-Wedding-Invitations-Ngiao-Parr-OSBP12

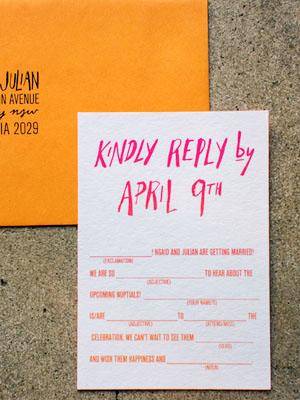
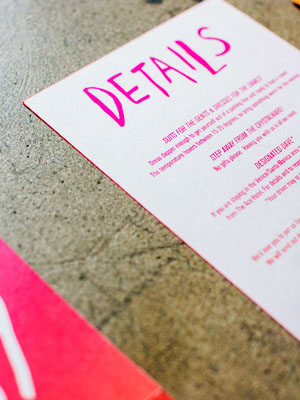
The response card (which featured a mad libs component) and details card were both screen printed split fountain and edge painted, as was the thank you card.

Ombre-Screen-Printed-Poster-Wedding-Invitations-Ngiao-Parr-OSBP6Ombre-Screen-Printed-Poster-Wedding-Invitations-Ngiao-Parr-OSBP9

Ombre-Screen-Printed-Poster-Wedding-Invitations-Ngiao-Parr-OSBP8Ombre-Screen-Printed-Poster-Wedding-Invitations-Ngiao-Parr-OSBP10

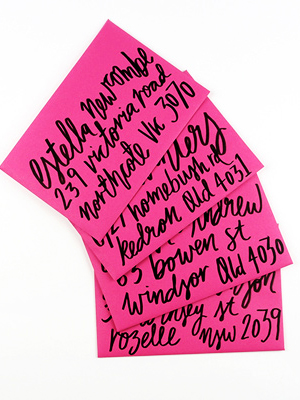
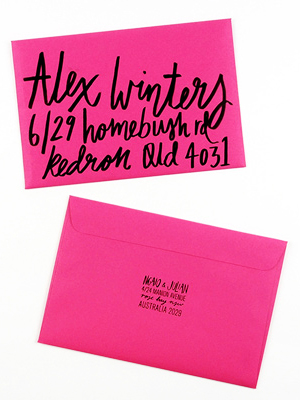
Calligraphic lettering on the envelopes and a custom address stamp helped make the envelopes as exciting as their contents. The most fun element of these invitations has been receiving some of the ‘colourfully’ filled out response cards.

Ombre-Screen-Printed-Poster-Wedding-Invitations-Ngiao-Parr-OSBP14Ombre-Screen-Printed-Poster-Wedding-Invitations-Ngiao-Parr-OSBP15

Ombre-Screen-Printed-Poster-Wedding-Invitations-Ngiao-Parr-OSBP17

Thanks Ngaio!

Design + Hand Lettering: Ngaio Parr

Screen Printing: Half Hazard Press

Check out the Designer Rolodex for more tal­ented wed­ding invi­ta­tion design­ers and the real invi­ta­tions gallery for more wedding invitation ideas!

Photo Credits: Jennifer Emerling and Ngaio Parr

Strawberry-Rhubarb Shrub

Nole and I introduced our first Shrubs last year, those drinks built around flavored vinegar syrups: a peach and bourbon shrub and then a peach and berry summer shrub. Well, it’s Shrub time again! Shrubs are super-tart and full of super-crisp fruit flavors, perfect for summer. Today’s Strawberry-Rhubarb Shrub cocktail recipe, courtesy of Portland’s Ración restaurant via Imbibe magazine, is my favorite Shrub so far. – Andrew

Cocktail-Recipe-Ideas-Strawberry-Rhubarb-Shrub-OSBP-32

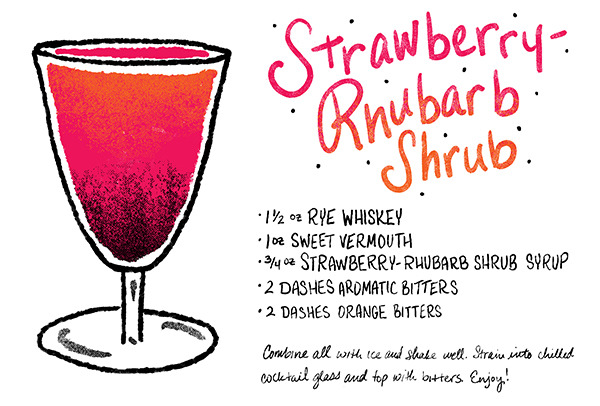
Cocktail-Recipe-Card-Strawberry-Rhubarb-Shrub-Shauna-Lynn-Illustration-OSBP

Illustration by Shauna Lynn for Oh So Beautiful Paper

Strawberry-Rhubarb Shrub
1 1/2 oz Rye Whiskey
1 oz Sweet Vermouth
3/4 oz Strawberry-Rhubarb Shrub Syrup
2 Dashes Orange Bitters
2 Dashes Aromatic Bitters

To make the shrub syrup: combine one cup of Champagne vinegar, 2/3 cup granulated sugar, one cup of diced rhubarb and one cup of diced strawberries in a jar. (The original recipe calls just for rhubarb, but we had so many strawberries leftover…) Shake hard to combine and refrigerate for three days. Then strain through a sieve or cheesecloth into a new jar. This should keep in the refrigerator for at least a couple of weeks.

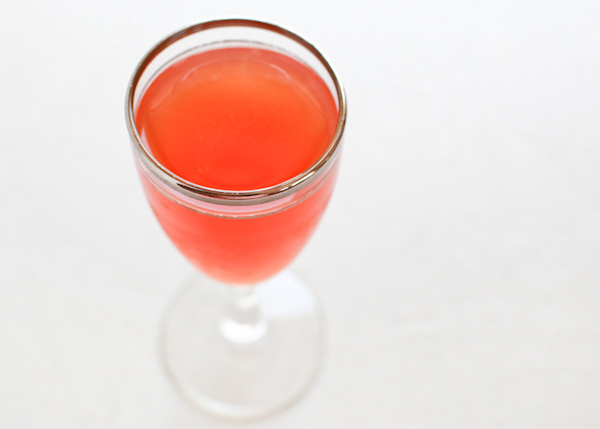
Cocktail-Recipe-Ideas-Strawberry-Rhubarb-Shrub-OSBP-18

To make the Shrub: combine the whiskey, vermouth, and syrup with ice and shake well. Strain into a chilled cocktail glass and top with the bitters. Enjoy!

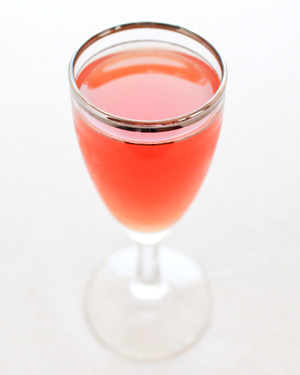
Cocktail-Recipe-Ideas-Strawberry-Rhubarb-Shrub-OSBP-28

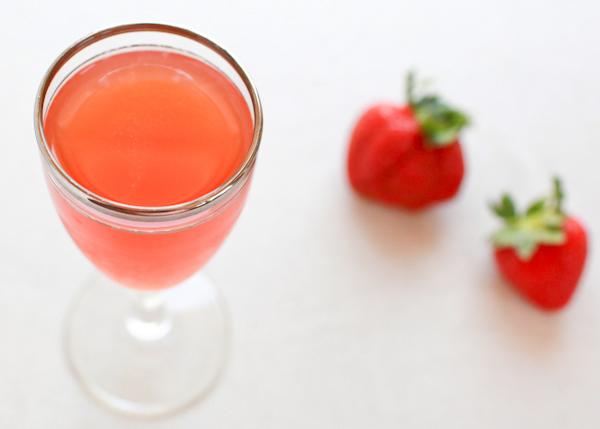
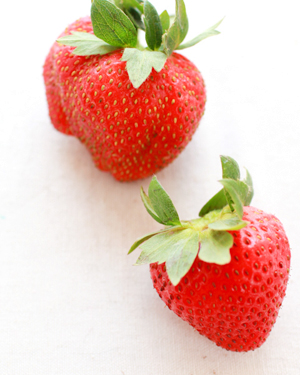
You can make a shrub syrup much faster, by heating the fruit and vinegar until the vinegar is infused with flavor. But the result can often taste a bit like jam, cooked and thick. The alternative is to let the vinegar sit for days – the downside being, of course, that you have to wait, which neither of us are too good at. But the upside is a light shrub with crystal-clear, earthy flavors of tart rhubarb and sweet strawberries. Just really delicious (and would probably go well with some sparkling water to make a shrub soda).

Cocktail-Recipe-Ideas-Strawberry-Rhubarb-Shrub-OSBP-9Cocktail-Recipe-Ideas-Strawberry-Rhubarb-Shrub-OSBP-12

The resulting drink opens with a burst of sweet, tart, fruity shrub, but has a finish that is mellowed out the by the sweet vermouth and rye whiskey. Perfect for unwinding on a sumer night after work.

If you do make one at home, you can use #osbphappyhour to share photos of these (or your own creations) on Instagram.

Photo Credits: Nole Garey for Oh So Beautiful Paper