Happy Friday everyone! I managed to come down with a nasty cold this week, which is still lingering despite my best efforts to chase it away with lots of soup and tea. Ick. Hopefully it’ll be gone by next week, and thankfully my husband has a three day weekend – because trying to care for an 8 week-old baby while sick? No fun. But in the meantime…

Caramel Apple Cider (I want like a million of these right now) via A Pastry Affair
…a few links for your weekend:
- DC area residents! The National Postal Museum is hosting a lecture on contemporary stamp design tomorrow, November 10
- Congrats to the ladies of Antiquaria on their beautiful new website!
- A New York calendar to help support Sandy relief – and if you’re in the NYC area, don’t miss the bake sale!
- Beautiful watercolor art prints
- Loving the new Yellow Owl Workshop collection for Schoolhouse Electric!
This week on Oh So Beautiful Paper:
- It’s holiday card season! Check out the full holiday card round up here, and some favorites here and here
- Elegant red and gold letterpress wedding invitations
- Rustic calligraphy + kraft paper wedding invitations
- Jessica + Dan’s modern chevron stripe save the dates
- Ideas for incorporating silhouettes into your wedding stationery
- DIY Tutorial: gold embossed save the dates!
- Wedding invitations inspired by 1920s-era Paris
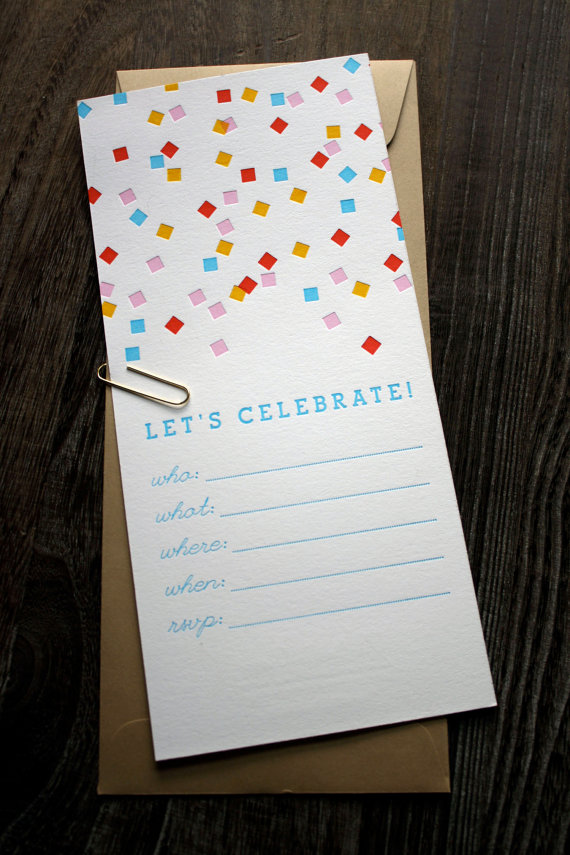
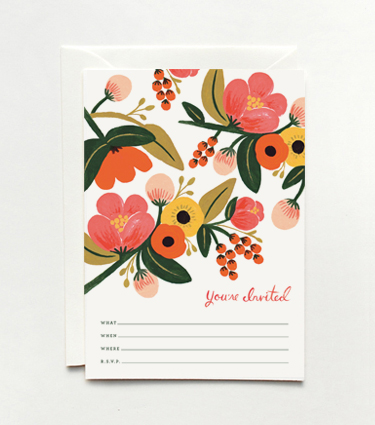
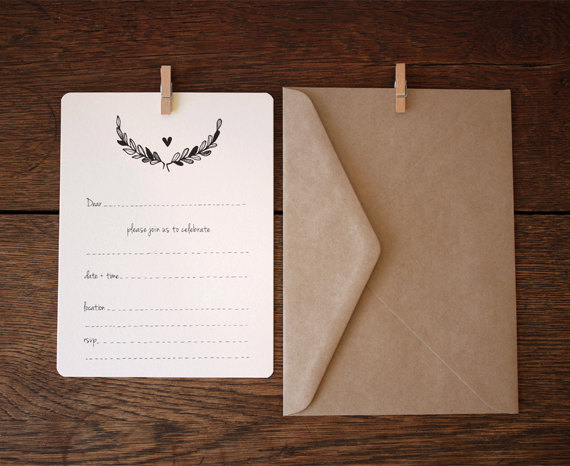
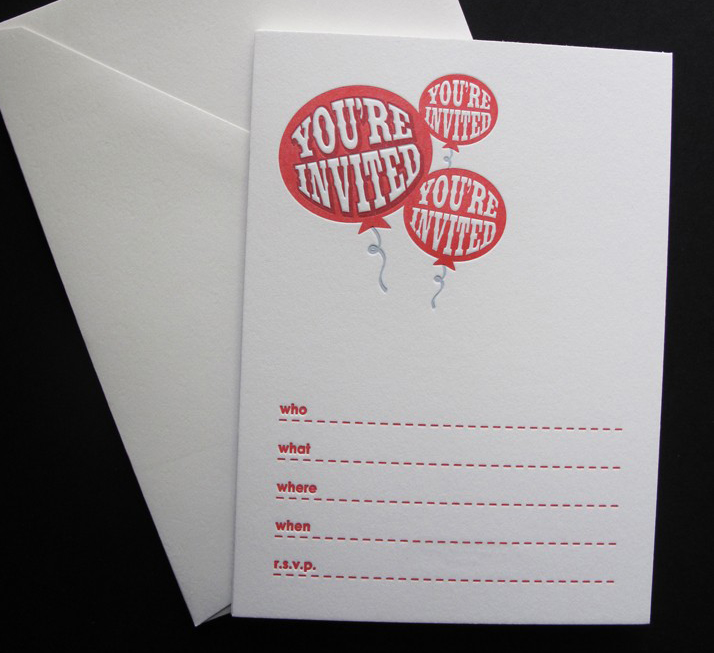
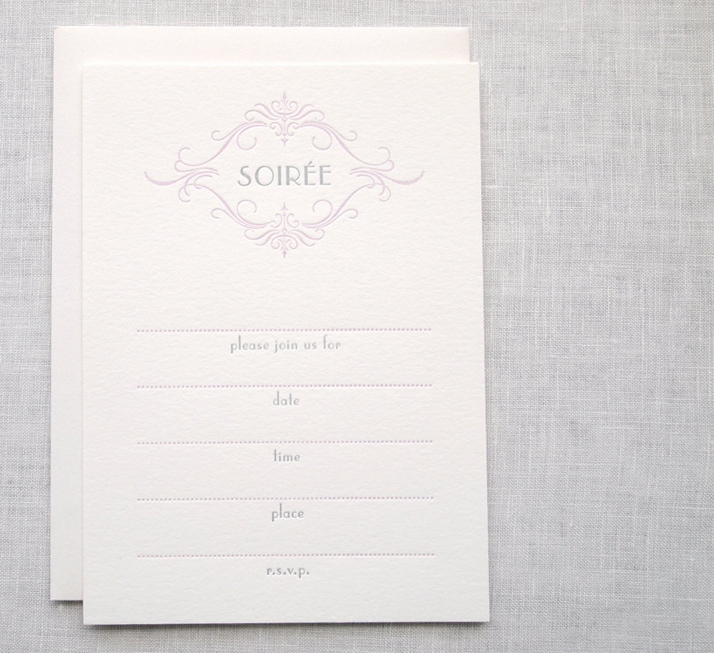
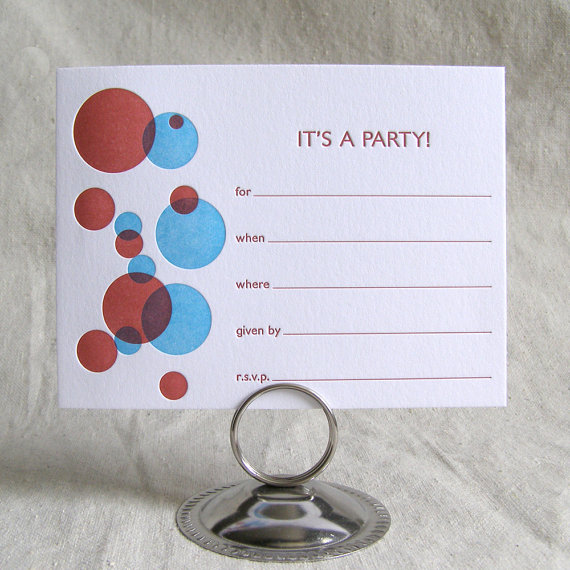
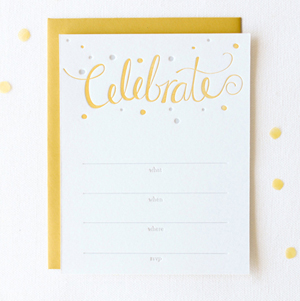
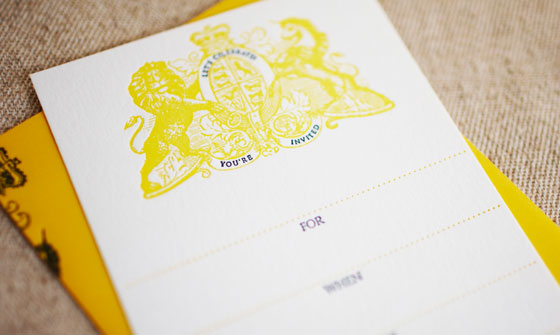
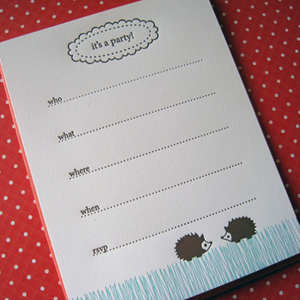
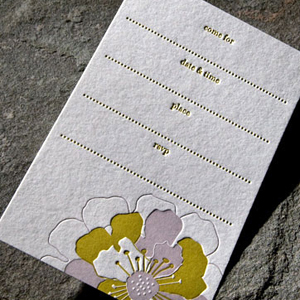
- Fill-in invitations for last minute parties
That’s it for me this week!  I hope you all have a wonderful weekend, and I’ll see you back here on Monday! xoxo


")
")
")
")
")