Laura + Jeremy’s Kraft Paper and Mint Green Wedding Invitations

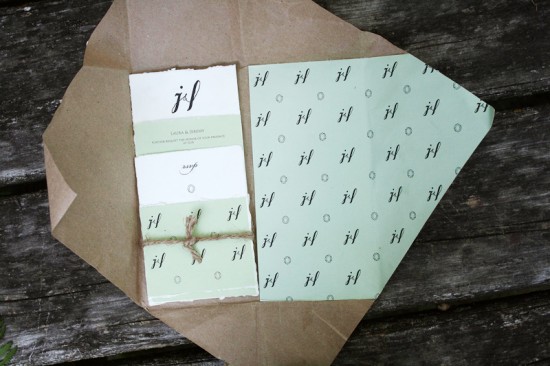
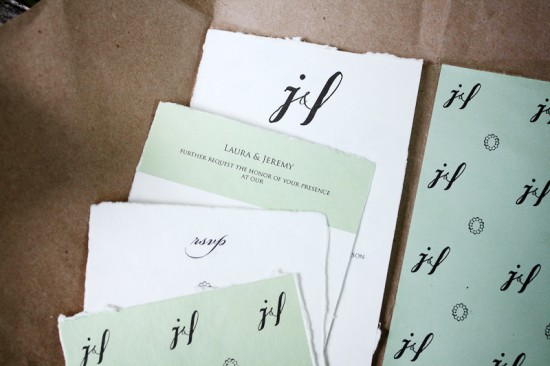
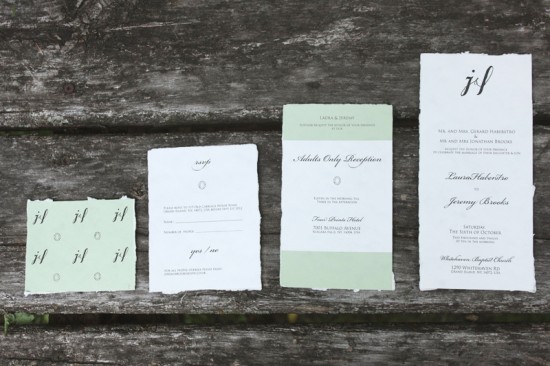
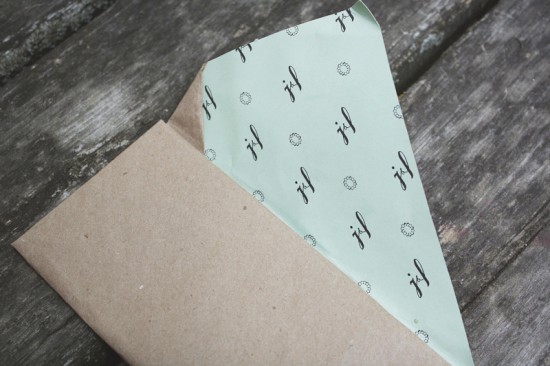
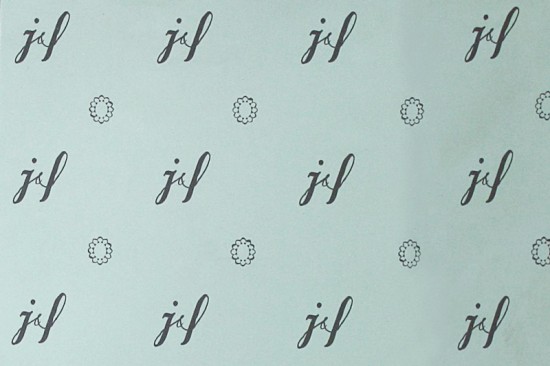
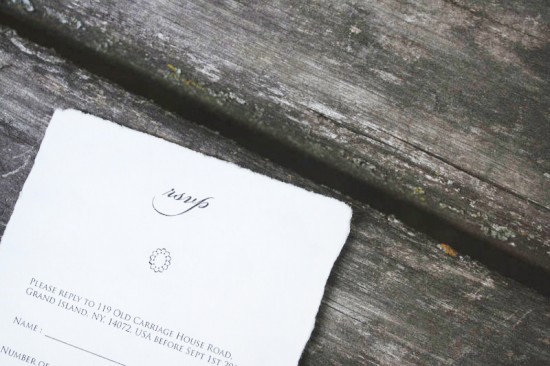
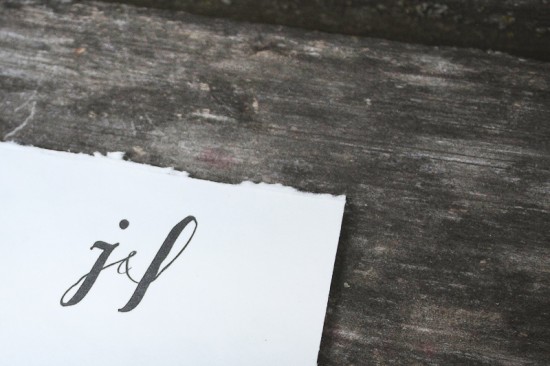
This invitation suite from UK-based designer Belinda Love Lee is both delicately beautiful and decidedly unfussy, not to mention budget friendly! Belinda incorporated a pattern that uses the couple’s initials and an illustration inspired by Laura’s engagement ring, all wrapped up in kraft paper. The result is a sweet and simple invitation suite with classic design elements.

Mint and Kraft Wedding Invitations by Belinda Love Lee (5)

From Belinda: When designing for Jeremy and Laura, I wanted to keep it simple yet still have their personality shine through. They’re young and super in love, so everything was printed and packaged with a budget in mind.

Mint and Kraft Wedding Invitations by Belinda Love Lee (3)

Mint and Kraft Wedding Invitations by Belinda Love Lee (4)

My favorite part is the inside pattern, which was inspired by the bride’s engagement ring. The ring was a hand me down previously worn by her fiancé’s mom! It’s such a beautiful story in itself, and Jeremy and Laura wanted to replicate this on the invitations.

Mint and Kraft Wedding Invitations by Belinda Love Lee (8)

Mint and Kraft Wedding Invitations by Belinda Love Lee (7)

Mint and Kraft Wedding Invitations by Belinda Love Lee (6)

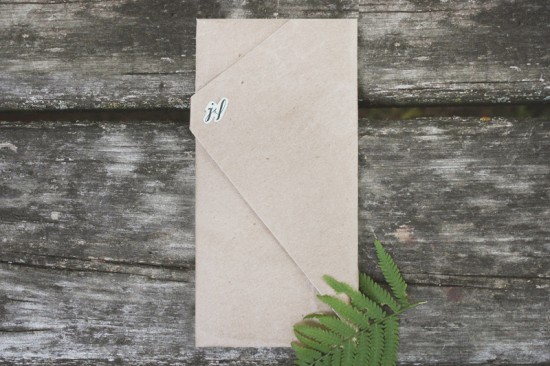
The outer packaging is simple kraft paper that you can pick up at any art store with the printed pattern paper glued onto it. For the invitations we used a paper with lots of texture and I kept the edges jagged by ripping the paper against a metal ruler.

Mint and Kraft Wedding Invitations by Belinda Love Lee (1)

Mint and Kraft Wedding Invitations by Belinda Love Lee (2)

Thanks Belinda!

Check out the Designer Rolodex for more tal­ented wed­ding invi­ta­tion design­ers and the real invitations gallery for more wedding invitation ideas!

Photo Credits: Belinda Love Lee

Sabrina + John’s Neon Destination Wedding Invitations

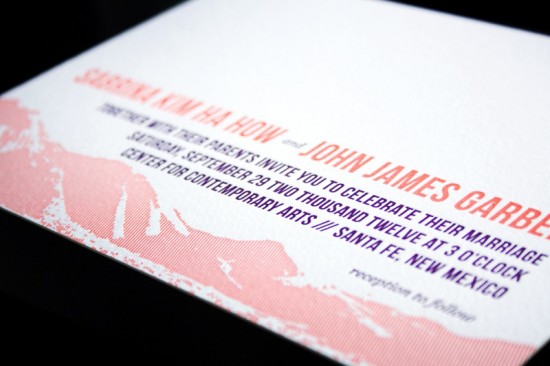
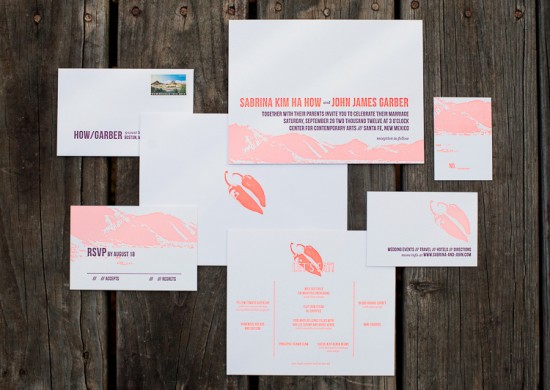
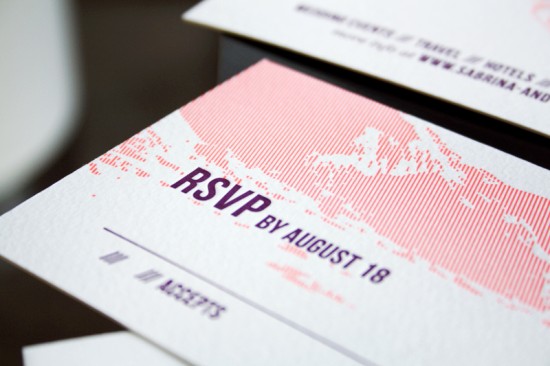
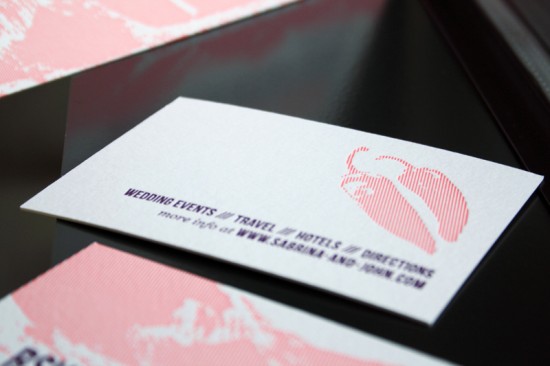
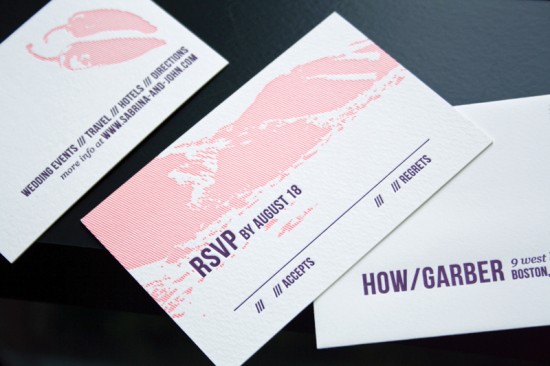
I’ve never had the pleasure of visiting New Mexico, but Sabrina and John’s destination wedding invitations remind me of what I imagine a famous New Mexico sunset might look like! Sabrina, a designer at Smudge Ink, wanted to stay true to her modern design style, incorporating a vibrant neon coral ink and bold purple into the design. Love it!

Modern Neon Destination Wedding Invitations by Smudge Ink via Oh So Beautiful Paper (8)

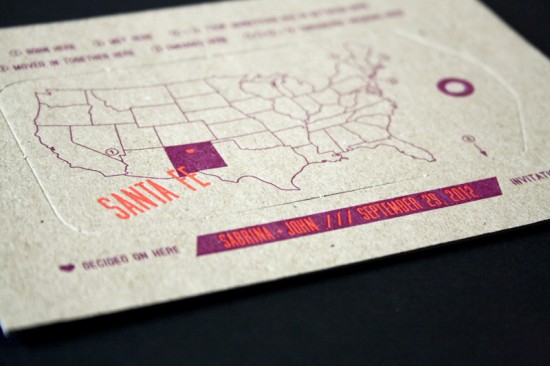
From Sabrina: John and I had a destination wedding in Santa Fe back in September. We had never even been to New Mexico before when the idea came to mind, but after making a weekend getaway there we had completely fallen for its small town warmth and desert landscapes. So when it came to the creating the look and feel for our wedding, we knew we wanted to celebrate the best of Santa Fe while keeping true to our modern tastes and playful personalities.

Modern Neon Destination Wedding Invitations by Smudge Ink via Oh So Beautiful Paper (9)

Modern Neon Destination Wedding Invitations by Smudge Ink via Oh So Beautiful Paper (10)

As someone who works with brides on their wedding stationery for a living, I naturally looked forward to designing all of the paper touches. The invitations reflected the serene mountain scenery but in a more modern light with the use of straight lines letterpress printed in fluorescent coral ink and bold text in prune. We also incorporated a pair of chiles as a humorous nod to our love for spicy food.

Modern Neon Destination Wedding Invitations by Smudge Ink via Oh So Beautiful Paper (6)

Modern Neon Destination Wedding Invitations by Smudge Ink via Oh So Beautiful Paper (3)

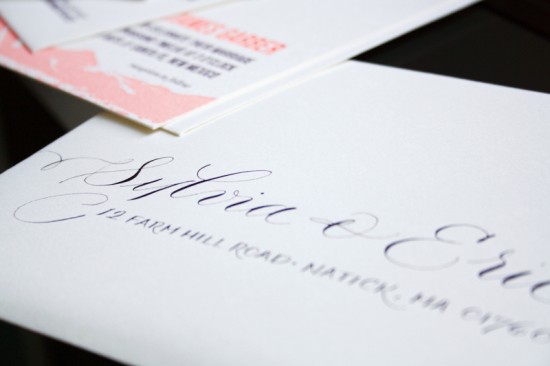
Fortunately, I had everyone at Smudge Ink to give me a helping hand and Megan Chapin Calligraphy to address each one in matching prune ink. And how happy do you think I was when I saw that the USPS had just released commemorative stamps in honor of New Mexico!

Modern Neon Destination Wedding Invitations by Smudge Ink via Oh So Beautiful Paper (5)

Modern Neon Destination Wedding Invitations by Smudge Ink via Oh So Beautiful Paper (4)

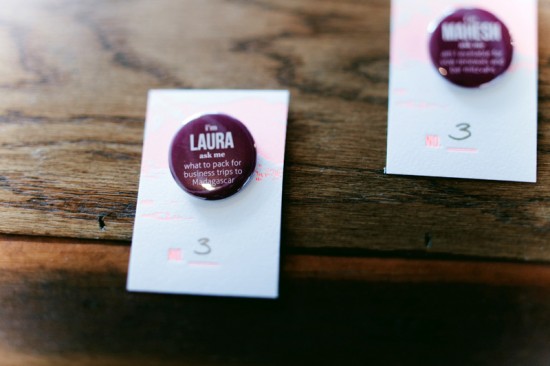
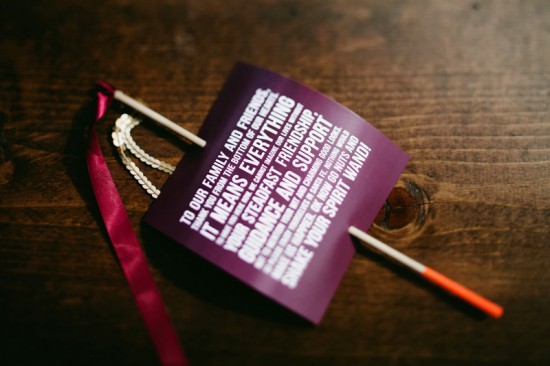
John and I tried to keep things fun and light in our day-of pieces too. From our ice breaker escort card pins to our ceremony “spirit” wands. The interactive nature of these pieces really got the party going!

Modern Neon Destination Wedding Invitations by Smudge Ink via Oh So Beautiful Paper (1)

Modern Neon Destination Wedding Invitations by Smudge Ink via Oh So Beautiful Paper (2)

Thanks Sabrina!

Design & Letterpress Printing: Smudge Ink

Calligraphy: Megan Chapin Calligraphy

Smudge Ink is a member of the Designer Rolodex – you can see more of their beautiful wedding invitations right here or  real invi­ta­tions gallery for more wedding invitation ideas!

Photo Credits: Sabrina Garber and Karen Kristian Photography

{happy weekend!}

Well, it was bound to happen… we caught our first family cold this week. Sophie and I were first to come down with it on Monday, followed quickly by my husband on Tuesday, and I’m hoping we’re now at the tail end of it. Boo colds! We’re all feeling pretty run down, so this weekend we’ll be trying to rest up (and recover) as much as possible. But in the meantime…

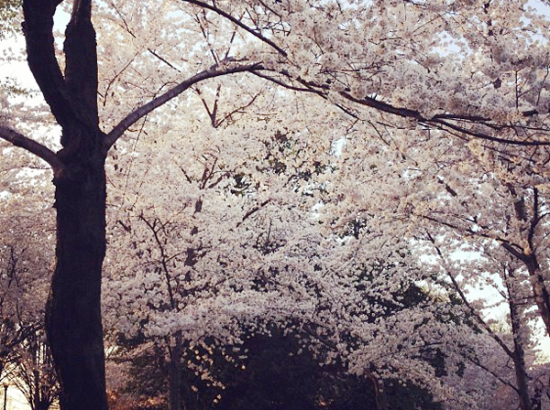
Cherry Blossoms in Washington DC by Oh So Beautiful Paper

Photo by me (via Instagram) of last year’s cherry blossoms

…a few links for your weekend!

This week on Oh So Beautiful Paper:

We have a fun cocktail coming up for you this afternoon, so check back a bit later for the recipe!  I hope you all have a wonderful weekend, and I’ll see you back here on Monday!  xoxo

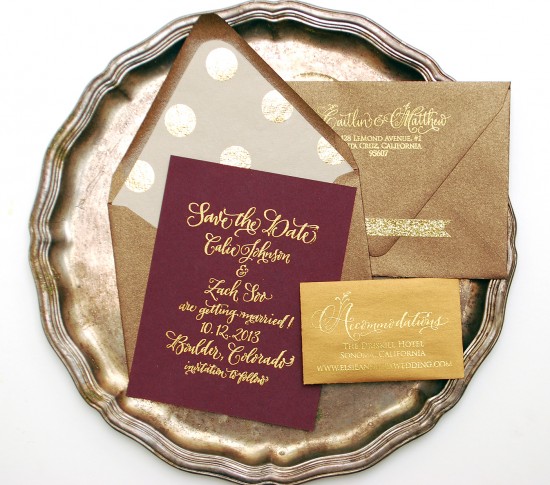
DIY Tutorial: Fig & Gold Calligraphy Save the Date

A few years ago, we participated in a gorgeous vintage plum & gold inspiration shoot. Besides contributing our Gold Leaf Collection place settings to the shoot, we were also asked to provide a calligraphy menu and all of the place cards for the table. To this day, we still inquiries for save the dates or invitations that reference the menu from that shoot because the combination of the fig paper with gold calligraphy is so incredibly striking. – Bailey and Emma of Antiquaria
DIY Tutorial: Fig + Gold Calligraphy Save the Dates by Antiquaria via Oh So Beautiful Paper

By embossing these stamps with gold powder it really creates a high end, custom looking save the date!
DIY Tutorial: Fig + Gold Calligraphy Save the Dates by Antiquaria via Oh So Beautiful Paper

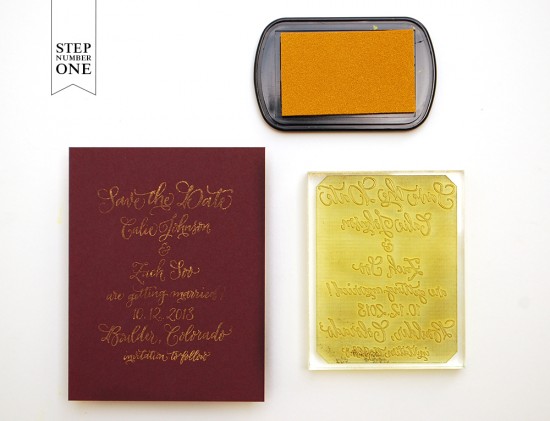
Step One: Place your A2 card on a stable and firm surface. Ink your save the date stamp (we used our Calligraphy Save the Date, No.2 stamp) and center the stamp over your card. When ready, press the stamp down with moderate pressure to make the print. Lift the stamp off and quickly move on to step number two. For more information about inking your stamp or making prints, please watch this video that shows the process in more detail.
DIY Tutorial: Fig + Gold Calligraphy Save the Dates by Antiquaria via Oh So Beautiful Paper

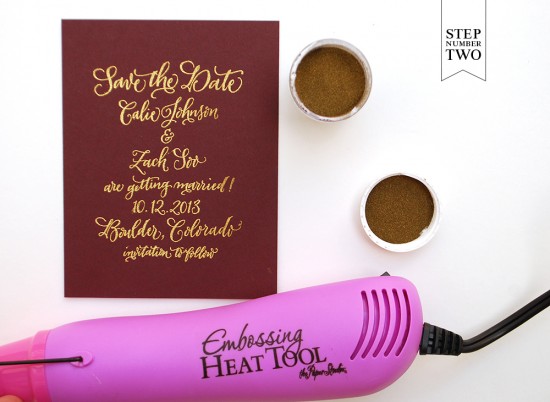
Step Two: Once you’ve made your print, immediately cover it with embossing powder by sprinkling it across the paper. Shift the powder around until you have covered the entire image. Now, you will pour the excess powder off of the card onto a scrap piece of paper so that you can reuse it for future prints. Heat set the print, using an Embossing Heat Tool. You will be able to see the powder melt into a smooth and shiny gold when it’s done.

Note: One key thing about embossing is that it is wise to try to closely match your ink color with your powder color. By doing this, you will get much more crisp and opaque results. Since we are wanting a lovely and shiny gold print, we used both a gold stamp pad and gold embossing powder.
DIY Tutorial: Fig + Gold Calligraphy Save the Dates by Antiquaria via Oh So Beautiful Paper

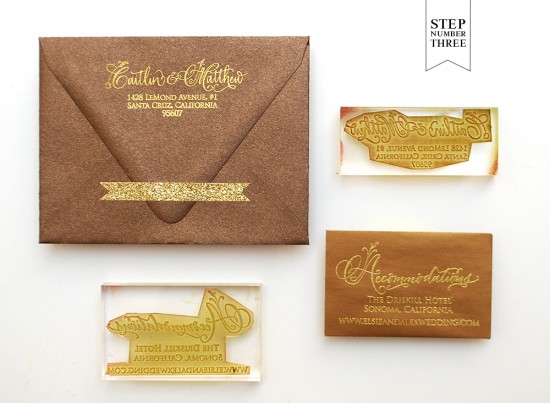
Step Three: You will now just repeat this inking and embossing process for your remaining pieces (we used our Floral Calligraphy Return Address stamp and our Floral Calligraphy Accommodations stamp) that will coordinate with your save the date. For the accommodations card, you will use a standard business sized card.
DIY Tutorial: Fig + Gold Calligraphy Save the Dates by Antiquaria via Oh So Beautiful Paper

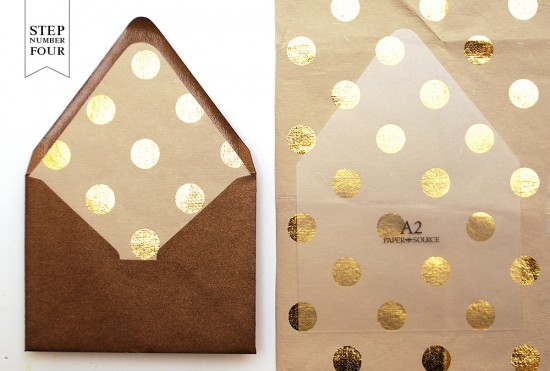
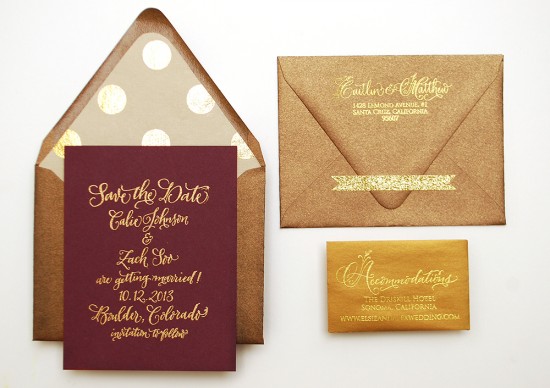
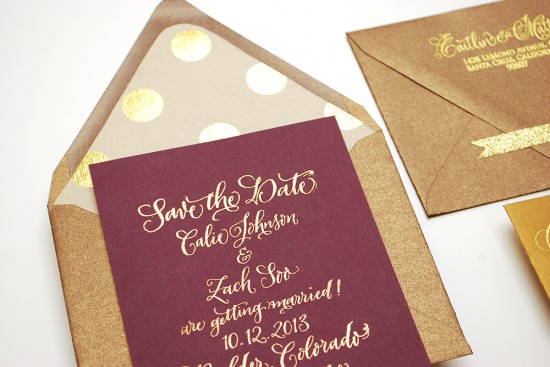
Step Four: To add a little extra personality to the suite, we added an envelope liner made from some awesome kraft and gold polka dot gift wrapping paper. It really helps tie the whole thing together! Trace the template onto your paper and cut it out with scissors. To install, simply use stick glue or double sided tape to adhere them into your envelope.
DIY Tutorial: Fig + Gold Calligraphy Save the Dates by Antiquaria via Oh So Beautiful Paper

DIY Tutorial: Fig + Gold Calligraphy Save the Dates by Antiquaria via Oh So Beautiful Paper

Finally, address the invitations, add postage, and send them off to delight your guests! You can also accent the suite with sparkly gold washi tape if you like!

Materials:

Calligraphy Save the Date Stamp, No.2

Floral Calligraphy Return Address Stamp

Floral Calligraphy Accommodations Card

Stamp Pad

Embossing Powder

Heat Gun

A2 Cards in Fig

A2 Envelopes in Antique Gold

Business Cards for the Accommodations piece, in Antique Gold

Gift Wrap to be used as an envelope liner, ours was purchased locally from Urbanic

Envelope liner templates

Pencil

Scissors

Glitter Washi Tape

Photo Credits: Antiquaria

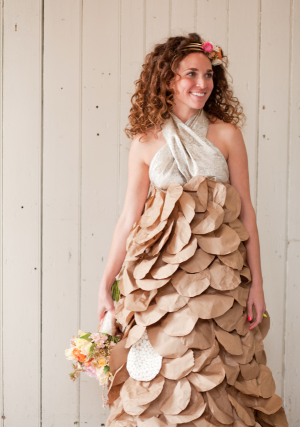
Paper Dress Inspiration from Paper Posy Designs

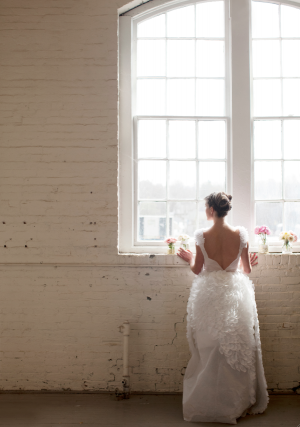
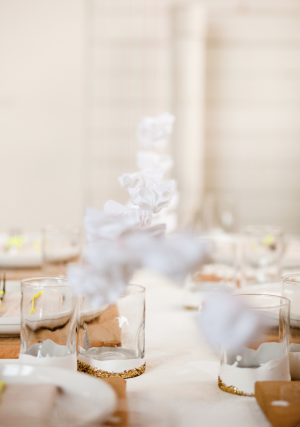
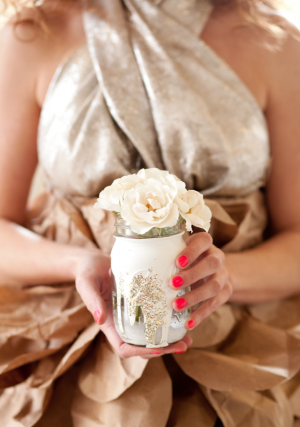
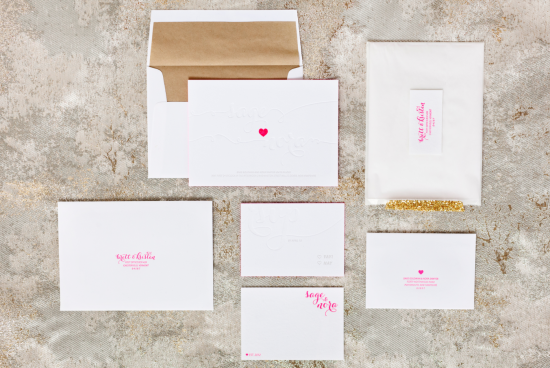
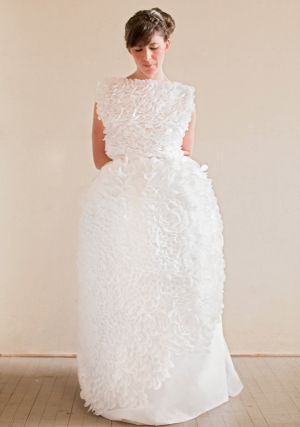
I love paper in all forms, and it can be so inspiring to see all the different ways that paper can be used and transformed into works of art. Enter Liz – the artist behind Paper Posy Designs and also the store manager + window display artist at the fabulous Gus & Ruby Letterpress boutique in Portsmouth, New Hampshire. Liz was inspired by one of her window display creations to pull together a full inspirational shoot around two seriously amazing paper dresses, along with gorgeous invitations and table decor!

Paper Dress Inspiration by Paper Posy Designs via Oh So Beautiful Paper Paper Dress Inspiration by Paper Posy Designs via Oh So Beautiful Paper

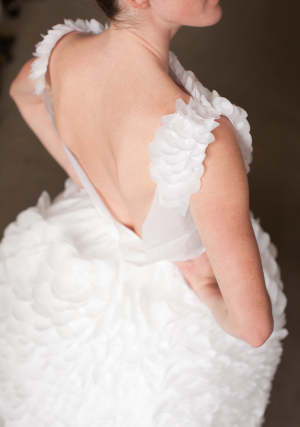
From Liz: This paper dress shoot was an opportunity for me to meld two elements that constantly inspire me: fashion design and art installation. I originally designed a dress made out of flower petals from 100% post-consumer recycled cardstock for a window display at the incredible Gus & Ruby Letterpress boutique.

Paper Dress Inspiration by Paper Posy Designs via Oh So Beautiful Paper Paper Dress Inspiration by Paper Posy Designs via Oh So Beautiful Paper

Customers asked whether or not the dress could be worn. For weeks, I laughed off the concept because I wouldn’t be able to staple a paper dress onto a real life model as I had done to the dressform! I was later inspired by the challenge that type of project would be for me… and so, production began. After cutting and forming hundreds of thousands of little individual paper petals, and scheming up a tablescape with white on white as the main theme, I pulled together a group of vendors to flesh out the shoot with stationery, flowers, and even a few cakes!

Paper Dress Inspiration by Paper Posy Designs via Oh So Beautiful Paper

I spent about two months producing the paper dresses that each model wore, and the satisfaction of seeing them climb into their respective garb the day of the shoot was more than I could take. It was such a fun project!

Paper Dress Inspiration by Paper Posy Designs via Oh So Beautiful Paper Paper Dress Inspiration by Paper Posy Designs via Oh So Beautiful Paper

Thanks Liz!

Paper Dresses, Styling, and Design: Liz Lapan, Paper Posy Designs

Invitations: Gus & Ruby Letterpress

Videography: Ben Krebs (check out a video from the shoot right here!)

Florals: Flora Fauna

Cakes: Wild Orchid Bakery

Photo Credits: Mark Davidson Photography