Signature Cocktail: Spiced Irish Coffee

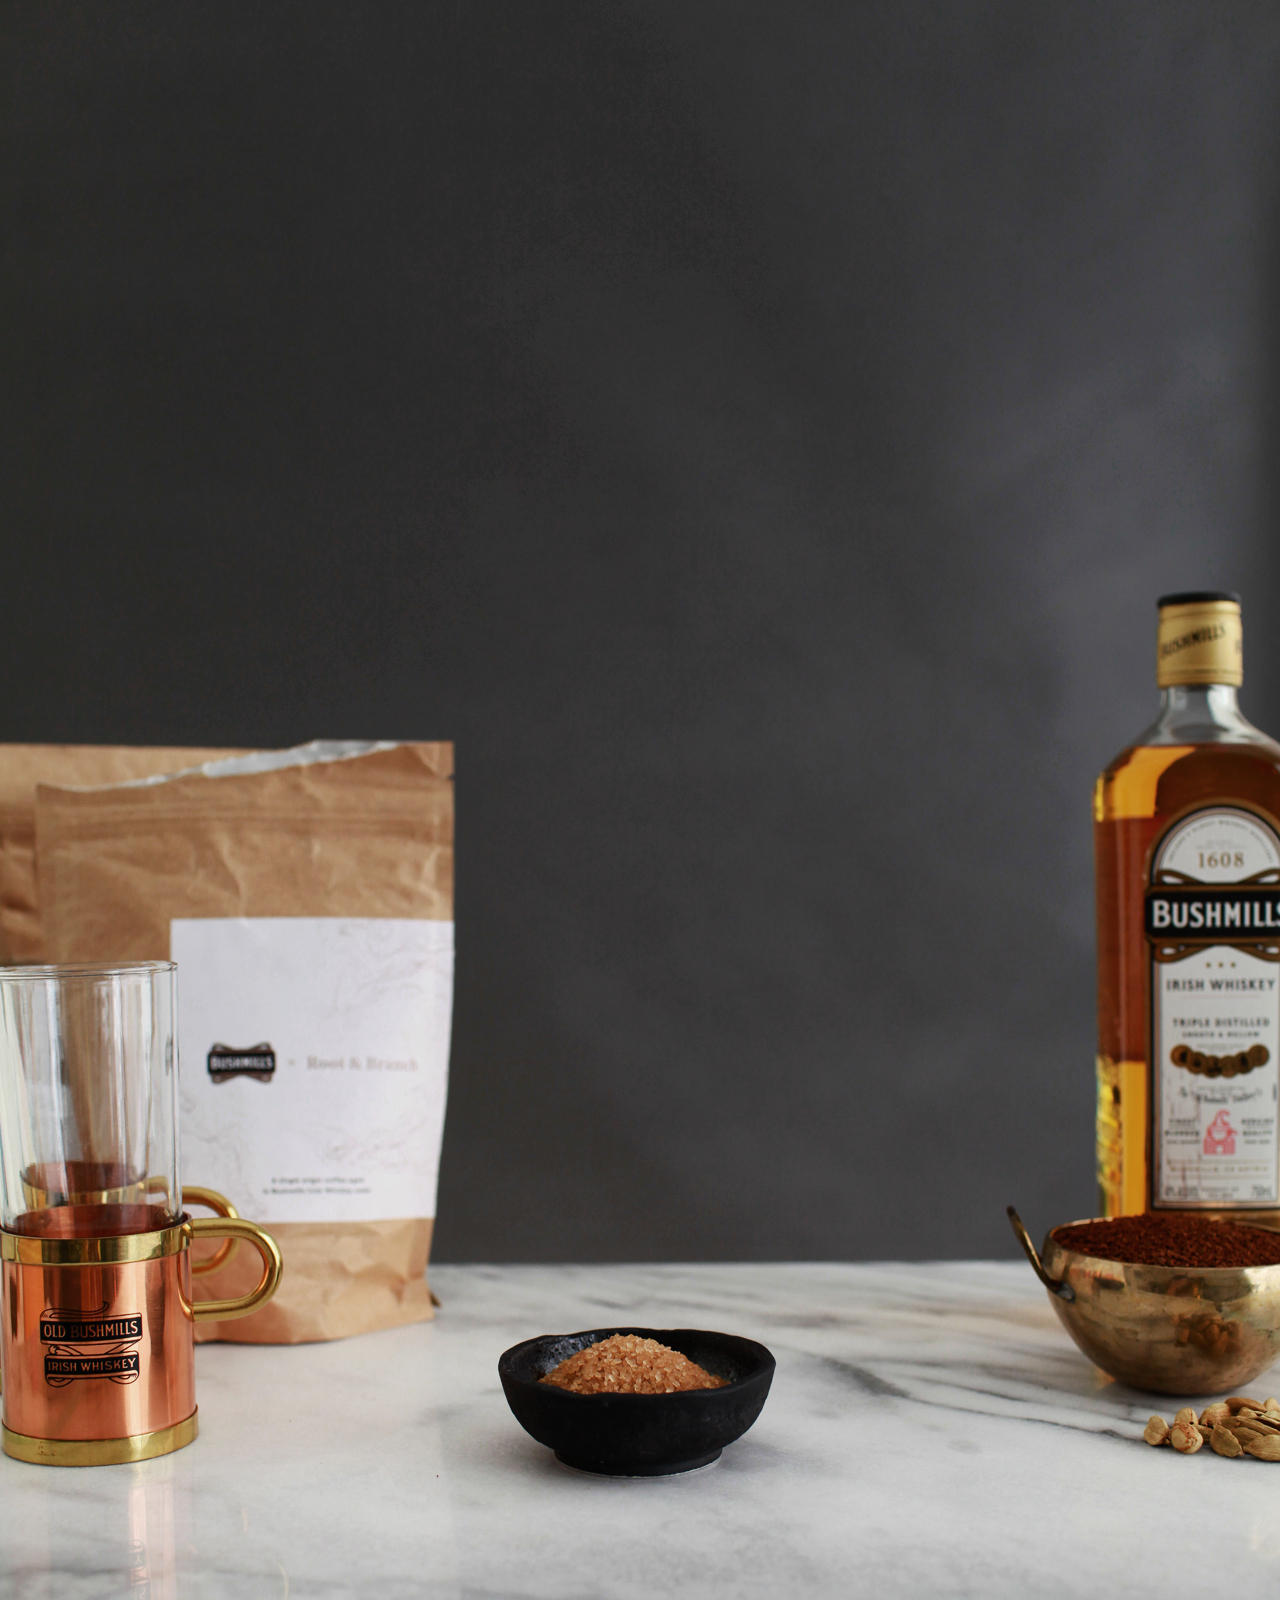
St. Patrick’s Day is just around the corner, and we’ve got the cocktail solution for those of you wondering what to drink on St. Patrick’s Day! This is also the perfect drink to enjoy on a cold night, especially after all this snow and winter weather we’ve been getting on the East Coast. This Spiced Irish Coffee cocktail recipe has cardamom syrup and rosewater whipped cream – a fun twist on the traditional Irish Coffee cocktail. For those of you planning winter weddings, this is also a fantastic signature cocktail idea to keep your guests warm!

Spiced Irish Coffee Cocktail Recipe by Liquorary

Spiced Irish Coffee Cocktail Recipe

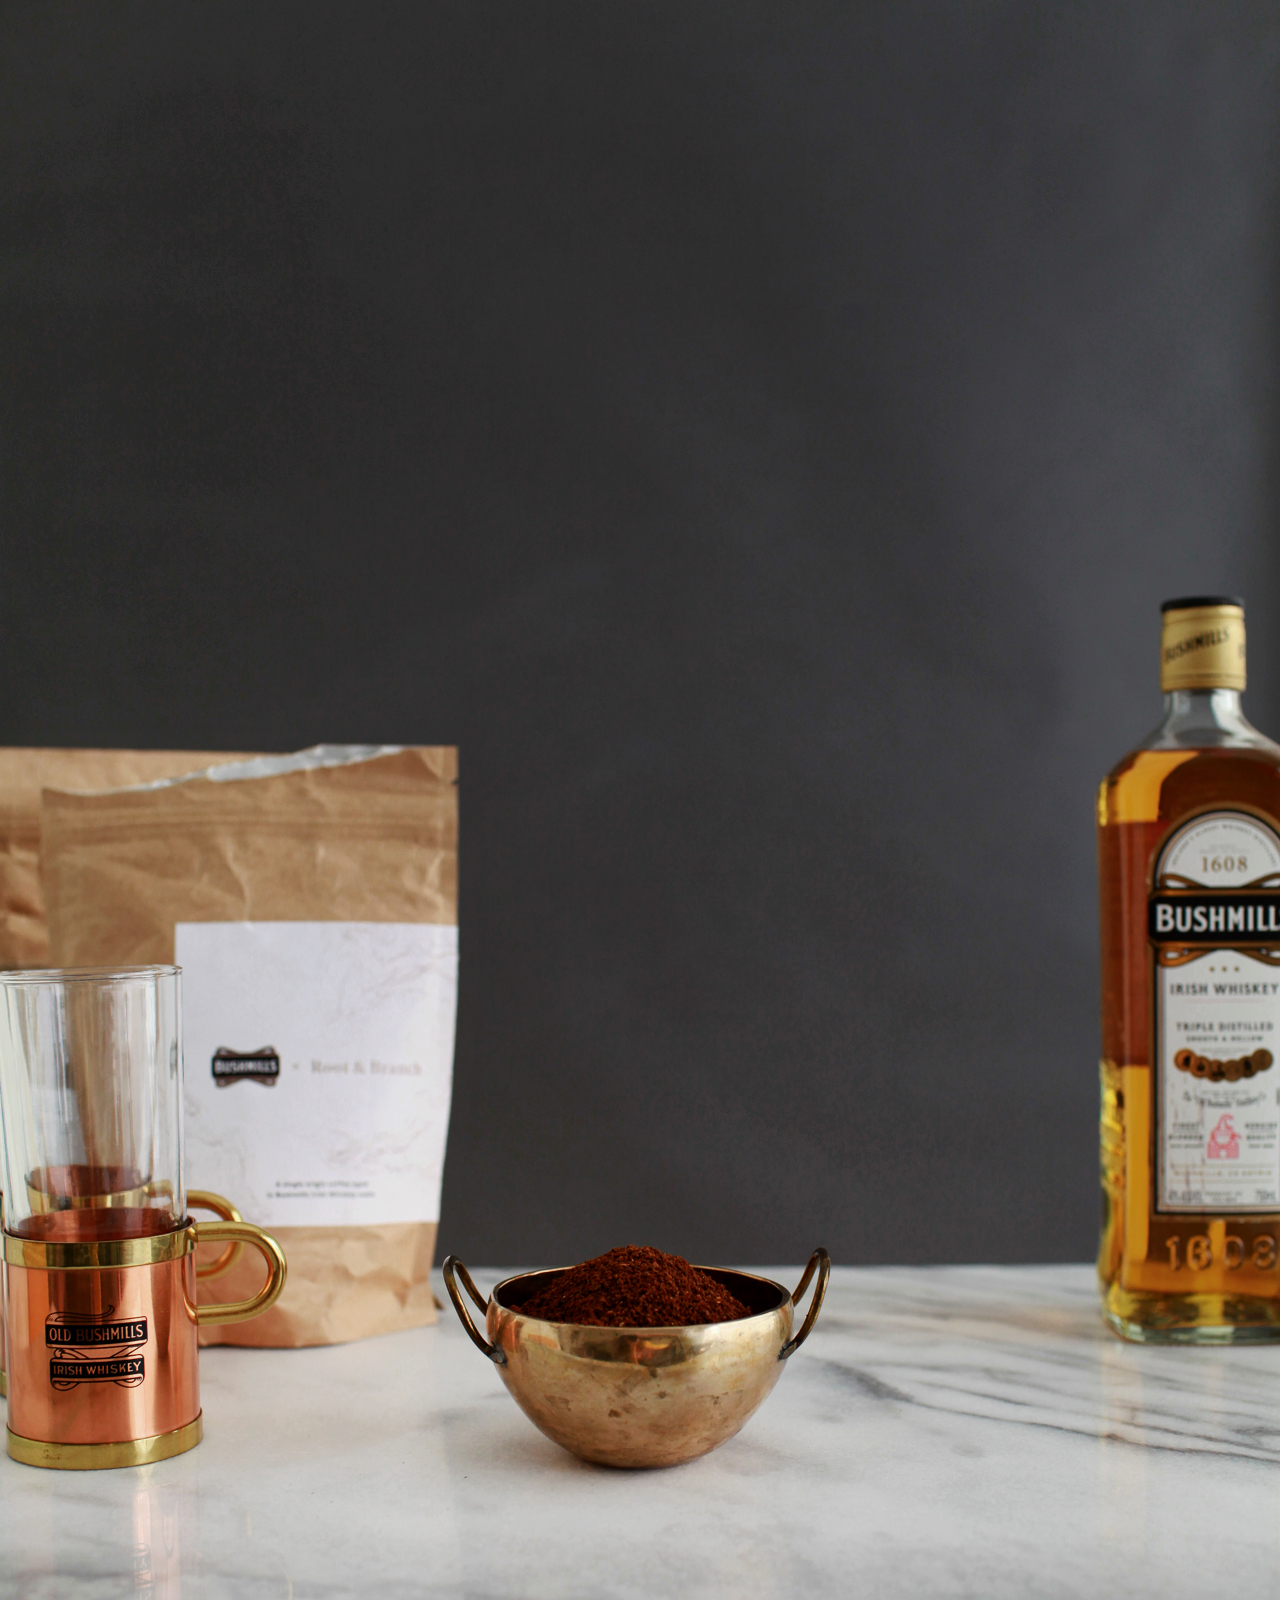
  • 2 oz Irish Whiskey
  • 1/2 oz Rich Cardamom Syrup
  • 6 oz Hot Coffee
  • 1 oz Rosewater Whipped Cream

To make the Cardamom Syrup: combine 2 cups of raw sugar with a cup of water in a saucepan over low heat. Add a handful of cardamom pods and stir frequently until the sugar has melted into the water. Take the pan off the heat, cover, and let it sit for at least 20 minutes to infuse. Then strain out the cardamom pods and bottle the syrup.

Spiced Irish Coffee Cocktail Recipe by Liquorary

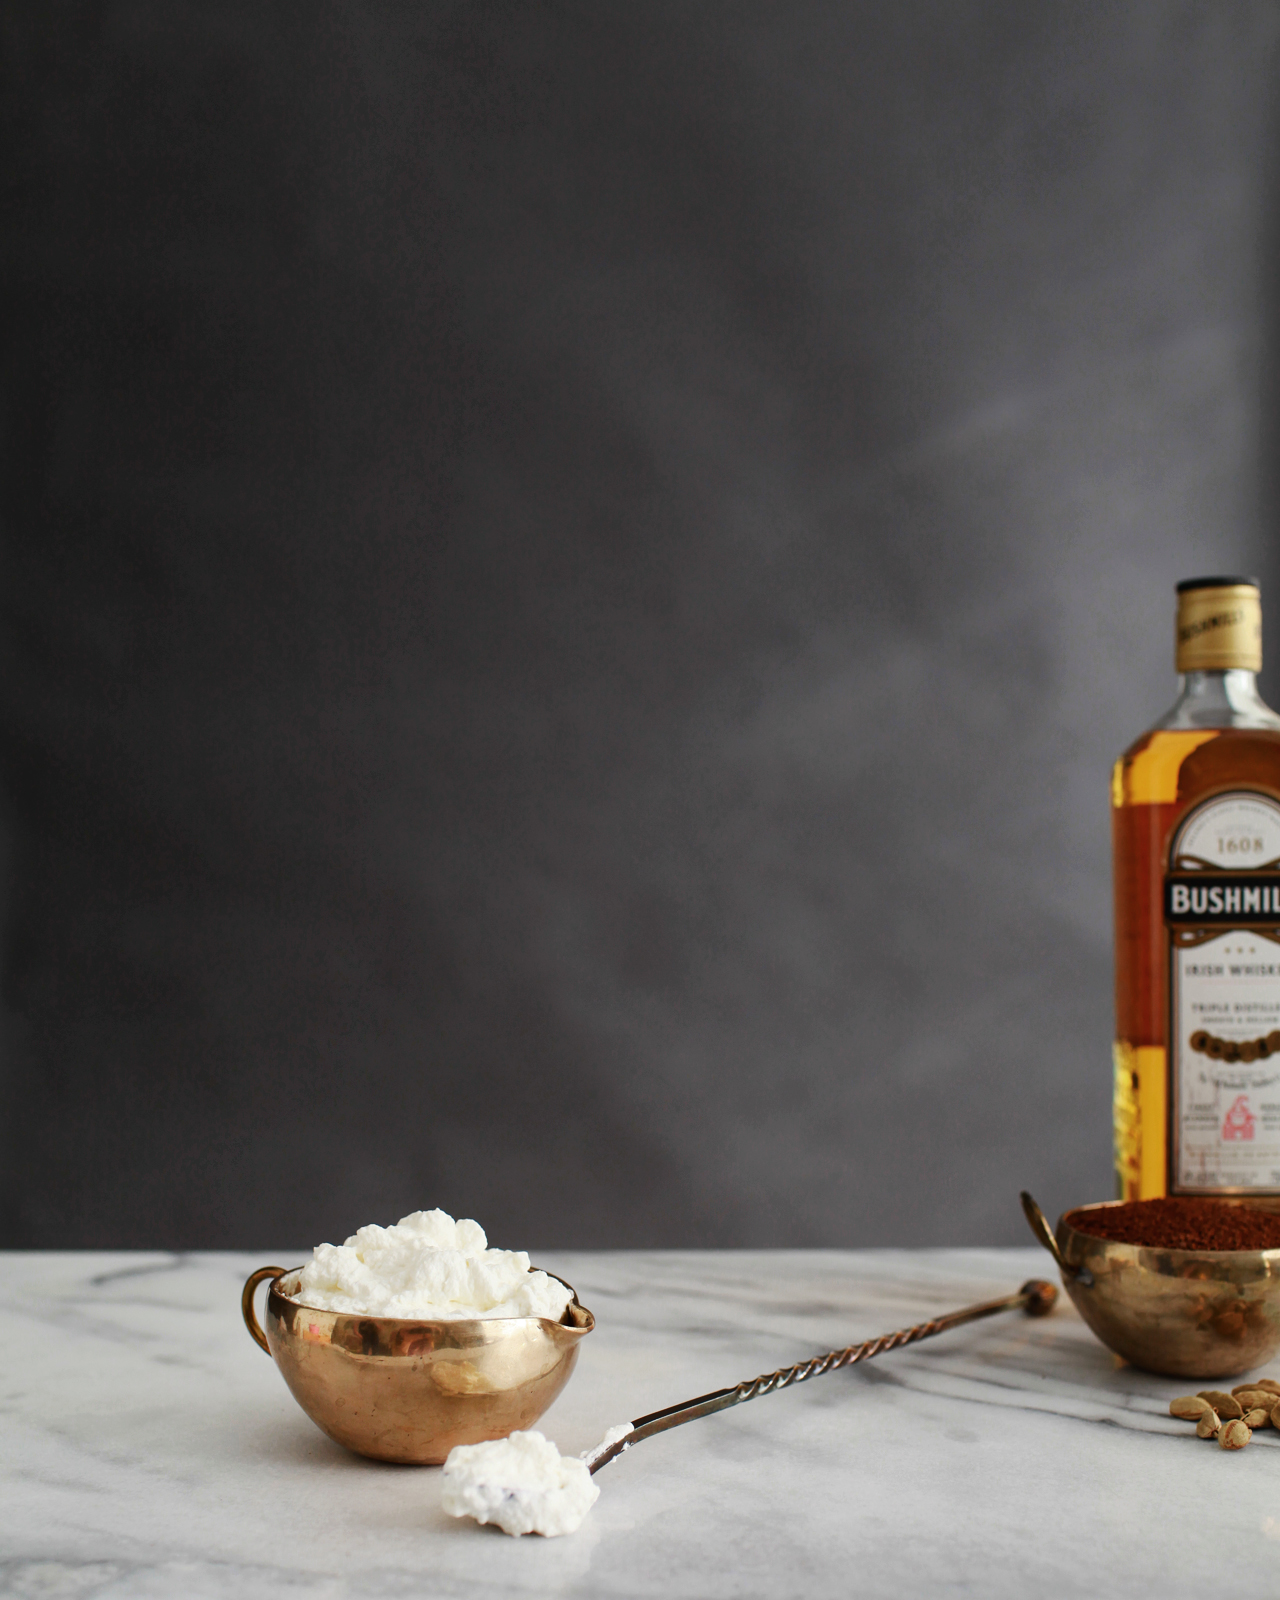
To make the Rosewater Whipped Cream: combine a pint of heavy whipping cream and a teaspoon of rosewater in a standing mixer and whip until the cream starts to stiffen, but not so stiff that stable peaks form. Add more rosewater as needed; you want the cream to be fragrant but not soapy.

To make the Spiced Irish Coffee: combine the whiskey, syrup, and coffee in a heatproof glass, preferably with a handle, or a mug. Top with the whipped cream and top with a dusting of ground cardamom. Give the drink the gentlest of stirs and enjoy!

Spiced Irish Coffee Cocktail Recipe by Liquorary

A traditional Irish Coffee calls just for whiskey, sugar, coffee, and cream. This makes a very good drink. Our version just kicks this up a notch, adding some of our favorite Middle Eastern flavors that pair perfectly with coffee. (Seriously, consider adding a pinch of ground cardamom and a tiny dash of rosewater to your morning coffee; you’ll be glad you did.)

Spiced Irish Coffee Cocktail Recipe by Liquorary

We used a rich simple syrup – a syrup made from a 2:1 ratio of sugar to water – because its thick body helps add texture to the Irish Coffee. We’ve found that hot drinks can often feel too thin and rough unless they’re balanced properly with thickening ingredients like this. The cream helps too; you want the cream to sit heavy on top of the glass, melting into the drink bit by bit.

Spiced Irish Coffee Cocktail Recipe by Liquorary

Spiced Irish Coffee Cocktail Recipe by Liquorary

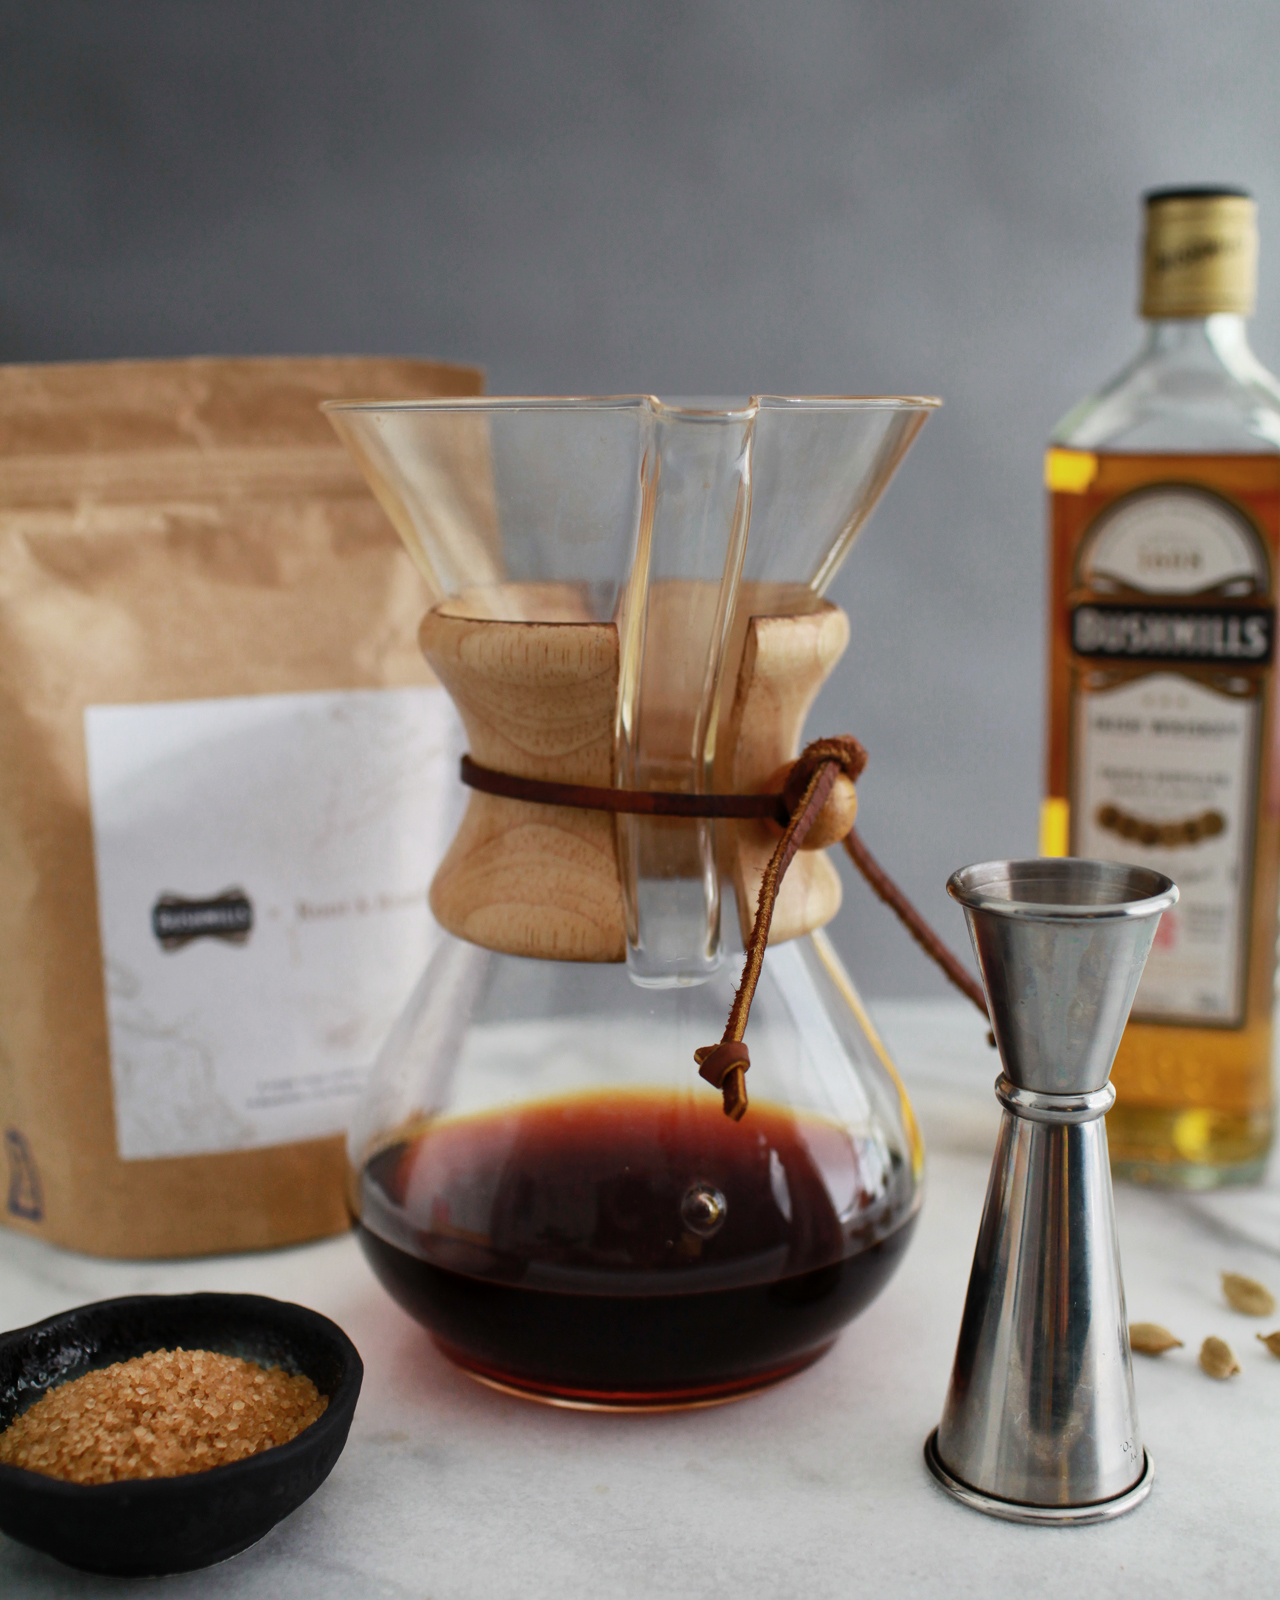
The coffee is, of course, important too – especially since it makes up the majority of the drink. We used fresh pour-over coffee, since we’re coffee nerds in addition to being booze nerds. But this doesn’t seem like the right post to get into all the mechanics of that. Would anyone be interested in taking a further look at pour-over coffee in another post?

Photo Credits: Nole Garey for Oh So Beautiful Paper

Inspiring Calligraphers: Michele of Meant To Be Calligraphy

Hey everyone! I’m excited to share a peek today into the work of Michele Hatty Fritz of Meant To Be Calligraphy. There’s lots of pretty calligraphy here to check out, but I also love Michele’s insights that show her true passion for lettering. She not only creates calligraphy — she also teaches classes on calligraphy and brush lettering. So let’s take a look at this inspiring calligrapher! – Jen

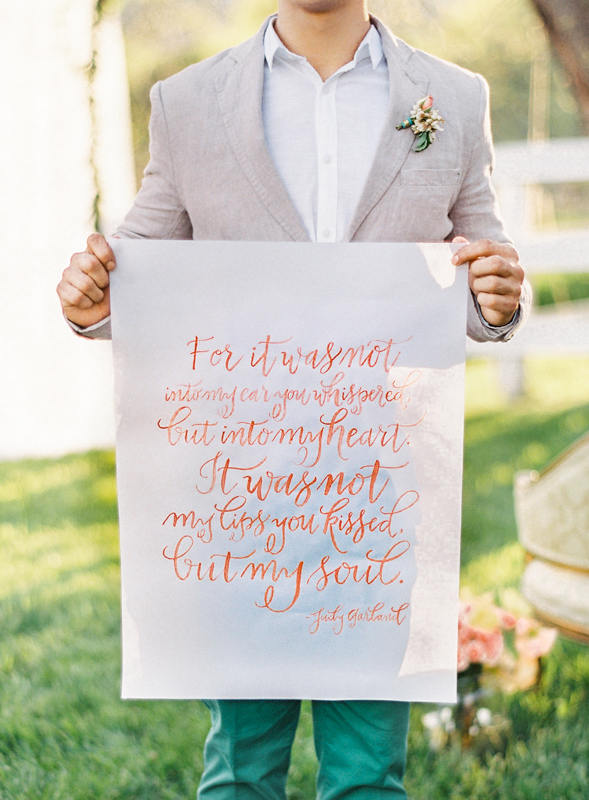
Calligraphy Wedding Sign / Meant to Be Calligraphy

Photo Credit: Vicki Grafton Photography

How did Michele become a calligrapher? She started out working with words in a different way, as a journalist. “I spent the first part of my career as a journalist, covering entertainment, pop culture and food for a national magazine and later as an editor for The Washington Post,” says Michele. “But in 2009, I was ready for a change, so I quit my job at the Post to become a full-time, professional calligrapher and launched Meant To Be Calligraphy.” She does have some fun memories from her past work!  “I’m probably the only calligrapher you will ever meet who has interviewed Coldplay before a big show in Manhattan, John Mayer in a swanky New York hotel, Patrick Dempsey on a race track in Florida, Josh Duhamel on the beach in Santa Monica after a joint surfing lesson, J.K. Rowling over lunch in Boston and Maroon 5 on their tour bus here in DC.” Ha, so fun!

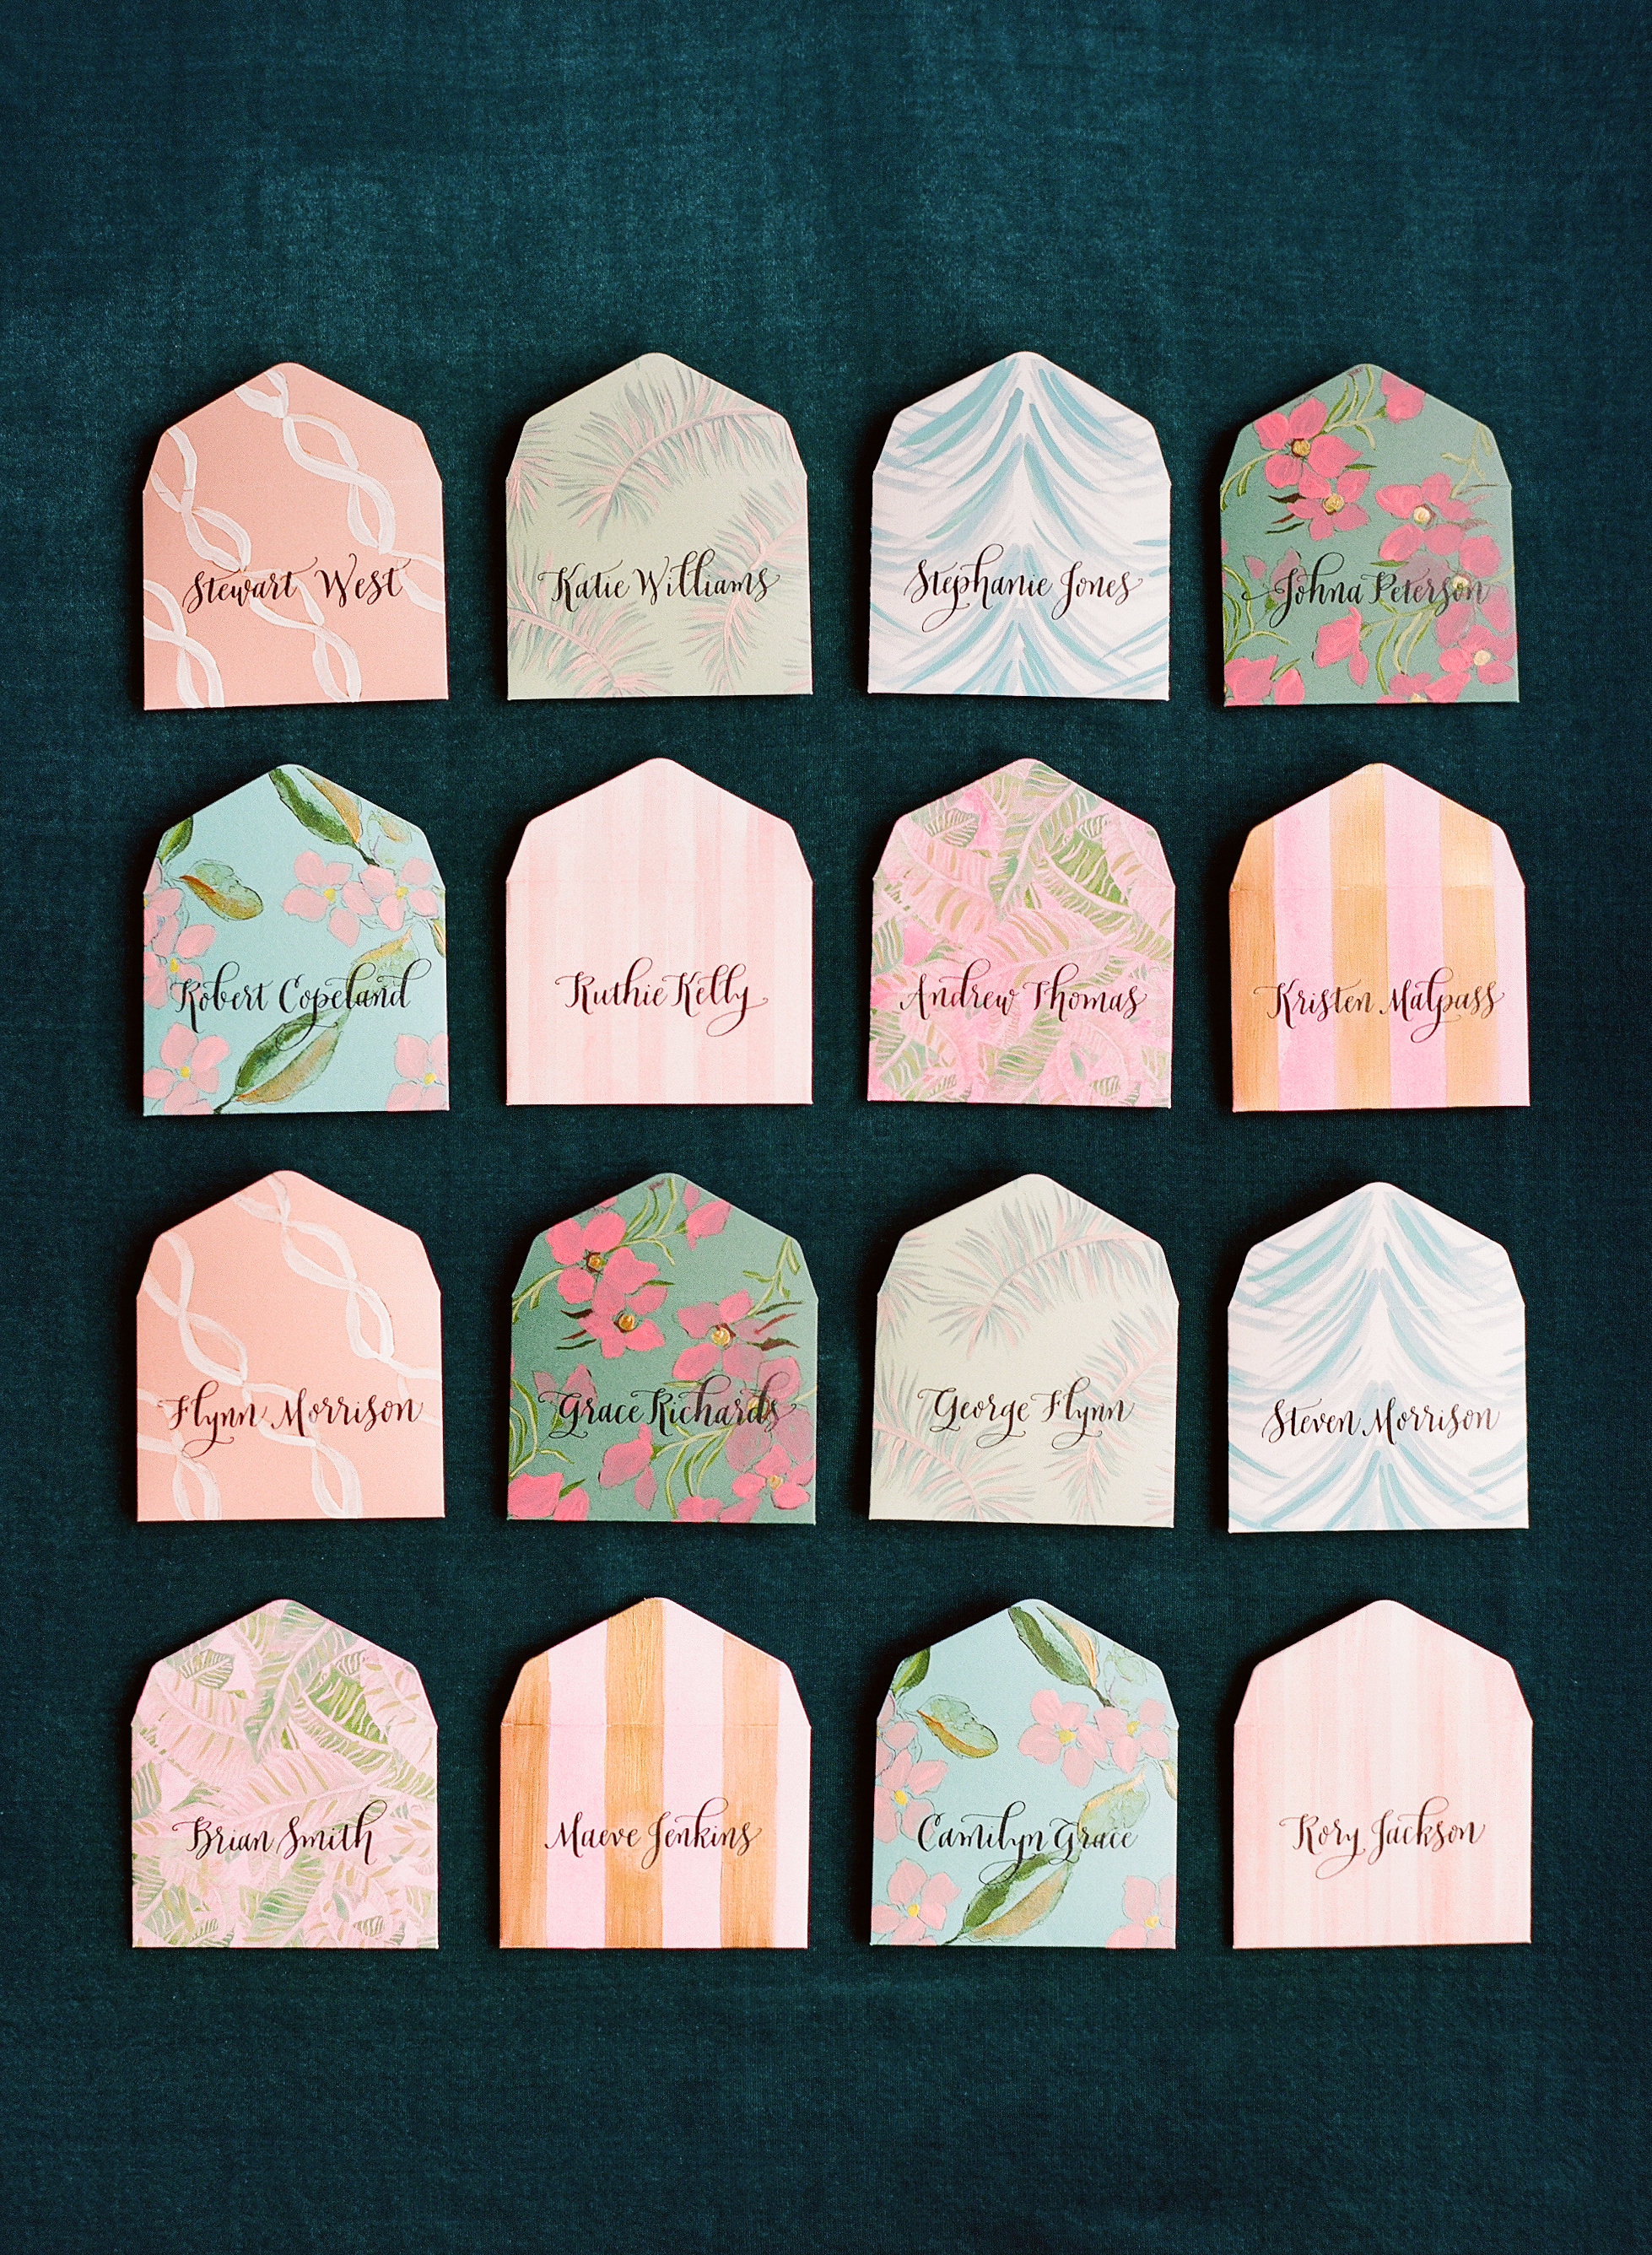
Calligraphy Escort Cards on Mini Envelopes / Meant to Be Calligraphy

Photo Credit: Whitney Neal Photography

Rather than one style, Michele offers a slate of 30 signature styles — ranging from fun and playful to classic and elegant — through Meant To Be Calligraphy. “Being able to write across a range of styles allows me to give my clients a lot of options from which to choose and helps my work remain fresh and interesting as I go from project to project.”

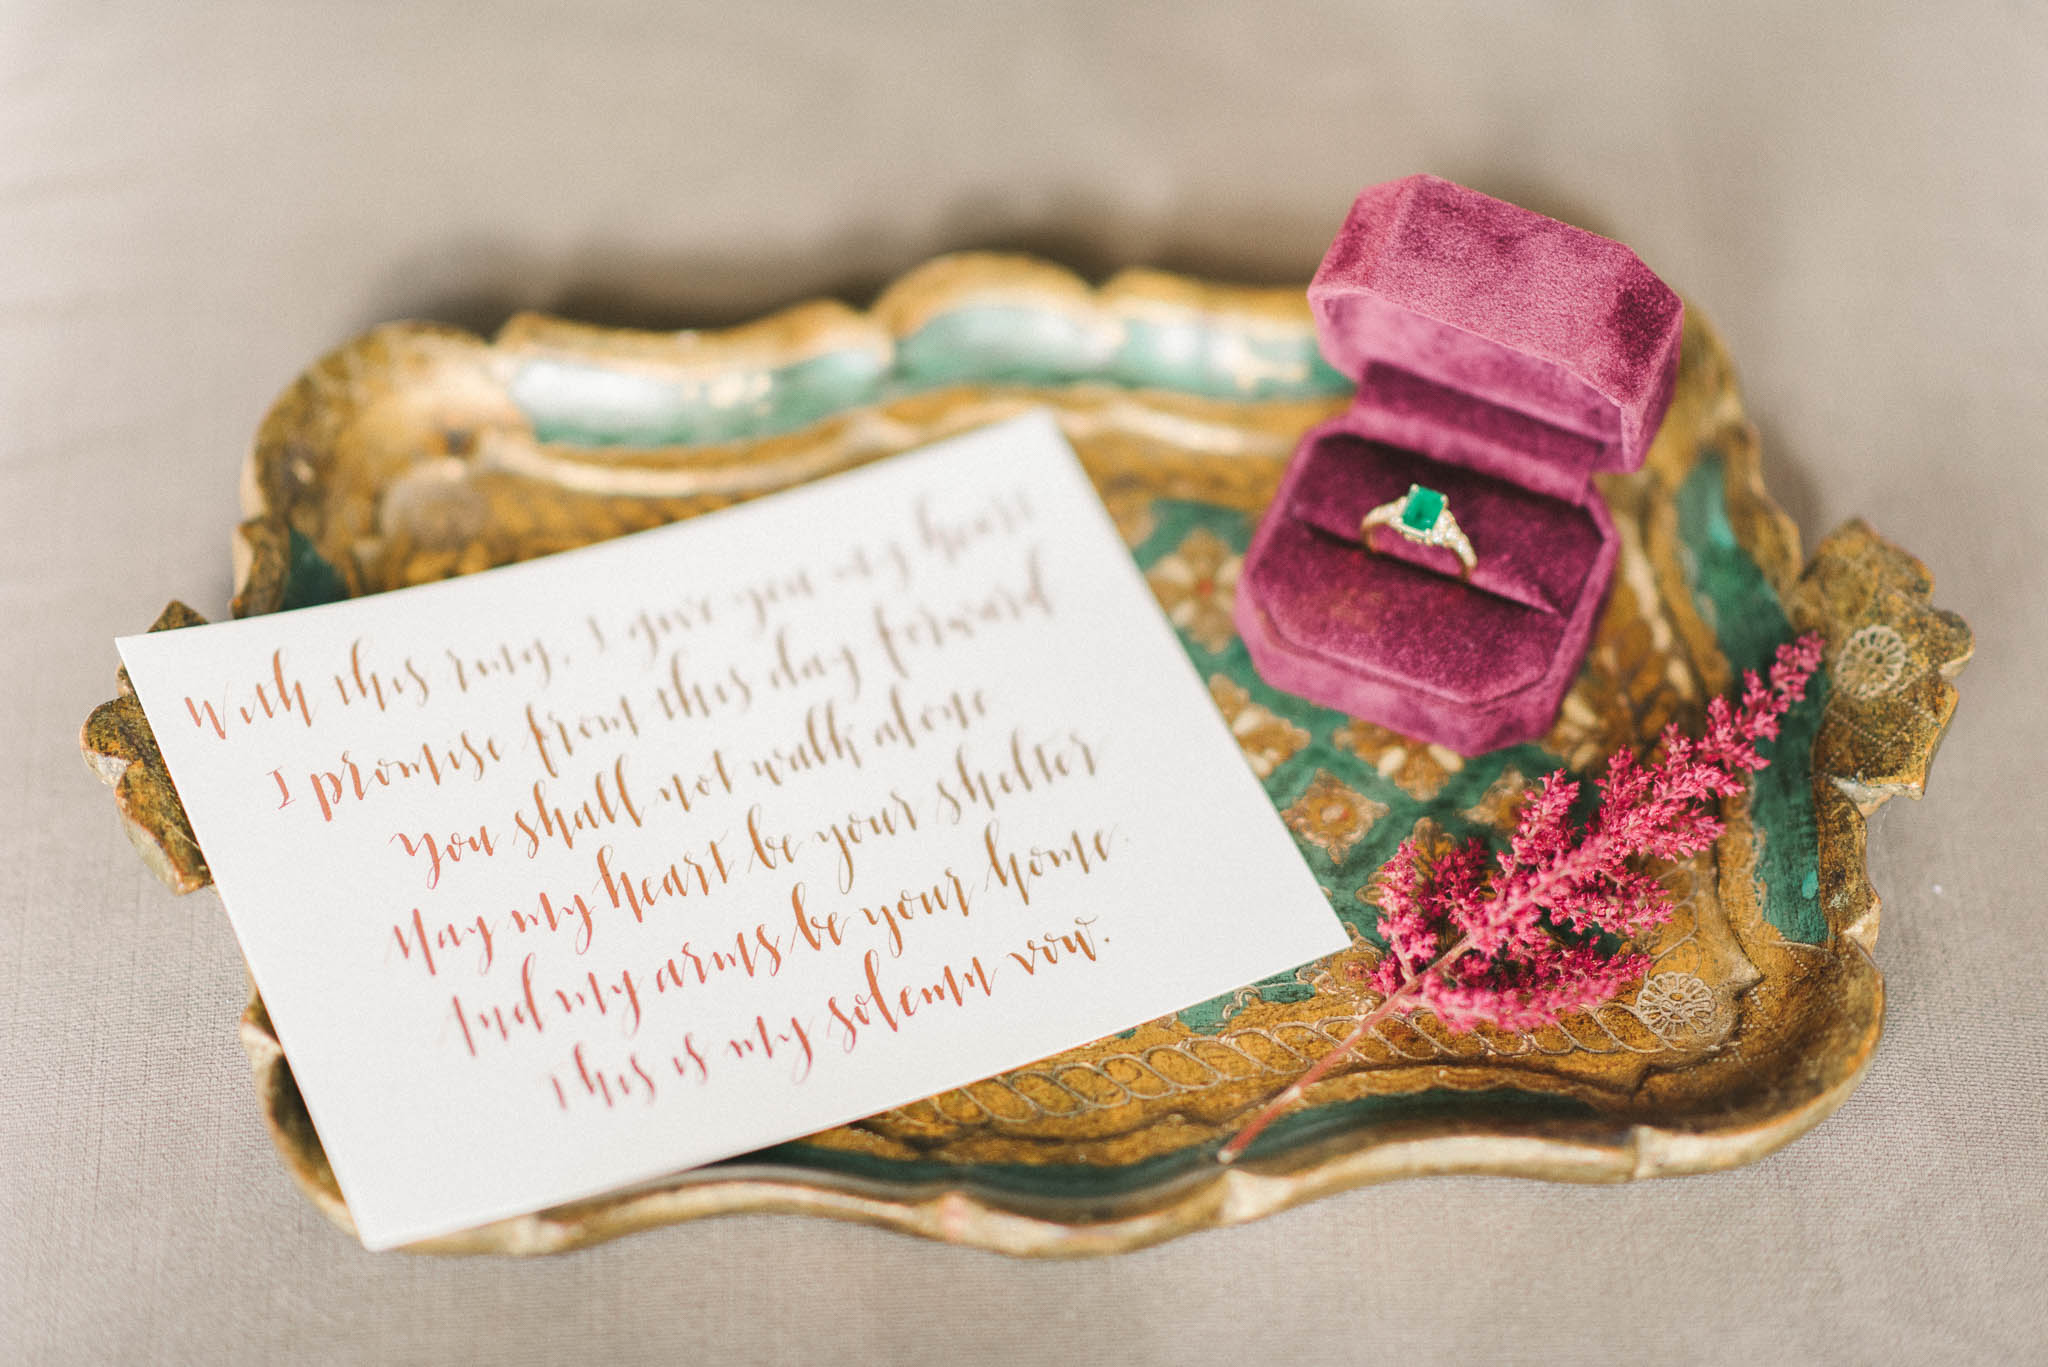
Calligraphy Wedding Vows / Meant to Be Calligraphy

Photo Credit: Elizabeth Fogarty Photography

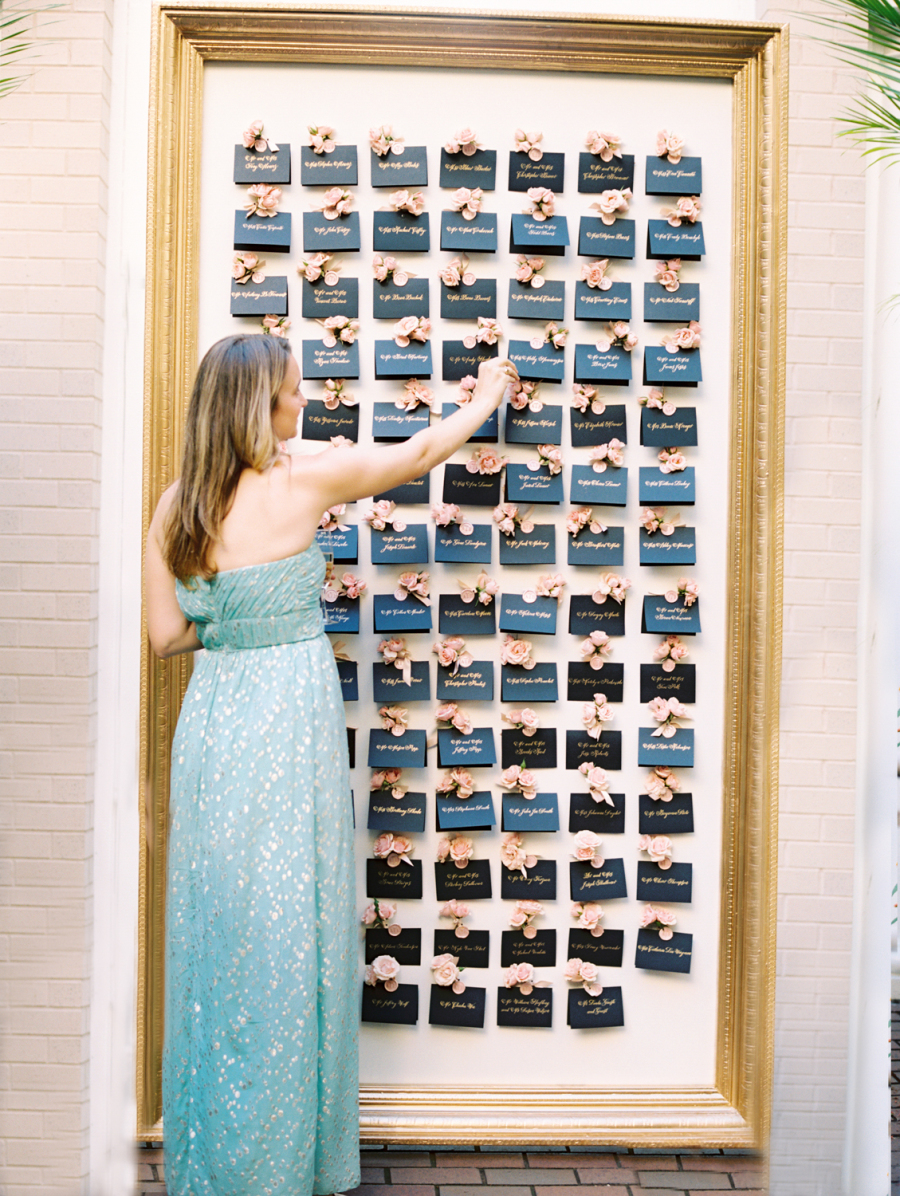
Calligraphy Escort Card Display / Meant to Be Calligraphy

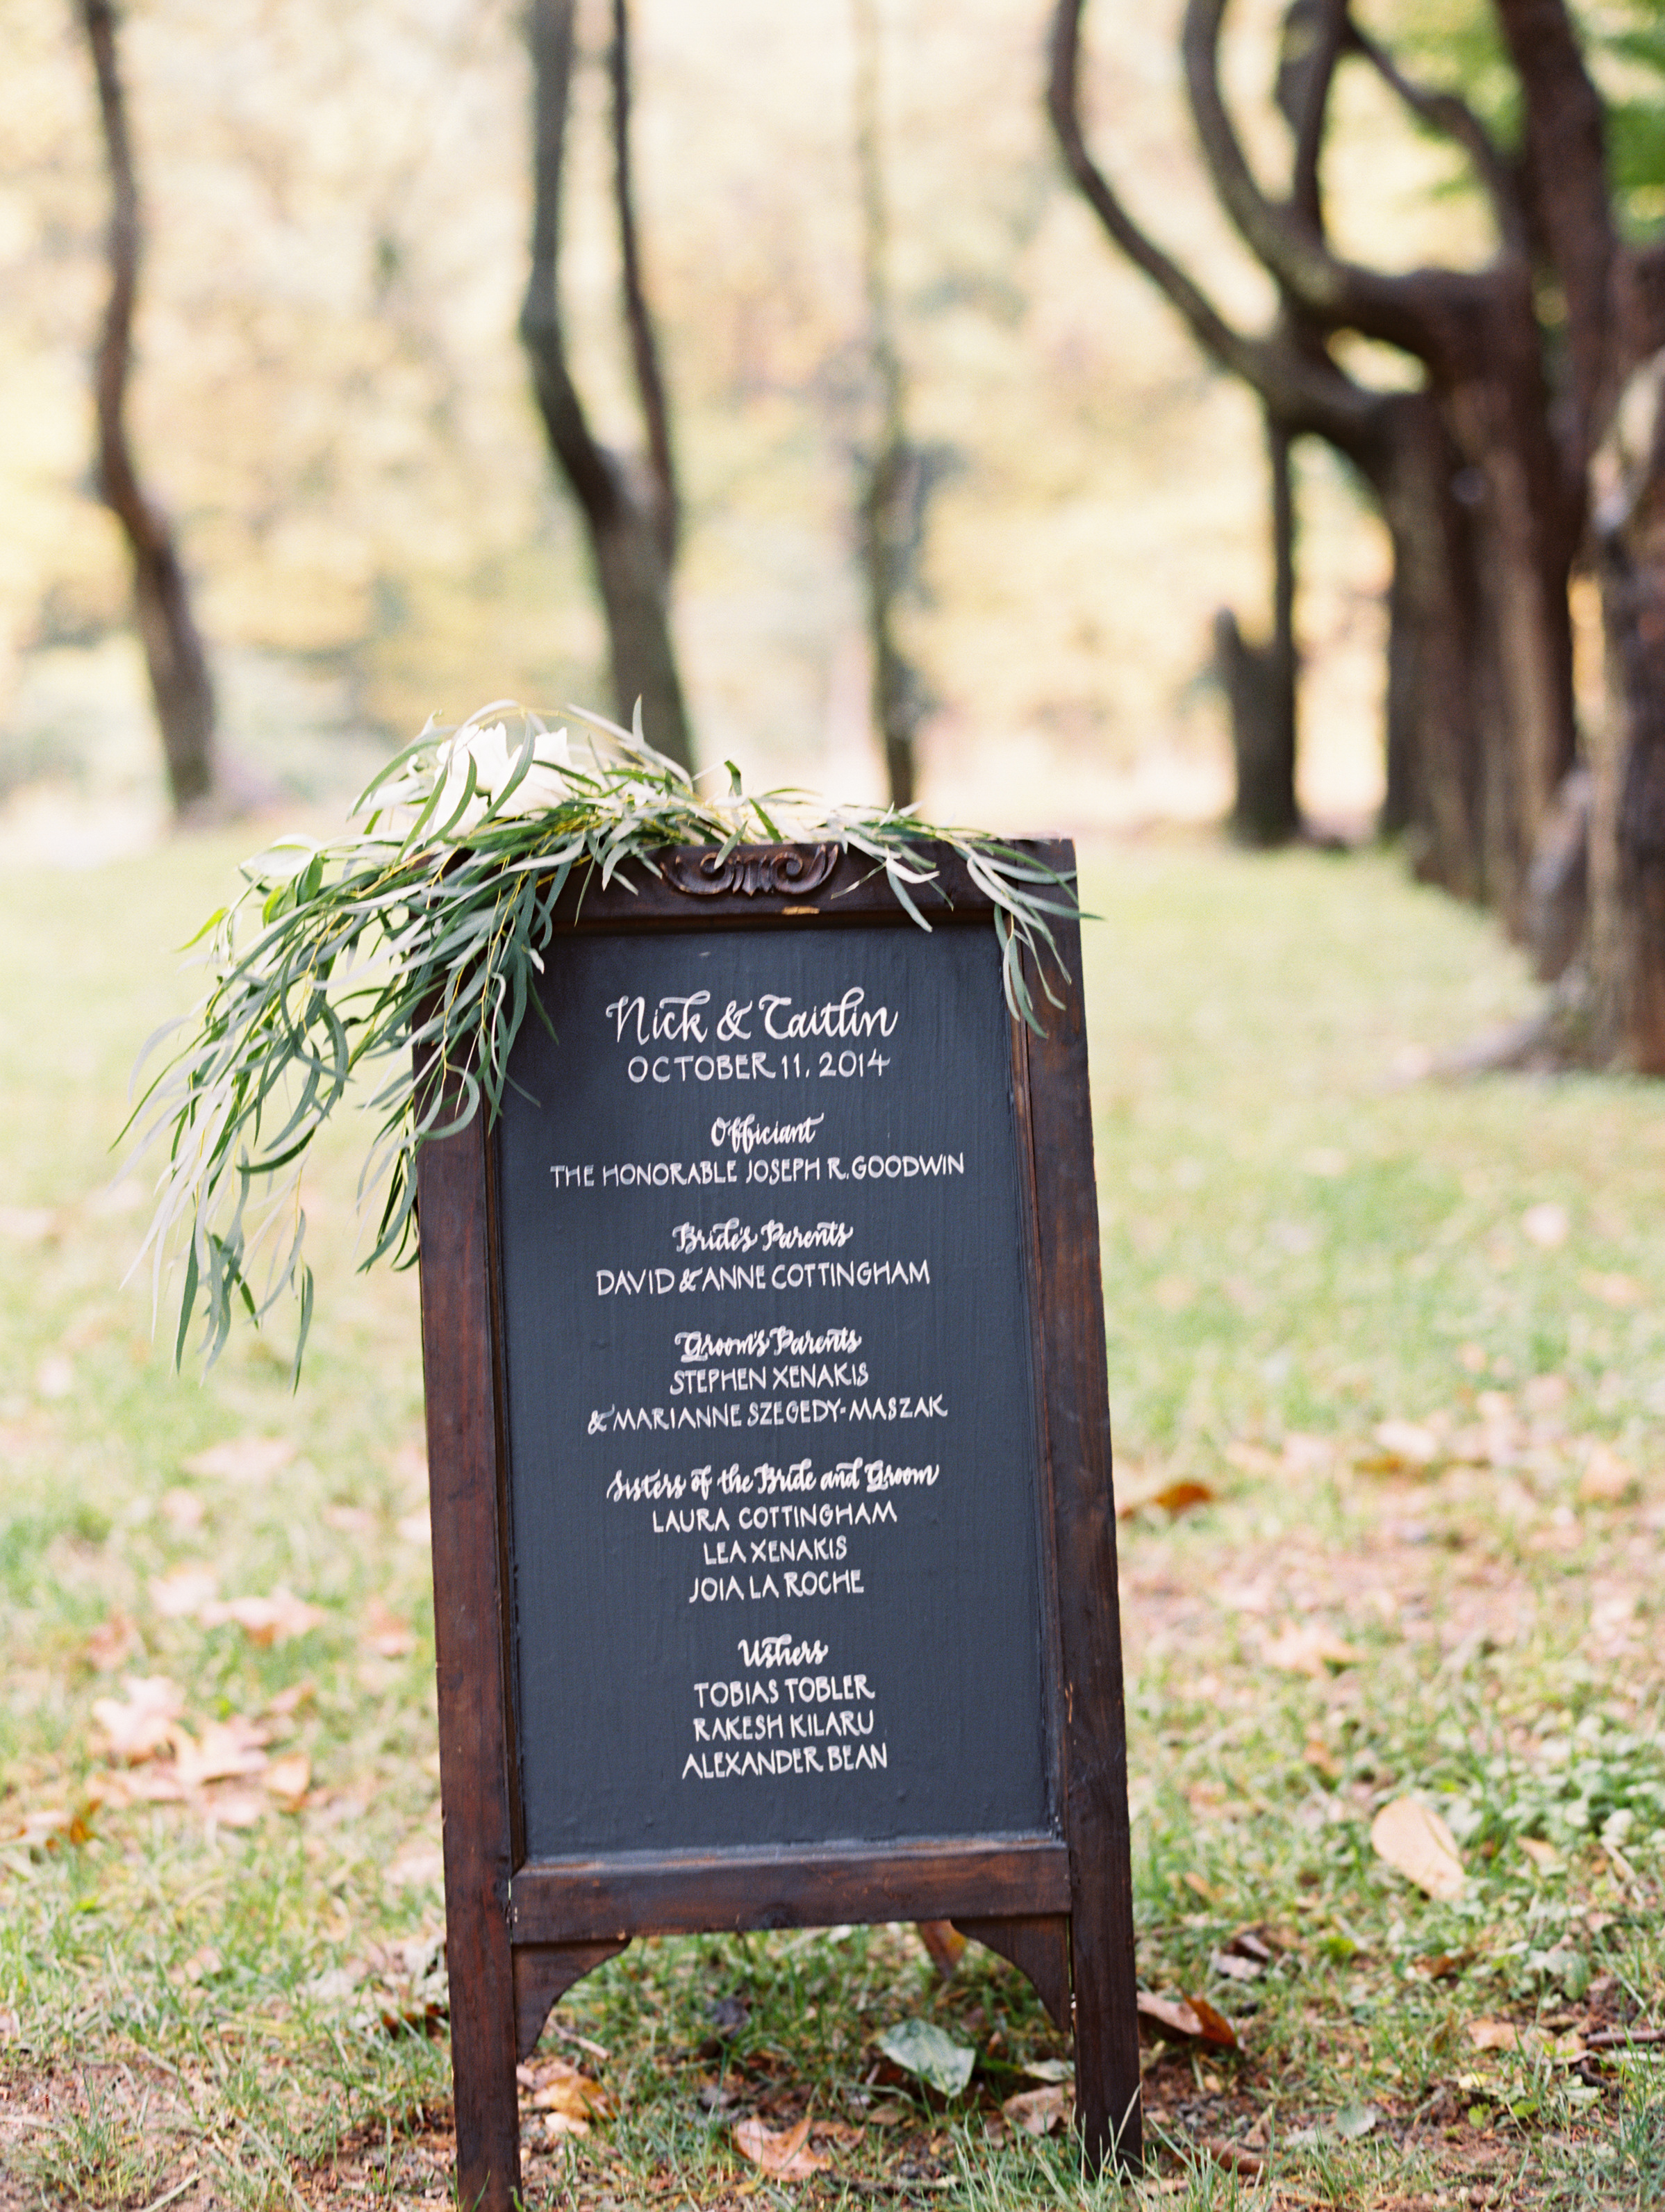
Calligraphy Chalkboard Wedding Ceremony Sign / Meant to Be Calligraphy

Photo Credits: Abby Jiu Photography

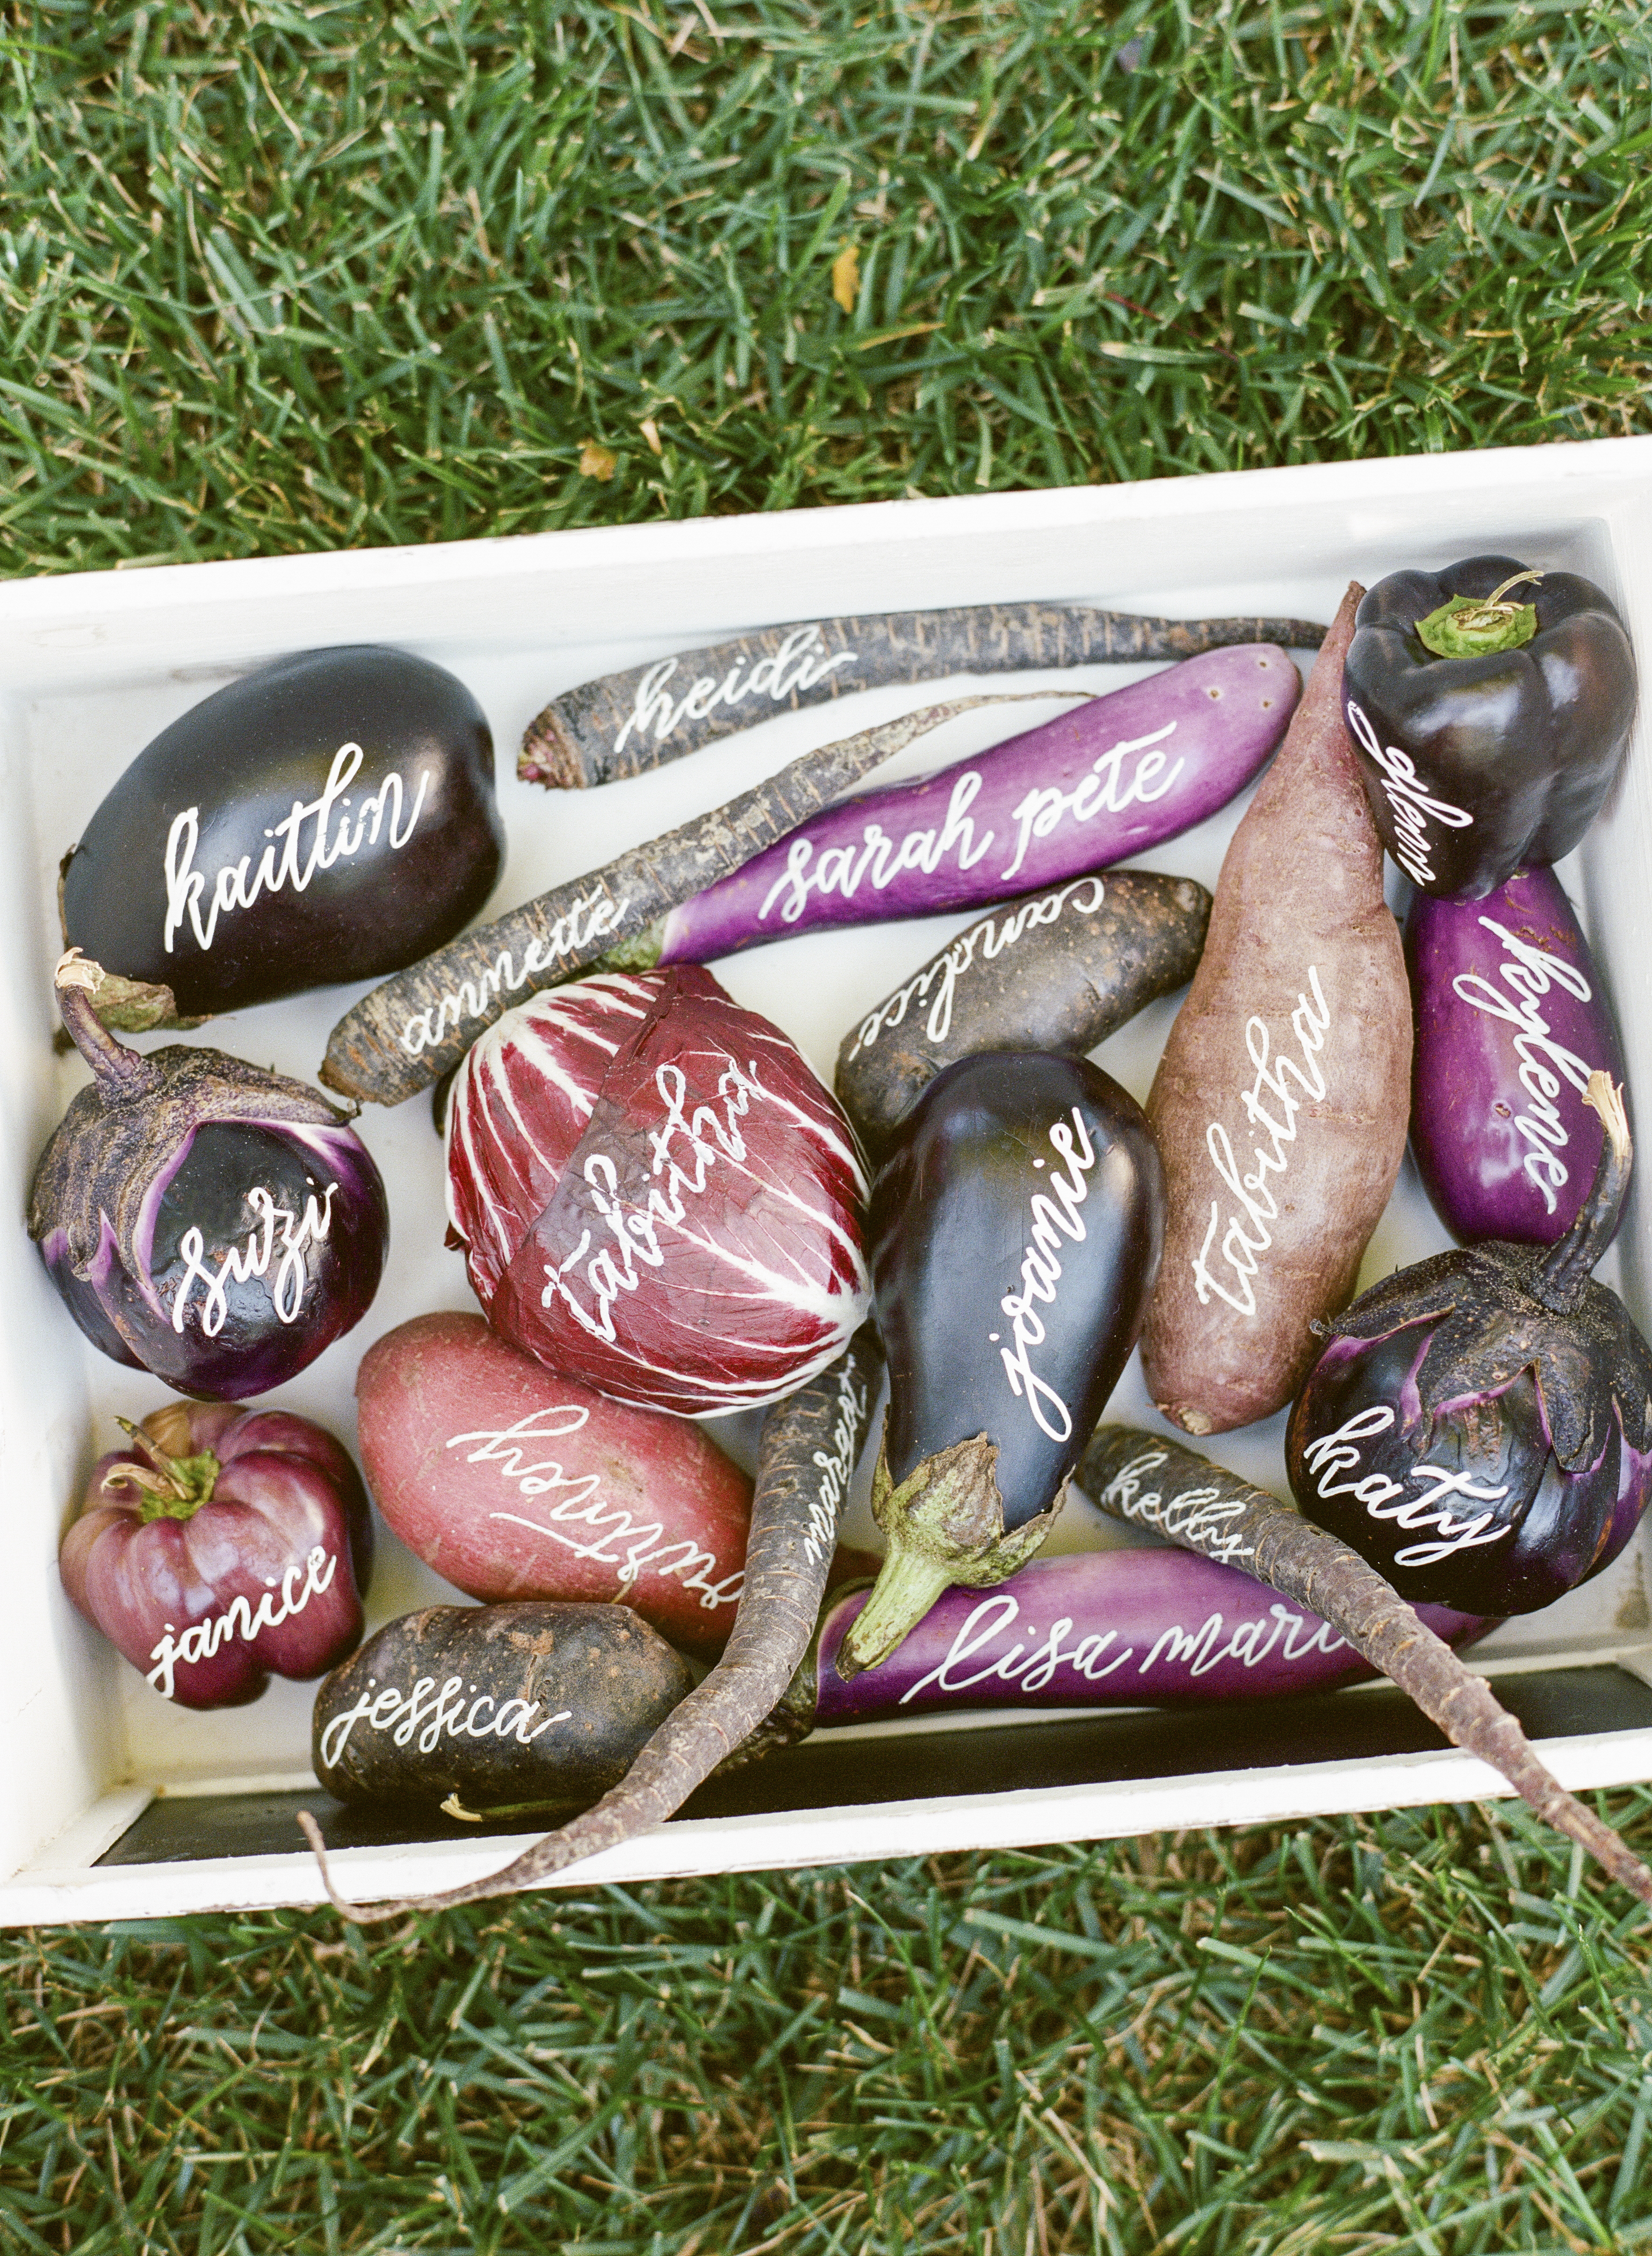
Michele, like most calligraphers, has been asked to write on more than just paper. Calligraphy works just about anywhere and Michele’s written on it all — chalkboards, mirrors, antique windows and doors, cutting boards, ceramic plates, glass bottles, painted canvases, clay pots, oyster shells, rocks, magnolia leaves, apples, pumpkins, and just about every other vegetable with a relatively smooth surface.

White Calligraphy on Produce Place Cards / Meant to Be Calligraphy

Photo Credit: Lisa Blume Photography

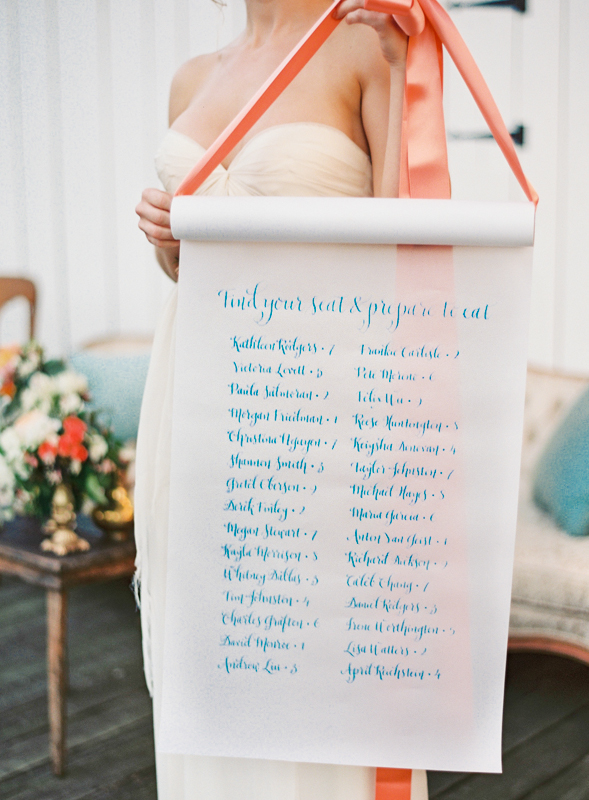
Calligraphy Wedding Seating Chart / Meant to Be Calligraphy

Photo Credit: Vicki Grafton Photography

On other calligraphy projects, Michele shares: “I also do in-person appearances where I have customized everything from valentines to New Years resolutions for party guests, and occasionally I’ll even bring along an engraving tool and a pair of safety glasses and turn glassware and the like into on-the-spot, custom party favors.”

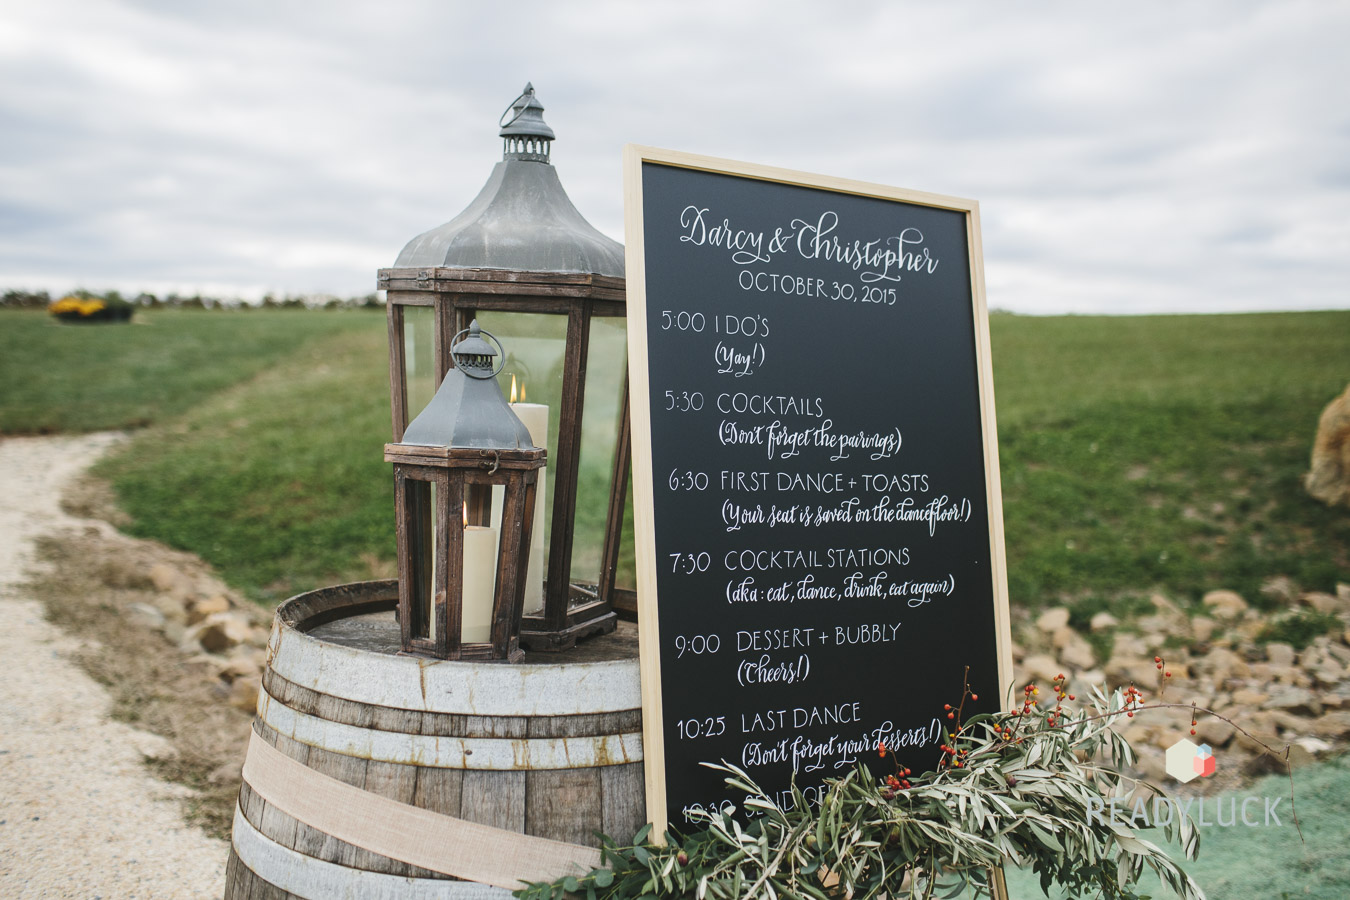
Calligraphy Chalkboard Wedding Sign / Meant to Be Calligraphy

Photo Credit: Ready Luck Photography

Michele’s passion for lettering started young — and runs in the family. “My father worked as a hand lettering artist for General Motors for his entire career,” says Michele. “He is the person who taught me my letters. I have very vivid memories of being two or three years old and he would draw letters with dots and then let me connect them. I was obsessed and I used to beg him for more dot letters!” Her mom also encouraged the craft by enrolling Michele in her first calligraphy class when she was just six or seven years old. “I was hooked from the very first lesson and continued to seek out instruction as I grew older,” says Michele.

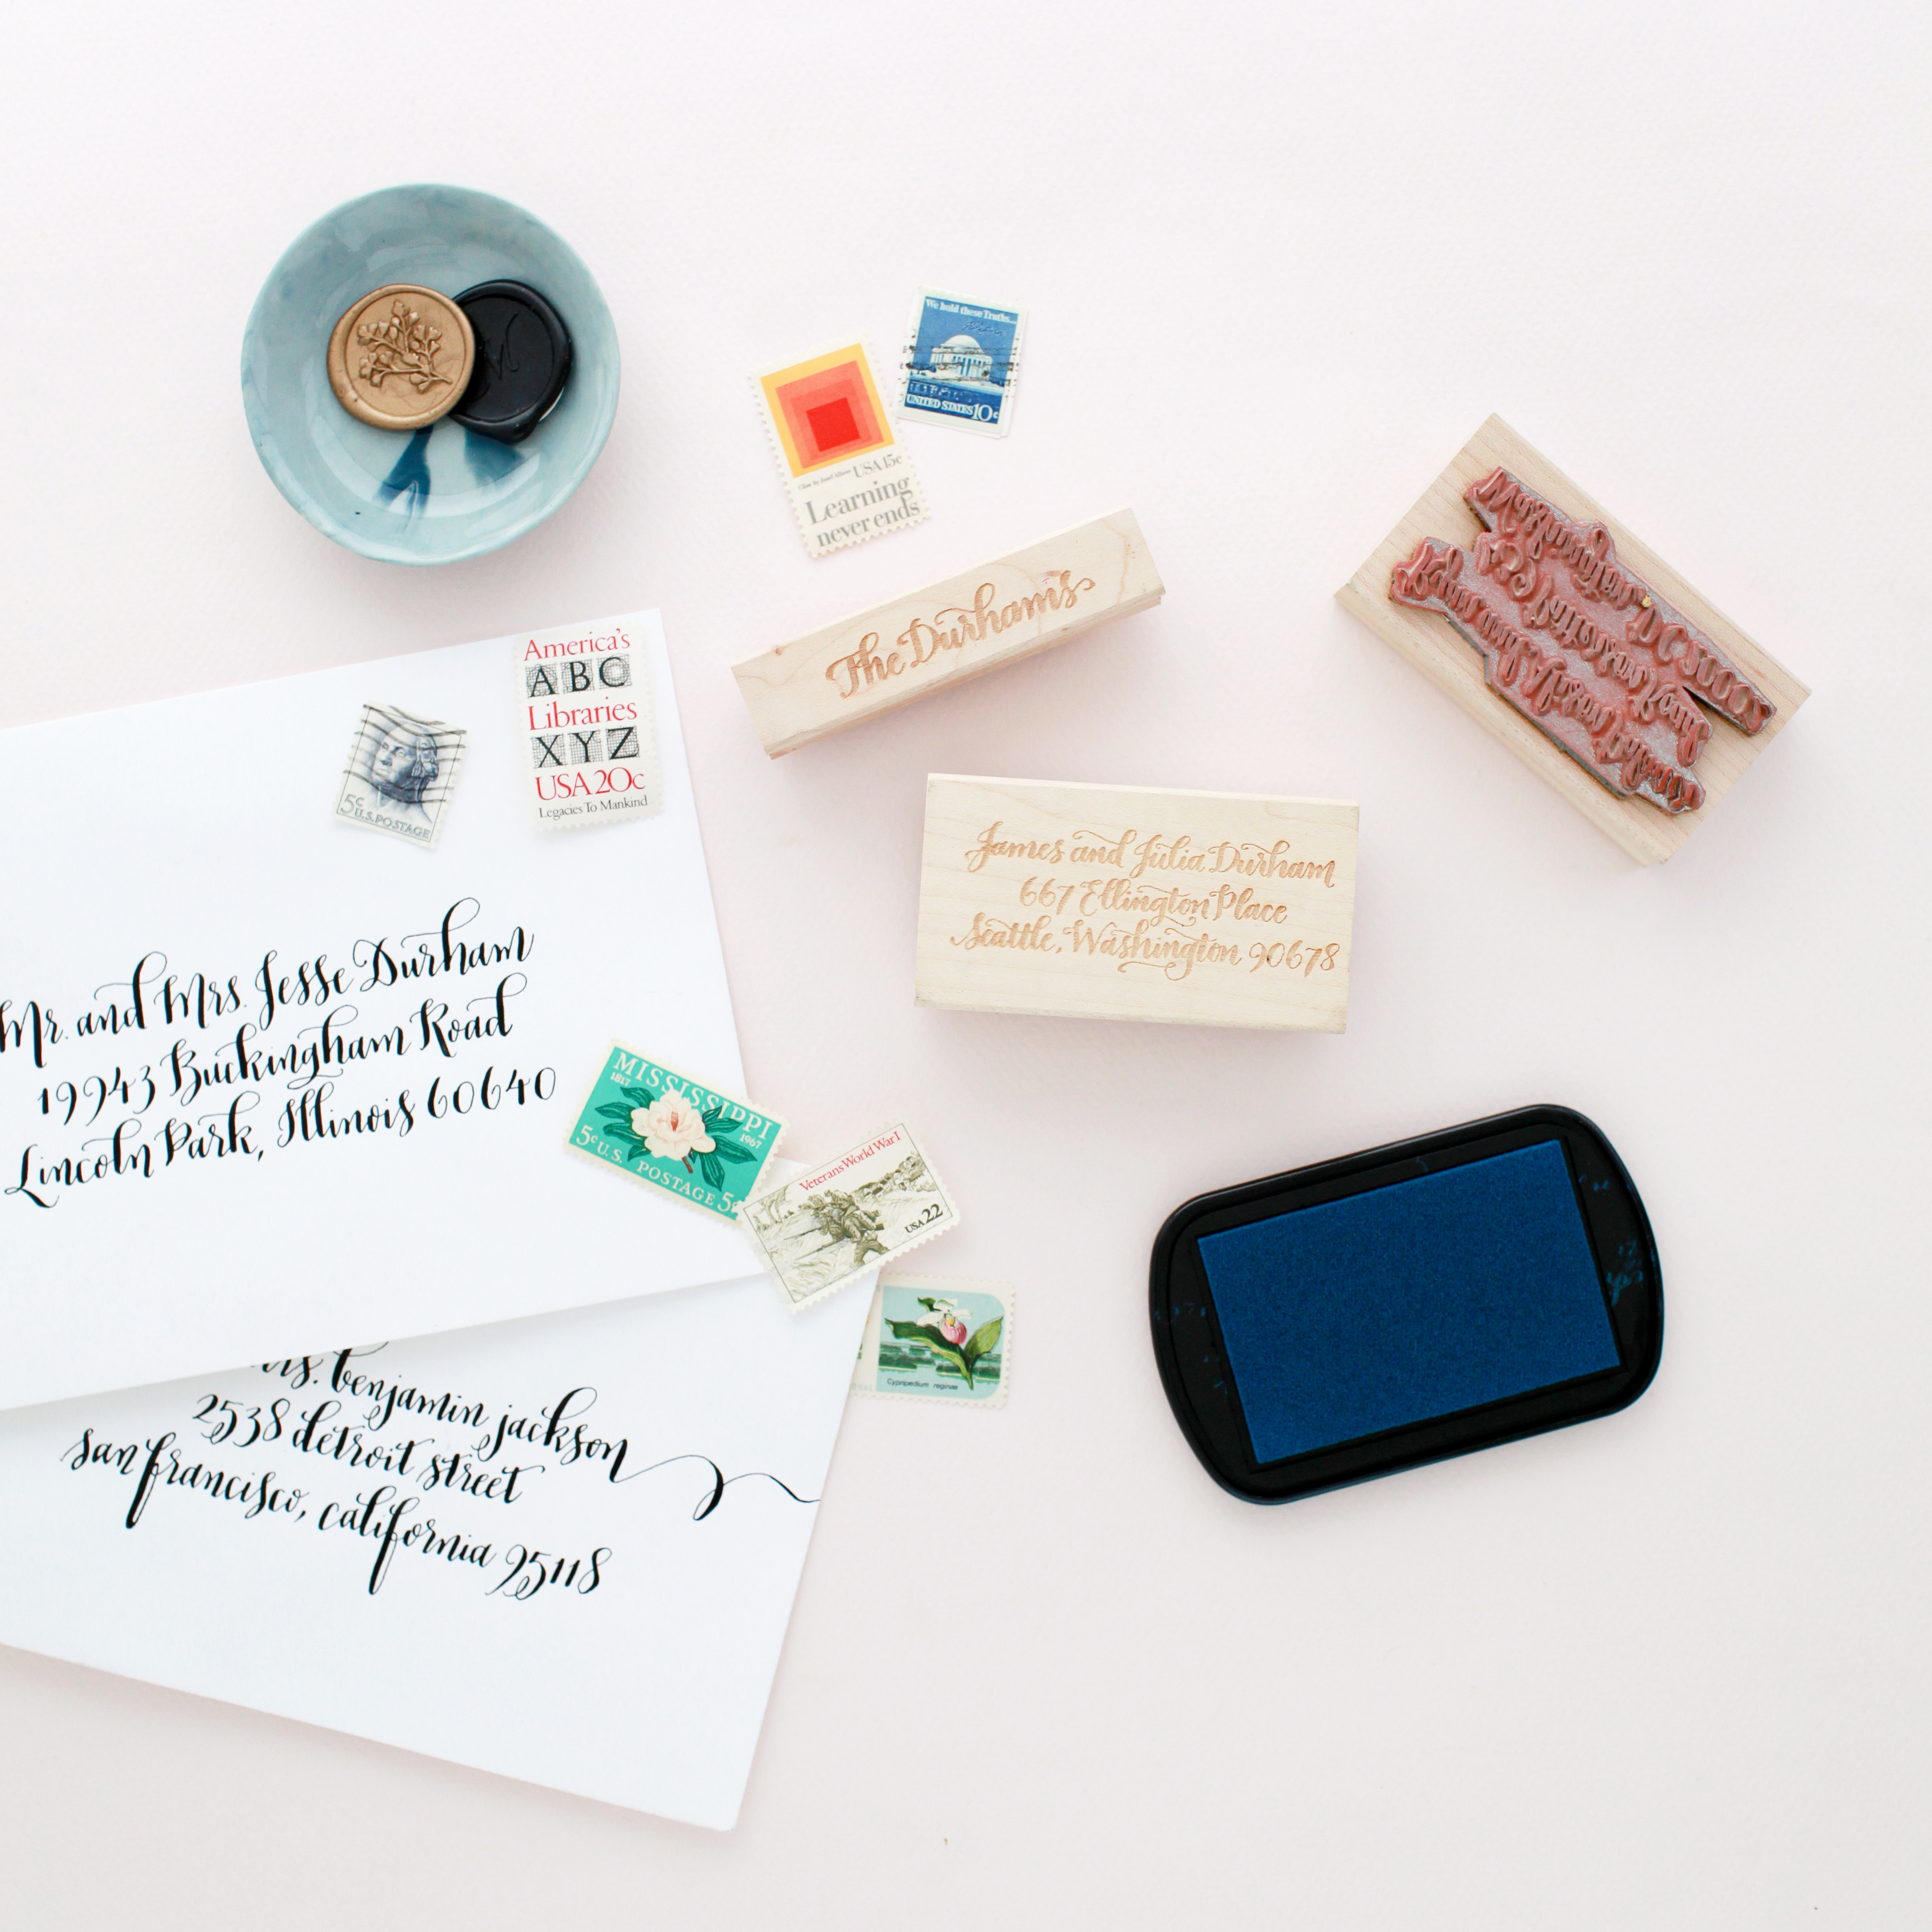
Calligraphy Return Address Stamp / Meant to Be Calligraphy

Photo Credit: Nole Garey

Michele also creates custom products for everyday use as well, like return address stamps and personalized stationery.

Michele credits her parents as the inspiration behind her decision to offer calligraphy classes. “I really wanted to honor my father’s legacy as an artist and honor my mom’s as well. She taught all sorts of crafting workshops when I was growing up and she definitely inspired me to want to share my knowledge, too.”

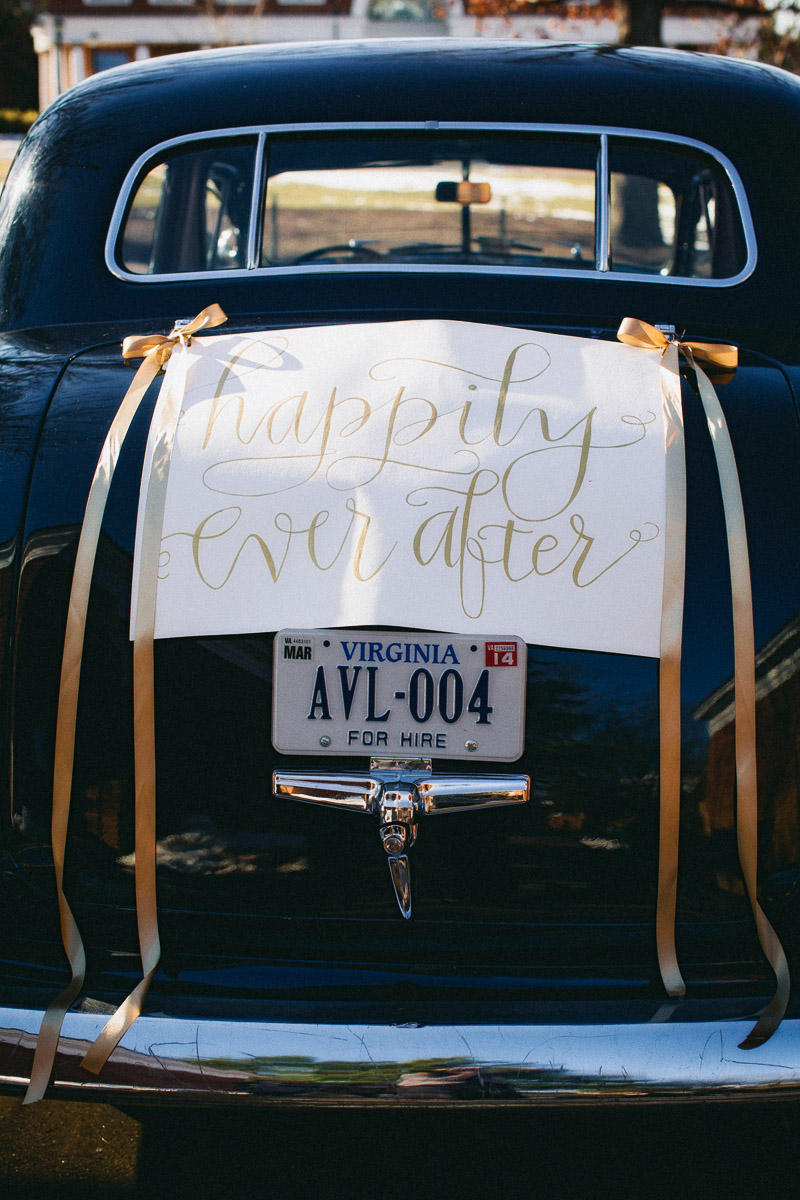
Happily Ever After Calligraphy Wedding Getaway Car Sign / Meant to Be Calligraphy

Photo Credit: Holland Photo Arts

Michele has had people travel from all over the country (including a few international students!) to take part in her calligraphy workshops. “It’s amazing to me that I am already in my seventh year of teaching and it is one of the great joys of my life to watch my students both fall in love with lettering and learn how to master it during the course of our time together,” says Michele.

Such a cool story behind her work. Thanks again for sharing a peek into what you do, Michele! You can find her over at Meant To Be Calligraphy and on Instagram.

DIY Rainbow Watercolor Crepe Paper Backdrop

This post was sponsored, and paid for, by Rit Dye. All opinions are my own. Thank you for supporting the sponsors that make Oh So Beautiful Paper possible!

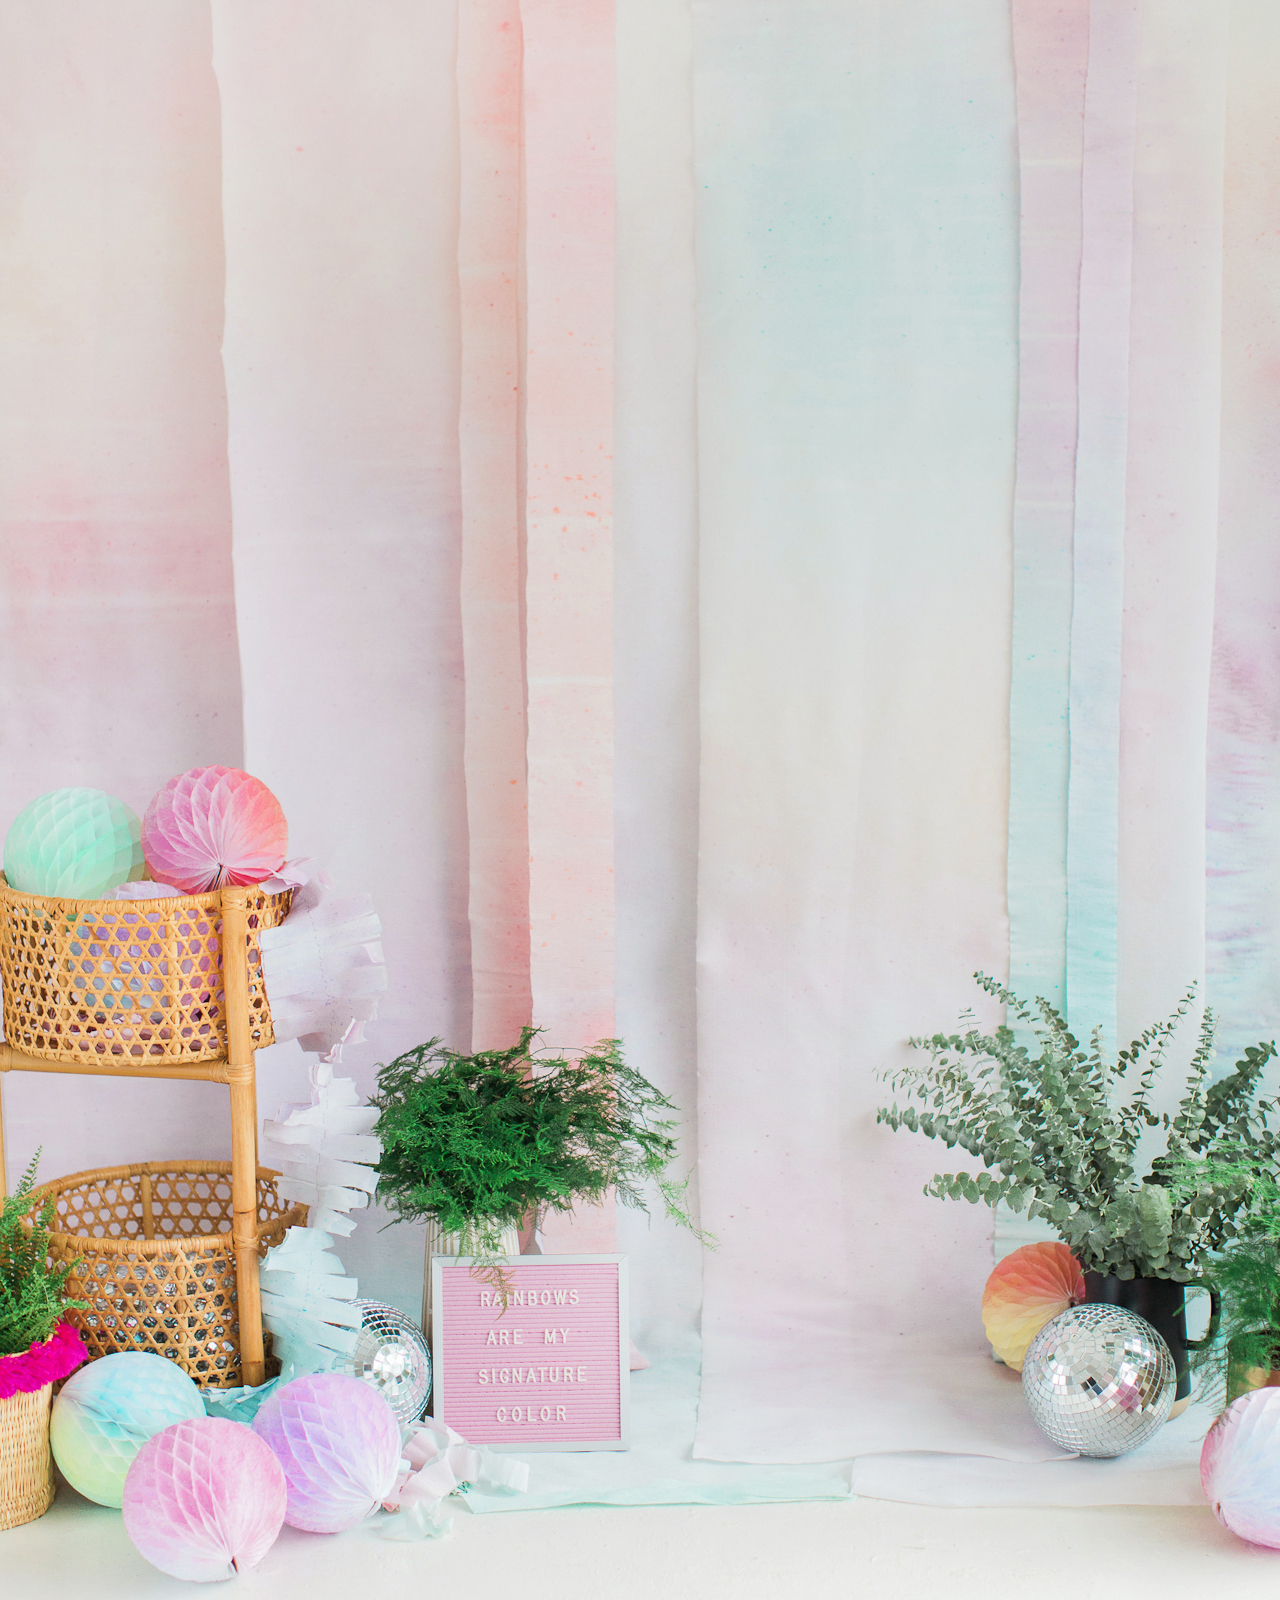
Spring is just around the corner – and I couldn’t be more excited! Every year I look forward to the explosion of spring flowers, from pale pink cherry blossoms and purple lilacs (my absolute favorite) to yellow daffodils and colorful tulips in nearly every shade of the rainbow. Oh, and fluffy peonies in every shade of pink? Yes, please! Today I’m paying homage to my favorite season with a DIY rainbow watercolor crepe paper backdrop that is perfect for spring weddings, birthday parties, and everything in between. This gorgeous pastel backdrop makes me so happy every time I look at it. Oh, and my secret ingredient for creating this gorgeous backdrop? Spray bottles filled with Rit All-Purpose Dye!
DIY Rainbow Watercolor Crepe Paper Backdrop with RIT Dye

DIY Rainbow Watercolor Crepe Paper Backdrop with RIT Dye

DIY Rainbow Watercolor Backdrop with Rit All-Purpose Dye

Rit Dye is one of my favorite tools for DIY projects! It’s really the perfect solution for adding pops of color throughout your wedding ceremony and reception, from ribbons for floral arrangements to napkins and table linens to dresses! Rit All-Purpose Dye is perfect for washable fabrics with natural fibers, like cotton, linen, wool, silk, and ramie – or even for materials like nylon, rayon, paper, and wood. I’ve used Rit All-Purpose Dye to dip dye envelopes, create dip-dyed muslin favor bags, and even to dye my own Shibori-style pink dinner napkins! And did you know that there’s also Rit DyeMore for synthetic fibers?? You can use Rit DyeMore for polyester, polyester cotton blends, nylon, acrylic, or acetate – or even faux fur! I’ll need to try that one next!

DIY Rainbow Watercolor Crepe Paper Backdrop with RIT Dye

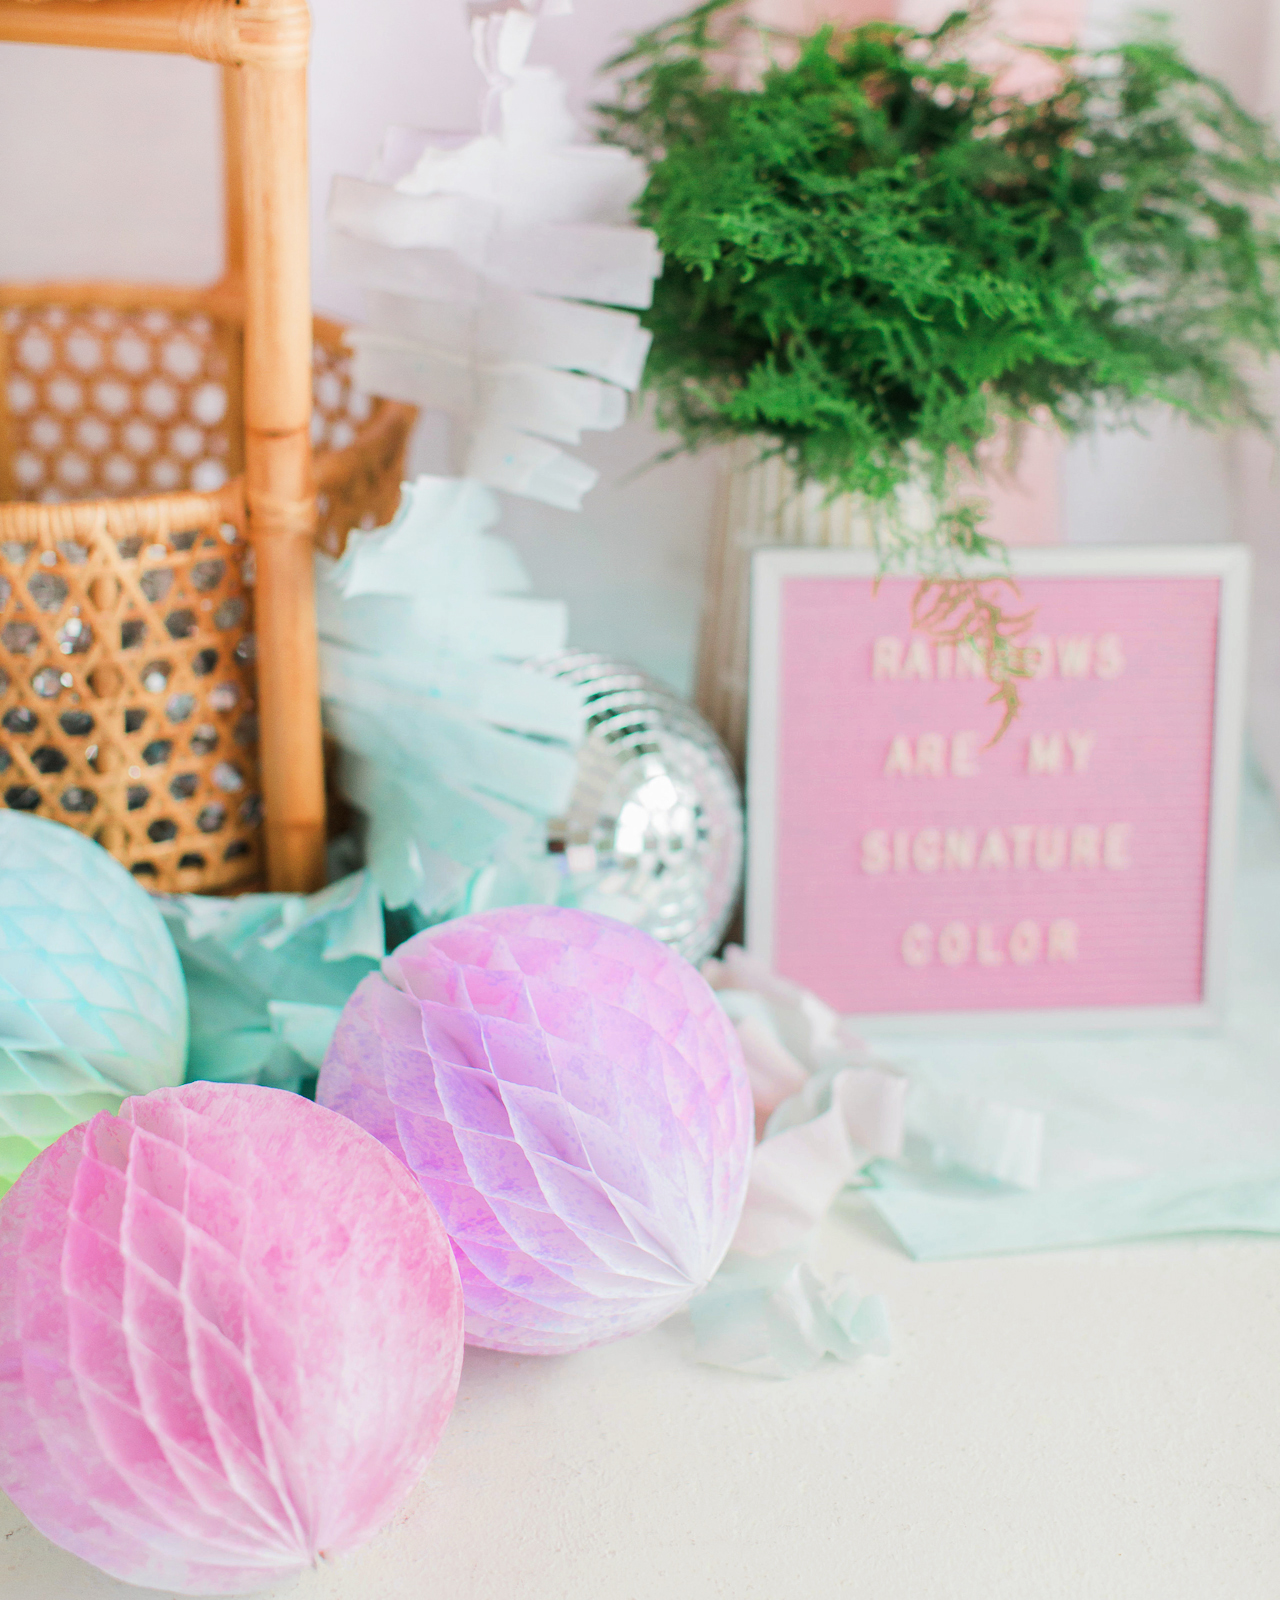
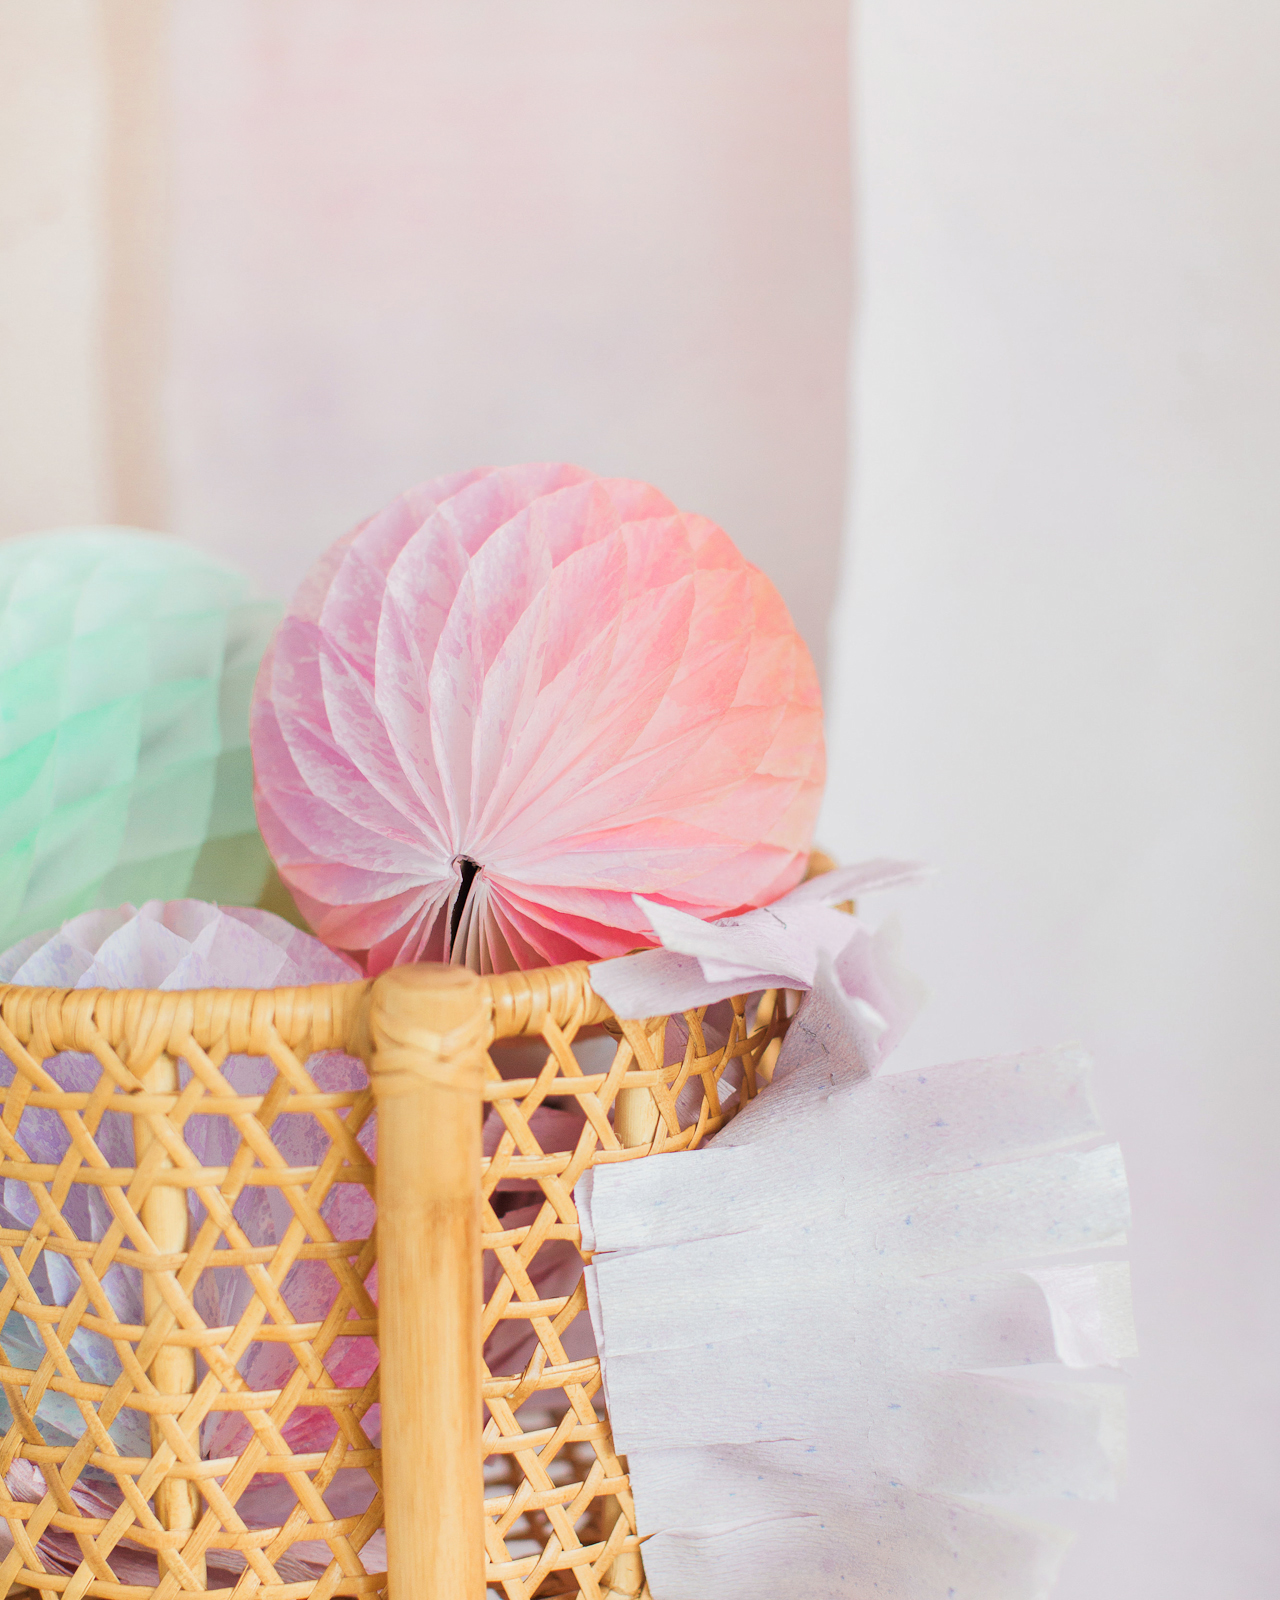
I was super excited to experiment with multiple Rit All-Purpose Dye colors to create this gorgeous watercolor-inspired backdrop. I mean, it’s a proven fact that rainbows make everything prettier. And a pastel rainbow? Even better! This pastel backdrop is made from a few rolls of white crepe paper spray dyed with fine mist spray bottles filled with Rit All-Purpose Dye. You can also use the same method to dye tissue paper decorations like honeycomb balls and tissue paper fans! Using spray bottles to create a super fine dye mist leaves the most gorgeous watercolor effect on crepe paper and tissue paper, and the result is completely unique wedding and party décor that you won’t find anywhere else!

DIY Rainbow Watercolor Crepe Paper Backdrop with RIT Dye

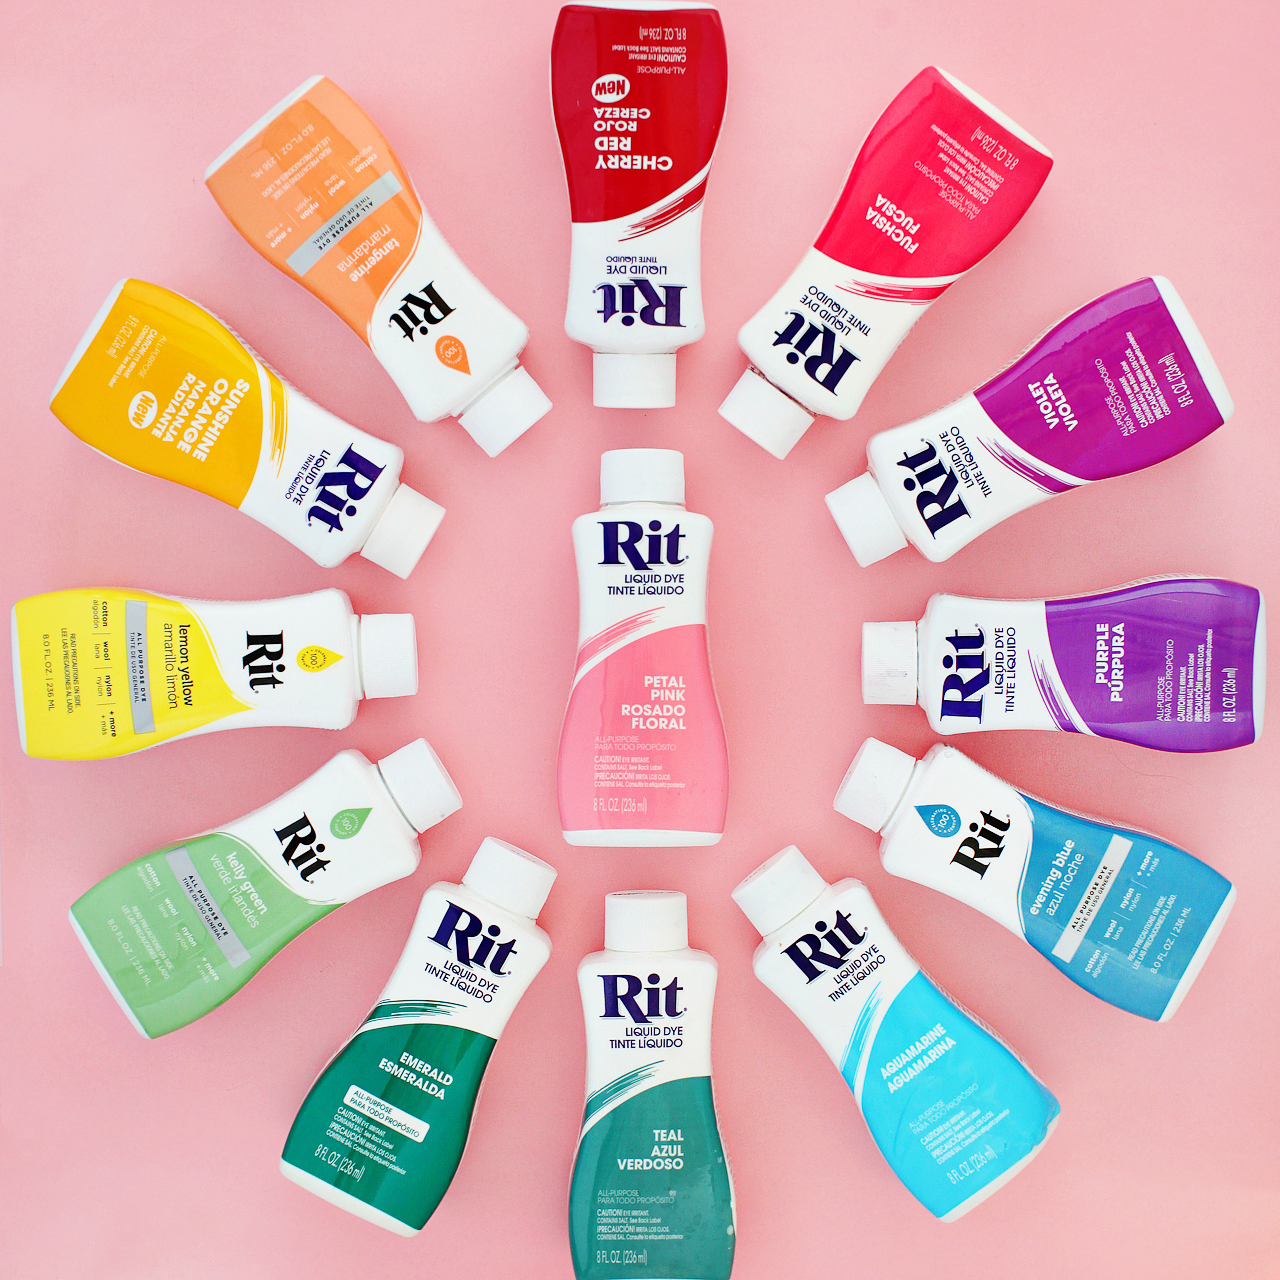
The best part about this DIY rainbow watercolor crepe paper backdrop is that you can completely customize the colors to suit your wedding color palette! Rit All-Purpose Dye is available in 50 shades, like Petal Pink, Coral, Violet, Aquamarine, and Kelly Green. Or you can create your own colors using the Rit Color Library, which includes color formulas to create over 500 additional colors – including Pantone on-trend colors by season! There’s seriously SO much color inspiration in the Rit Color Library! I love, love, love our pastel rainbow backdrop (you can find the specific color formulas I used a bit further below!), but I could also totally see a gorgeous ombré backdrop in several shades of a single color. How gorgeous would that be??
DIY Rainbow Watercolor Crepe Paper Backdrop with RIT Dye

Skill Level: Beginner

Approximate Crafting Time: 1 –2 Hours

Supplies

Rit All-Purpose Dye

2.5 oz Fine Mist Spray Bottles one bottle per dye color – I used a total of twelve spray bottles)

8-10 White Crepe Paper Rolls

Scissors

Protective rubber gloves

Rags or paper towels

Protective drop cloth

Measuring spoons

Gaffer’s Tape

Wood Dowels

Removable wall hooks
DIY Rainbow Watercolor Backdrop with Rit All-Purpose Dye

To make the DIY rainbow watercolor crepe paper backdrop:

Step 1. First, you’ll need to pick your colors! The Rit Color Library breaks all of the color formulas down by parent color: red, orange, yellow, green, blue, purple, pink, brown, and gray. I knew I wanted spring-inspired colors, so I went with shades of pink, peach, light purple, blue, teal, mint green, and sunny yellow. But I can’t wait to try this again with different color combinations. Burgundy and blush? Lavender and deep dusty blue? Sage green and rose? Yes, yes, and yes!
DIY Rainbow Watercolor Crepe Paper Backdrop with RIT Dye

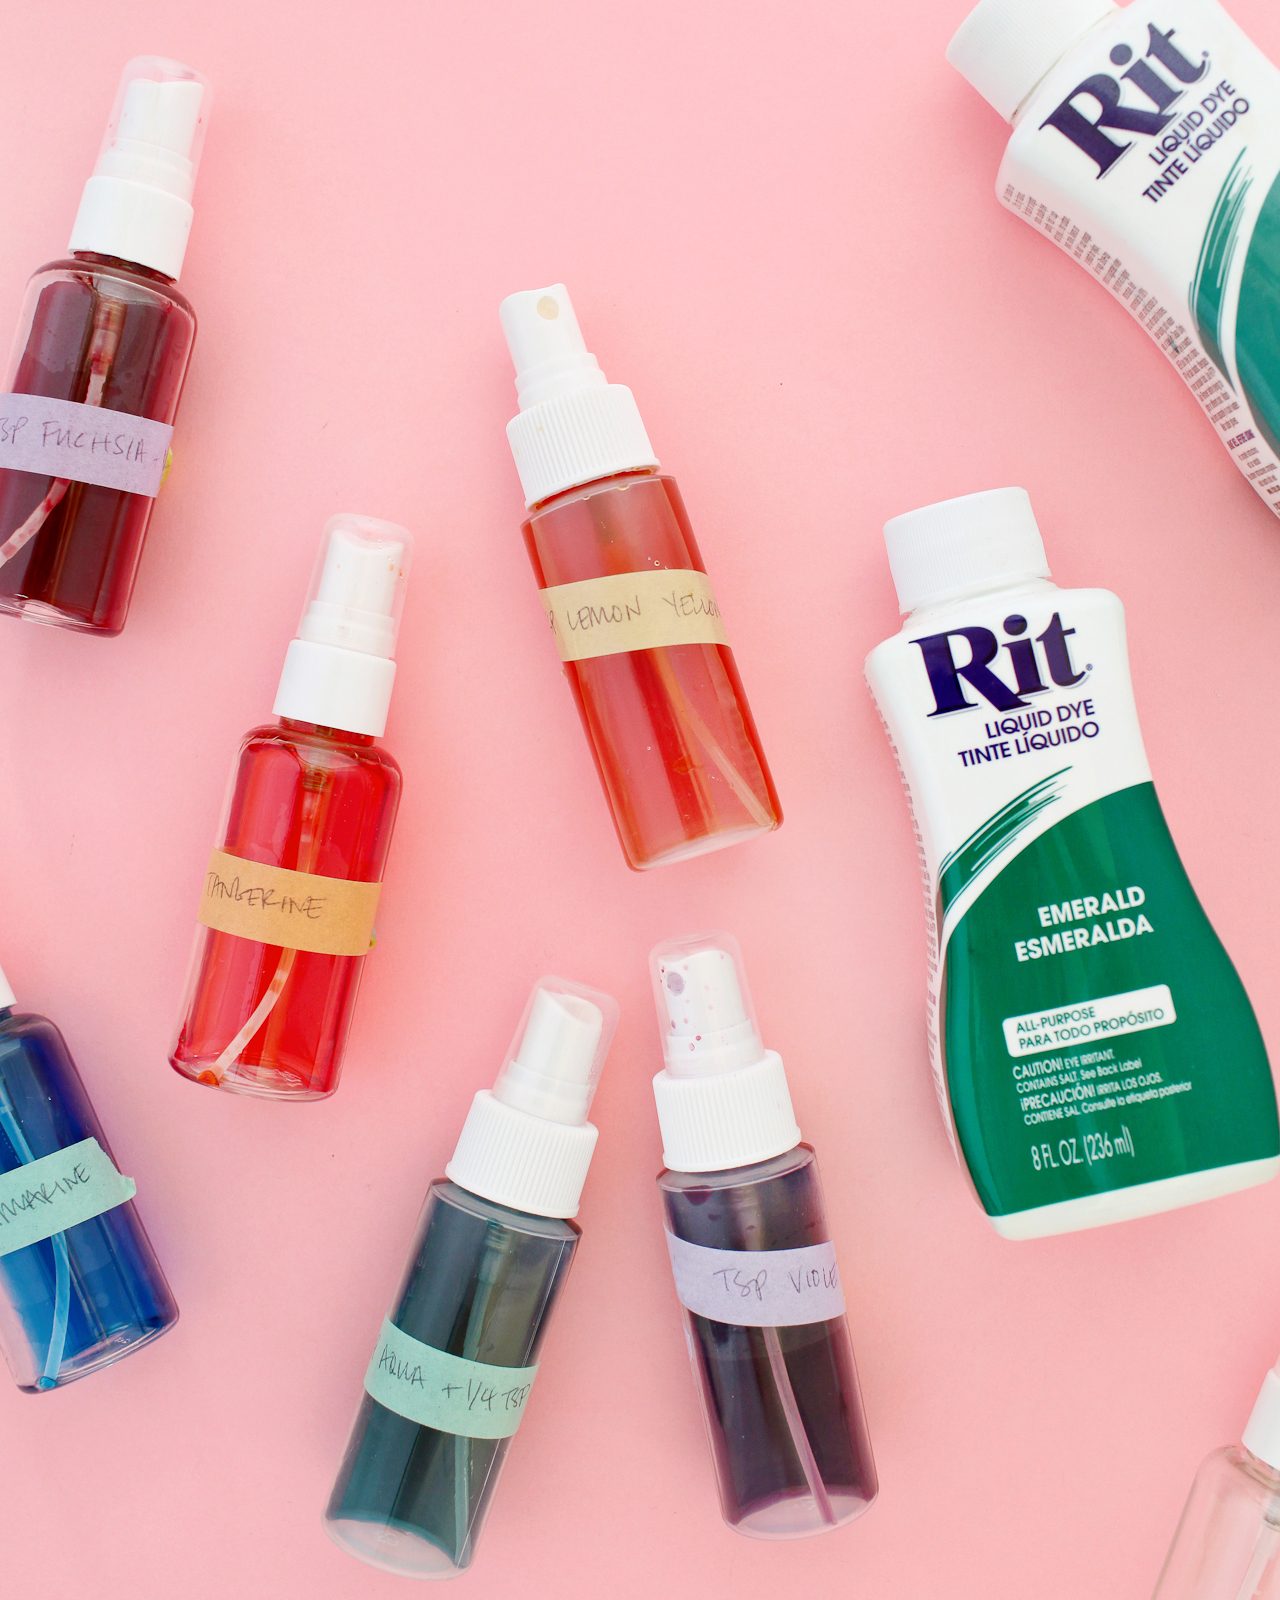
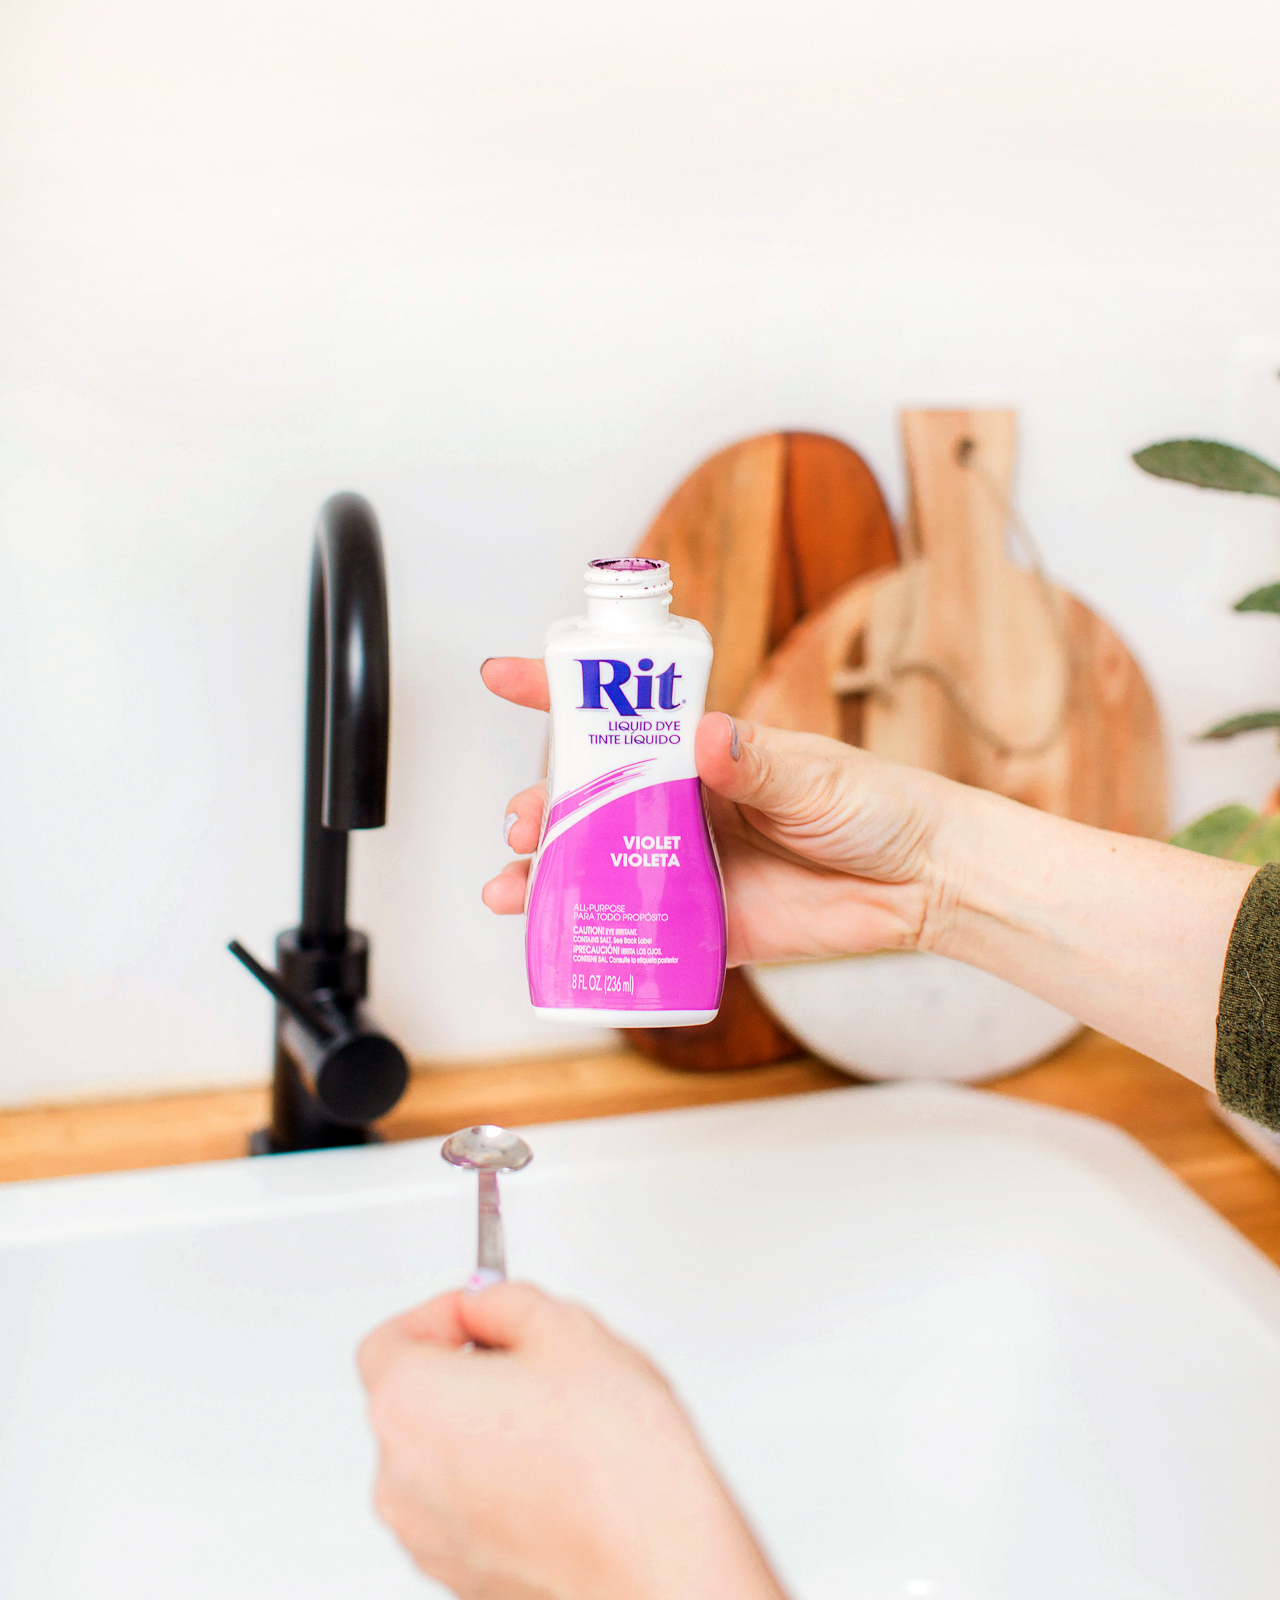
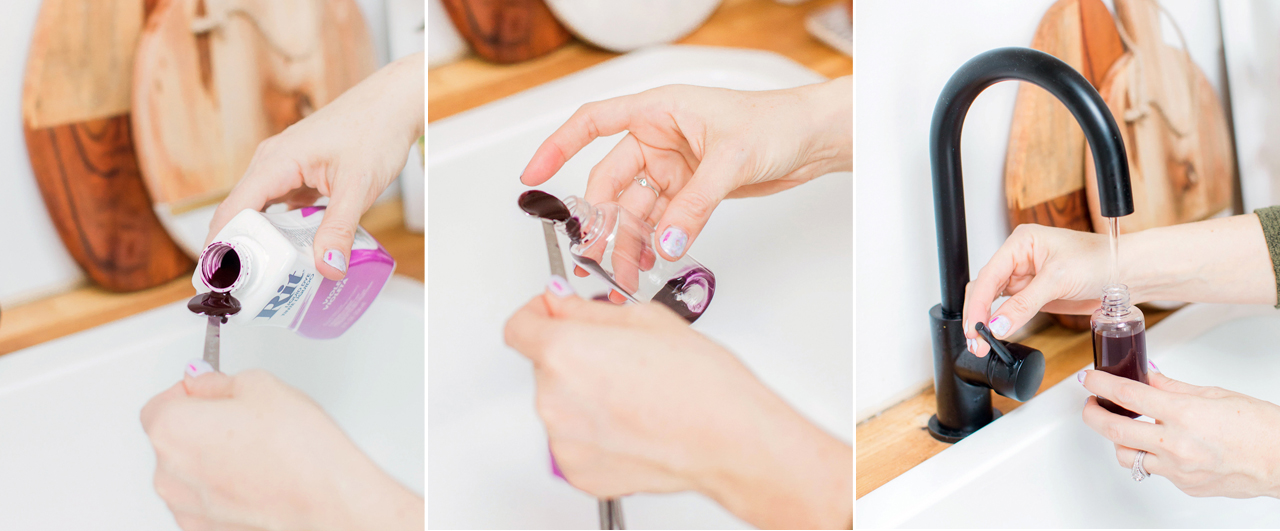
Step 2. Now that you’ve chosen your colors, mix your colors according to the recommended formula in the Rit Color Library, dividing the recommended dye amounts by 1/4. Don’t forget to wear your protective gloves! We’re using smaller amounts of dye than we’d need if we were planning to dye textiles, but because we’re turning the dye into a super fine mist, we still need the dye to be a bit more concentrated and intense. Dividing the color formula recipe by four seemed to do the trick for me! Shake dye bottles before pouring. Using a measuring spoon, measure the amount of Rit All-Purpose Dye and carefully pour the dye into the small spray bottles, then fill the spray bottle with hot water. Shake carefully to mix.
DIY Rainbow Watercolor Crepe Paper Backdrop with RIT Dye / Process

Pro tip: be sure to label your bottles as you go, otherwise you’re bound to lose track of what’s what (trust me on this). I used a bit of washi tape and wrote the color formula on a small piece of tape, then taped the written formula to each bottle.

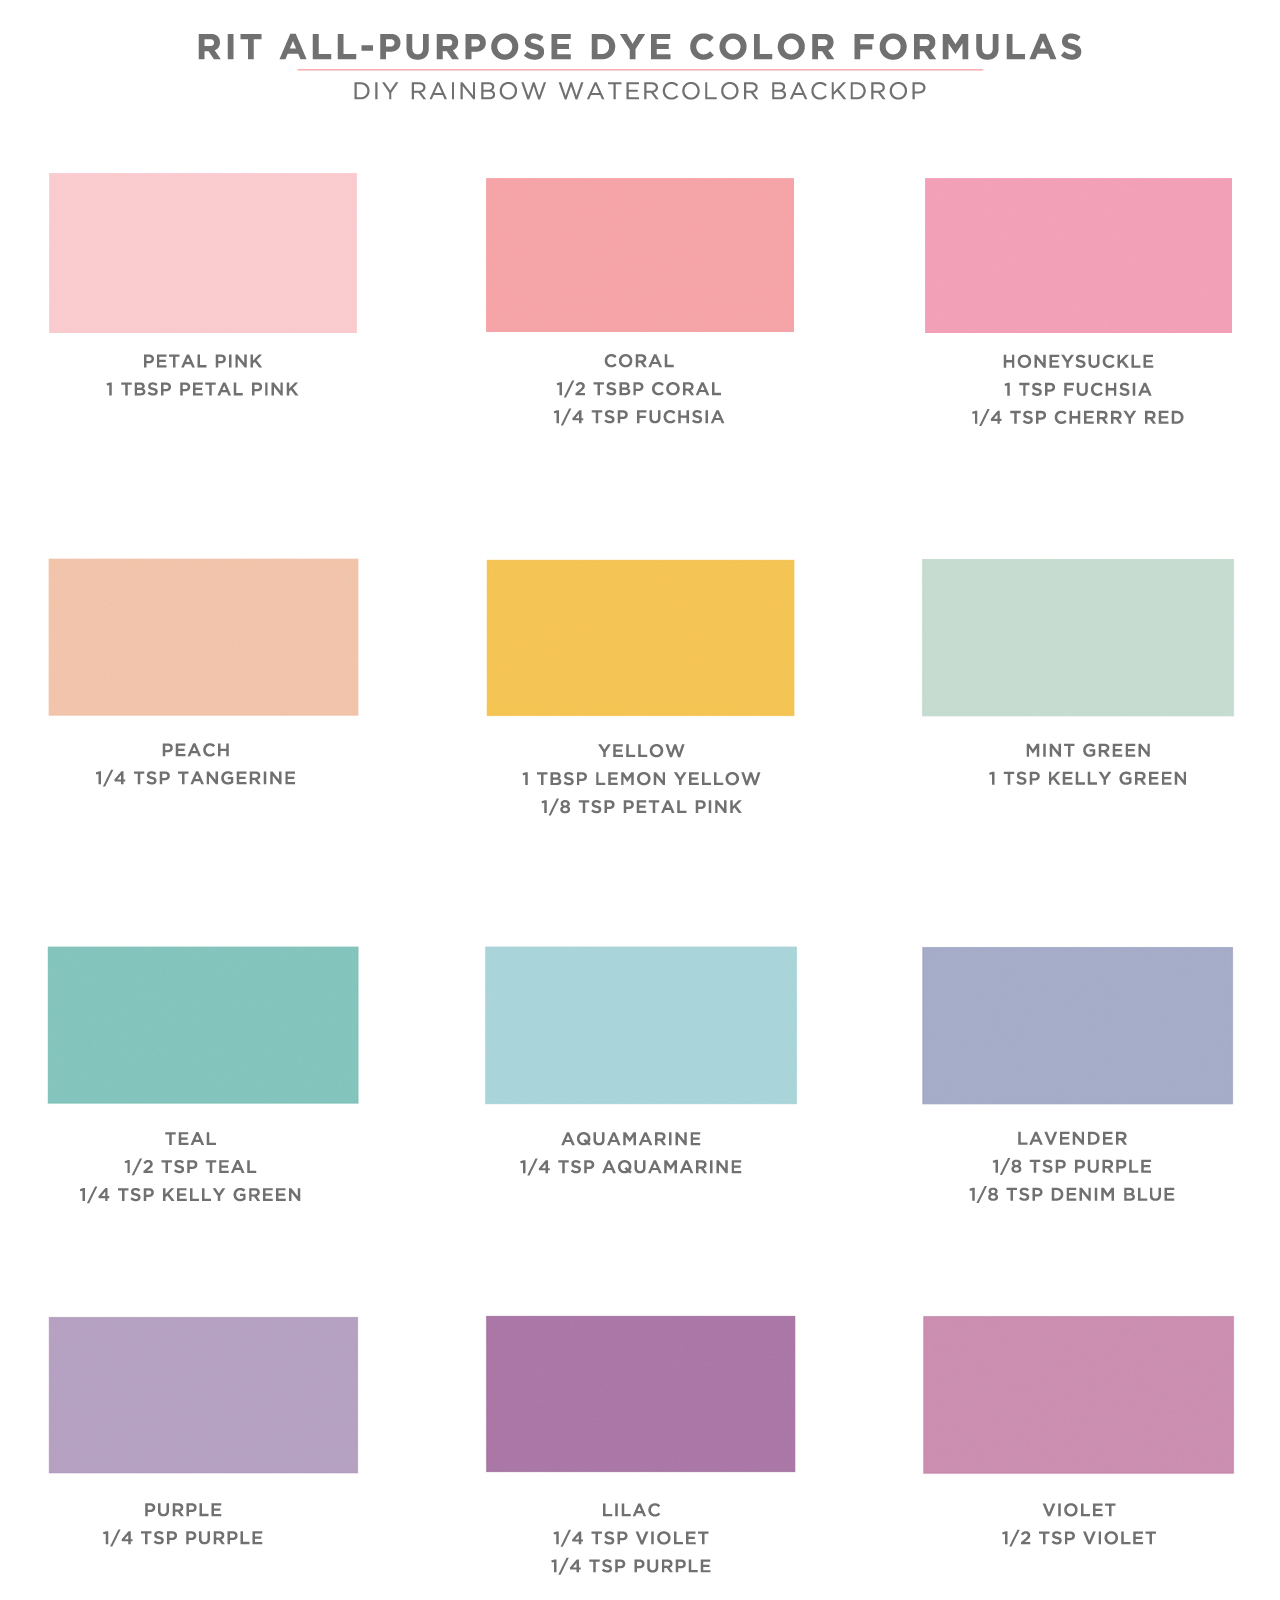
Here are the exact color formulas that I used to create the backdrop:
DIY Rainbow Watercolor Backdrop / Rit All-Purpose Dye Color Formulas

Step 3. Unravel each roll of white crepe paper until it’s one big long sheet, then place each sheet on top of a protective drop cloth on the floor of your workspace. Before you start spray dyeing, be sure to test your colors on a test sheet of crepe paper – or even just on a paper towel – and let it dry completely. The colors will become more intense as they dry! If a color is too dark, pour out a portion of the bottle and add more water to dilute the color. If you need a color to be darker, I found it easiest to pour out the entire 2.5 oz bottle and start over – usually doubling the original quantity of each color (i.e., going from 1/2 teaspoon of kelly green to 1 teaspoon of kelly green to get the perfect shade of mint green).
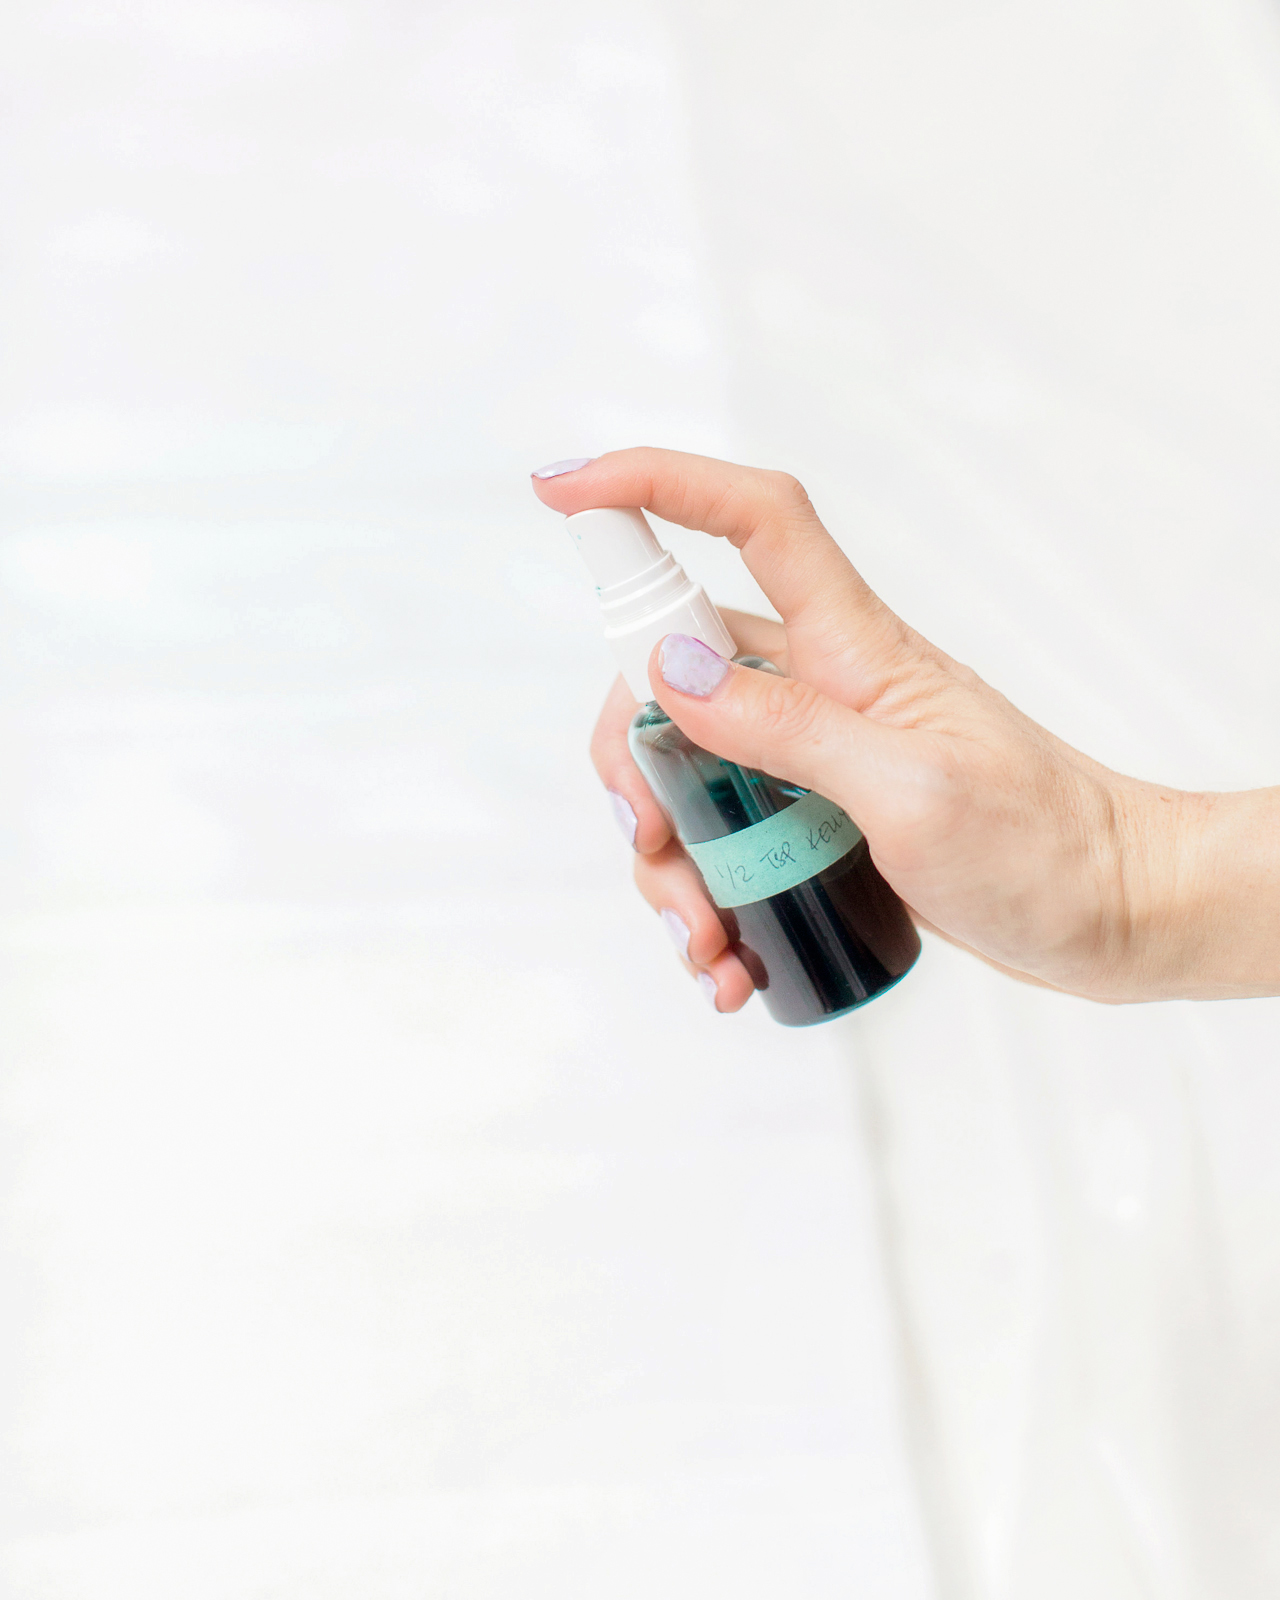
DIY Rainbow Watercolor Crepe Paper Backdrop with RIT Dye

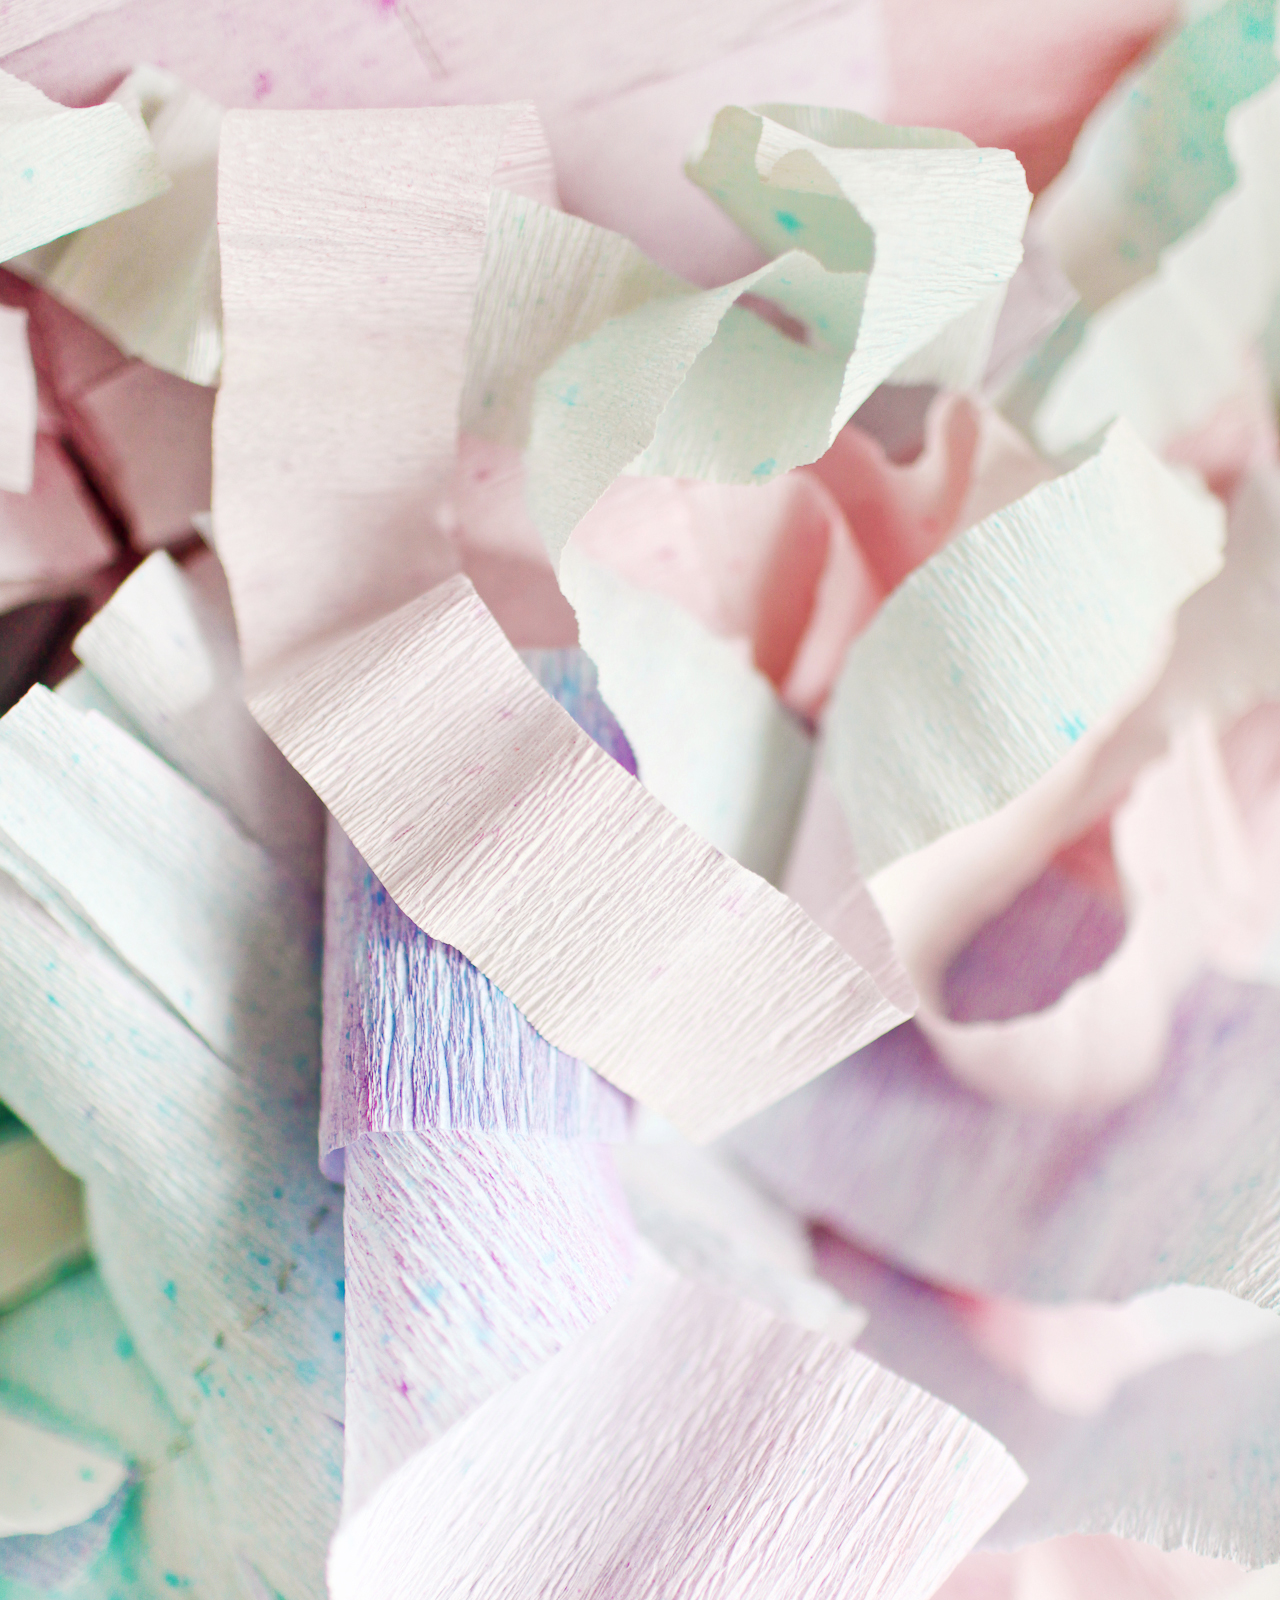
Step 4. Using one spray bottle at a time, spray a very light coat of Rit All-Purpose Dye all over each sheet of white crepe paper, using each dye color in rainbow order. I switched things up a bit with the color order; sometimes I would start with pink or peach at the top and work my way down to lavender, other times I started with lavender and end with blue. Whatever order you choose, place analogous colors next to each other (oranges into pinks into purples) so the colors flow smoothly into each other and don’t end up looking muddy. For the best and most consistent results, make sure the crepe paper doesn’t get too wet and blot the nozzle with a paper towel or a rag after 5-8 pumps to maintain a fine spray mist.
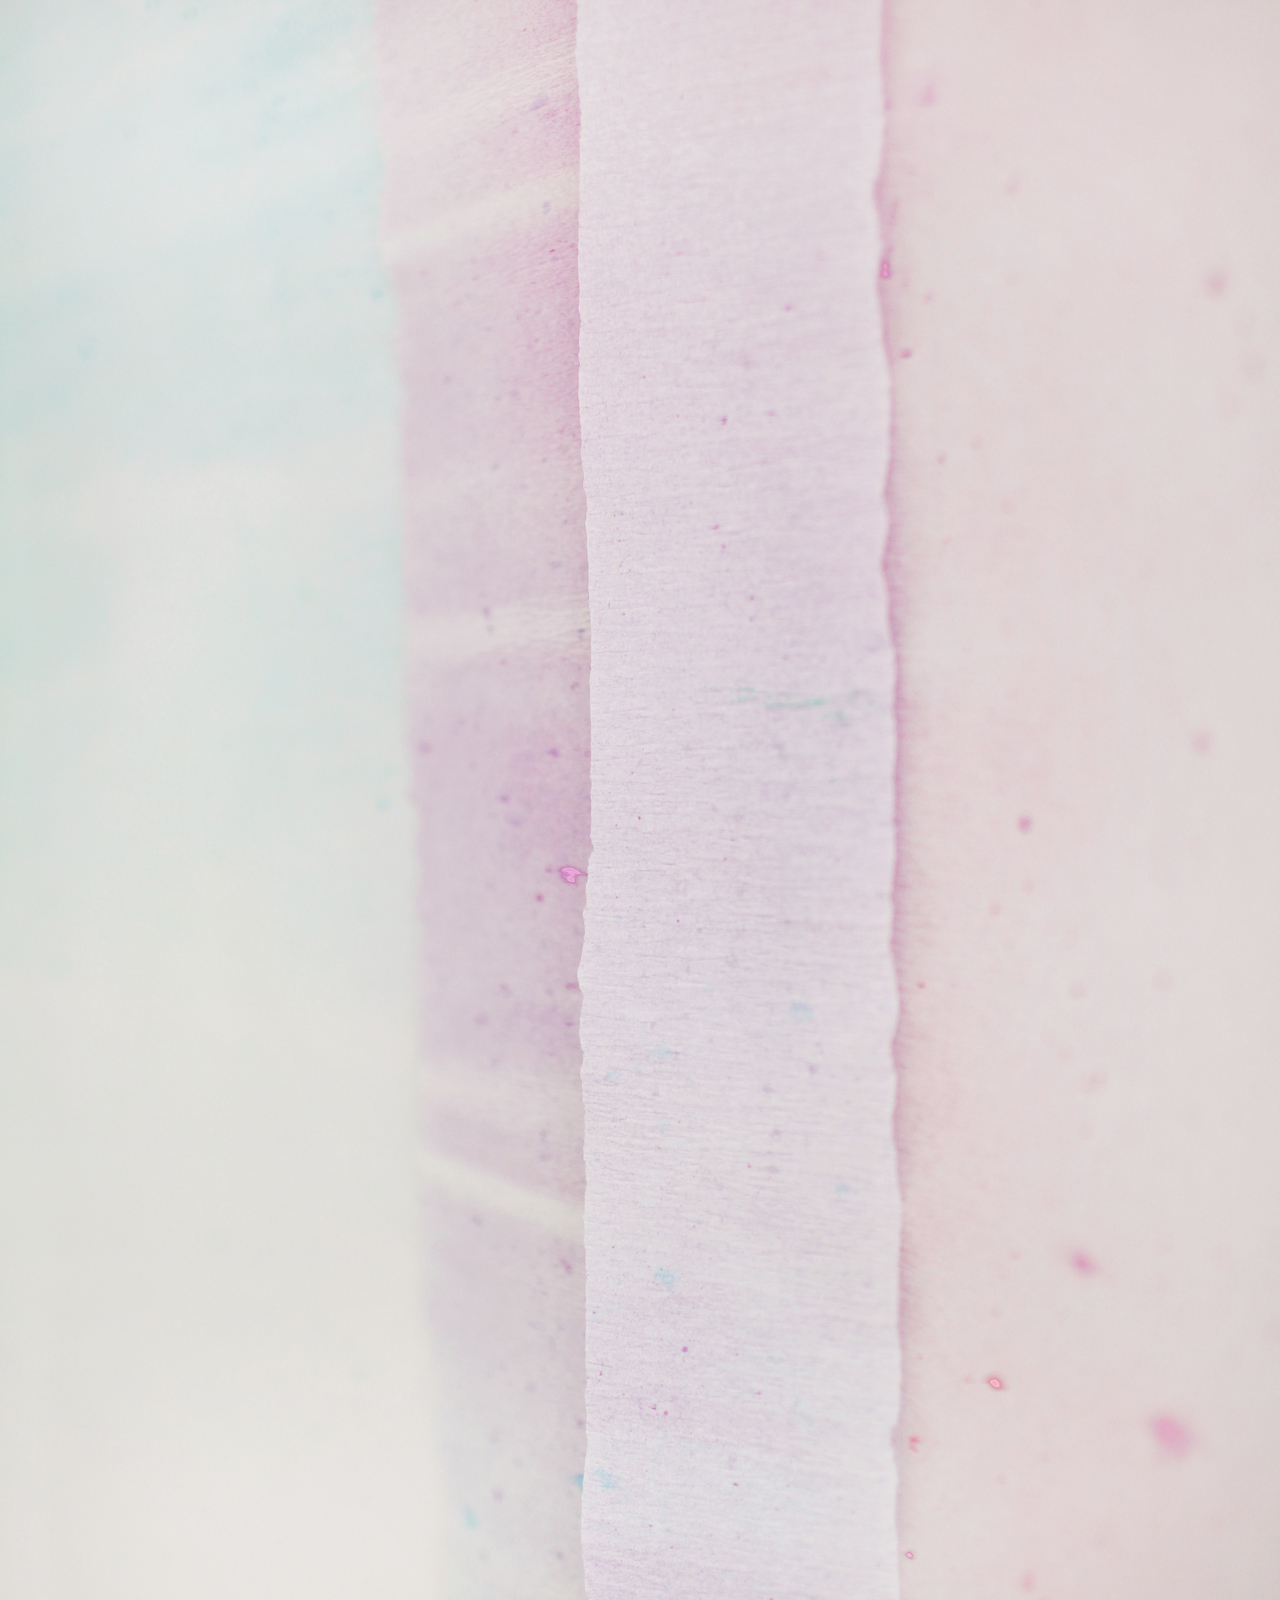
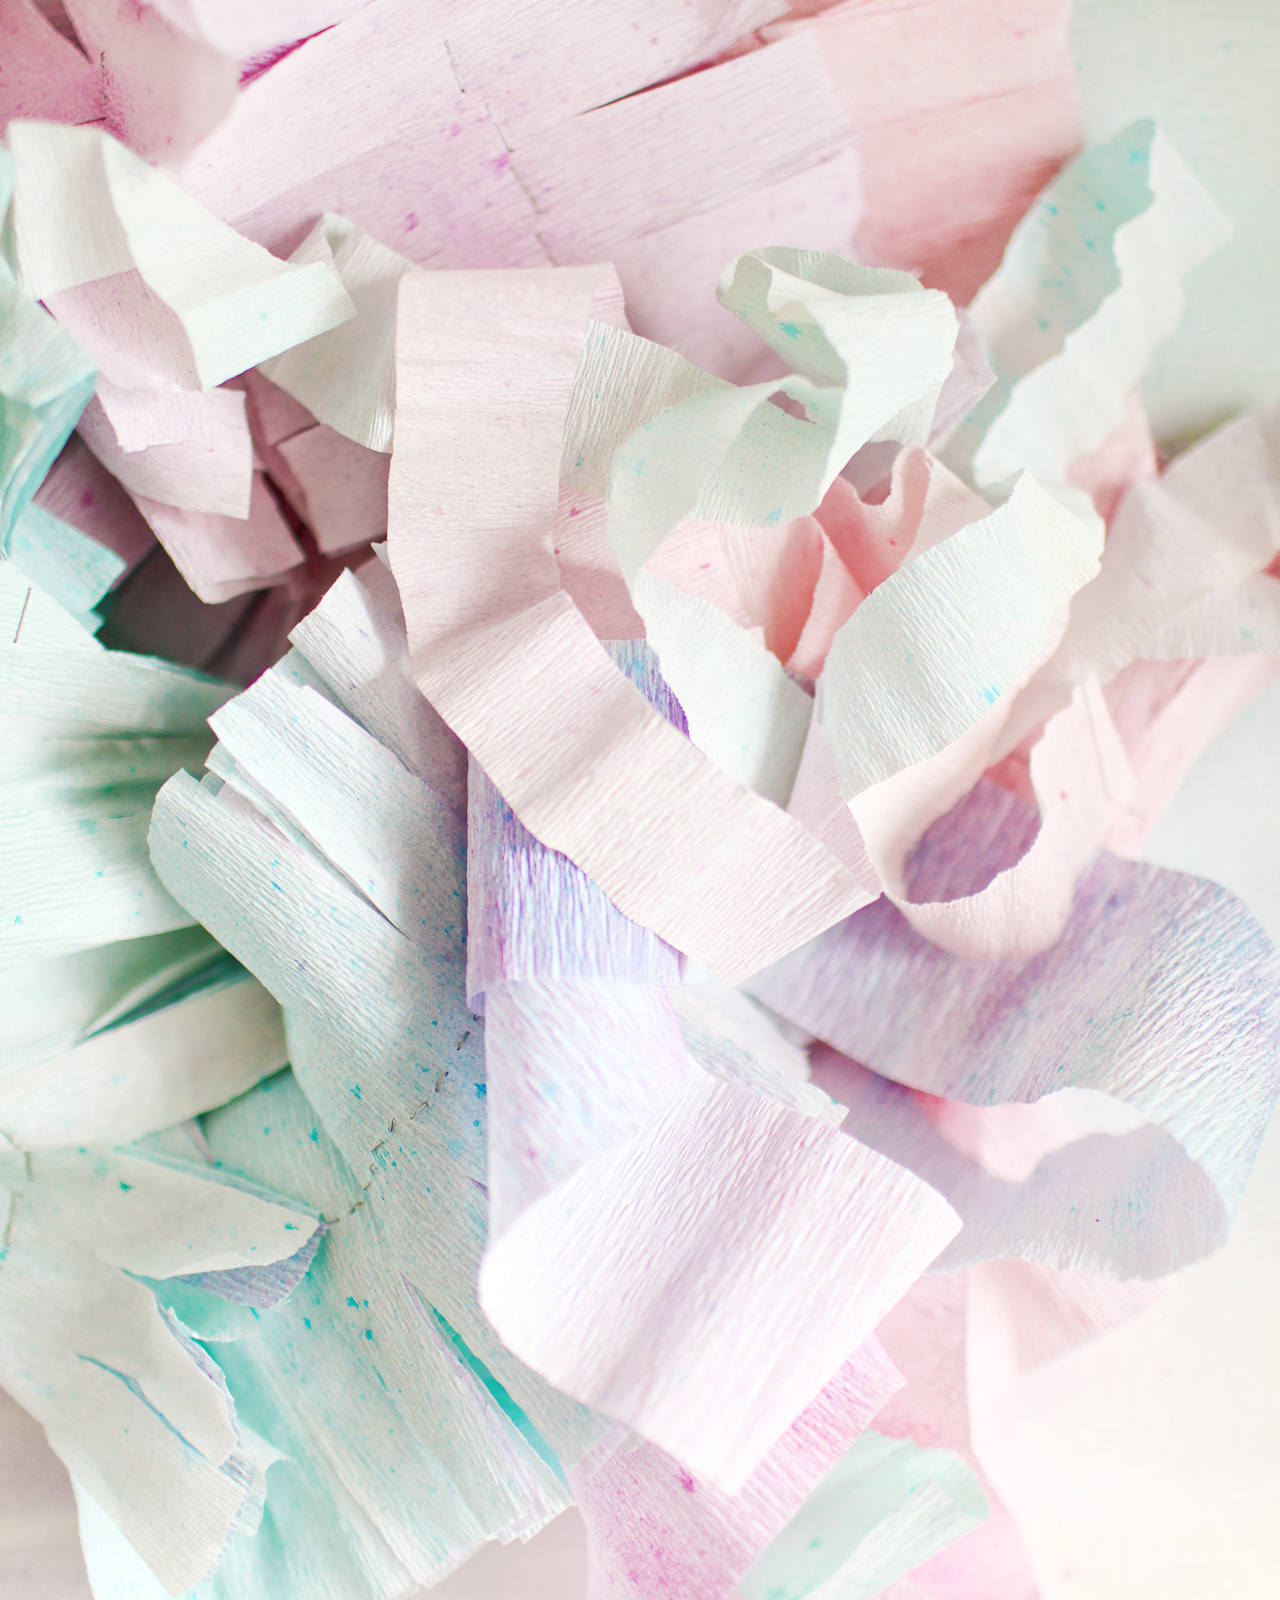
DIY Rainbow Watercolor Crepe Paper Backdrop with RIT Dye

DIY Rainbow Watercolor Crepe Paper Backdrop with RIT Dye

Step 5. Once you’ve dyed all of your crepe paper, apply a couple pieces of gaffer’s tape to one end of each sheet and tape the paper to the floor. Then, pull on the other side of the paper to remove the stretch in the crepe paper and tape the other end to the floor. Allow the crepe paper to dry completely, around 30 minutes, then remove the gaffer’s tape. It’s gentle enough that it shouldn’t tear the paper as long as you’re very careful while removing it!

Step 6. To hang the backdrop, use a few pieces of gaffer’s tape to adhere the crepe paper to long wooden dowels and use non-damaging, removable wall hooks to hang the backdrop. For added depth and visual interest, layer the crepe paper sheets over each other – or even cut some of the sheets into a variety of widths and mix them all together!
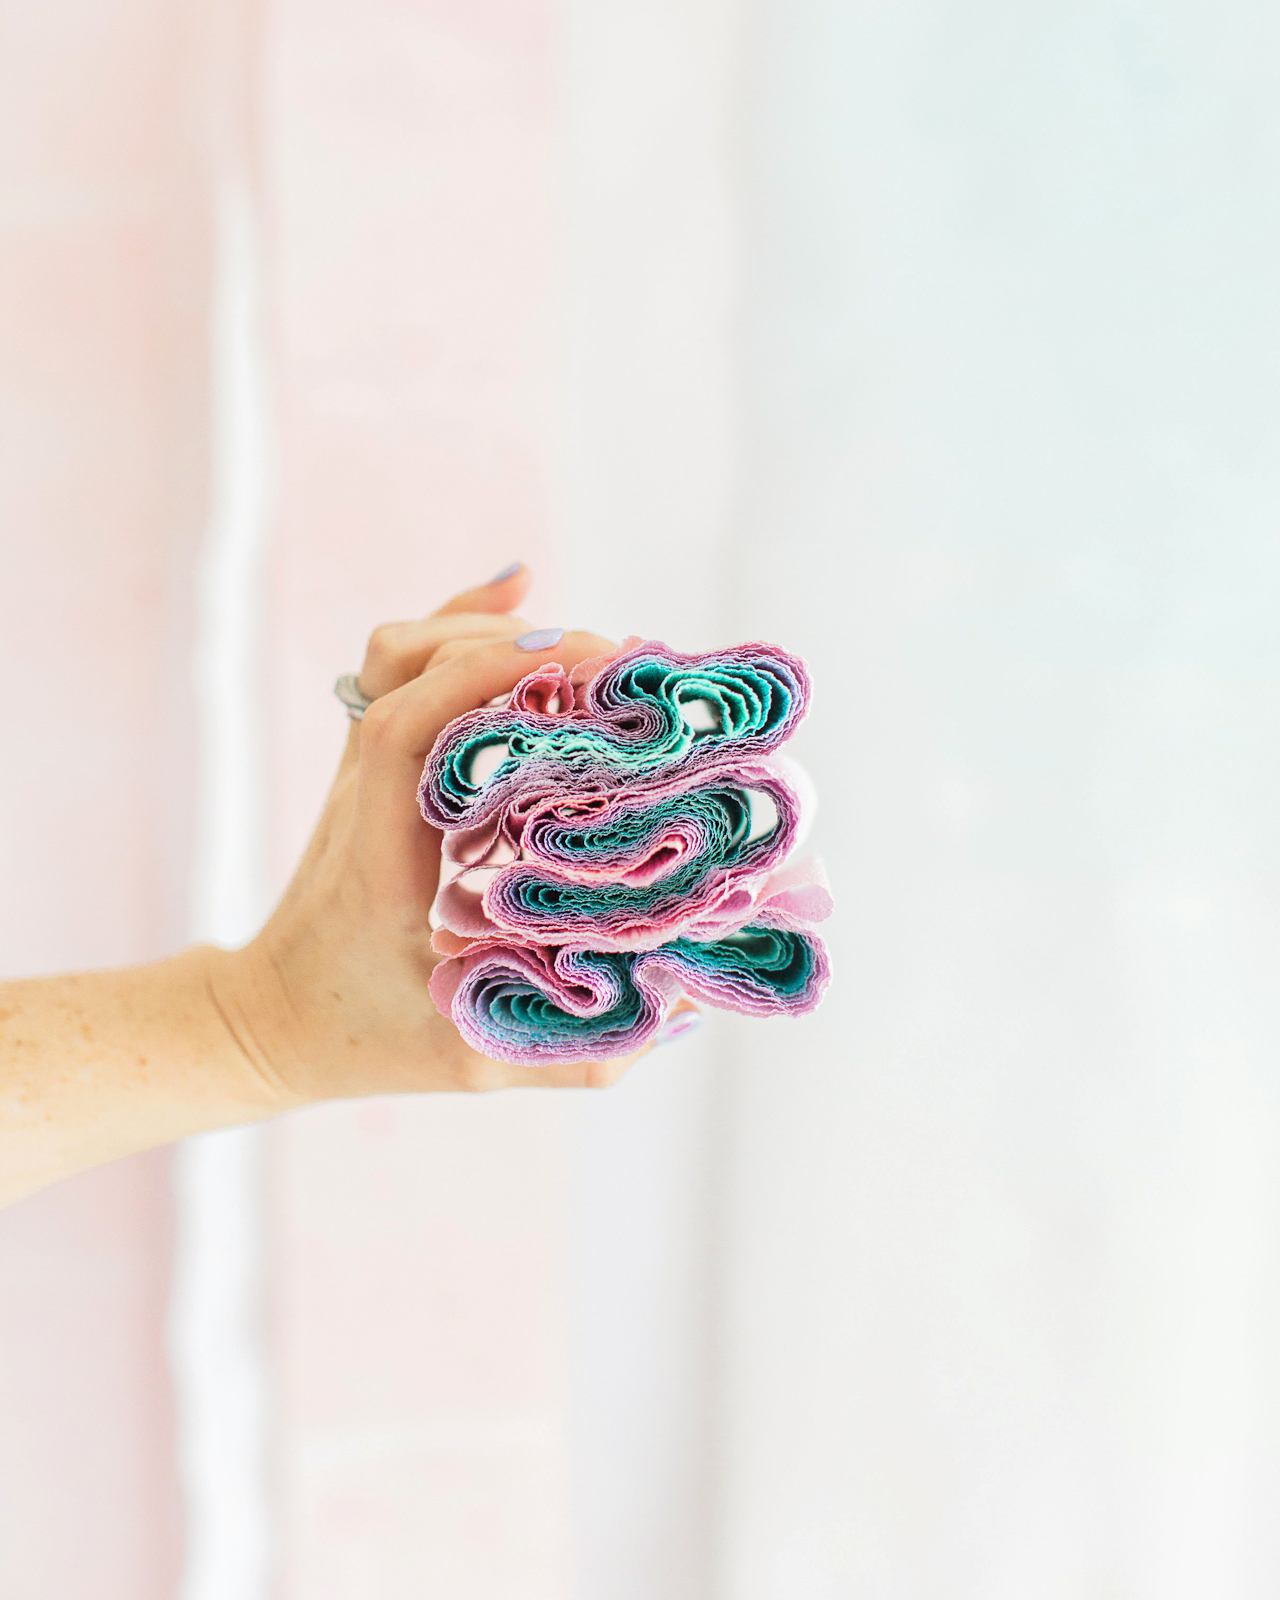
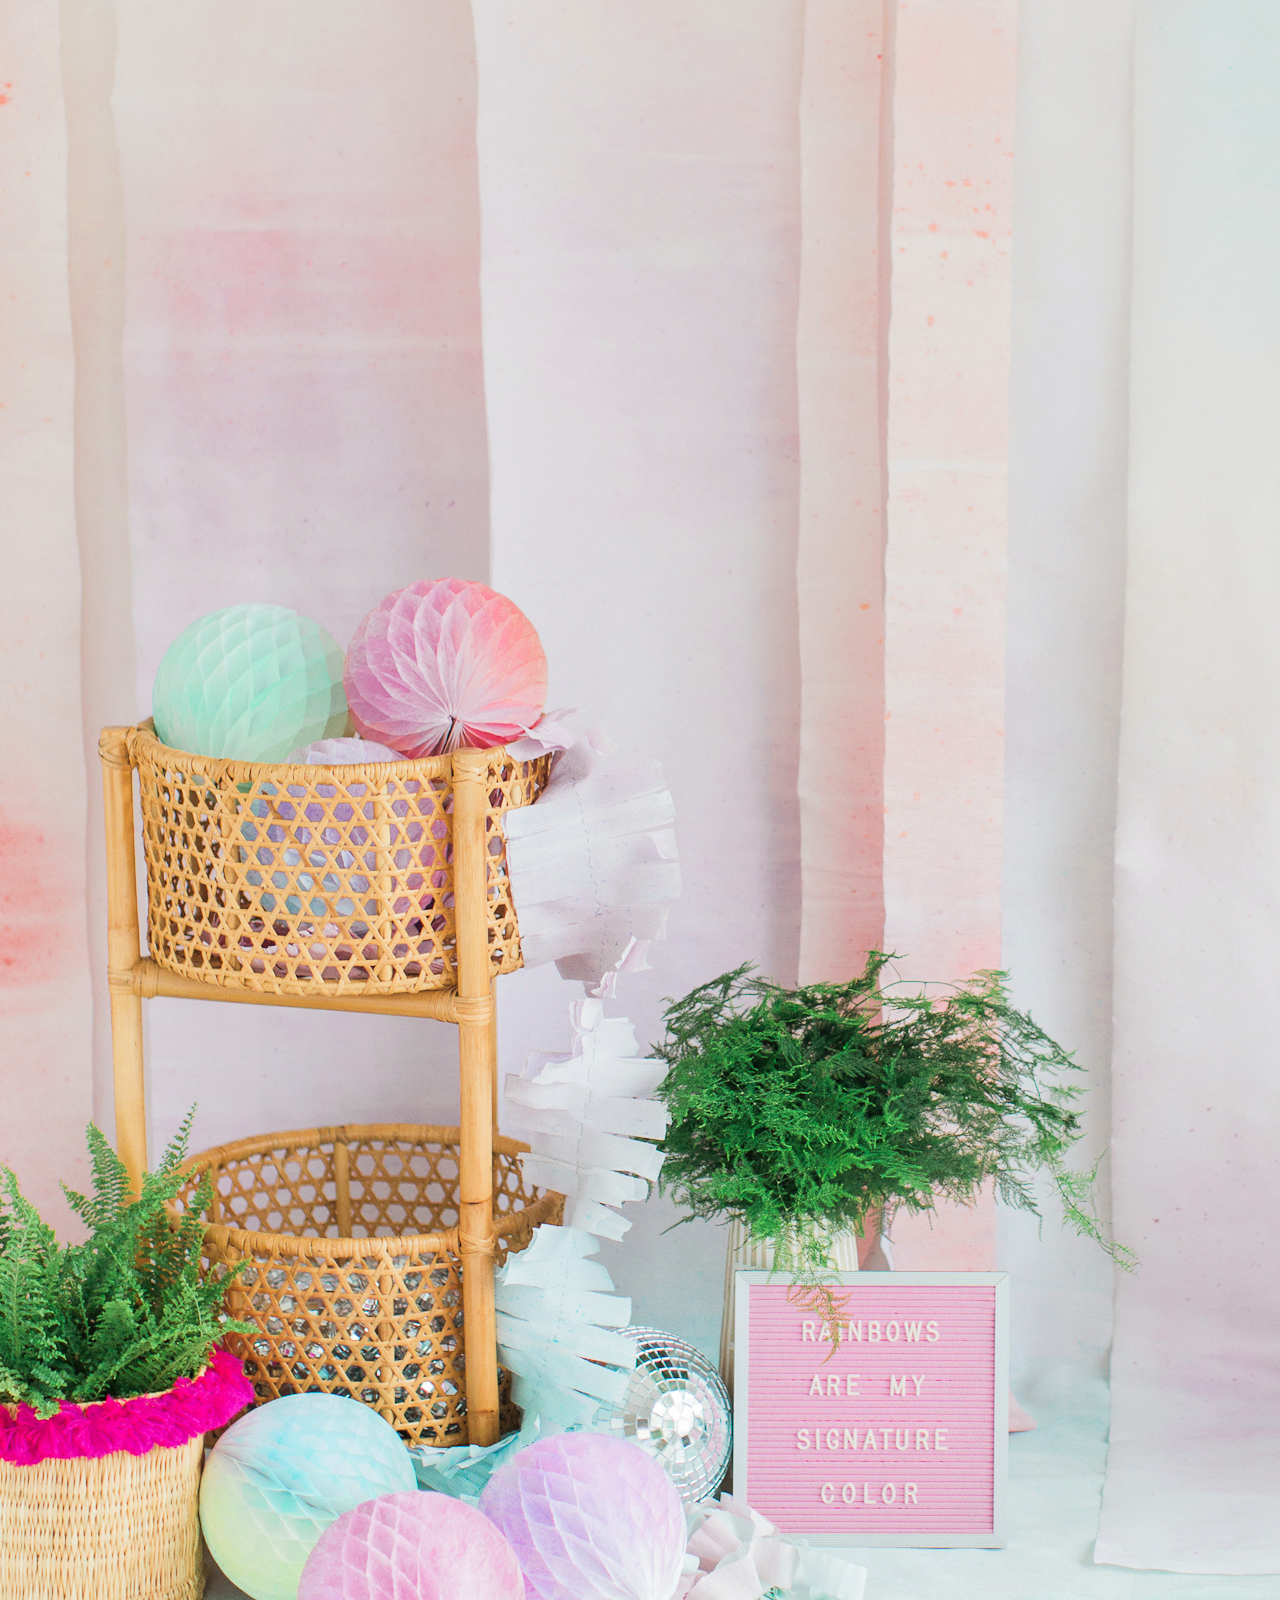
DIY Rainbow Watercolor Crepe Paper Backdrop with RIT Dye

DIY Rainbow Watercolor Crepe Paper Backdrop with RIT Dye

Ta da! It’s such a quick and easy way to add a dose of color to a wedding or party – and you can use the same technique to turn any white paper decorations into a rainbow, from round honeycombs to tissue paper fans and fringe crepe paper garlands! I absolutely LOVE this idea for a wedding ceremony backdrop – which you can reuse as a photo booth backdrop for the reception! Just be prepared for this backdrop to inspire a bit of twirling from your younger guests.
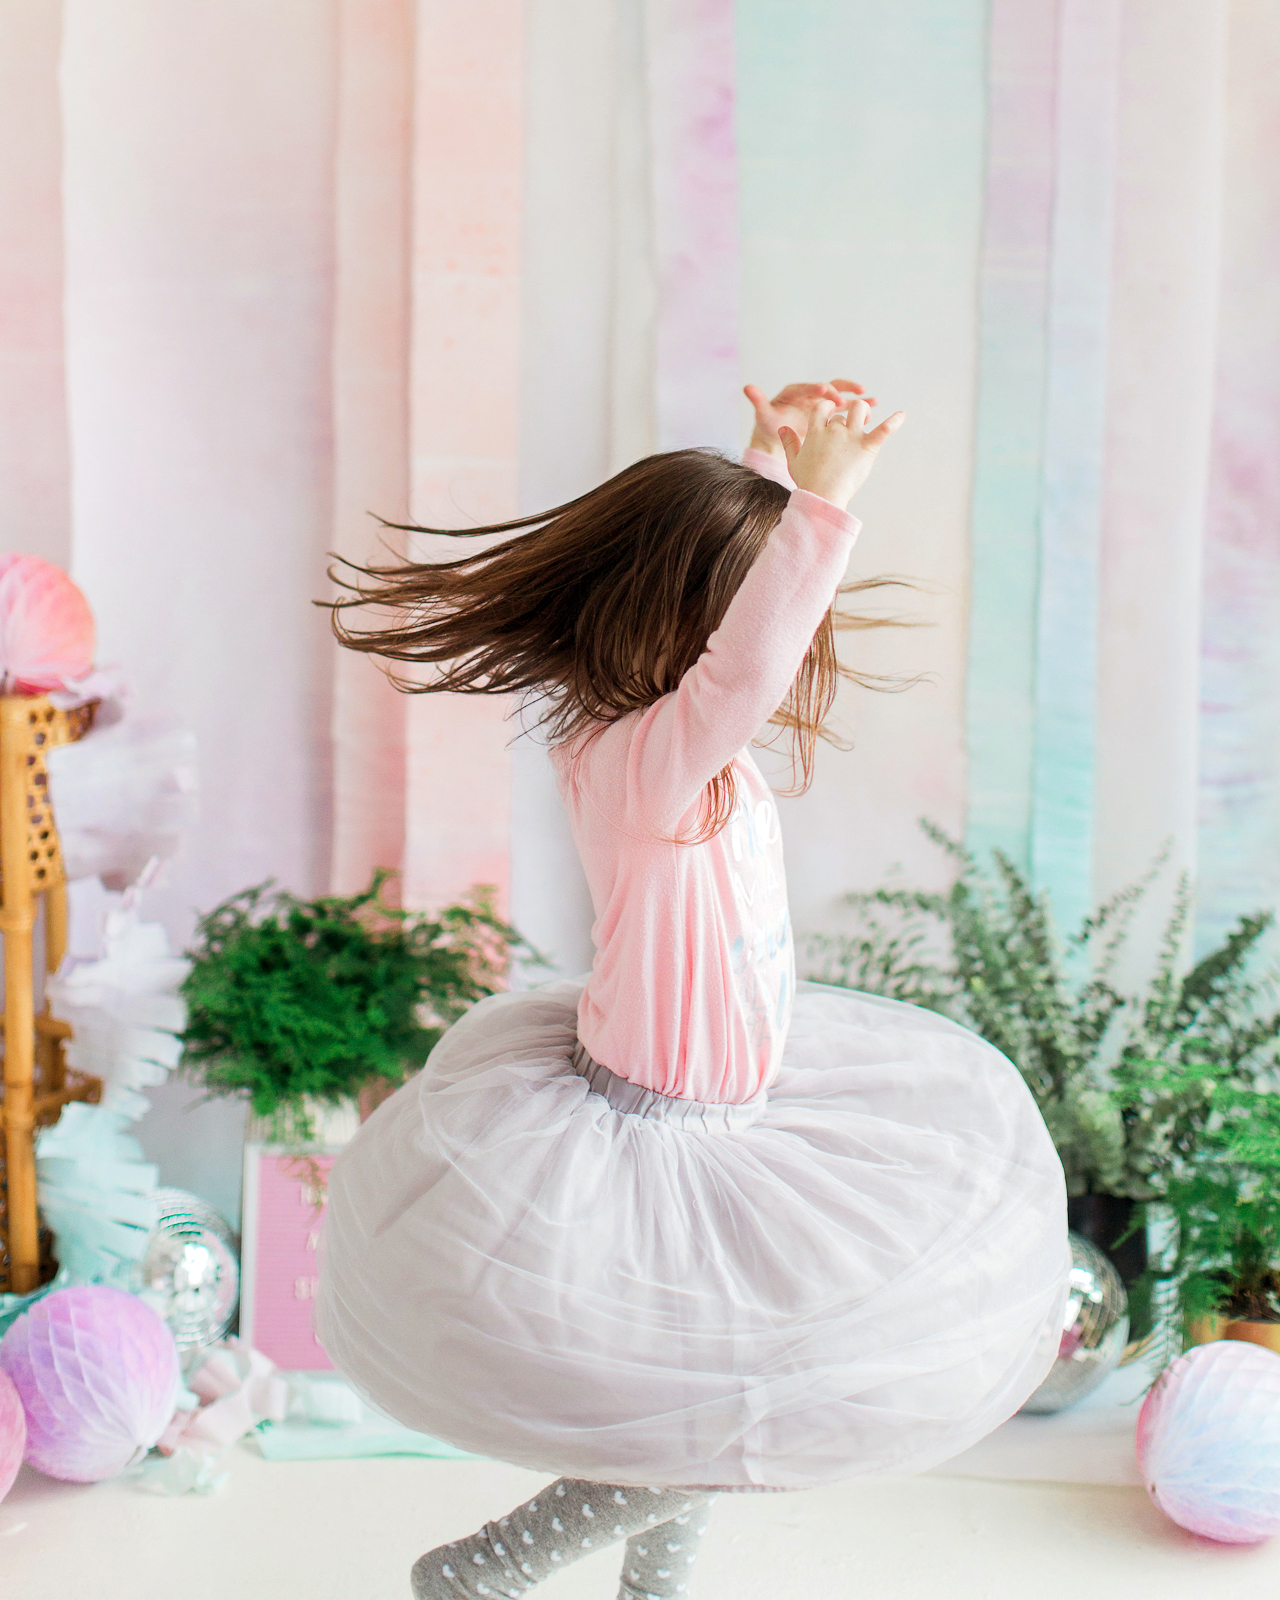
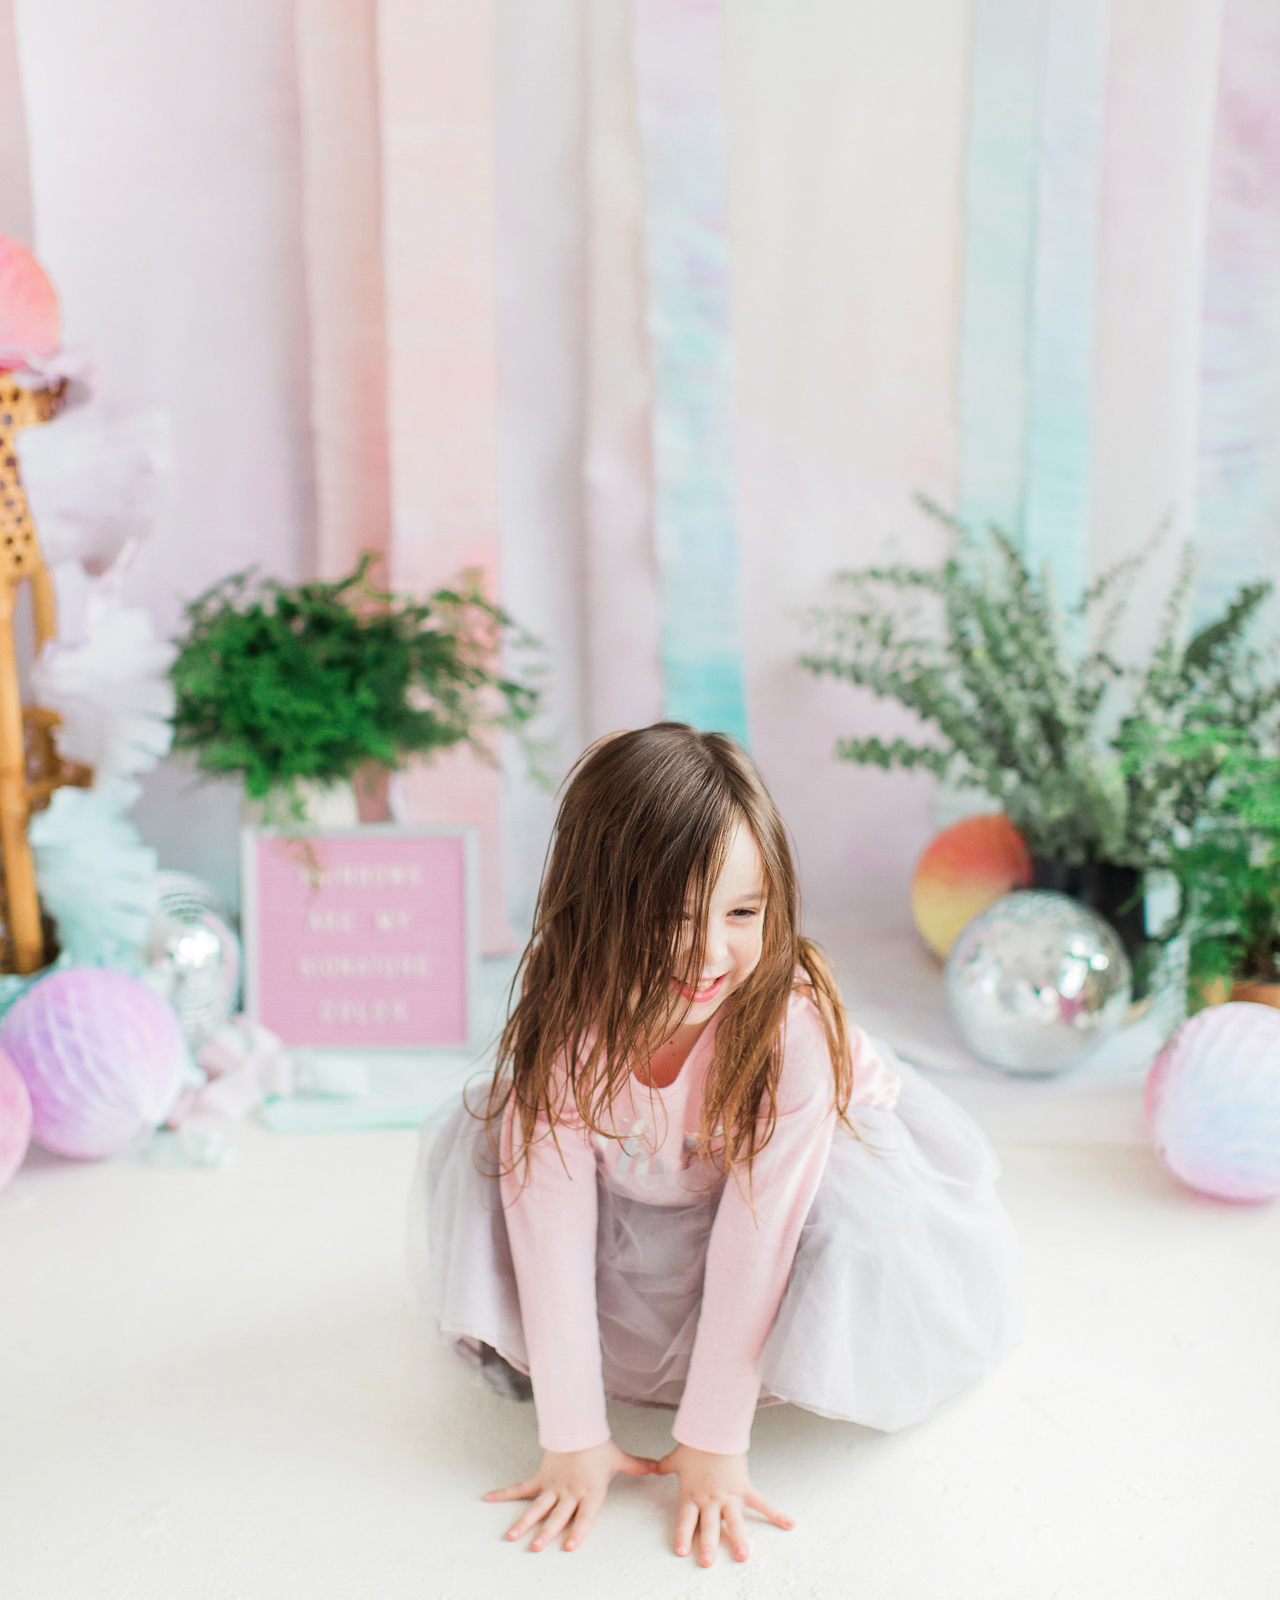
DIY Rainbow Watercolor Crepe Paper Backdrop with RIT Dye

DIY Rainbow Watercolor Crepe Paper Backdrop with RIT Dye

DIY Rainbow Watercolor Crepe Paper Backdrop with RIT Dye

DIY Rainbow Watercolor Crepe Paper Backdrop with RIT Dye

Pastels! Rainbows! Gah, I just love this DIY rainbow watercolor crepe paper backdrop SO much! But what do YOU think?? If you make this crepe paper backdrop for your wedding or party, be sure to share a photo on Instagram with the hashtag #madewithosbp so I can see it!

This is a sponsored conversation written by me on behalf of Rit Dye. The opinions and text are all mine. Check out the 50 shades of Rit All-Purpose Dye right here and browse over 500 color formulas in the Rit Dye Color Library here!


Photo Credits: Meghan Marie Photography and Nole Garey for Oh So Beautiful Paper

Common Room Studio: Modern Bohemian Style Round Up

You guys, we’re getting SO close to finishing the design for Common Room Studio. I actually did a little sneak peek tour of the space on my Instagram Stories yesterday – you can find me here if you want to take a look! We’ve been using the space as a photo studio for a while, but I was having trouble deciding on a layout and wall treatments for the front room, which functions as a kind of lounge/living room area for the entire studio. But I think I finally figured it out! Now I’m on the hunt for some specific pieces to help pull everything together, so I thought I’d share what I’ve found so far!

Click the widget above to go directly to an individual product page!

Chandelier // Wire Planter // Pink Planter // Rattan Cabinet // Ikebana Vase // Rug // Pink Sofa // Floral Art Print // Coffee Table // Plaid Stools

I shared our design plans and moodboard for Common Room Studio back in November, which is still guiding all of my design decisions in the studio. Our overall style is bright and airy with a little bohemian thrown in. Lots of textiles, rattan and natural textures, and light wood tones to soften some of the industrial edges of the space. I’m not really sure what to call this particular style – maybe Modern Bohemian? Works for me!

My main hang up involved some exposed electrical conduits in really awkward locations. The walls are all cinderblock, so the conduits can’t be easily moved, but working around them means I can’t use wallpaper to create an accent wall and paint alone didn’t feel like it was quite enough. The current plan is to use moulding strips to hide the conduits and help create some extra visual interest while remaining a fairly blank slate for photo sessions and events.

We have a couple of chairs and a loveseat in the room right now, but I’d love to add a sectional for extra seating. I absolutely love the pink velvet on this sofa, but I’m thinking leather would probably be more practical. This cabinet would be great for holding bottles and supplies during cocktail workshops. And I’ve been completely obsessed with this chandelier for a while now – if it doesn’t end up at the studio, it’ll end up somewhere in my house. Ha!

So there you go! I can’t wait to get this all finished up and finally share the full reveal with all of you! But I’m curious – how would you describe this style? Does Modern Bohemian work for you, or would you call it something else?

Yuletide Punch

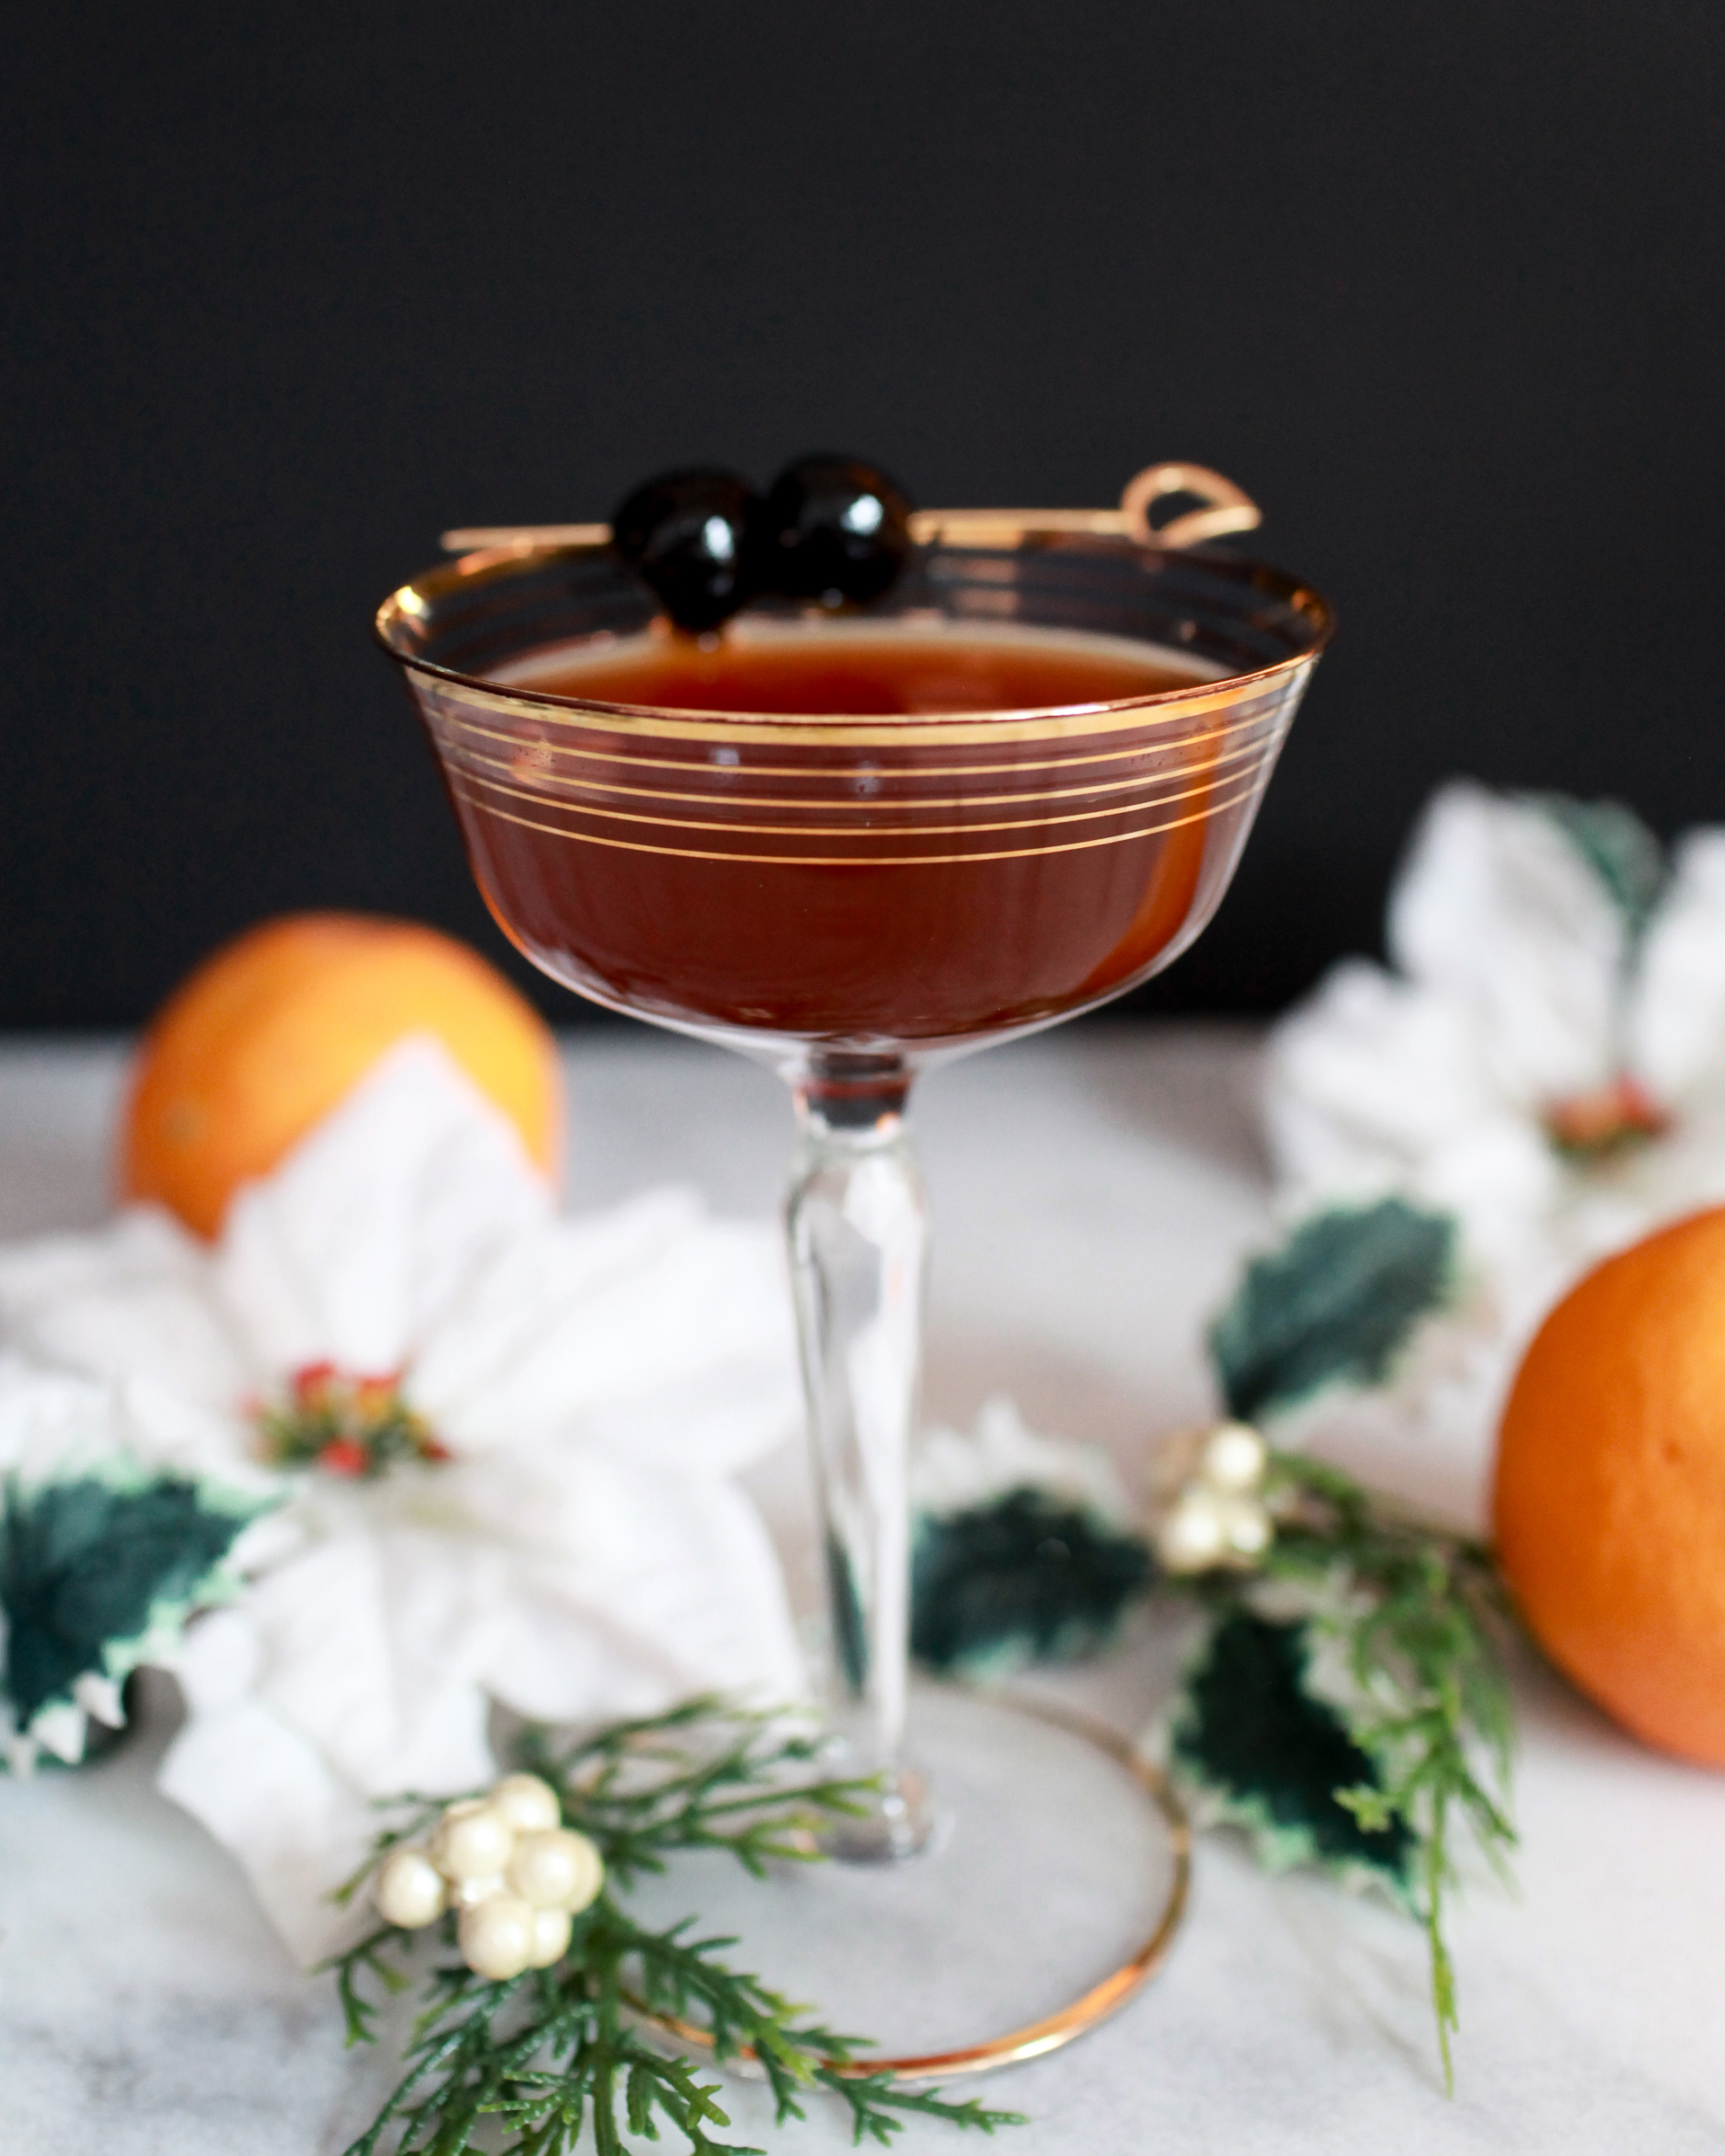
There are a lot of classic winter cocktails for the holidays: Eggnog and mulled wine and Glögg, Tom & Jerry and Hot Buttered Rum and Hot Toddies. These are all classics and they’re all wonderful, and hopefully we’ll get a chance to talk about some of these over the next few weeks. But we wanted to play around with something a little more modern, a combination we hope will become a new holiday classic. We’re calling this one the Yuletide Punch, and it’s festively delicious. – Andrew

Yuletide Punch Cocktail Recipe

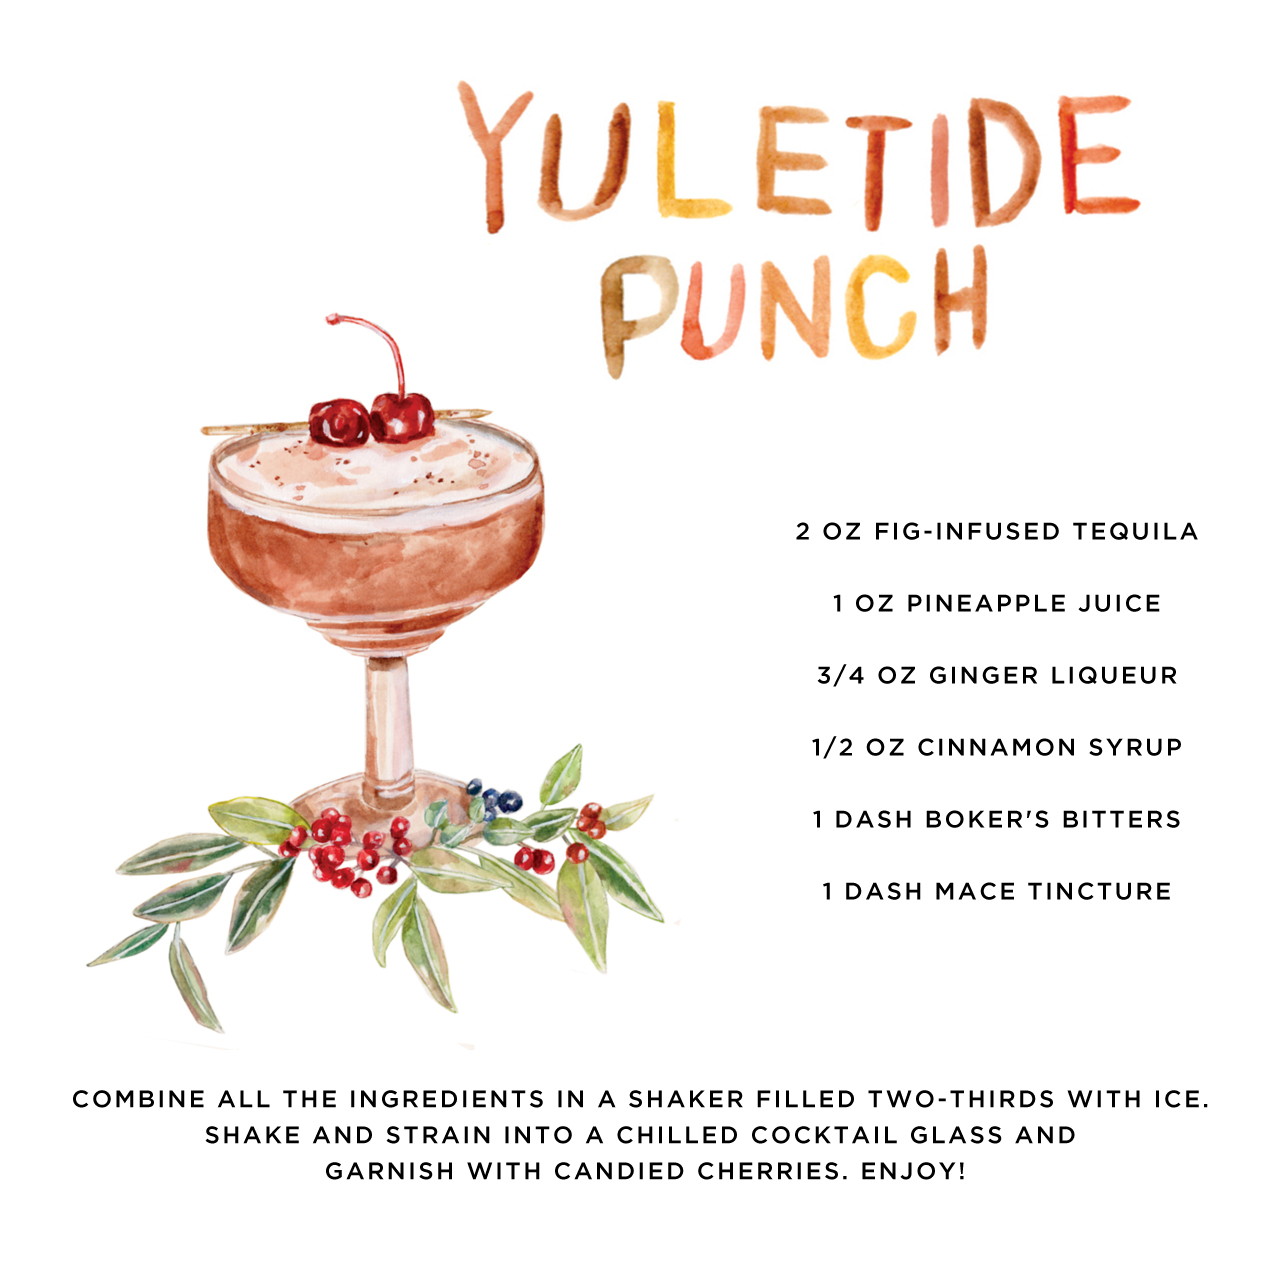
Yuletide Punch Cocktail Recipe Illustration

Illustration by Lana’s Shop for Oh So Beautiful Paper

Yuletide Punch

Recipe by Liquorary

2 oz Fig-infused Blanco Tequila
1 oz Pineapple Juice
1/2 oz Ginger Liqueur
1/2 oz Cinnamon Syrup
1/4 oz PX Sherry
2 dashes Boker’s Bitters

To make the cinnamon syrup: break up two cinnamon sticks in a sauce pan and toast them over low heat until fragrant. Add a cup of sugar and cup of water, stirring frequently until the sugar has melted. Remove the pan from the heat and cover; let it sit to infuse for at least 20 minutes. Then strain through a cheese cloth and bottle the syrup.

To make the fig-infused tequila: combine a bottle of blanco tequila and 6-8 dried figs, coarsely chopped, in a non-reactive jar. Let it sit for at least a week, shaking periodically, before straining and re-bottling. (Hope you held on to that original bottle!)

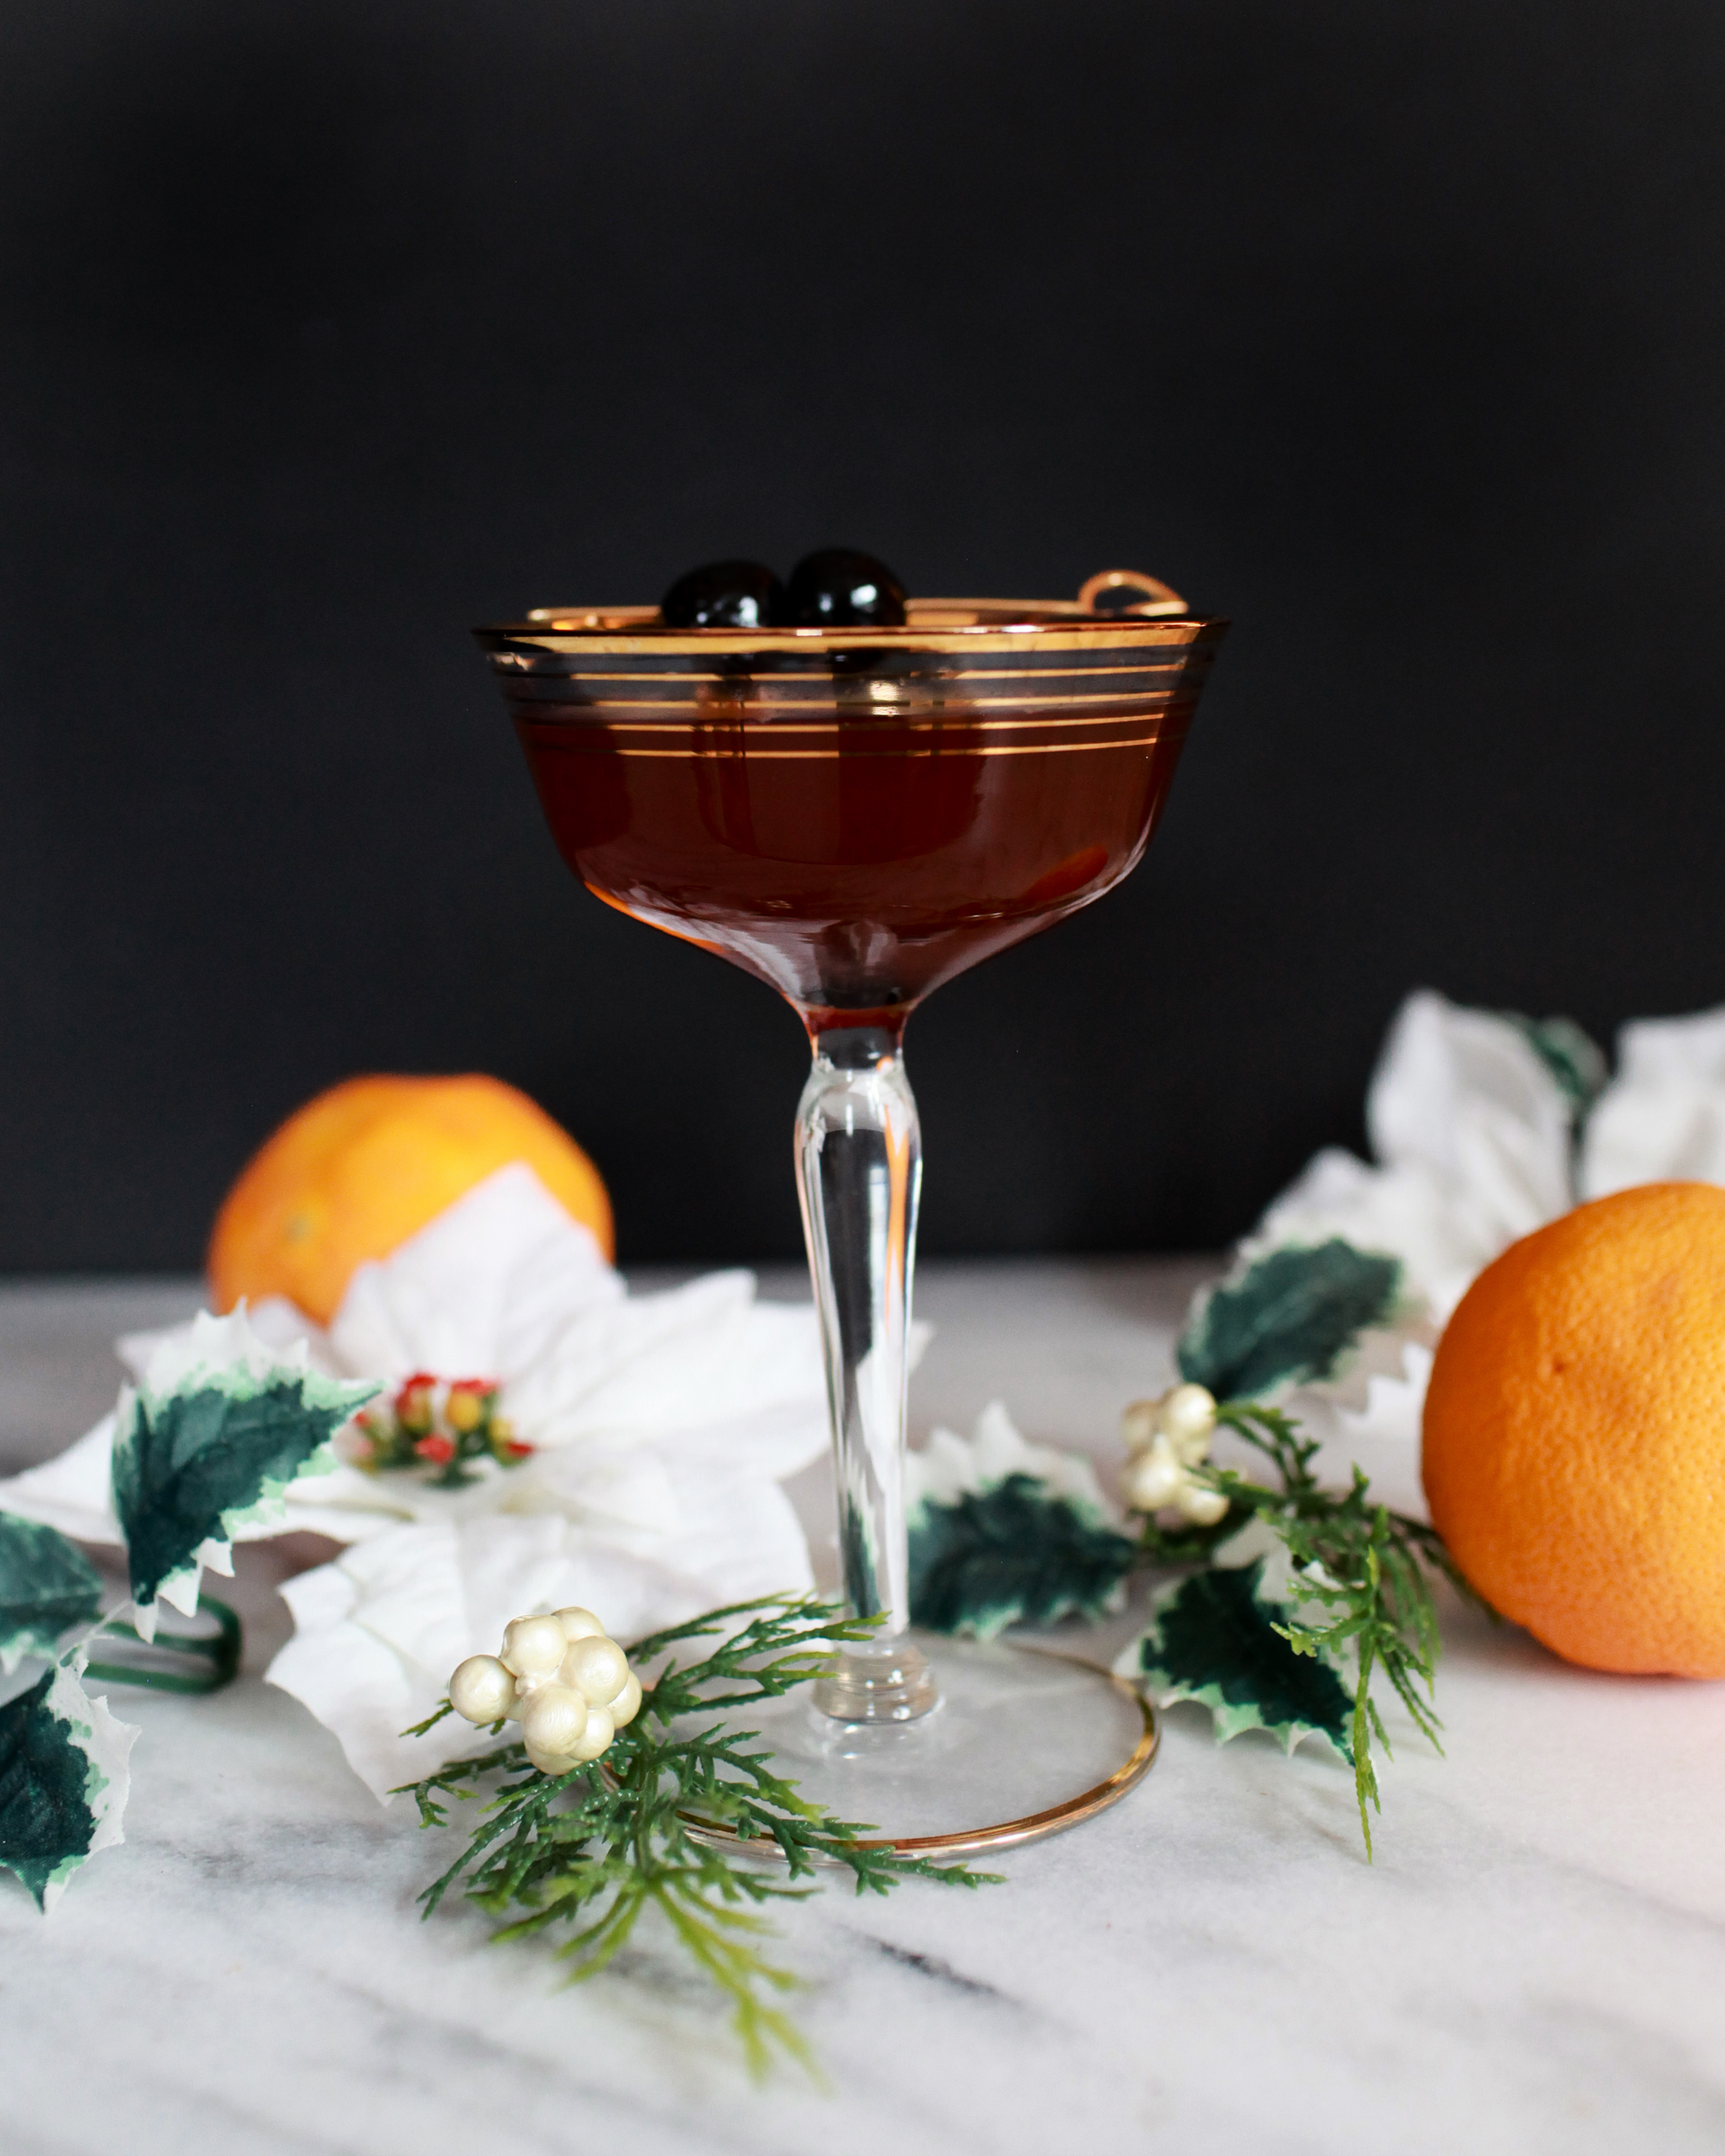
Yuletide Punch Cocktail Recipe

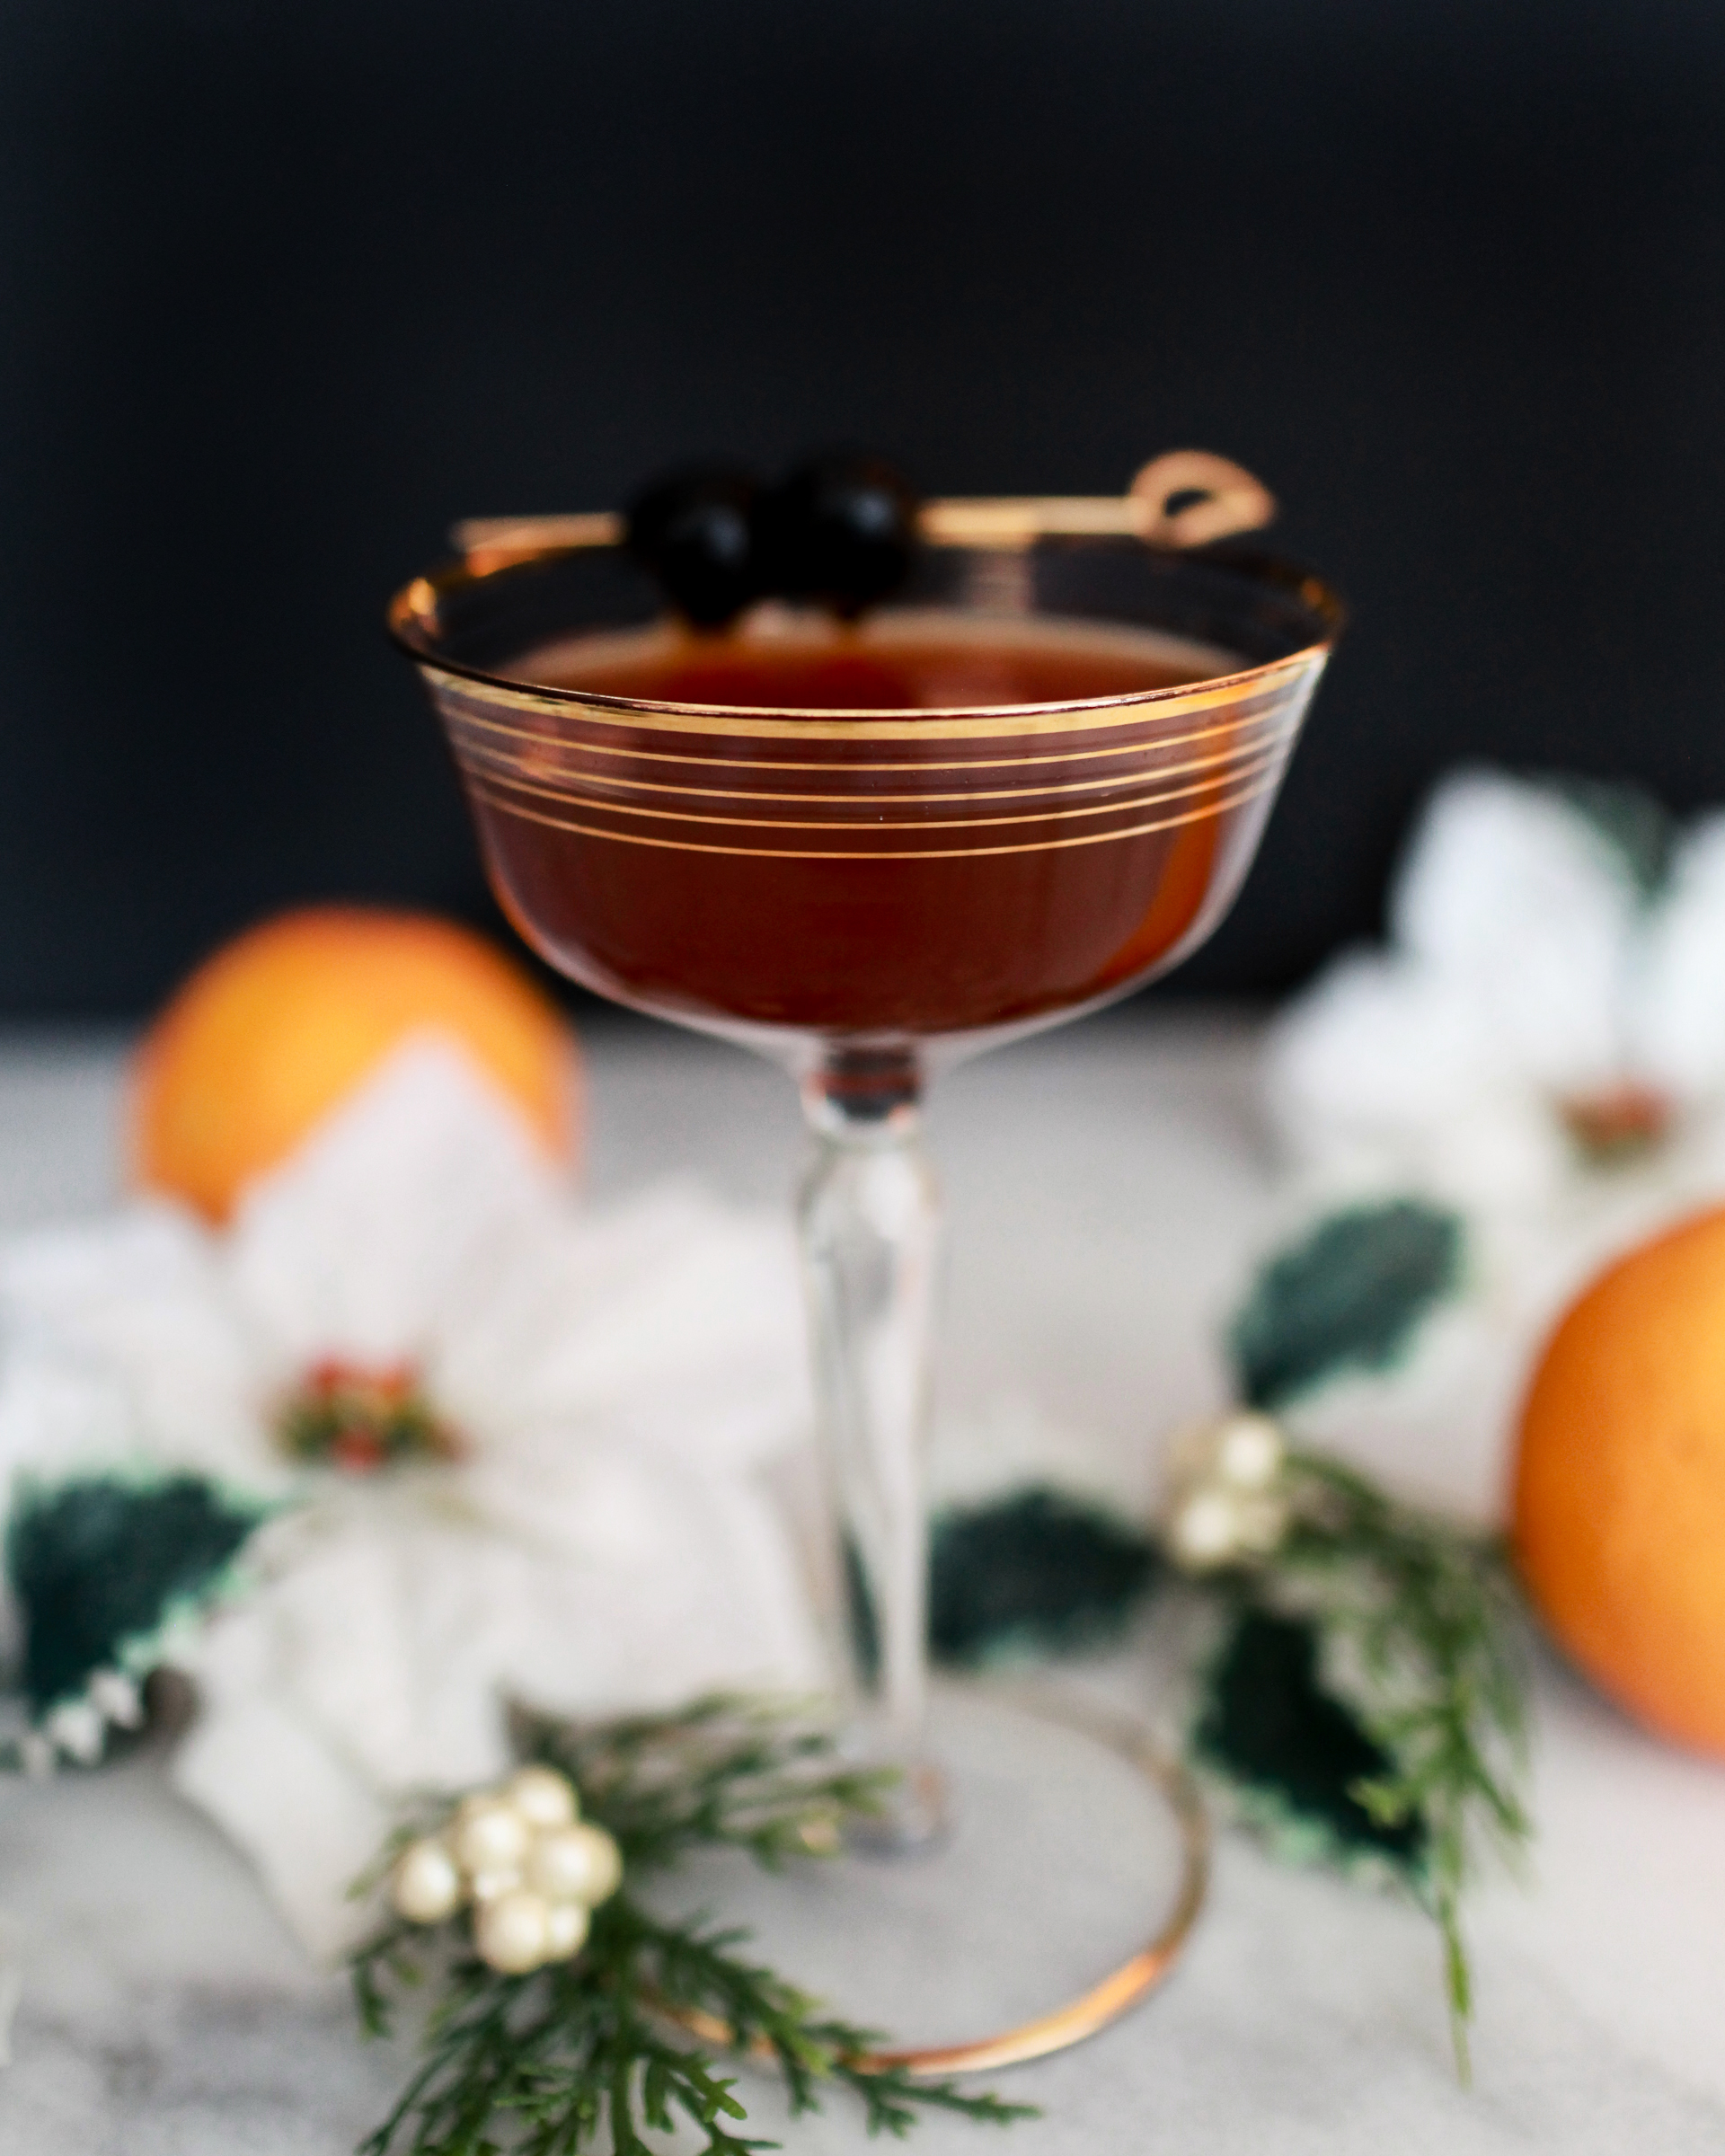
To make the Yuletide Punch: combine all the ingredients in a shaker filled two-thirds with ice. Shake and strain into a chilled coupe glass. Garnish with fresh pineapple and candied cherries. Enjoy!

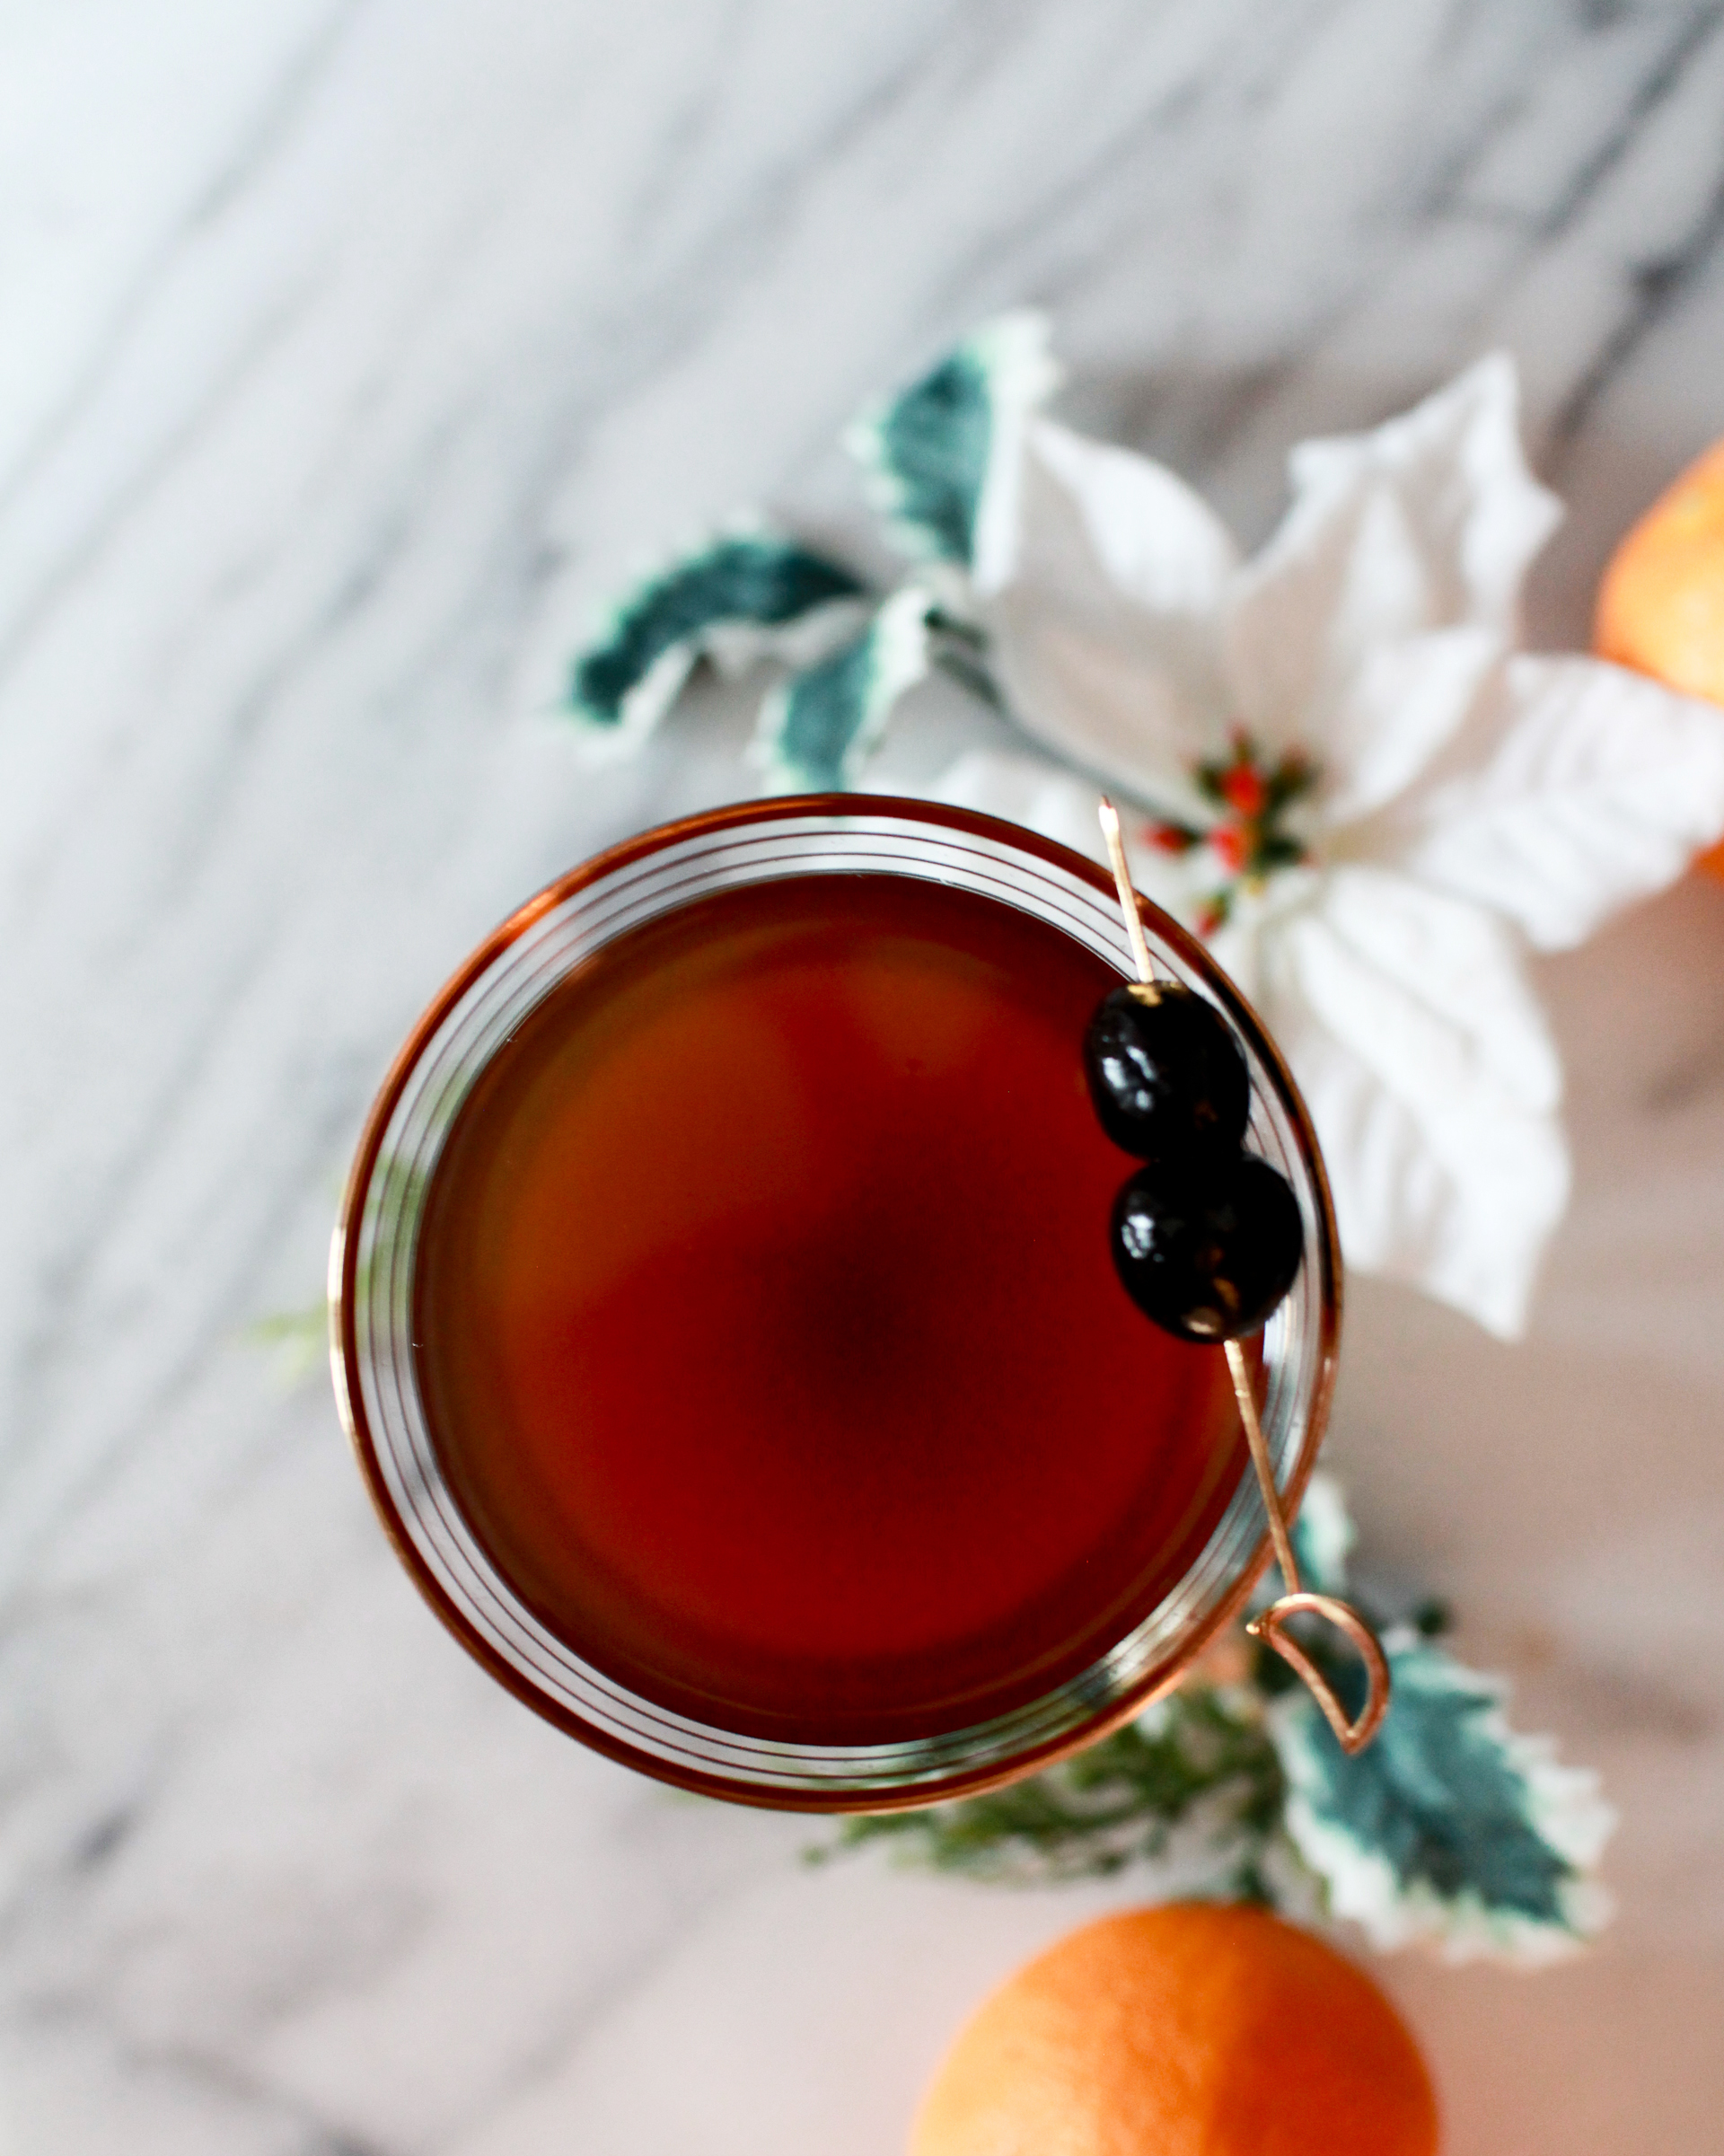
Yuletide Punch Cocktail Recipe

This drink is a spin on the María Inés, a drink designed to evoke the earthy, fruity flavors of fruitcake. (Before anyone complains: I love fruitcake!) The combination of Tequila, ginger, and pineapple is a little magical, turning into something that evokes candied fruit and earthy cake. We took that genius template and tried to up the ante, adding dark, chewy notes of fig and warm baking spice notes from the Boker’s Bitters, which showcase cardamom. We also threw in some sweet raisin notes from the Pedro Ximinez (PX) sherry, which is made from dried grapes and has an almost syrupy quality to it.

Yuletide Punch Cocktail Recipe

The result is something dark, fruity, and sweet; earthy and mildly tart; in short, the liquid spirit of a holiday fruitcake. We obviously threw quite a bit of special ingredients into this one, so please don’t feel intimidated: as long as you can combine tequila, pineapple, and ginger – along with a dash or two of Angostura bitters, that workhorse of any bar, to balance the sweetness – then you can put together a pretty great drink that’s totally unusual but totally perfect for the holidays.

Photo Credits: Nole Garey for Oh So Beautiful Paper
This post contains affiliate links. By clicking on these links, you’ll help support Oh So Beautiful Paper while also purchasing some fantastic products. We only recommend products that we truly love and trust that you’ll love, too. Our full disclosure policy can be found here.